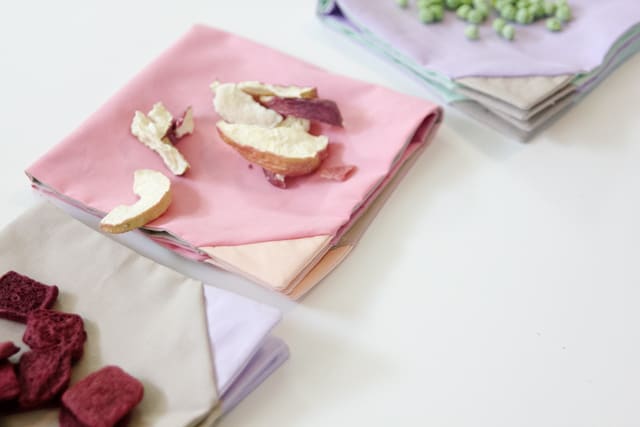
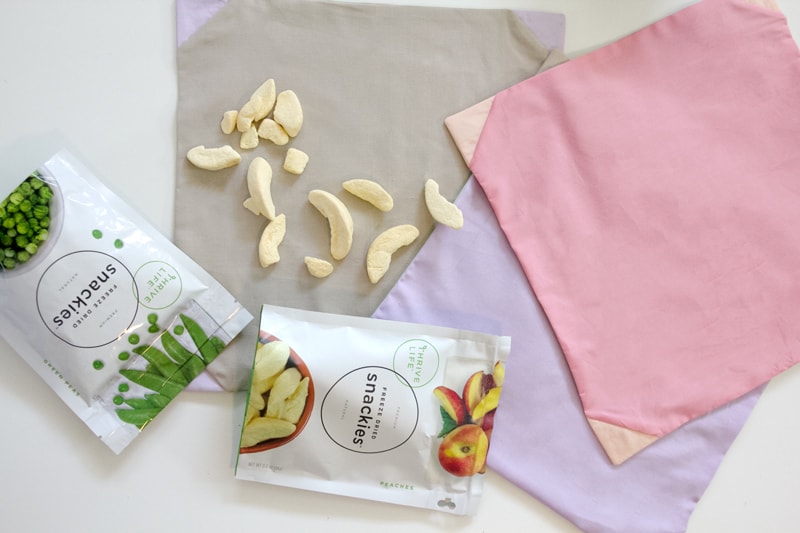
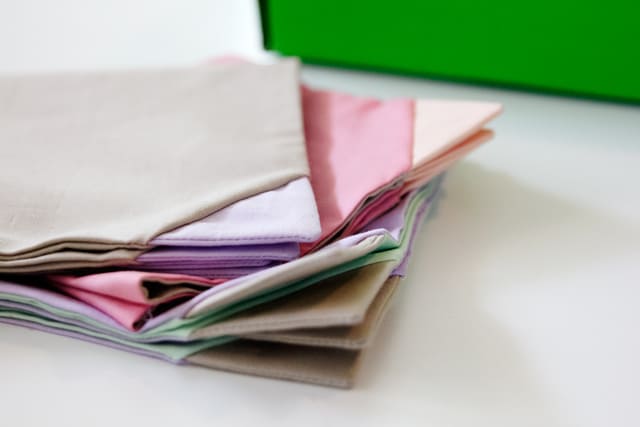
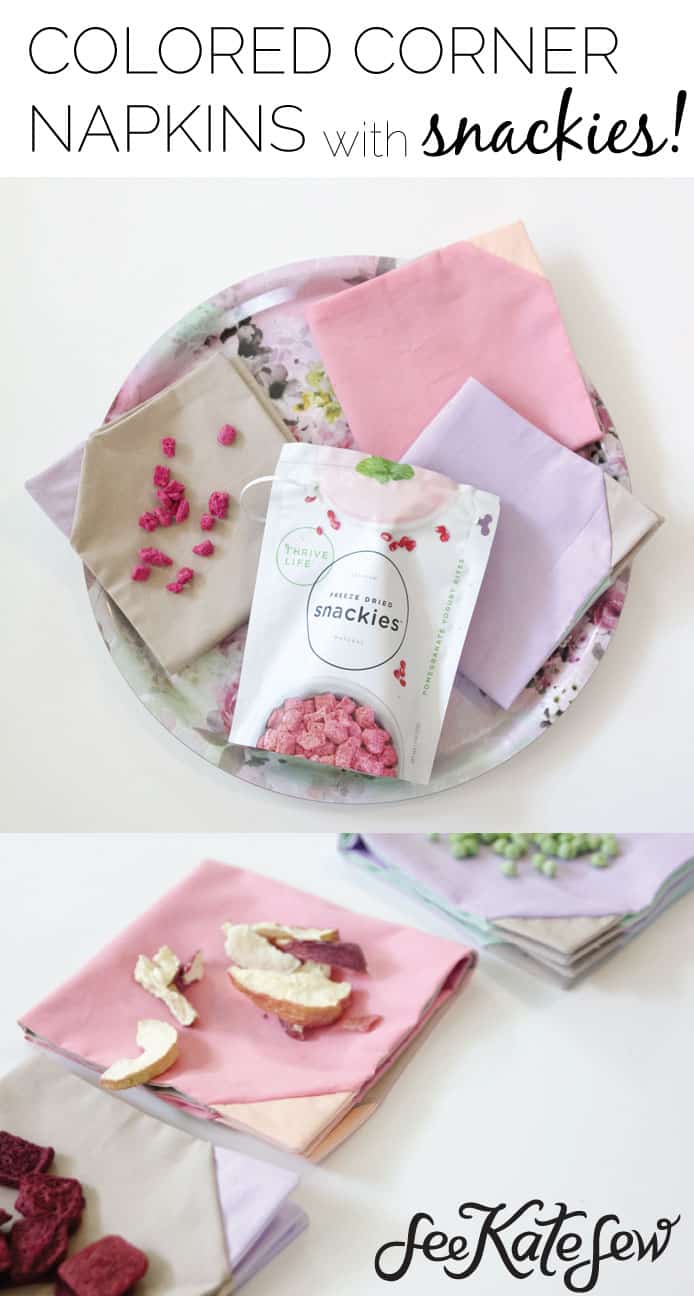
My parents always had cloth napkins around in our home growing up. It’s such a brilliant money saving solution versus paper towel or actual disposable napkins and not to mention way cuter and GREEN! But sometimes I just forget that cloth napkins are a thing! So I made some, with solid colors to have around in case we have guests and no disposable napkins (that seems to happen a lot).
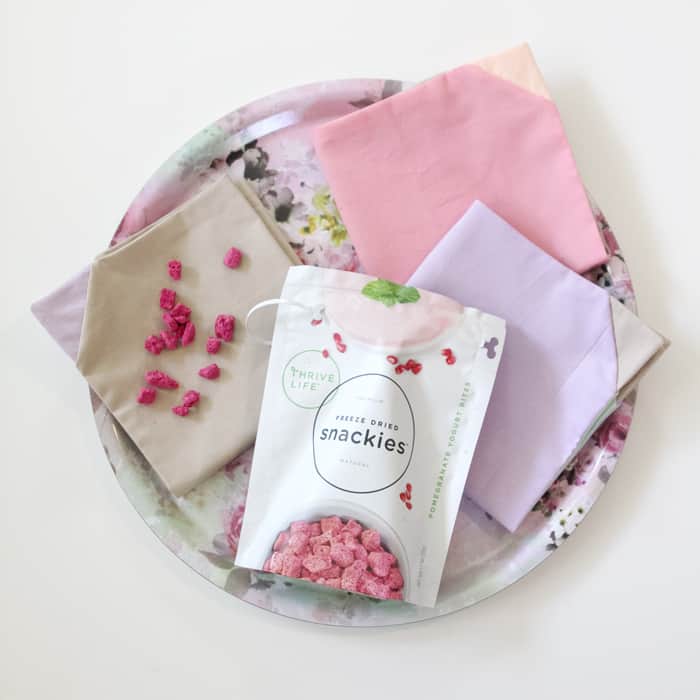
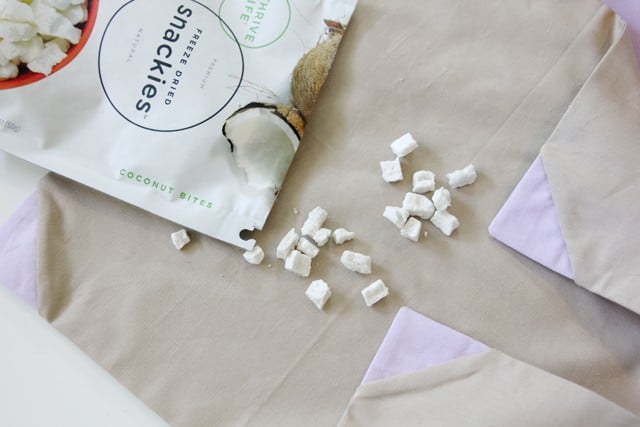
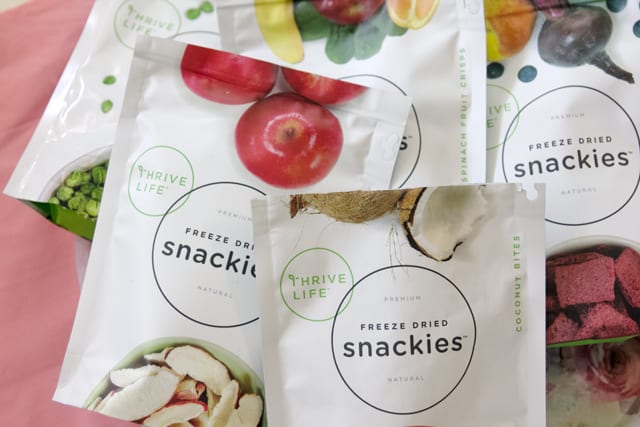
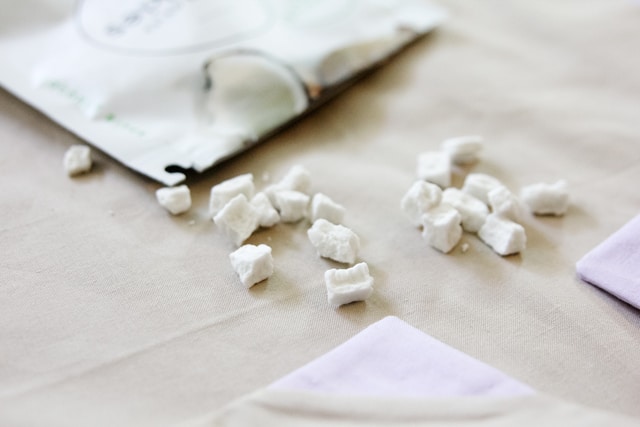
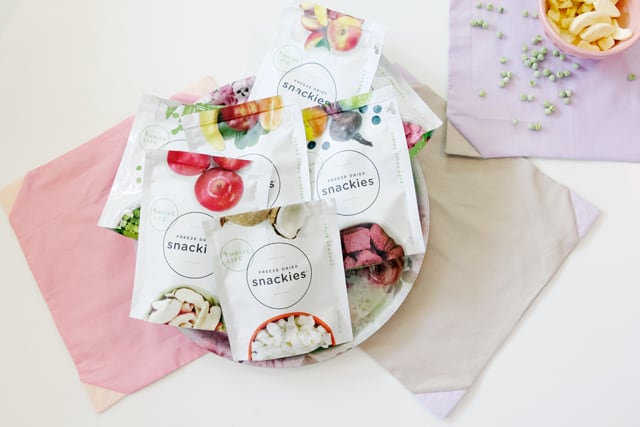
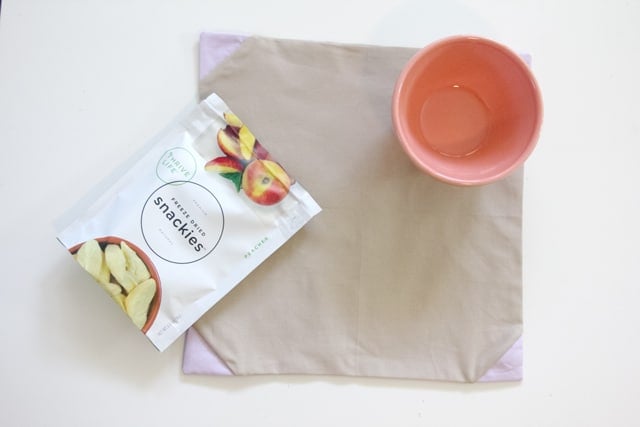
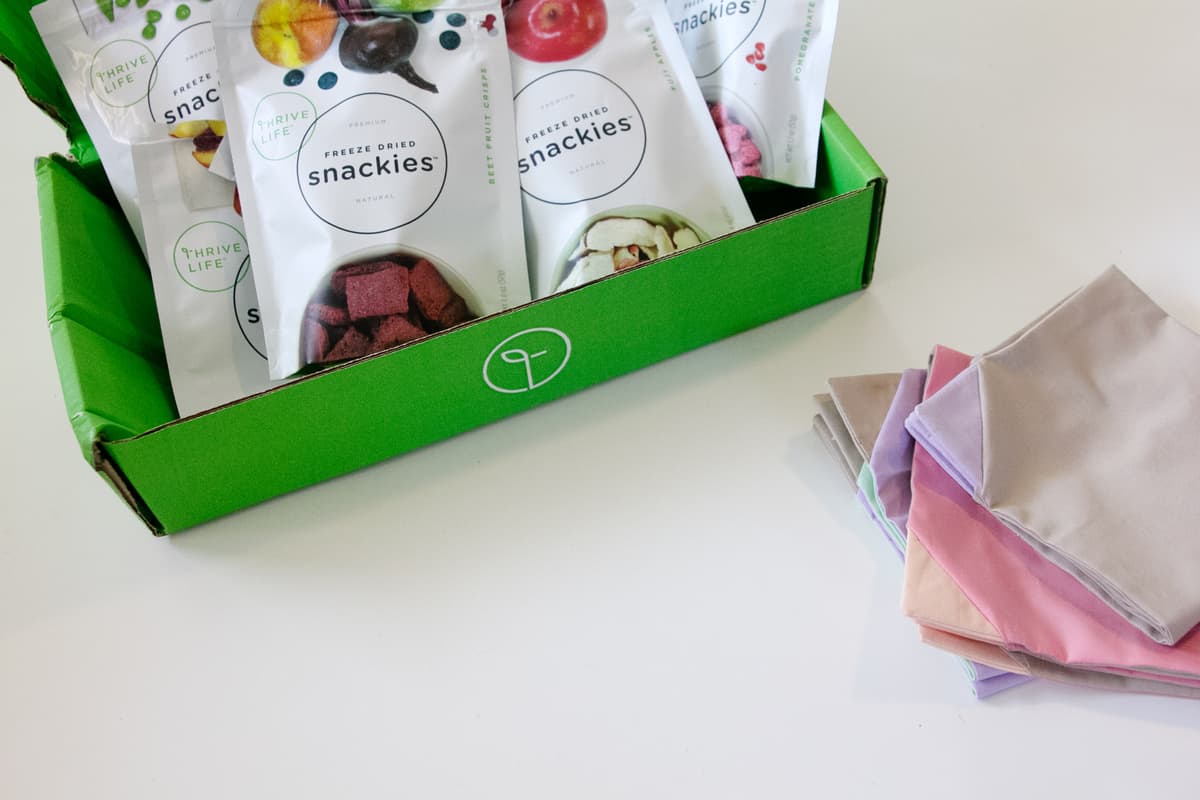
I also have a cool new way to snack to share with you! These little bags are called Snackies from Thrive foods. I was sent a package to review AND they barely made it into the photos because…YUM! The Coconut Bites are the best, FYI.
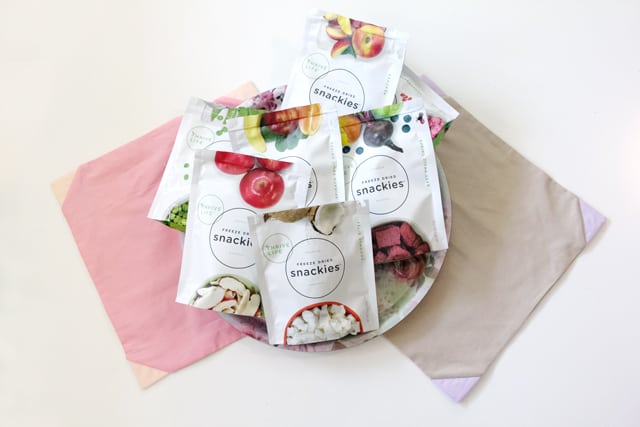
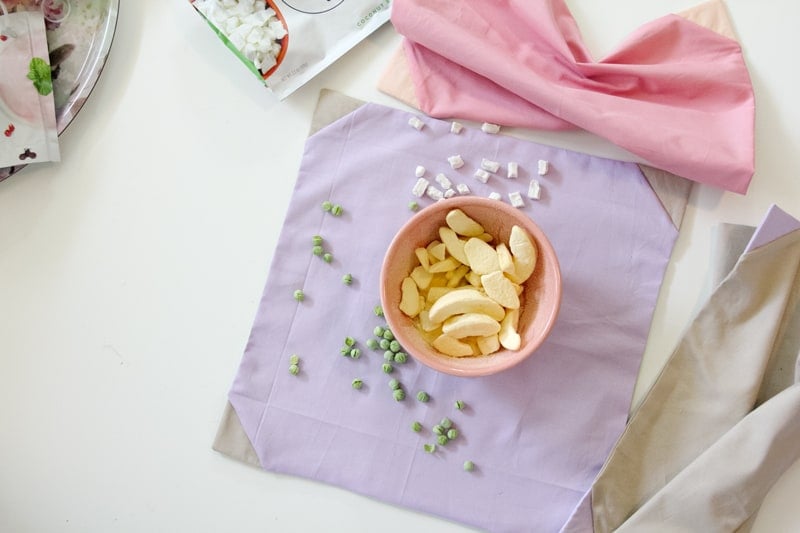
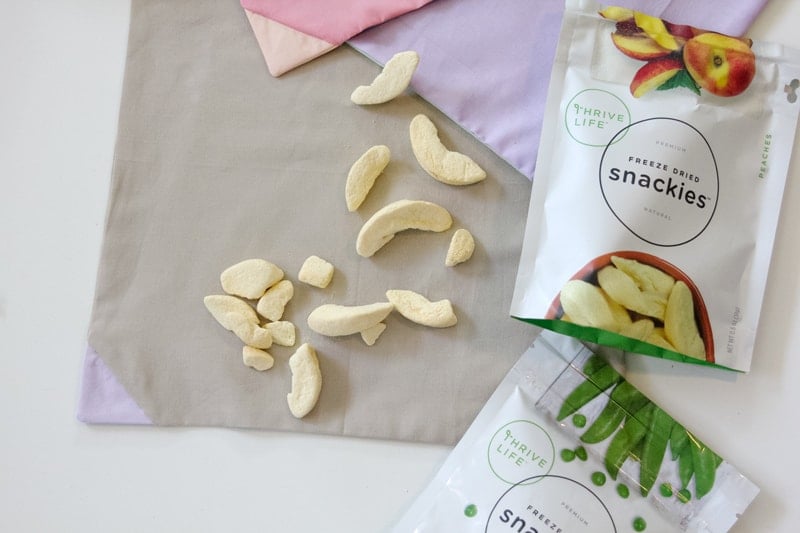
Snackies are made by Thrive Foods and are a subscription box that you sign up for. You pick 5-8 different snacks (like pomegranite yogurt bites, freeze dried peaches, apples, peas, etc) and then you get them every month. The price starts at about $20 for a box, which is pretty good for freeze dried food, I think! And they come in a cute box and you might be tempted to make colorful napkins to go with them, so I say it’s a good deal. The vegetable ones sound really weird, but they are good! They pack a lot of flavor in those little bags! It has also been a fun way to introduce my kids to some new flavors. They are fun little bags that are perfect for on-the-go. Some of the foods are also available in larger quantities.
Anyways, enough about snacks, let’s get sewing!
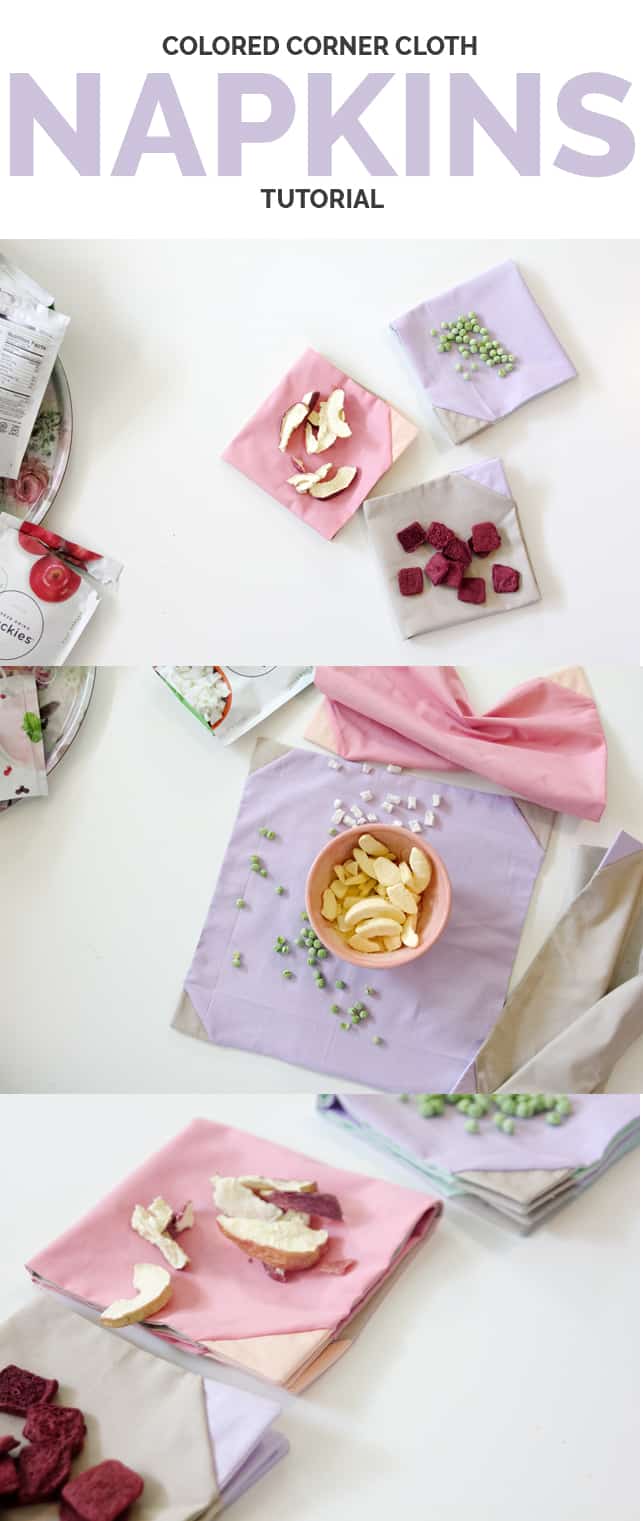
Colored Corner Cloth Napkin Tutorial ///
The corners of these napkins are interfacing and then created separately from the main body of that napkin. That makes them more of their own element and a little weighted.
Materials (makes 2 napkins):
-1/2 yard cotton solids
-1/4 yard contrast
-fusible interfacing
–color corner napkin pattern (PDF file)
Includes 3/8″ seam allowance.
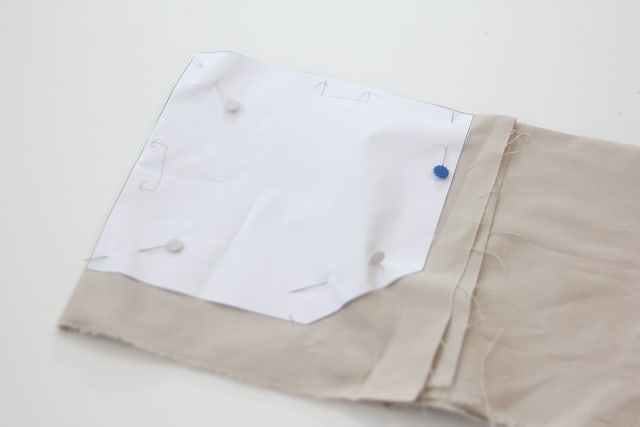
Fold fabric in half twice so you have two folds of fabric. Line up pattern piece at the corner and cut 2 main pieces from fabric.
Cut 8 corner pieces from contrast fabric and 8 from interfacing. Fuse interfacing to back of corner pieces.
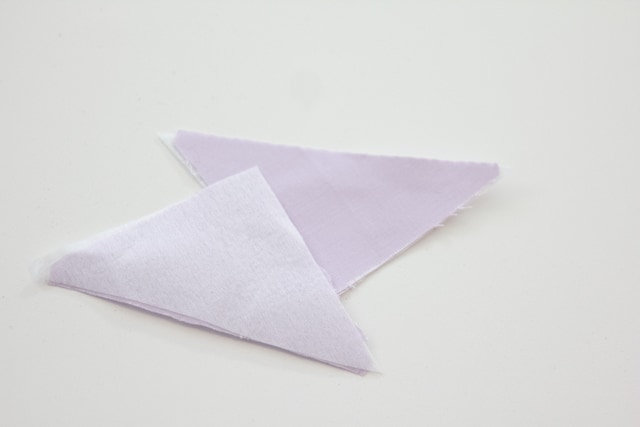
Sew 2 corner pieces together along short edges with right sides together. Clip corner and trim seam allowance.

Leave the bottom open. Trim seam allowance and clip point.
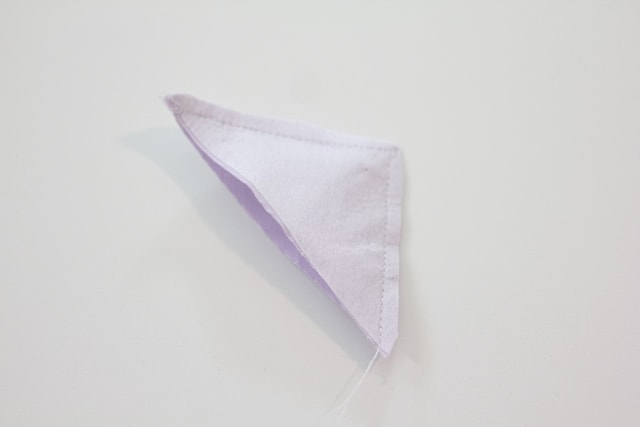
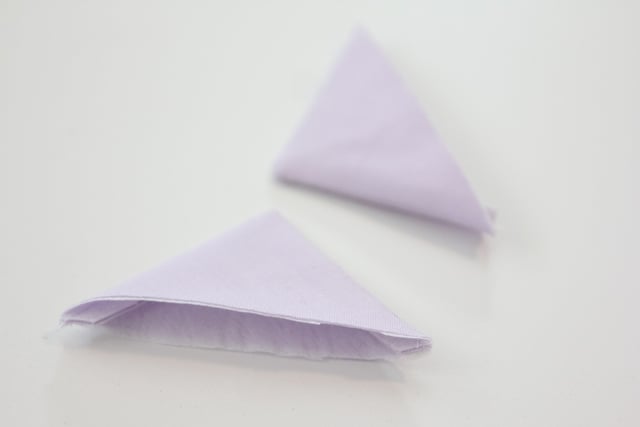
Then turn and press.
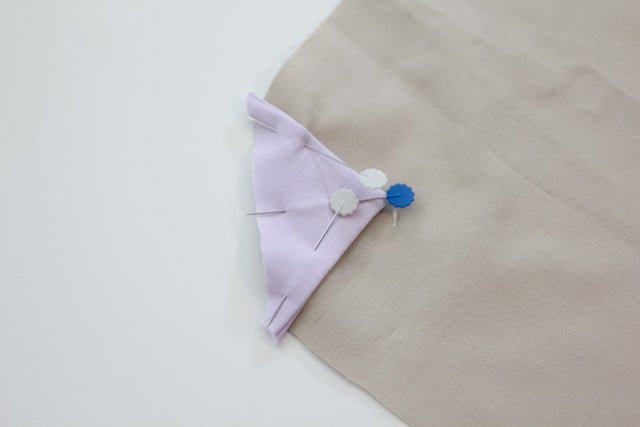
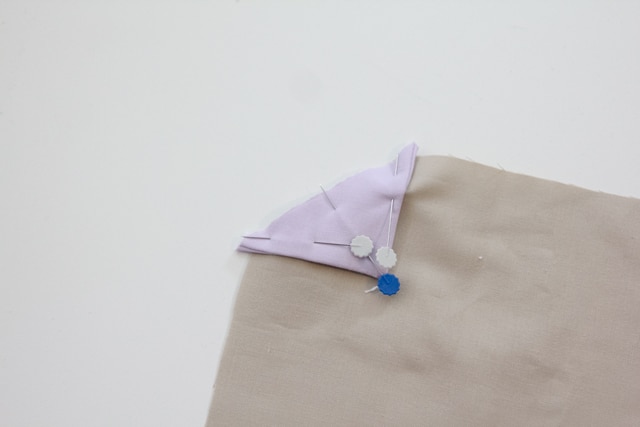
Pin corner piece to the blunt corner of napkin, centered along raw edge. Pin in place.
Place the other side of the napkin on top and pin. Then sew all the way around, pivoting at the corners and leaving a 2″ opening for turning.

Turn right side out and press well. Then sew opening closed by hand (or topstitch the napkin edges if you prefer.)
And you’re done!
Happy snacking!
Fabric Sources:
-All Kona solids


trying to figure out why you are advertising snackies on your blog – its not even sewing related.