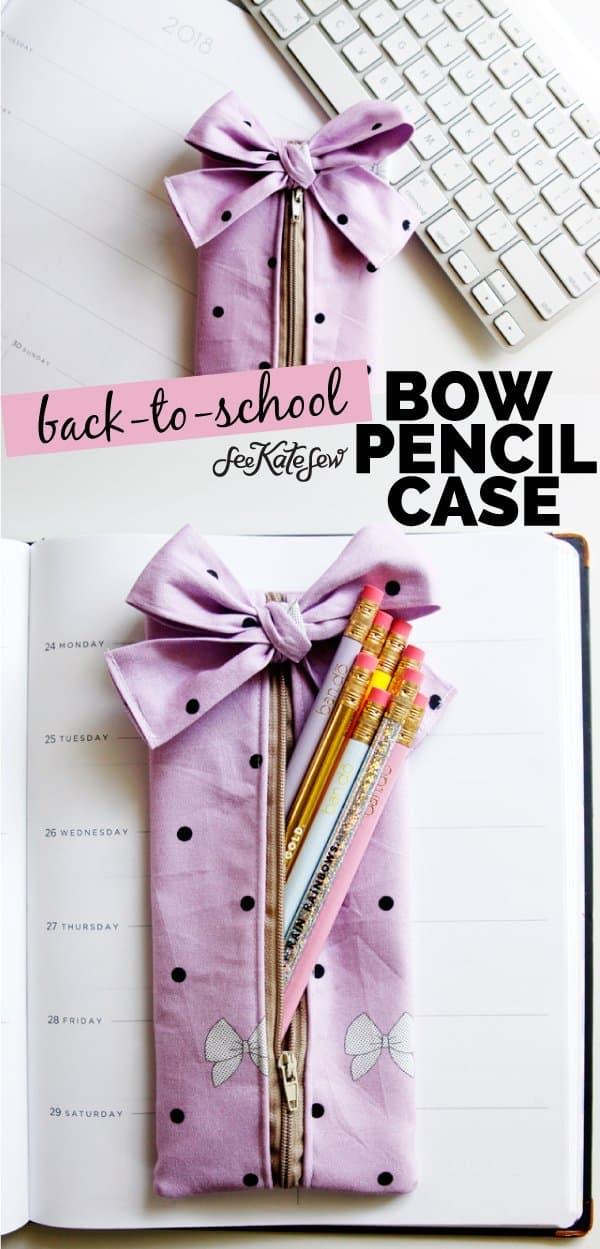
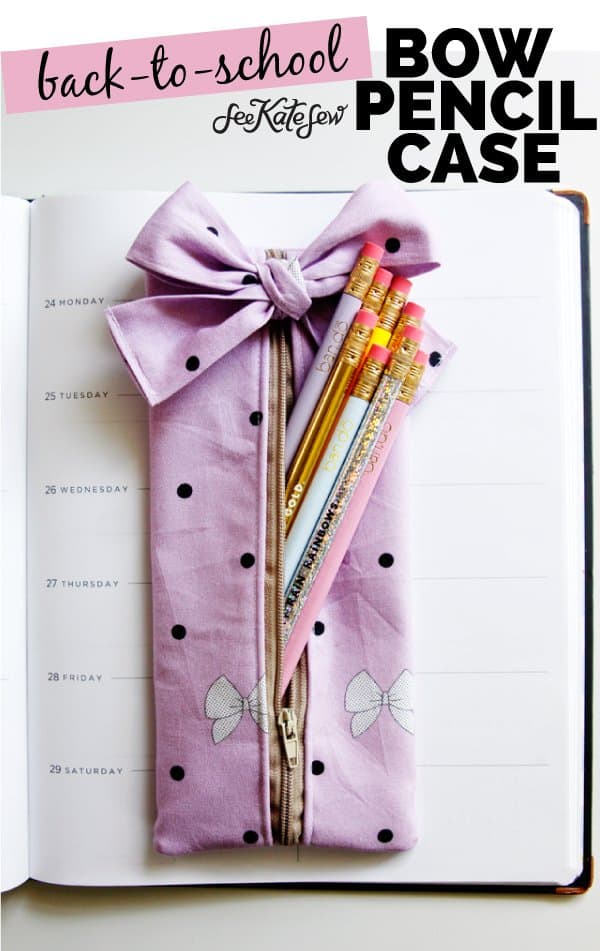
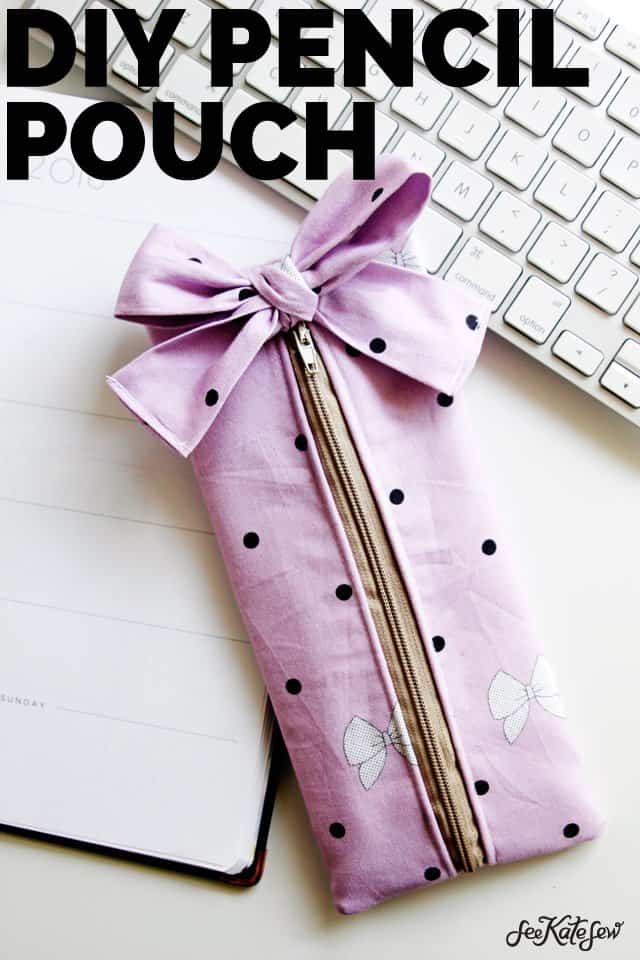
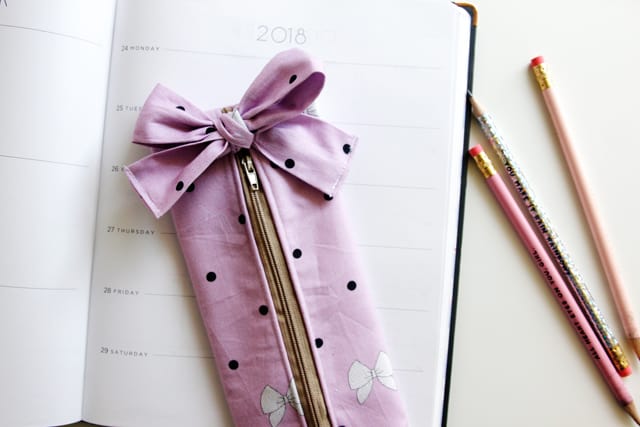
I love pencil pouches because you can use them for stationary and cosmetics alike! So they are fun for all ages. And with back-to-school looming, a DIY pencil pouch is a timely sewing project! You can make it character fabric for your school kid, or something prettier for you! This DIY pencil pouch has a bow that you can add on to it, to make it a little bit girly, or leave it off for a more basic pouch. The pencil pouch construction is pretty easy, even though it has a zipper, so get ready for a quick project!
I used my fabric Kiss Me, Kate for this project! I’m SO excited to share this project because the fabric is finally available in stores! You can find it at your local quilt shop and Fat Quarter Shop, right now! I’ll update you as more stores stock it! I used Polka Bow for this because it’s cutesy and polka dotty – but also has bows! I thought it would be fun to make a bow pouch with bow fabric, so there you go!
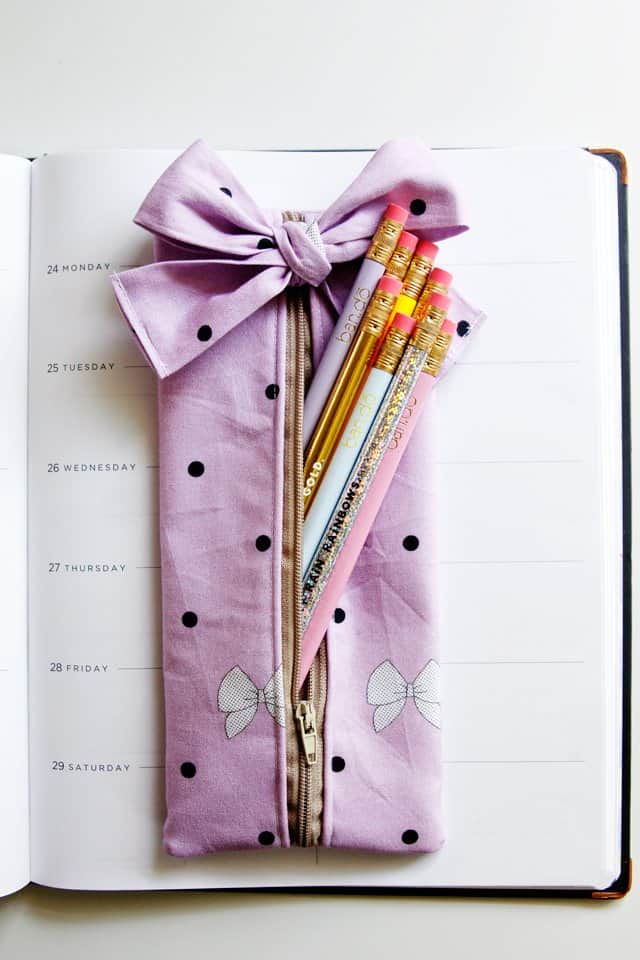
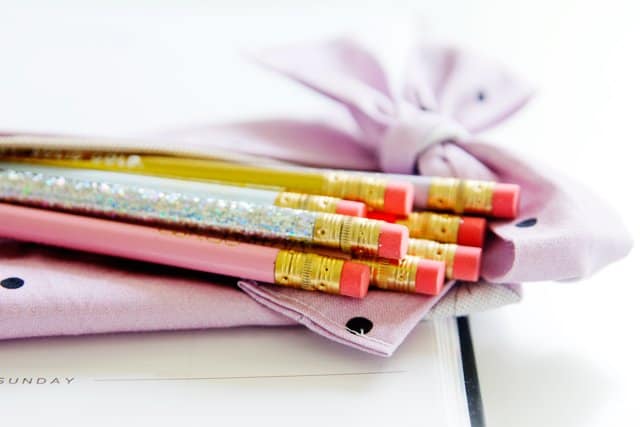
(The cute pencils are from Amazon)


You don’t even need a pattern for the pouch part, we’ll start with a rectangle. Let’s get sewing!
Materials//
-1/3 yard Polka Bow Purple for main
-1/3 yard fabric for lining, I’m using canvas
-12″ zipper
Instructions //
Cut a strip of fabric 3 3/4″ wide by 18″ long. Match long edges with right sides together.
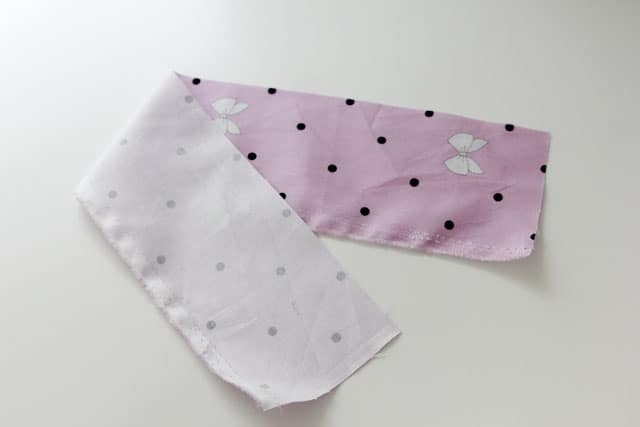
Sew along the long side to create a tube.
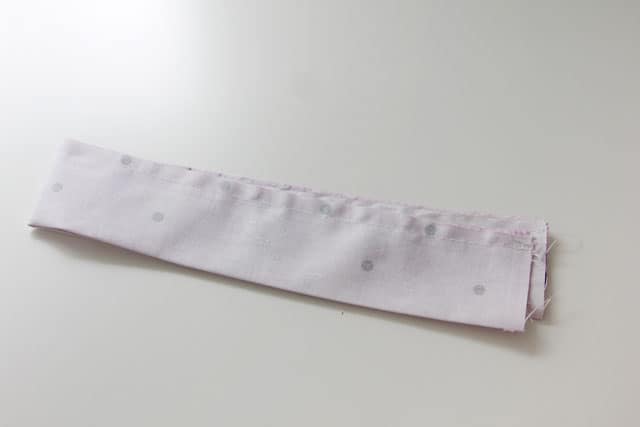
Turn the tube and press with the seam in the middle. Turn under 1/4″ on each of the short edges and press. Topstitch.
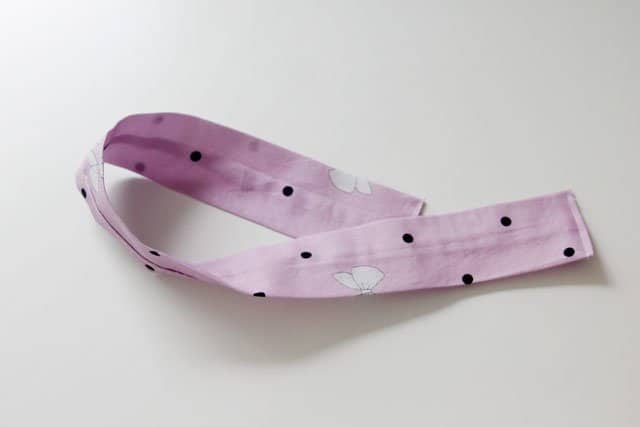
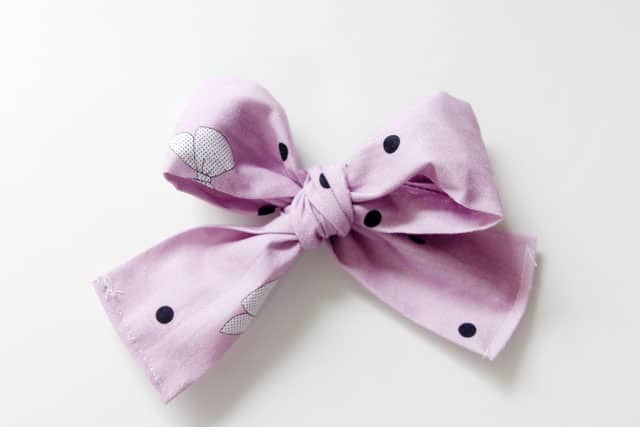
The easiest way to tie this bow is the two loop method. That way you can make sure the seam is on the back of the bow. Pull the bow pieces out until you have a bow that you love!
Cut 2 rectangles 8″ by 9.5″ – one from canvas and one from cotton. Back the cotton with fusible interfacing.
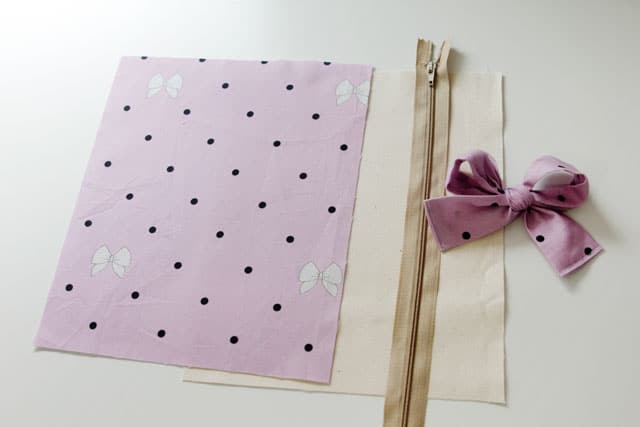
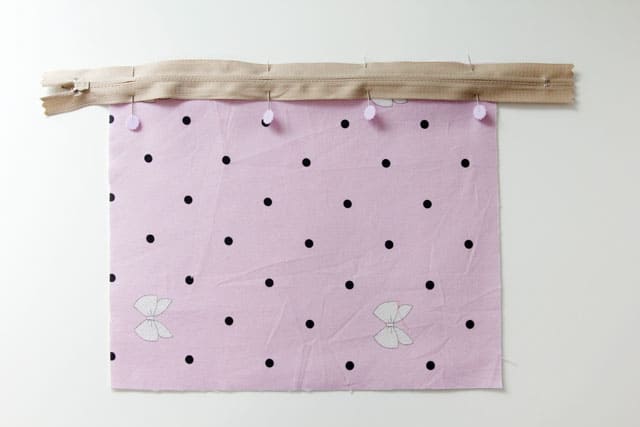
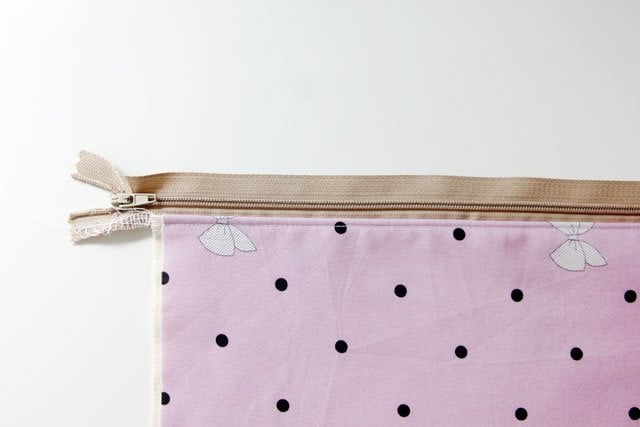
Lay the cotton right below the fabric. Place the zipper face down along the long edge of the stack. (You can’t see the canvas because it is right underneath the cotton, but I promise it is there!)
Finish the edge.
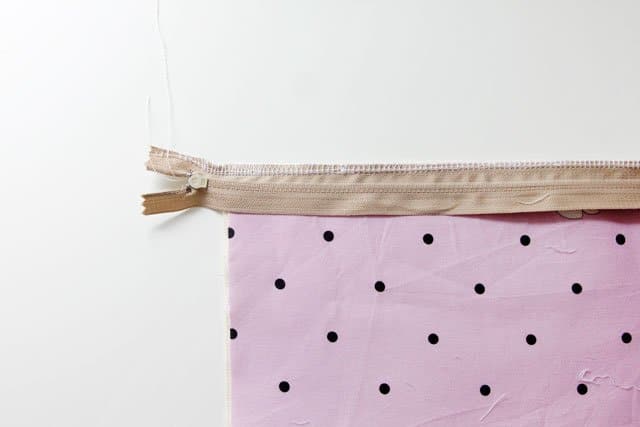
Press and topstitch 1/8″ from the seam.
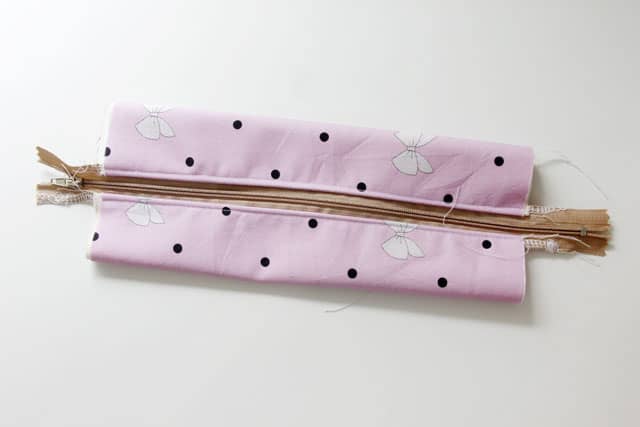
Sew the other side of the fabric to the zipper. 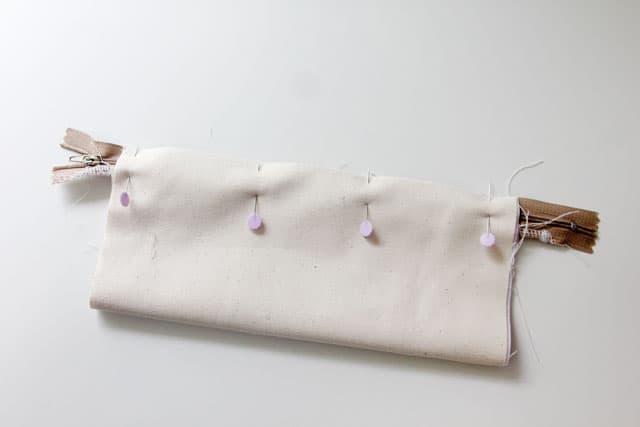
Finish the seam.
Turn and topstitch.
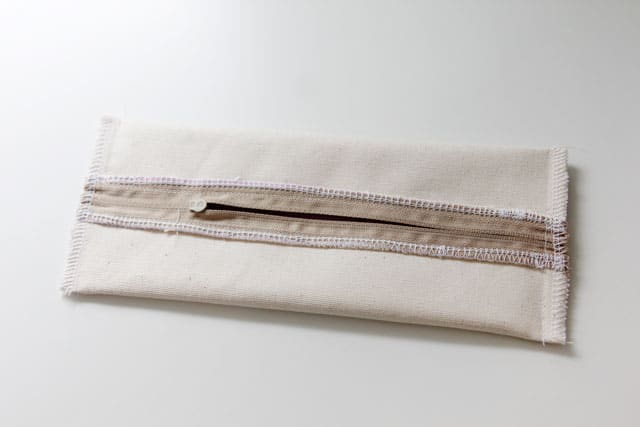
The edges of the zipper pencil pouch are still open. Open the zipper partway and turn it inside out. Pin the short edges with the zipper lined up in the middle. 
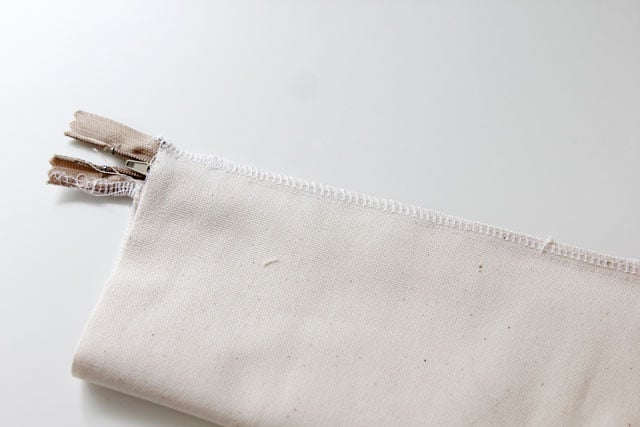
Sew the short edges and trim the excess zipper. Then finish the seams with a serger. Turn right side out. You’re done now if you decide not to add the bow.
Unzip the zipper just a little bit. Hand stitch the bow to the pouch right at the top.
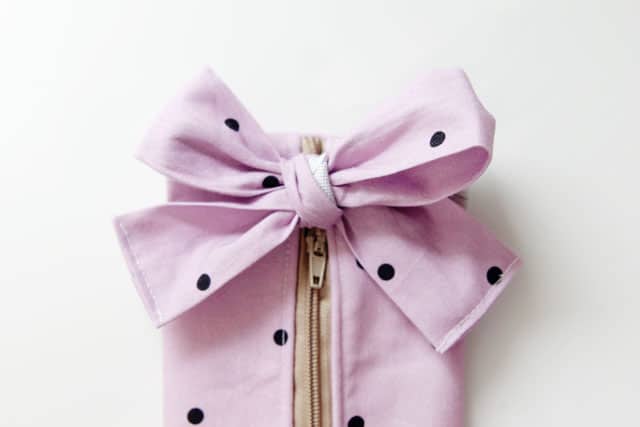
And you’re done!

Check out the knotted pencil pouch tutorial if you like this one!