

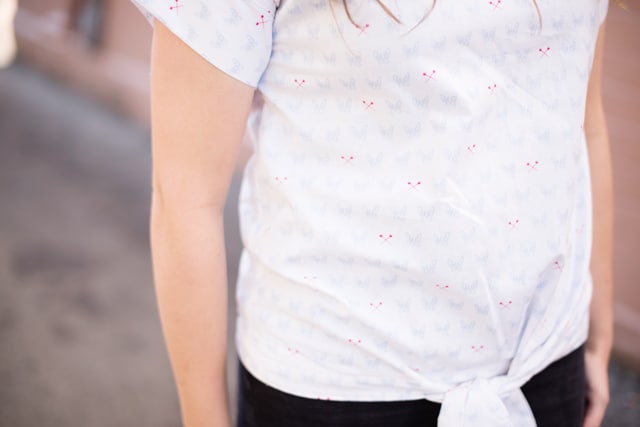
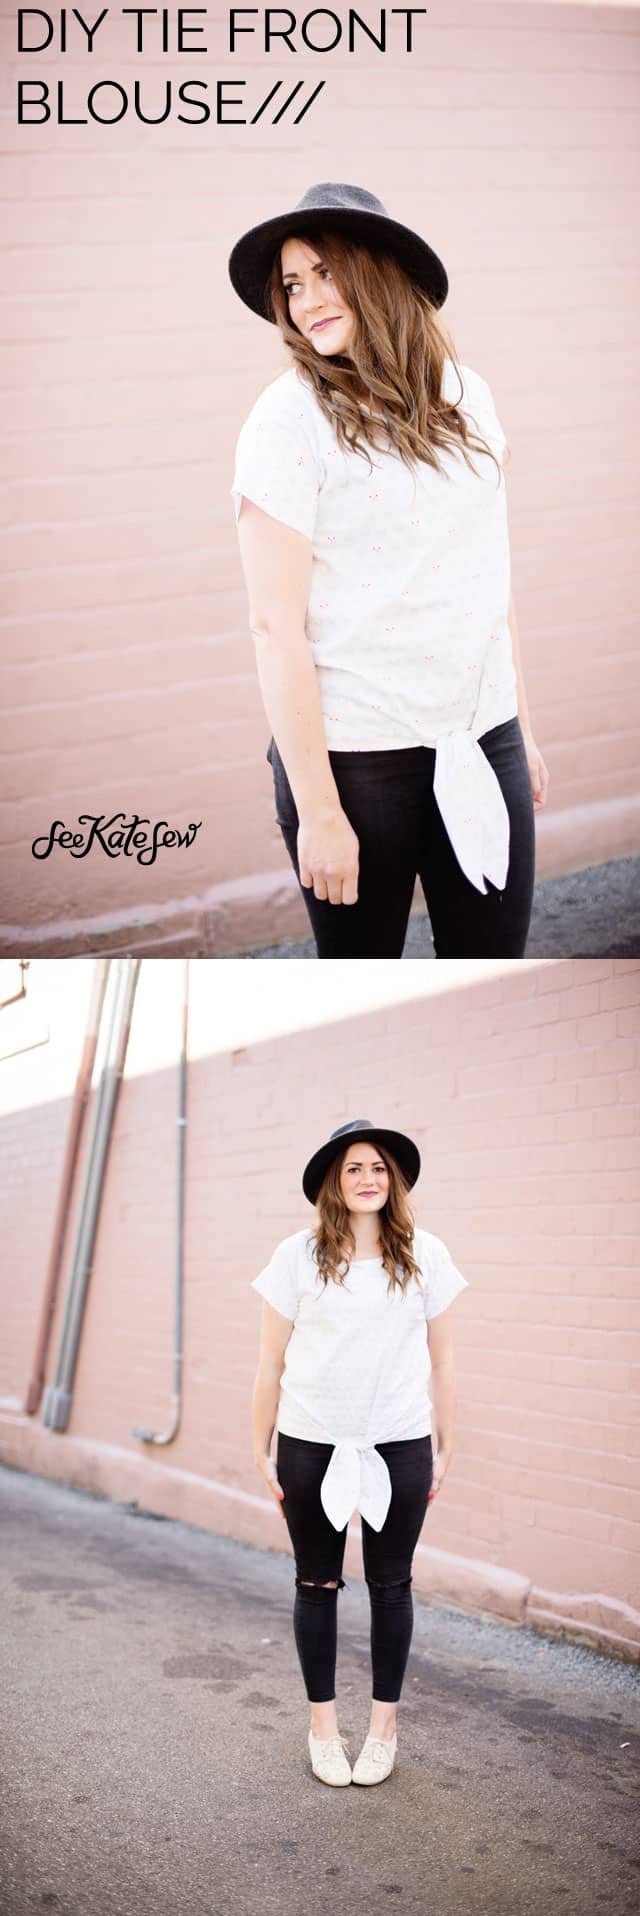
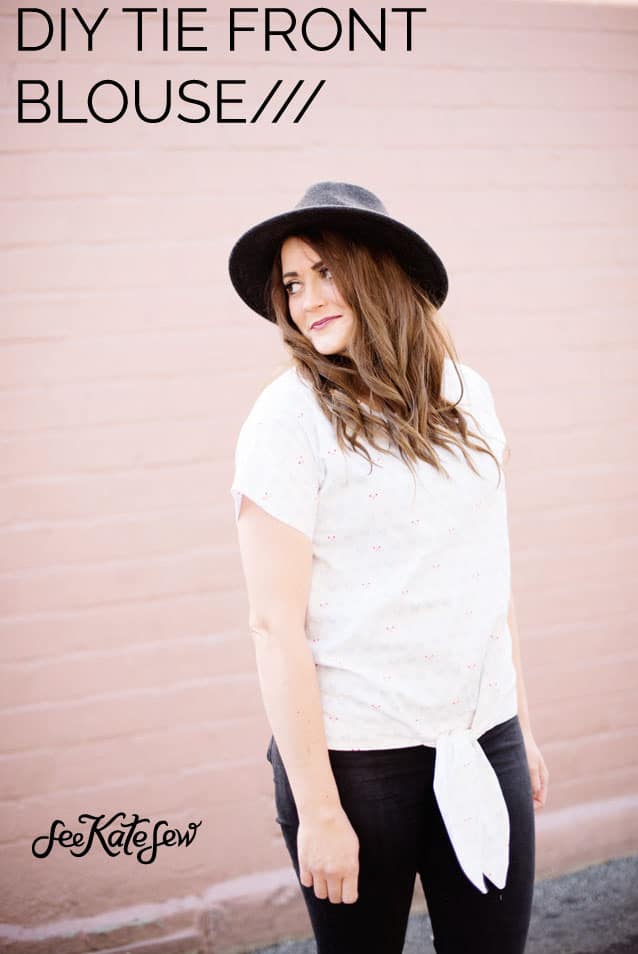
If there’s one pattern I love to hack its the Zippy Top pattern! It’s especially fun because there is a kid’s version so any tutorial also works for that one. It’s just a great starting point for so many styles!

This is a simple hack with on-point results and a free pattern for these ties! This pattern works with any size XXS-3XL because the ties should be the same size and in the same place. Trim or add to the band as needed.
This DIY Tie Front Top also has extended sleeves. The original zippy top pattern has a tiny little cap/dolman sleeve built in but I added a sleeve band here to make it more of a short sleeved top. It’s just a bit longer so it will work into fall with a cardigan or jacket!

I’m thrilled to be a part of the Tattooed Quilter’s new fabric tour. This fabric is from his new line with Riley Blake, Blue Carolina. The line features Chris’s sweet little pooch, gorgeous blues and sewing notions mixed in. I met Christopher this summer and it was fun to meet him, meet his new fabric, and hear about the inspiration behind it all at the same time.
It’s a sophisticated collection with a little bit of pretty and just enough quirk! I originally made this top in the light blue lace fabric but it was a tad too small (HAHAH) and the ties weren’t quite right. So now I have two tops! I went with the frenchies, Edie, for the final version although now I’m itching to make on in the navy lace!

Materials//
-1.5-2 yards quilting cotton
3″ on fold for sleeve

Instructions//
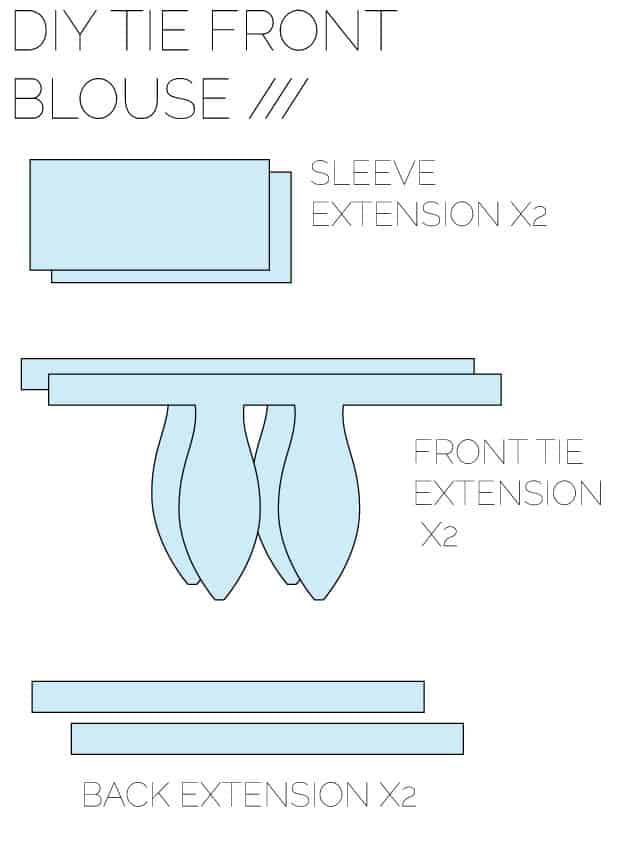
PIECES TO CUT//
-2 sleeve extension pieces. Sew up the Zippy top per the instructions in the file. (Sew shoulders together and finish neckline.) When you get to the sleeve, measure the hem. Cut 2 pieces as long as the hem and 6″ wide.
–2 front tie extension pieces. Download the pattern piece and extend the sides to the edges of you top. This will vary for each size.
–2 back extension pieces. Cut two rectangles 2″ by the length of the back of your top.
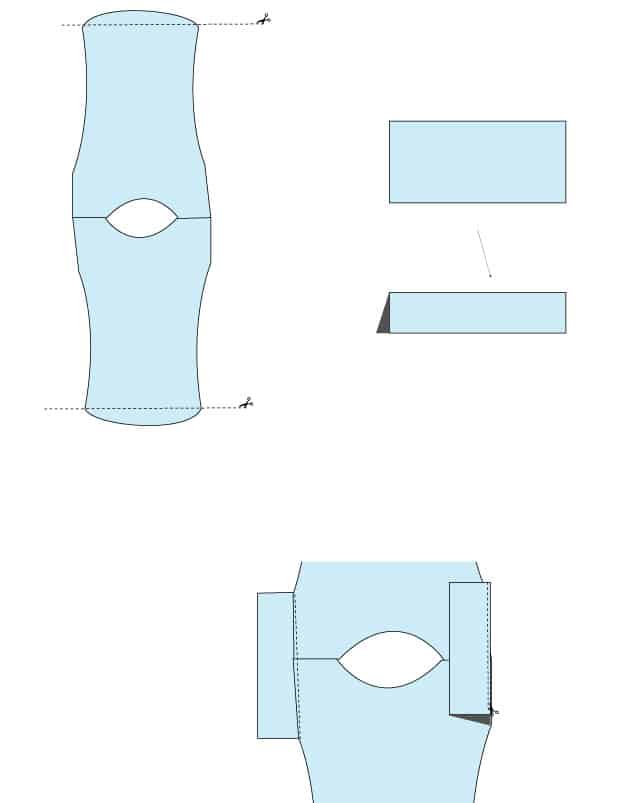
Trim the hem of the front and back so they are flush with the bottom of the side seams. The Zippy top has a slightly curved hem, but we need a straight hem.
Fold the sleeve bands in half with wrong sides together and press. Match up to the sleeve hem and sew right sides together. Finish seam allowance.
Press seam allowance up and topstitch along the blouse, 1/8″ from seam. Repeat for both sides.
Sew the top along the side seams as indicated in the pattern file.
Interfacing the facing pieces using fusible interfacing if desired.
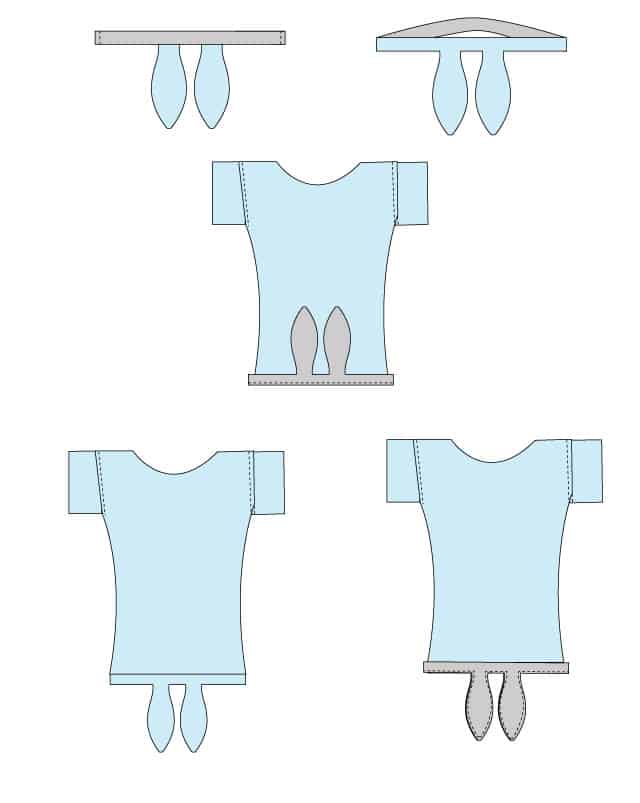
Sew the front extensions to the back extensions with right sides together. You’ll make a circle. One will be the outer fabric and one will be the facing.
Sew the outer fabric to the zippy top hem with right sides together. Sew all the way around the top using a 1/4″ seam allowance. Press seam allowance down.
Attach facing pieces and sew all the way around the bottom edge. Clip the curves on the tie front extension and turn right side out. Press well.
Topstitch around the entire extension at 1/8″ from the edges. Then topstitch along the top of the facing piece to hold in place, about 1.25″ from the hem.
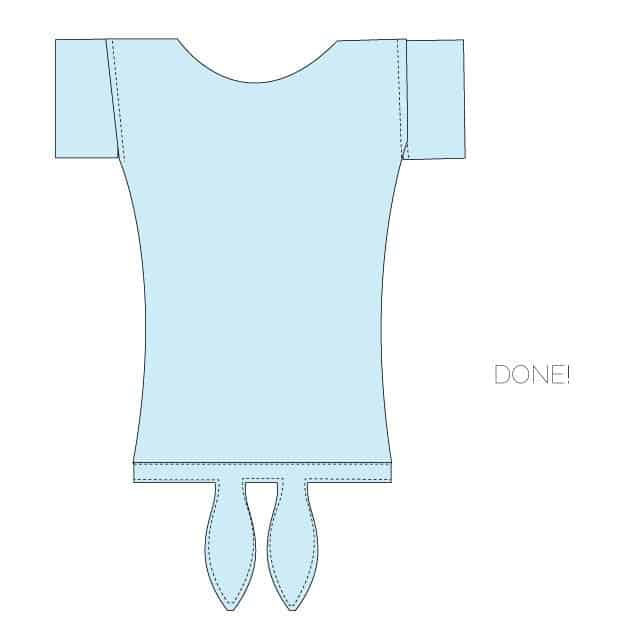
Done! Tie that baby up!


thank you so much for creating such a fabulous blue shirt and being part of my blog tour. i really appreciate it. xo!
Really cute! THanks the tutorial
Thank you so much for sharing your clever ideas. The only thing I want to change is to make it long-sleeved. We live over 9200 feet up in the Rockies. Our summer up here got up to mid-70s. A veritable heat wave, I tell you. Anyway, I have always loved a tee shirt like this since the 70s?