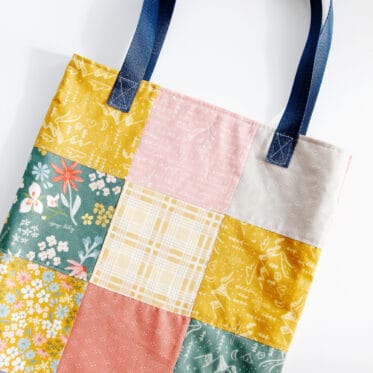
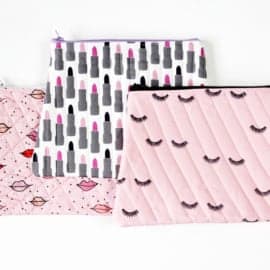
sewing, crafts, tutorials, DIY

Exclusive Free PatternRuffled Apron
Sign up for my email newsletter and receive my ruffled apron pattern totally FREE!
We take your privacy seriously. See our privacy policy here. Unsubscribe at any time.
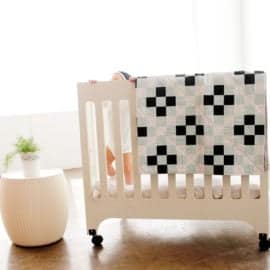
sewing, crafts, tutorials, DIY
Sign up for my email newsletter and receive my ruffled apron pattern totally FREE!
We take your privacy seriously. See our privacy policy here. Unsubscribe at any time.

My name is Kate, a twenty something fashion lover and mother of two. When I’m not chasing kids you can find me at my sewing table or daydreaming up new designs. You can read more about me here. Thank you for visiting!