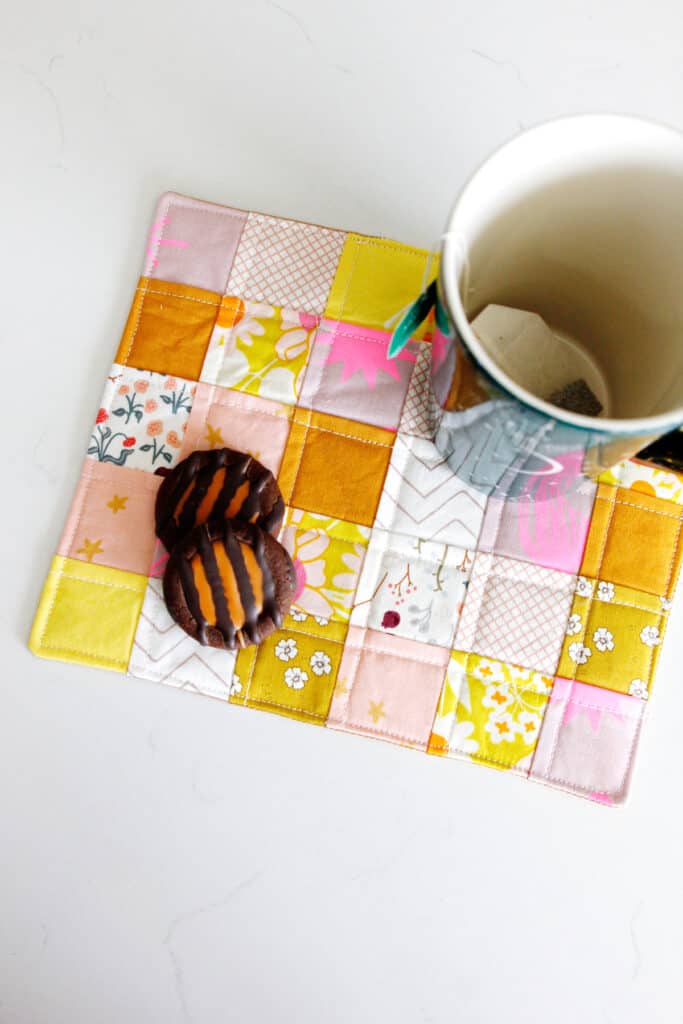
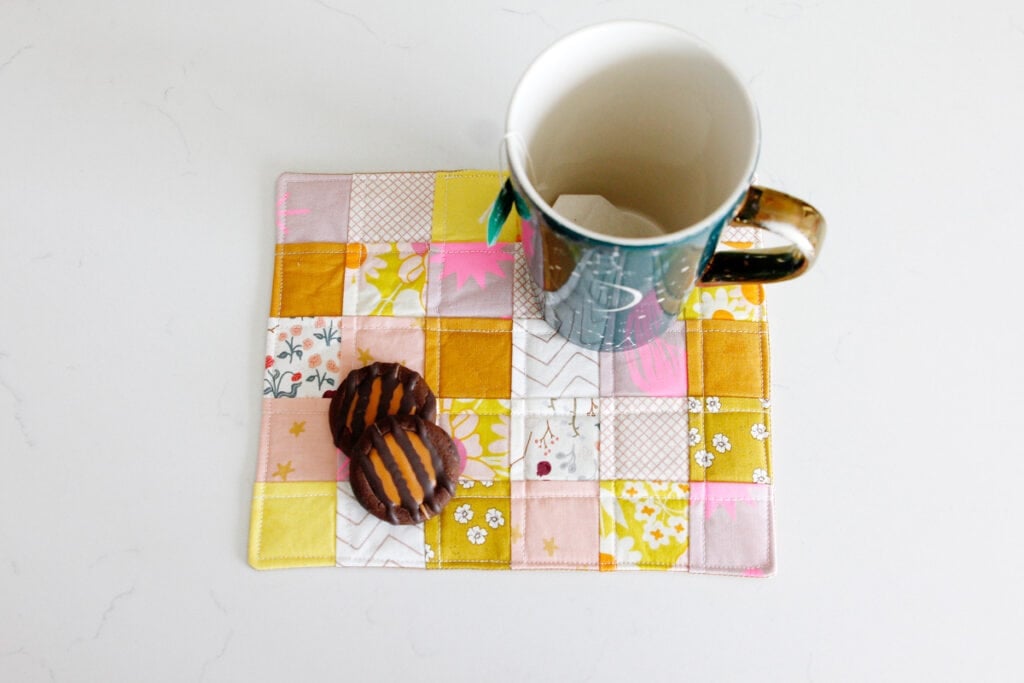
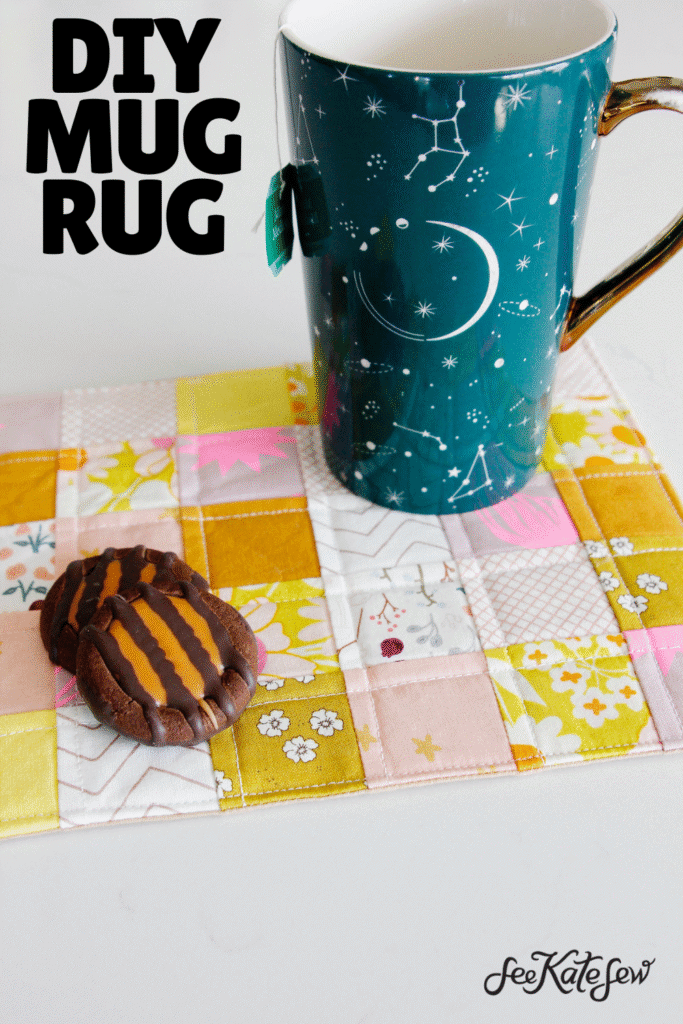
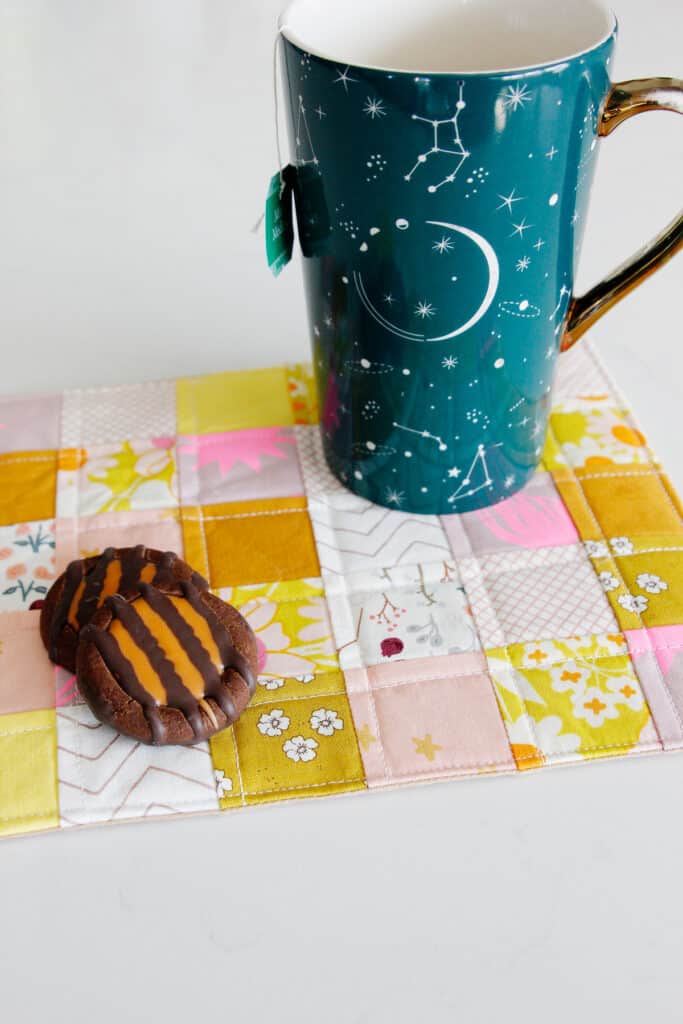
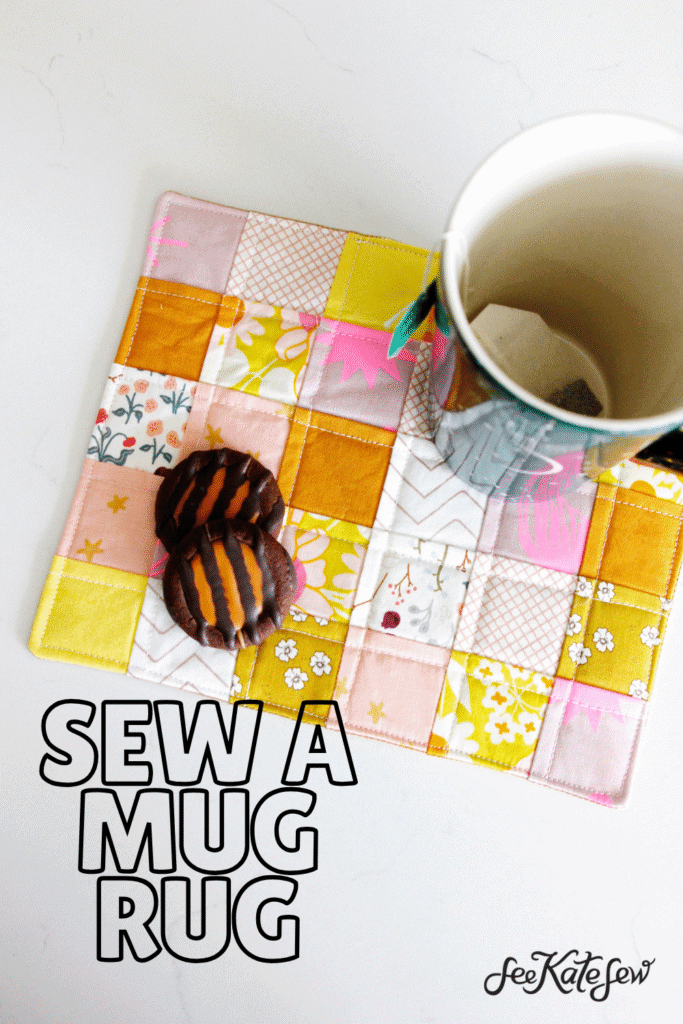
A mug rug is the cutest way to start your morning or end your day! This scrappy mug rug tutorial will show you a super fast way to sew up a place for your drink and snacks to sit.
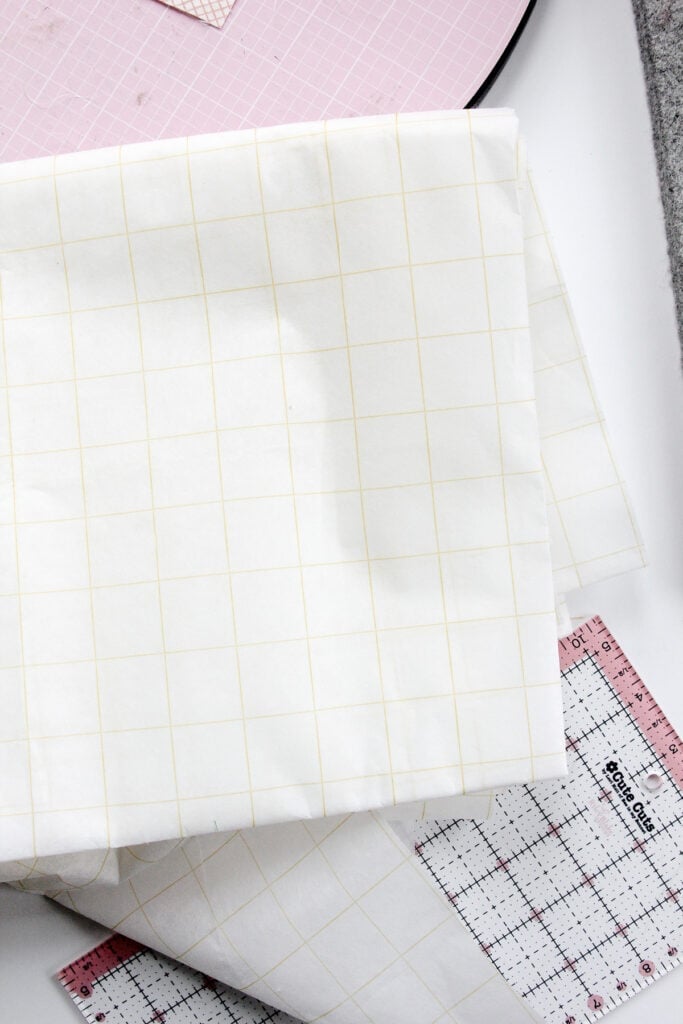
The secret for making this FAST and with scraps is grid interfacing!
Mug Rug Materials
- Grid interfacing
- Lot of fabric scraps
- Quilt batting
Mug Rug Tutorial
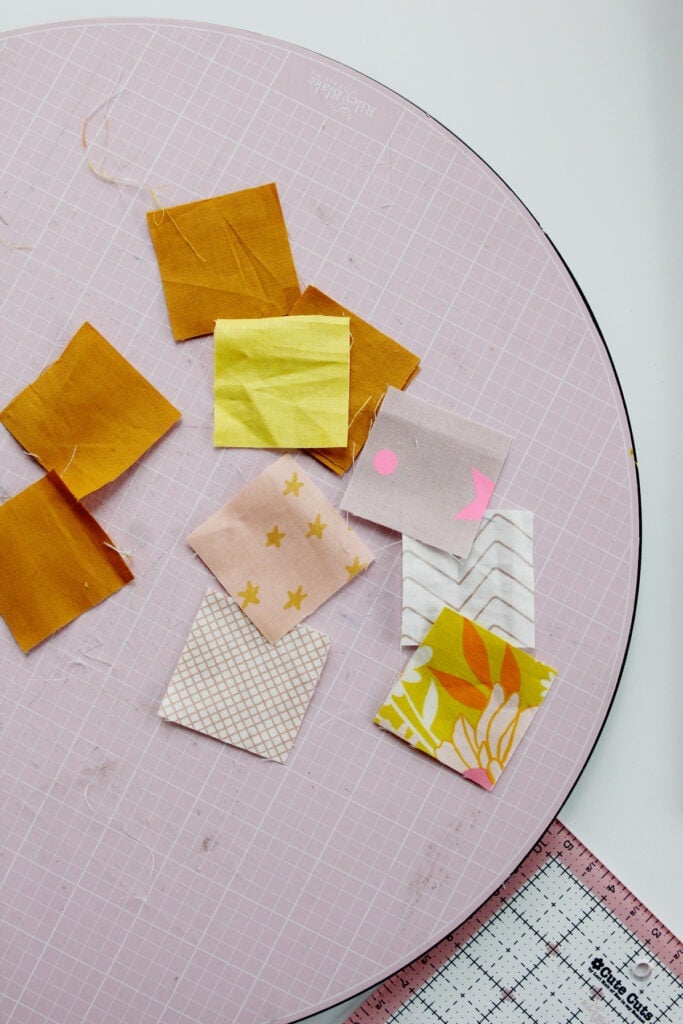
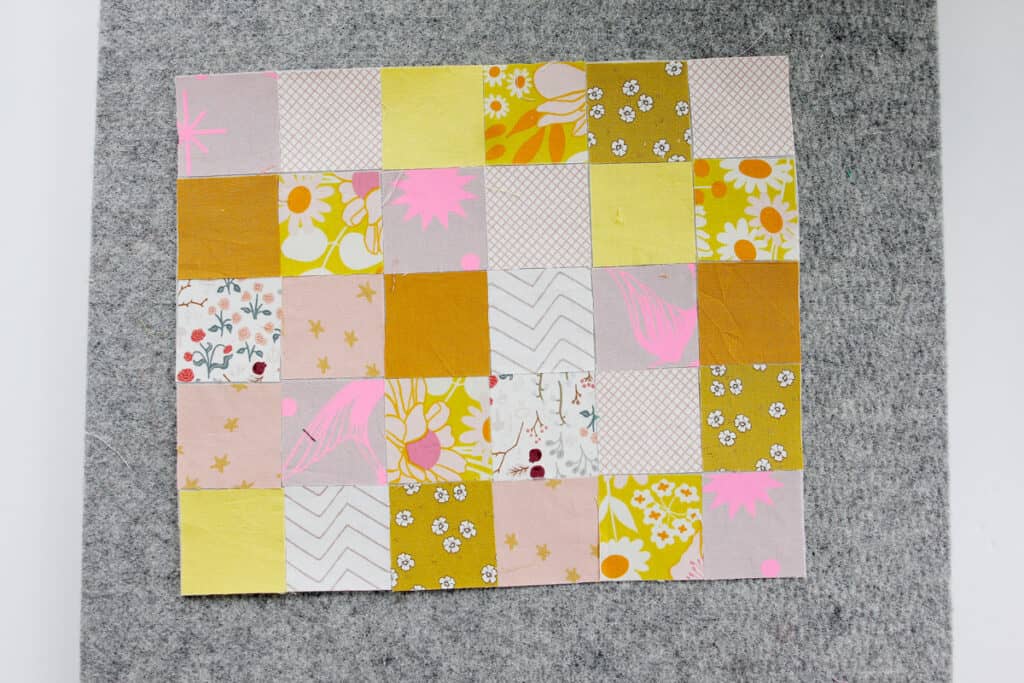
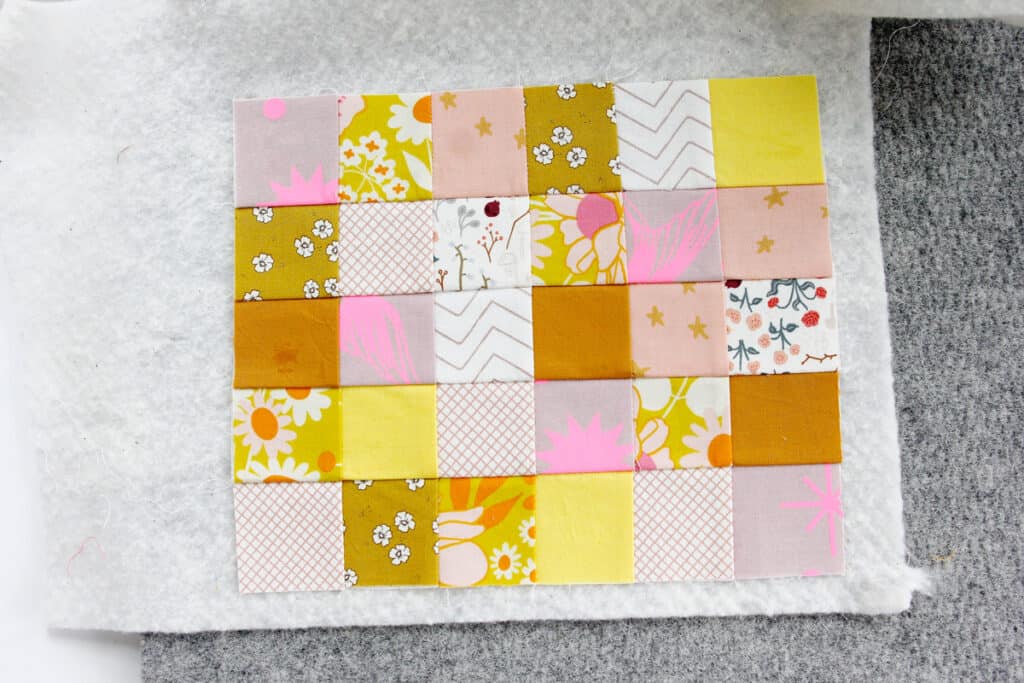
Start by cutting 30 – 2″ squares from any scraps! This is great because you can use small scraps that are otherwise not useful! I picked out yellows, light pinks and whites.
The grid interfacing has a rough side which has the adhesive. The other side is the printed side with the grid. Place the rough side up and line up the squares of fabric starting in a corner of the grid. You should be able to see the grid through the interfacing. Use your iron to gently press the fabric from the top so they stick.
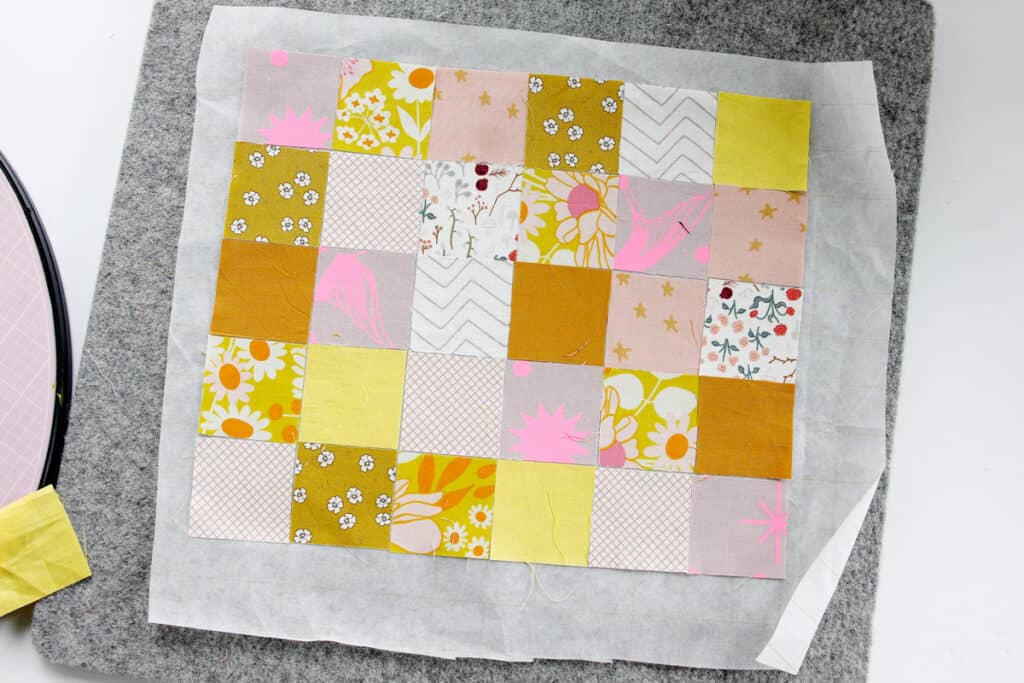
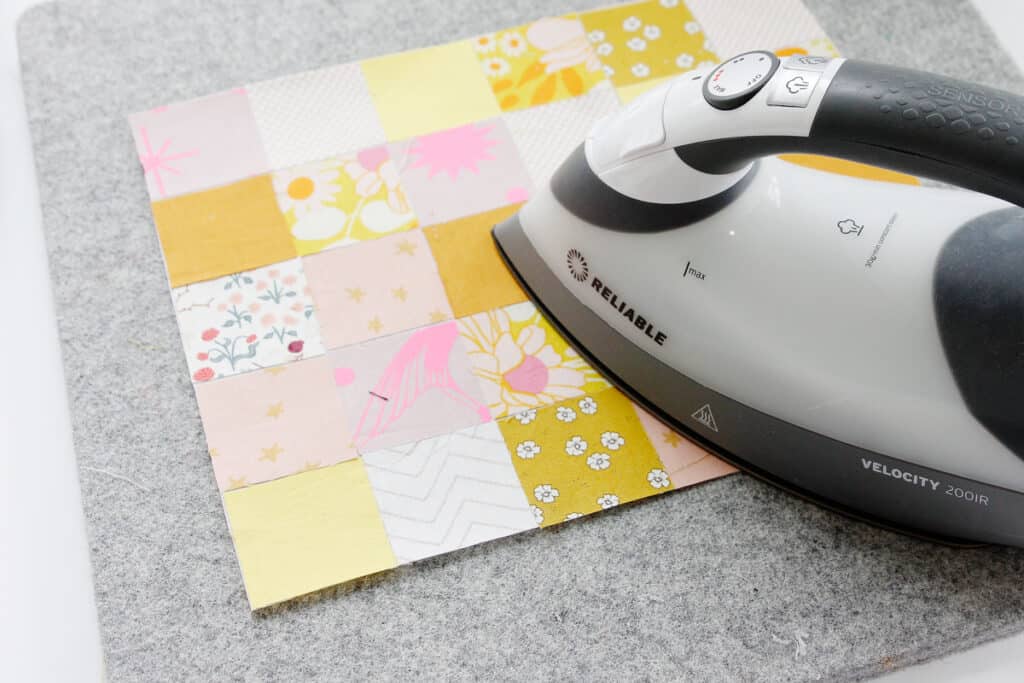
Once the squares are all stuck to the interfacing, trim the interfacing then press again, focusing on the edges.
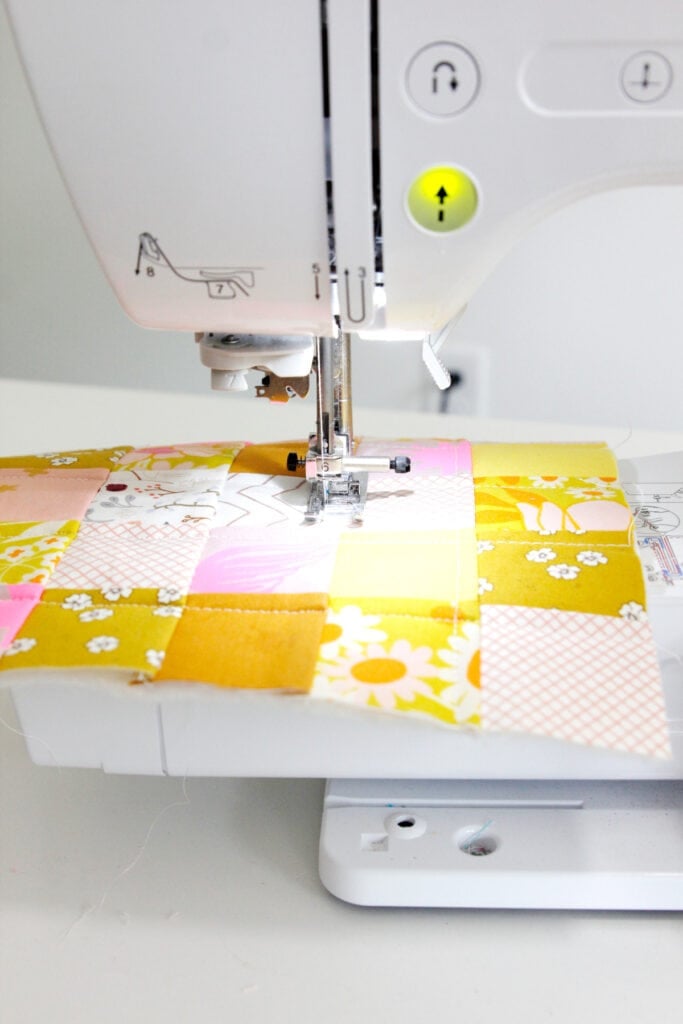
Now we are going to sew the squares together by folding the panel and sewing from the back. This will pull all the raw edges into a seam.
I like to fold along one of the rows and give it a little press to help keep everything straight.
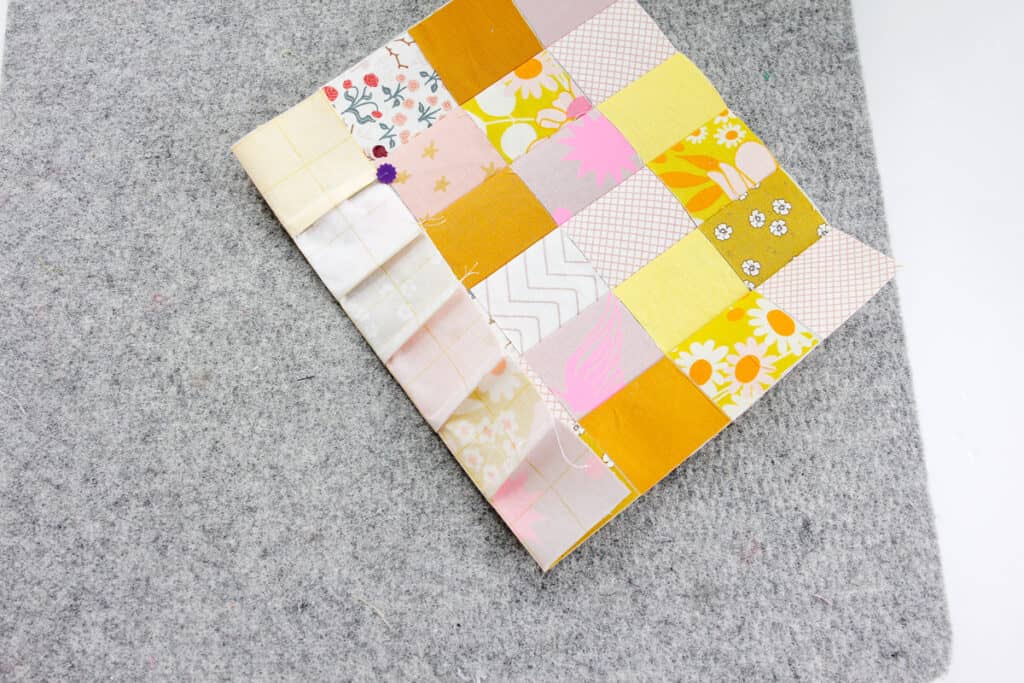
Sew a 1/4″ seam down the row.
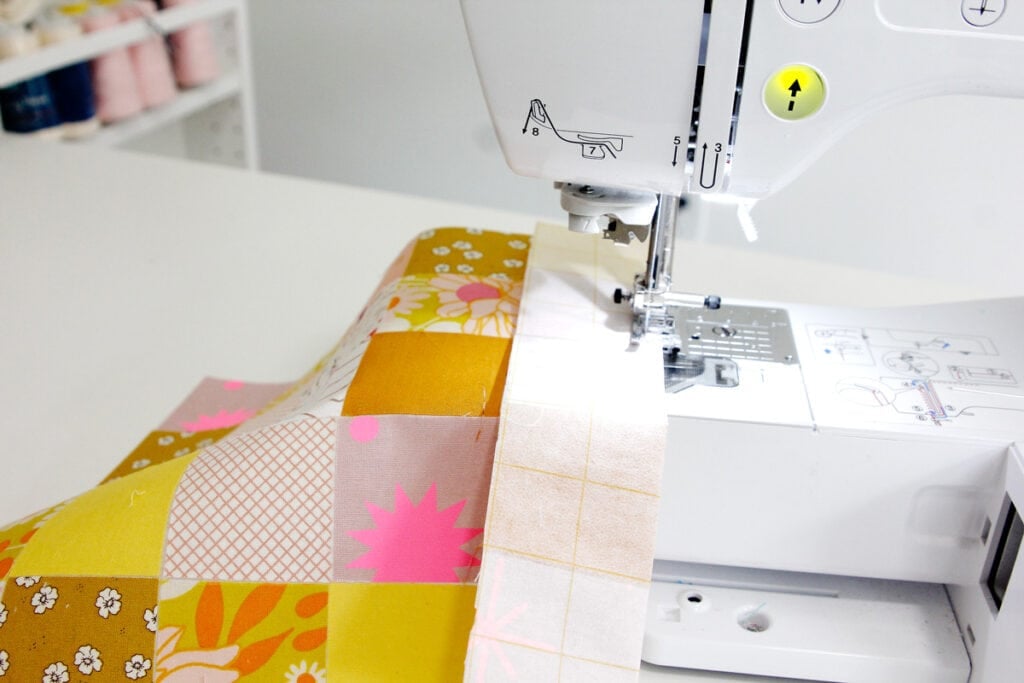
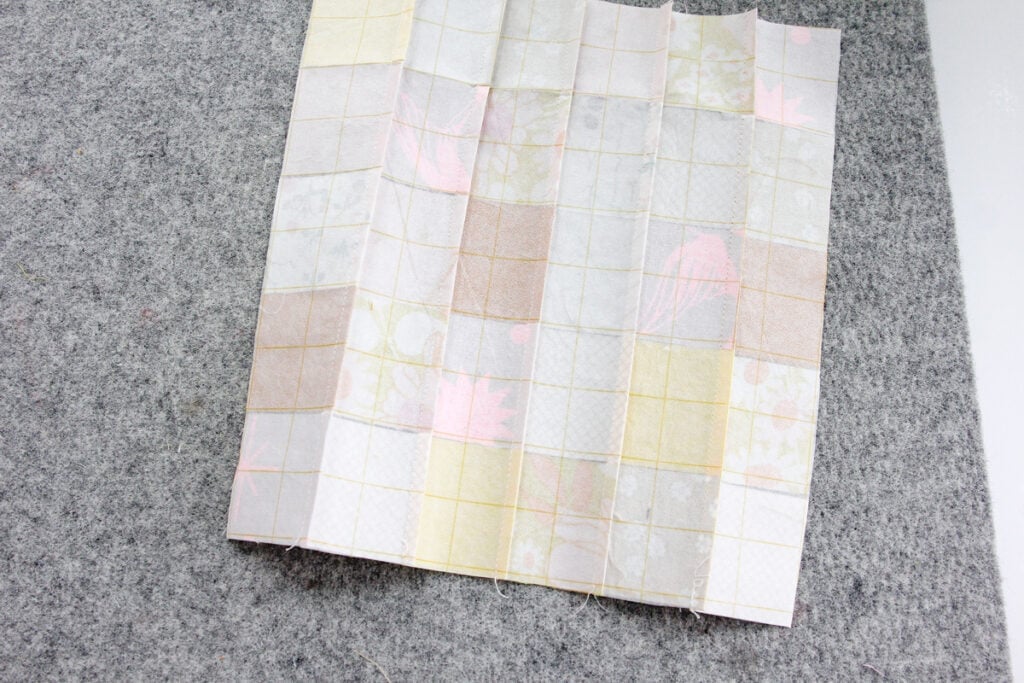
Repeat for all rows then press seam allowances to one side. Then repeat with the seams going in the other direction.
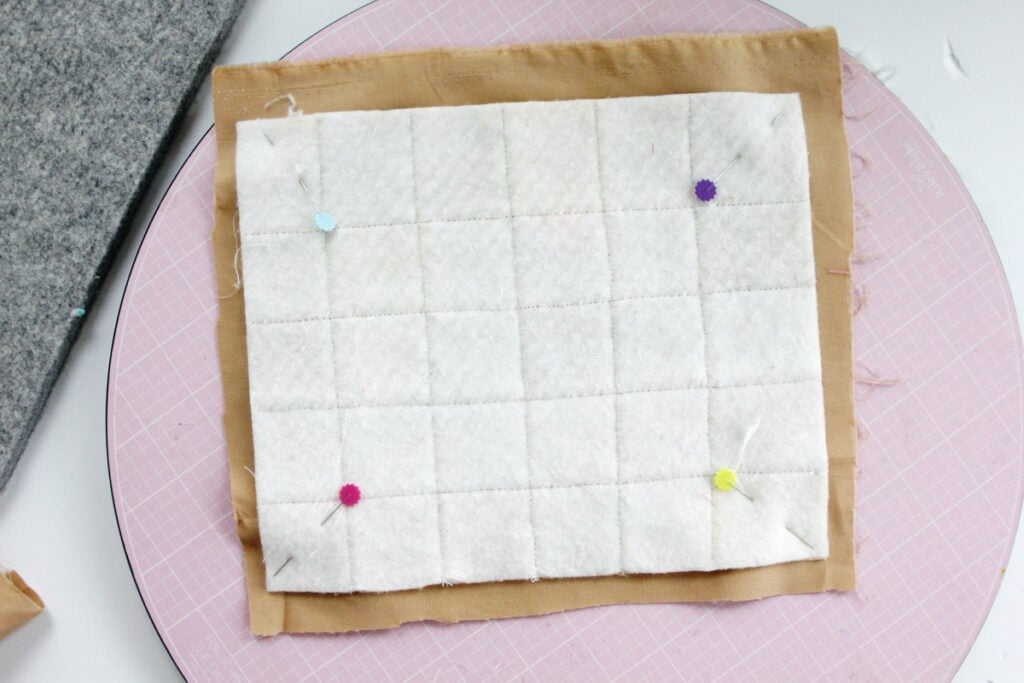
Spray baste the panel to a piece of quilt batting.
Topstitch the panel to the batting by sewing 1/4″ on the sides of the seams.
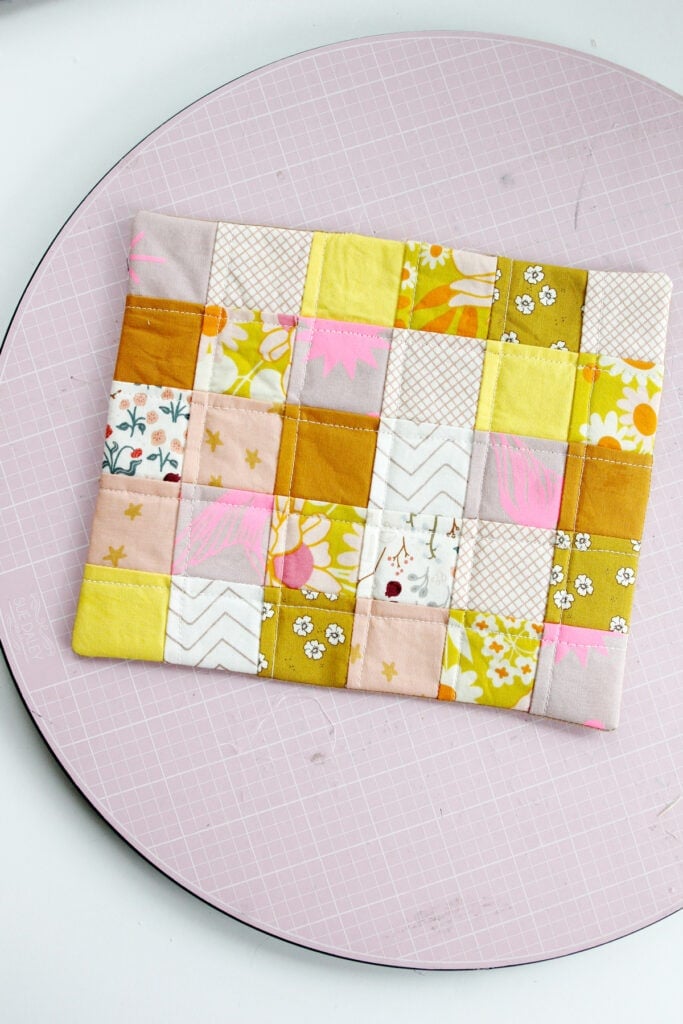
Pin the panel face down on a larger scrap of fabric. Sew around 1/4″ from the edges, leaving an opening about 2-3″ on one side. Trim off the excess fabric, then clip the corners and trim seam allowance before turning.
Turn right side out and press well, focusing on the opening. Then topstitch 1/8″ from the edges to finish and close the opening.
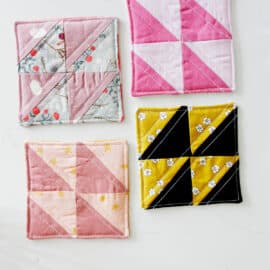
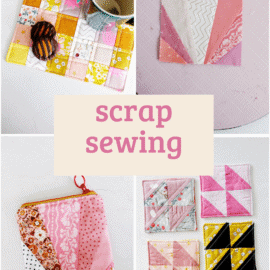
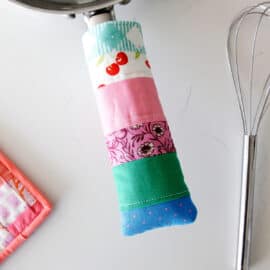
More Fun Kitchen Sewing Tutorials
If you like this mug rug tutorial, you might like these, too!


Leave a Comment