This post, Sew a Pocket Advent Calendar, is sponsored by Cricut!
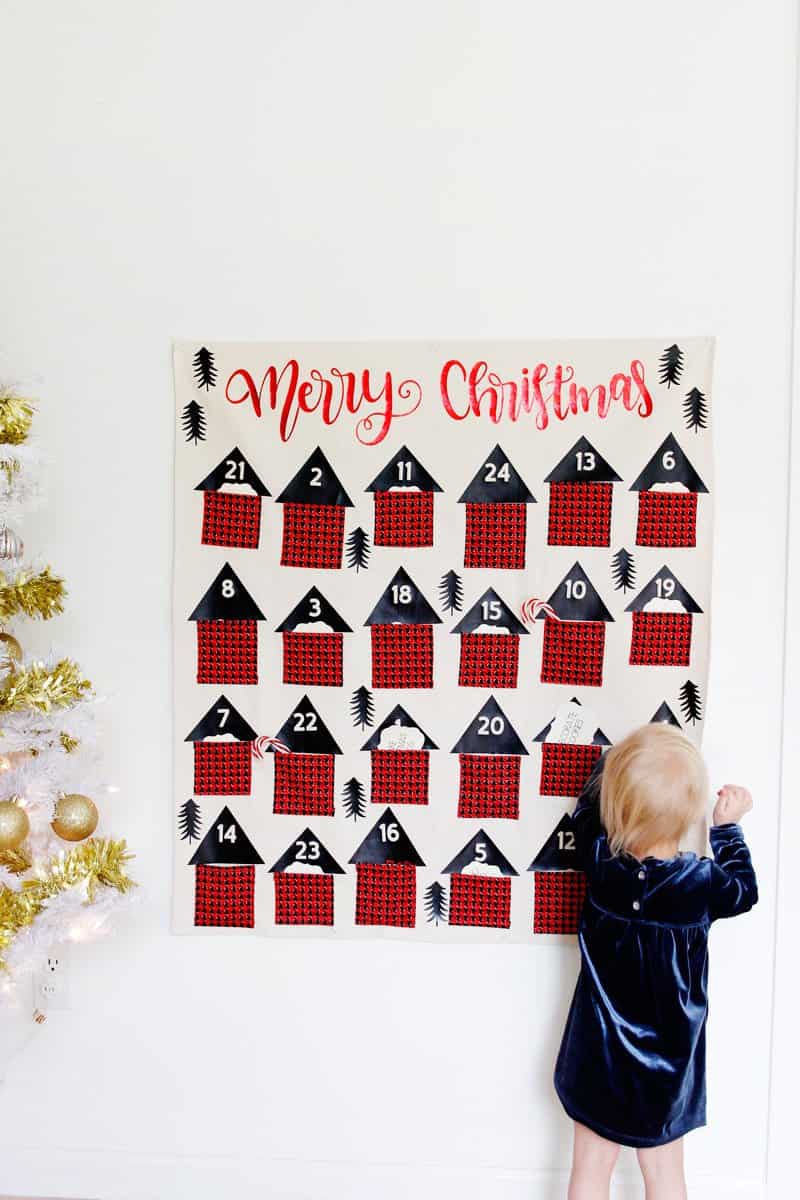
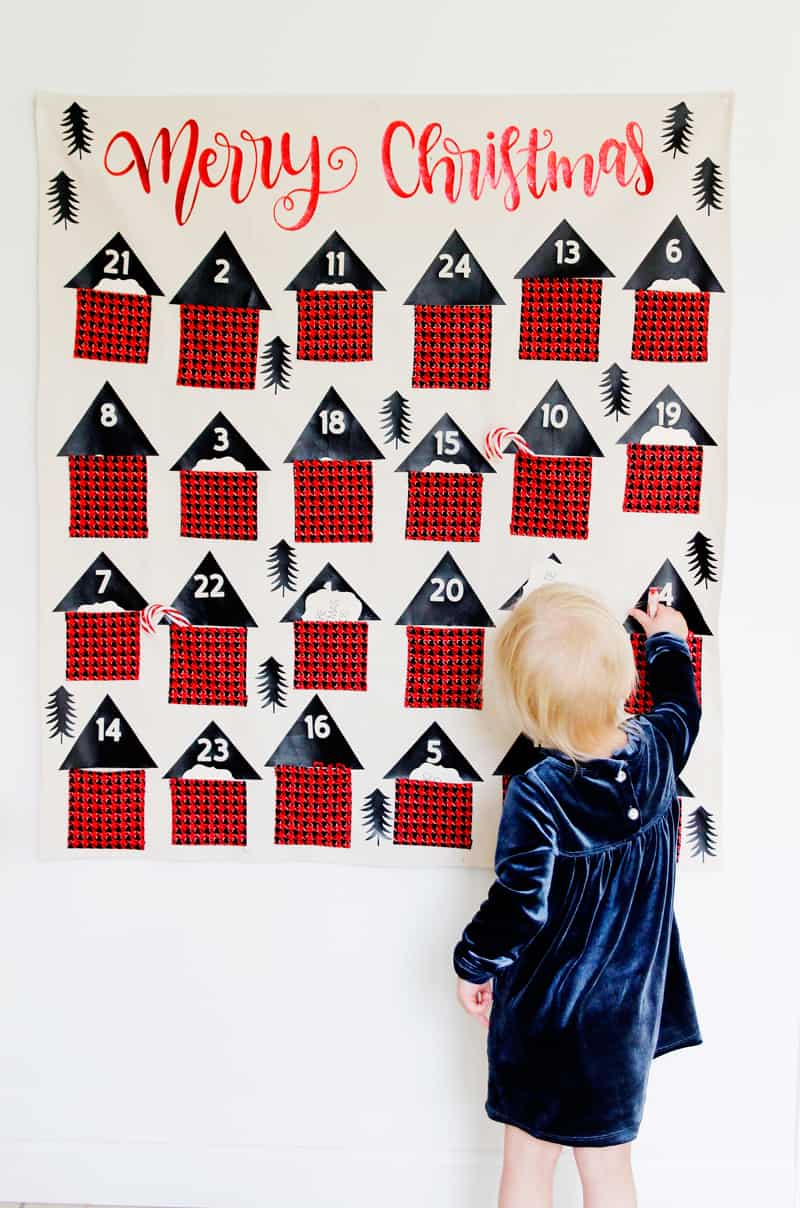
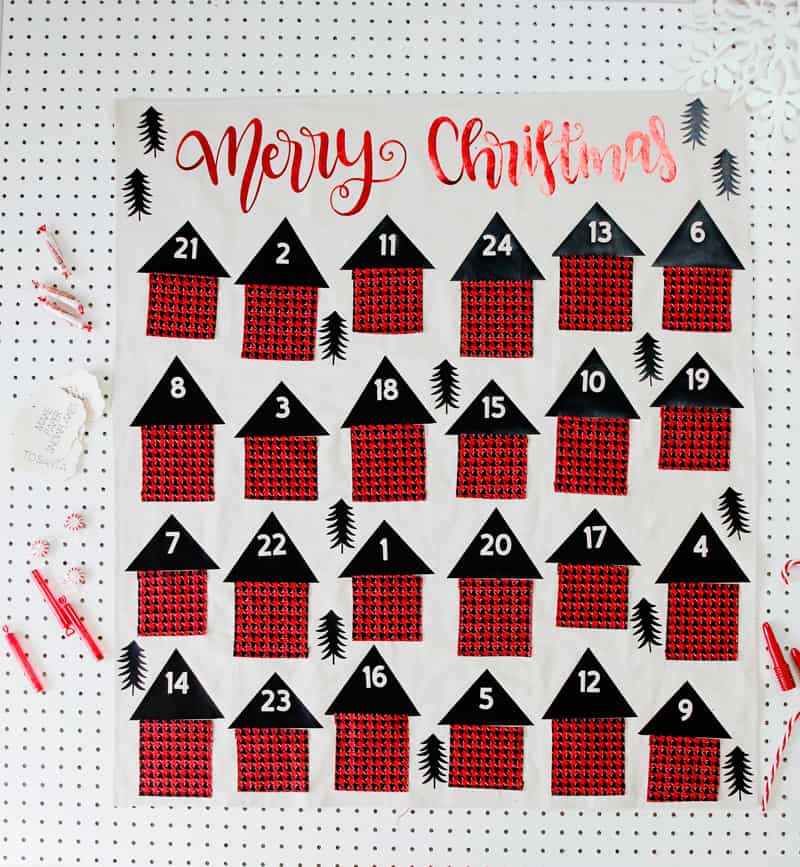
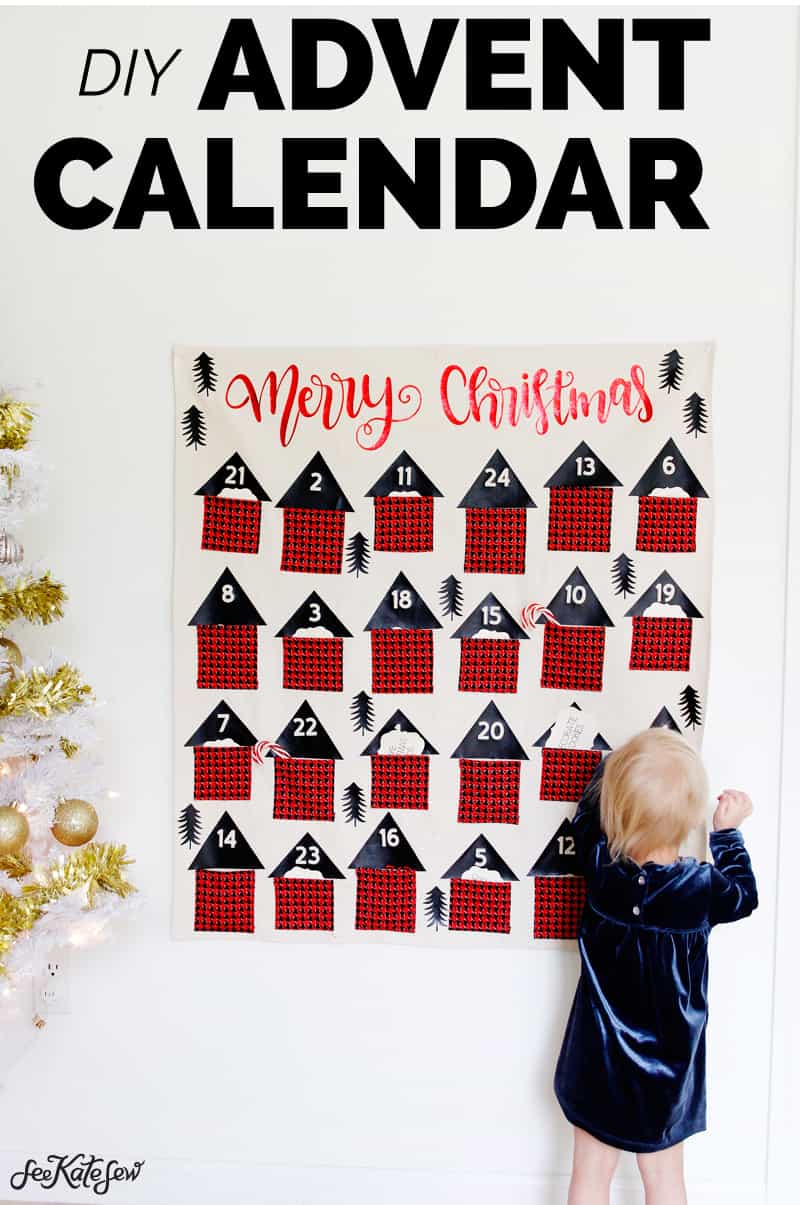
I always intend on sewing an advent calendar with pockets for prizes and things but December always creeps up on me! So I’m really excited that I got one made this year and I am so excited to use it! I already stuffed it full of prizes and activities to countdown to Christmas! This pocket advent calendar is covered in cozy little houses with numbered roofs! Each house is made of fabric with an iron-on roof that has a number cut out. I also used Cricut iron-on vinyl to decorate the calendar with little trees to make it look like houses or cabins in the woods. The houses are made of cotton fabric from my fabric line, Kiss Me Kate! The Cricut Maker actually cut all the fabric out for me, too, which made the project fast and mindless! The background fabric is canvas and I used red/black houndstooth for the houses. I wanted a modern and bold color palette so I chose to use red, canvas and black! It’s a big calendar, a full yard of fabric or 3 feet by a little more than three feet so it makes a statement as Christmas home decor, too!
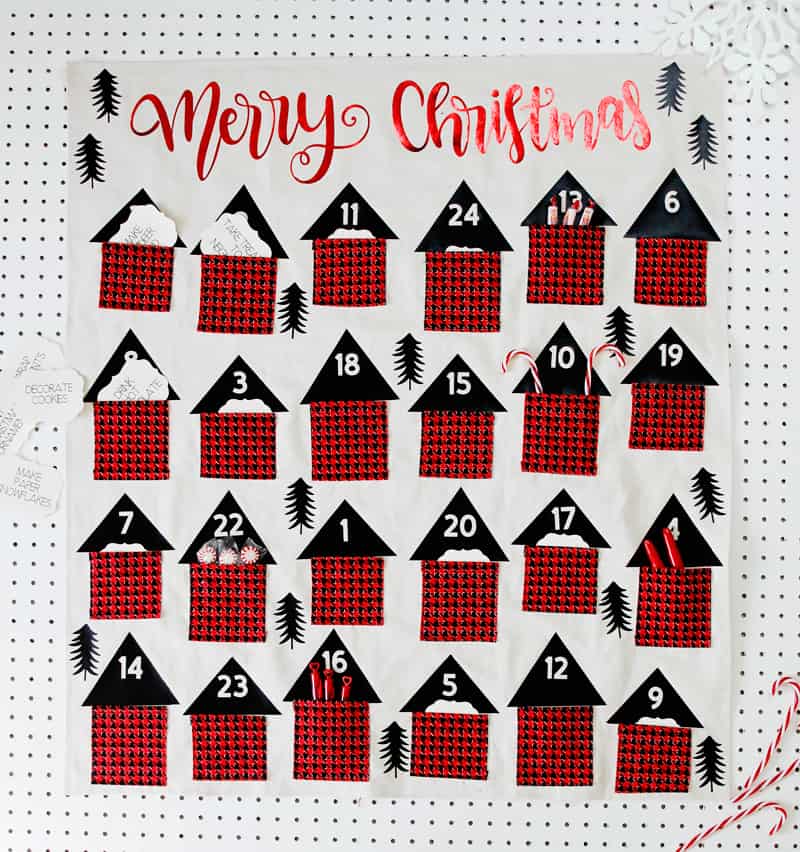
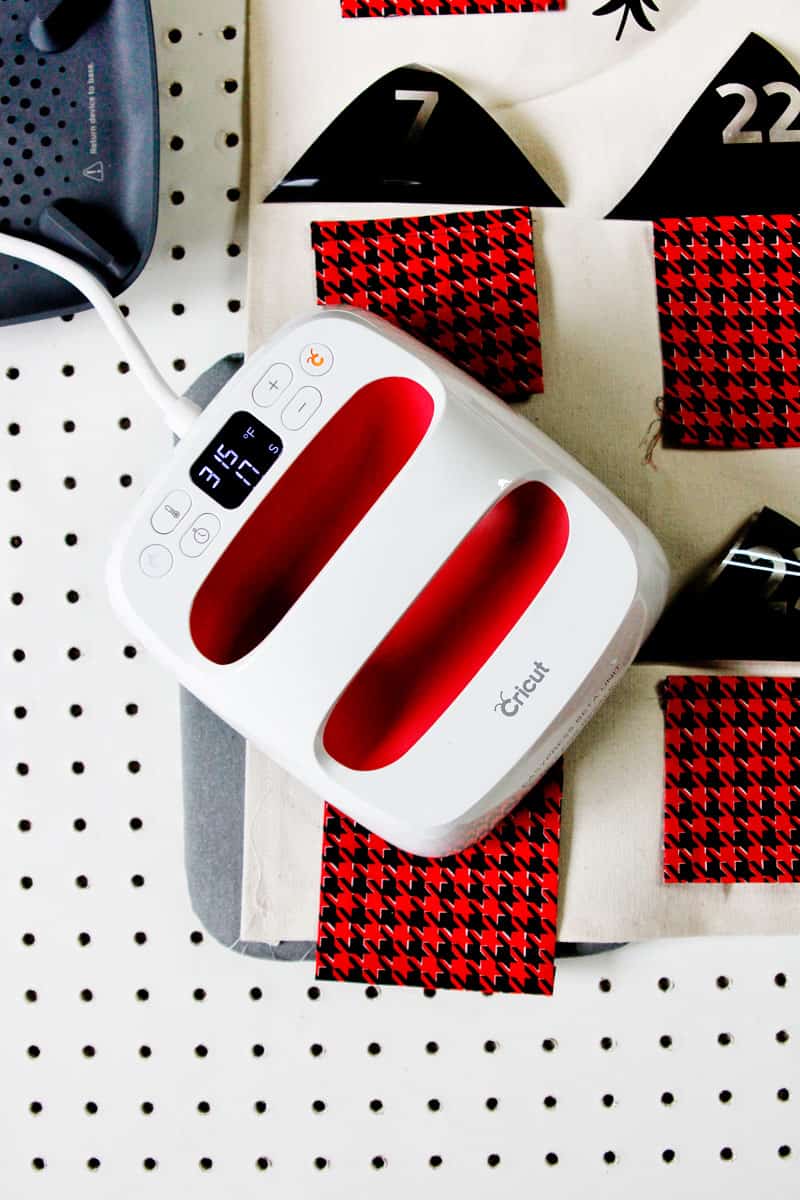
All of the shapes are preloaded in Design Space so anyone can make this! I used the EasyPress 2 to iron-on all the designs! The new EasyPress 2 comes in 3 different sizes – including this little one at 6″ by 7″. I used the smallest since all of the designs I applied to the advent calendar are little. It was super easy to maneuver such a big project with a little heat press! It helped me get the placement just right. I wrote about using the larger EasyPress 2 (the 12″ by 10″ one) to design fabric here and love that one too!
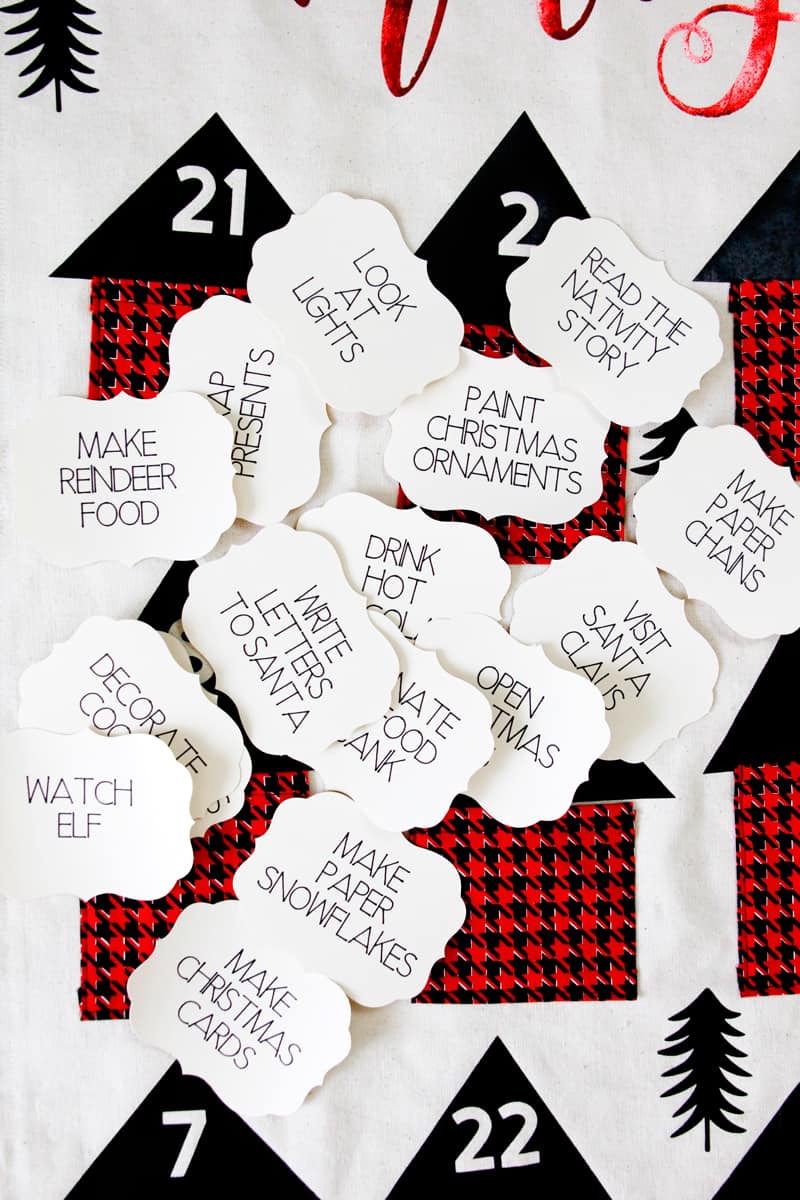
The pockets on this calendar can be used to hold little prizes or advent activities. I used the Cricut Maker to cut cards for the advent activities, things like “Drink hot chocolate” and “Look at lights”. The words are written by the Maker, too, with a black fine point pen.
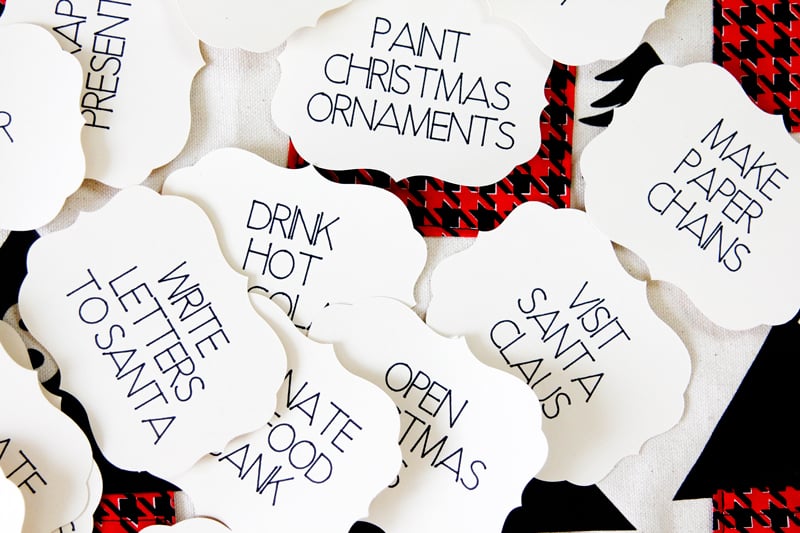
Pocket Advent Calendar Materials
–Cricut Maker
–Cricut EasyPress2 6″ by 7″
–Cricut BritePad
–1 yard canvas
–1 yard offbeat houndstooth
–3 rolls black iron-on vinyl
–red foil iron-on vinyl
–Merry Christmas Pocket Advent Project in Design Space
advent activity materials//
–Cricut Cardstock Cream
–Fine Point Pen Set
–Designs in Design Space
Pocket Advent Calendar Sewing Instructions
Cut Fabric + Vinyl
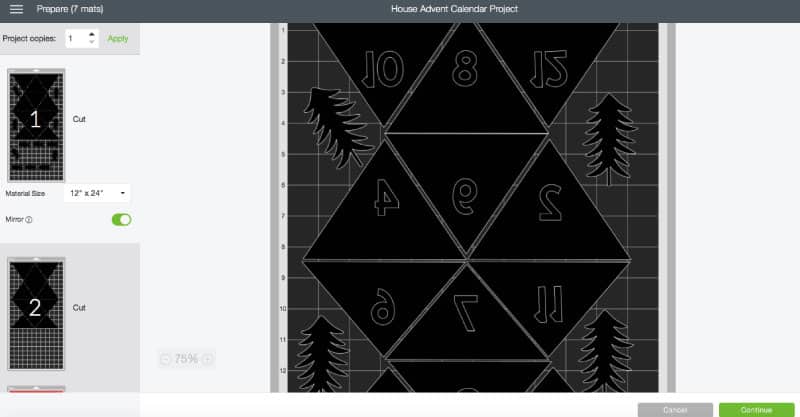
When you click on the project it will take you to the cut screen where all the mats are ready to cut! Be sure to click MIRROR ON for the black house tops and the red Merry Christmas words.
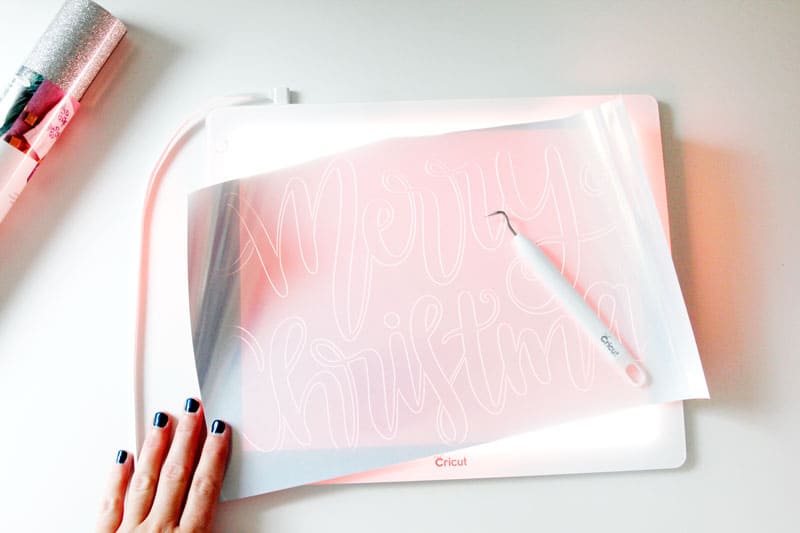
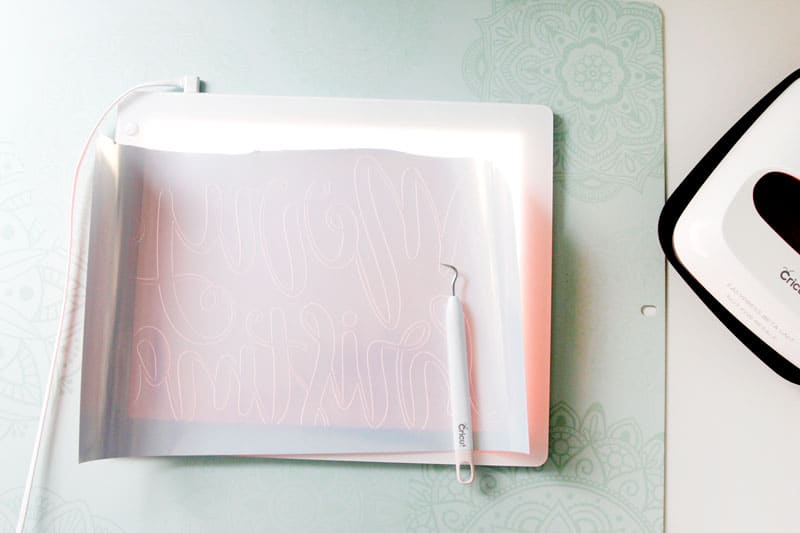
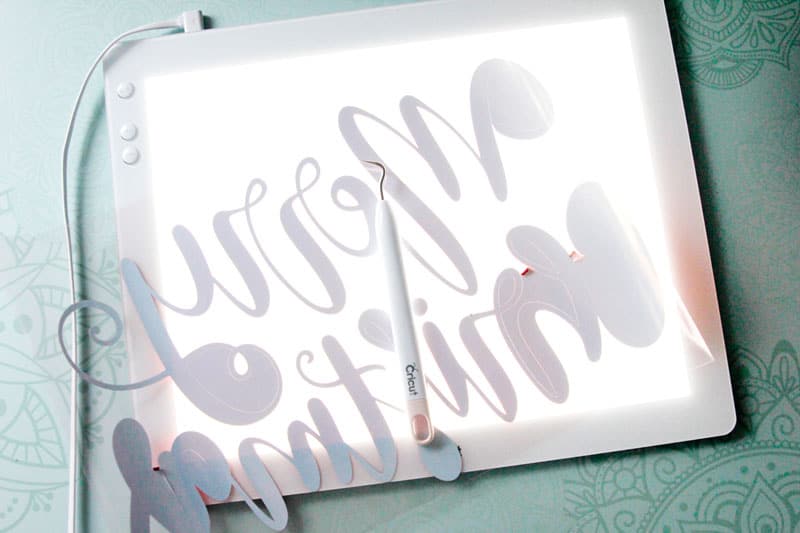
Use the BritePad to help you weed the vinyl out. This is super helpful for weeding tricky vinyl like black and glitter. It’s also great for tracing!

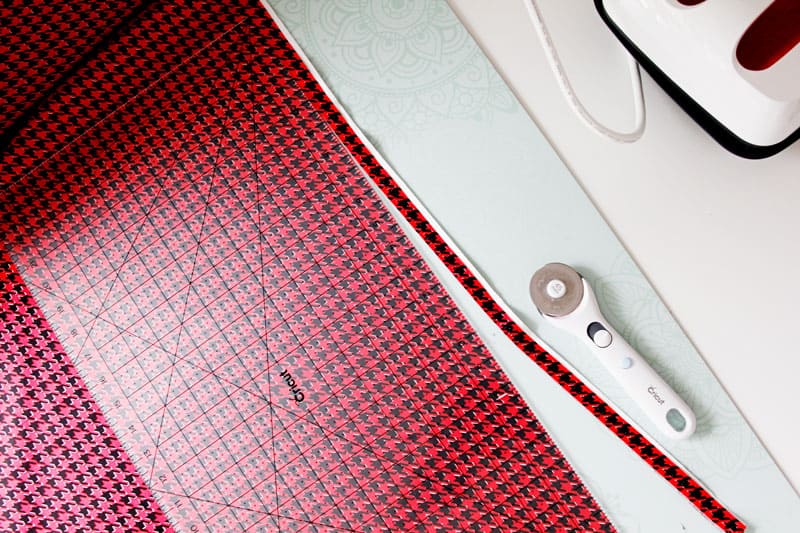
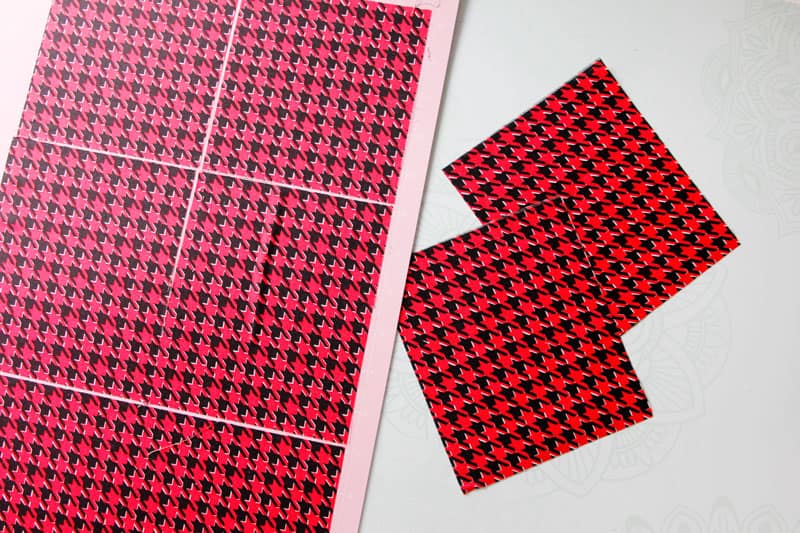
Cut the fabric down to size using the Cricut Rotary Cutting Set.
The acrylic ruler in the set is the exact size of the large FabricGrip mat – 12″ by 24″ – so you just have to trace it with the rotary cutter and it’s ready to go into the machine.
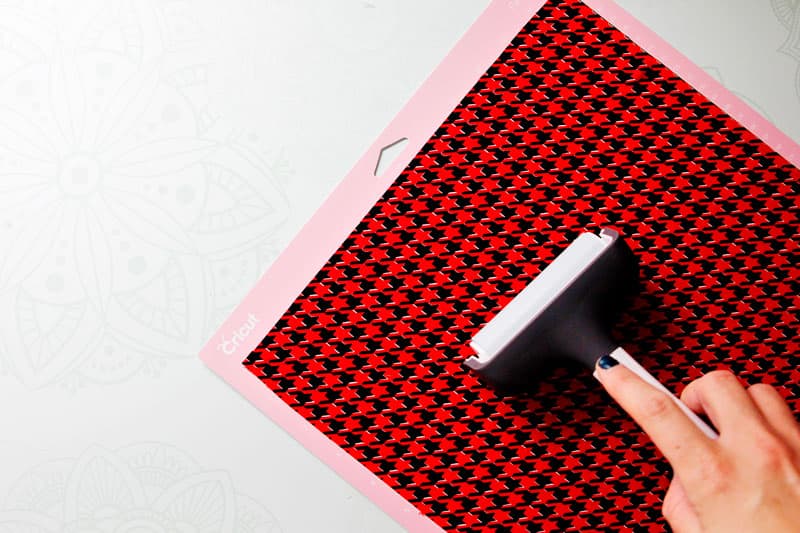
Use your hands and/or the braying tool to adhere the fabric to the mat.
The red mats are the fabric ones, so be sure to load fabric when cutting these mats.
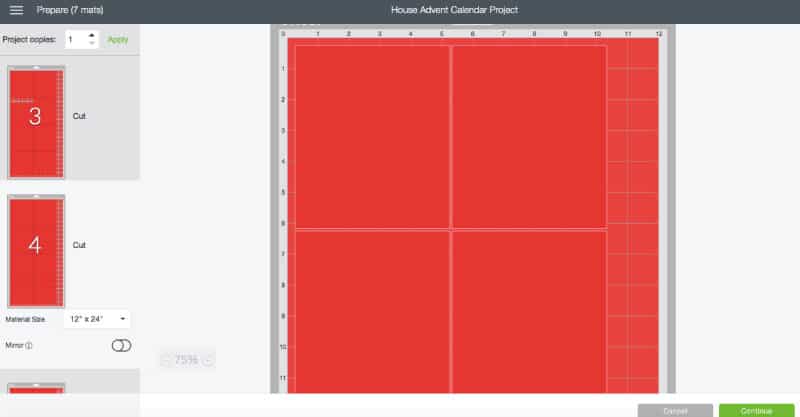
Send it through the machine with the Rotary Blade.


You will cut 12 of each of the houses to get 24 total rectangles.
Prep fabric
Cut a piece of fabric 36″ wide by 44″ tall. Use fray check on all the edges to keep the edges from fraying. Fold under 1/2″ all the way around and press well. Sew.
SEW HOUSES
Fold under 1/2″ around all sides of the house pieces. Press. Press under another 1/2″ at the top to create a nice finished edge. Topstitch at 3/8″ from the top edge. Repeat with all 24 houses and put in stacks by size.
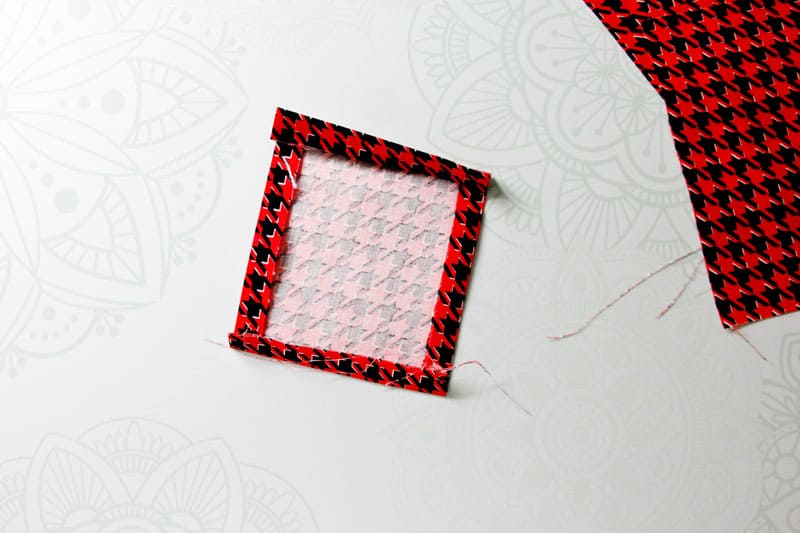
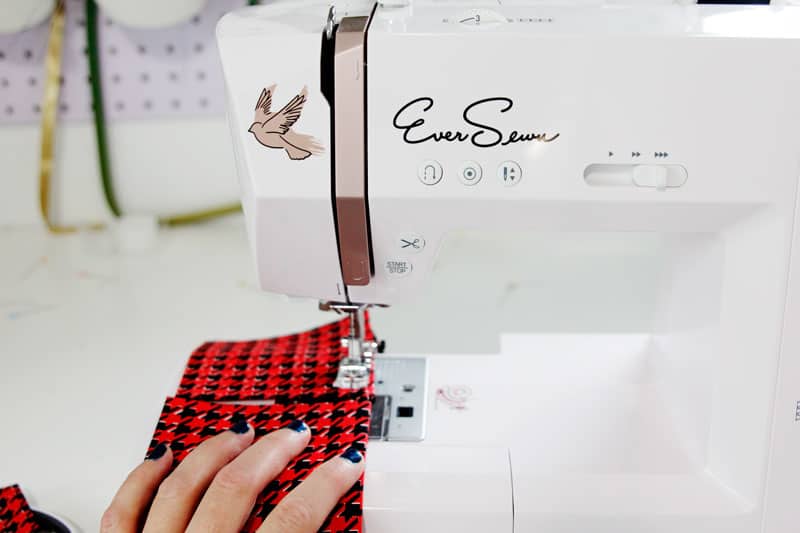
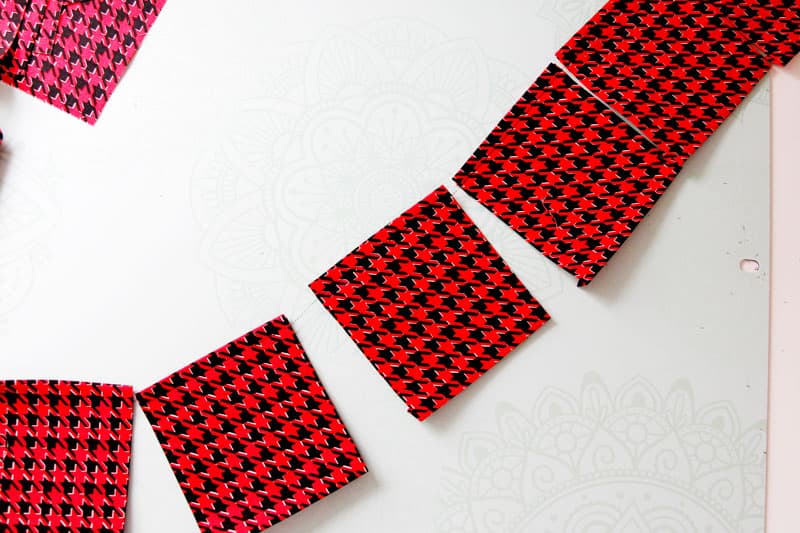
You can sew them all together in a chain to make this step faster. Once you’re finished sewing, clip the threads to separate.
Fuse Vinyl
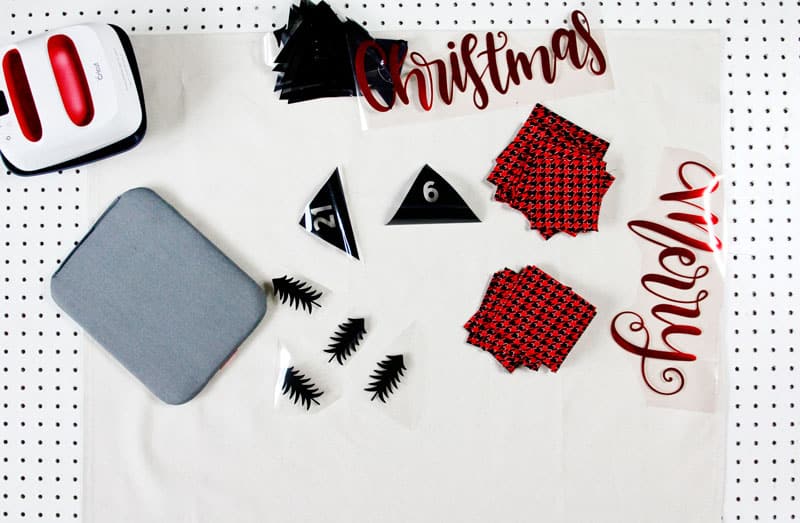
Now that your fabric is ready, it’s time to assemble! Lay out the houses in 4 rows, 6 to a row, alternating between the small and tall houses. The odd numbered rooftops go with the smaller houses and the even numbered rooftops go with the taller houses. The order of the numbers doesn’t matter so have fun mixing it up.
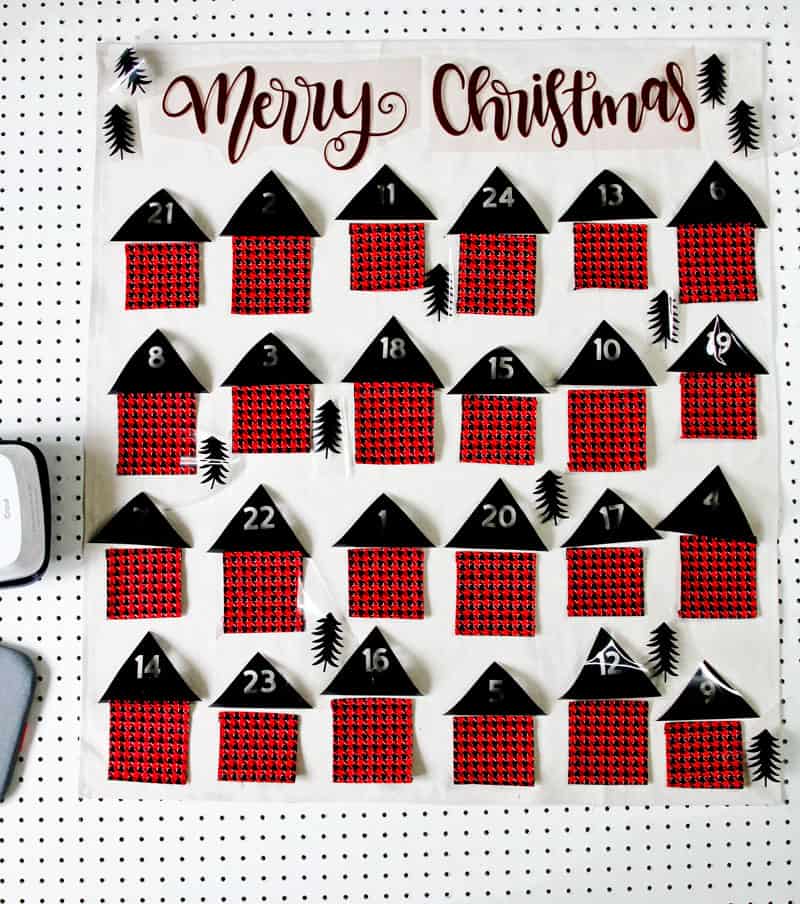
Lay the Merry and Christmas words at the top. Lay the trees wherever you want to make a little forest. When you have your placement right, heat up the EasyPress!
Set the EasyPress 2 to 340 degrees and fuse each roof and tree for 30 seconds (and then 5 seconds on the back). Fuse all the rooftops, trees and words. Keep the houses in place so you make sure not to fuse the rooftops too close together.
After the vinyl is all in place, pin the houses to the calendar so they stay put while you sew. .
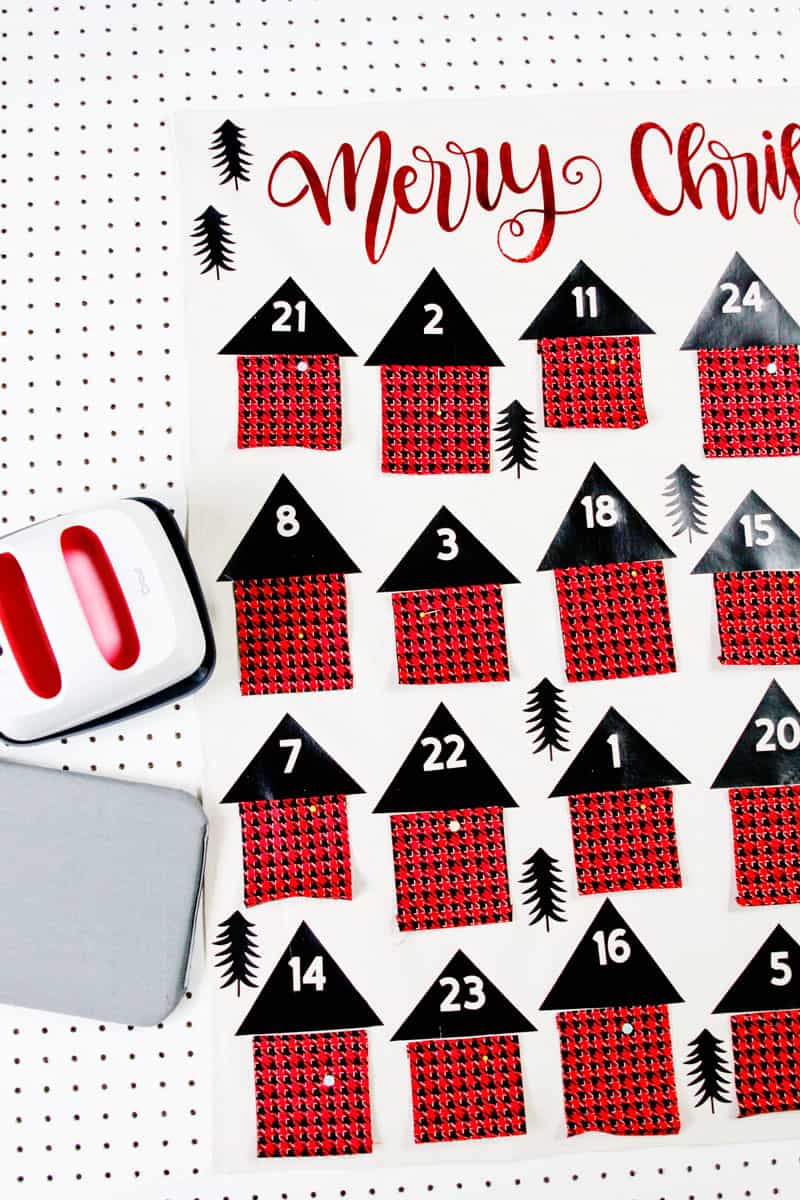
Sew the houses to the calendar by sewing the sides and bottom, backstitching at the tops of the houses. This will create the pocket for all your goodies!
SaveSave
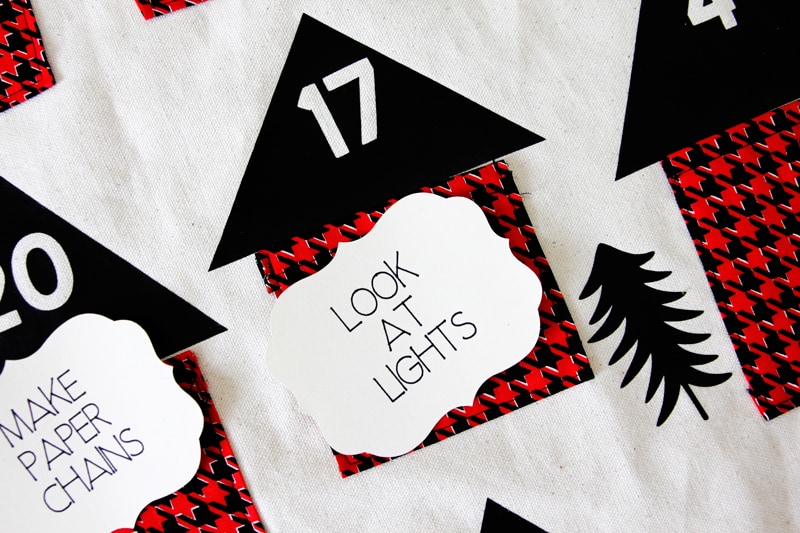
Slip the activity cards in the pockets and maybe.a few goodies and you’re ready for the big countdown!
This is a sponsored conversation written by me on behalf of Cricut. The opinions and text are all mine.
Comments submitted may be displayed on other websites owned by the sponsoring brand.





I can’t find the project in design space and the link doesn’t take me to the project. HELP!!!
Oh no! I think I have it fixed, try this link https://design.cricut.com/#/landing/user-project/112732061
Well, rats. The Merry Christmas project won’t load in Design Space. It Pops up for just a second and disappears before you can even click on it.
Try this new link! https://design.cricut.com/#/landing/user-project/112732061
I clicked on the link for the project in design space, and it says it’s set to private.
Thank you! I updated the project and link, It should work now! https://design.cricut.com/#/landing/user-project/112732061
It still says it’s set to private. :(
Love this project, but I cannot get it to load! I tried both links posted, and they both say the project was saved as private.
What are the dimensions of the rectangles before folding under?
What are the dimensions of the finished square pockets?
The links do not seem to be working. I also am wondering what the house dimensions are.
Is there a way to print out a copy of the activity cards? Couldn’t find it on your site.