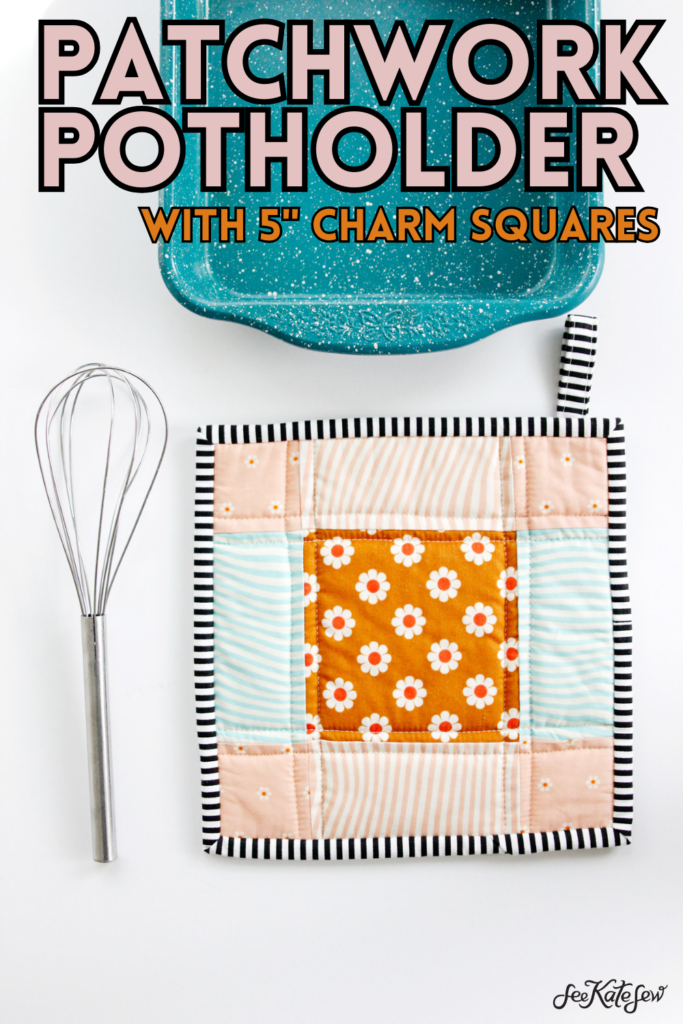
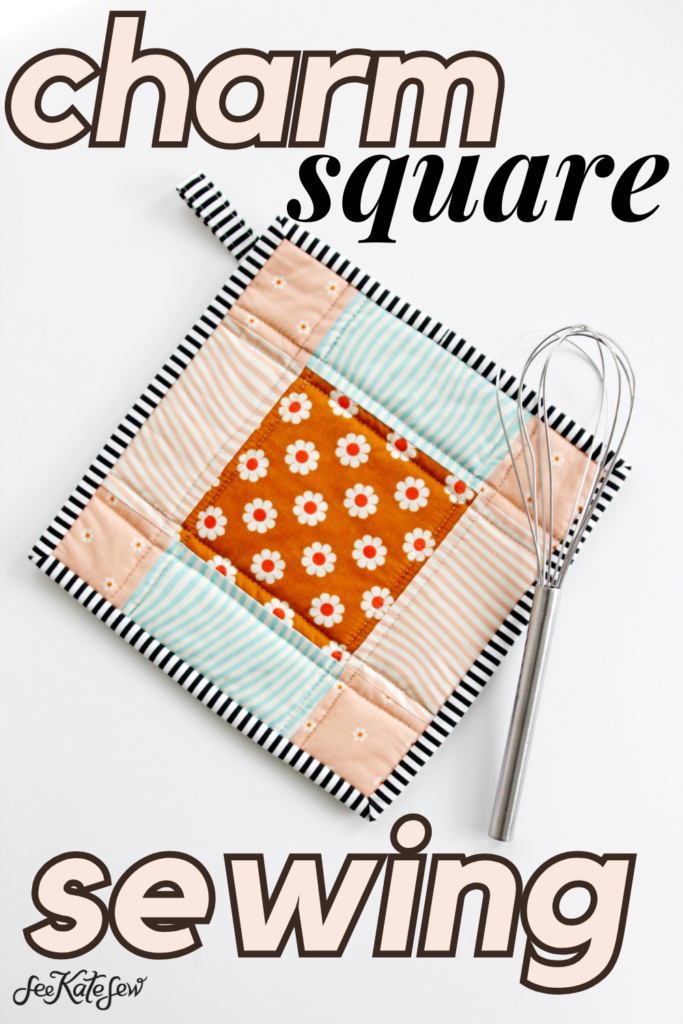
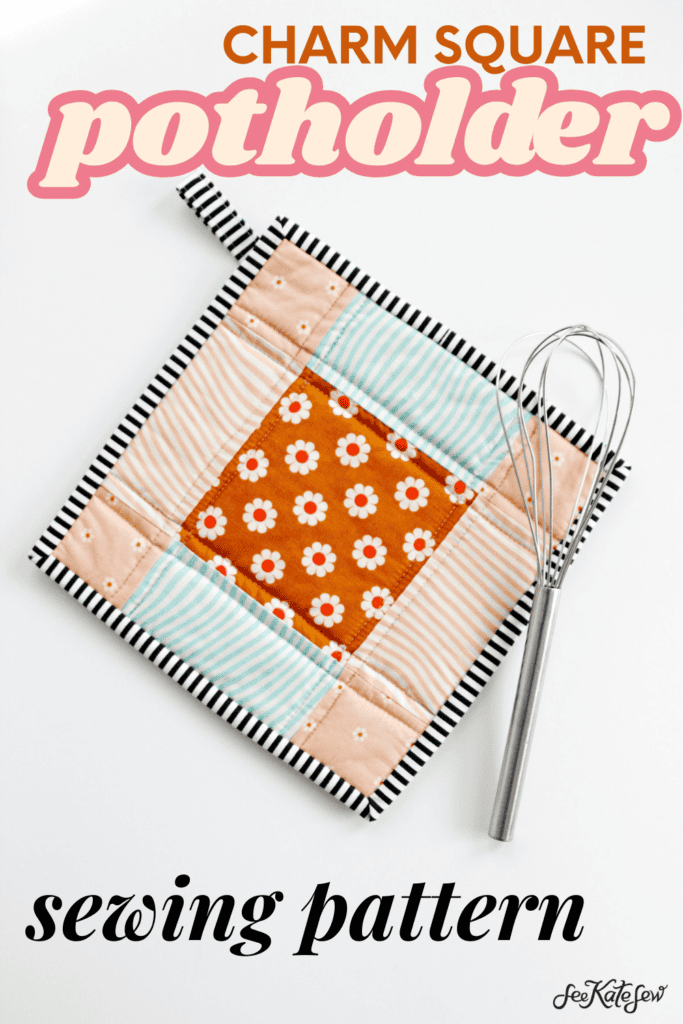
Sew a charm square potholder with this easy sewing pattern. This potholder is so simple and so gorgeous with free templates.
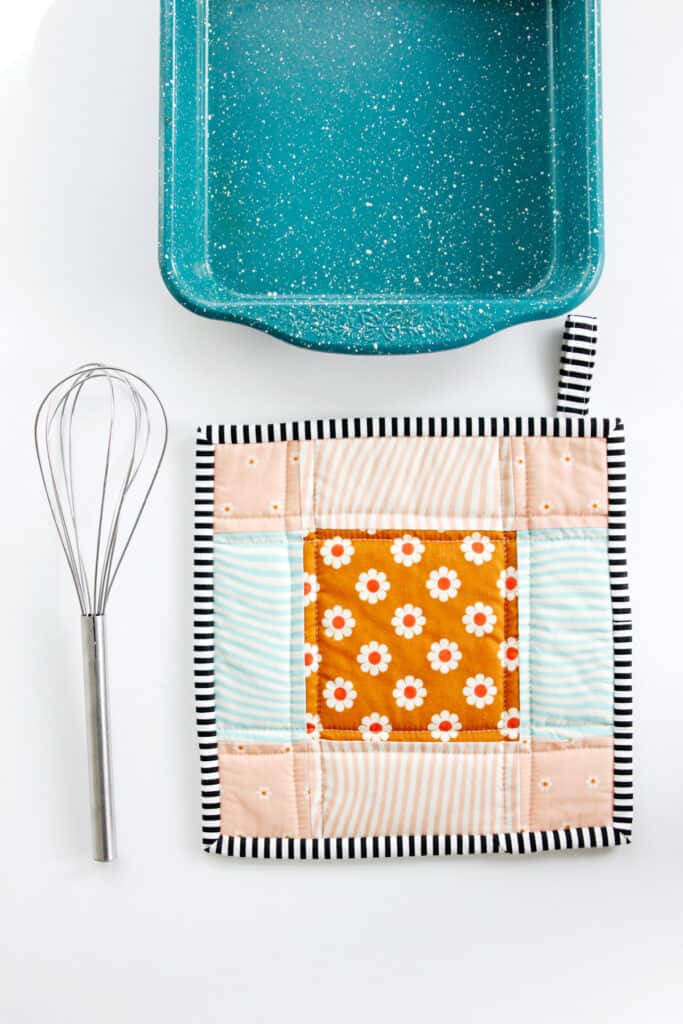
You only need 4 charm squares so it’s a great project for your leftovers!
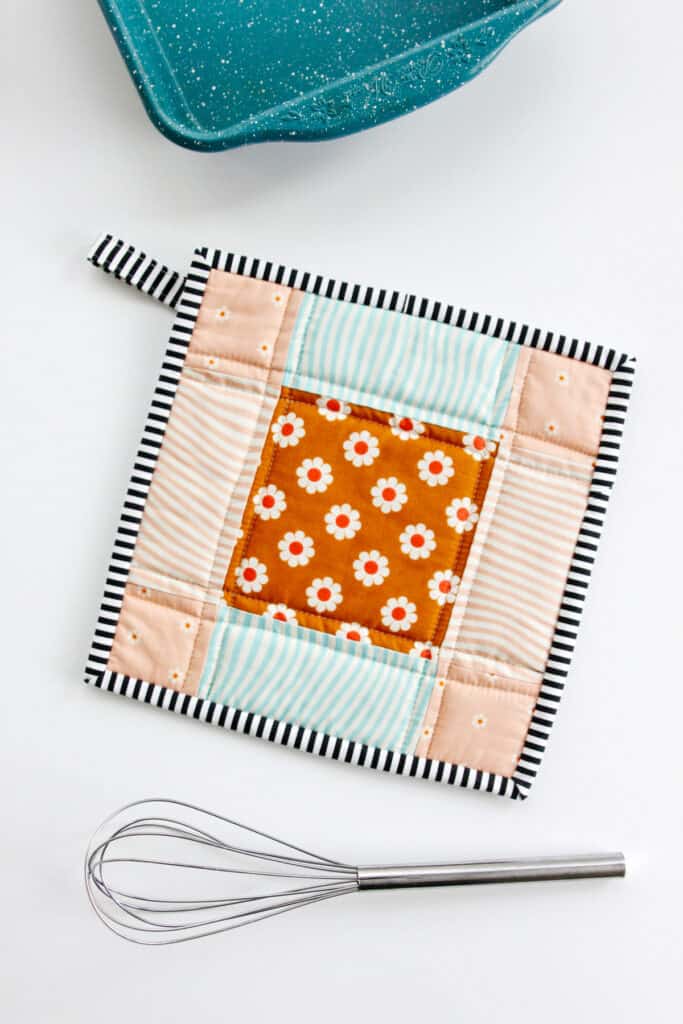
This hot pad is a great size for putting underneath 8″ by 8″ pans, too!
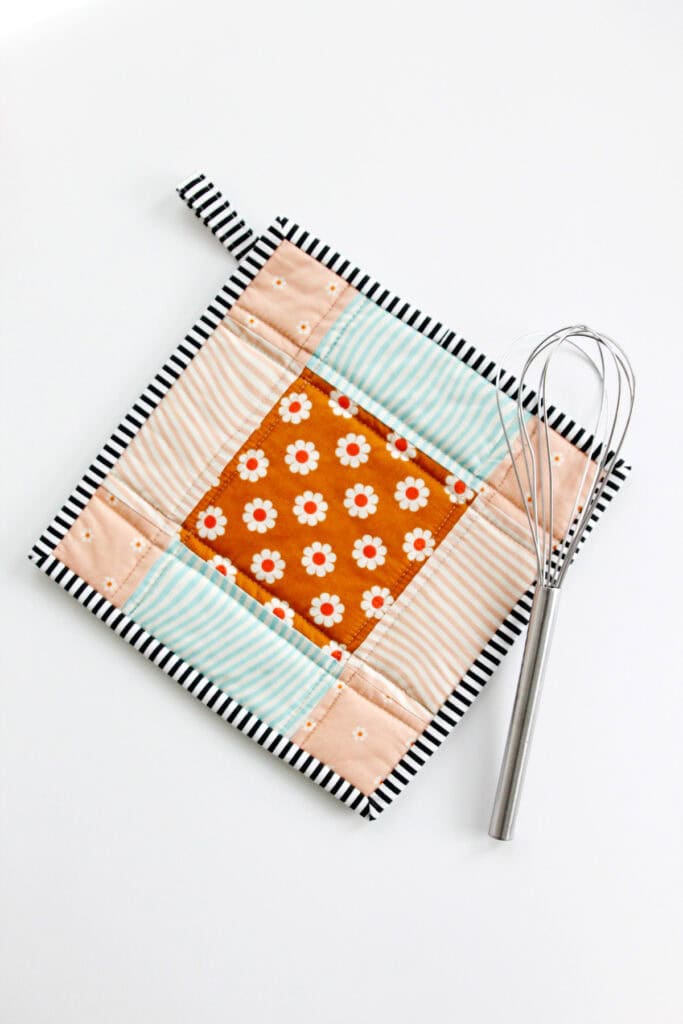
I just love how this turned out and of course I had to bind it with a bold stripe! This pattern also has a loop for hanging and is the perfect hostess gift!
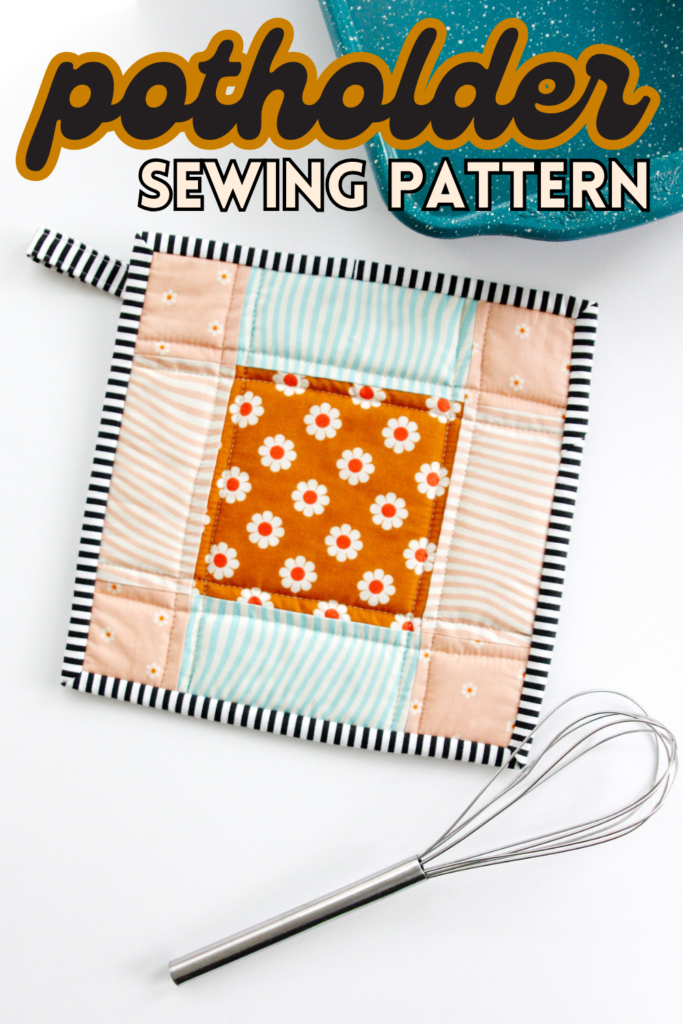
Charm Square Potholder Materials
- 4 charm squares
- Backing fabric
- Batting, 100% cotton needled (affiliate links)
- Binding or bias tape
- Baste spray
Charm squares are precut 5″ squares that are usually sold in a pack of about 42. Pick out 4 charm squares for the top of the potholder! I raided my extra charm square bin for these. You can also cut your own 5″ squares from scraps.
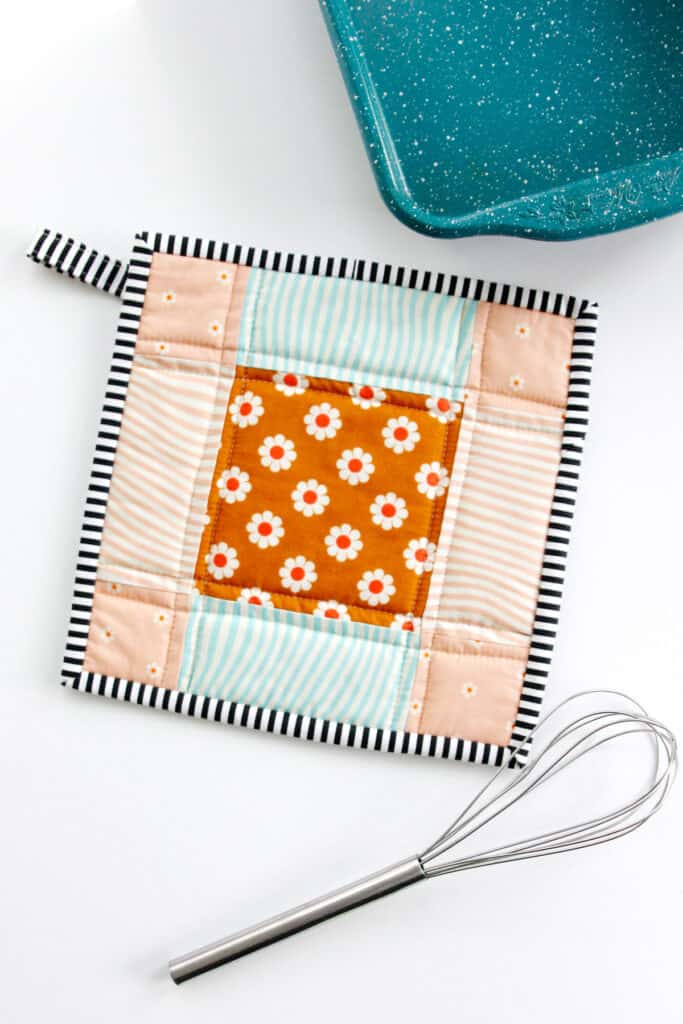
Potholder Template Download
To download the templates for this pattern, click the button below. Enter your email address and you’ll be taken to the download page. These templates will print on 2 pages. Print at 100% or DO NOT SCALE.
How to sew a charm square potholder
Start by choosing 1 charm square for the center of the potholder. Then choose 2 for the sides. The last one will be the corner blocks.
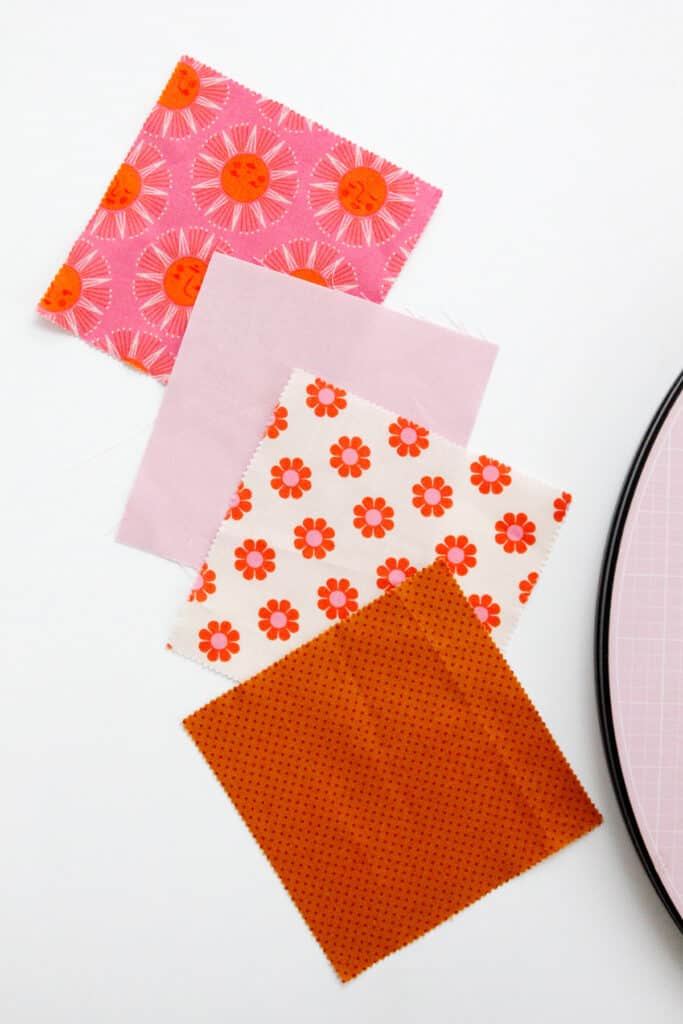
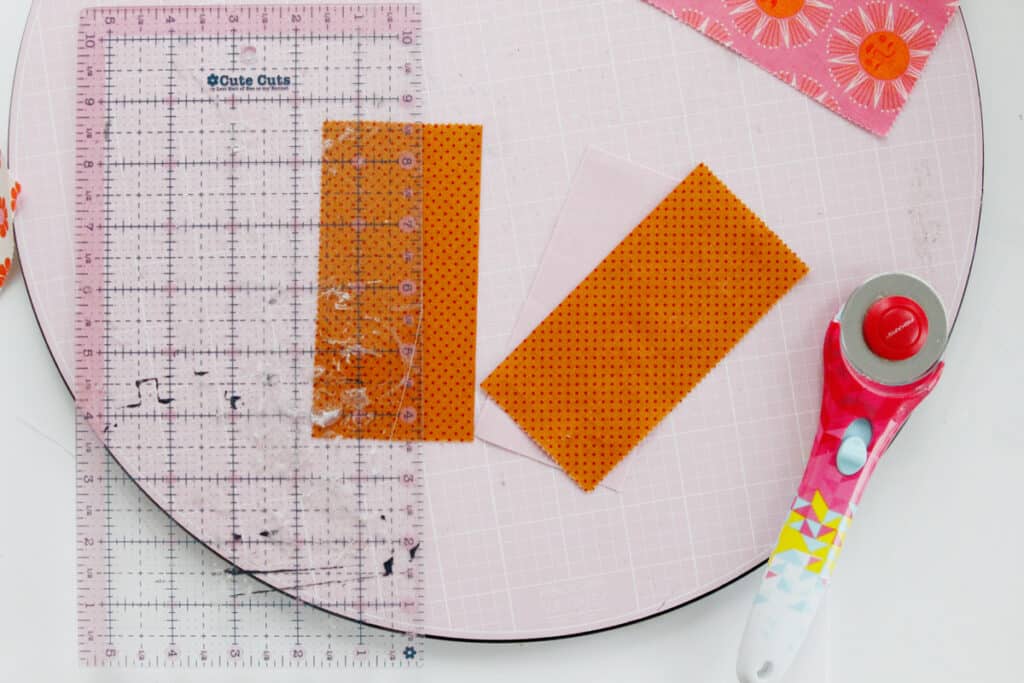
Cut the 2 side squares in half.
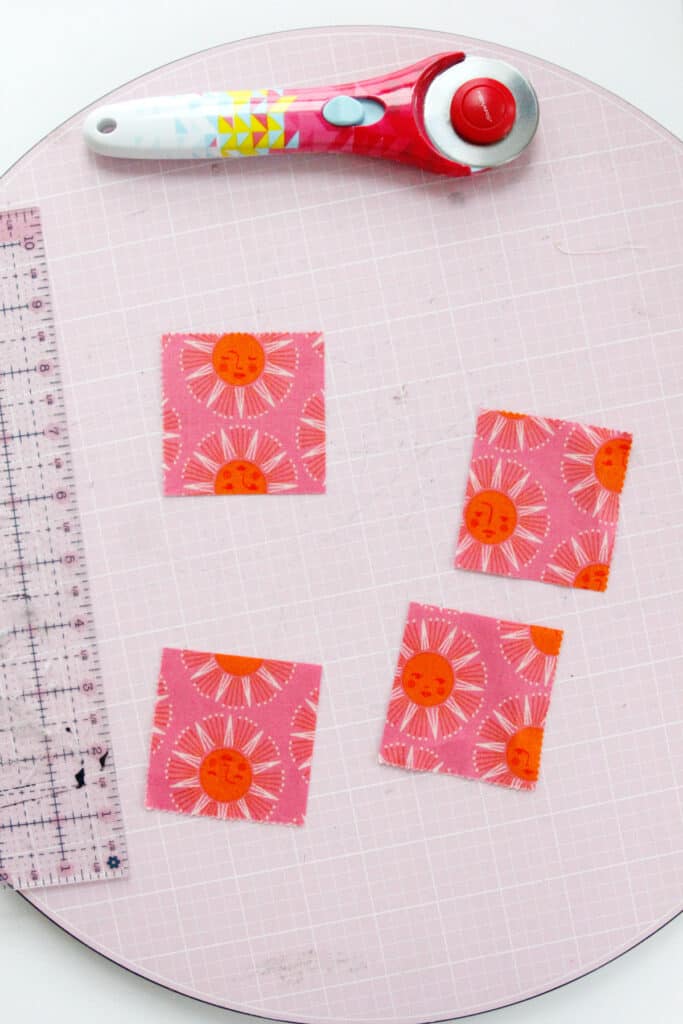
Cut the last square into quarters so you have 4 squares.
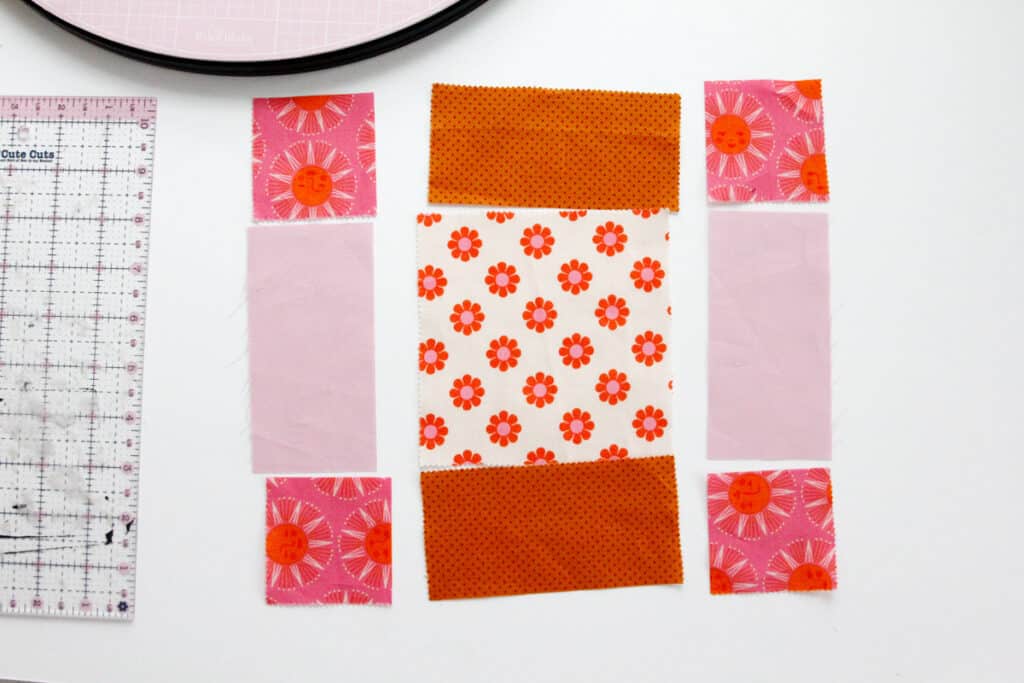
Lay out the patches as shown.mSew together in vertical rows.
Press the seam allowances of the center block out and the side blocks in towards the center.
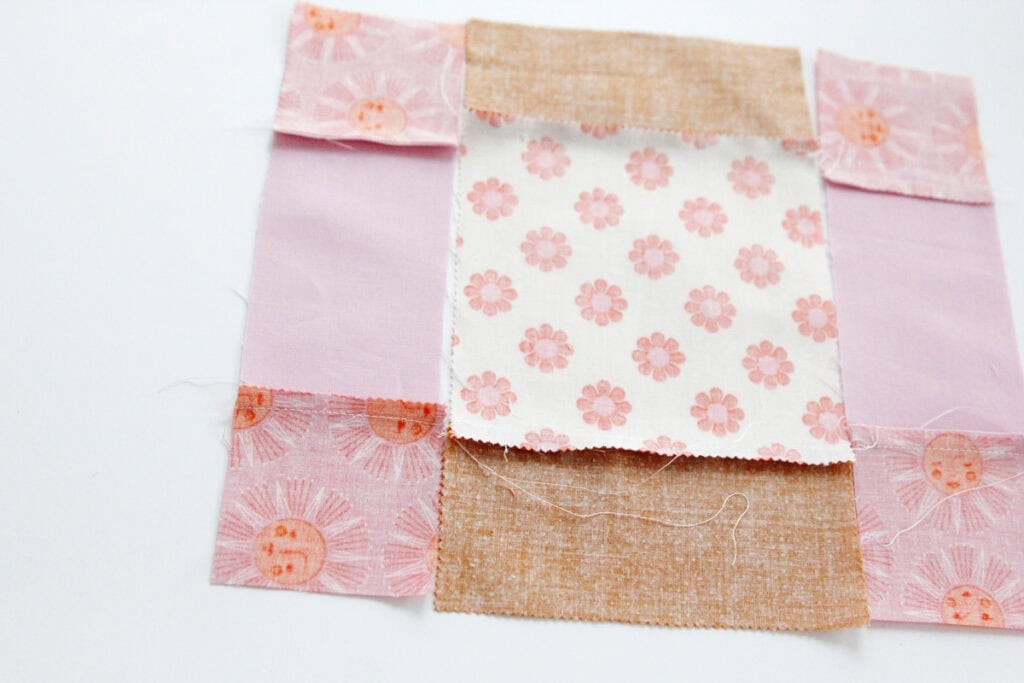
Sew the 3 rows together to finish the top.
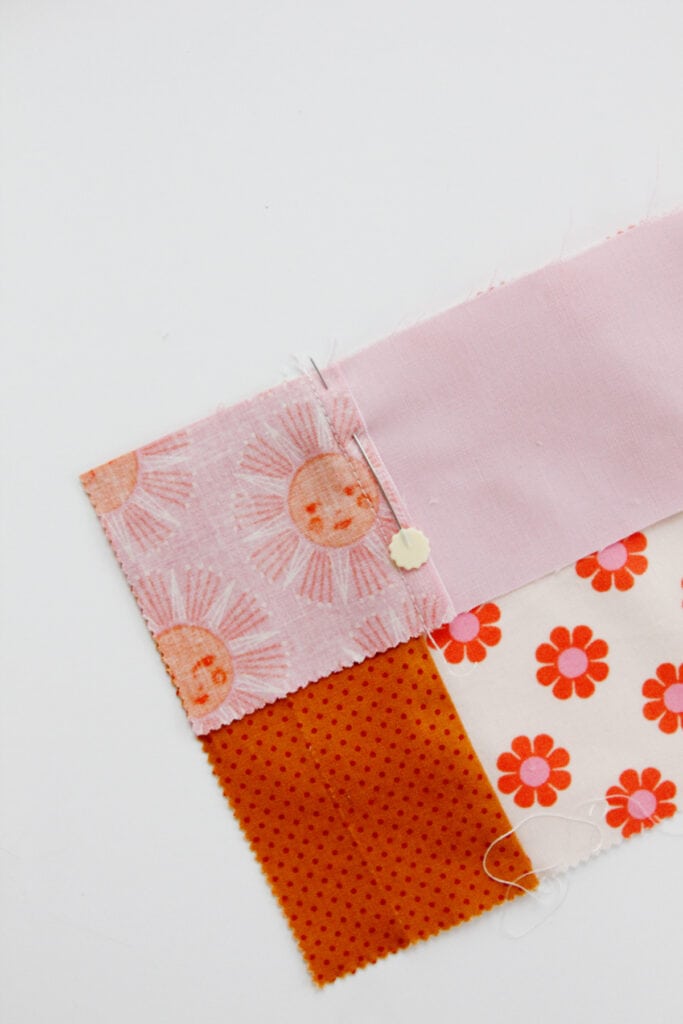
Press.
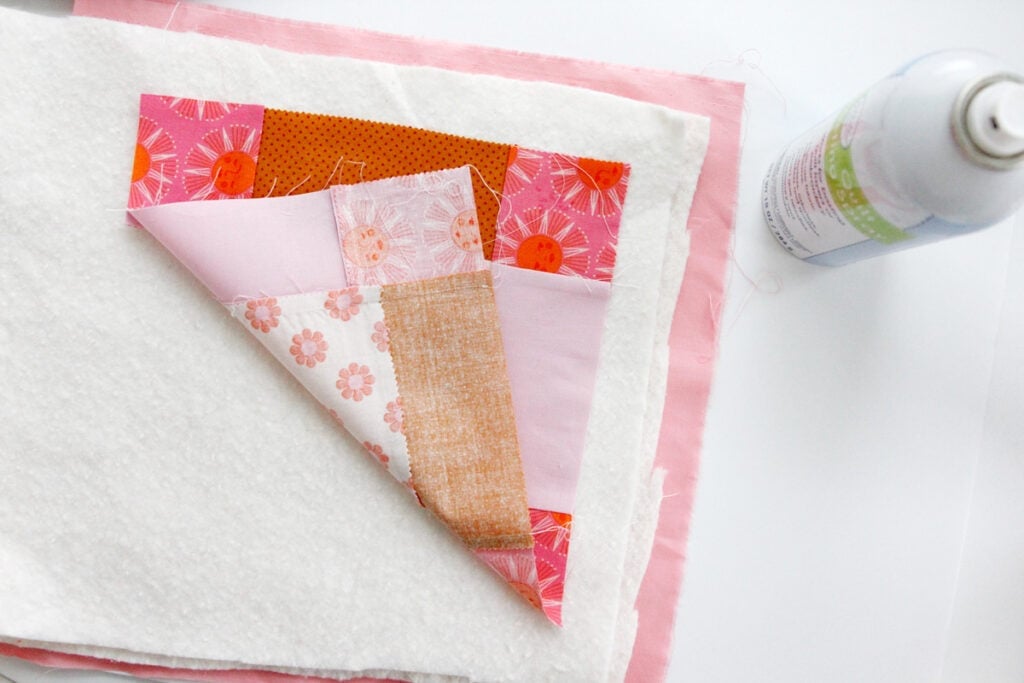
Baste to 2 layers of batting and a layer of backing fabric. Rough cut these so they are larger than the patchwork piece. We’ll trim it later.
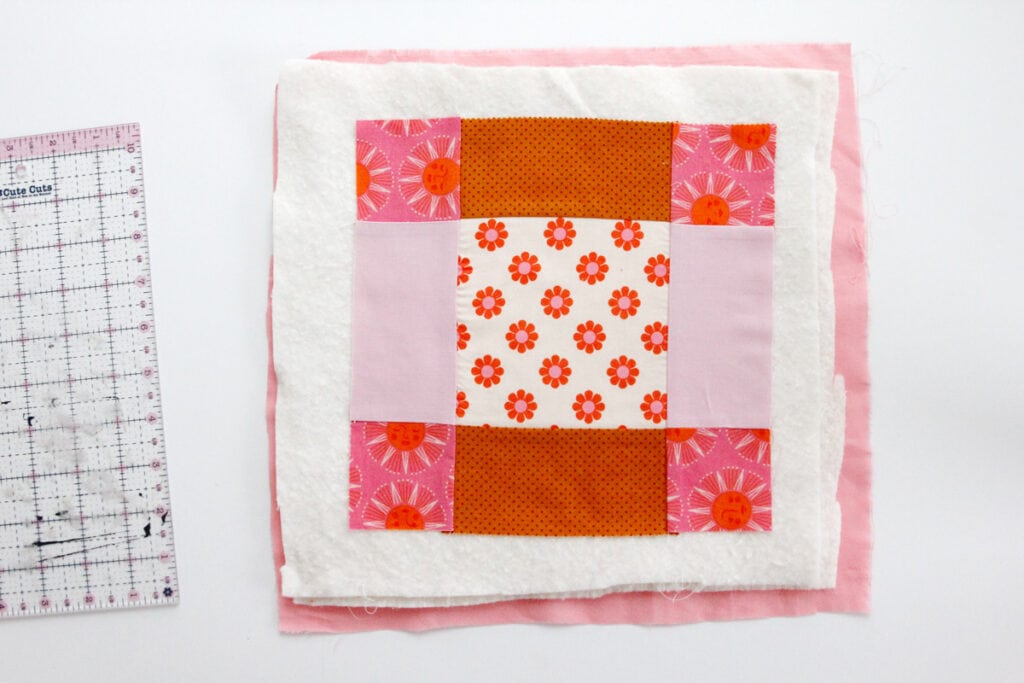
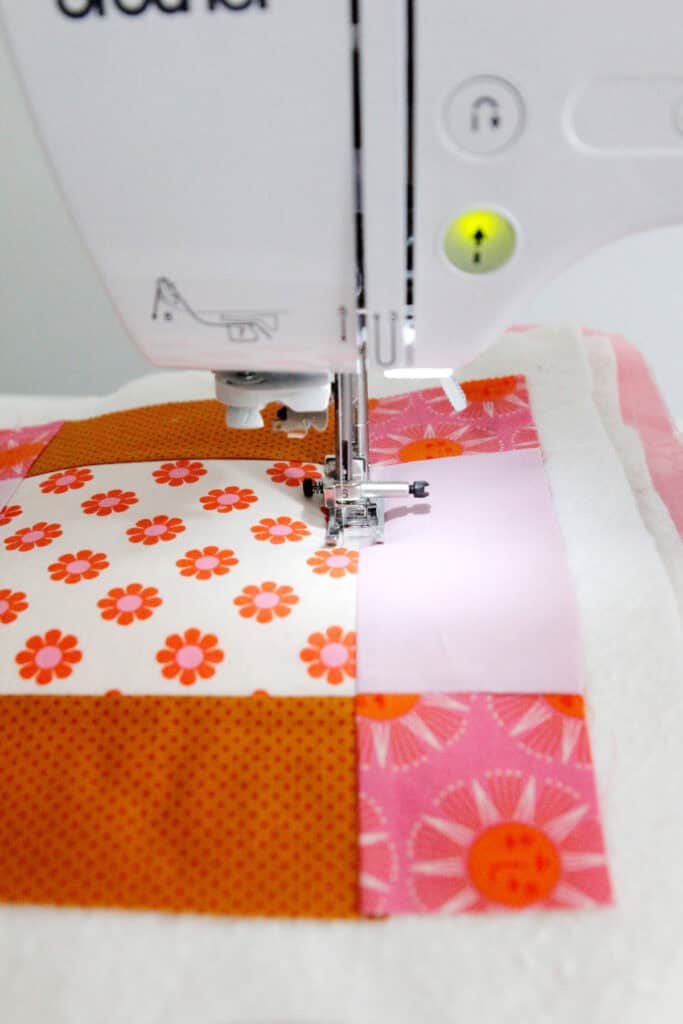
Now we are going to quilt the layers together. For this pattern I sewed 1/4″ on both sides of each seam for a super simple pattern that looks great!
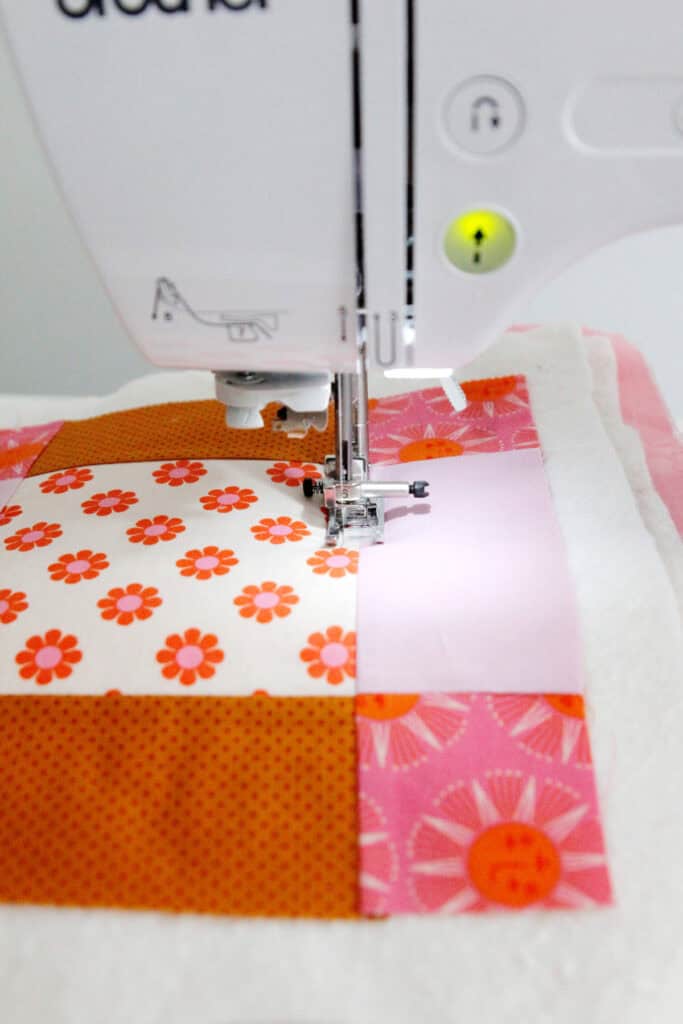
This topstitching technique makes the fabrics pop as it separates them a little bit.
Trim the excess batting and backing from the potholder.
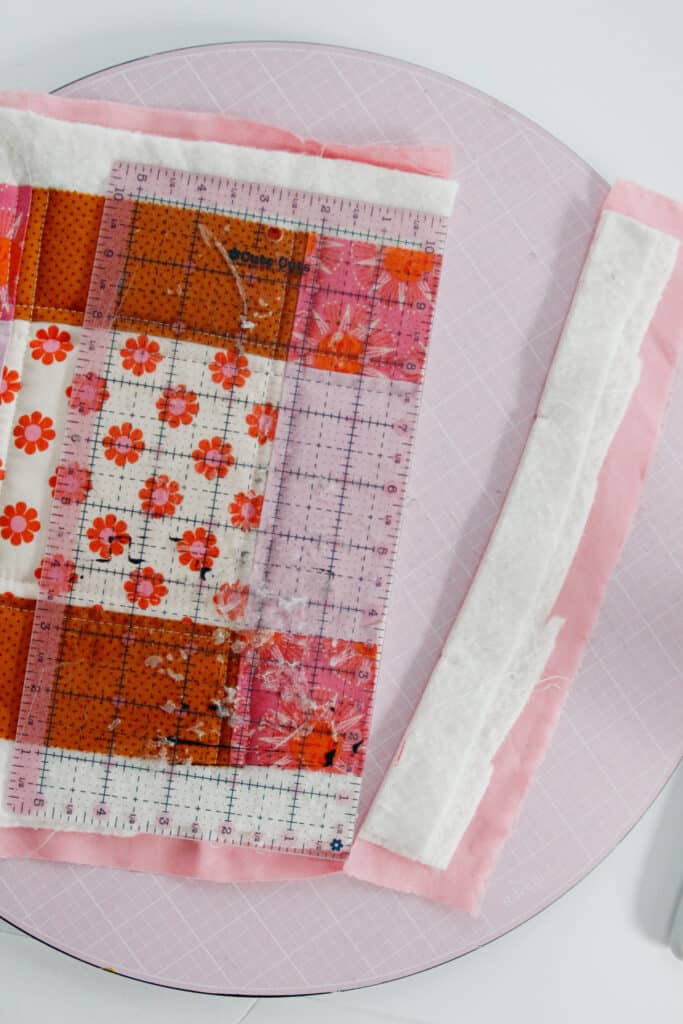
Once you have done that, we will bind it!
There are a few ways to do this. In the video, I sewed the binding to the front of the potholder and then folded it to the back and used a slip stitch to attach it. You can see a full binding tutorial here.
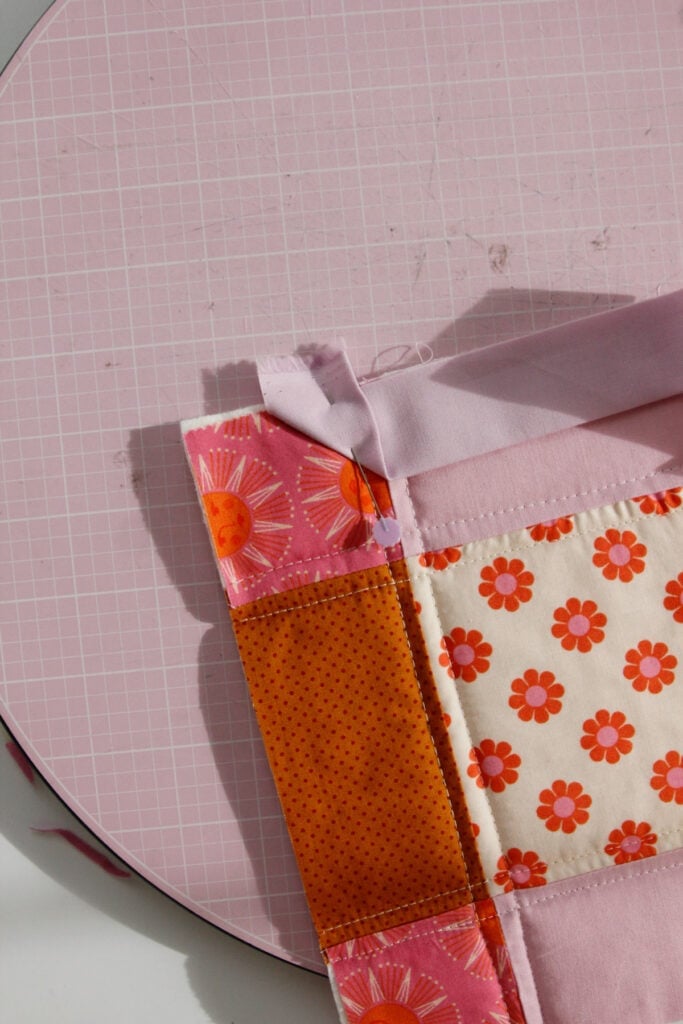
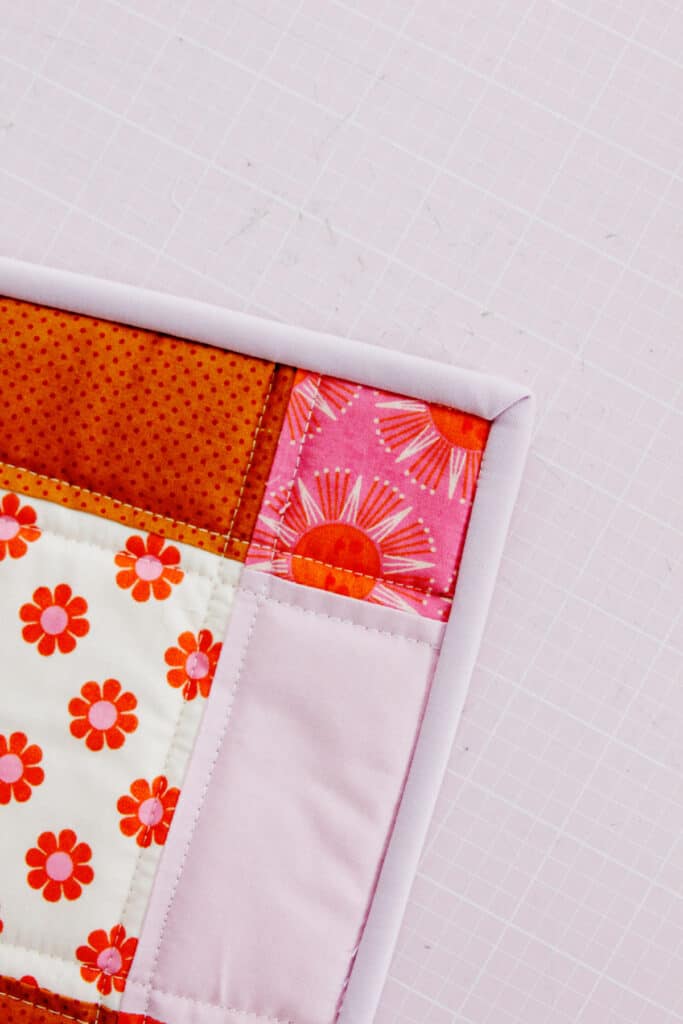
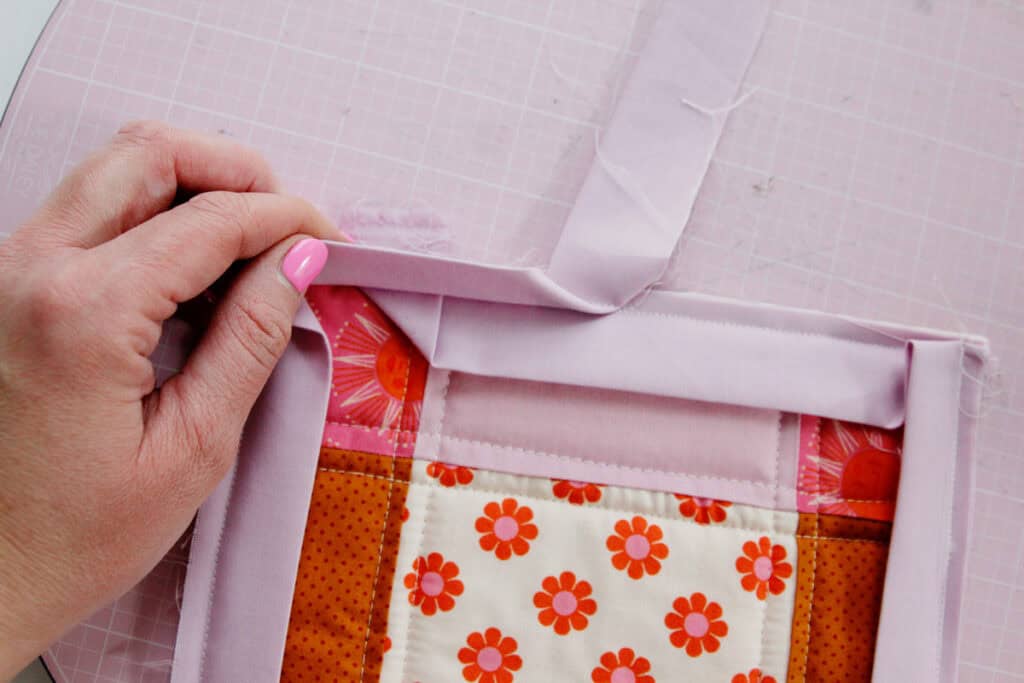
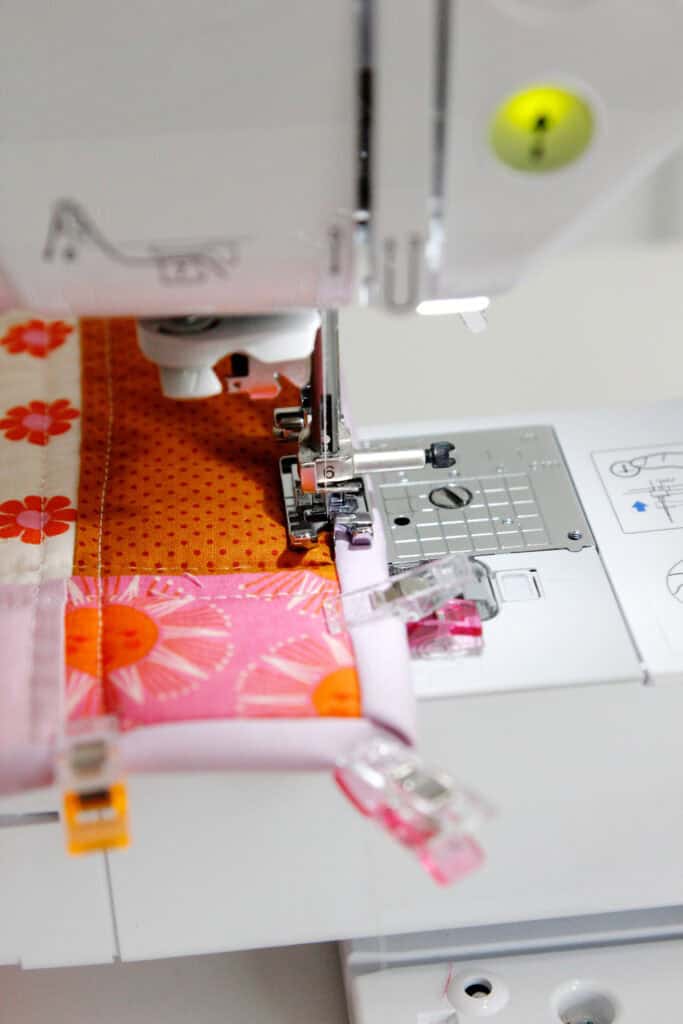
Instead of joining the binding, you can also start sewing the binding as shown below – with the binding folded down to create a triangle. When you get back to where you started pass the end of the binding and do the same thing to finish off the second edge.
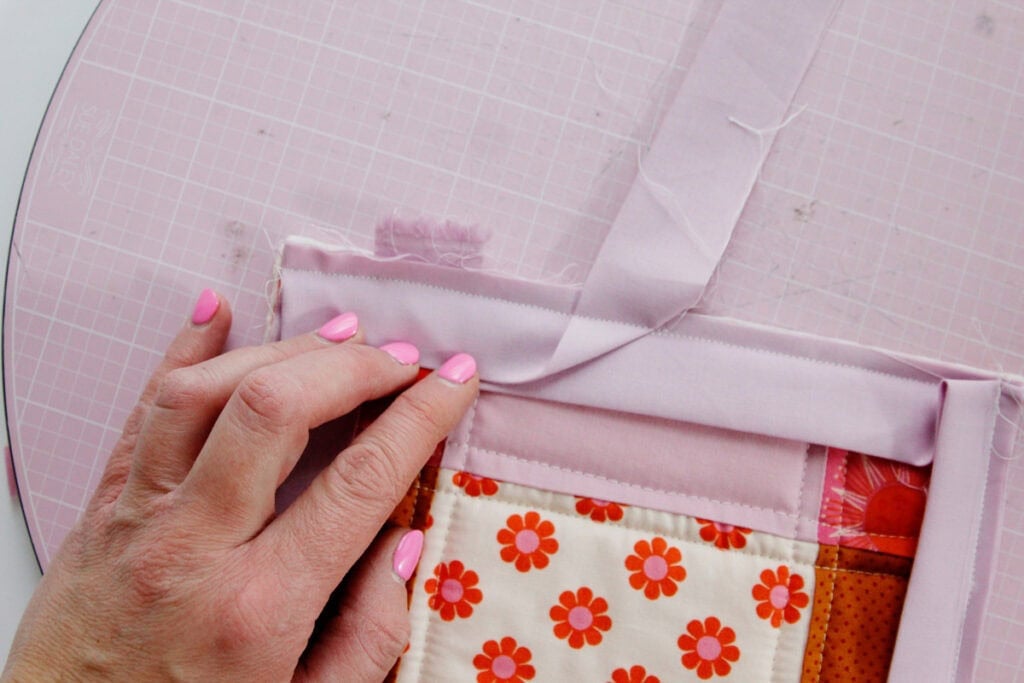
Make sure these are not directly overlapping so you don’t have too much bulk in one spot.
Before finishing, Make a loop with extra binding by folding in both edges to the center and then pressing in half.
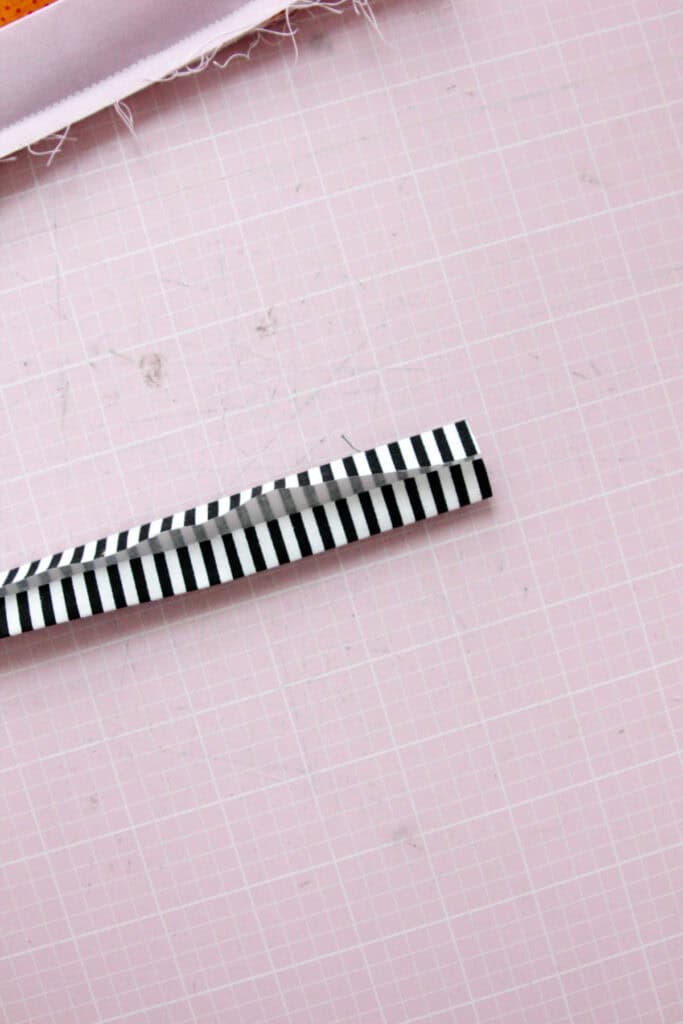
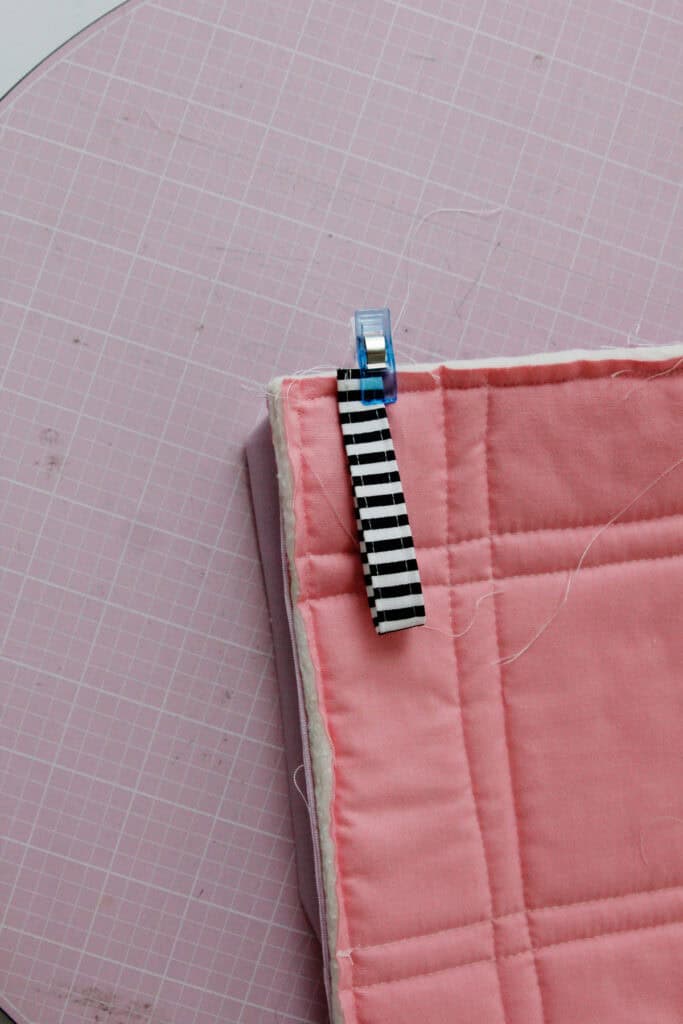
Topstitch both sides 1/8″ from the edges. Then fold to form your loop and stitch to the side of your potholder near a corner.
You can now fold the binding to the back and hand stitch it on. Another way is to sew the binding to the front and then flip it to the back and stitch-in-the-ditch to secure.
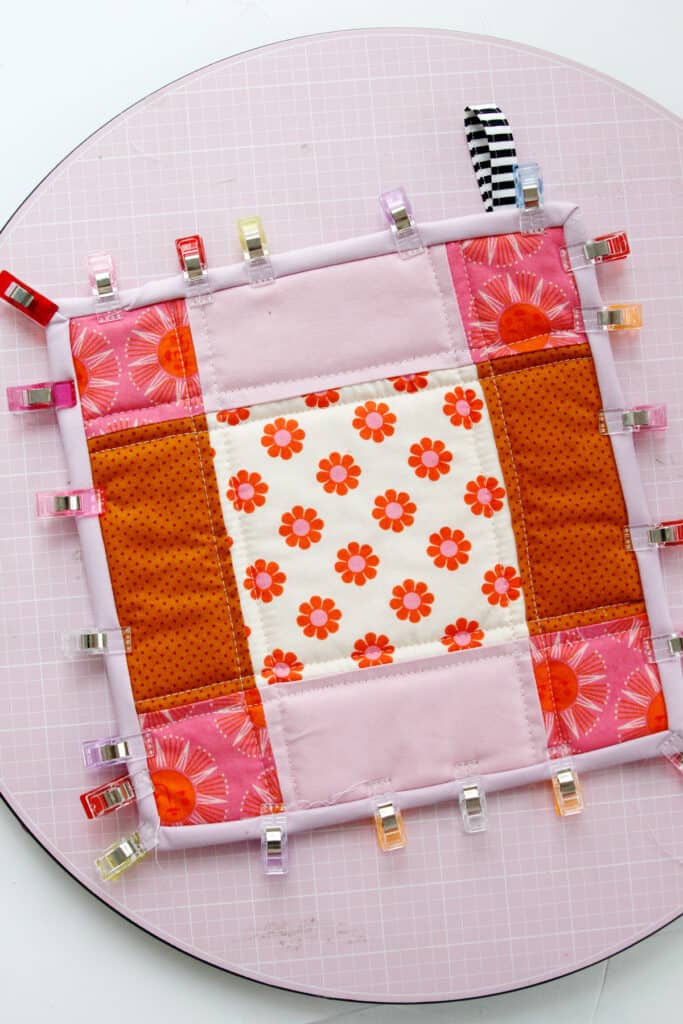
Make sure the binding folds over to the back and completely covers the stitching line from where you attached it. Then stitch it on from the top. “Stitch-in-the-ditch” means stitching right into the top of the seam where the binding meets the potholder. You can use a special machine foot for this, shown below.
When you are done, you will hardly see the stitching from the front! Check your back to make sure you caught all the binding and then you’re done!
