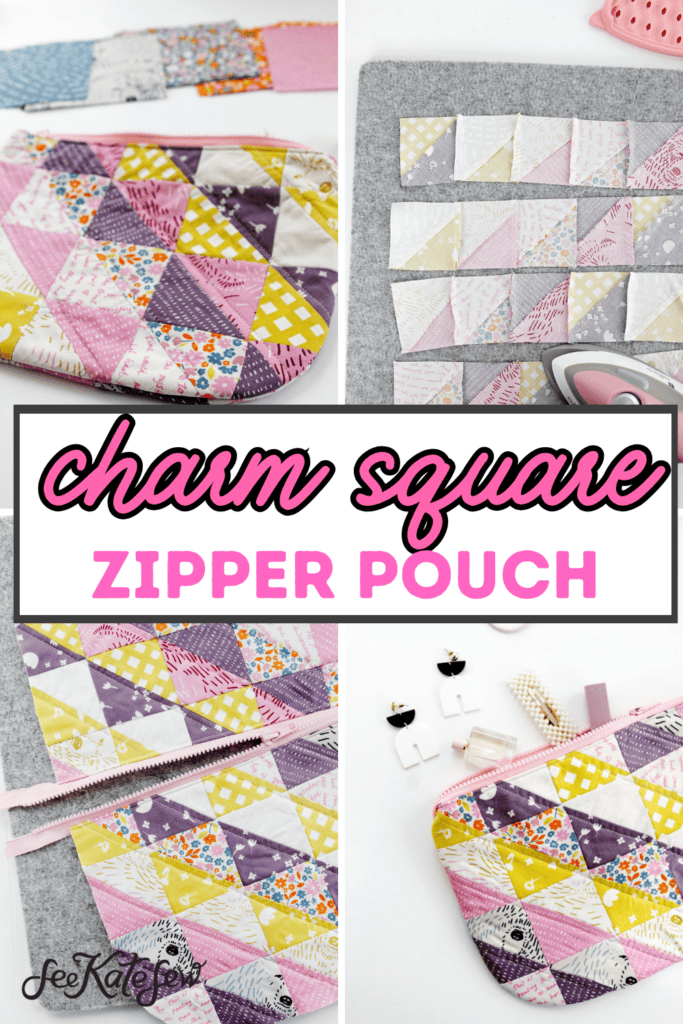
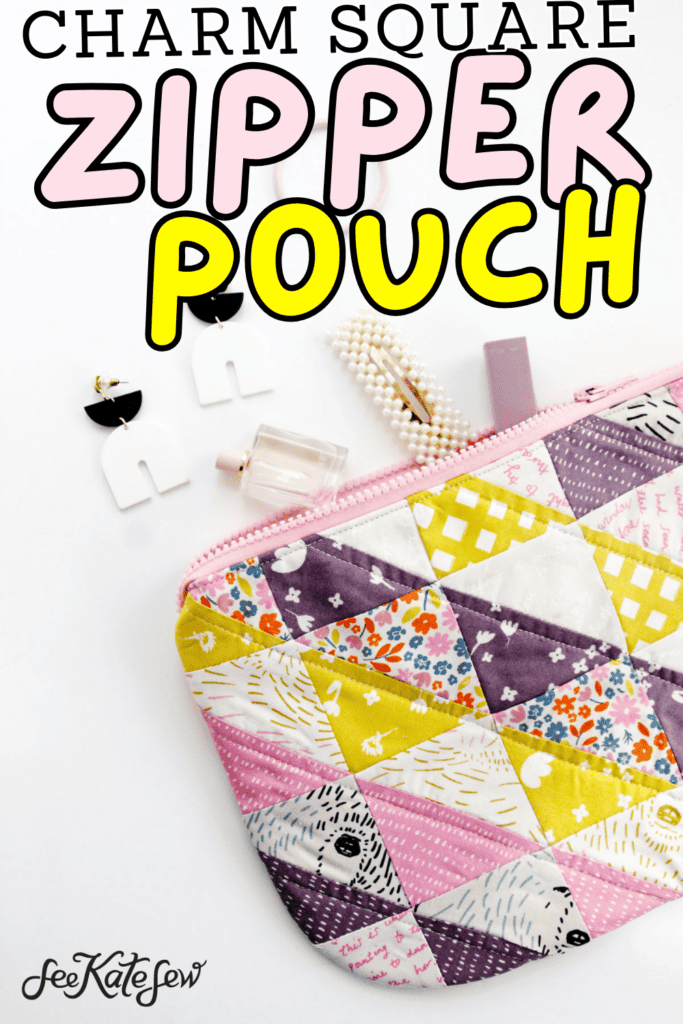
Sew the cutest half square triangle zipper pouch made with a charm pack! Get the free download for this charm square zipper pouch below and let’s get sewing!
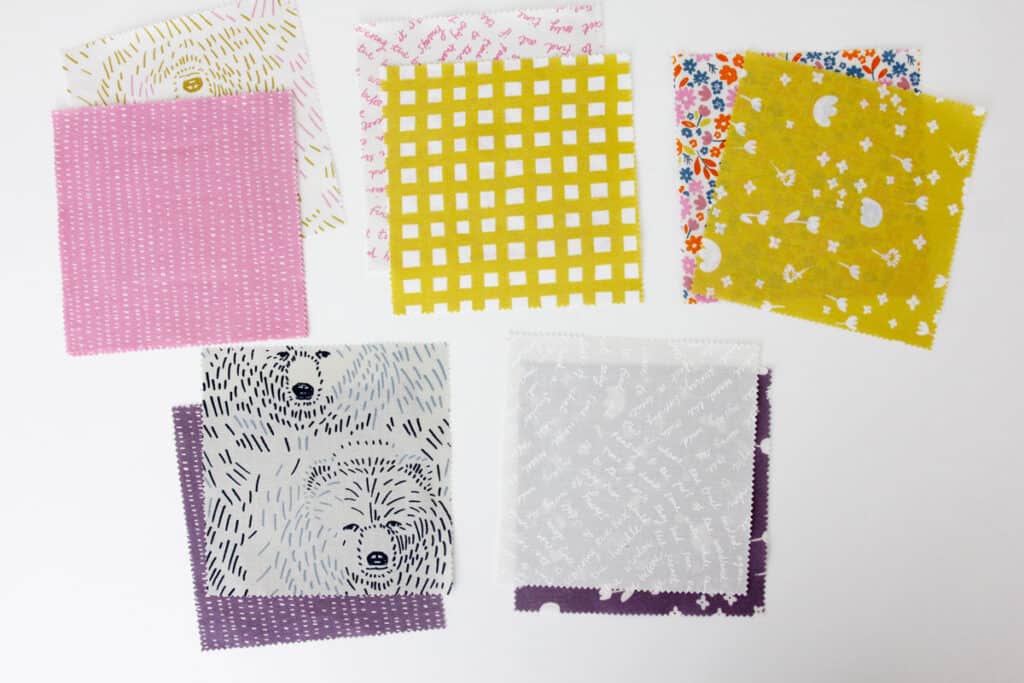
A charm pack is a stack of precut 5″ squares. Usually they come in packs of about 42 and typically have at least one of each print in a line of fabric.
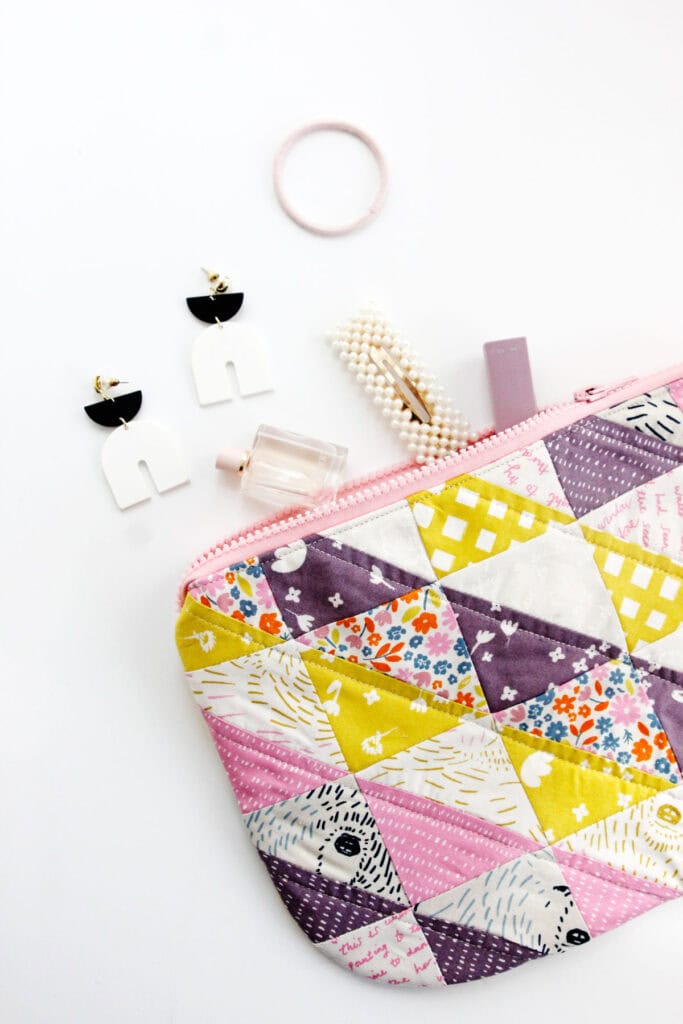
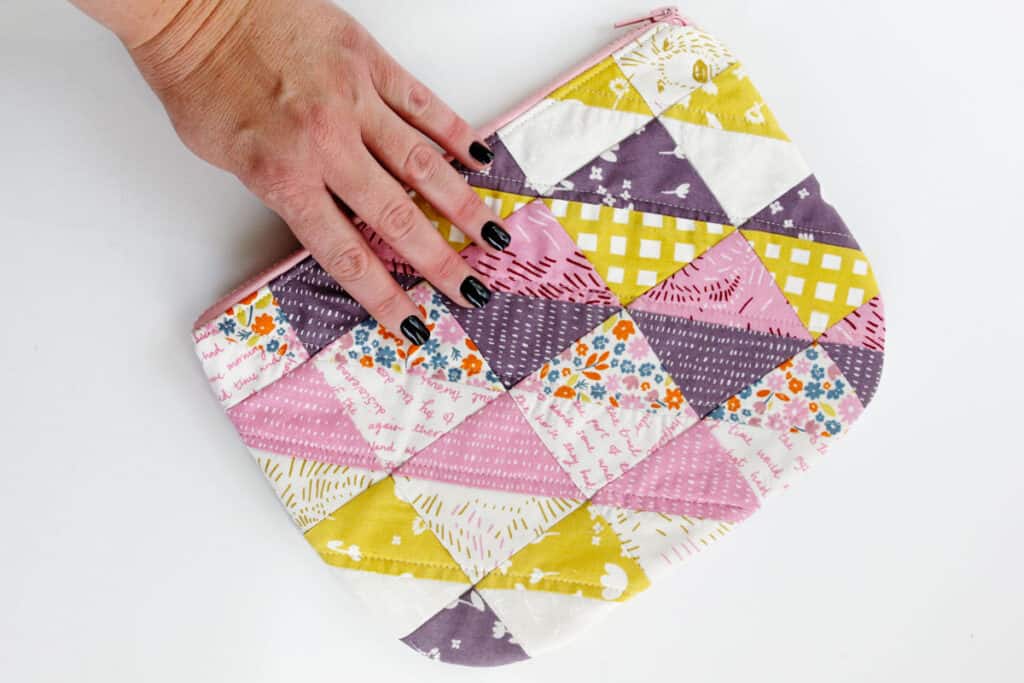
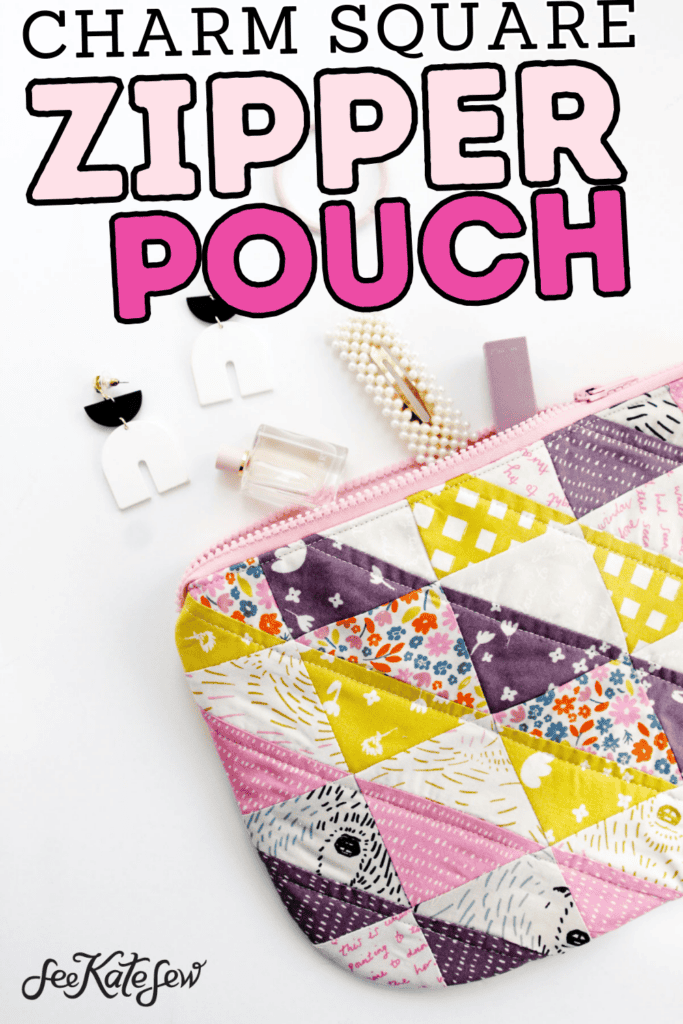
I love this charm square pouch because it has so many prints in one little pouch and the rounded edges give it a super cute style.

Use it for school supplies, cosmetics or little toys! You can even stash your favorite sewing supplies inside!
Charm Square Zipper Pouch Materials
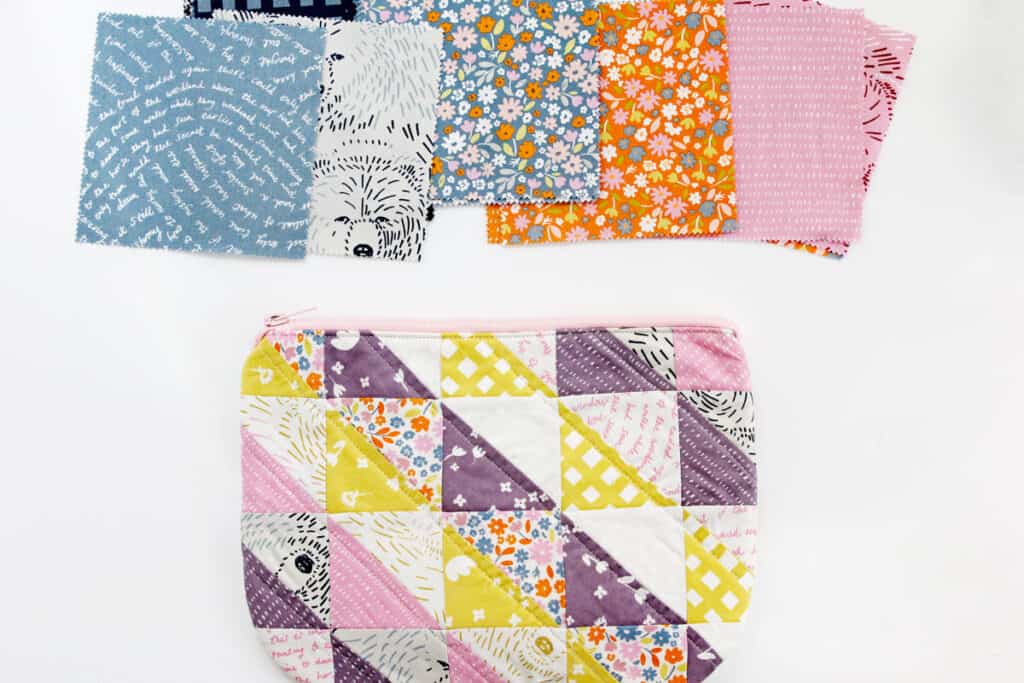
- 20 – 5″ charm squares
- Or use scraps or yardage cut into 5″ squares
- 1/4 yard cotton for lining
- 12″ zipper, or longer
- Lightweight fusible interfacing
- Quilt batting
- Spray Baste
- Fabric pen or marker, optional
- Matching thread
- Bias tape, 3/8″ double fold, optional to finish seam allowances
- Rotary cutter, acrylic ruler and cutting mat
- I love the Cutie Cuts for trimming
Charm Square Zipper Pouch Template Download
Click on the button below to download the charm square zipper pouch template. Print the file at 100% or DO NOT SCALE. The pattern will print on 2 pages and is just the templates (does not include instructions) – just trim along the dashed line and tape them together. Want to print the instructions without ads? Get the PDF printable pattern here.
How to sew a half square triangle zipper pouch with charm squares
Use a 3/8″ seam allowance.
To make these little half square triangles (HSTs), we’ll be using a super fast method – the 4-at-a-time method making this an easy sewing pattern!
Pick out 20 charm squares from your pack. I’m using the line Marigold by Moda Fabrics.
This is a simple way to make a lot of HSTs at the same time! You can download a cheat sheet for HSTs in this post.
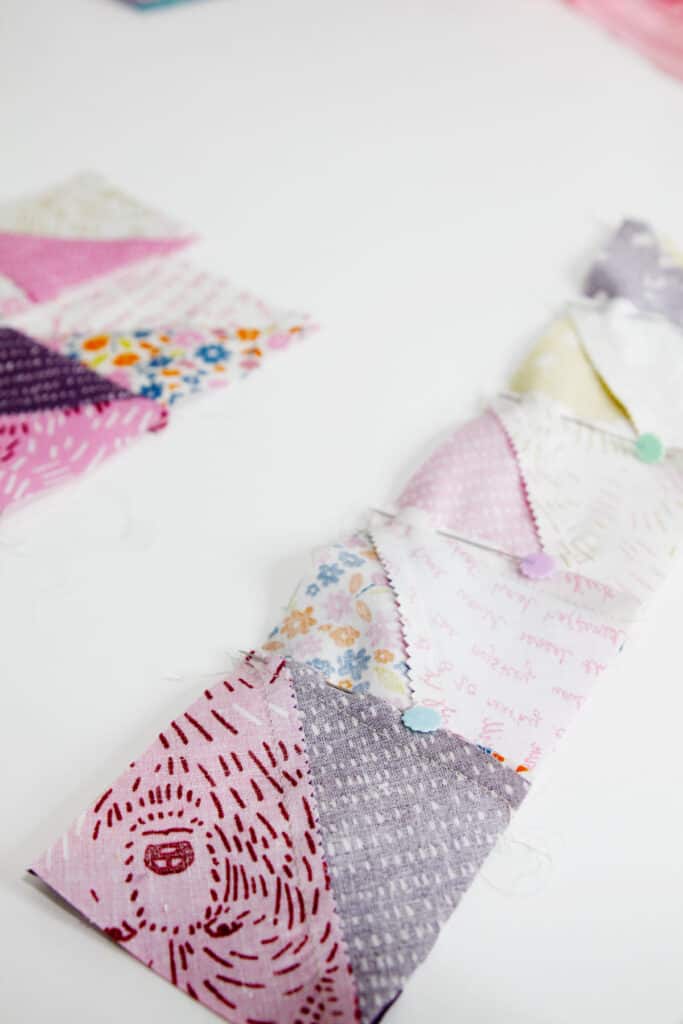
Pick 2 charm squares and pin them together with right sides together. I like to pick two with a good contrast for each HST.
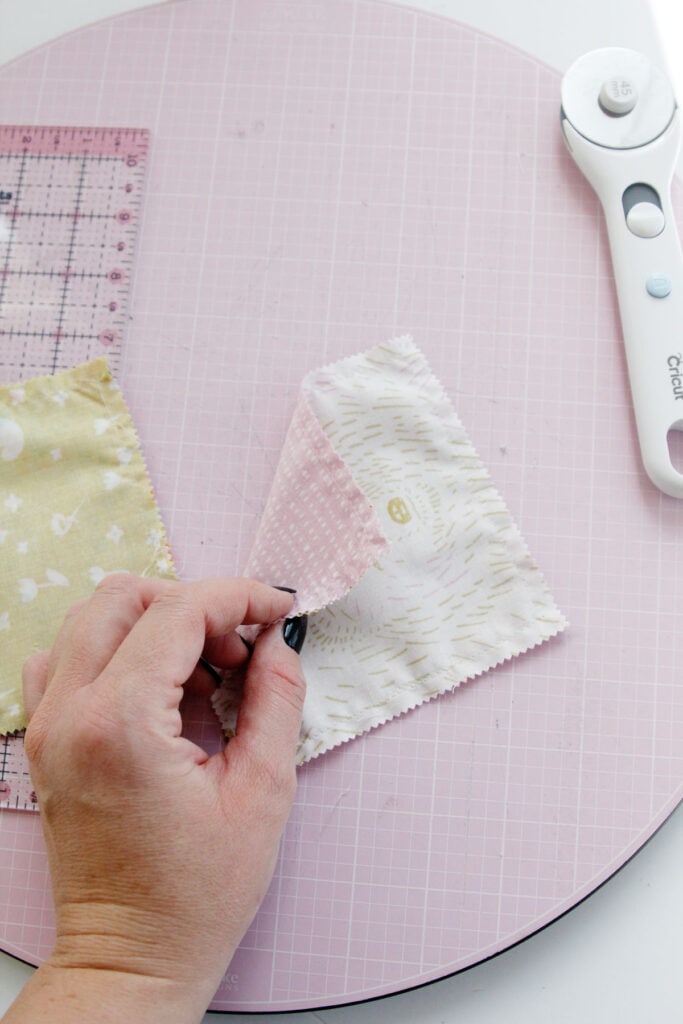
Sew around the entire square 1/4″ from the raw edges, pivoting at the corners.
Use a fabric marker to draw diagonal lines from corner to corner.
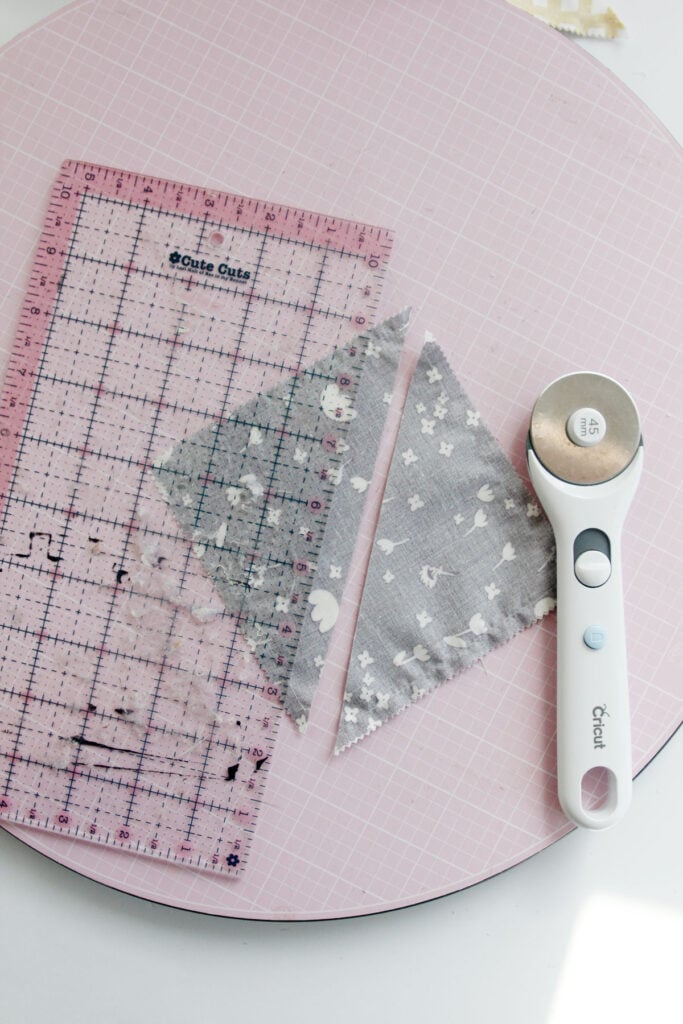
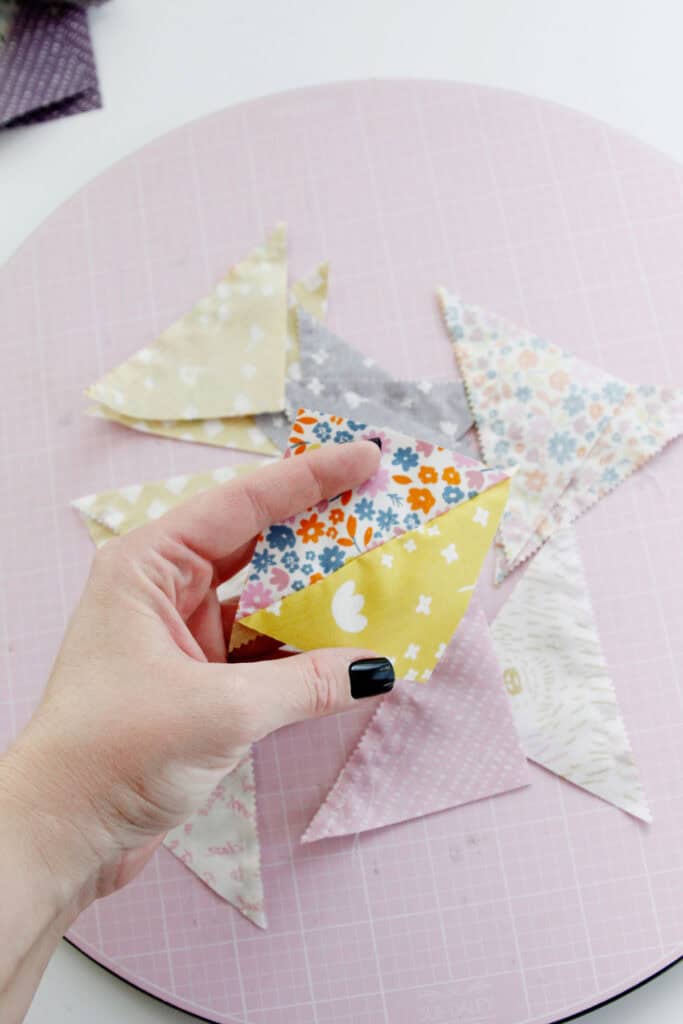
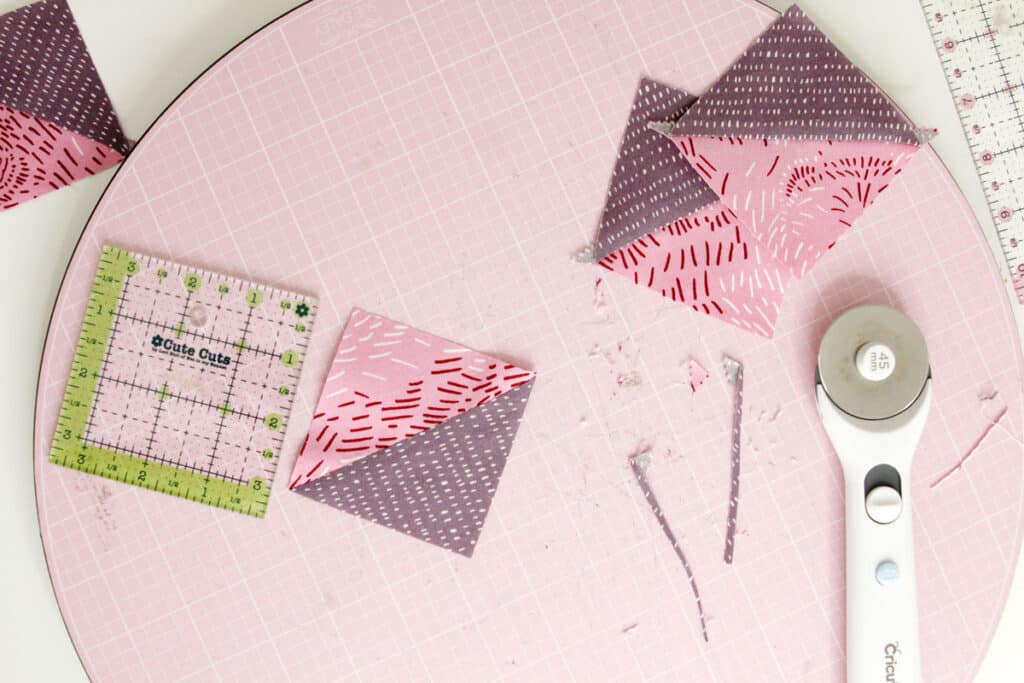
Then use a ruler and rotary cutter to cut through the lines to reveal 4 half square triangles!
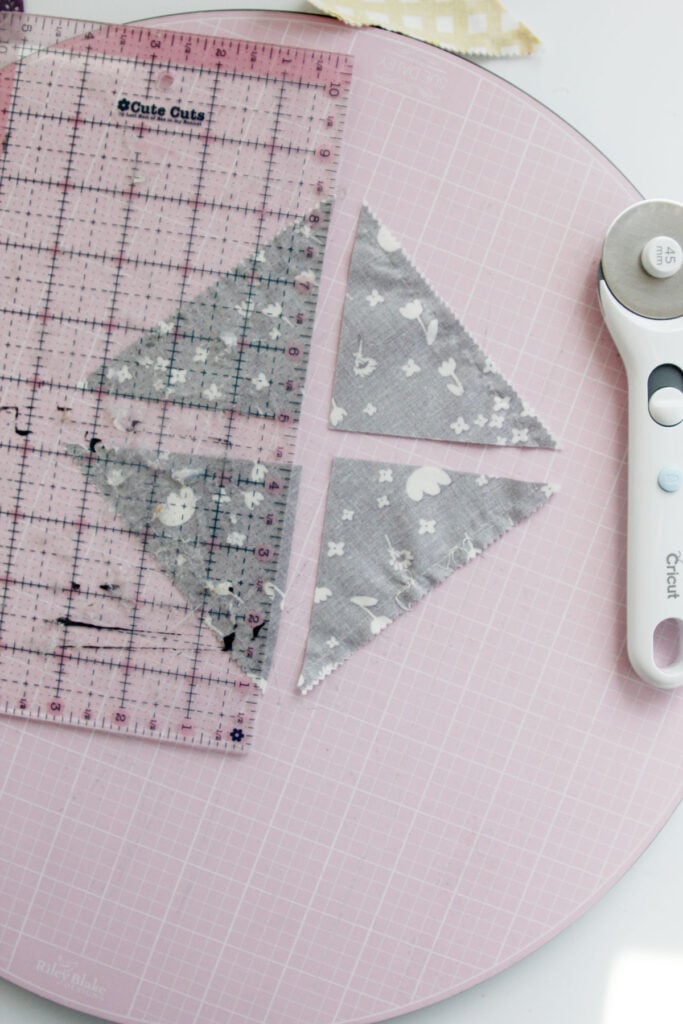
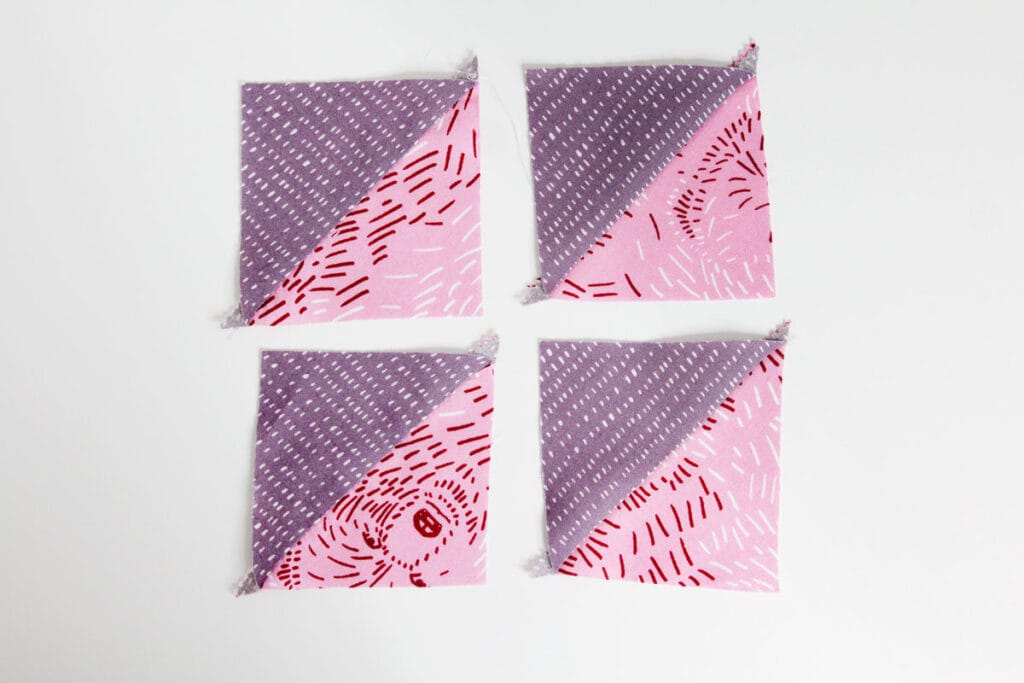
Press the seam allowances towards the darker fabric. Then trim and square up the HSTs to 3″ by 3″.
Sew blocks together
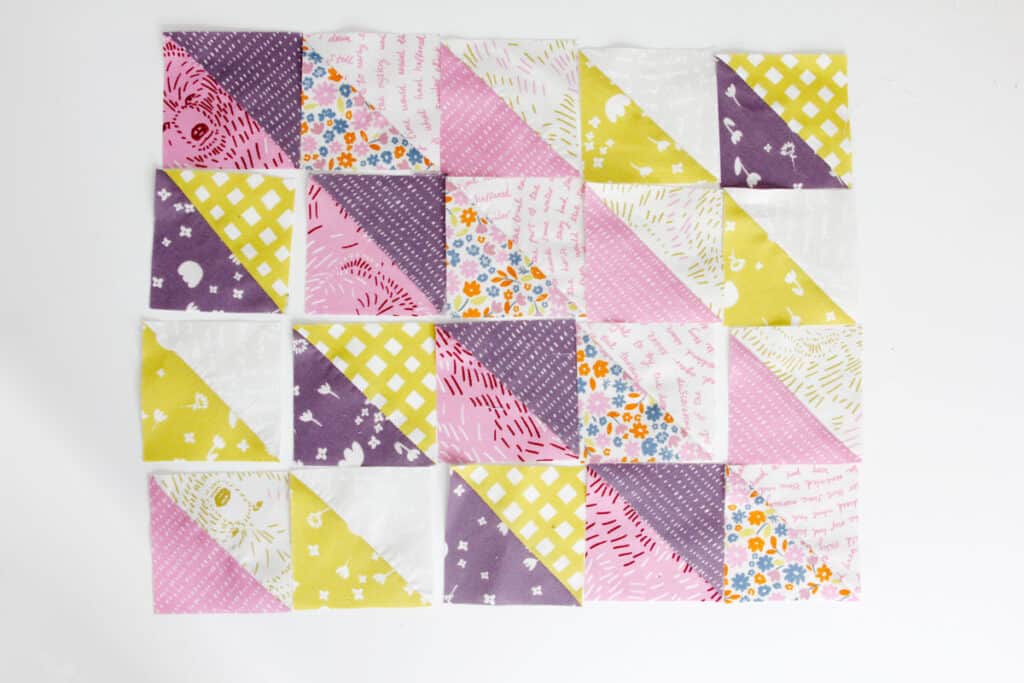
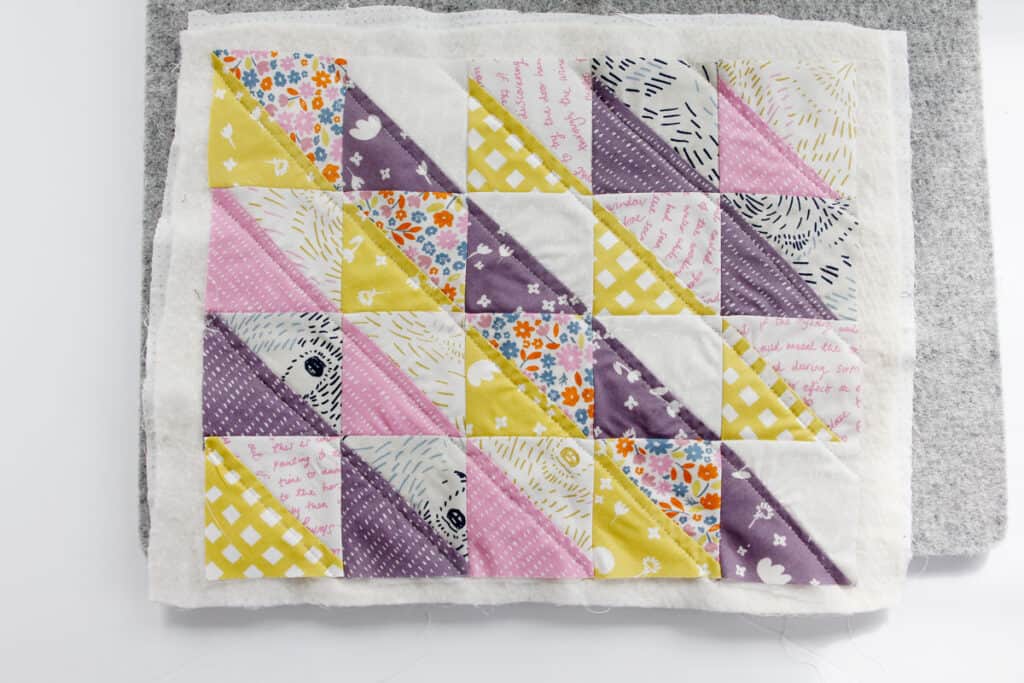
Repeat until you have 20 squares for each side of the zipper pouch. Now we’ll sew the half square triangles together in rows. Grab your first 20 squares and arrange them in 4 rows of 5 squares. You can arrange them however you want! I chose to do diagonals as you can see. You can have fun with this and choose any pattern.
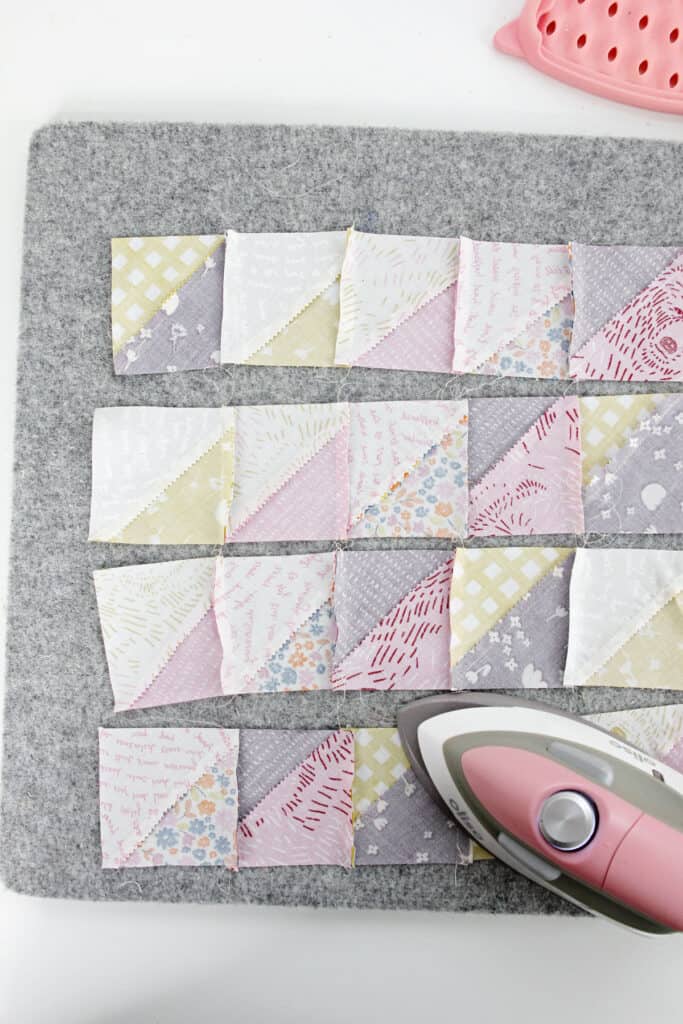
Sew the blocks together in rows.

Press seam allowances to the left for the top row. Then press the second row in the opposite direction. Repeat with rows 3 and 4.
Now sew the rows together. If you pressed the seam allowance in opposite directions, you can interlock the seams by lining up the seams with the seam allowances butting up against each other. Pin to keep in place.
Back with fusible interfacing. This will make the pouch a little more stable and give it a crisp finish.
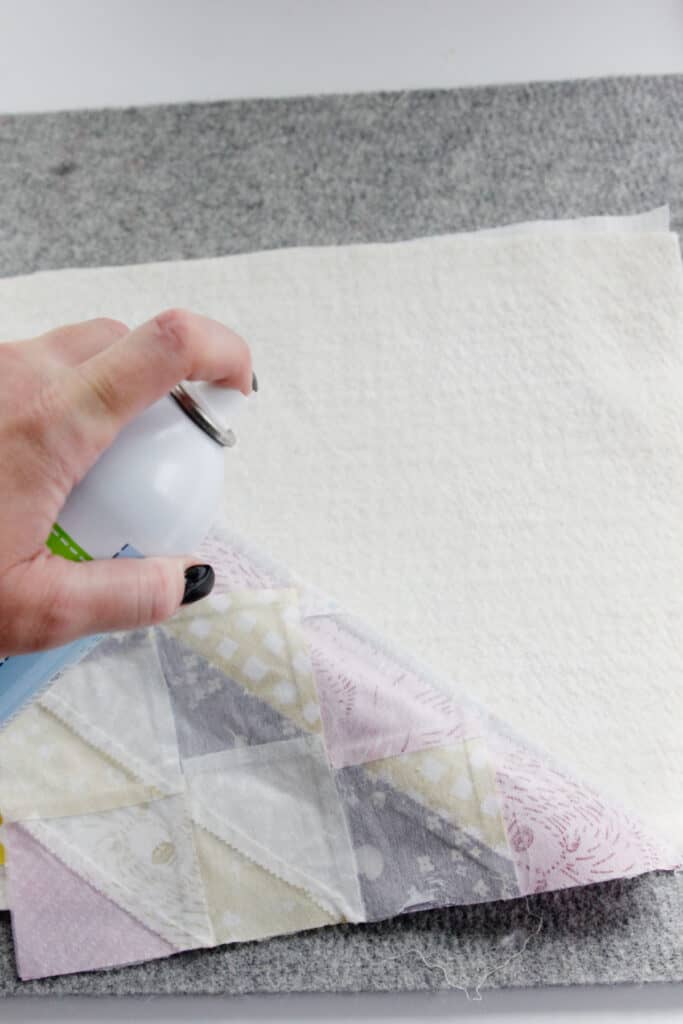
Quilt the fabric layers
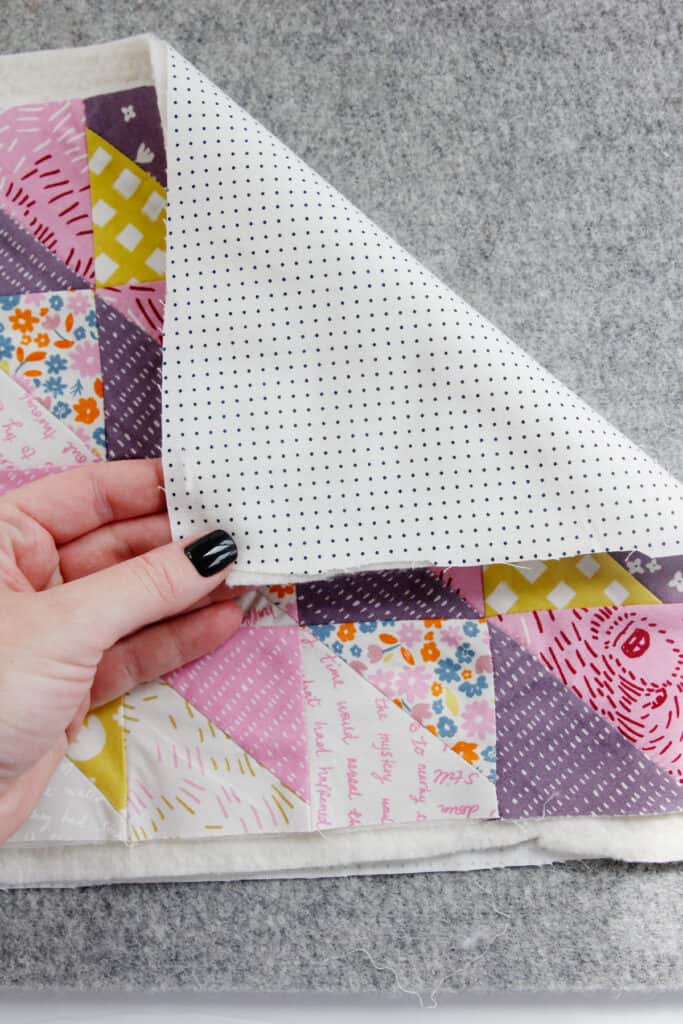
Lay the pieced front on top of a piece of batting and then a layer of lining fabric.
Use quilt basting spray to hold the layers together.
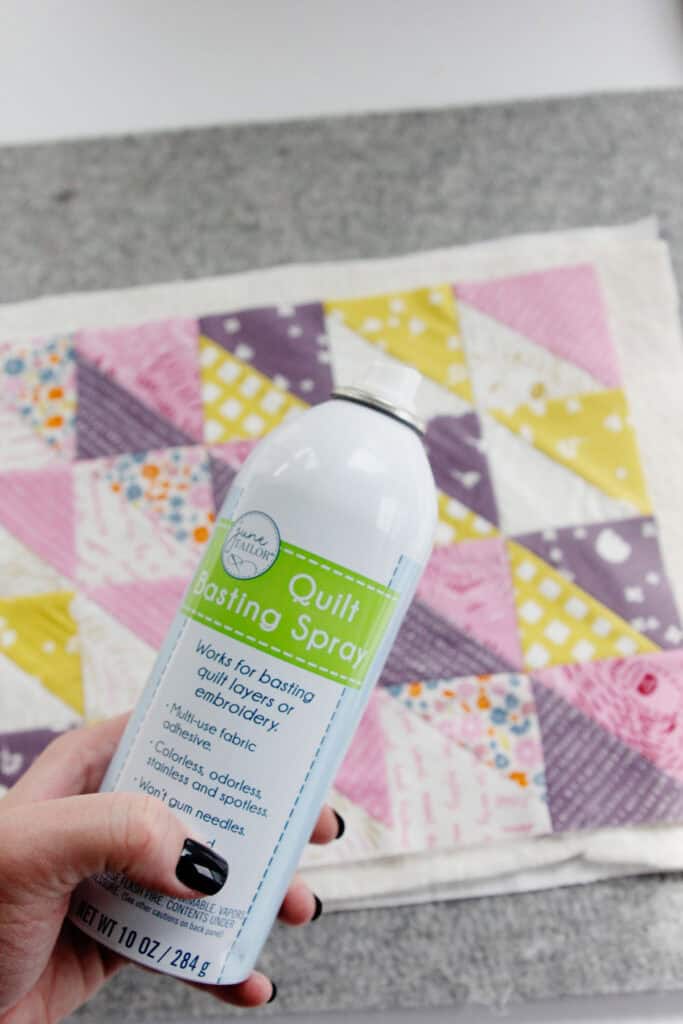
Smooth out the fabric and let the spray baste dry.
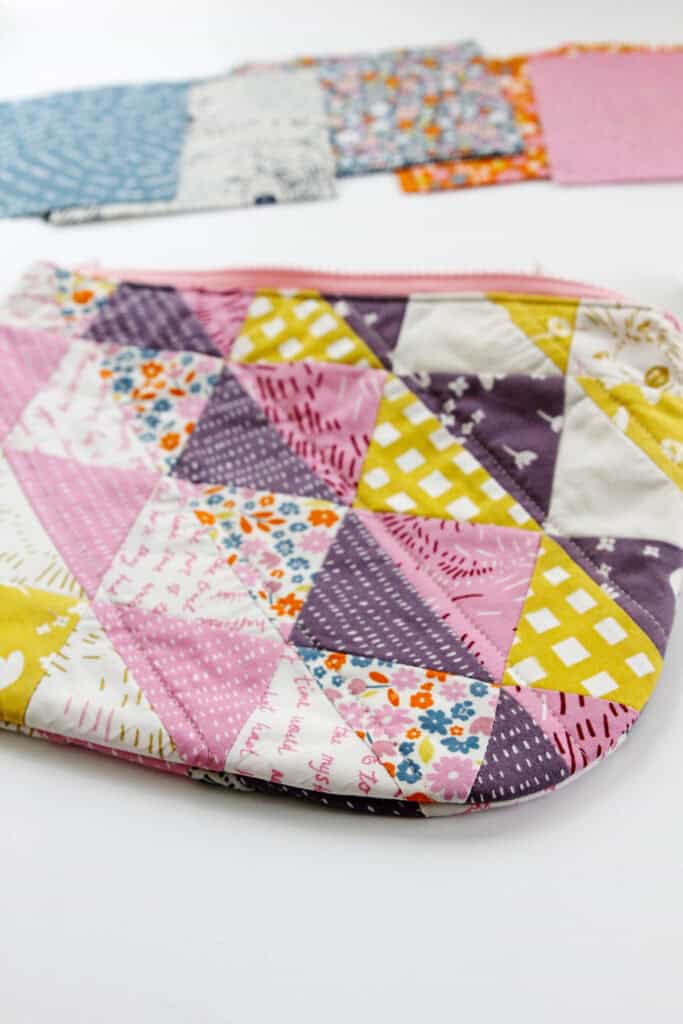
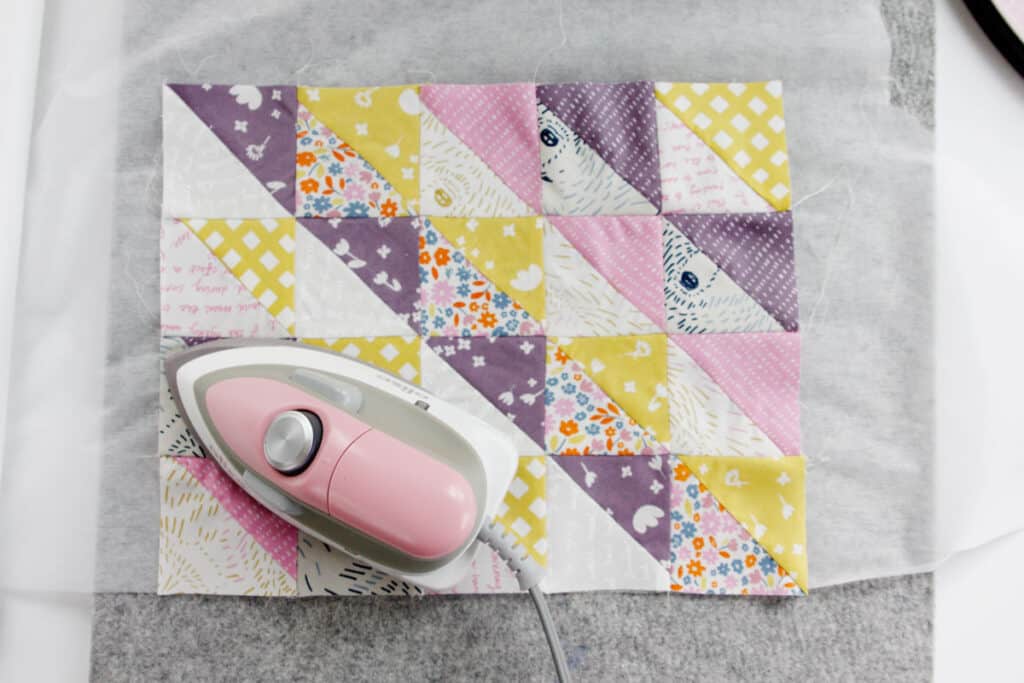
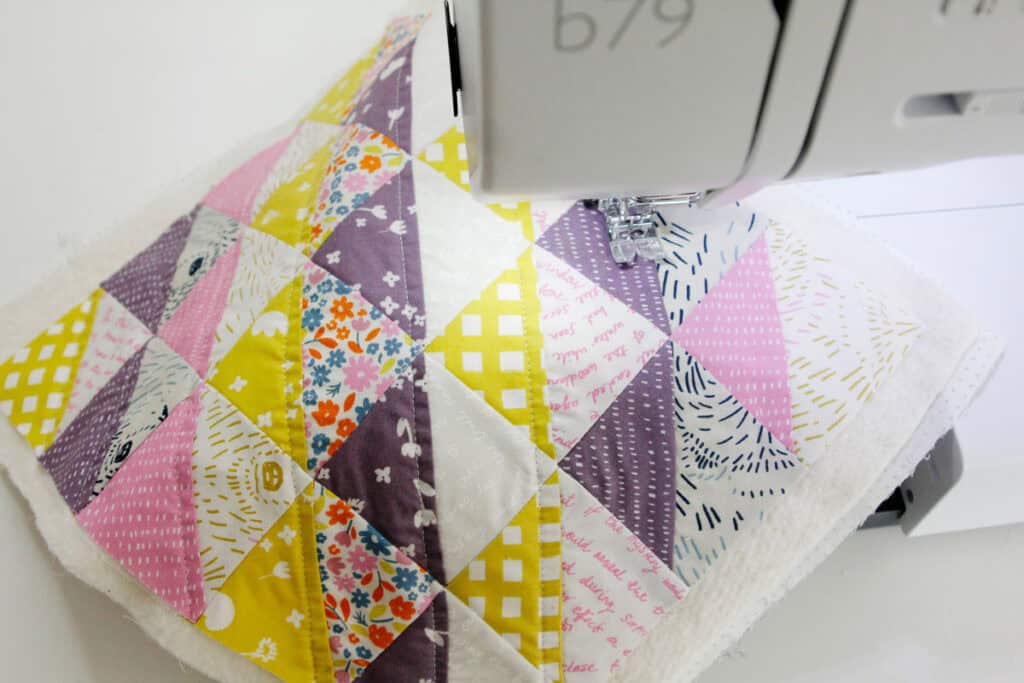
Quilt the layers together however you want. I like to follow the lines of the HSTs to get a diagonal quilting pattern.
Repeat to create two sides – a front and a back.
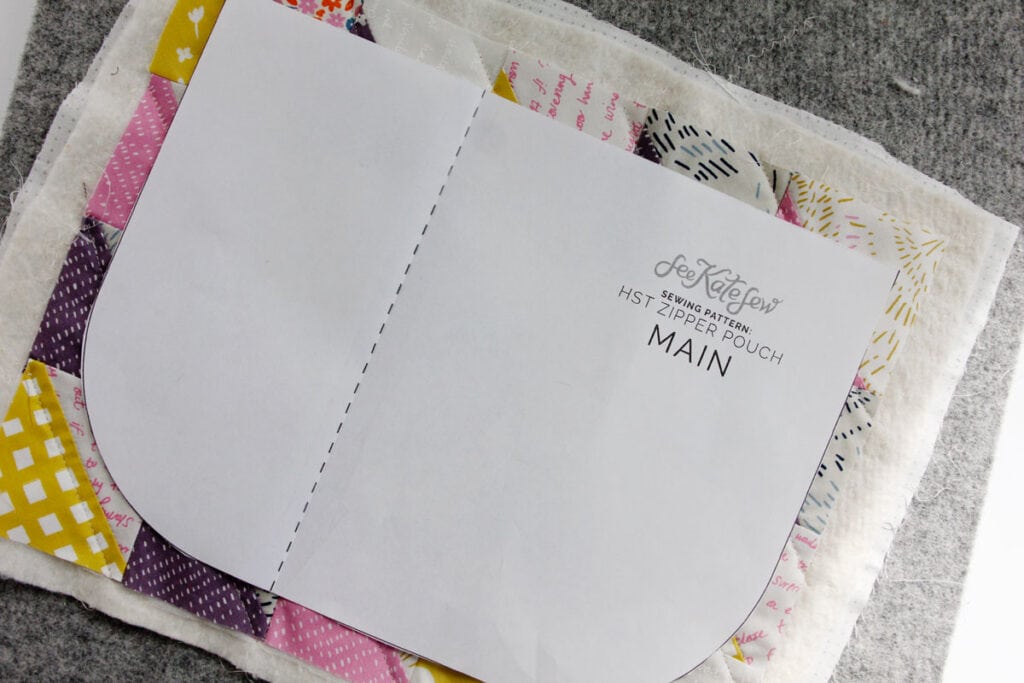
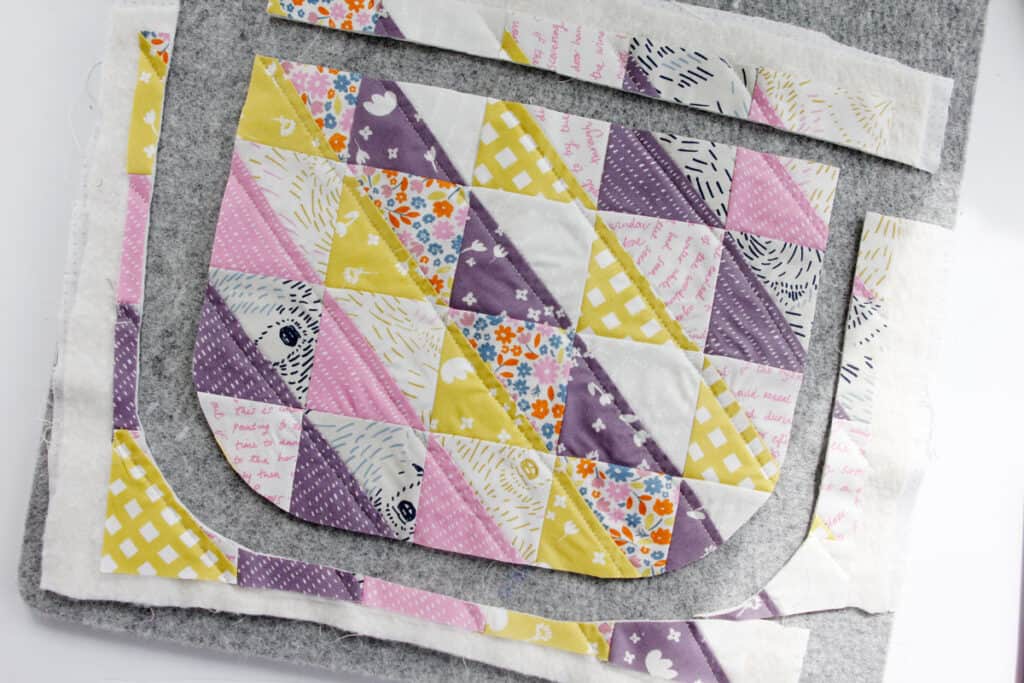
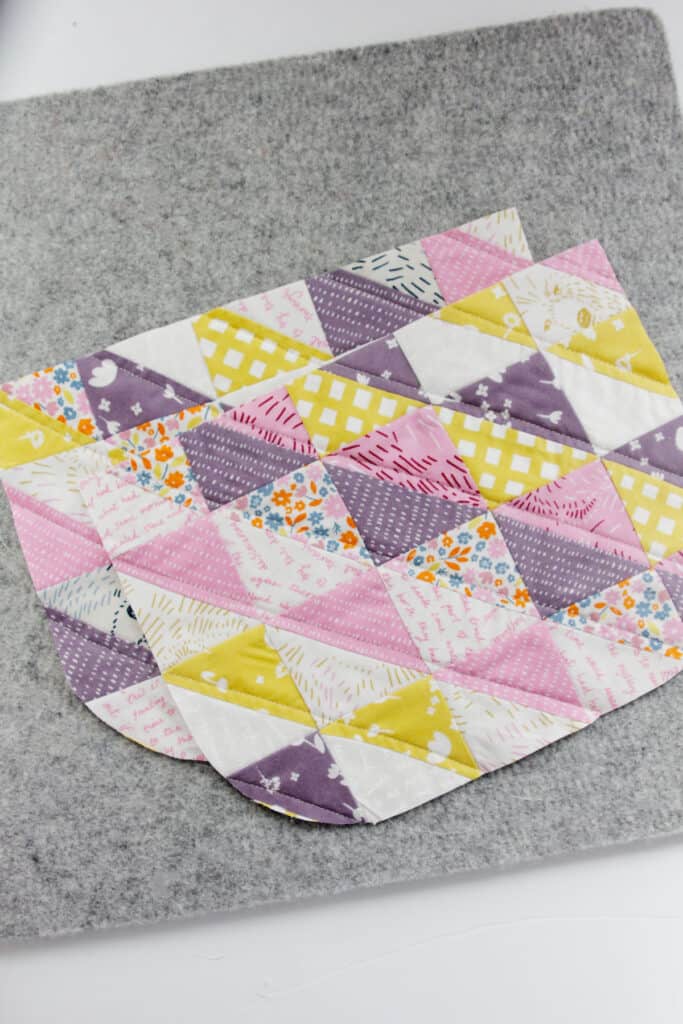
Cut pattern pieces
Use the pattern piece to cut out two main pieces.
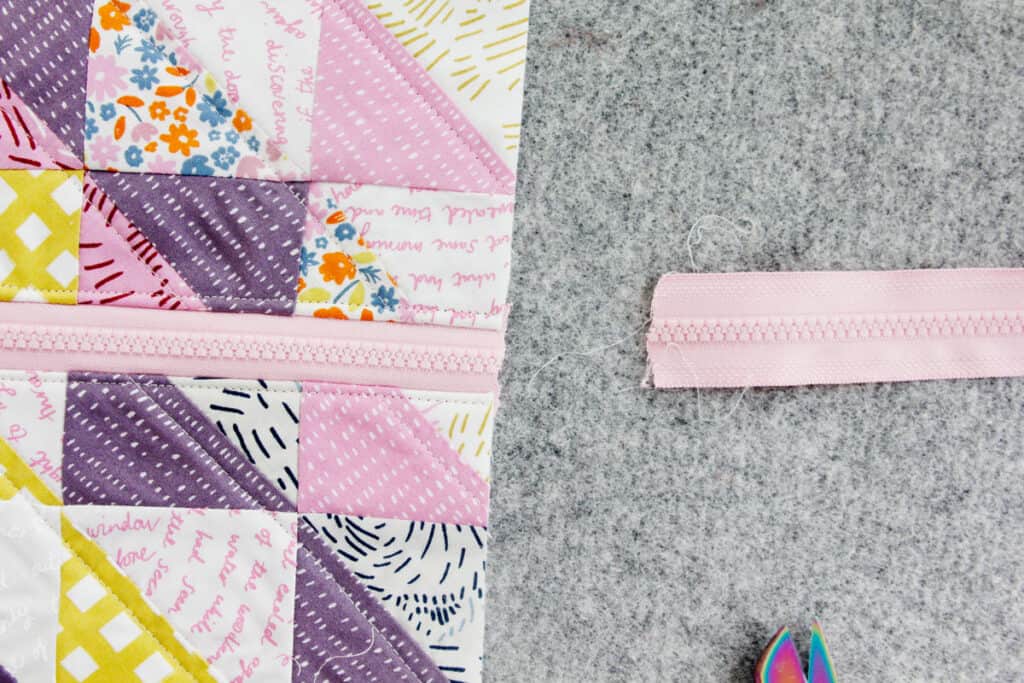
Place the zipper face down on the front piece, lining up the zipper tape with the top edge of the quilted piece. Sew close to the edge of the zipper teeth. You do not need a zipper foot for this, just align your needle closest to the zipper teeth.
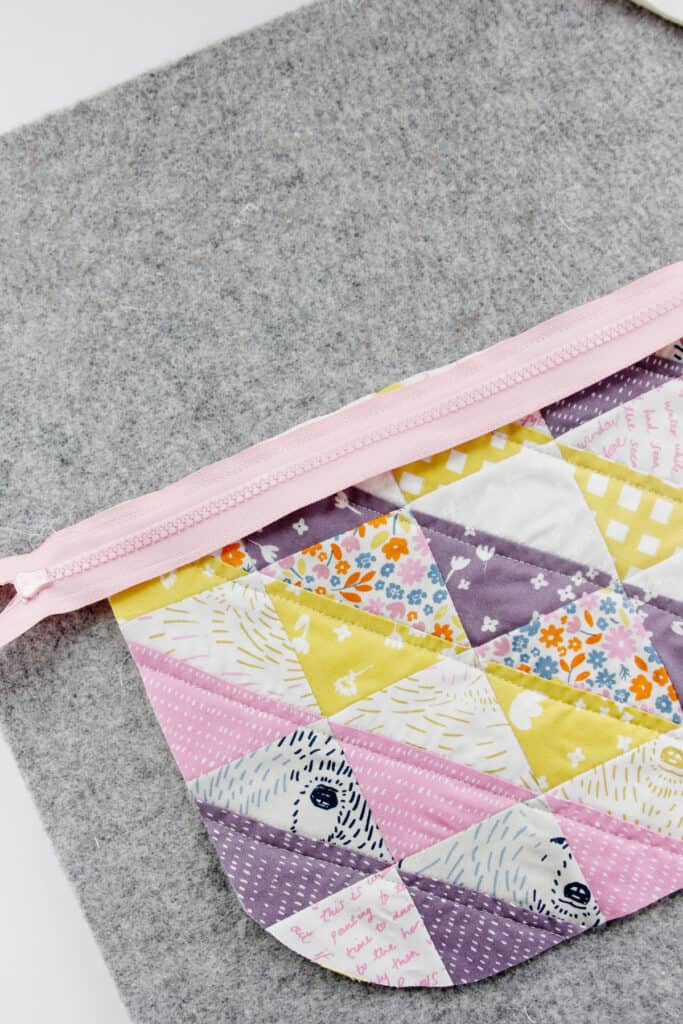
Open and press the seam allowances down. Then topstitch along the top of the quilted panel.

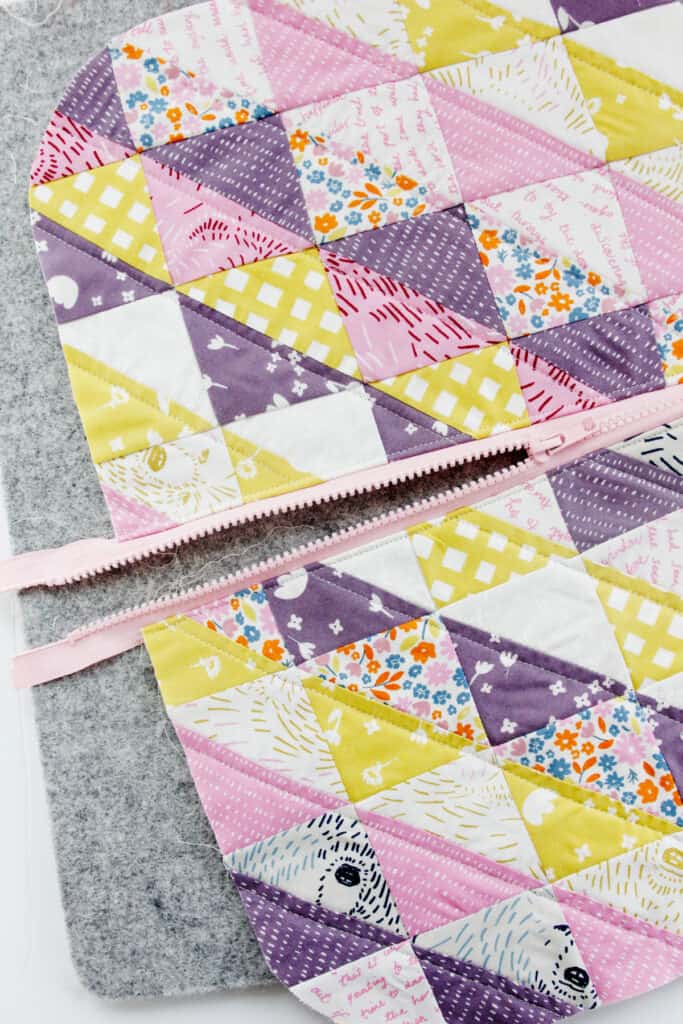
Repeat with the back piece and the other side of the zipper tape.
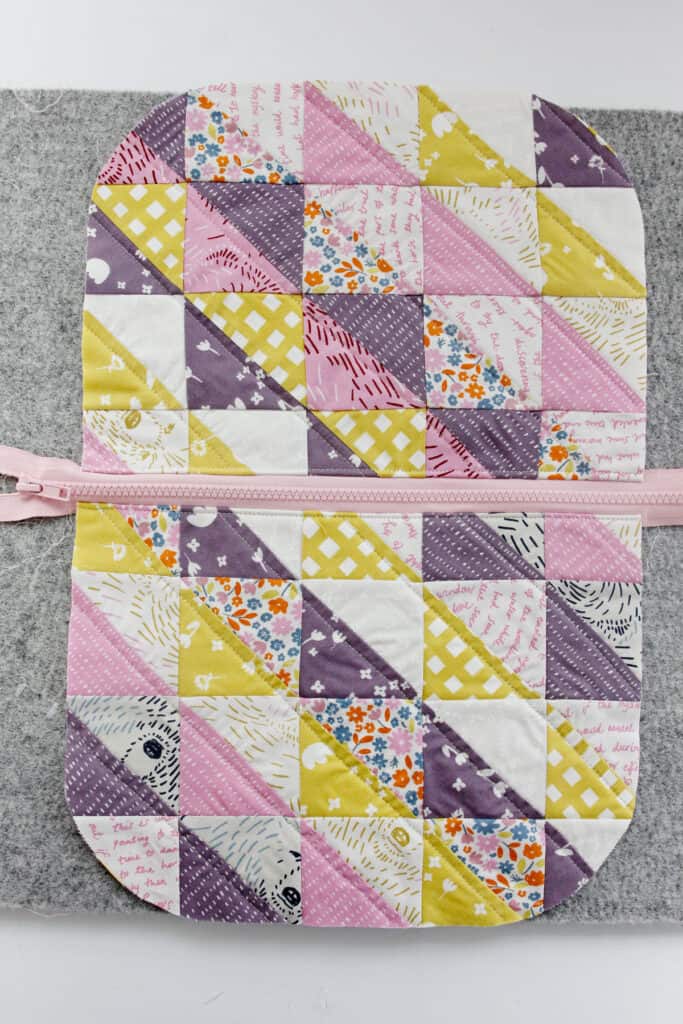
Trim excess zipper tape off.
Open the zipper part way.
Finish zipper pouch
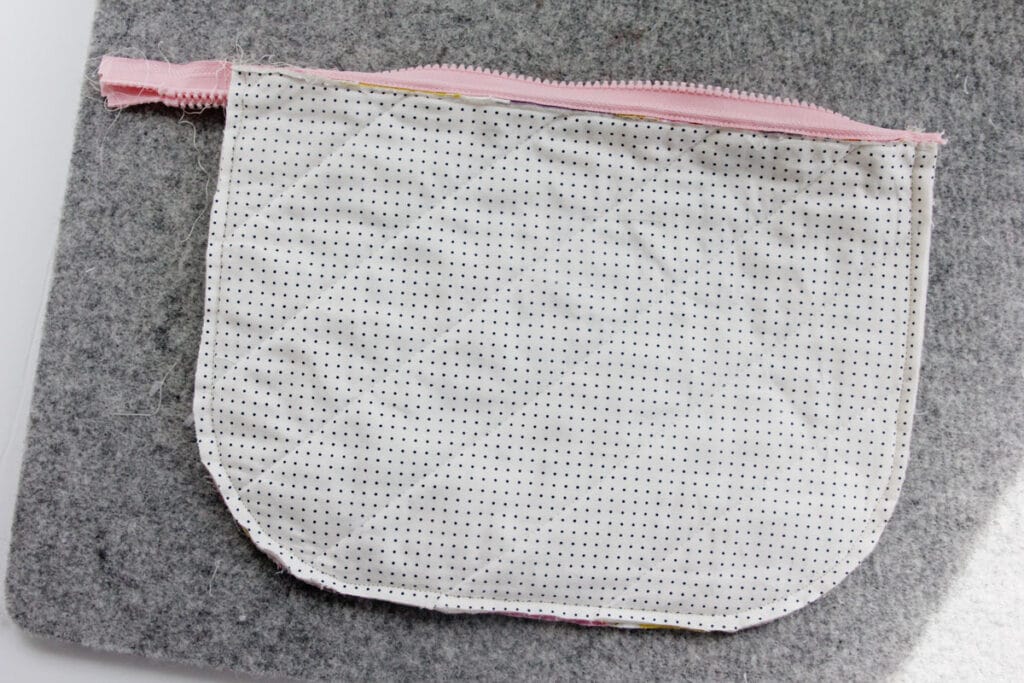
Turn the zipper tape down so it faces the inside of the pouch.
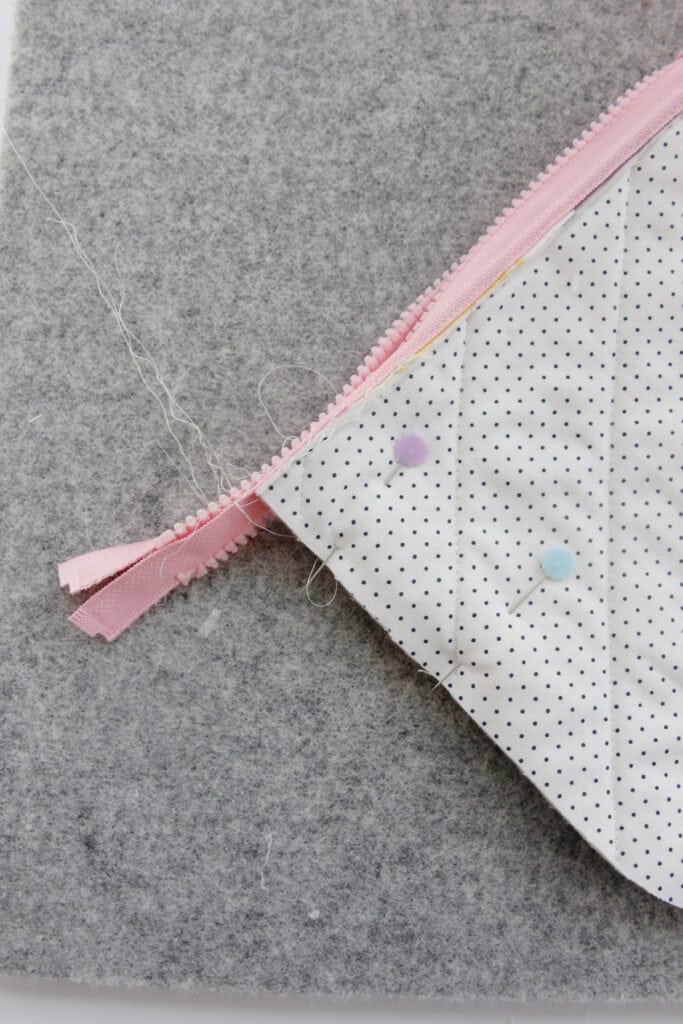
Pin around the edges.
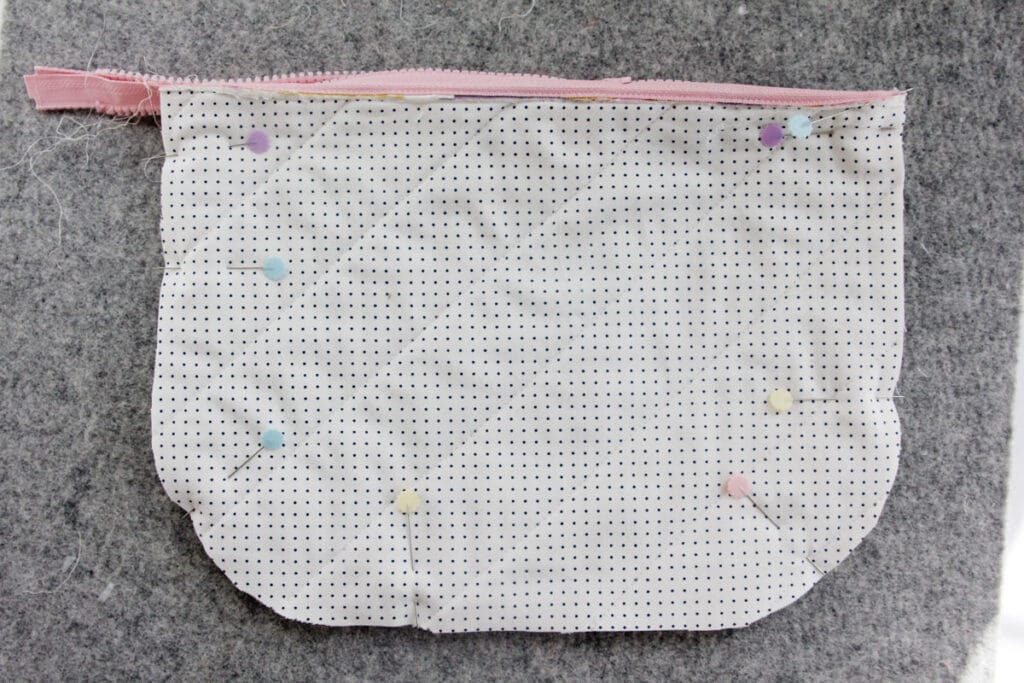
Sew around the zipper pouch and trim seam allowance down to 1/4″. Clip the curves.
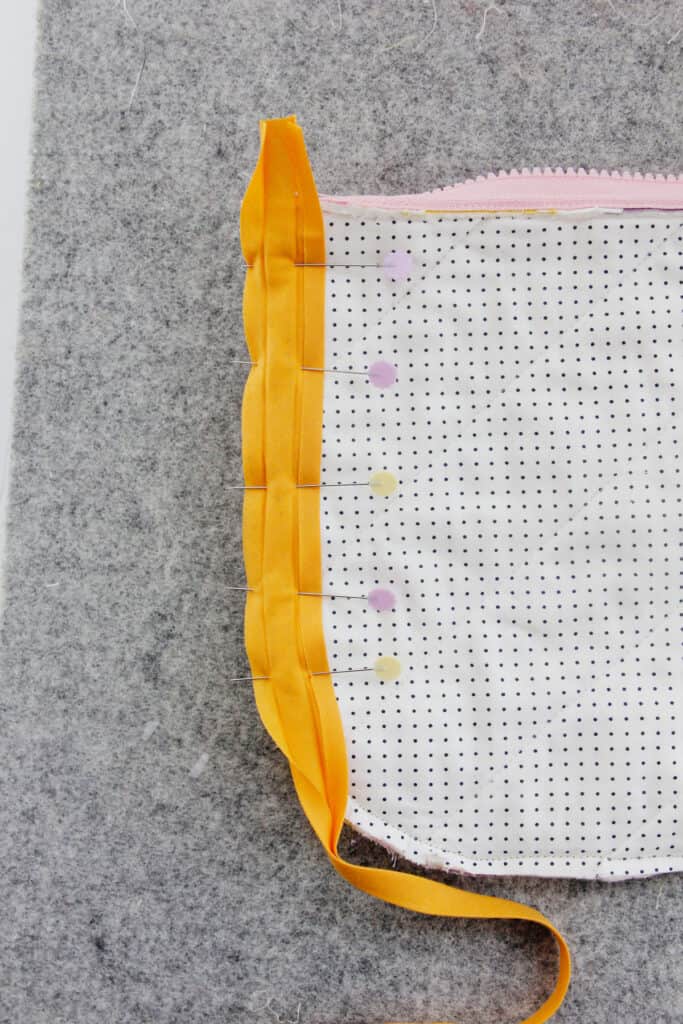
To finish the edges, pin bias tape open along the side seam of the pouch. The first crease should fit right on top of the stitching.
Fold the bias tape at the top under and then clip the bias tape around to the other side.
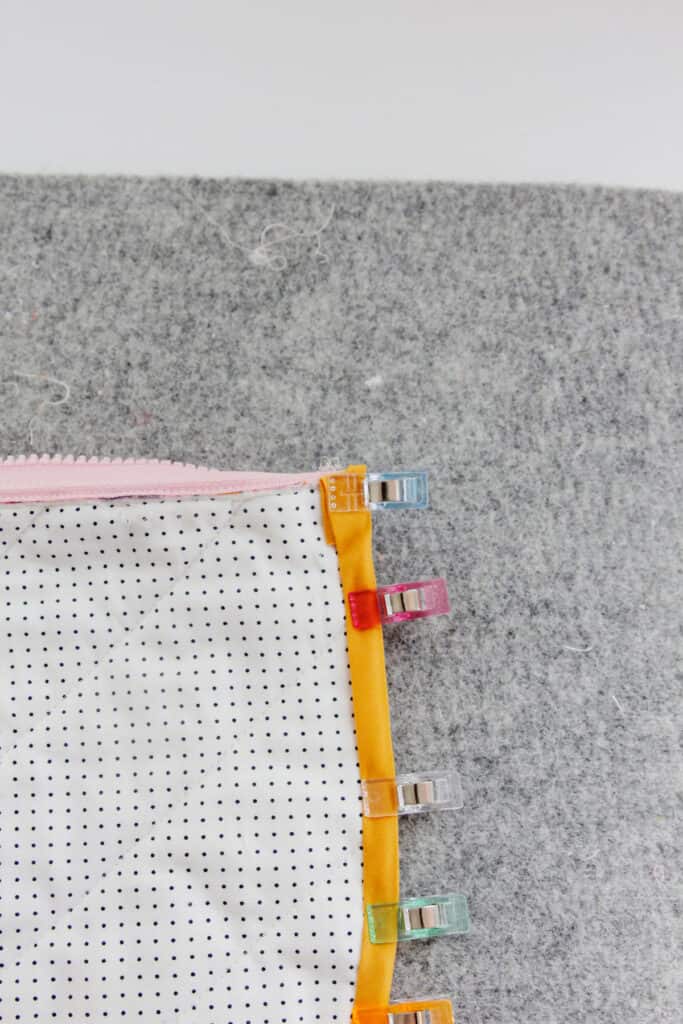
Sew around the bias tape to hold in place.
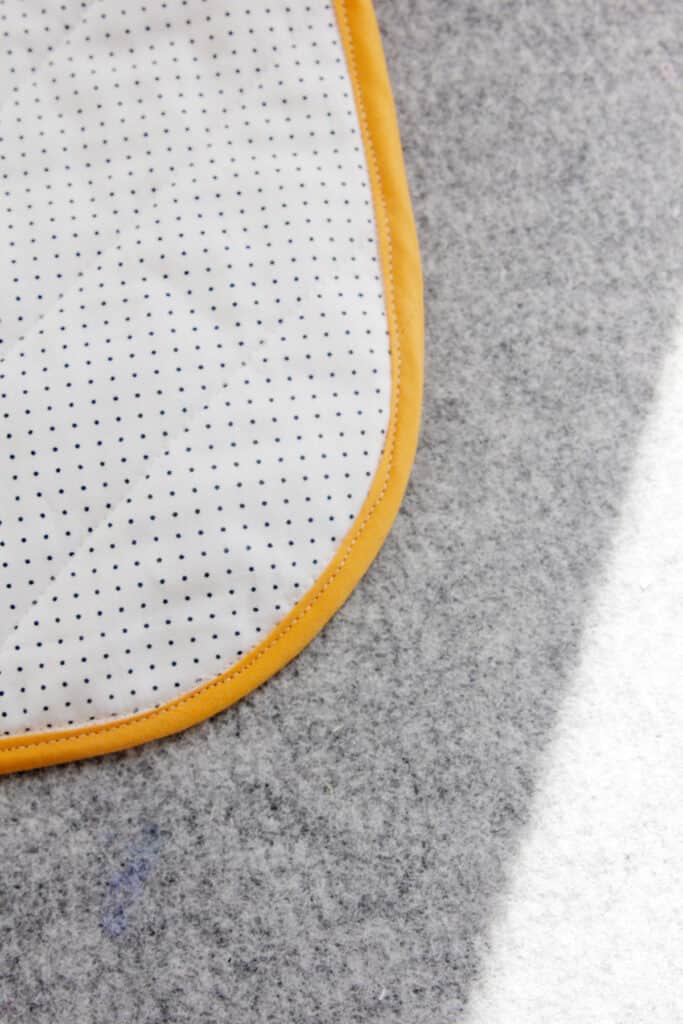
Turn right side out and your zipper bag is done!