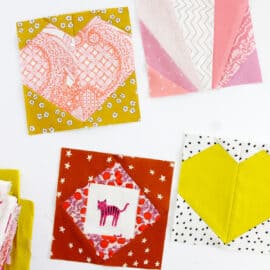
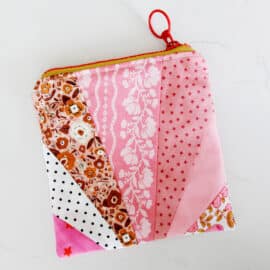
The economy block is one of my favorite quilt blocks. I love using lots of fabrics in it and you can use the center square to frame cute fabrics! This economy block FPP tutorial will show you how to make the classic quilt block quickly and precisely using foundation paper piecing!
This block is sometimes called Square-in-a-square and it is so satisfying to make! Make it with scraps or any favorite fabrics.
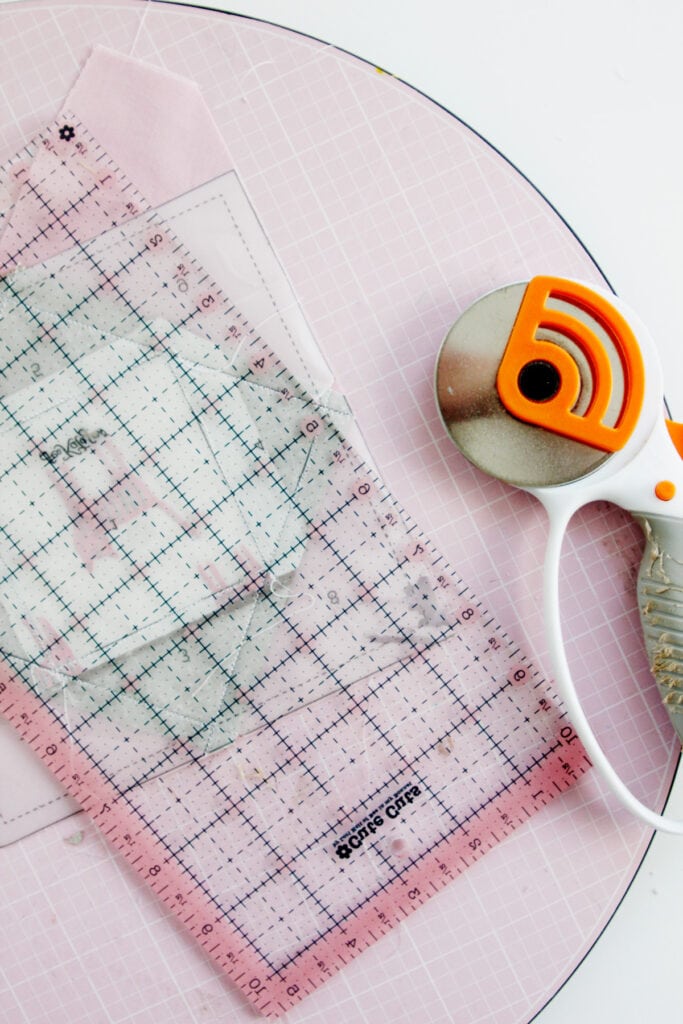
Foundation Paper Piecing Basics
If you have never done the Foundation Paper Piecing (FPP) method before, check out this link with some great basic tips, tricks and the best supplies for the job!
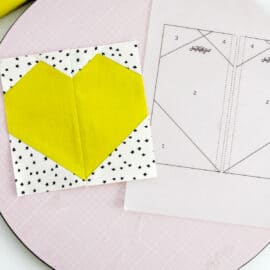
Economy Block FPP Pattern Download
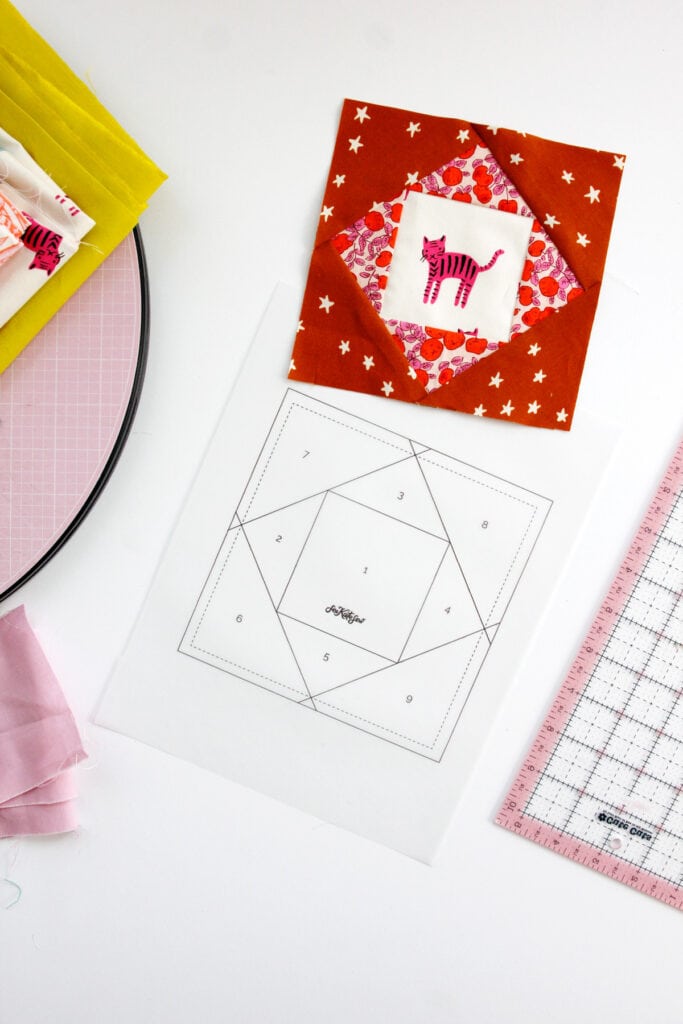
Click on the pink button to download this pattern! Print it out at 100% or DO NOT SCALE on either tracing paper or FPP specialty paper.
How to sew the economy block FPP quilt block
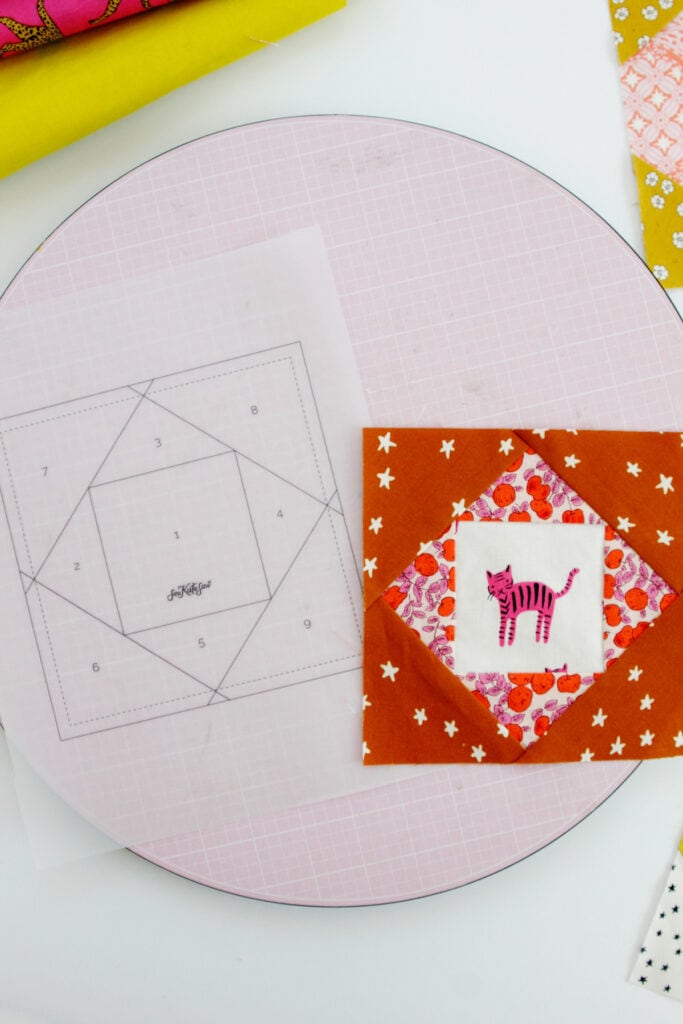
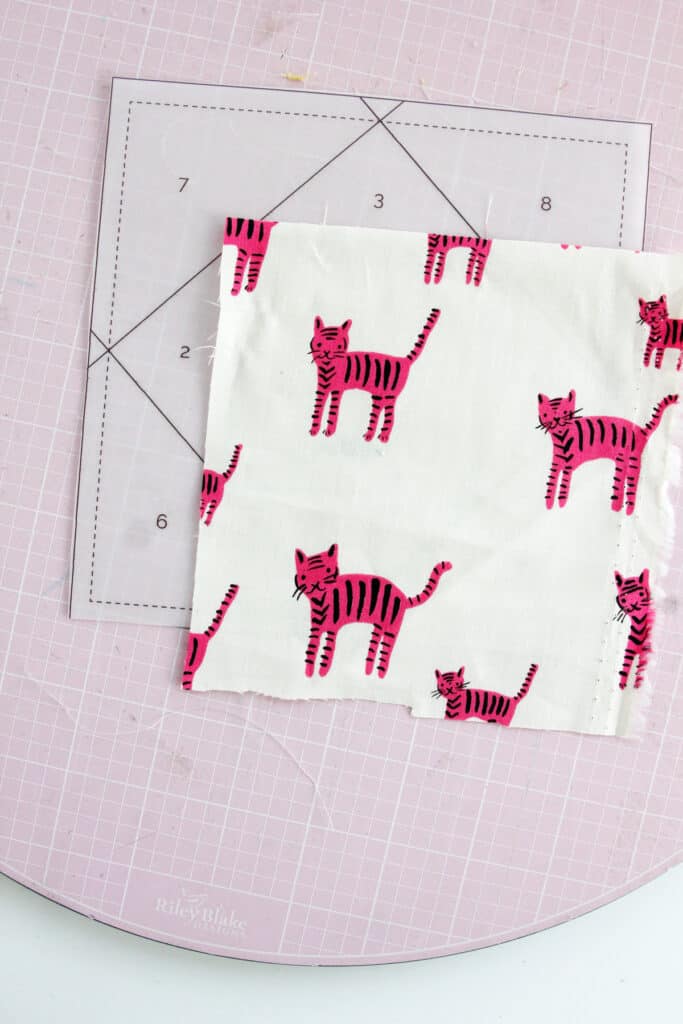
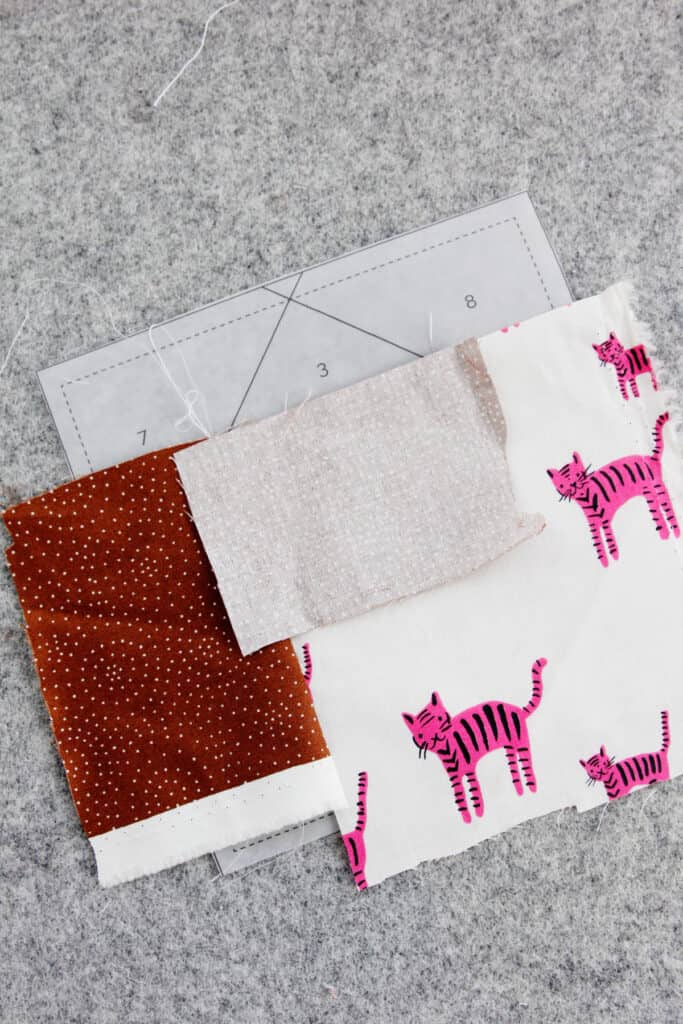
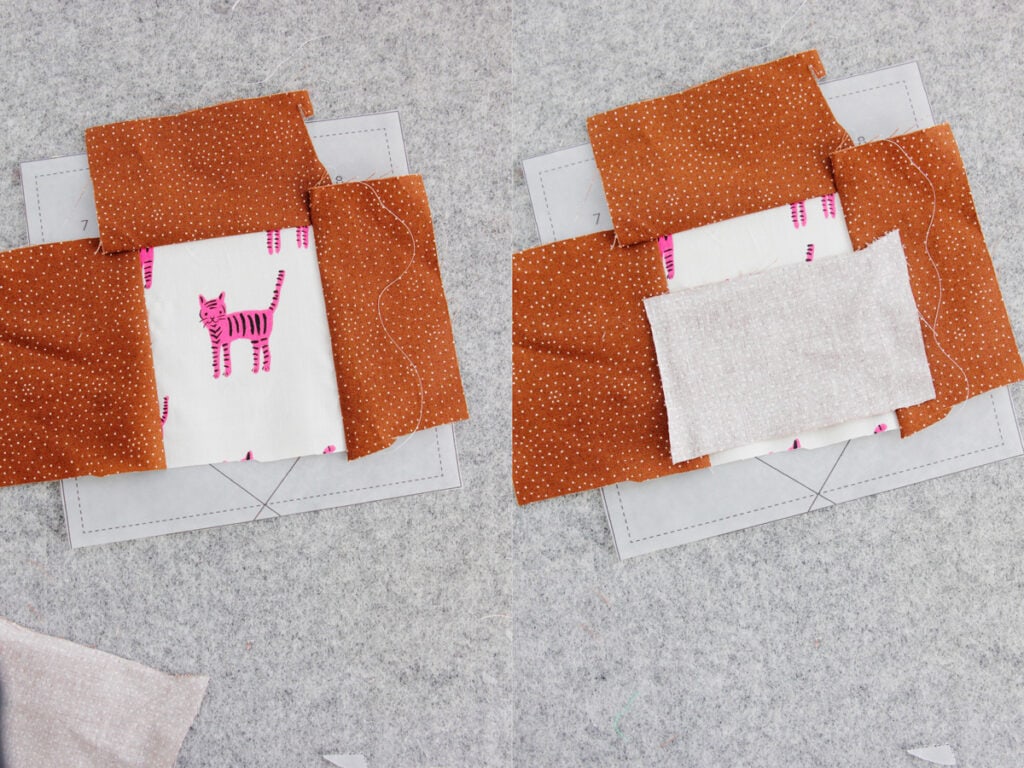
Start by picking fabric for your middle square. This can be a print, a solid or use the square to frame a cute image on your fabric. I love this block for framing cute things, usually animals, and the FPP method makes it so easy to center your design.
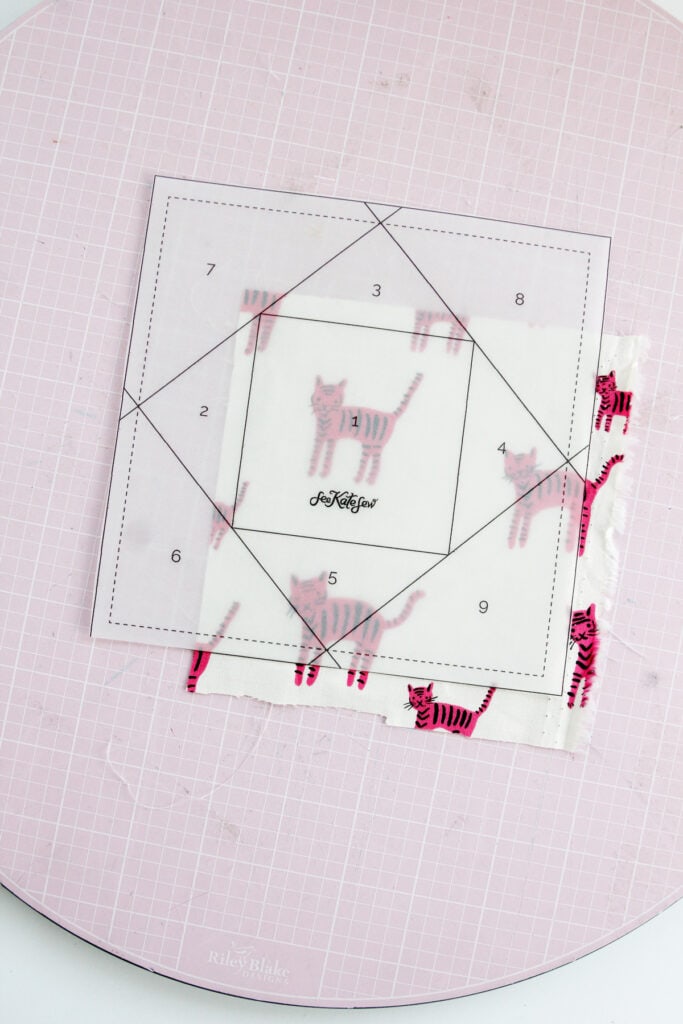
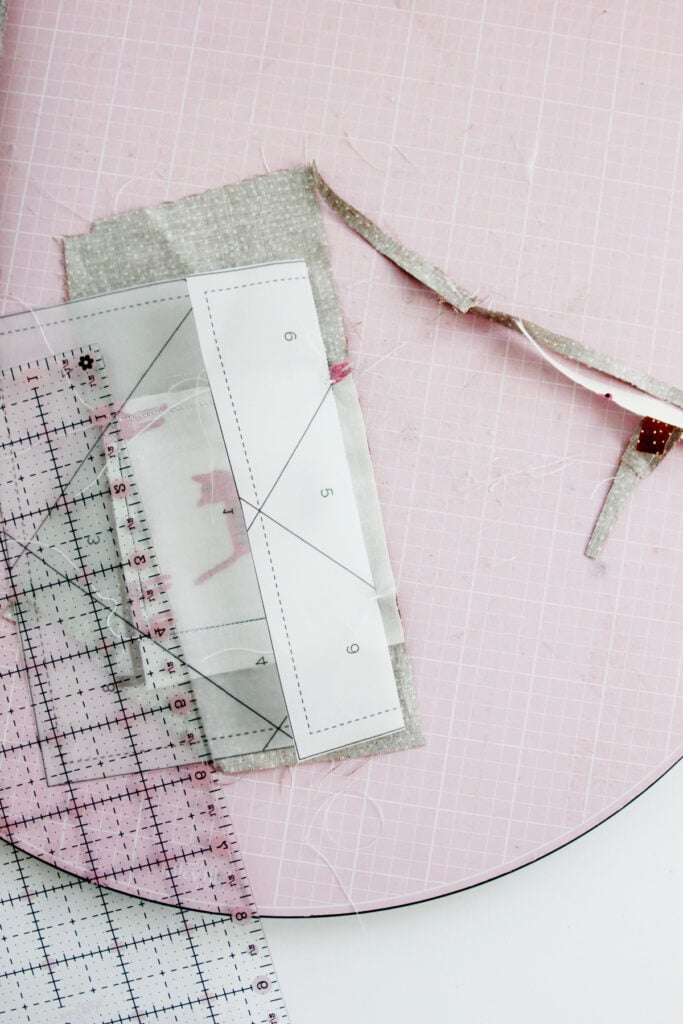
Put your middle fabric face up on top of the pattern, also face up. You can lift this into some light to see the lines from the pattern. The fabric should overlap the lines of the middle block by at least 1/4″ on all sides.
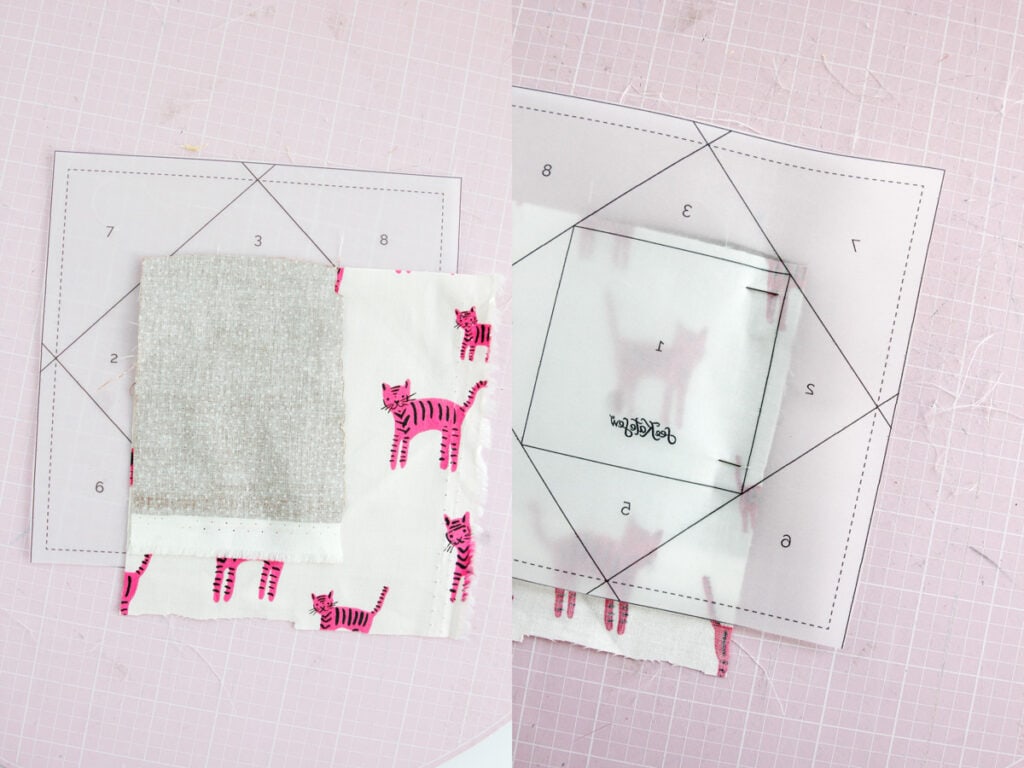
Now grab a small piece of fabric that is big enough to cover section 2. Place the fabric lined up to the raw edge of Fabric 1, about 1/4″ past the line between Sections 1 and 2. Pin and flip it over – you should see both fabrics 1/4″ (or more) past the line into section 2.
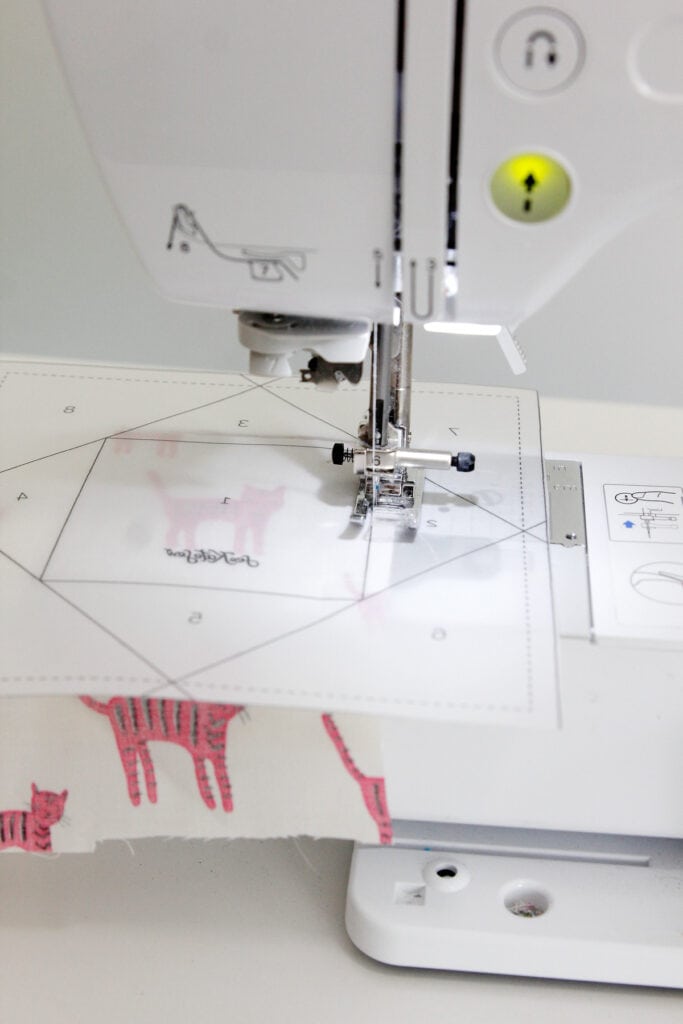
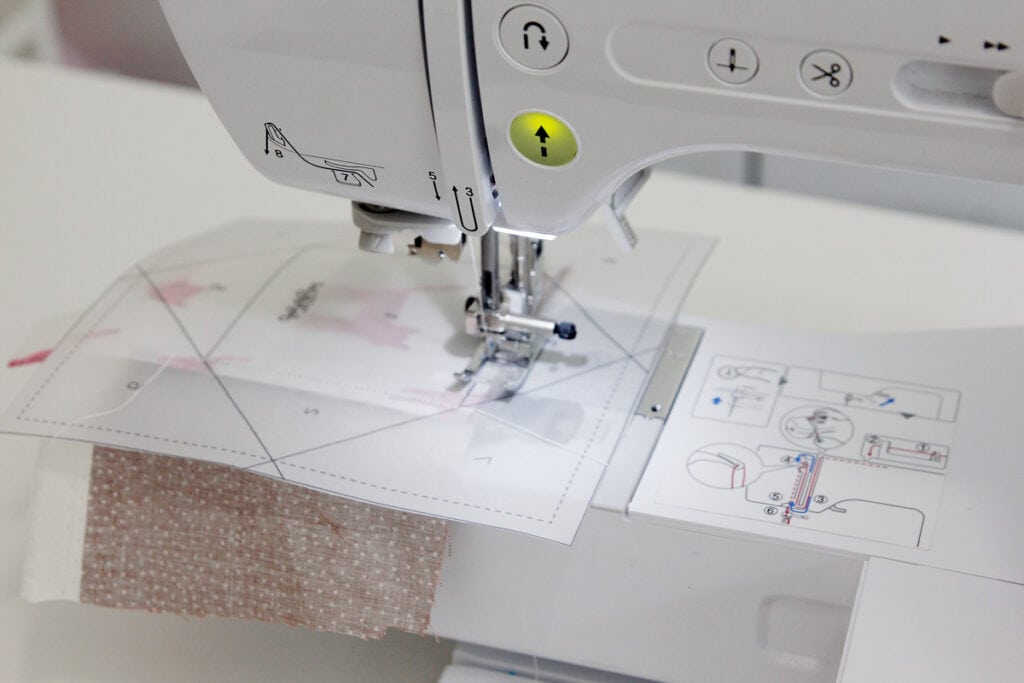
Carefully take this to the machine and sew over the line with a narrow seam allowance (about 1.8mm).
Press open.
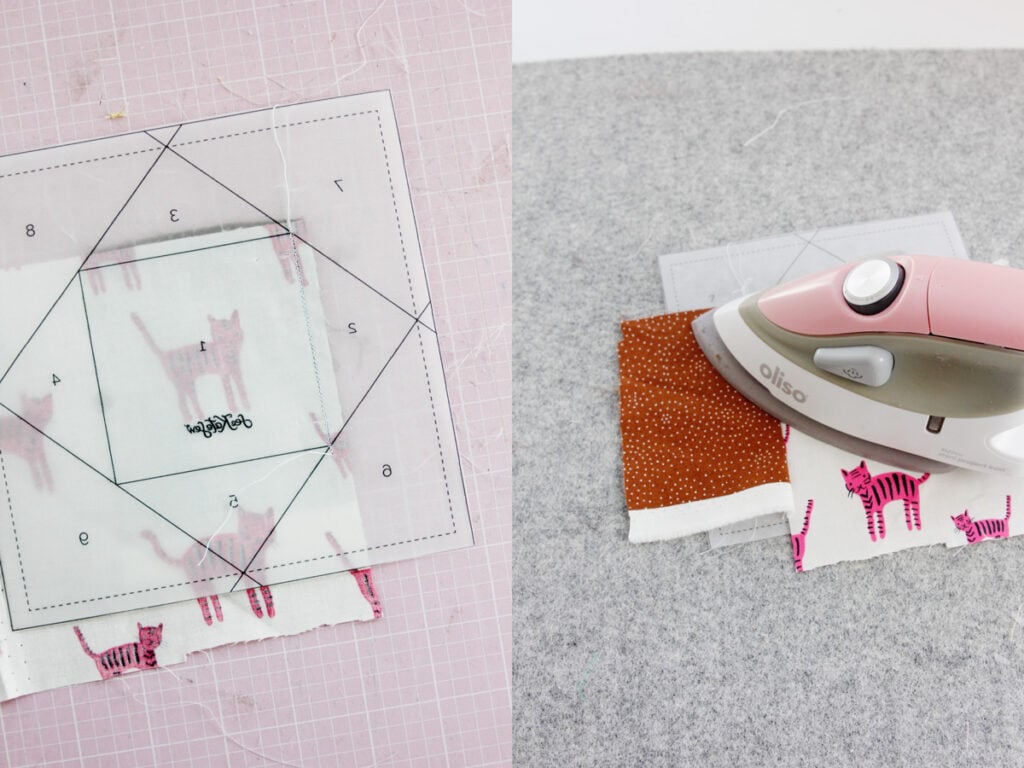
If you have extra fabric after each new fabric addition, you can fold the fabric and pattern out of the way and trim down the seam allowances to about 1/4.”
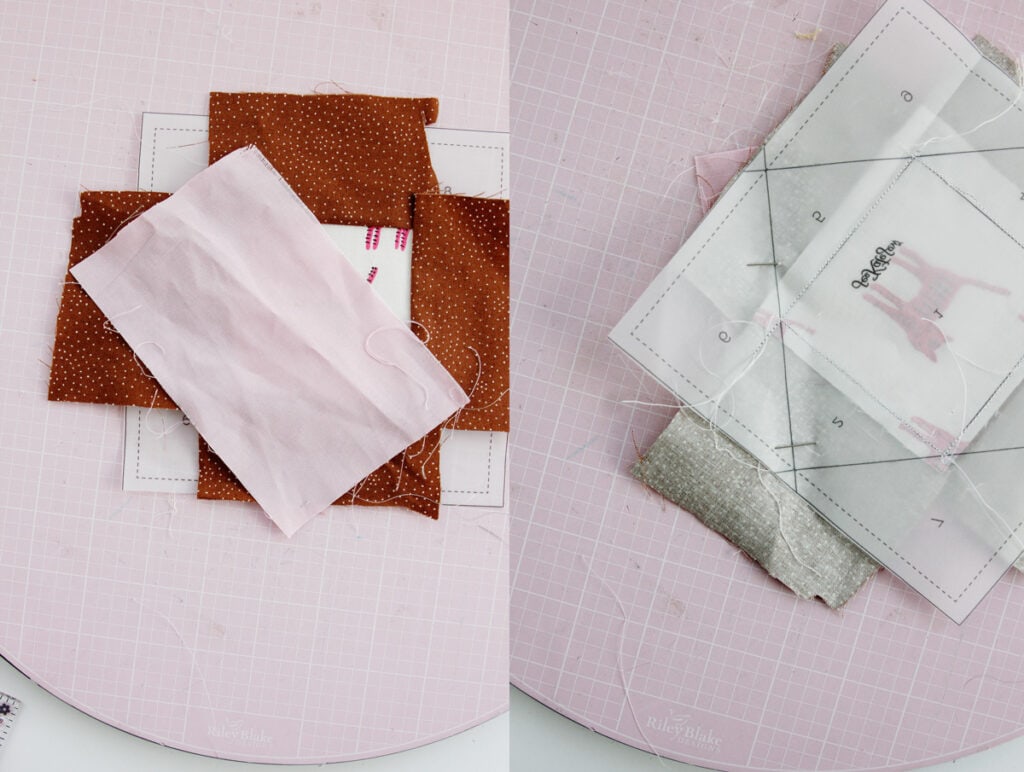
Now add another piece of fabric for Section 3, just like you did for Section 2.
Sew over the line.
Press up and repeat with sections 4 and 5.
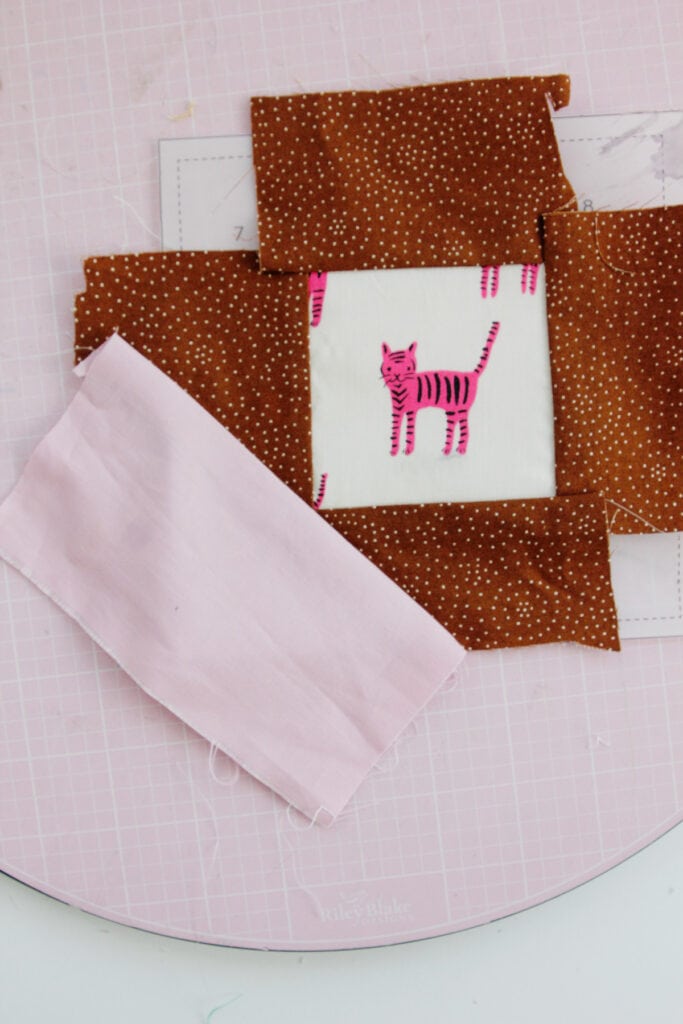
Now your inside triangles are done and we’ll finish by adding the corner triangles.

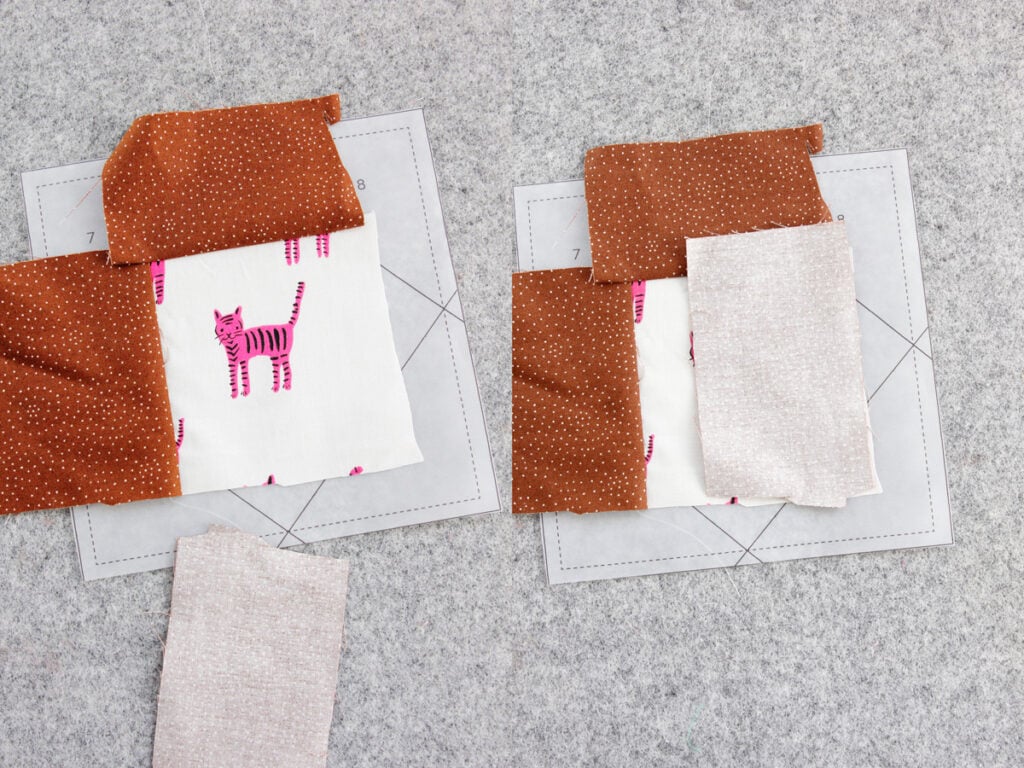
If you are using pretty roughly cut fabric scraps like I am, you may want to trim down some of the brown fabric before this step. You can also turn over the pattern and just make sure you are placing the fabric correctly. For this step, we’ll continue adding fabric like we did for the inside triangles. For Section 6, place the fabric as shown, then sew over the line.
Press out.
Repeat until you have all 4 corners covered. Press.
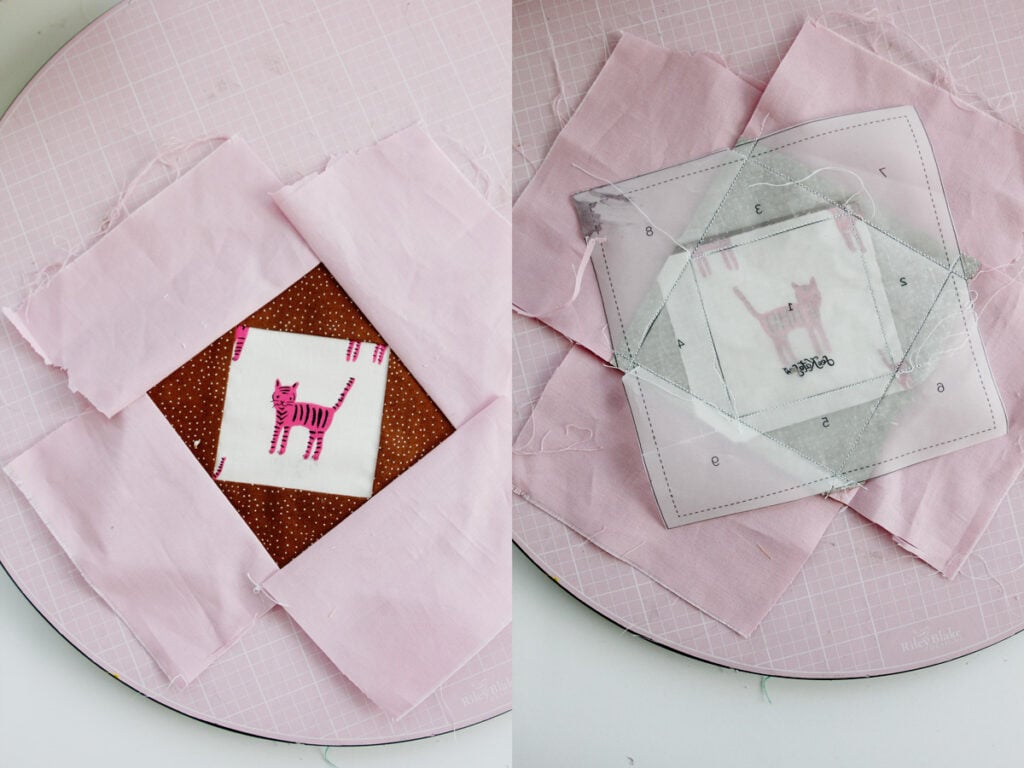
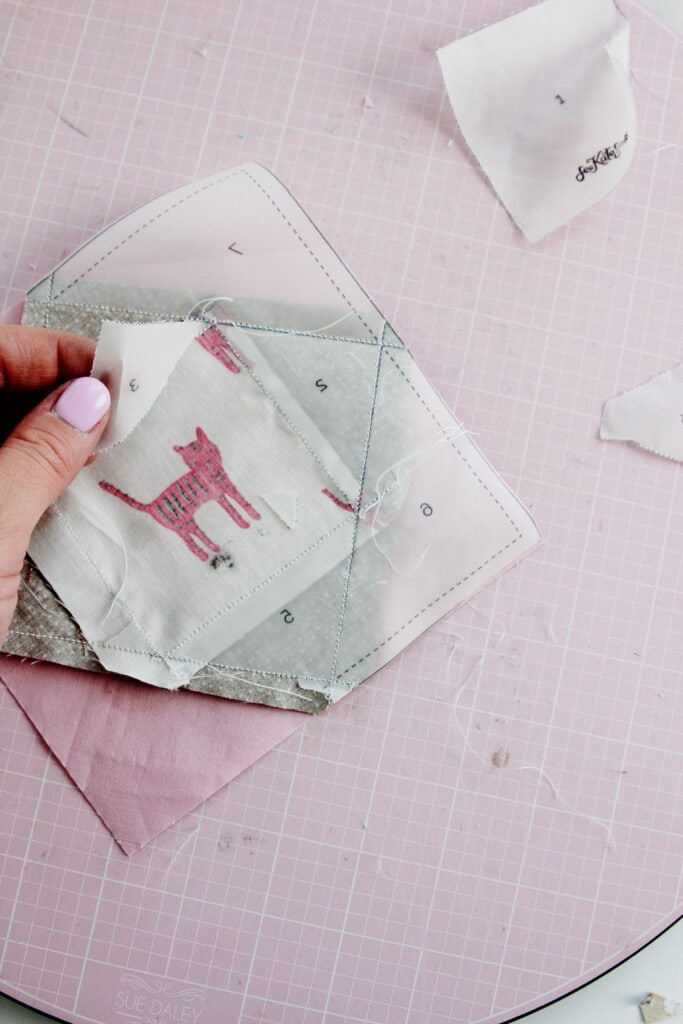
Then turn it over and trim around the pattern piece with a rotary cutter and ruler.
Now is the fun part – rip off the paper on the back!


Leave a Comment