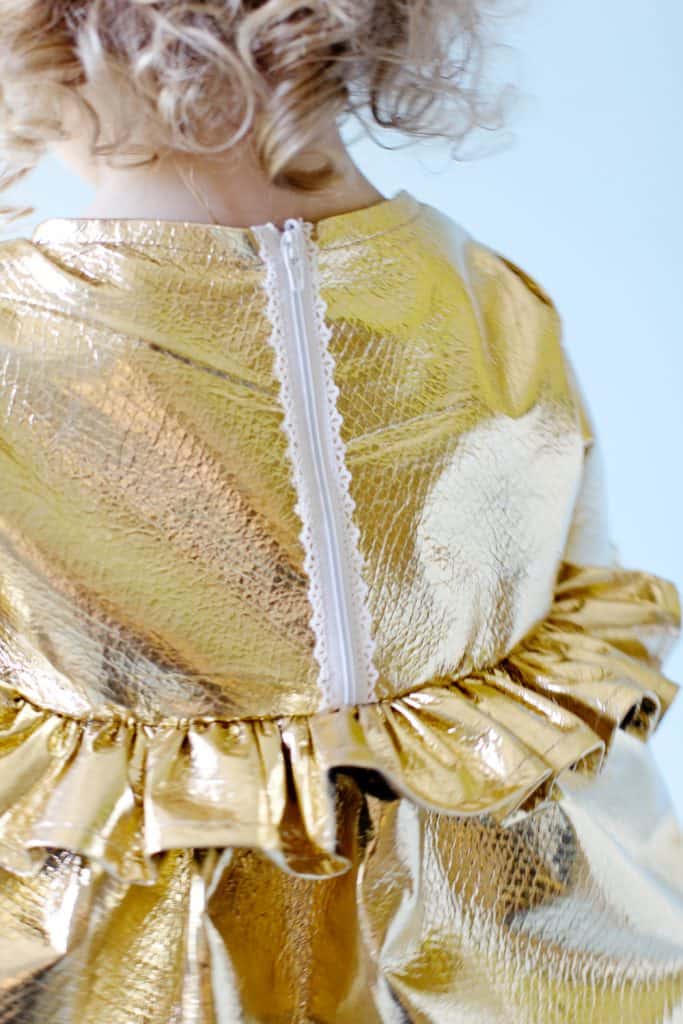
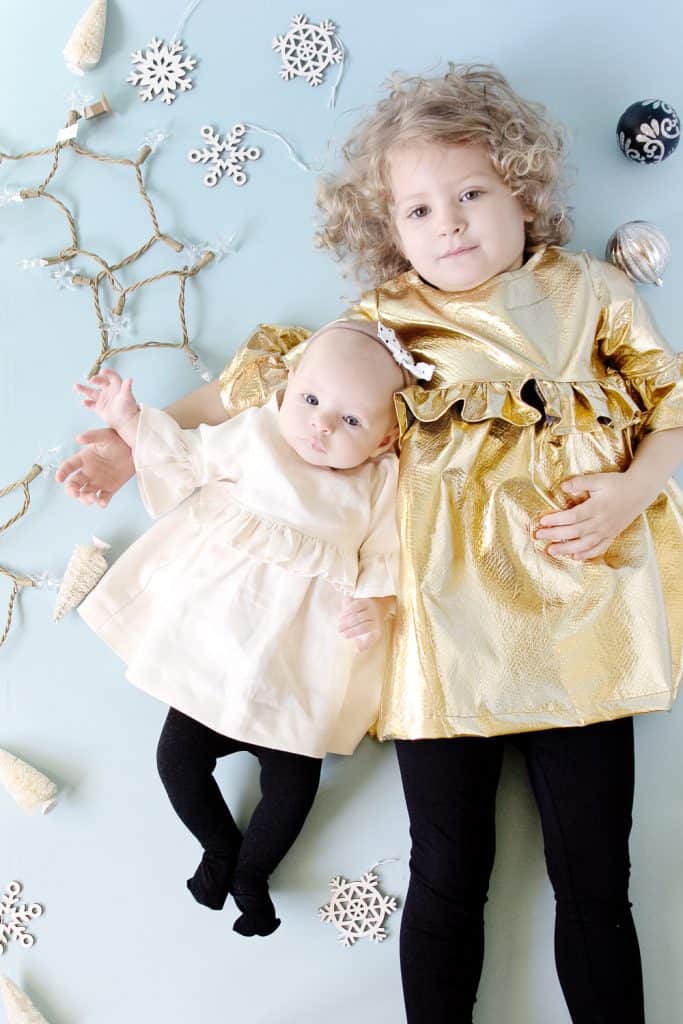
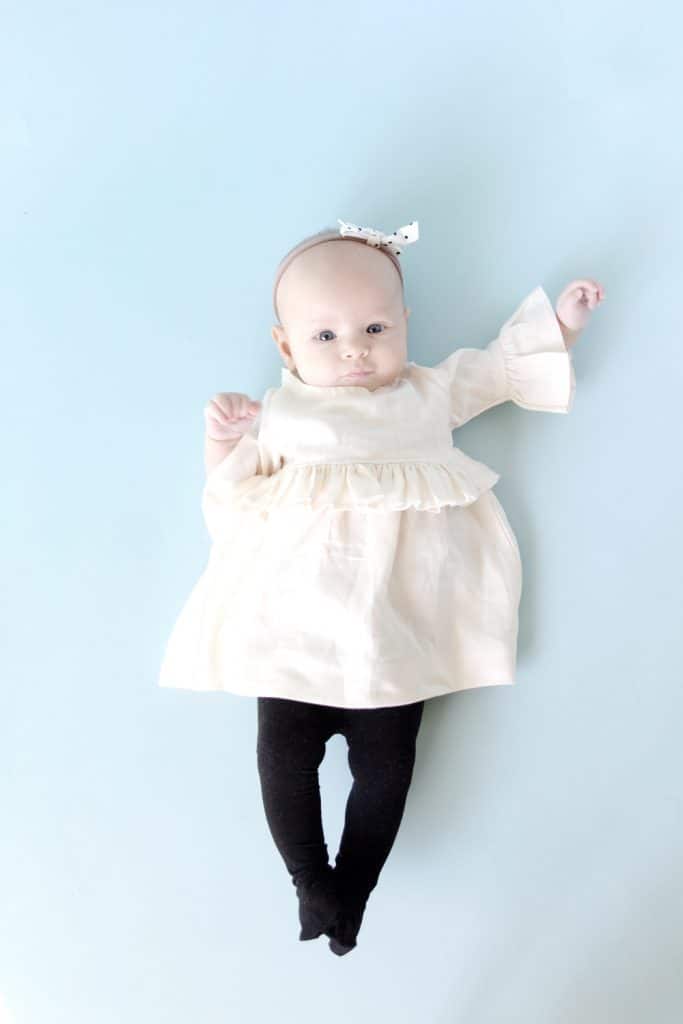
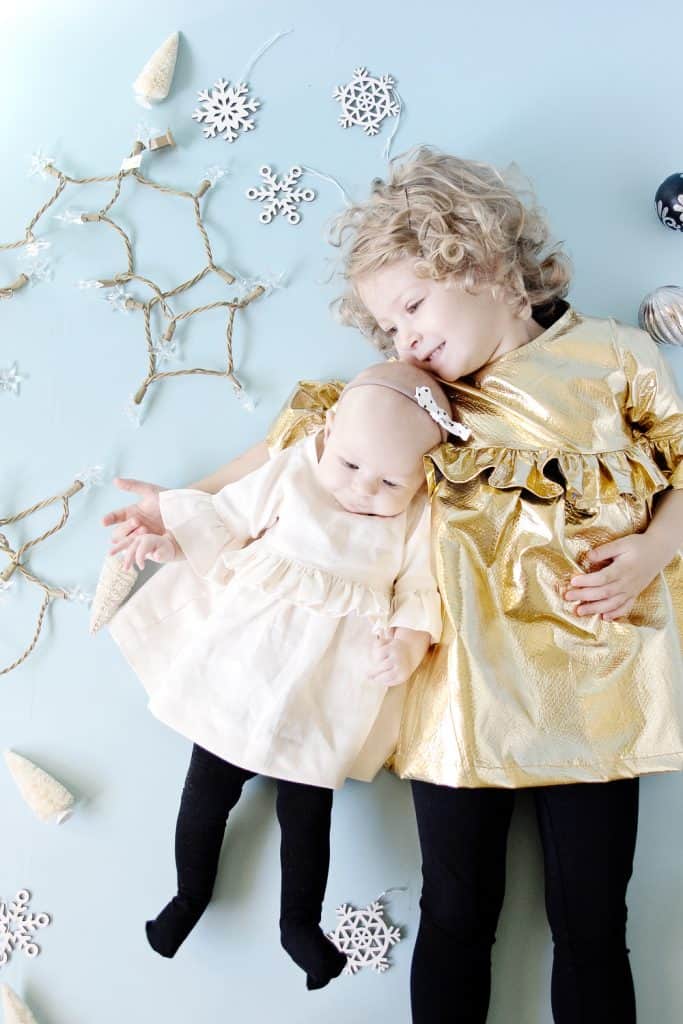
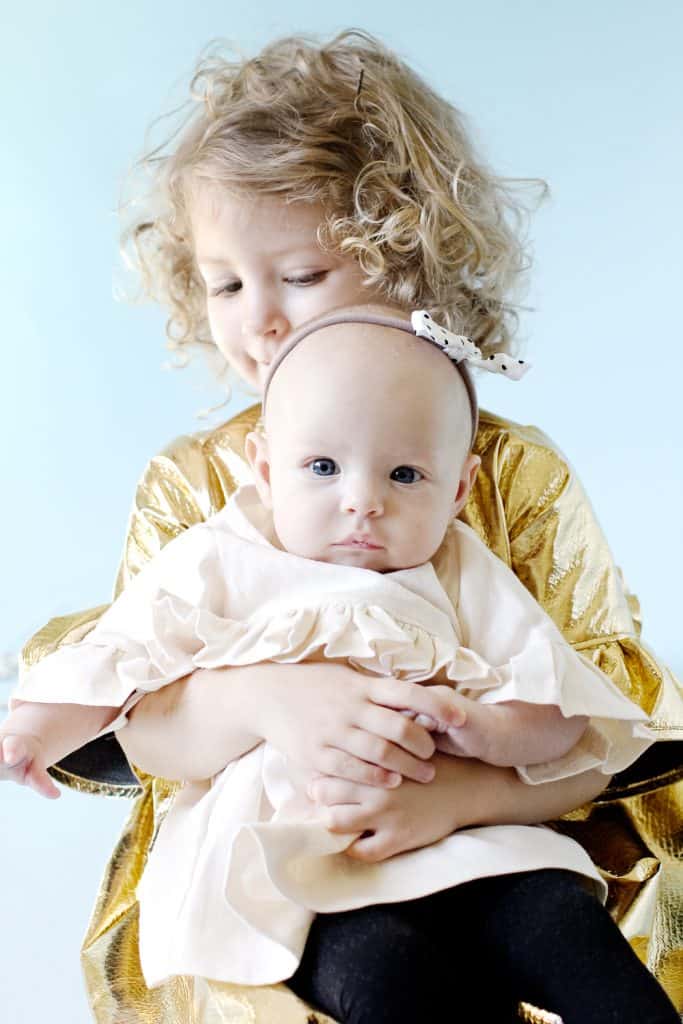
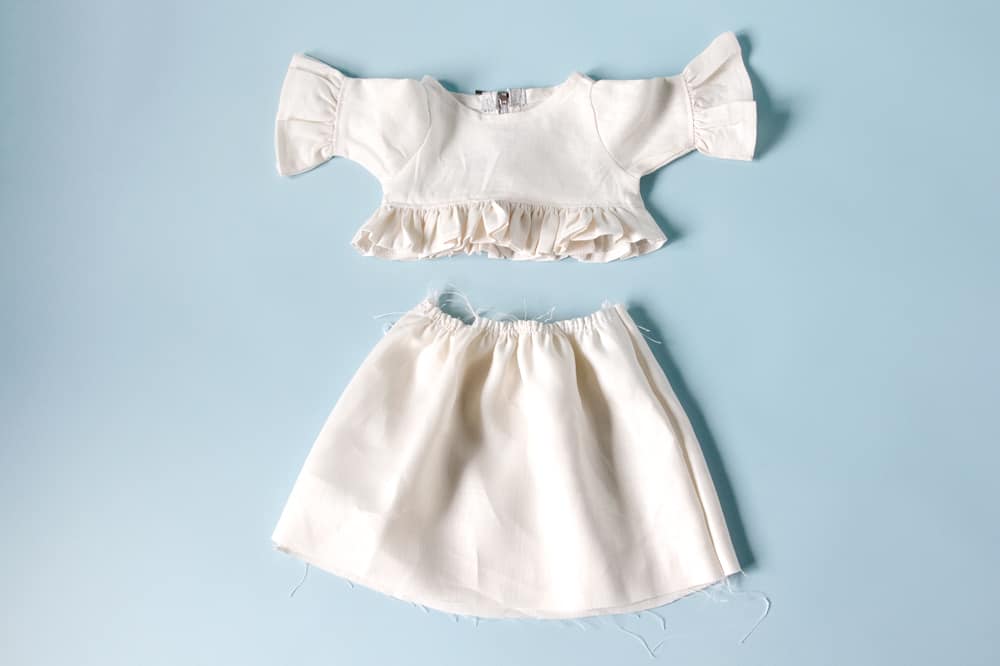
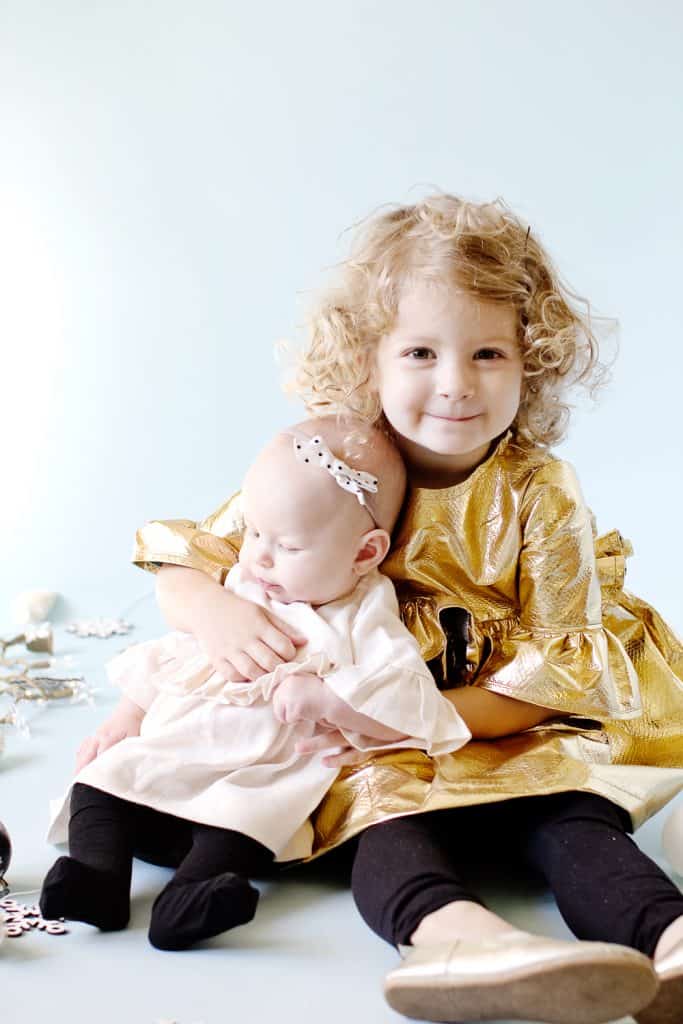
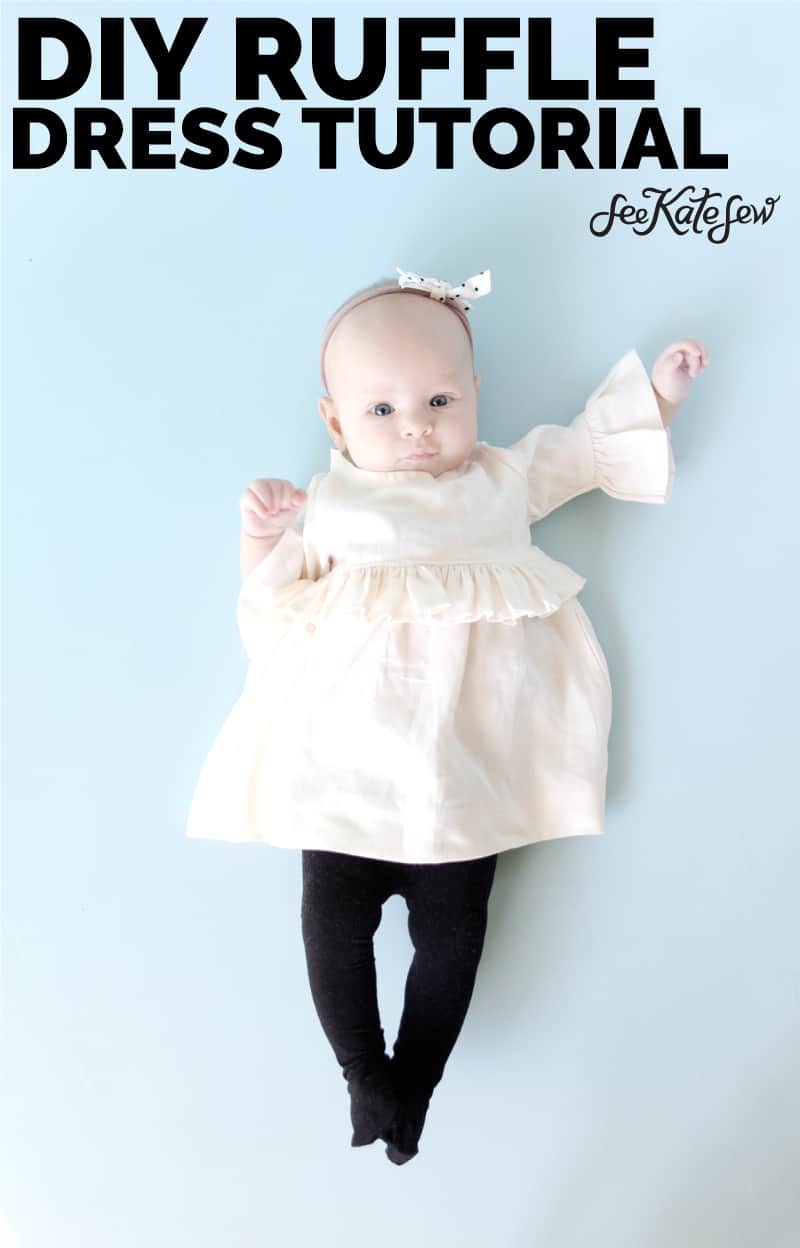
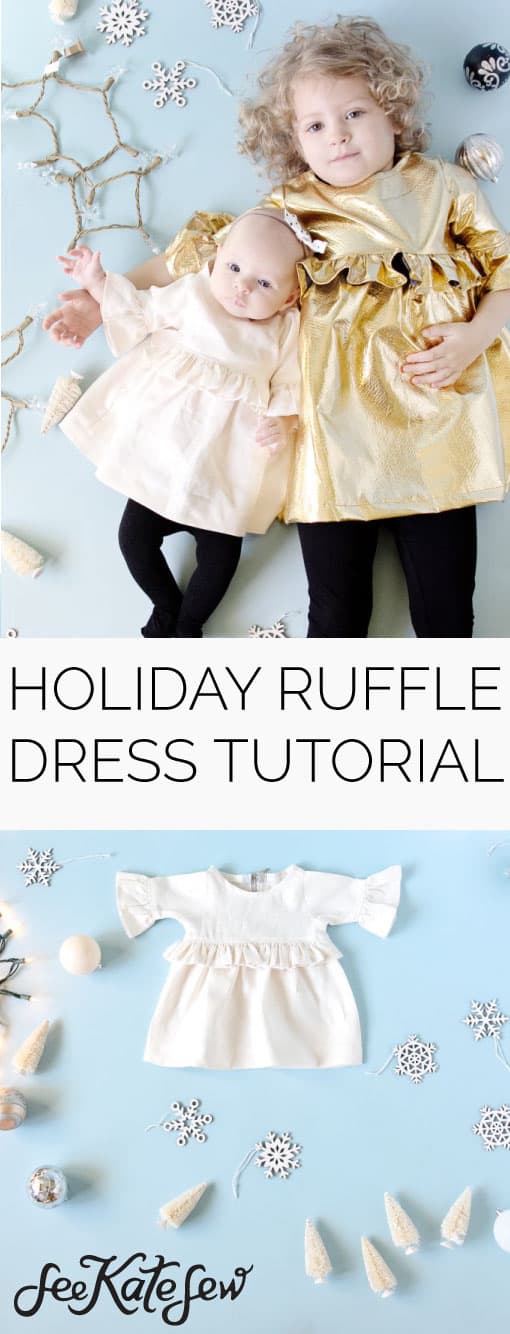
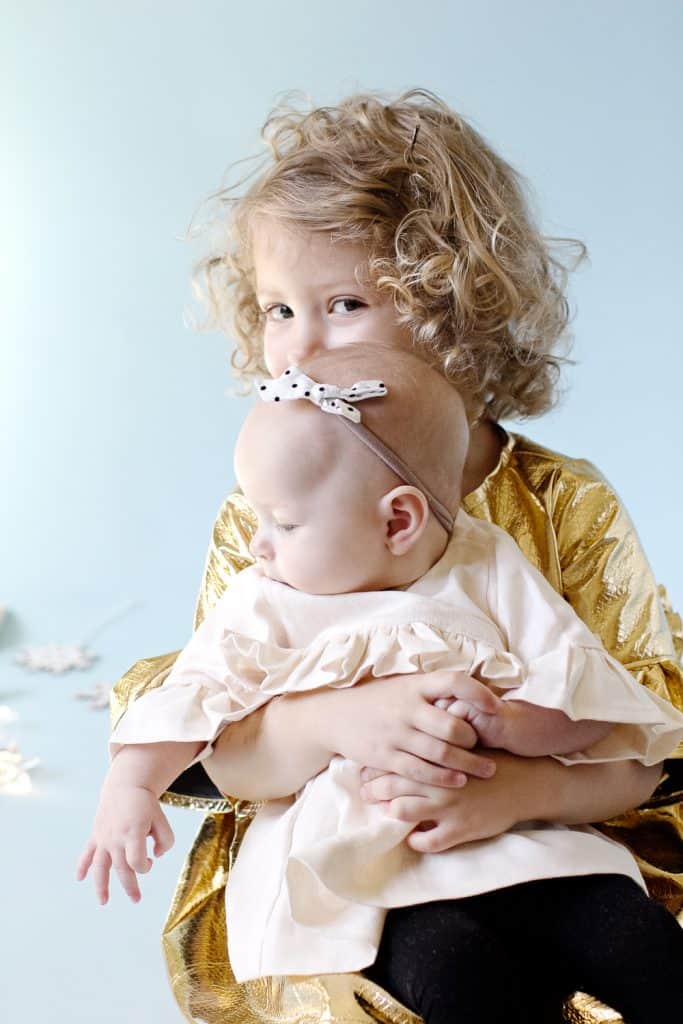
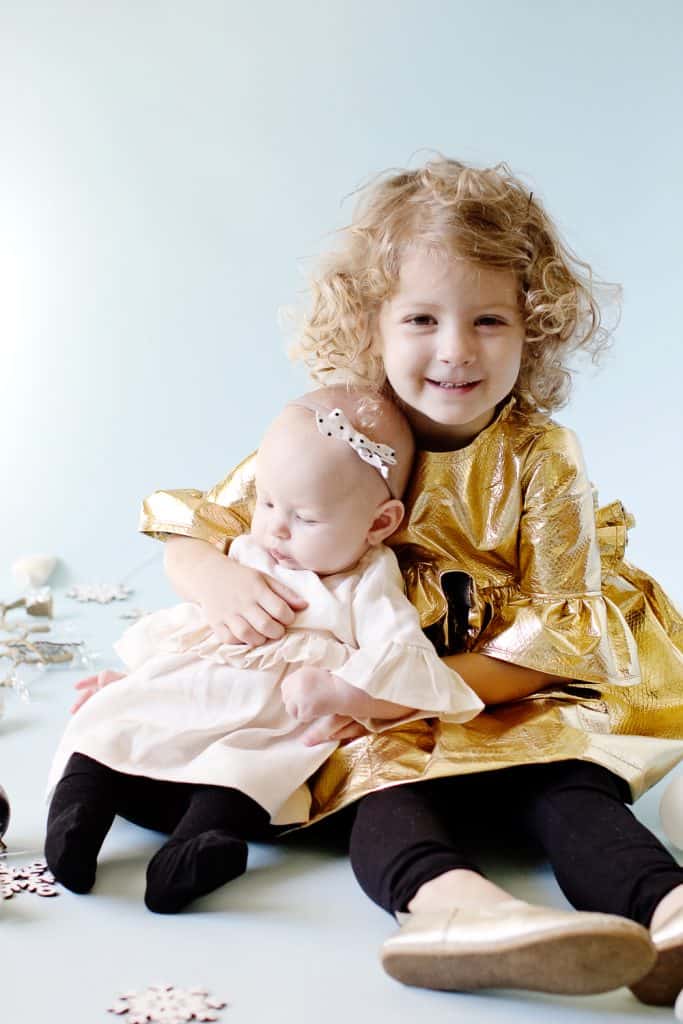
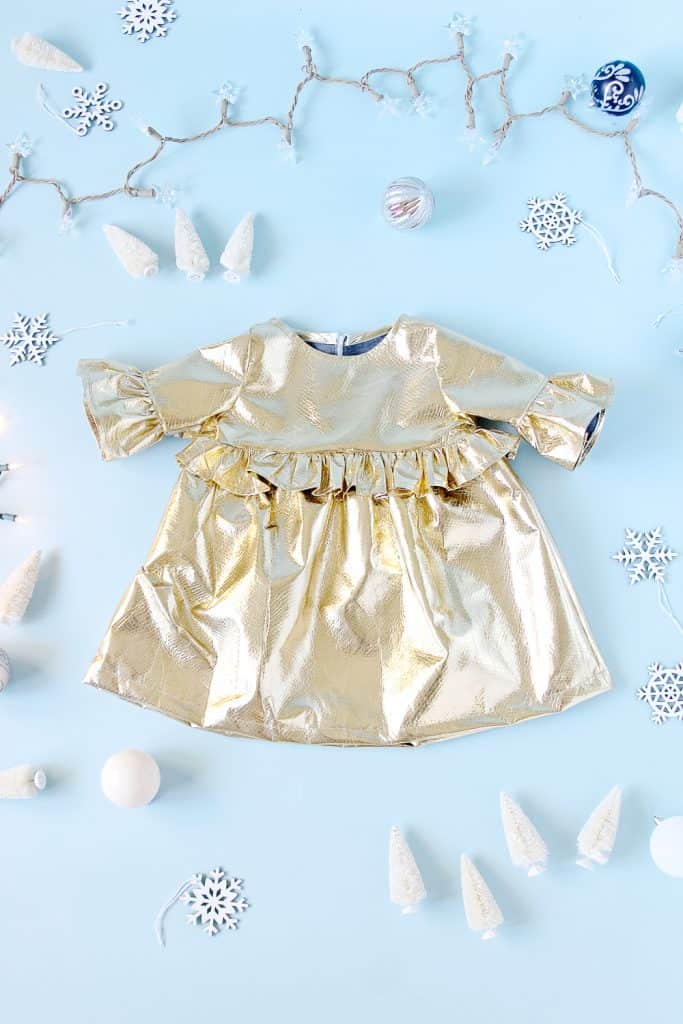
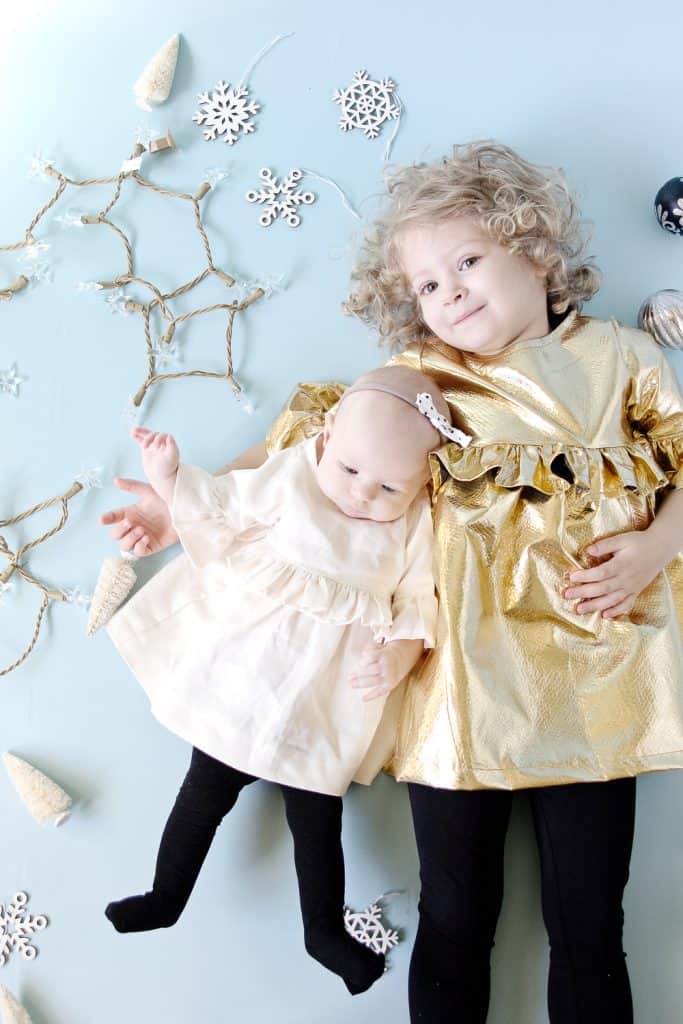
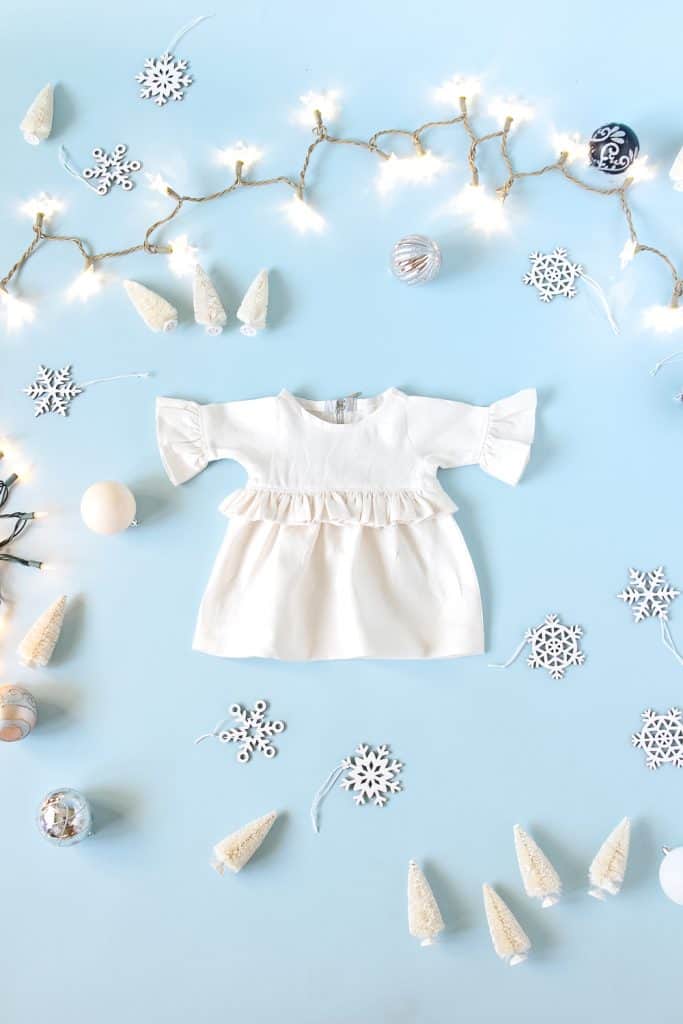
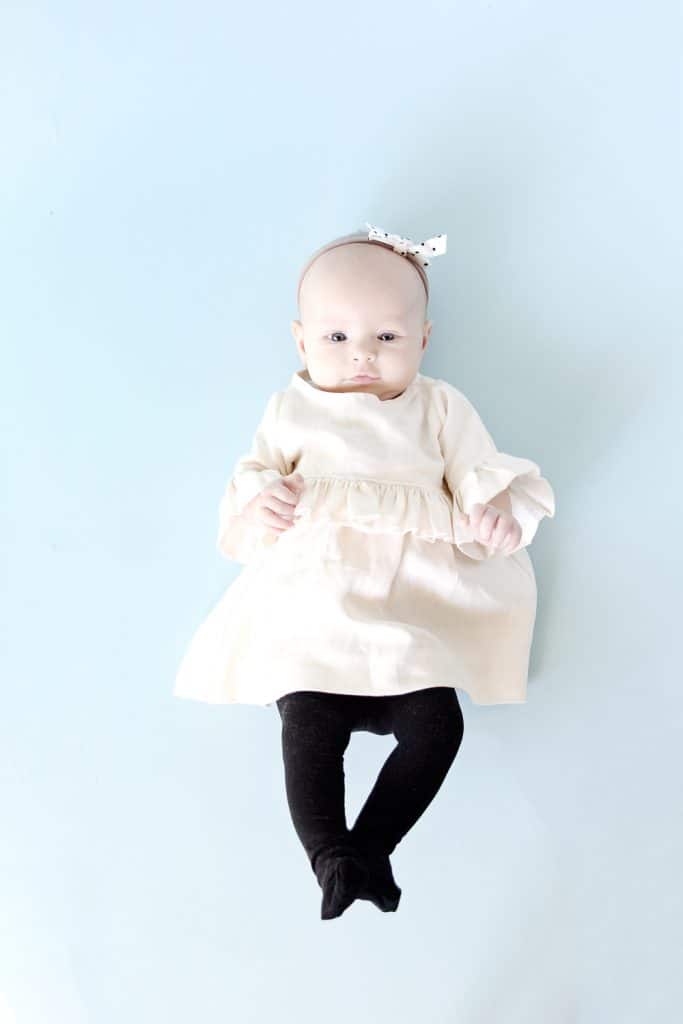
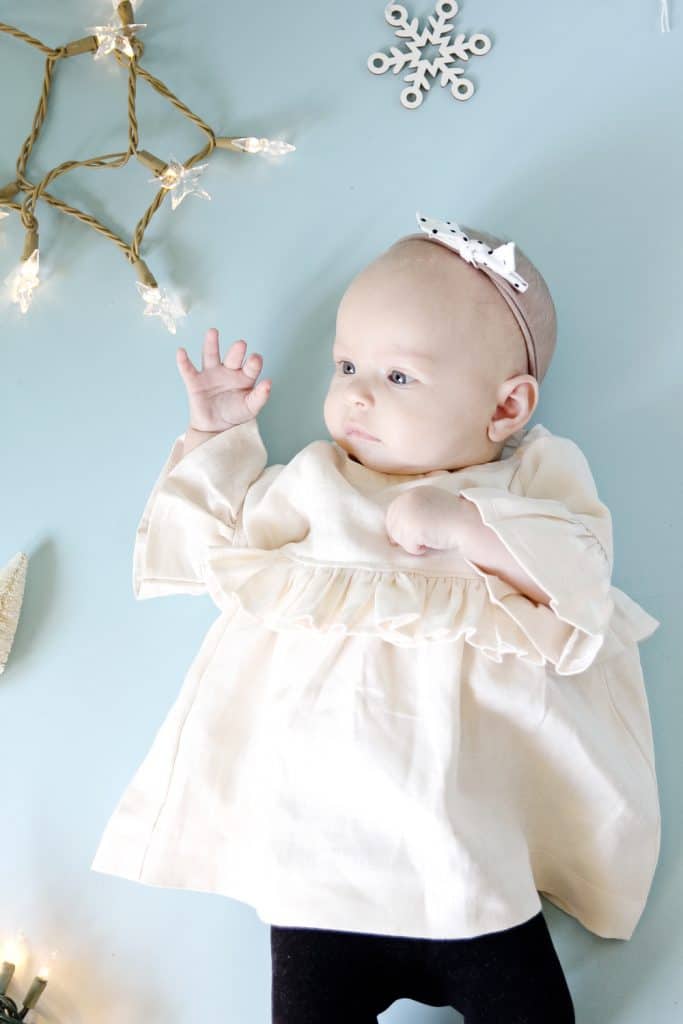
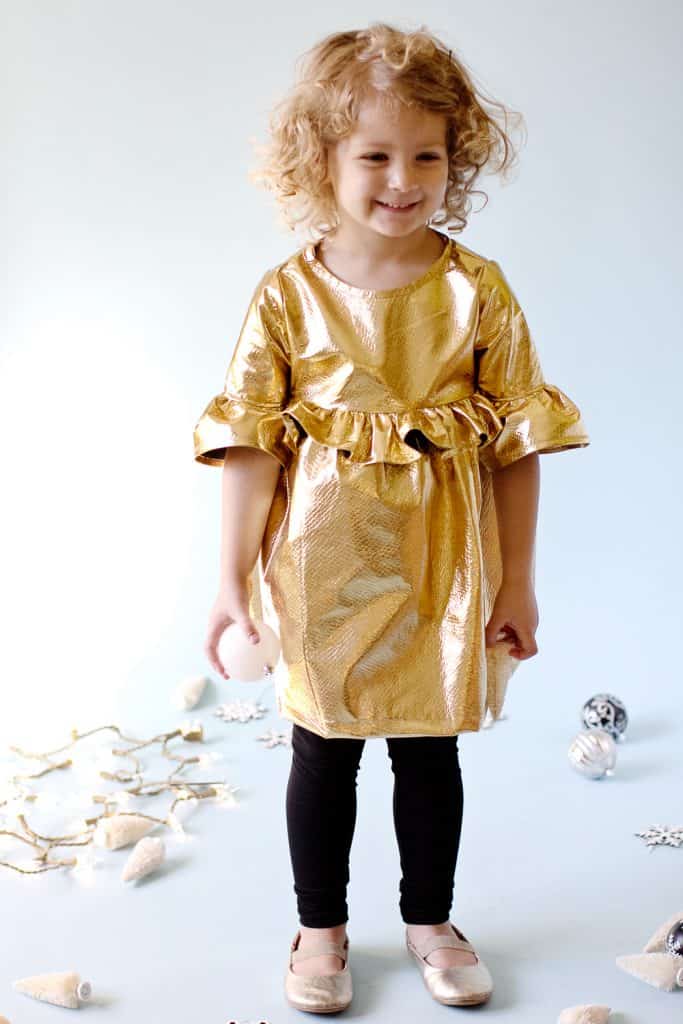
I’m thrilled to share these holiday ruffle dresses with you today! I used two really fun fabrics for this, one neutral linen and one glitzy pleather! I always love a good neutral fabric but I also love shiny things so I picked two fabrics to showcase this dress in two different ways! I love using solid colors for holiday dresses because they work for Christmas without being blatant, so you can use them again after the holidays, too. I like these ones for New Year’s Eve, too!
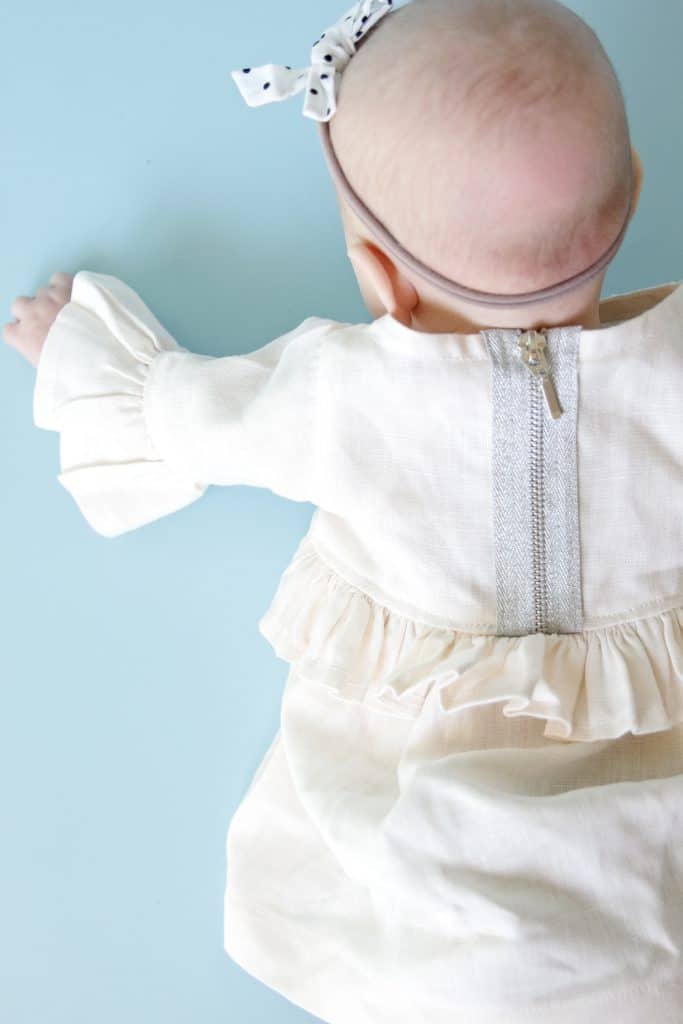
In this post I will show you how to make these ruffle bell-sleeve holiday dresses without a pattern! We’ll create the pattern using a dress that you already have and some measurements! This dress isn’t too hard to make and a few subtle details like an exposed zipper and lots of gathers make it extra special for any special occasion!
Materials:
-1-2 yards apparel fabric, I’m using Foil Pleather in gold and an off-white linen
-Matching thread
-Shiny or Decorative 7″ Zipper (I used the white Poly Cutwork Cosed End Zipper and this silver Metallic Separating Zipper)
-1 package .5″ wide single fold bias tape
Other supplies
-basic sewing supplies
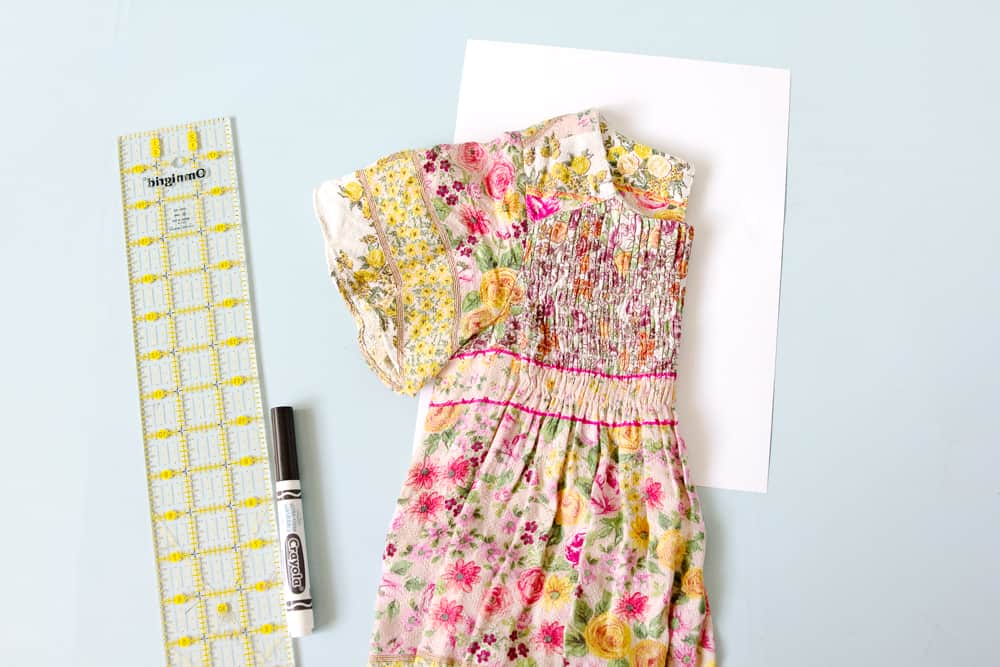
-non-stretch dress or shirt that fits your child
-paper for pattern
- 3M
- 14″ by 3″ sleeve ruffle
- 18″ x 10″ skirt pieces (2)
- ruffle 35″ by 2.5″
- 5t
- sleeve ruffle: 18″ by 4″
- ruffle: 3″ by 39
- skirt pieces: 15″ by 26″
- Use a 3/8″ seam allowance
- Serge or zig zag stitch all seam allowances to finish.
- Instructions:
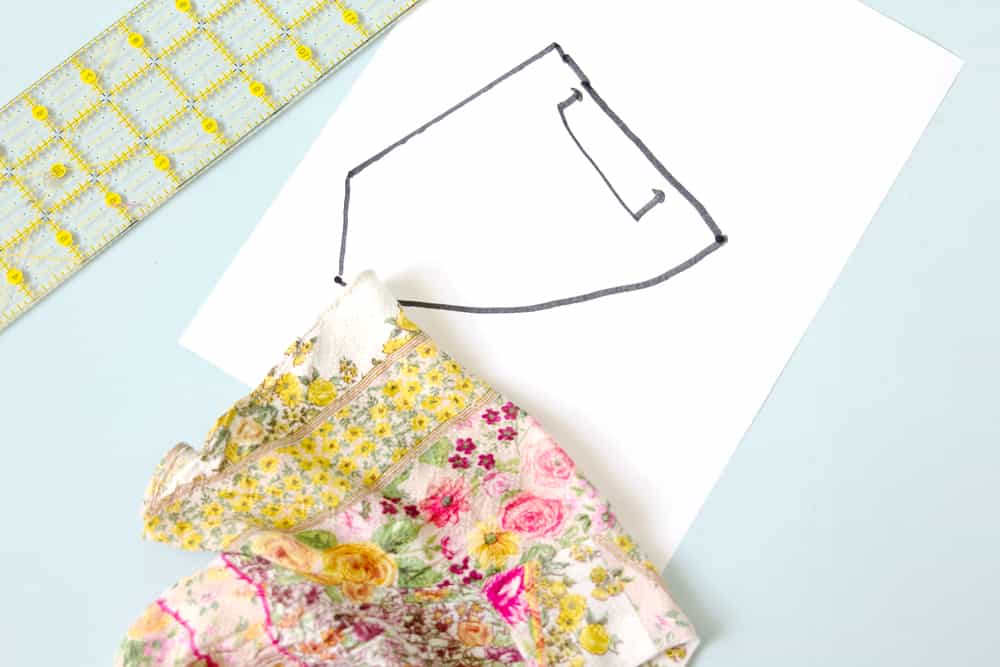
- Create your pattern by tracing the dress you already have. Start by pressing the dress in half along the center front. Press well so it is as flat as you can get it!
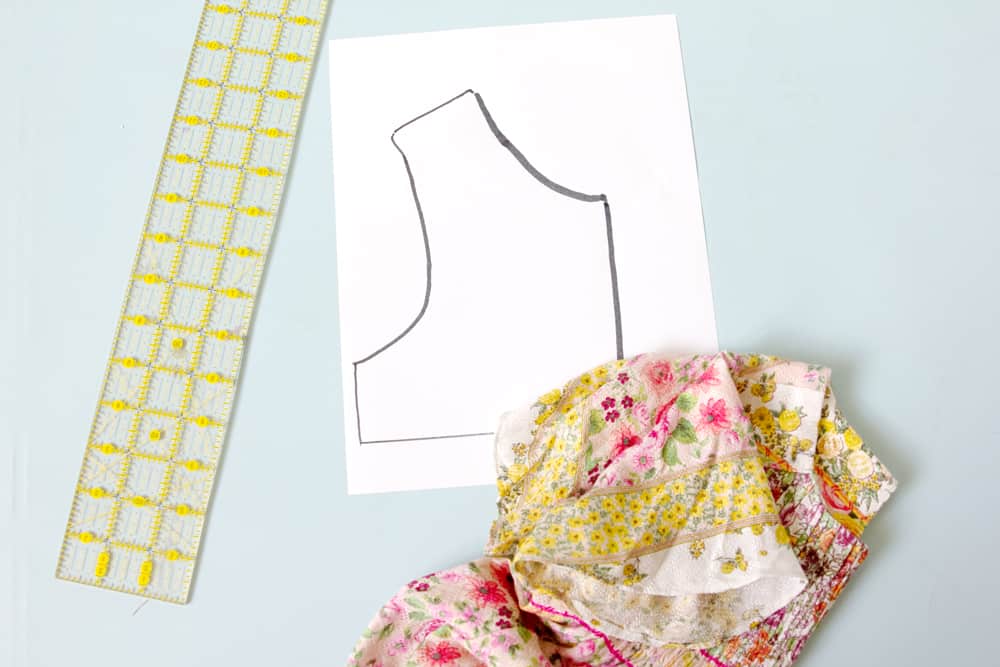
- Fold the dress in half and trace the neckline, center front line, shoulder, armhole and side seam down 1.75″.
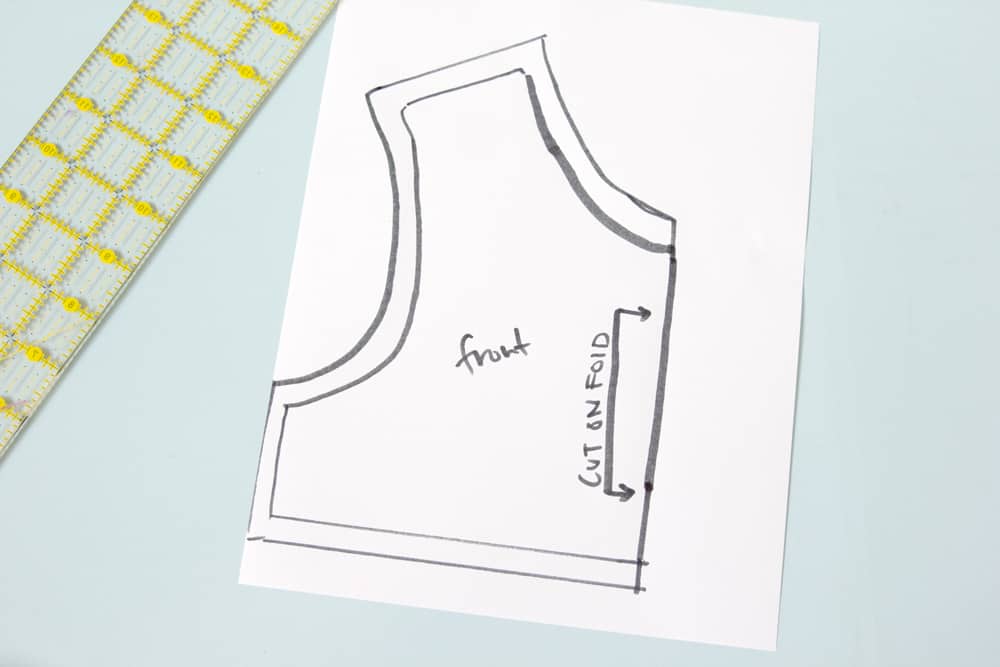
- Add 3/8″ seam allowance to all pattern pieces. Do not add seam allowance to the center front line since this edge will be placed on a fold.
- Repeat with the back pieces but add seam allowance to ALL edges, including center back.
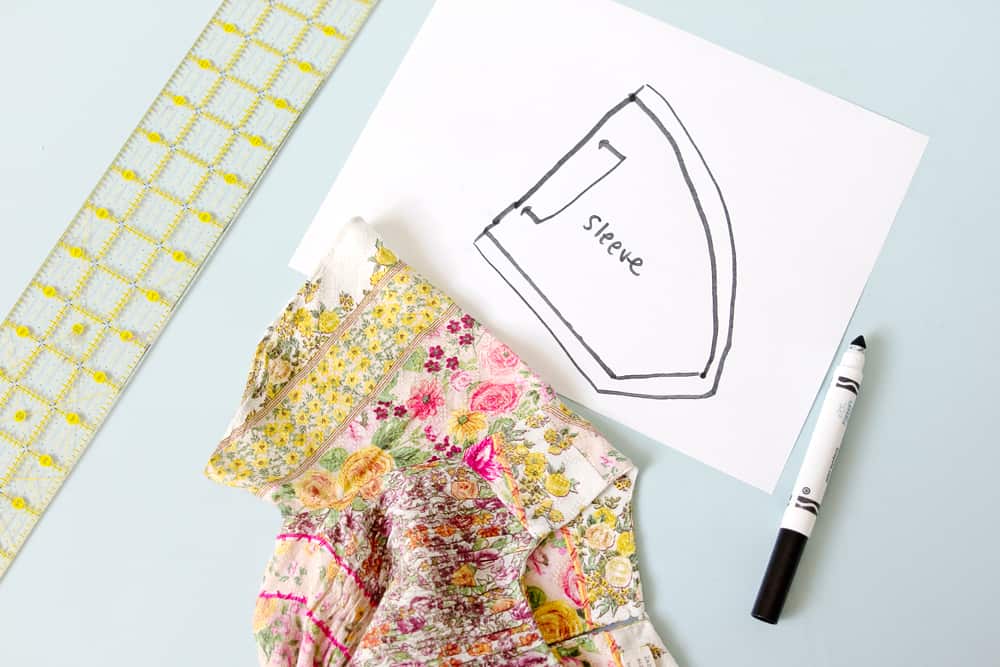
- For the sleeve, fold in half and press well with an iron.
- Trace around the sleeve curve, hem and center. Fold the dress up as you trace the center of the sleeve so you can get as close to the seam as possible.
- Add a fold line to the top edge of the sleeve
- Add seam allowance to all other edges.
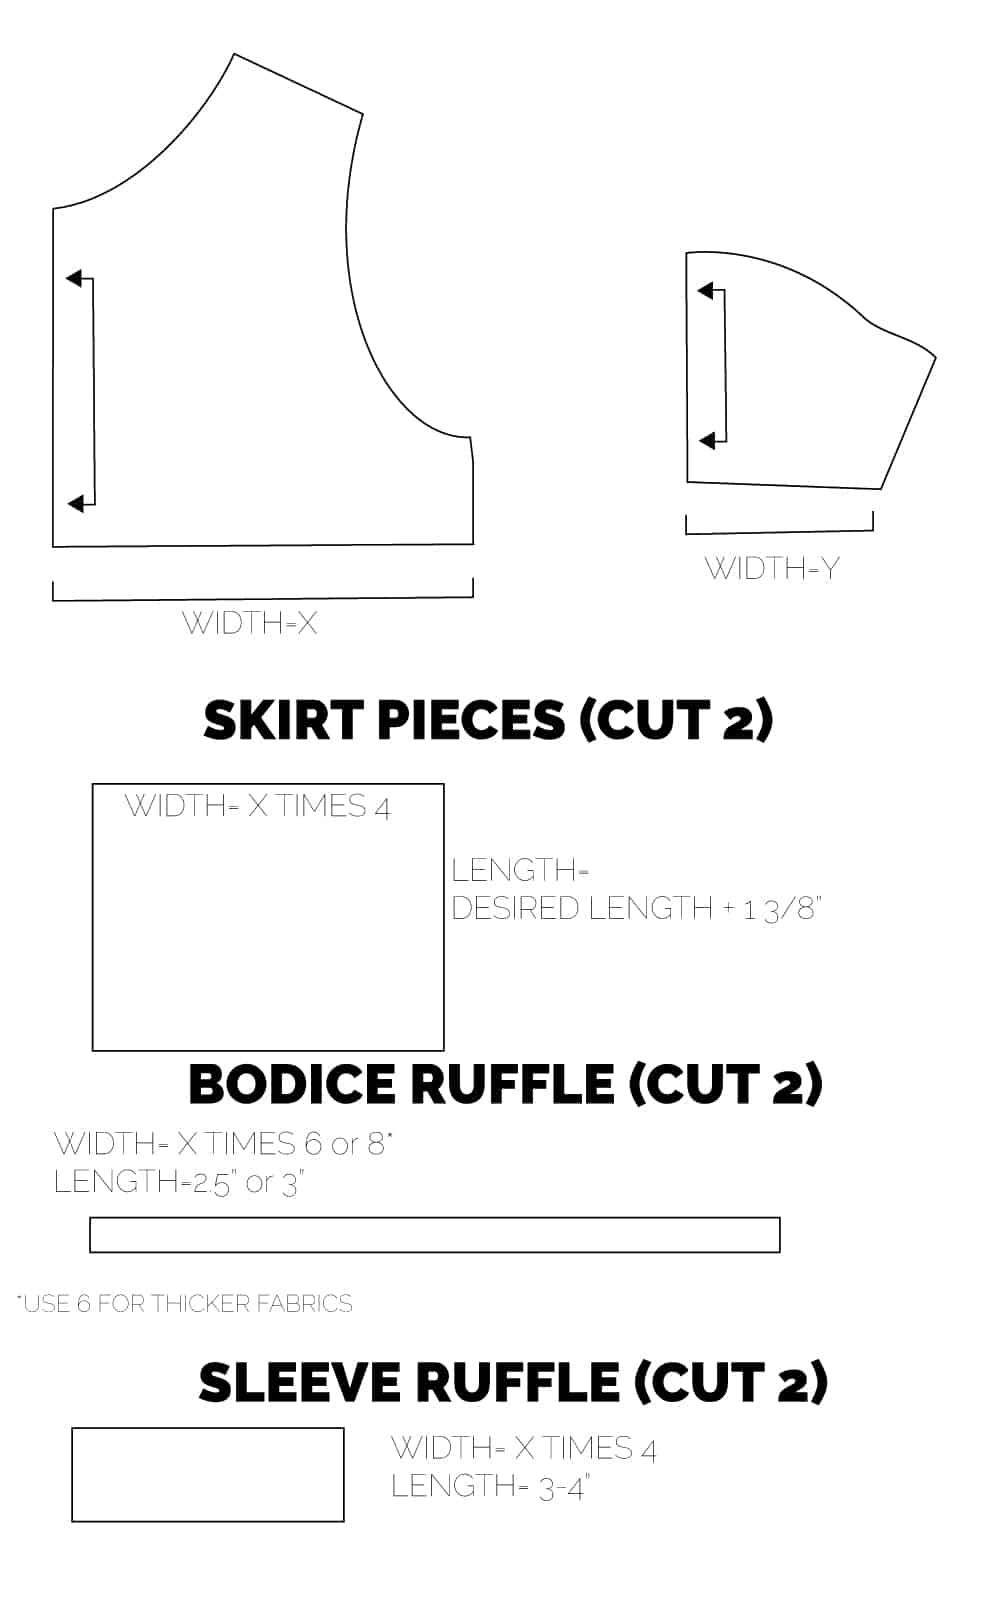
- We’ll use the FRONT and SLEEVE pattern pieces that you just created to formulate the skirt pieces and the ruffles. These numbers work for any size since they are just proportional numbers!
- To make the skirt pattern piece, measure the bottom of your front pattern piece and multiply by 4.
- This will be the skirt width.
- The length is up to you! Measure the length of your current dress and decide how long you want the skirt to be based on that. Add 1″ for a hem and 3/8″ for seam allowance.
- Cut 2 skirt pieces
- The bodice ruffle will be 8x the front bodice width of the front pattern piece. Use 6x for thicker fabrics such as pleather and suede. Cut 2.
- The sleeve ruffle is made the same way. Measure the bottom of the sleeve and multiply times 4 to get a width for the ruffle. The length of this ruffle can vary from 3-4″. Use 4″ for larger toddler sizes and up and 3″ for baby sizes. Cut 2.
- Now that we have all the pattern pieces cut, let’s start sewing!
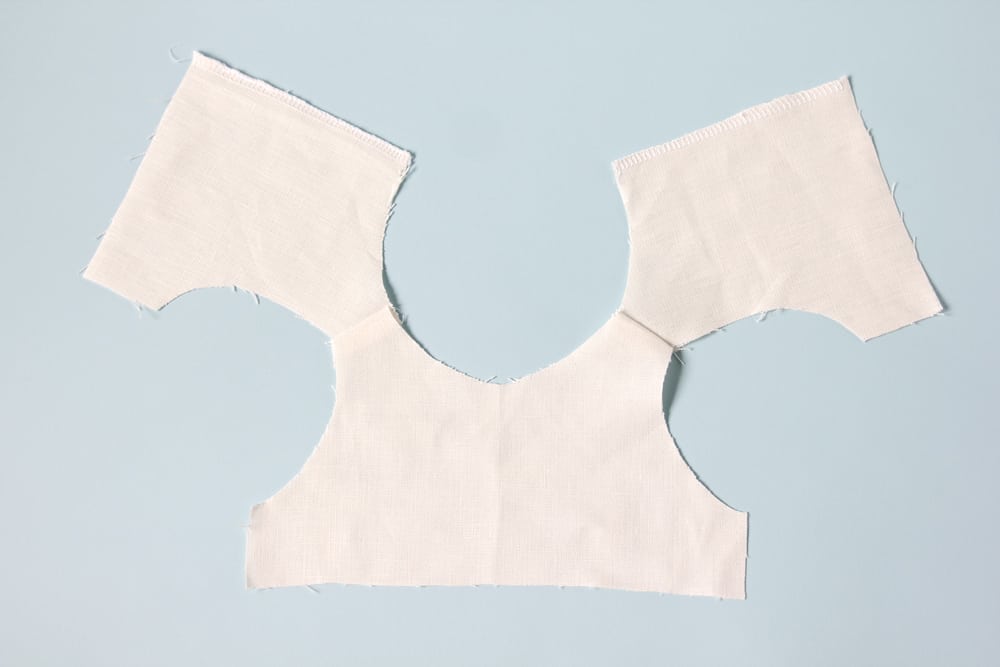
- Steps: sew front and back together at the shoulder seams. Right sides of the fabric will be together. Finish seam allowances.
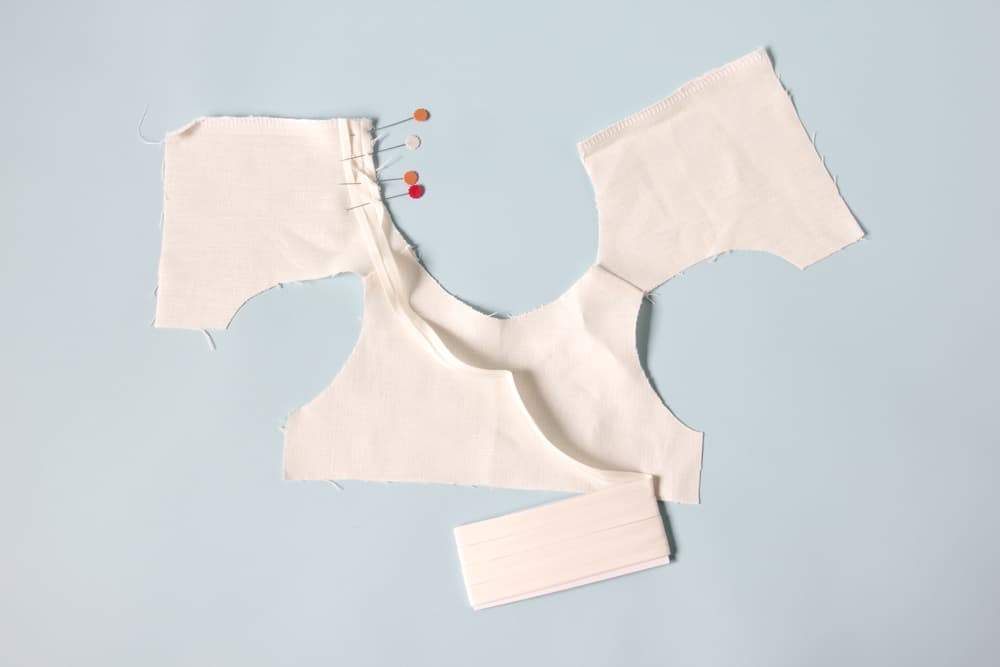
- Finish the neckline using the bias tape. Pin the open tape to the edge of the neckline on the RIGHT side of the fabric.
- Sew in the first crease, about a scant 1/4″ from the neckline edge.
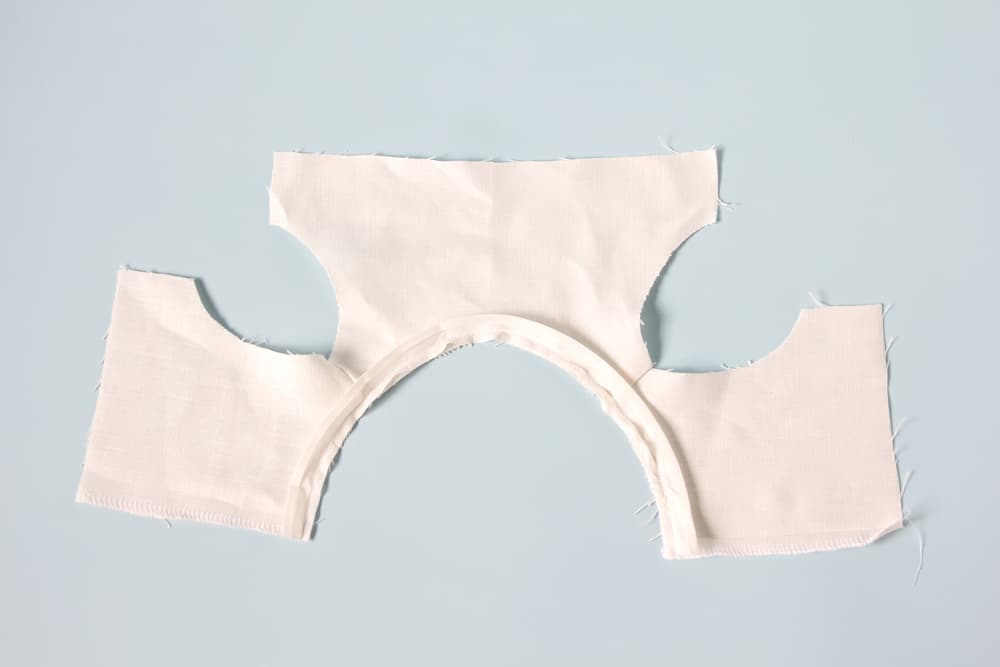
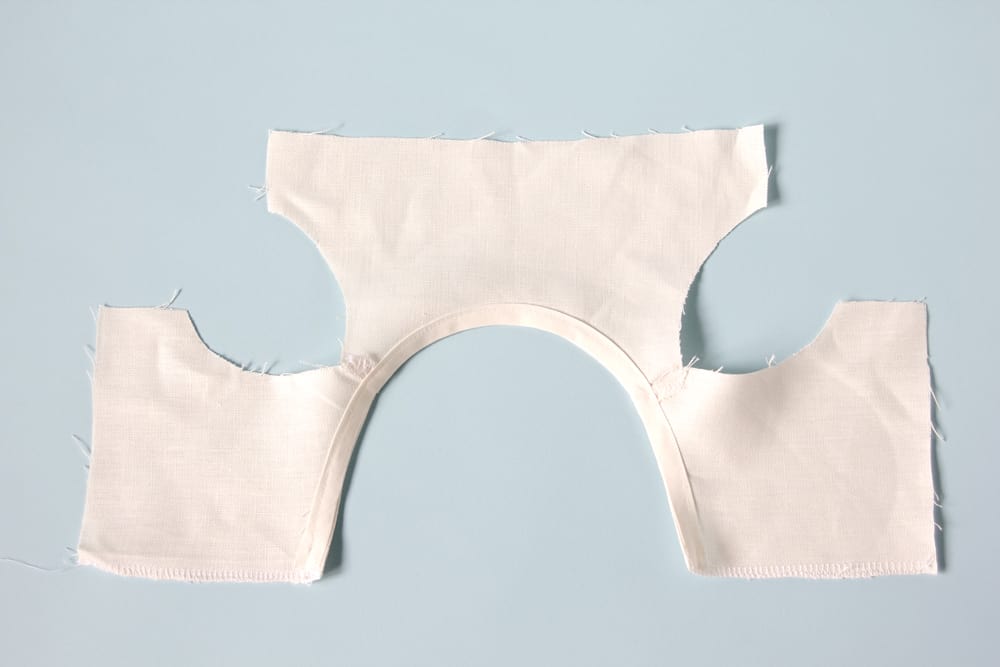
- Fold the bias tape to the inside of the bodice and press. Stitch near the edge of the bias tape to finish the neckline. Press well.
- SLEEVES
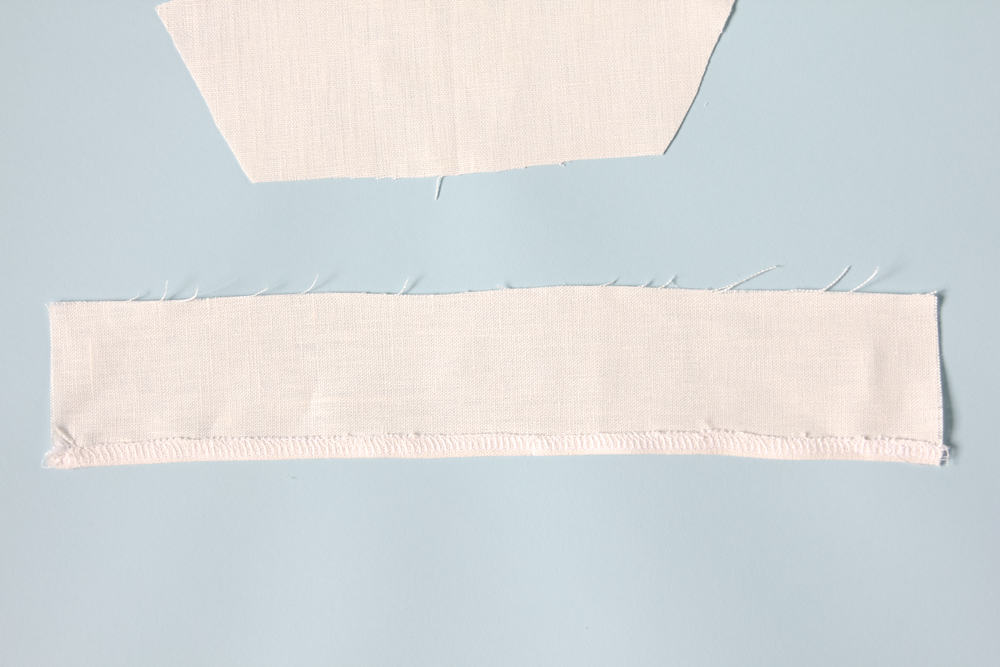
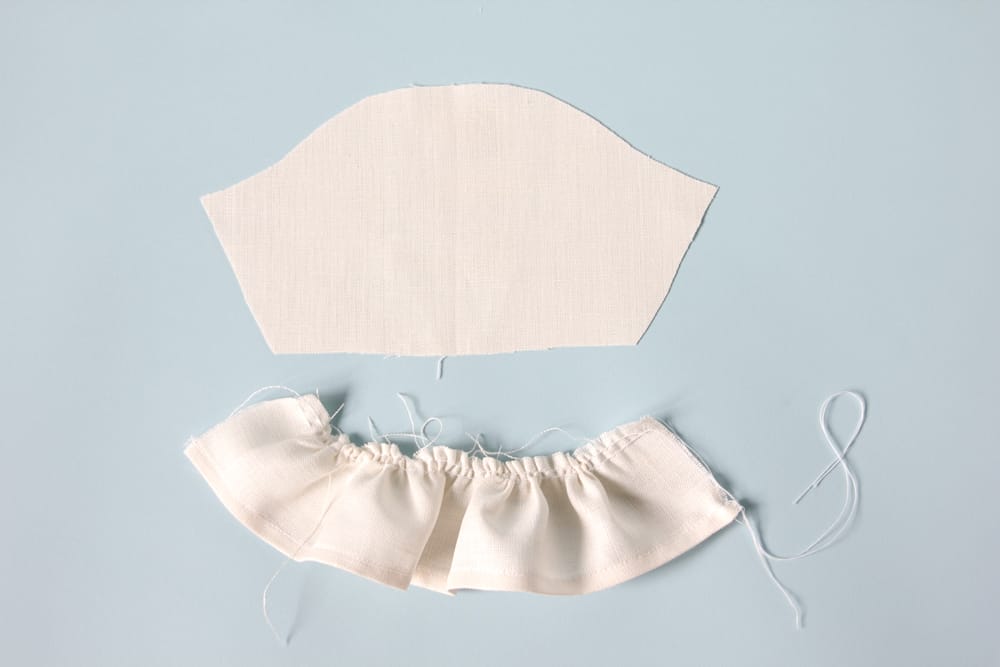
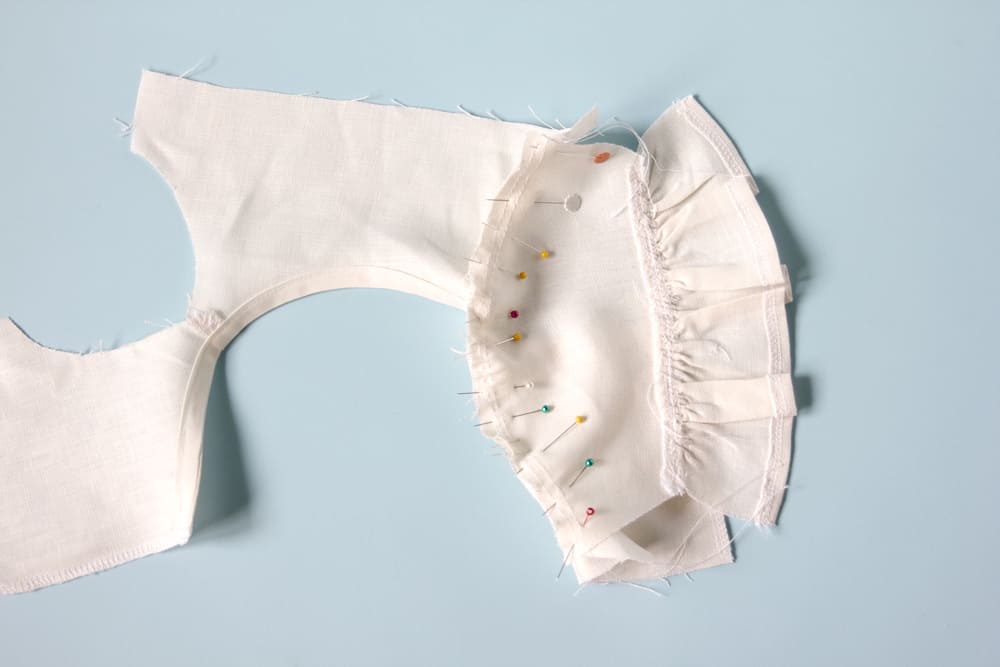
- Hem sleeve ruffle by finishing the edge and then folding it under 1/4″. Sew.
- Sew 2 rows of basting along the top of the ruffle.
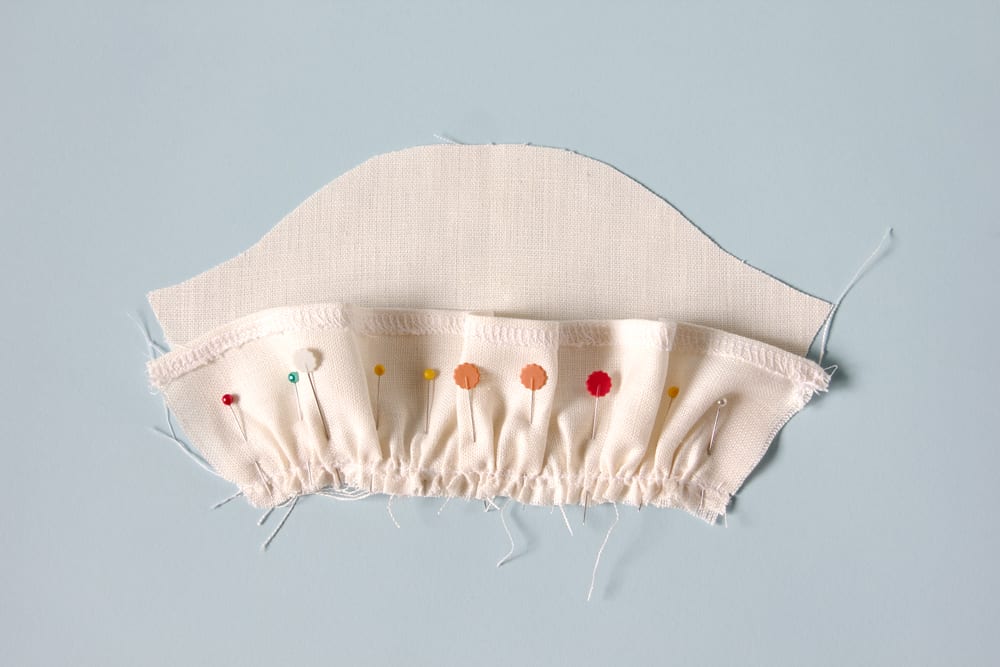
- Pull threads and gather to match sleeve hem.
- Pin and sew.
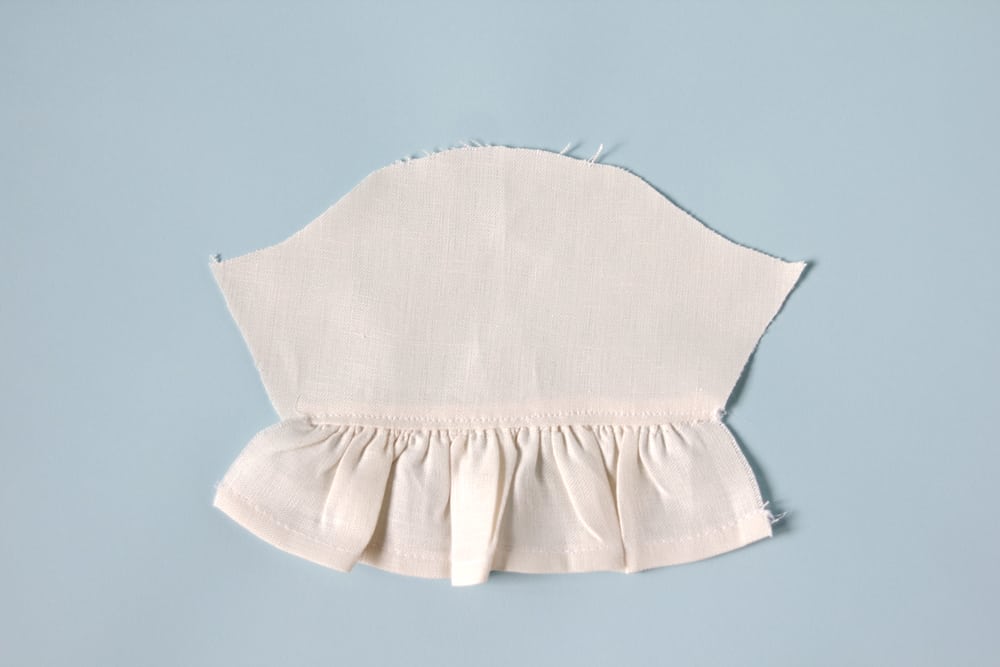
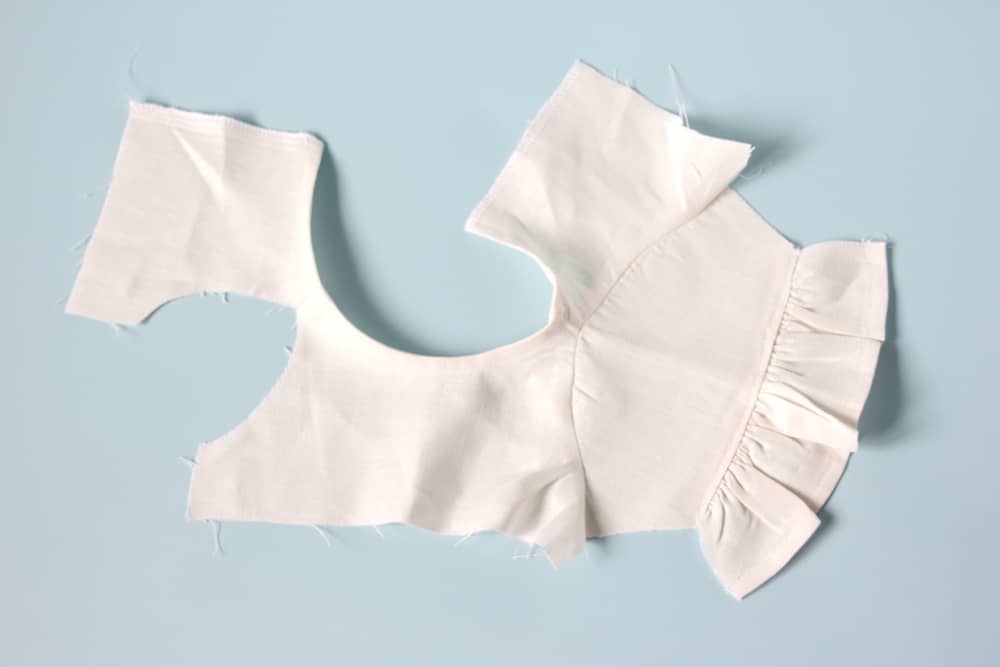
- Press seam allowance up and topstitch along the sleeve 1/8″ from ruffle.
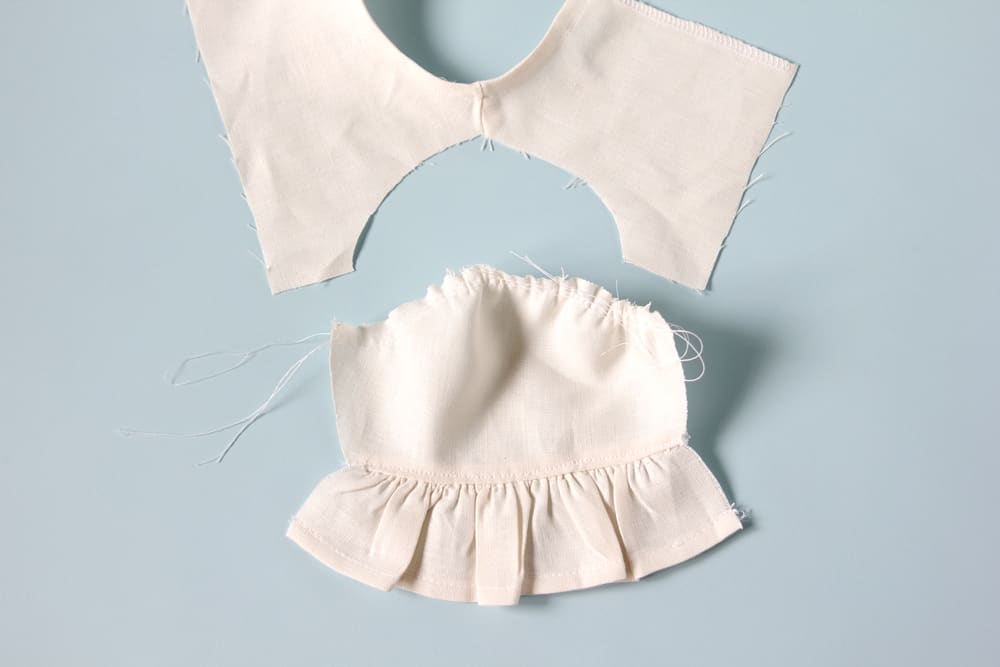
- Sew a row of stitching along the top curve of the sleeve. Tug the threads a little bit and pin to the armhole with right sides together.
- Tug the stitches to ease the sleeve into the curve pinning as you go. Sew.
- Press. Repeat with other sleeve. And then finish seam allowances.
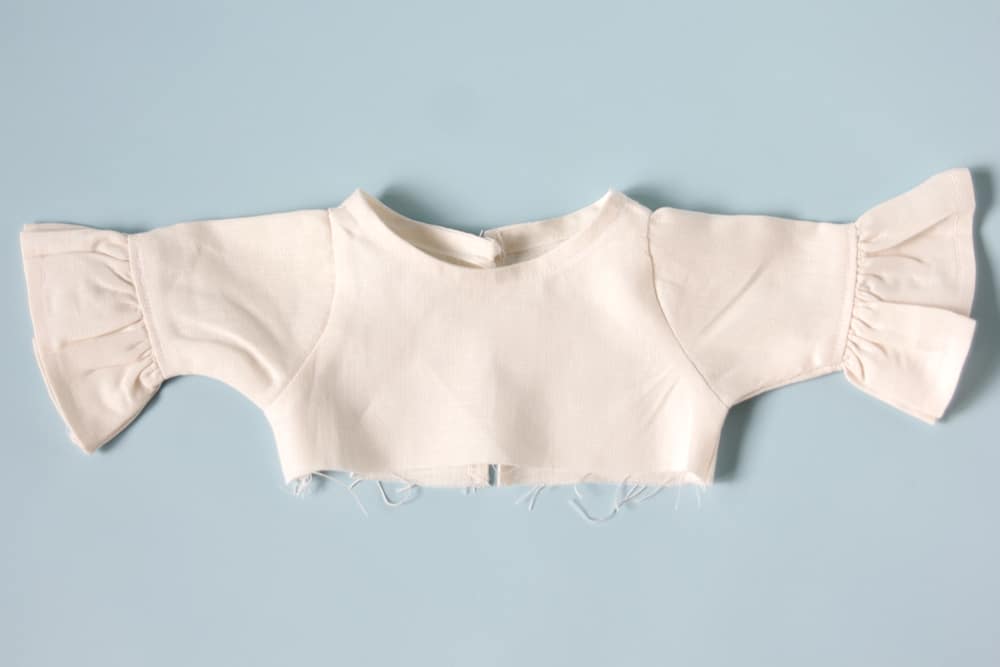
- Sew the side seams of the dress from the bottom of the bodice to the end of the sleeve. Finish seam allowance and turn.
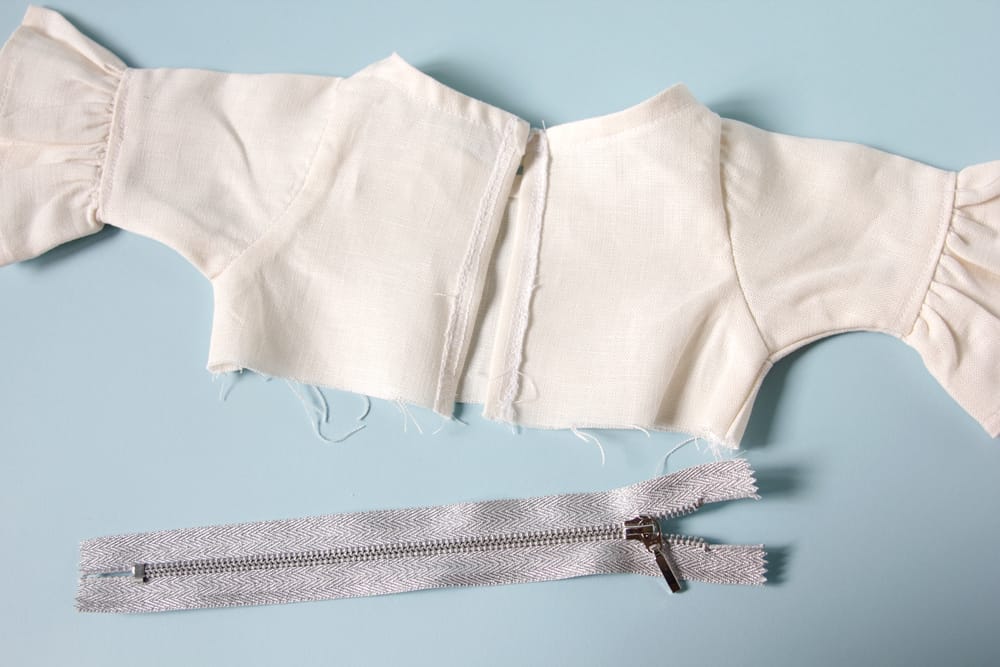
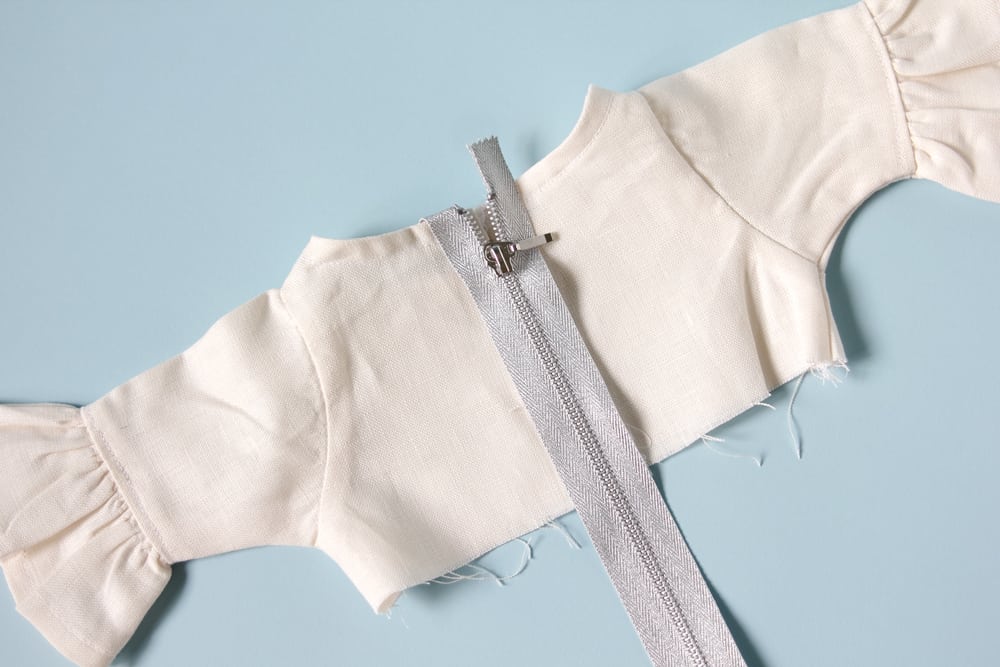
- Insert the zipper: I’m going to show you a quick-n-dirty way to create an exposed zipper! This is a fun way to highlight a cute lace zipper or brightly colored zipper for an extra pop of color!
- Finish the center back seam. Fold 3/8″ UP towards the right side of the fabric and press. If your zipper is narrow, trim down to 1/4″ before finishing and then fold up 1/4″.
- Ruffle
- 4x or use a 3x ratio for thicker fabrics (pleather, etc)
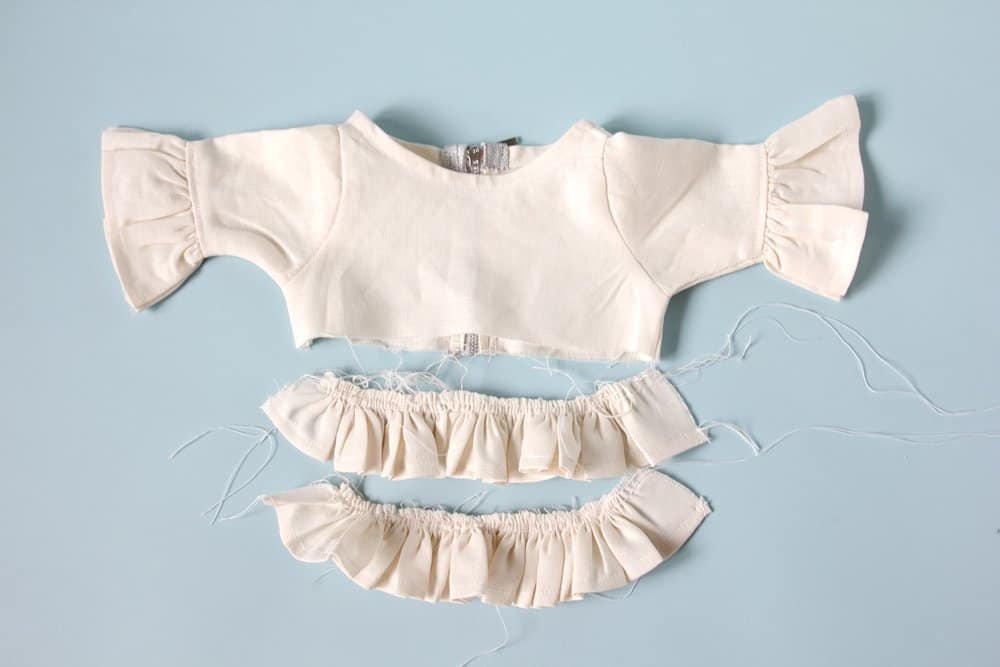
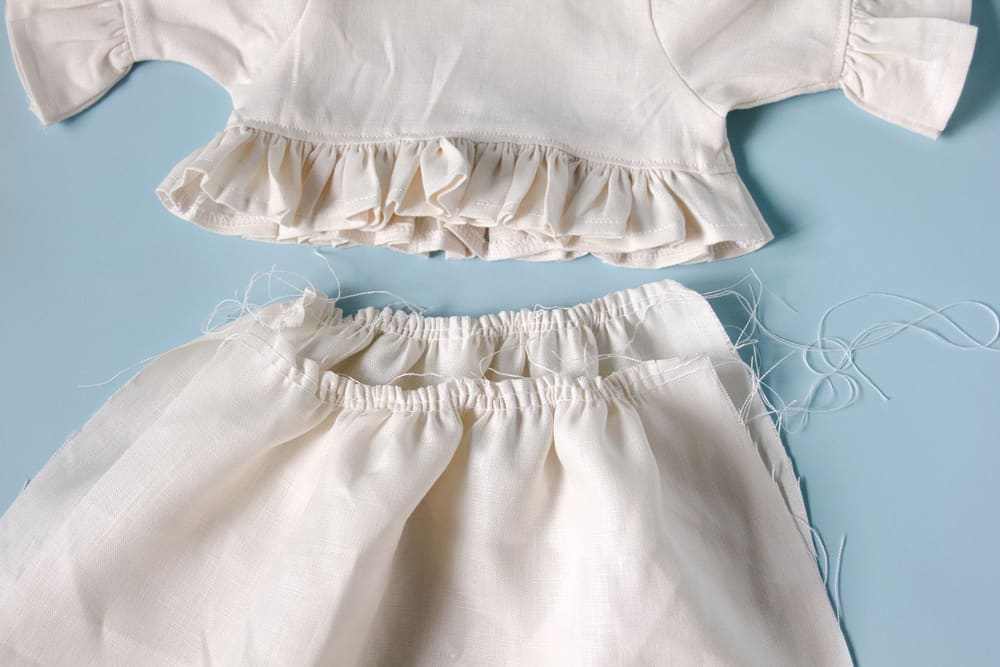
- Finish the edge of the ruffles just like you finished the hem of the sleeve ruffles.
- Then sew two rows basting along the top of each ruffle piece.
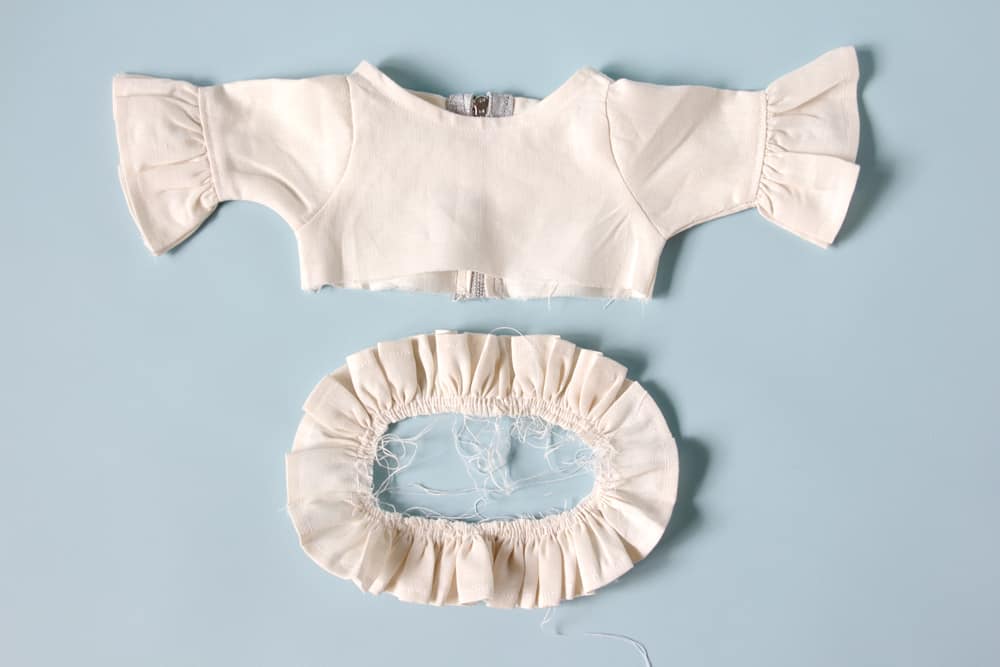
- Sew the ruffle pieces together along the short edges to make a circle.
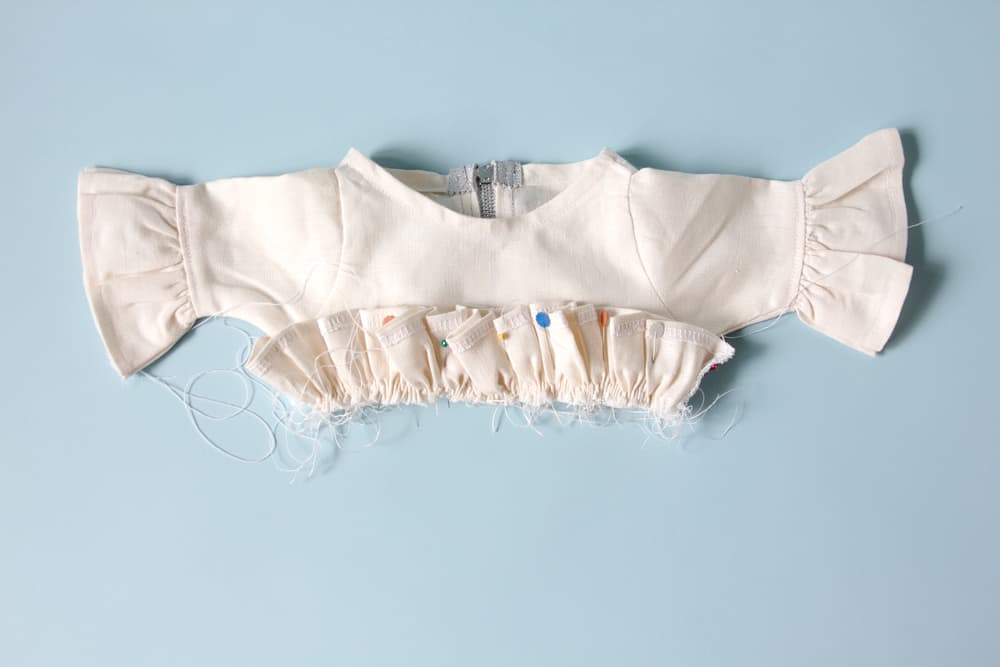
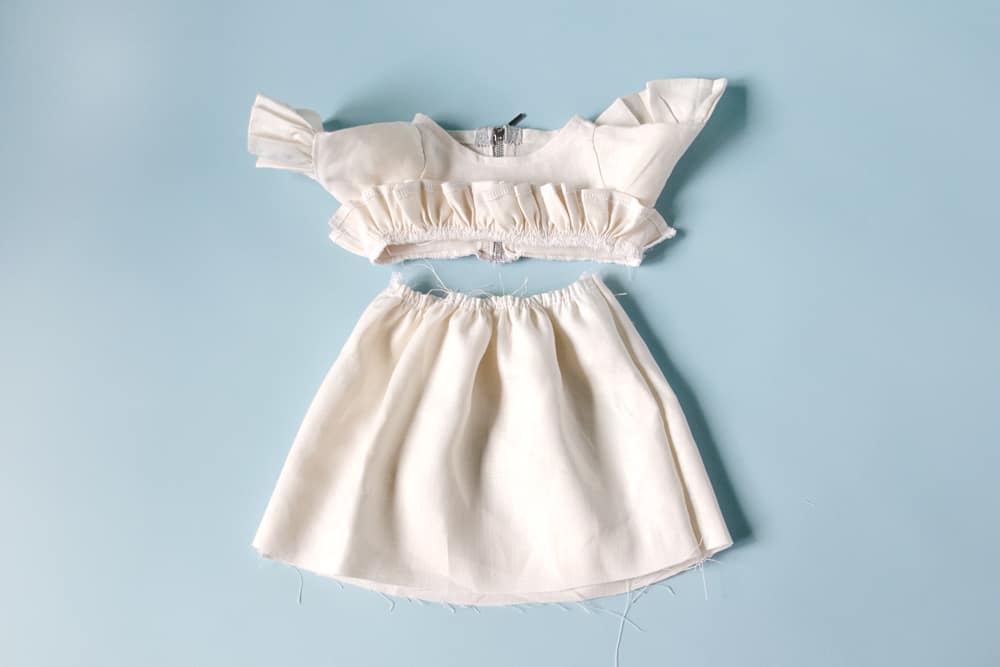
- Flip it up so the right sides of the ruffle are facing the right side of the bodice and the raw edges are together. Match the sides seams and pin. Sew.
- Skirt Pieces
- Sew two rows of baste stitching along the top of both skirt pieces. Pull the threads to gather the fabric to match the width of the bottom of the bodice.
- Sew the skirt pieces together along the side seams. This step is just like the bodice ruffle.
- Flip the bodice ruffle up and then flip the skirt up and attach (just like you did with the ruffle!)
- Finish the bottom edge and fold under 1″ to create a nice hem. Sew 7/8″ from the bottom edge and you’re done! Press it well and try it on your little girl!




Happy Holidays!

