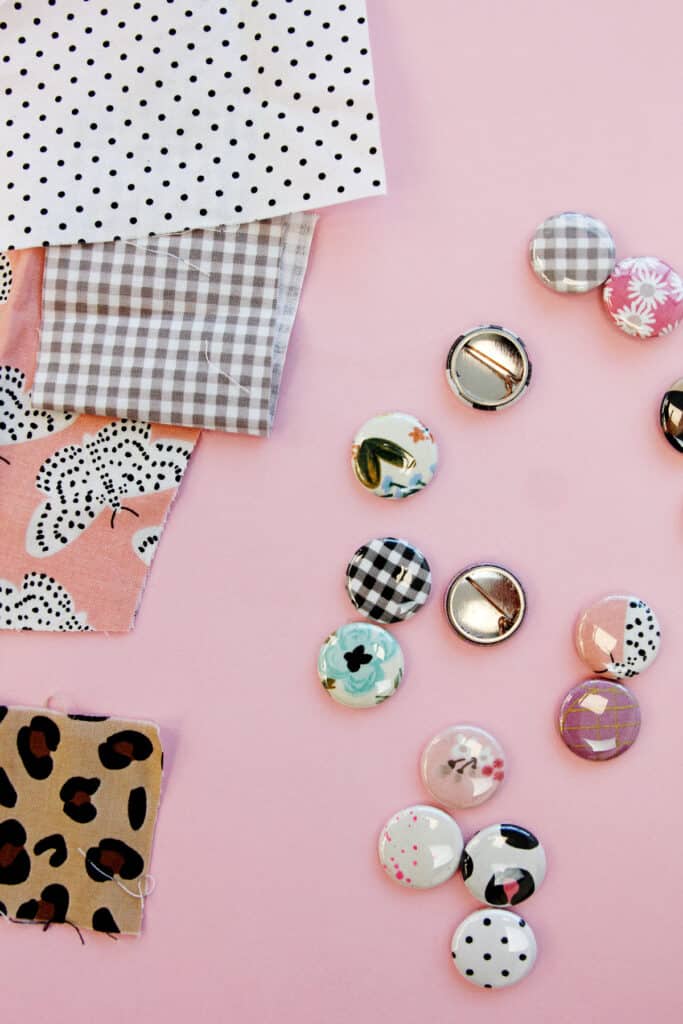
I’m always looking for ways to display my favorite fabric scraps – the tutorial will show you how to make button pins using a button maker. These little pins make adorable, wearable accessories and they are so easy to make! A button making machine is a fun additional to your craft room and making your own buttons is really fun!

I’ve had this button making machine for over 20 years, which sounds crazy! I saved up all my allowance to earn it way back in the day and have used it to make pinback buttons ever since!
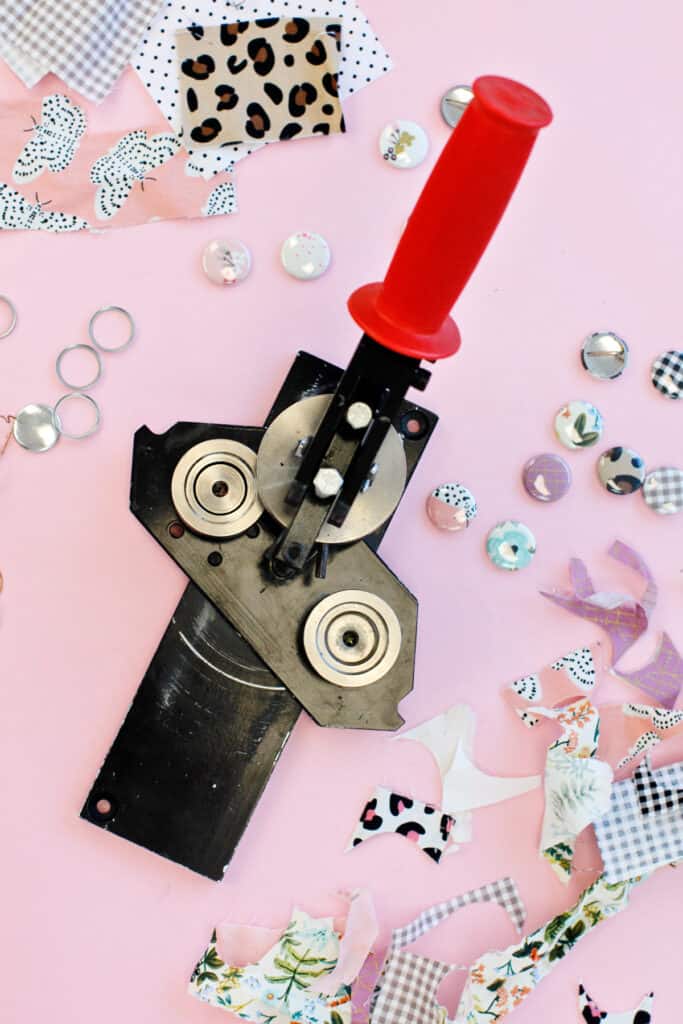
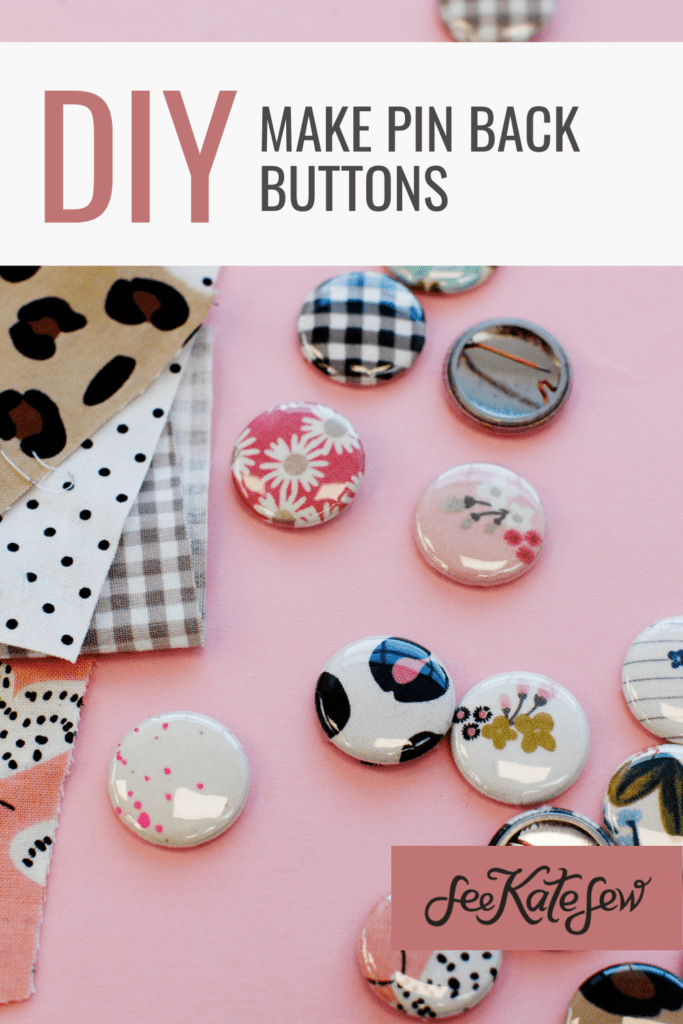
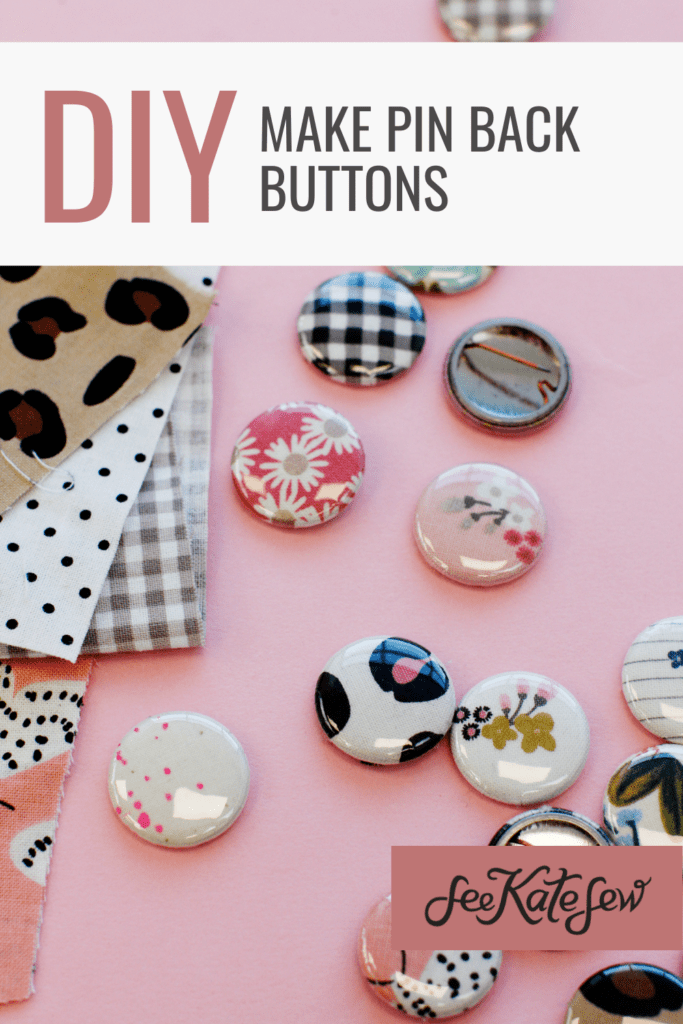
Custom buttons are fun to make because you can use paper or printed designs or even FABRIC to make them.
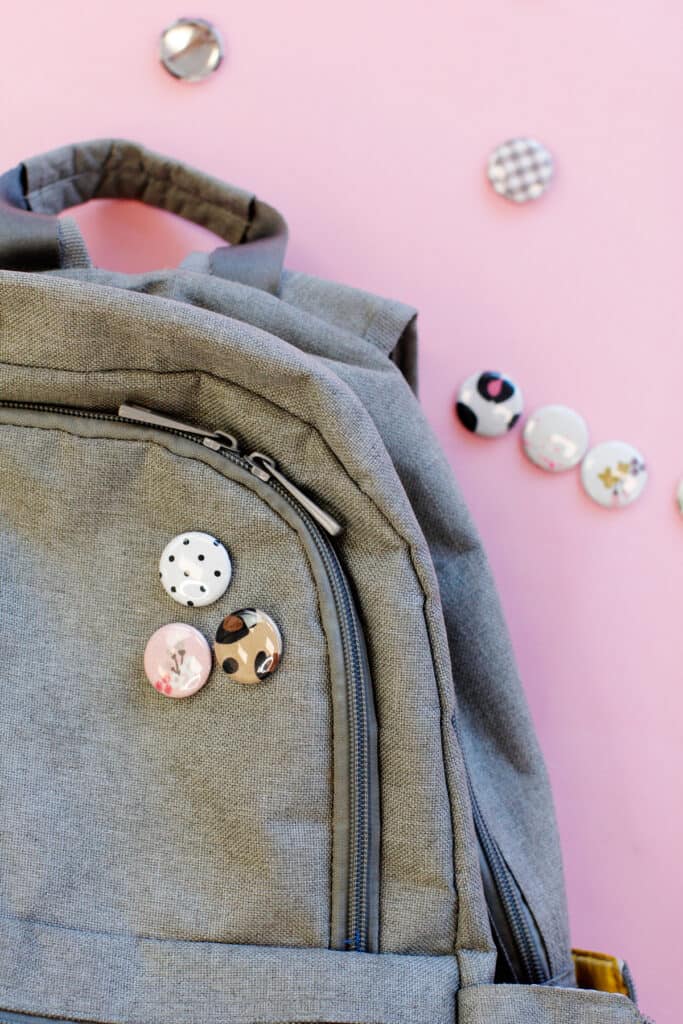
Button pins are great for pinning on backpacks, leather or denim jackets, coats or even blouses! There are lots of things you can do with these. You can even replace the pin with a magnet to make custom fridge magnets.
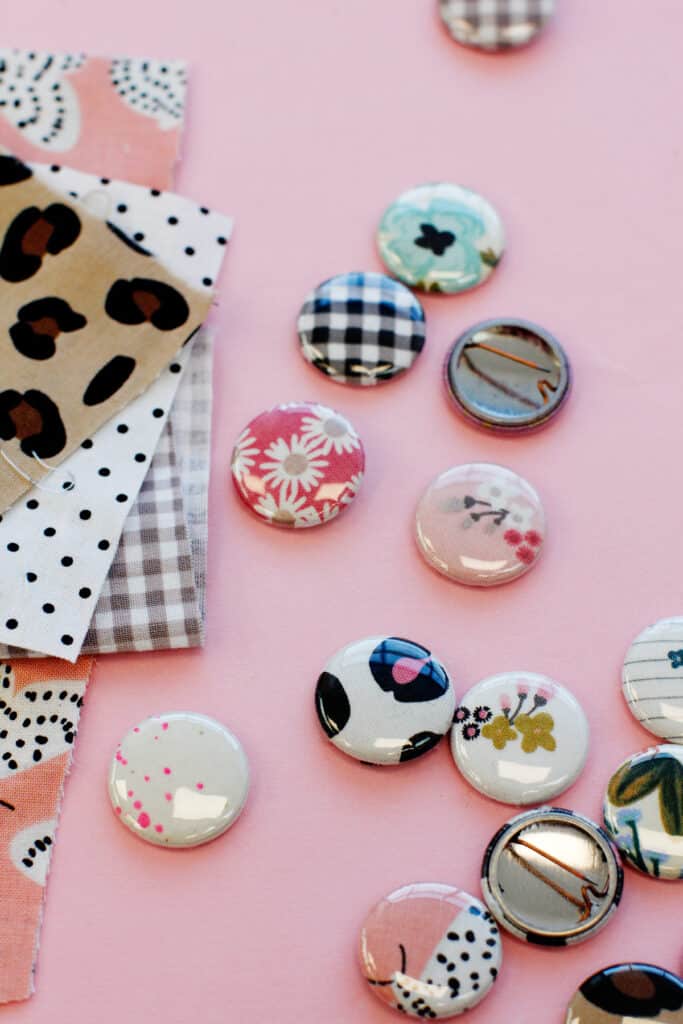
These little round buttons are high quality and don’t look homemade at all! Customizable buttons can be used for school elections, birthday parties, promotional products and just for fun!
Custom Pin Back Button Supplies
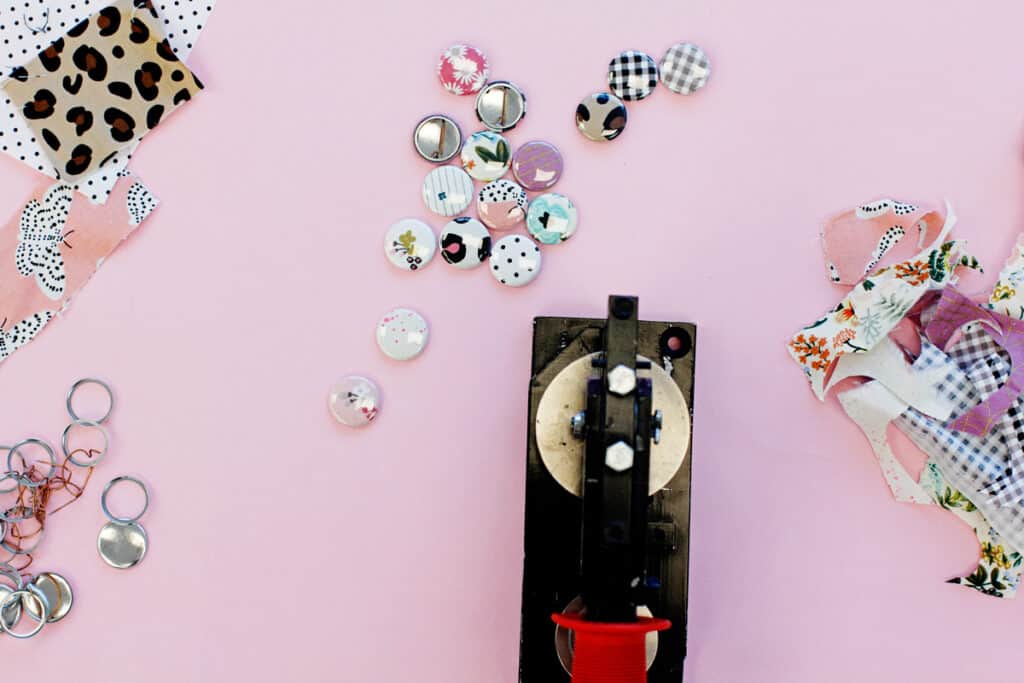
- Button making machine (affiliate links)
- Look for all metal parts for a high quality machine. Mine is HEAVY and has lasted 20 years!
- My button machine or button press makes 1″ buttons. You can find a wide variety of sizes and some even have interchangeable dies for multiple size badges.
- Button parts, many machines come with the parts you need to get started
- Front
- Back
- Clear plastic front sheets
- Pin backs or magnet backs
- Fabric scraps or use your own artwork or stickers to make your own button designs
- Pair of scissors or round paper cutters to punch out paper designs, or print the template below for the 1″ buttons
How to make button pins
To make custom button pins, you’ll need 1 front and 1 back. For pin-back buttons, you’ll need one pin insert. The front piece goes face up in the side of the button maker that has a circular gap around the edges.
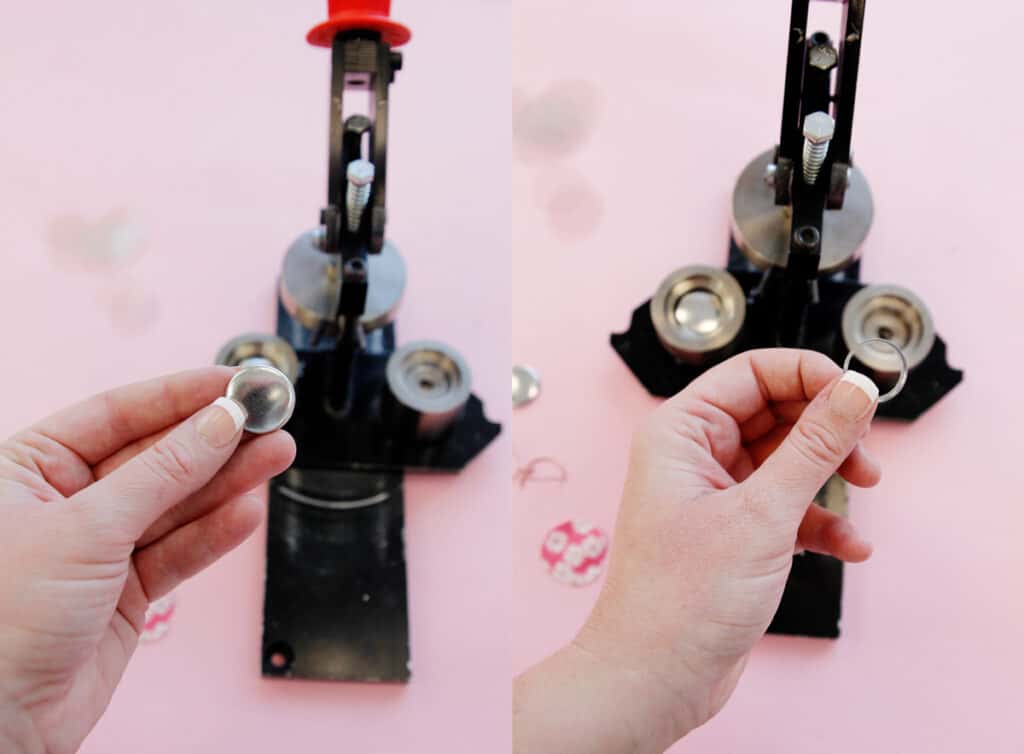
The back goes in the other spot. The smaller side of the pin back should face down.
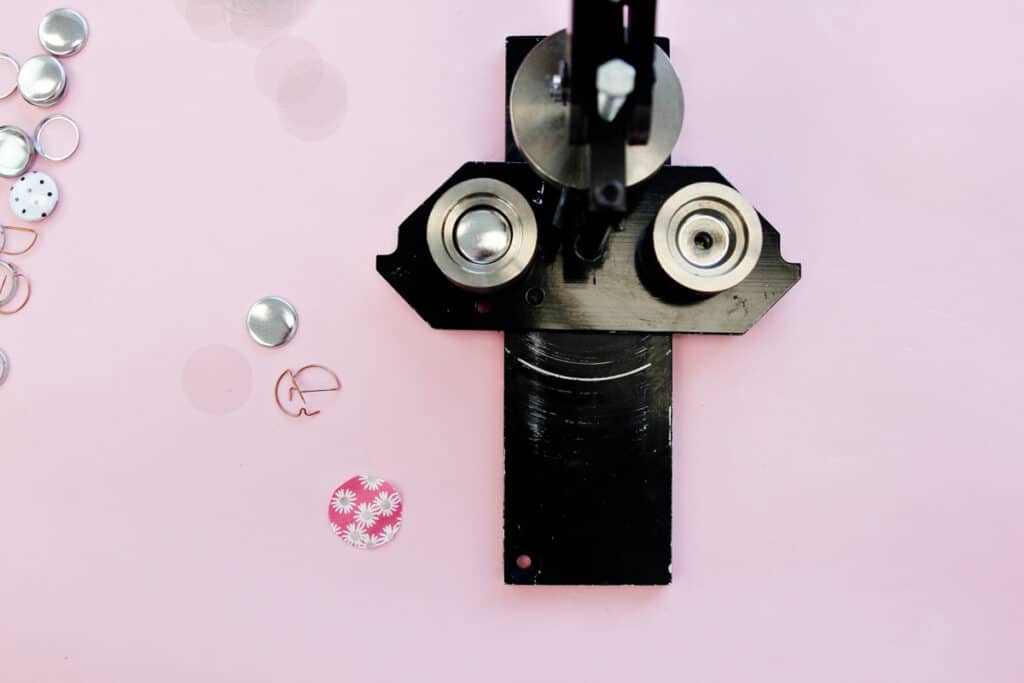
Put your circular piece of fabric or paper on top of the front piece. The circle of fabric should be a little bit over 1.25″ in diameter. You can use a clear sheet as a template. Then lay 1 layer of clear plastic over the top. The clear plastic top will protect your design or fabric and give it a glossy look.
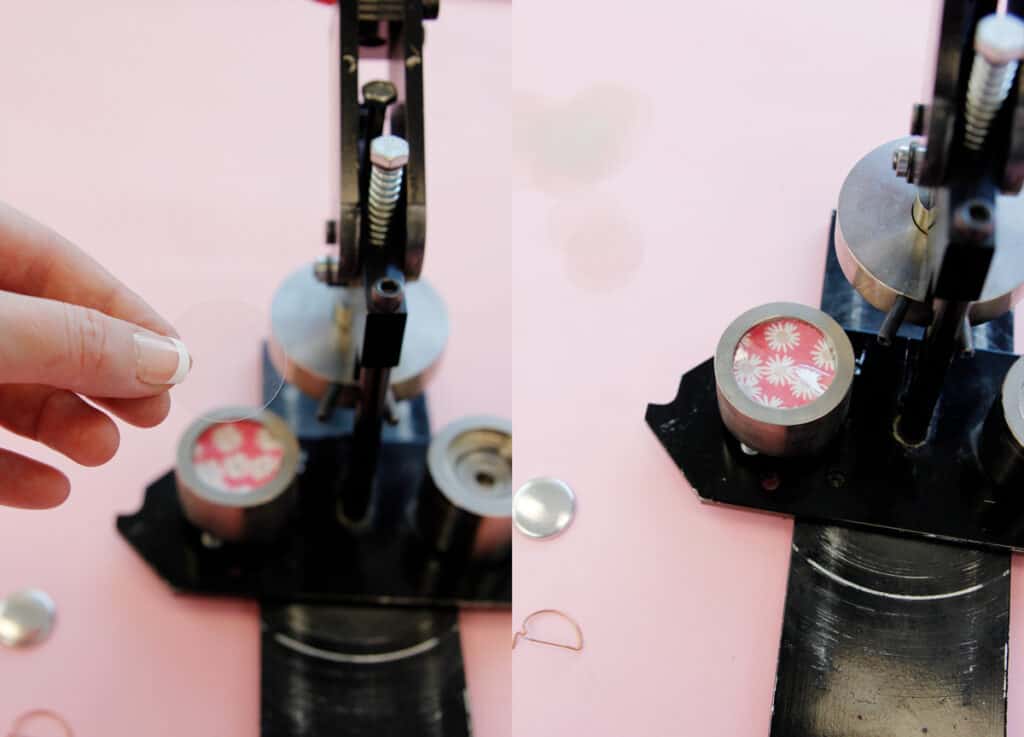
Spin the die so it is under the clamp. Pull the clamp down.
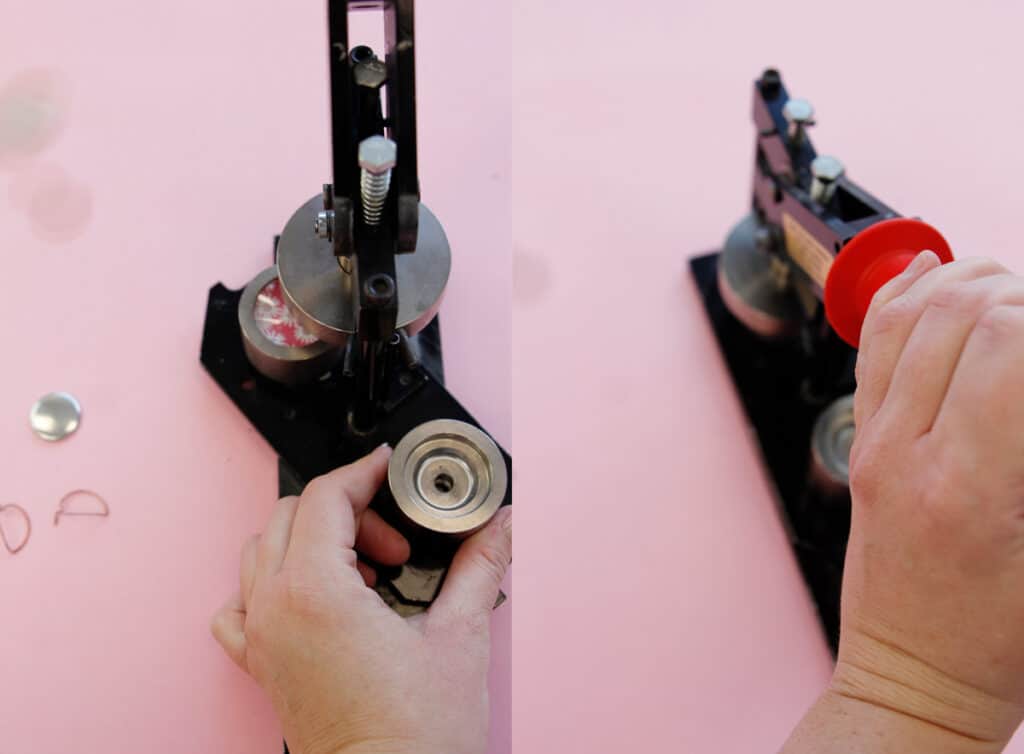
Then spin the dies around. The machine will be holding your button front at this point so the first die will be empty! Once you have spun the die all the way around, clamp down the red handle on the backing piece. Spin it back around and you’re done! Just squeeze the pin backing into the back of the pin.

I included a button maker in my gift guide for teens. Since it’s so easy to use and fun to make button pins, it’s a great gift to give any creative kid!
These buttons are a great accessory for a bag – check out my bag sewing patterns here.



I Love your site and all your fabric patterns. your very helpful! My question is i’m thinking to buy a button press to make fabric buttons. i have a lot of scapes i would like to use up. is it necessary to buy a circle cutter to cut the fabric or can you just cut by hand?
I always cut by hand!