It’s sniffle season so it’s nice to have a handy mini tissue pack ready. This post includes a free tissue holder sewing pattern with step-by-step instructions for sewing it easily!
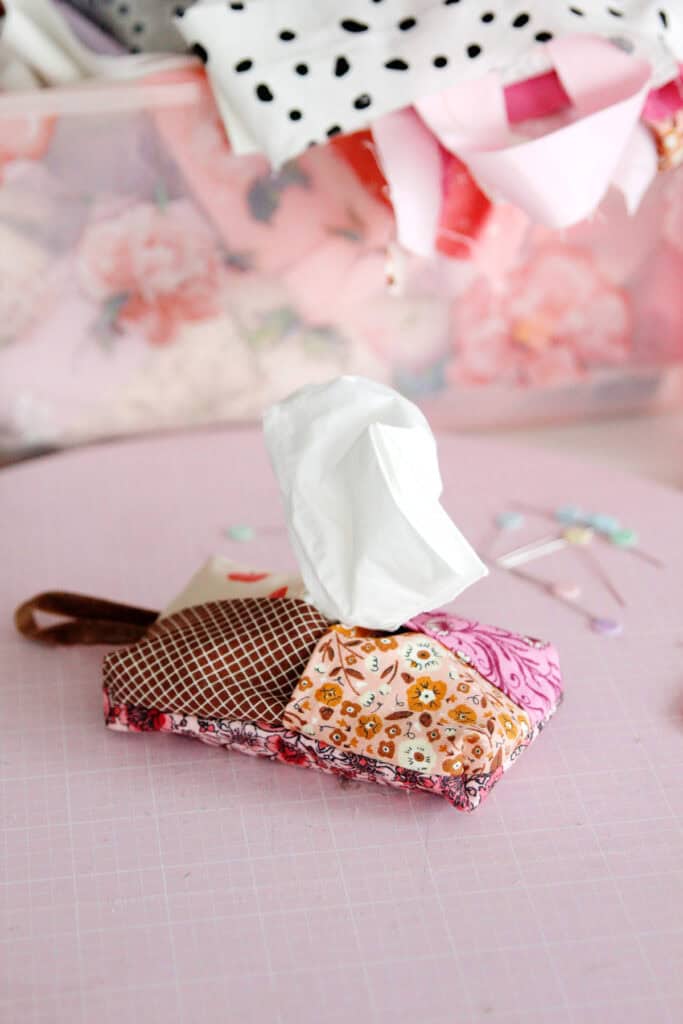
There are no closures in this project which makes it super easy to sew! The fabrics overlap in a woven pattern, allowing a space for the tissues to come through.
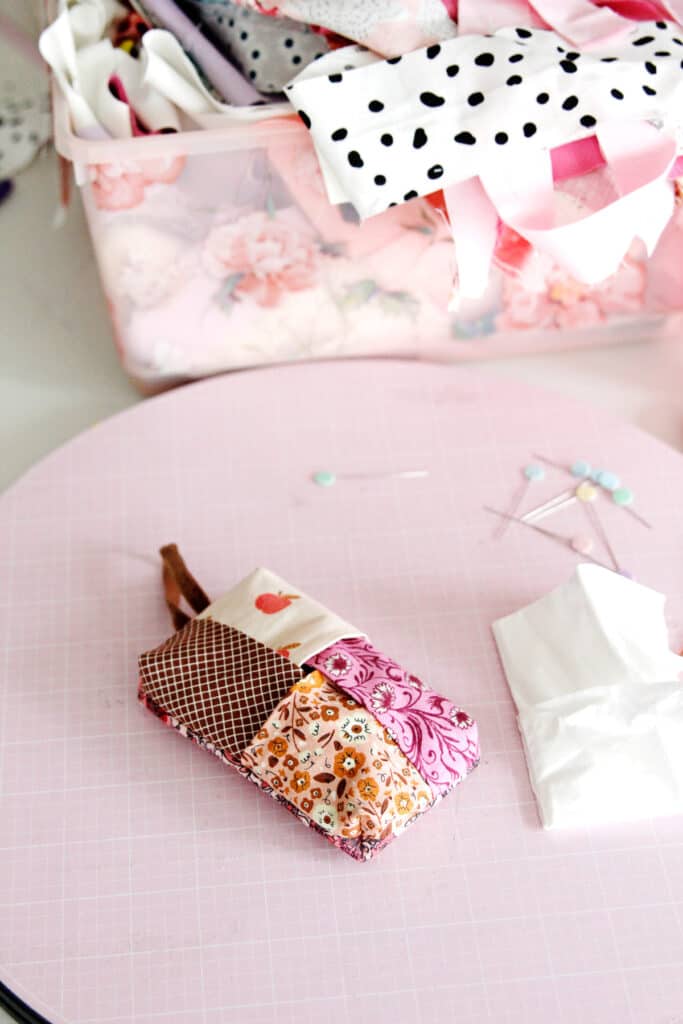
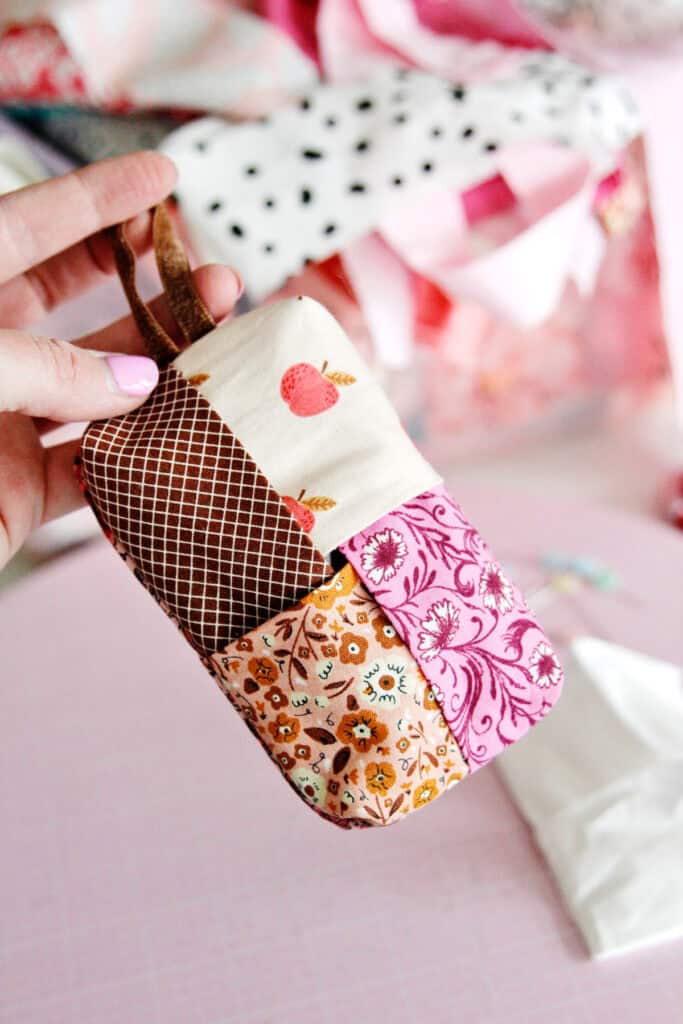
Which means you can use a bunch of different fabrics! It’s a 4-color tissue pack, with another print on the back! So fun for mixing patterns!
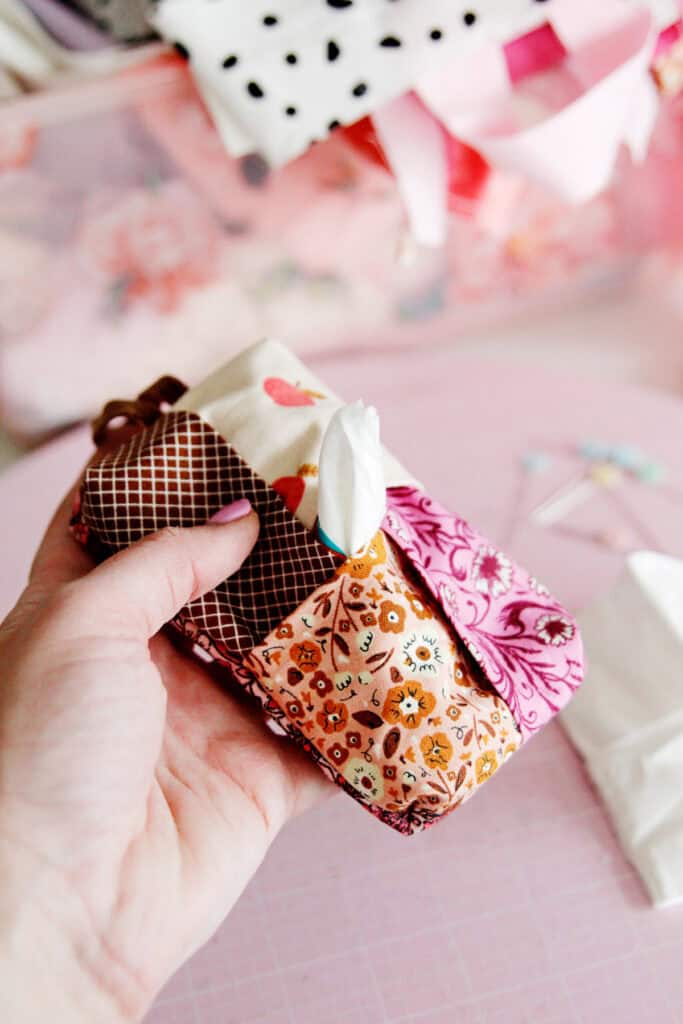
I raided my scrap bin for this project and I love how it turned out! I’m going to keep it in my car!
Tissue Holder Materials
- Fabric scraps or 1/4 yard fabric
- Ribbon
- Printable pattern piece, see below
Tissue Holder Sewing Pattern Template Download
Click the button below to download the template. This download doesn’t include the instructions.
This template will print on 1 page. Print at 100% or DO NOT SCALE.
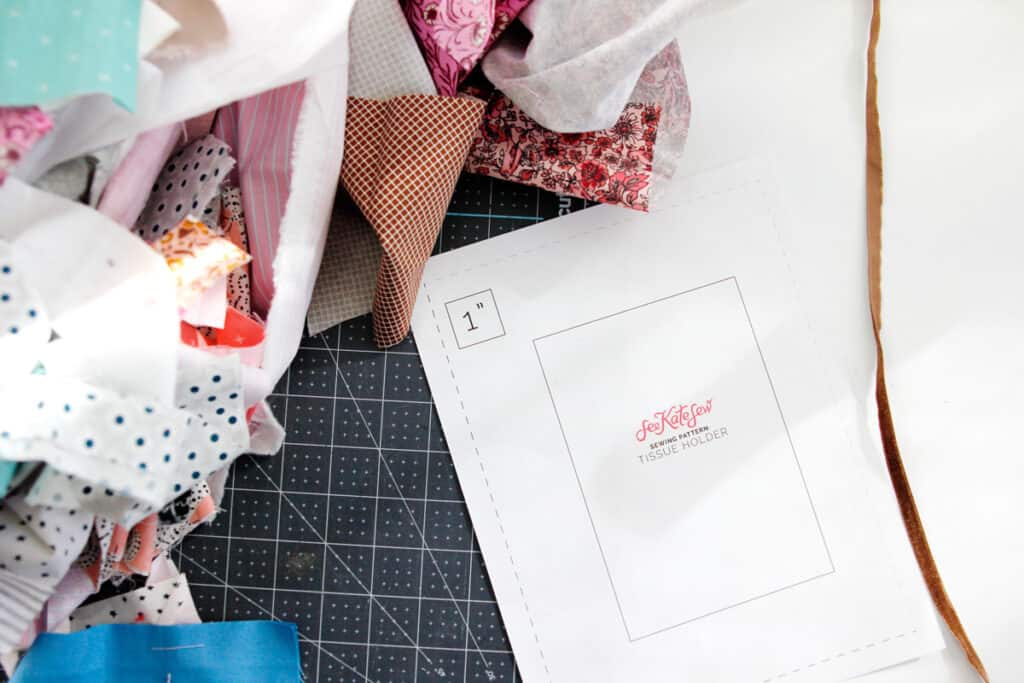
How to sew a fabric tissue holder
Use a 3/8″ seam allowance.
Cut 6 pieces with the tissue holder template. You can also cut these with the measurements 4.5″ by 6.5″. I love having the template because it makes it easier for me to make sure my scrap is big enough and also cut multiple layers at the same time.
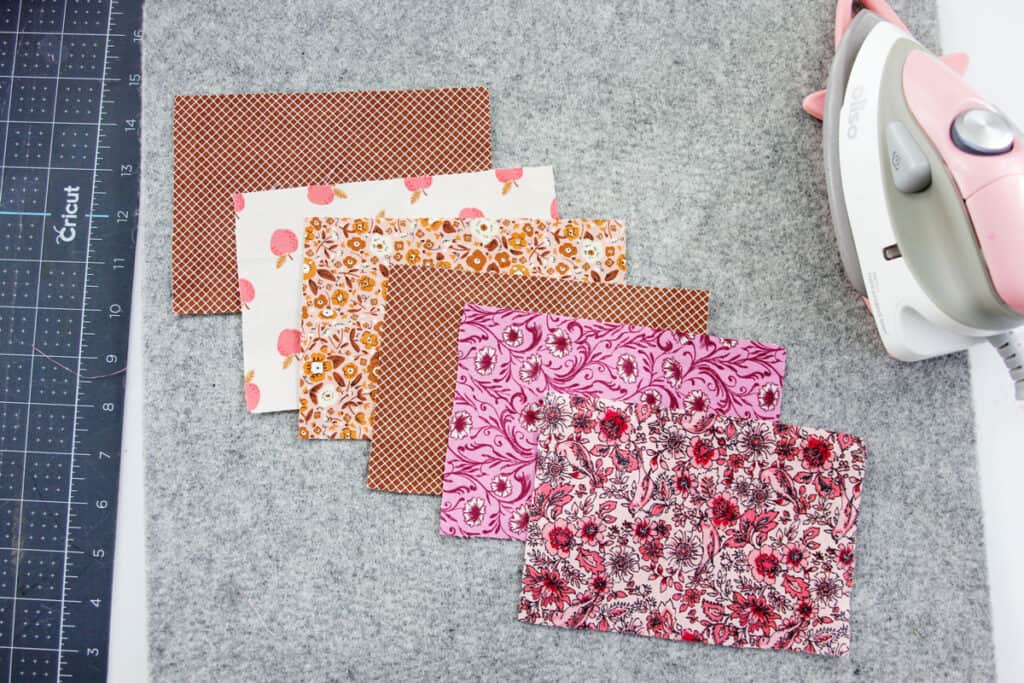
Fold two of the rectangles in half lengthwise and press. Fold two others in half crosswise and press. Leave the other two pieces unfolded.
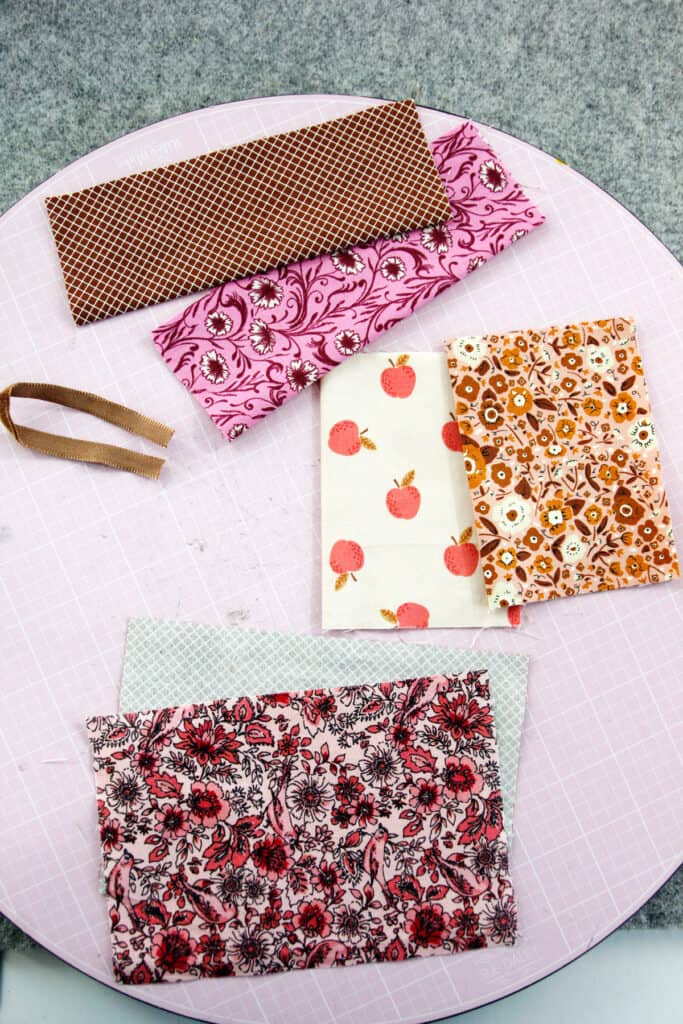
Place the two unfolded rectangles together with wrong sides together matching up the corners. Then lay the fabric you want to show on the outside back of the tissue holder face up. Place one lengthwise folded rectangle at the bottom of the back piece. Then put a crosswise aligned to the right. The folded edges will be in the middle with the raw edges matching the raw edges on the outside.
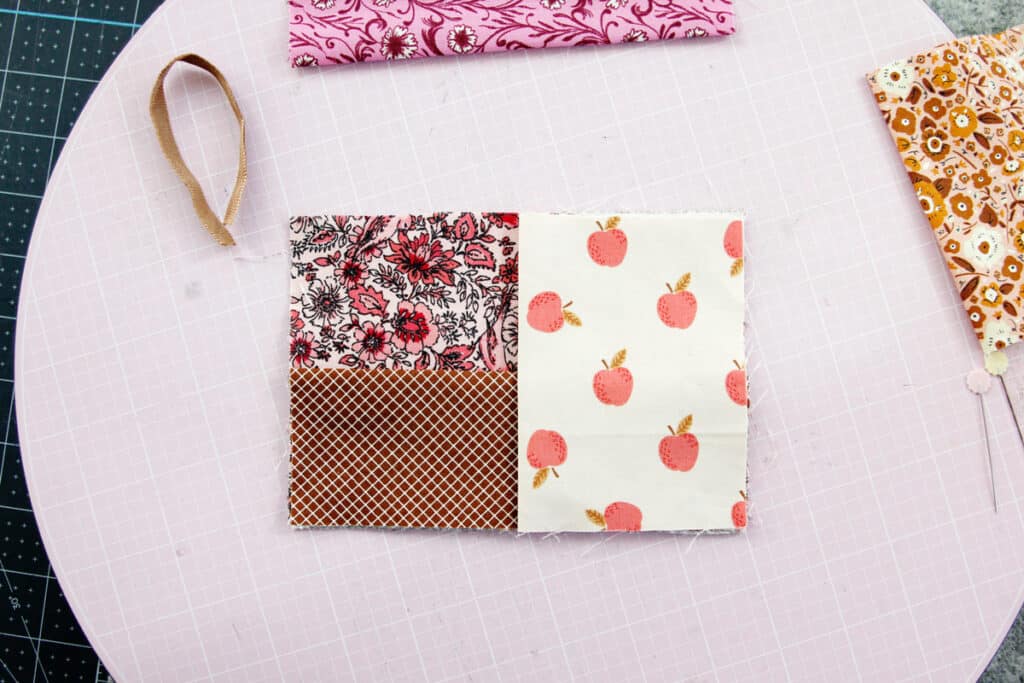
Place the second lengthwise fabric aligned to the top of the rectangle.
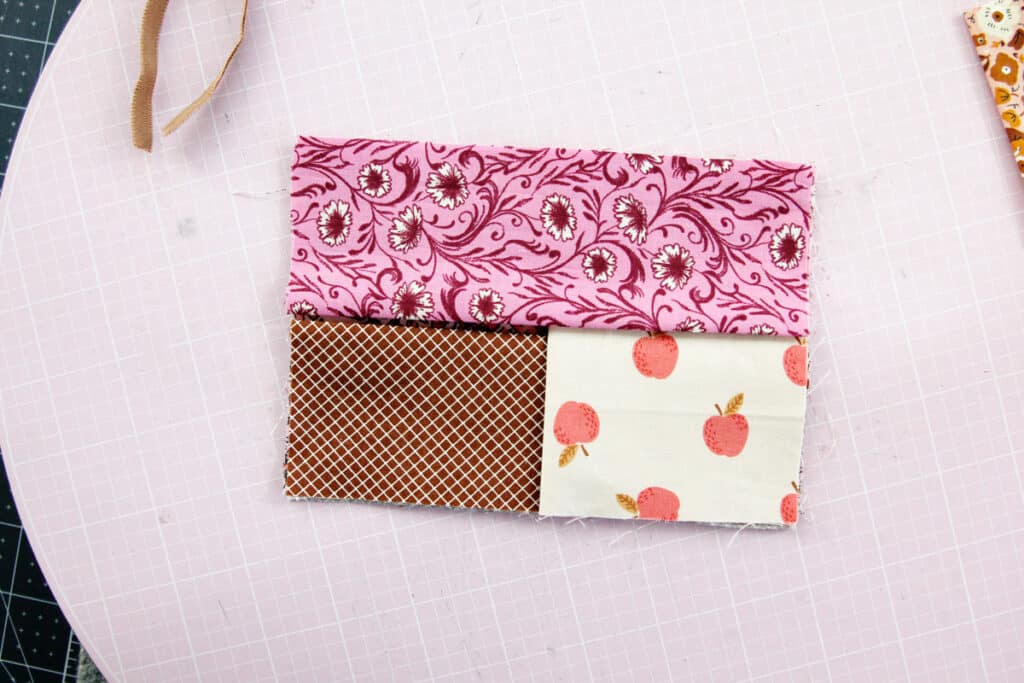
Lift up the first lengthwise piece and weave the second crosswise piece so it is on top of the top piece and behind the bottom piece as shown:
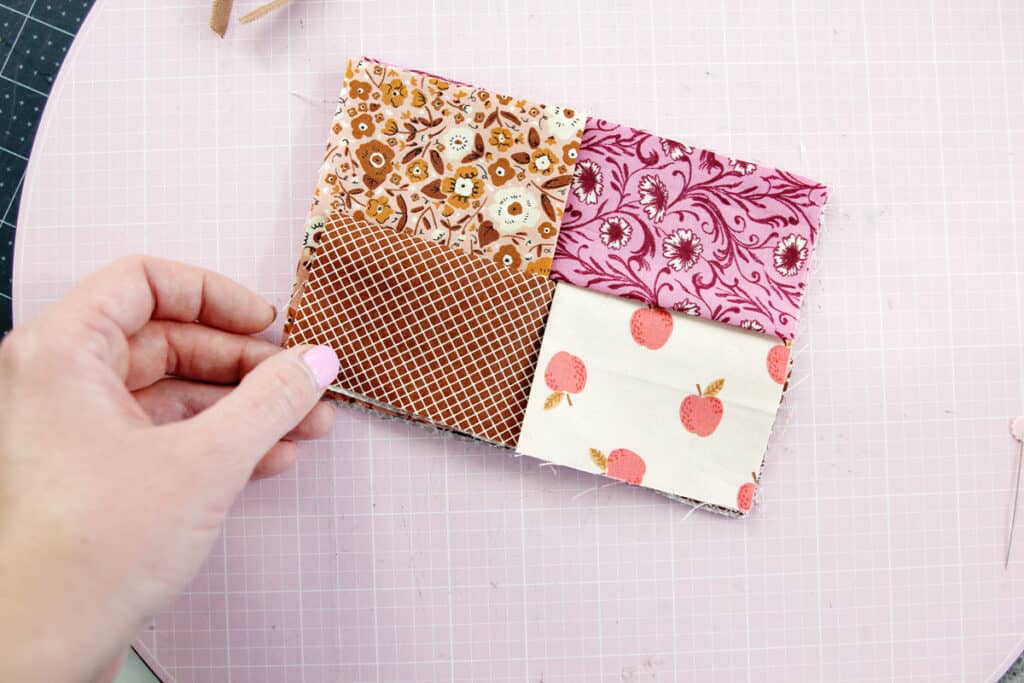
Pin all the layers in place and slip a loop of ribbon to one side.
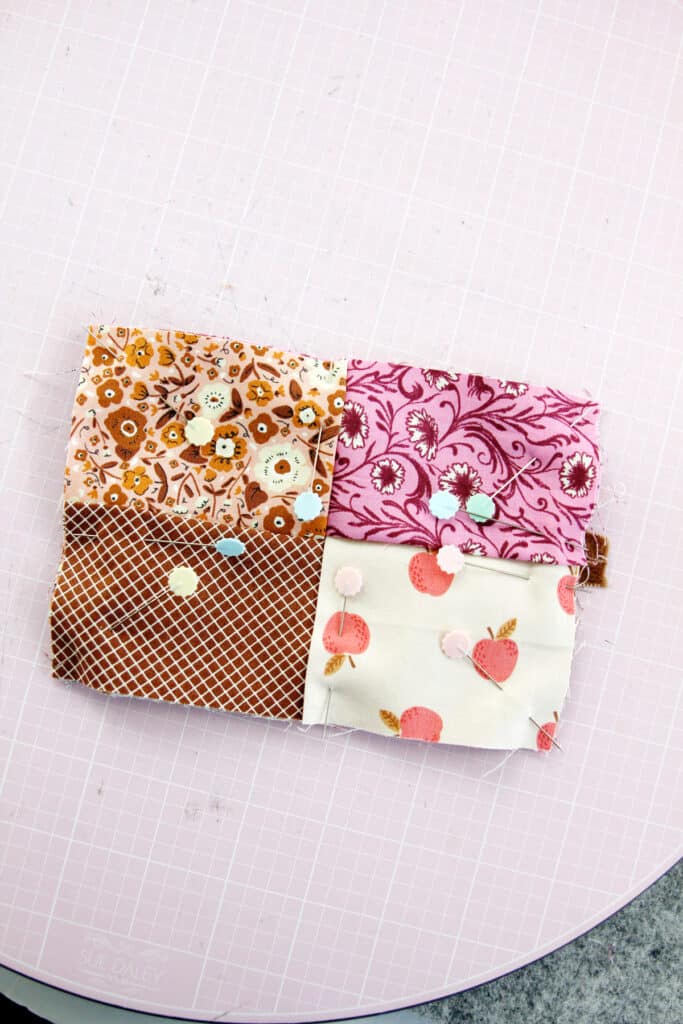
Sew the tissue holder together
Sew around the outside of the tissue holder with a 3/8″ seam allowance, pivoting at the corners. Do not leave a space – we’ll just turn it through the tissue opening!
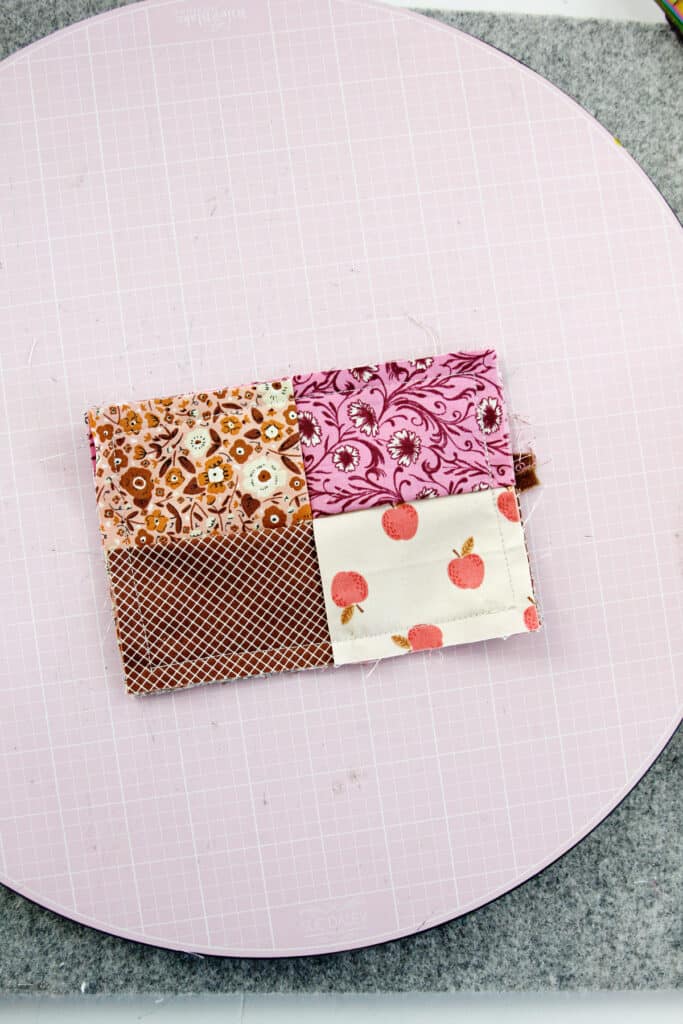
Clip the corners, trim the seam allowance and finish the edges. You can use pinking shears or a zig zag stitch to finish the seam allowance.
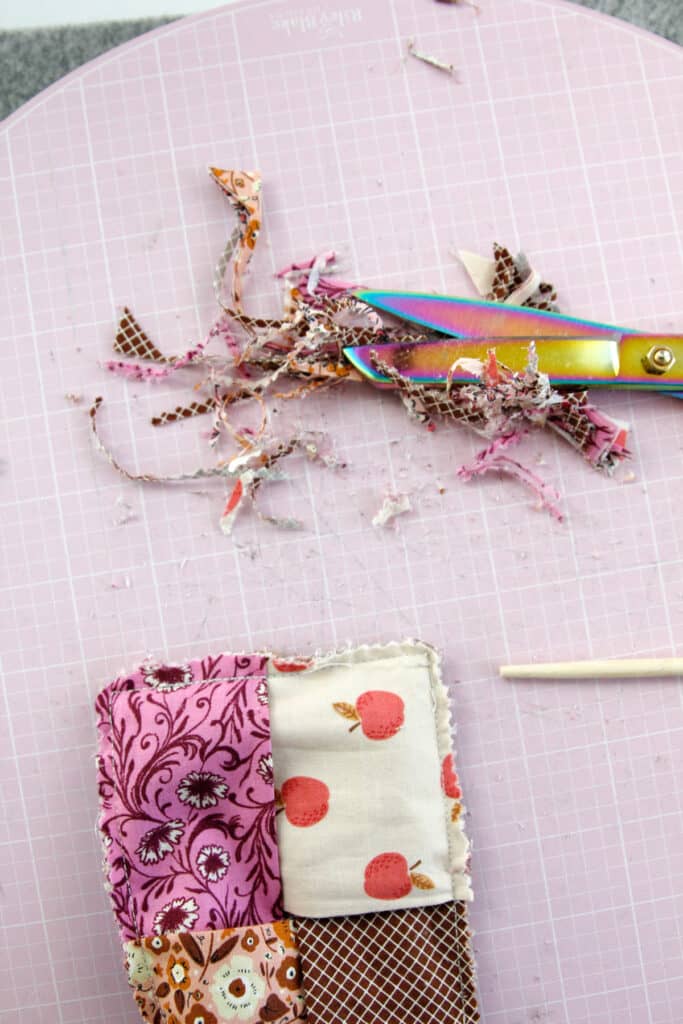
Pinch the corners as shown and pin.
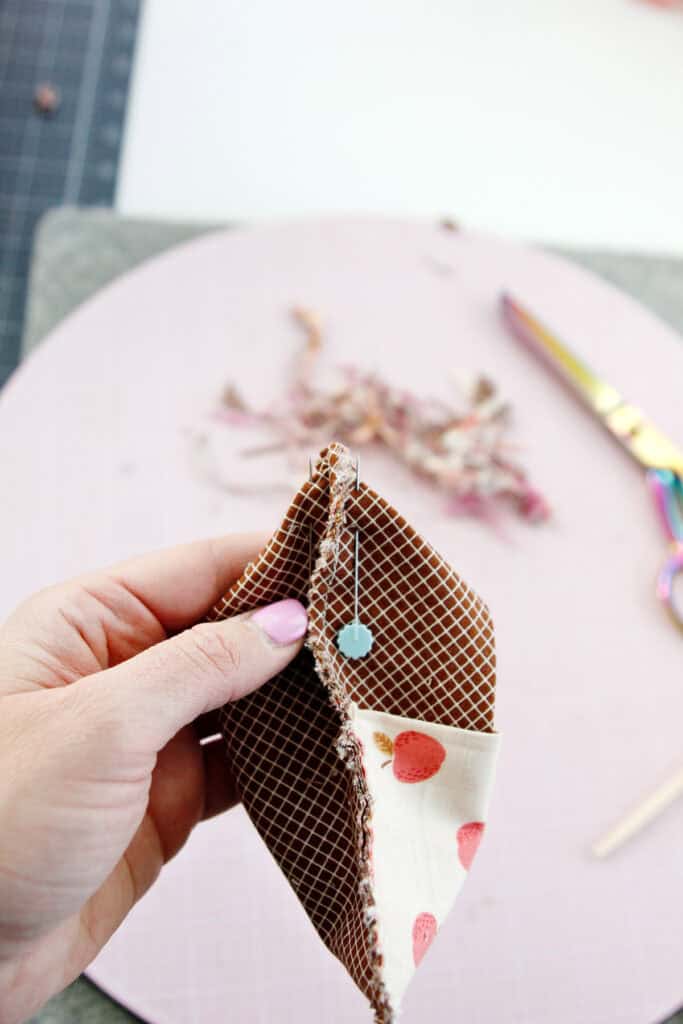
Sew across the pinched fabric about 1/2″ from the point of the triangle. Backstitch. Then trim the seam allowance. Repeat for all corners to create a boxy shape.
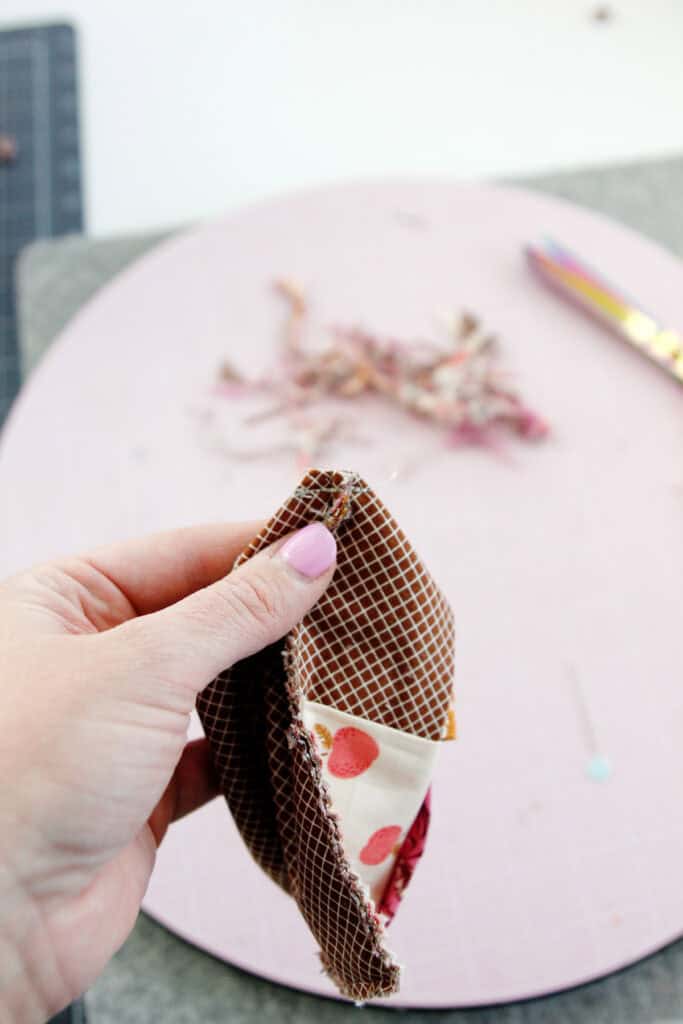
Turn it right side out through the opening and then put a tissue travel pack inside!


