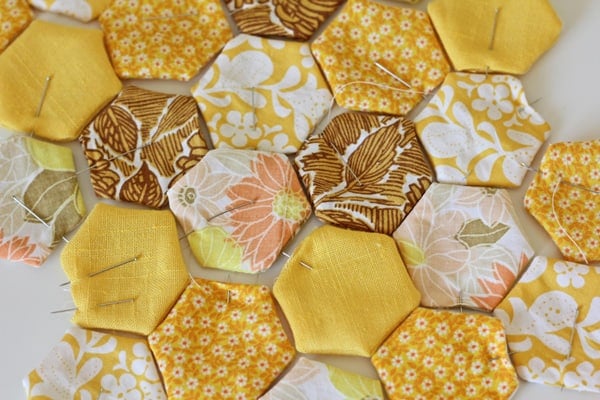
I’ve been meaning to make a hexagon quilt forever. It’s one of my lifelong dreams. All my sewing idols have done it. They are so pretty and would be such a neat keepsake. I really want a full size one to drape over my bed.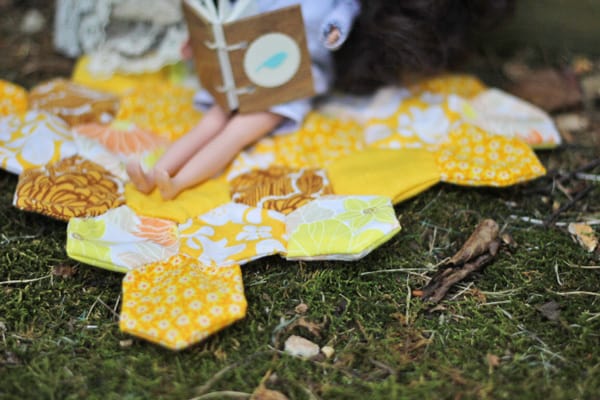
But every time I think about making one I think about how stinkin’ long it is going to take to cut out all those hexagons. Forever. Or maybe longer.
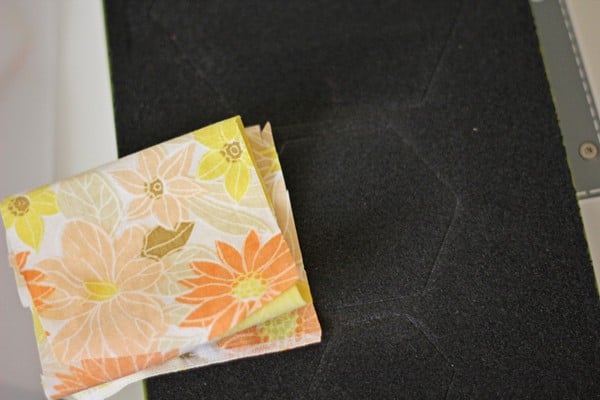
go! baby to the rescue!!
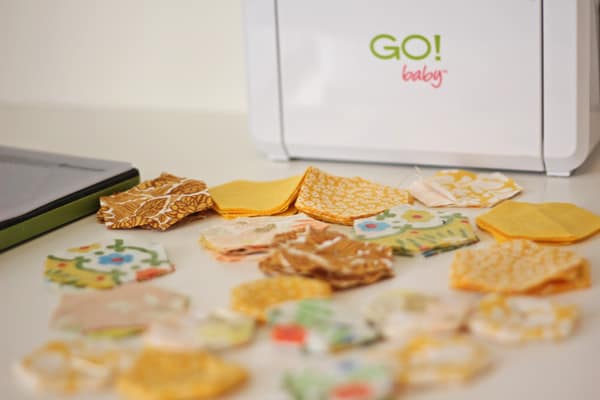
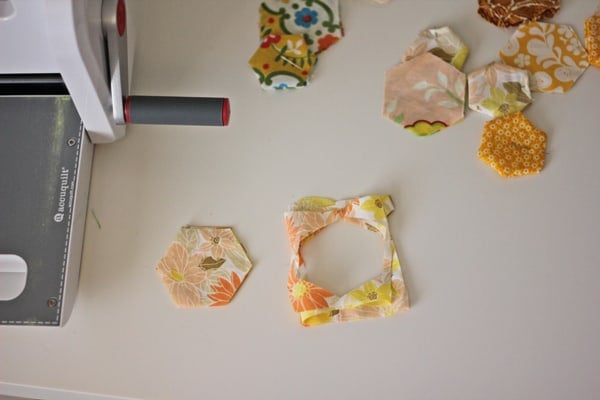
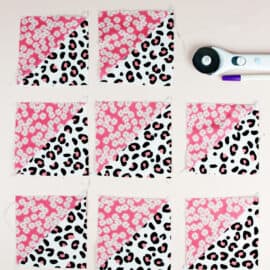
Accuquilt asked me if I wanted to review their Go Baby fabric cutting machine. Did you know such a thing existed? It cuts fabric into quilting shapes and appliques for you! I was in scissor/rotary cutter mindset, thinking rotary cutters were SO fast. This baby cuts your fabric for you into pieces even faster so you get to the fun parts like piecing, quilting, and applying appliques. I really love it. I think it’s so useful and I’m not even much of a quilter. (Although I aspire to be one.) I have lots of projects to show you! I got to choose three different dies, and the very first I decided on was the hexagons. It was a no brainer.
Machine stitch around the edges, leaving a tiny space on one of the hexagon’s sides. Backstitch where you start and stop.
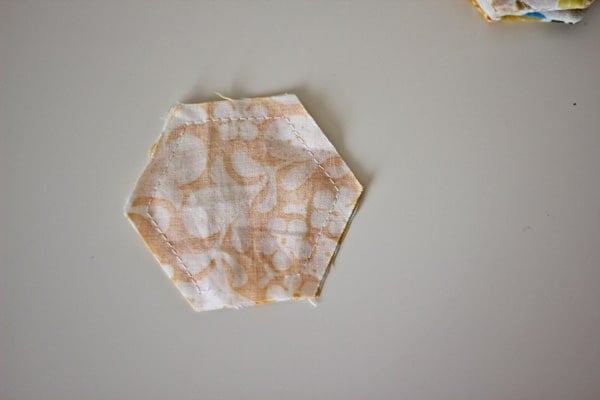
Clip the points.

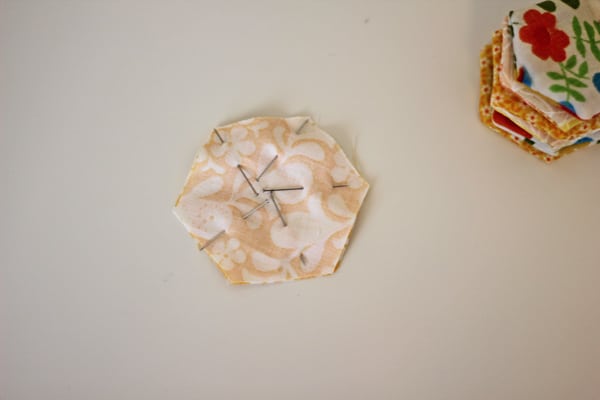
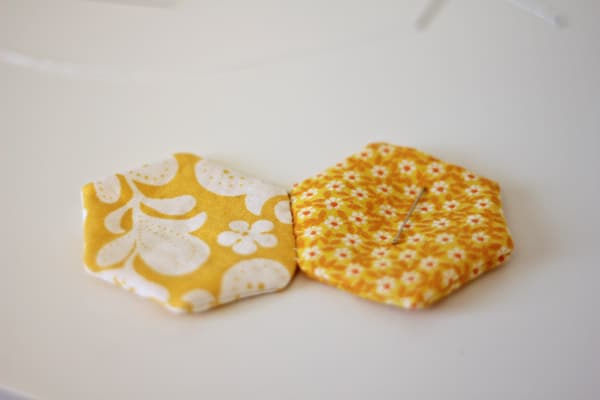
Now turn and pin the opening closed.

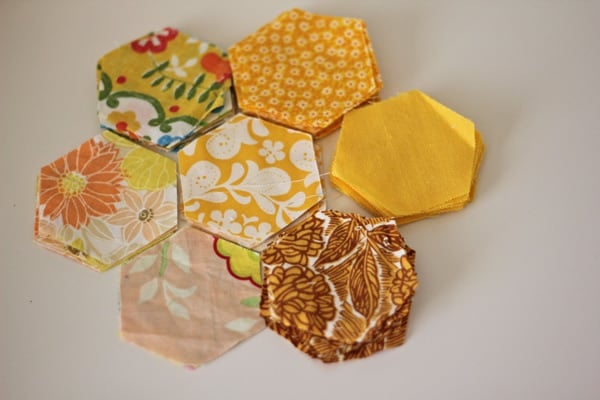
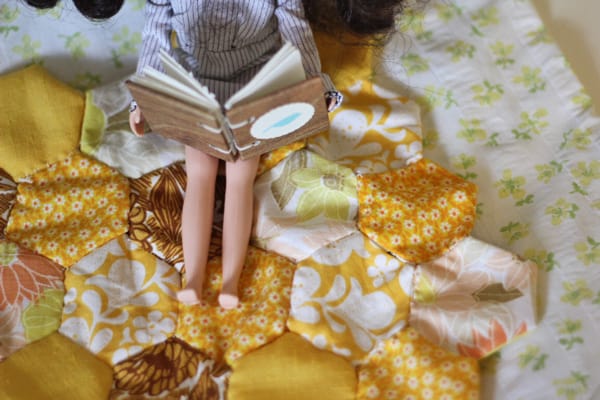
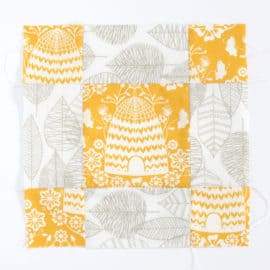
Now you have a hexagon! You’ll need 27 for this project. This tutorial can easily be adapted into a larger quilt, just add more hexies!
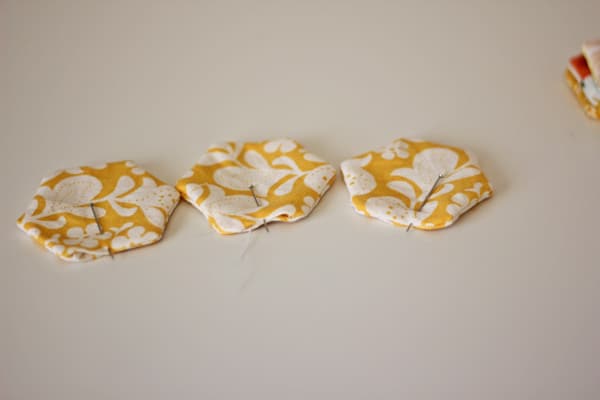
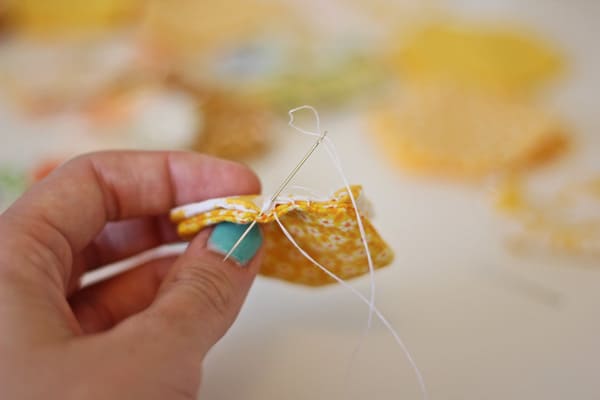
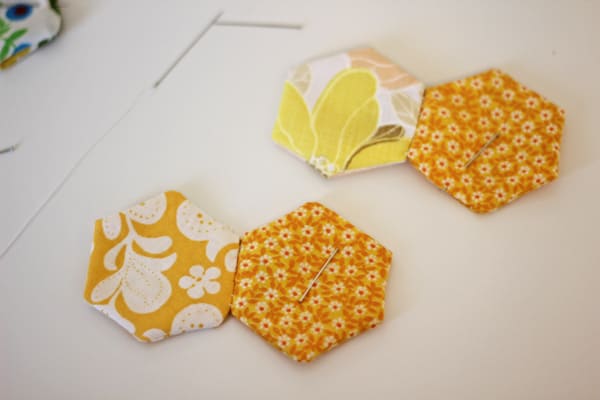
Sew the hexagons together with a blind stitch. While you sew the two hexagons together you’ll also close the openings. Instead of sewing two open edges together, I sewed each open edge to a closed edge of another hexagon to make it easier to close up everything in the process.
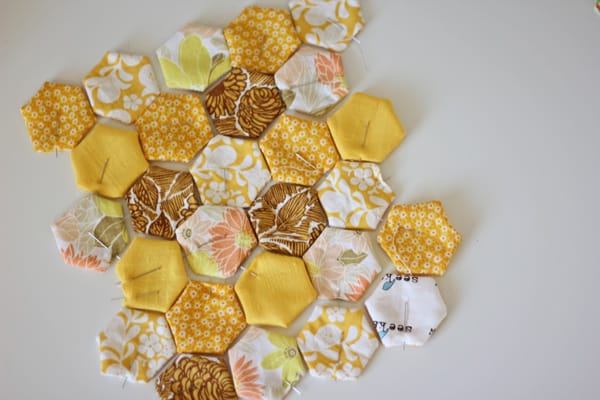
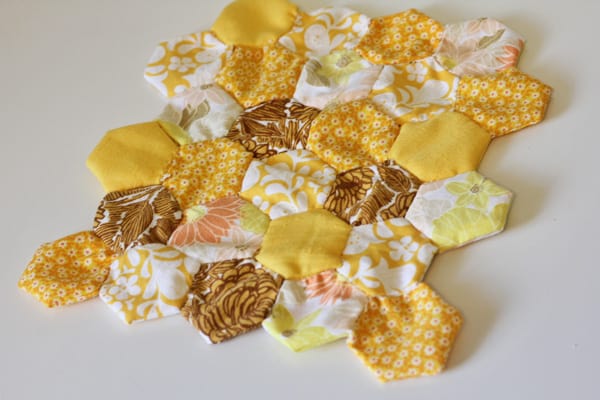
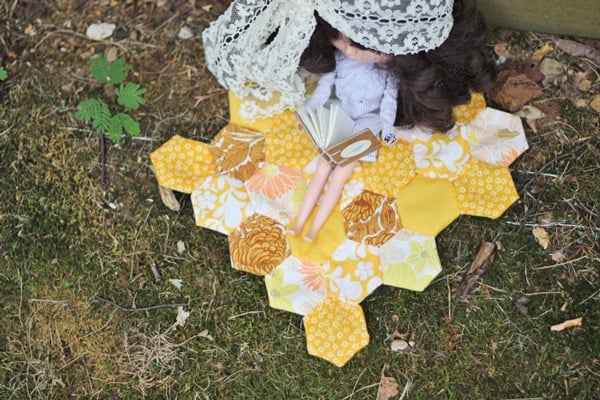
Lay them all out and sew them ALL together.
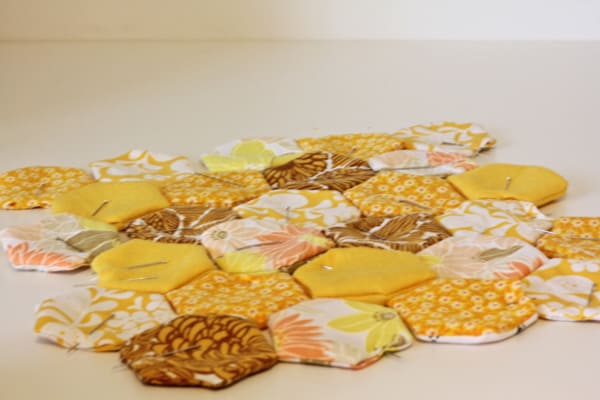
I didn’t go by any specific pattern. I just made sure no two like prints touched each other and that the quilt as a whole balanced out.
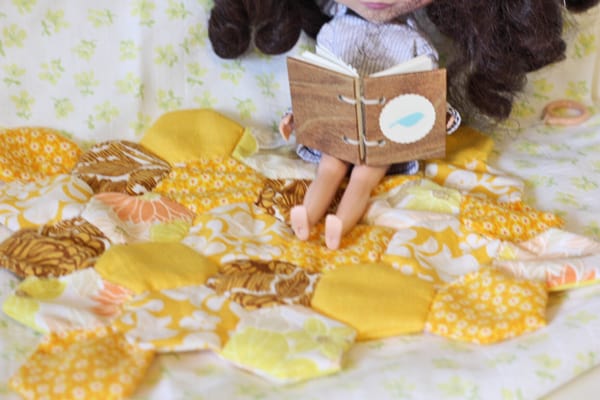
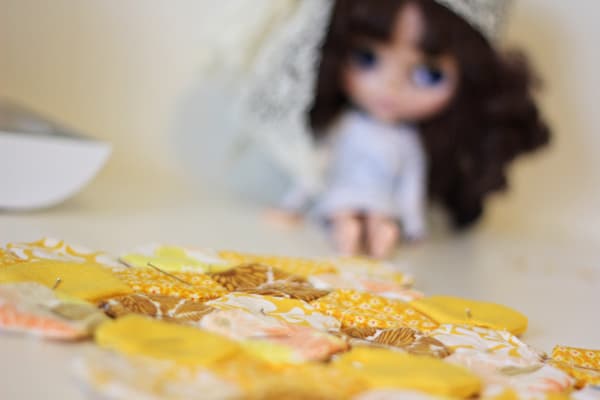
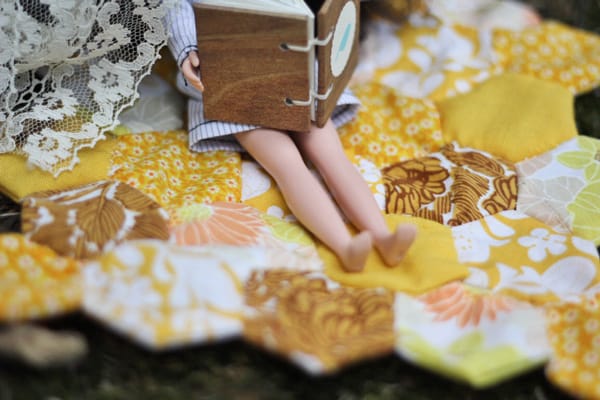
When it’s all sewn together, it will look so great! I didn’t press my hexagons because I like the sorta puffy dimension you get by not pressing them.
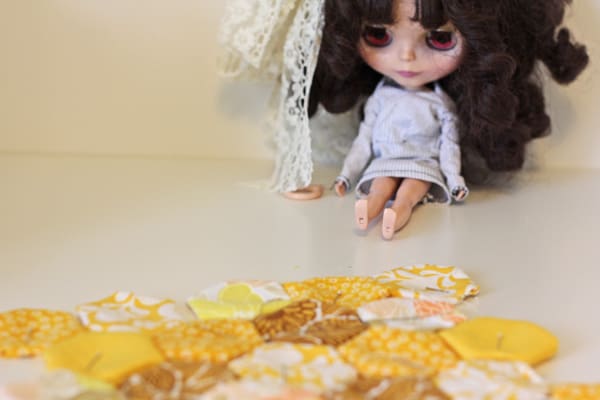
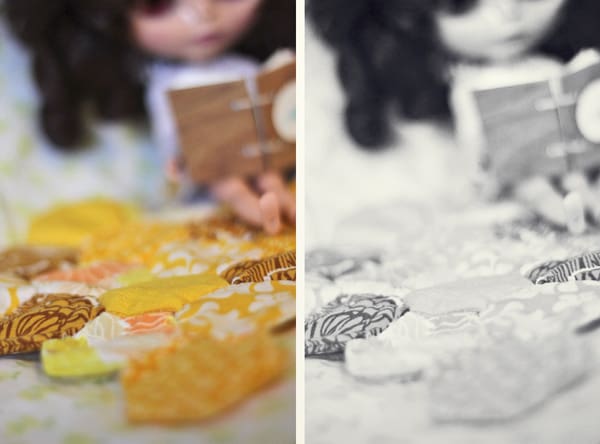
Blythe watched me put it together. She looks so excited.
Sign up here for 22 FREE patterns from Accuquilt! (Or click the button below.) You just have to put in your email. I signed up and looked through all the patterns, they are so cute! There are some great ones for the holidays and for most other occasions, too!


Genius idea – I love the idea of a double sided hexi – espec. if you were making a thin quilt and didnt want batting/backing on it. Or placemats, table runner, pillow cover, anything really. Awesome :) … also love that there is not putting in a paper template, sewing around it, etc. mess. Now if only I had a cutter, hrmmm.
I think I might love them more if I had a machine to cut them out for me lol
I love them! The colors are so beautiful. It would be lovely to have a whole quilt of them.
this is gorgeous. if only i knew how to sew!
Really darling and timeless! Come learn about Canadian Winnie the Pooh!
Looks like she’s enjoying it, lol! Good work! I would love to see you link this post up at Freestyle Friday, going on now through Sunday night at Happy Hour Projects!
Hope to see you there ~ Adrianne
http://www.happyhourprojects.com
Love hexagons. In fact, my new blog header features them! Do you think they’re the next chevron? I hope so!
This is so cute Kate! Love all the fabrics you used. :)
I love hexagons. This is so cute.
Thank you for the tutorial!!! I would like to try my 1st quilt this fall/winter, if things ever slow down! ;) Thank you for making it look so easy…hopefully it is!!!
Thank you for the tut!! I’ve tried hexagons in the past with the old English paper piecing way!! I think yours is much easier/ten times faster!!! Love it:D Thank you for sharing!!!
Happy Creative September :D
xoxo
Eleni @sewhappiness
This is awesome! I would love one of these. Your fabric choices are great, also!
becky@chaselegaltitle.com
I know this is an old post but I adore how you did a Blythe quilt with the hexagons!
I know this is an older post but just wanted saw how awesome it is that you did a Blythe quilt with the hexagons. Neat!