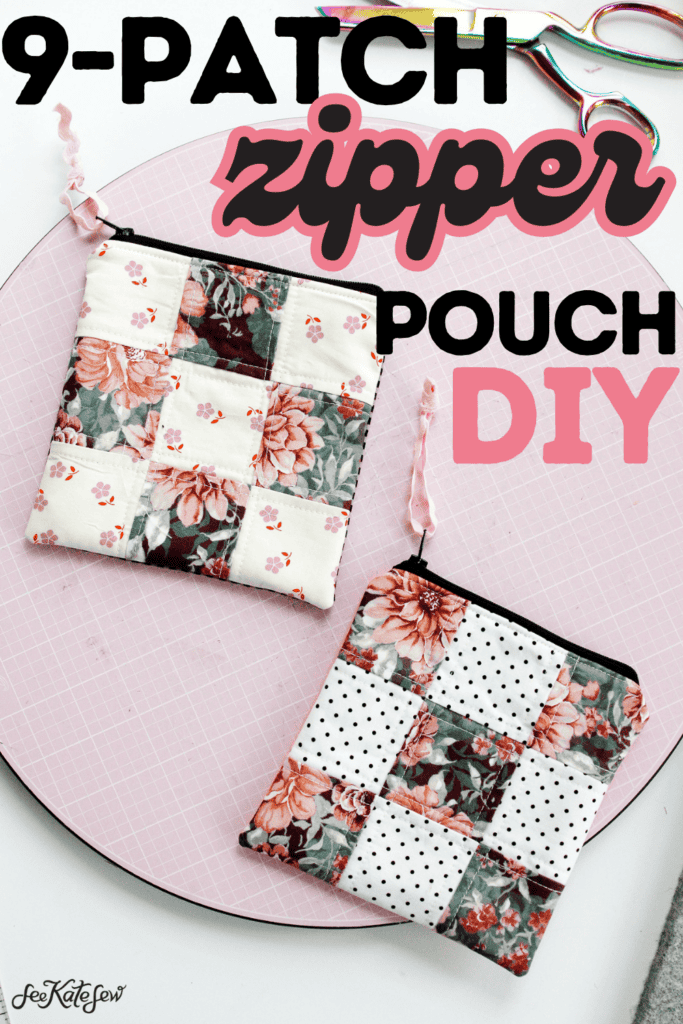
Let’s make some super cute quilted zipper pouches! These can be used for so many things and they make great gifts!
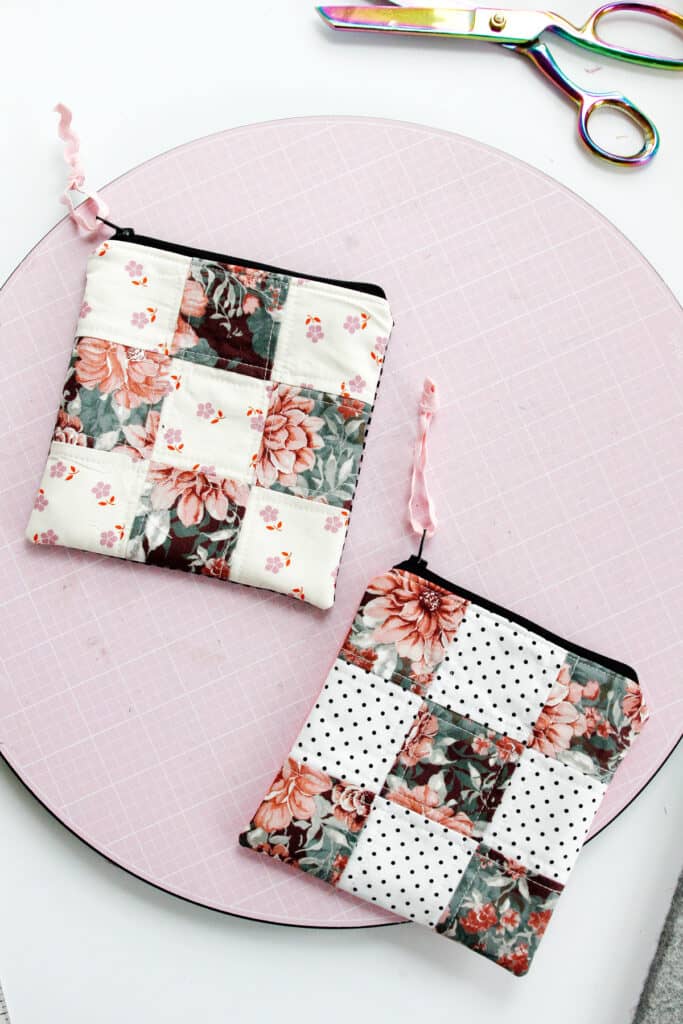
We’ll use a classic 9-patch quilt block and lots of little scraps for this project!
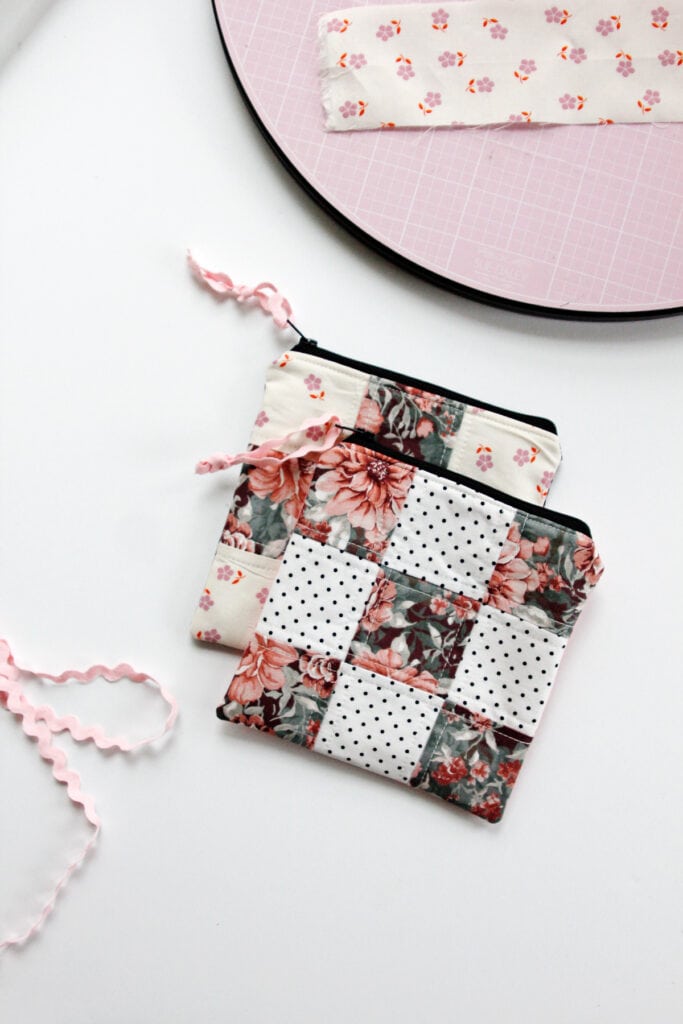
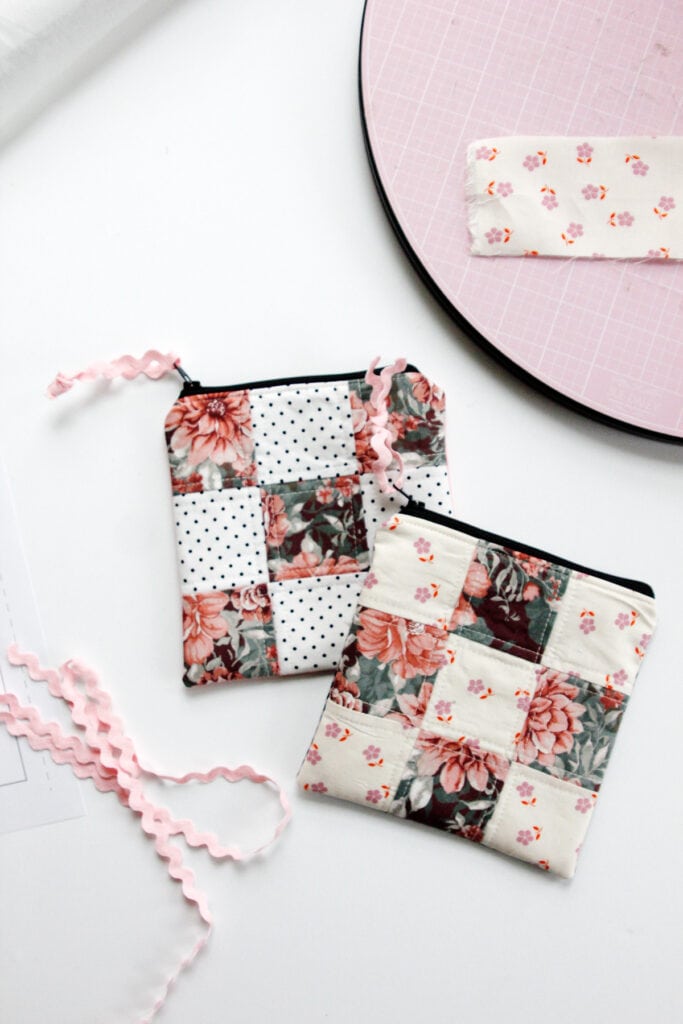
This is such a fun and quick little project and the pouches turn out adorable! You can use two colors for the patchwork or use up to 9 different scraps – it’s up to you!
Patchwork Quilted Zipper Pouch Materials

- Scraps of fabric, or use 2.5″ strips
- Fusible interfacing (affiliate) (scraps)
- Needled quilt batting (scraps)
- 7-9″ zipper, or longer
- Spray baste
- Printable pattern pieces
9 patch quilted zipper pouches pattern download
You can either use measurements or the templates for this project. If you prefer a pattern, download the templates below by clicking on the button below and signing up for the newsletter. Print at 100% or DO NOT SCALE.
Pieces to Cut
Cut out 9 small squares measuring 2.5″ or use the pattern piece.
Cut 3 squares measuring 6.5″ across – 1 for the back of the pouch and 2 for the lining.
How to sew a quilted zipper pouch
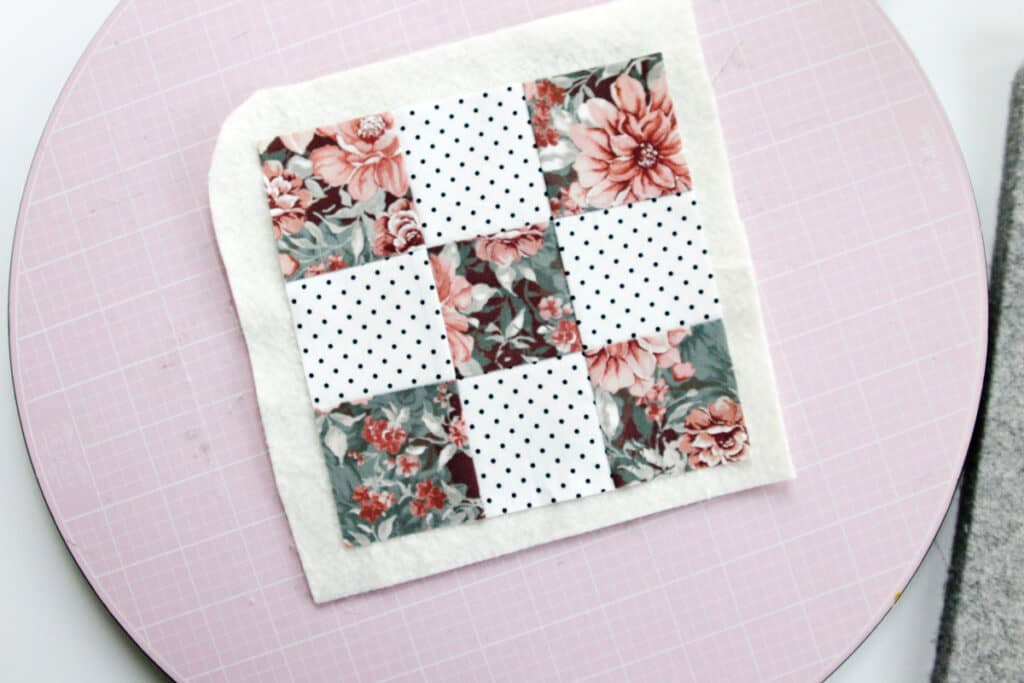
Start by arranging your 9 squares in the classic 9 patch pattern – or whatever pattern you choose!

Sew together into rows. Press the seam allowances in opposite directions. I pressed mine all towards the darker fabric which will work for the classic 9-patch design.

Then sew rows together and press seam allowances out.

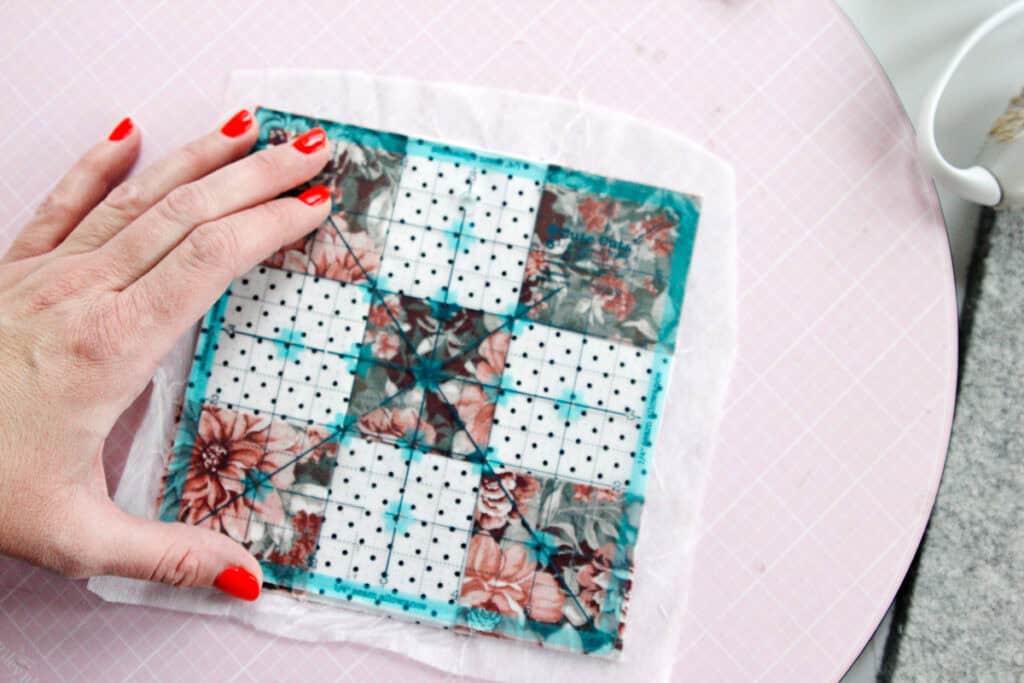
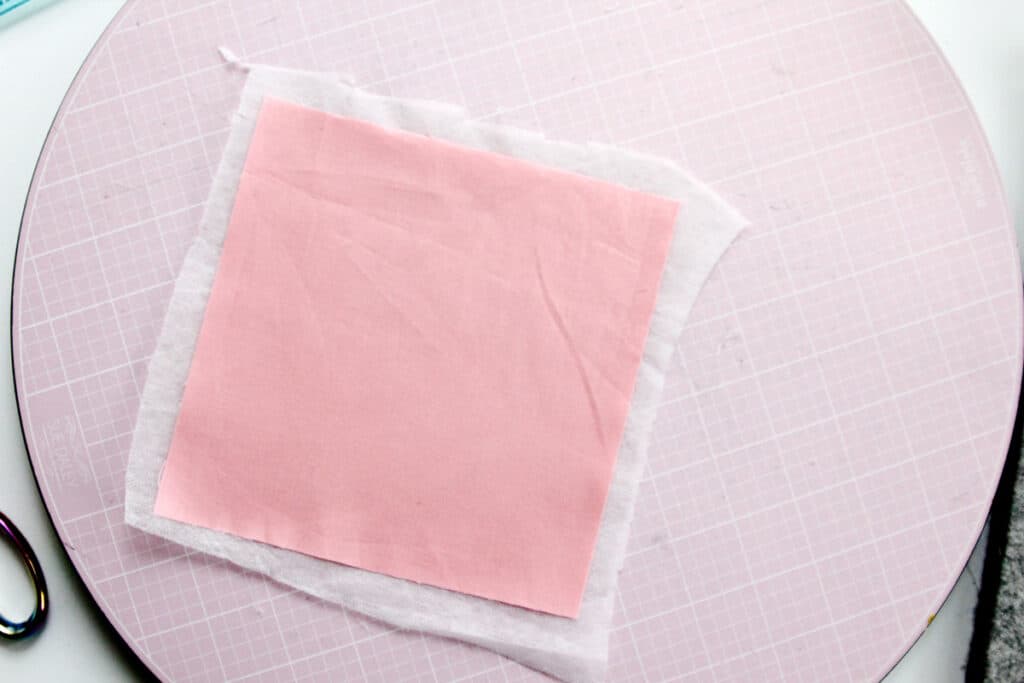
Back with fusible interfacing and trim down to 6.5″ square.
Spray baste a piece of batting to the back of the panel. Let the baste spray set so it doesn’t get your machine needle all sticky.
Fuse interfacing to the back of the back pouch piece.
Topstitch the panel and batting in any design you want.
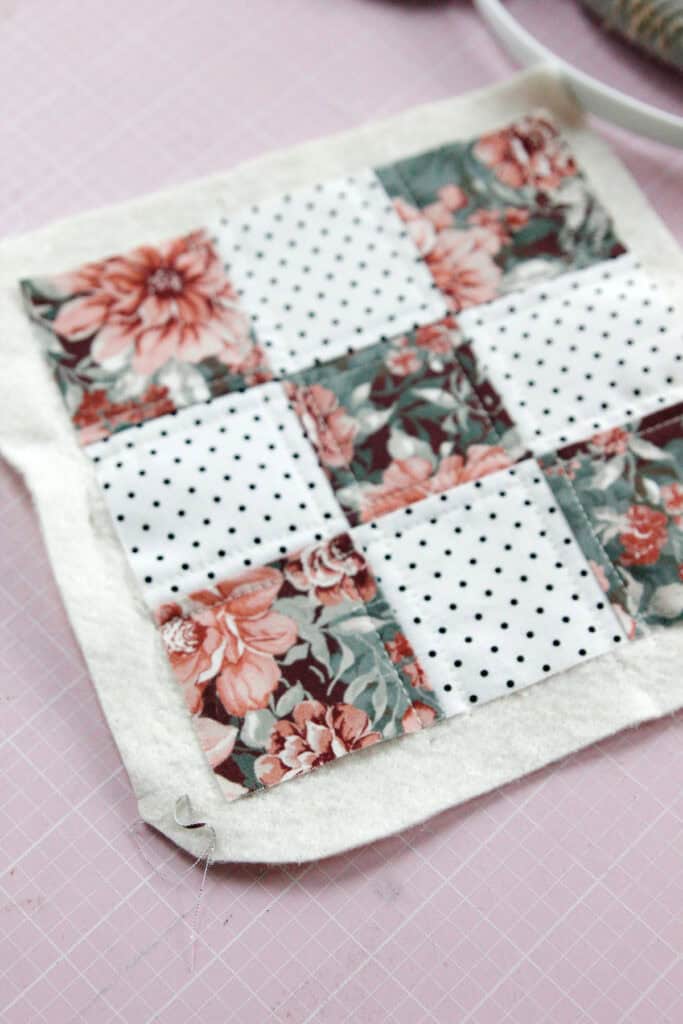
Then use all your pieces to finish the zipper pouch using these basic zipper pouch instructions.
Tie a piece of rick rack on the zipper pull if you want!