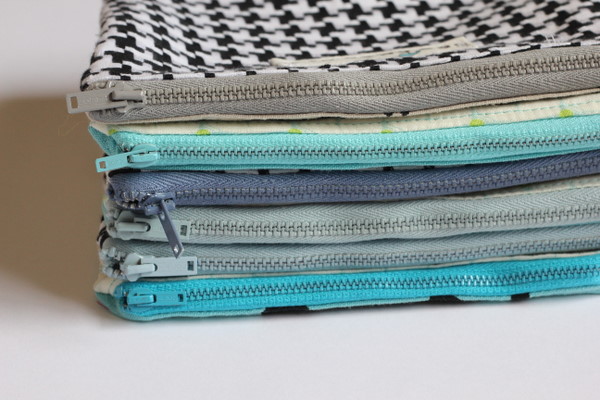
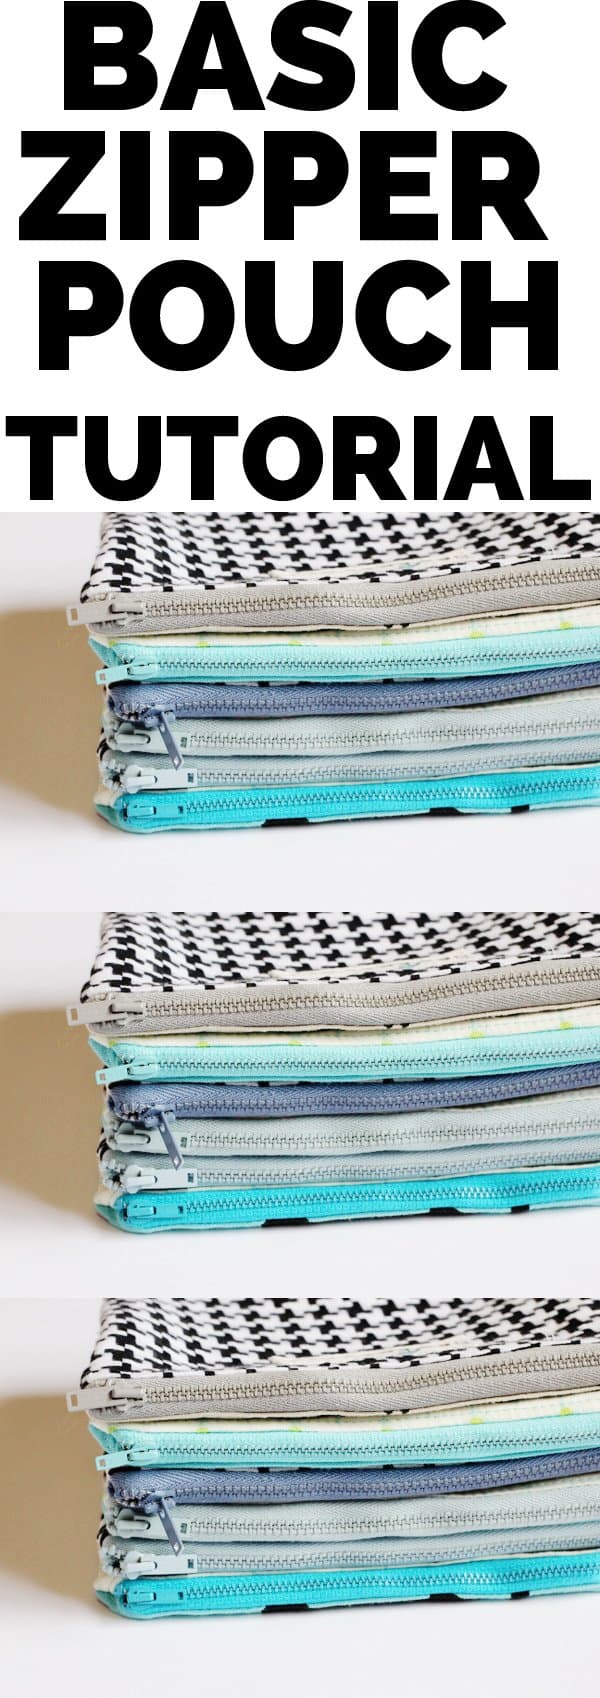
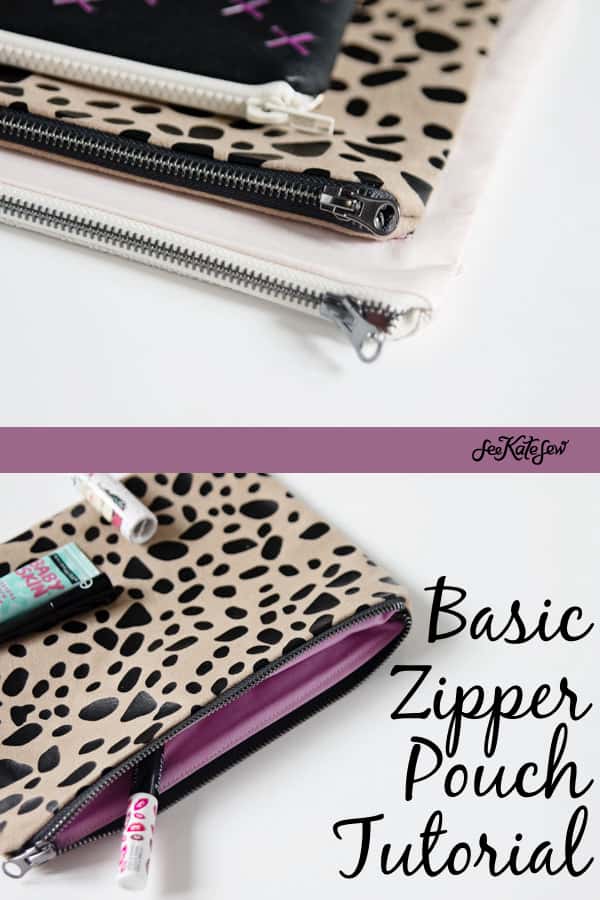
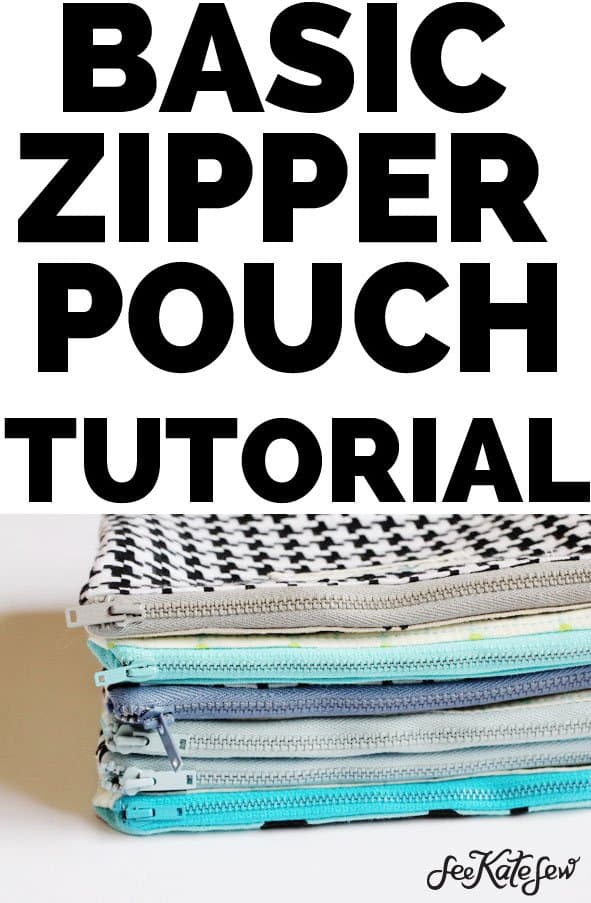
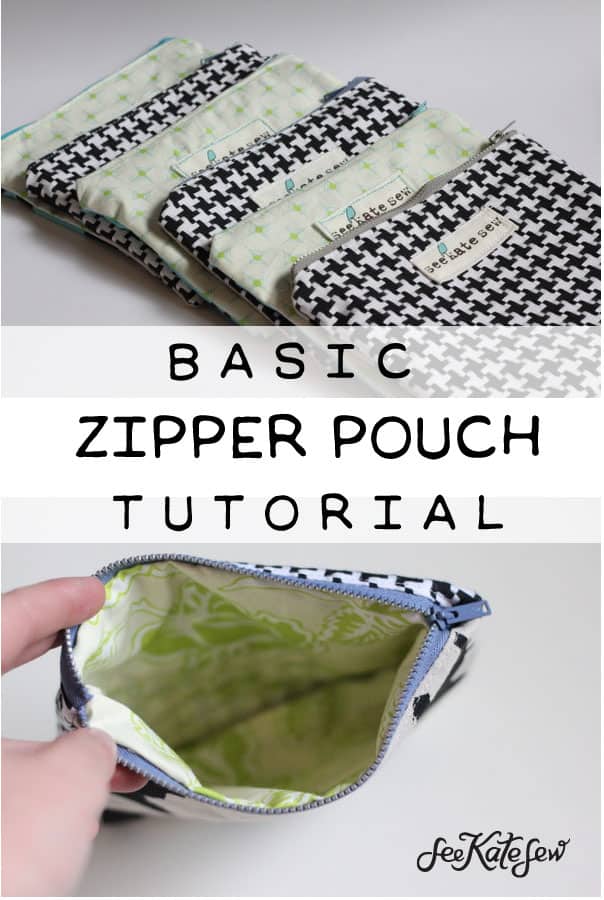
let’s make some zipper pouches!
This is a lined basic zipper pouch tutorial that is great for beginners!
They are great for everything!

let’s start:
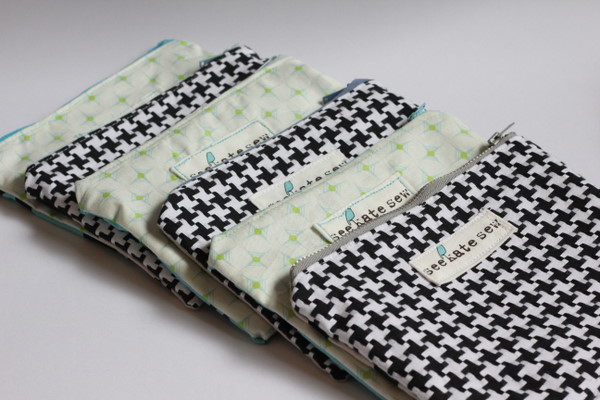
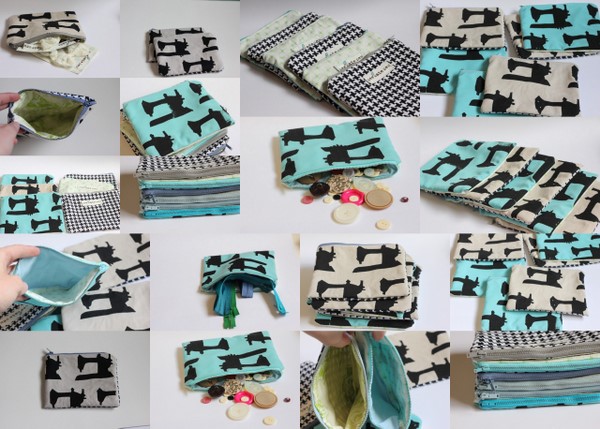
To begin you need four pieces each measuring 6.5″ tall by 8″ wide. A front, back and two lining pieces. If you’re going to add a label, do that first. And you need a zipper, about 8″ long.

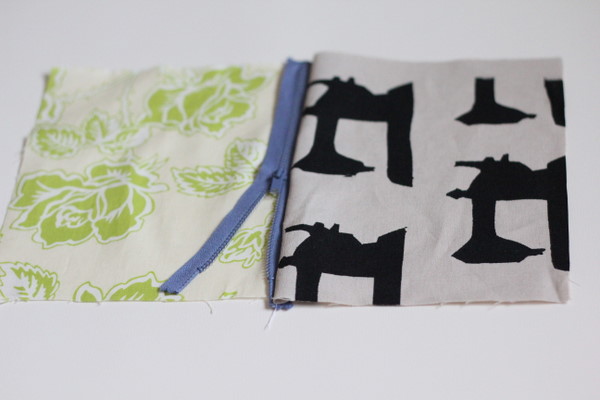
Lay your zipper face down on the front piece.
Sandwich it in with the lining piece. Your front piece and lining piece will be right sides together. Pin it up.
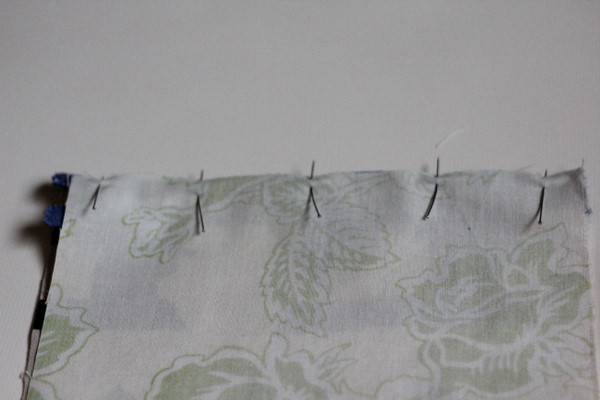
Stitch at 1/4″ with a straight stitch.

This is what you’ll have.
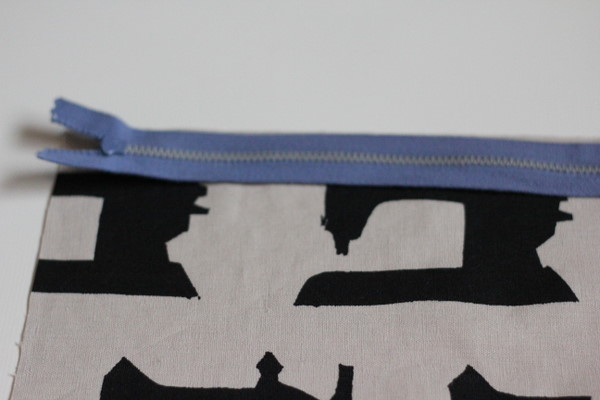
Press the front piece.
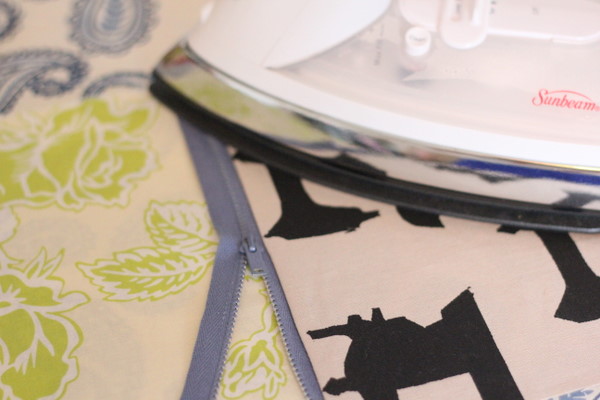
Topstitch close to the edge.

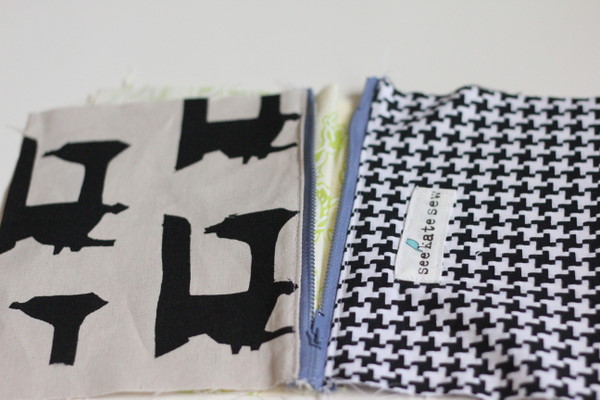
Repeat with the back and second lining pieces. You’ll make a stack that looks like this:

When you’ve topstitched both pieces, your pouch will look like this:

Open the zipper.
Pin back and front right sides together and lining pieces right sides together. The end of the zipper should be pinned to the lining pieces.

Sew it up with a 1/2″ seam allowance, leaving a few inches open at the bottom of the lining.

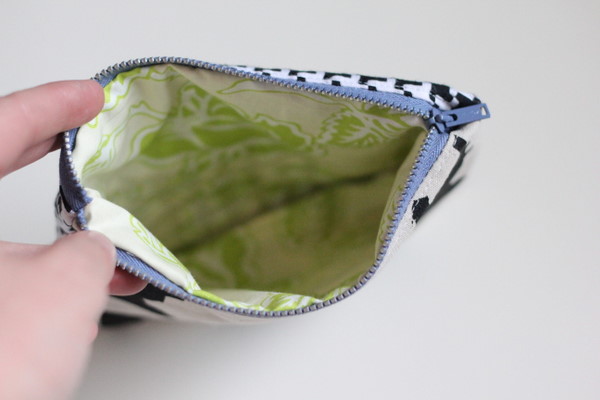
Trim the bag down to 1/4″ and clip the corners. Then turn it right side out. Press and pin the opening in the bottom edge of the lining.

Sew it up with a straight stitch, backstitching at each end.

Push the lining to the inside and you’re all done!


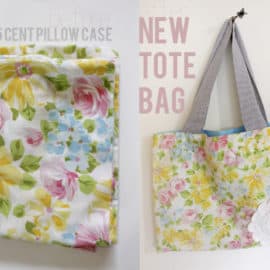
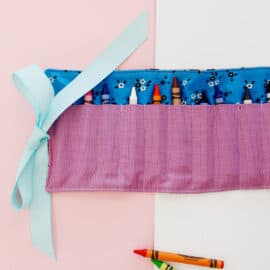
If you liked this post but want a non-zipper pouch, try this cute and easy velcro wallet tutorial!
- <div style=”display: none;”><img src=”http://www.imageURL.jpg” alt=”alt description.” /></div>


Zippers always scare me, but I think I can do this one! Thanks for the tutorial!
These are fabulous! I’d love for you to link up at my new Tuesday Time Out!
http://reasonstoskipthehousework.blogspot.com/2011/03/tuesday-time-out-link-up-party.html
Smiles,
Melanie
http://reasonstoskipthehousework.blogspot.com
Oh man, I’m such a slacker. I don’t top-stitch. Looks really nice that way though!
I have seen SO many tutorials with zippers in the past few weeks, but this is by far the best one. I really like how you do each side completely first. I think doing it the other way is what’s made zippers so frustrating for me. LOL! So thanks!! And I love the sewing machine fabric!! :)
P.S. I would love it if you would come link up this tutorial to Tutorial Tuesdays over at my blog, The Little Birdie. We have lots of aspiring sewers! http://littlebirdiebaby.blogspot.com
that sewing machine fabric is super cute!
cheers.
sweet! I was given a bunch of free zippers of different sizes and colors and I was scared to try anything with them… looks like I’m going to have 20+ little zipper pouches soon! Now to imagine what to fill them with! Thanks for the simple instructions! :)
This tutorial rocks! You made zippers look so…. not scary! Thx! I think I might try my hand at this! :)
Great tutorial! I’ve been sewing for more years than I want to admit…and have been avoiding zippers like the plague. I think it is time to start using them again. Thanks for the confidence boost!!
So cool! I love this tutorial. It looks so easy:) Thanks so much for sharing. I love the fabric you used!!
Saw you on Sew Much Ado.
I have been wanting to make one of these….Thank you for sharing :) LOVE IT!
-Leah
These are so fun! You picked some great fabric!!
I have never sewn anything with a zipper before, but this looks pretty easy! Thanks for the tutorial! :) Would love for you to join my linky party!
http://www.inspiringcreationsblog.com/2011/03/friday-favorites-linky-party_17.html
Love this. Zippers are my next step in the sewing ladder so this is definitely on my list.
love making these, but haven’t tried it this way! maybe i shall!! :)
I featured you this week at my Hookin Up with HoH party!
Feel free to stop by and grab a button if you’d like!
~Allison @ House of Hepworths
They are so cute and thanks for the great tutorial!
Great tutorial, thanks.
Just wanted you to know your tutorial worked like a charm! I made the CUTEST little pouch today, in about an hour. LOVE IT!!
http://www.multifacety.com/2011/04/09/easy-zipper-pouch/
i made one too :)
This looks so easy to do! The only zipper pouch I’ve ever made turned out okay, but for some reason the zipper sticks and it’s really hard to work. I’m gonna try this one today and see if I get better results!
Now that’s a tutorial I feel confident about trying. Thank you for taking such clear pics and writing such clear instructions.
Oh and kep your fingers crossed for me too!! ‘o)
Thank you for this tutorial. I’ve just made a zipper pouch – in about half an hour thanks to your great explanations.
Thank you for the tutorial!
Here‘s what came out of my first try – but I’ll make more for sure now that I’ve really gotten how it works! :-)
Thanks for the tutorial! This was my first go at putting in zippers, and thanks to your detailed pictures it went rather well! I am not sure I sewed the zipper to the inside lining correctly, because it bunched up a bit, but I was happy with this first attempt. Love your blog!
Here is what I made: http://malaidea.squarespace.com/principal/2011/9/27/numero-cuatro-saco-para-el-maquillaje.html
Teresa
All that I can say is….I love you :) hahahahahahaha. This is so adorable yet simple to do. Thank you for posting. :) Tamara
All that I can say is….I love you :) hahahahahahaha. This is so adorable yet simple to do. Thank you for posting. :) Tamara
I did it! Thankfully this is a pretty forgiving pattern because I’m a new sewer. Thanks to your great instructions, I’m not the proud owner of a my very own zipper pouch! Thank you Kate!
Just spent the quickest 30 mins of my day admiring your work! so very inspiring! thanks!
Wow. This is such a good tutorial. Using the different fabrics and zipper made this easy to follow. I was able to make a halfway decent pouch on the first try and i had never even sewn a zipper before! Excellent tutorial!
This is so cool! I’ve never even attempted a zipper but going to have to give it a shot! How fun! Thanks so much for posting this!
Hello! Great tutorial. Just wanted to let you know I’ve linked to this tutorial on my recent post .. http://nissamade.blogspot.ca/2012/09/useful-techniques-part-deux.html
I’ve looked at a lot of tutorials for zipper pouches and this one’s the best out there! Just made 3 tonight and off to the store for more zippers tomorrow. Love using up scrap fabric this way, thanks for posting it.
Just posted my story about these with a link to your Blog, thanks again!
Thank you for a very easy and quick tutorial, i made a load of these as Christmas presents which were well received. I have posted the photos and credited you in my blog – please take a look :)
http://emma-jane.net/
I made some of these as Christmas presents and my family loved them. I have written about them in my blog and linked to this tutorial. Please take a look :)
http://emma-jane.net/
Kate, I loved this tutorial. After watching and reading countless ones on zippered pouches I only dared to try them once I found your site. Thank you for making it simple and adorable to read. You rock!
It looks like you used a regular foot instead of a zipper foot? I’ve only done zippers with a zipper foot and didn’t realize a regular foot would work.
Aww so cute. Want to try this. Can you just explain what you mean by ‘The end of the zipper should be pinned to the lining pieces’. Sorry, brand new to sewing but desperate to learn! Xx