Make your own crayon roll up holder with this free sewing pattern! Crayon rolls are fun to sew and great for road trips or backpacks. The roll helps protect your crayons, too.
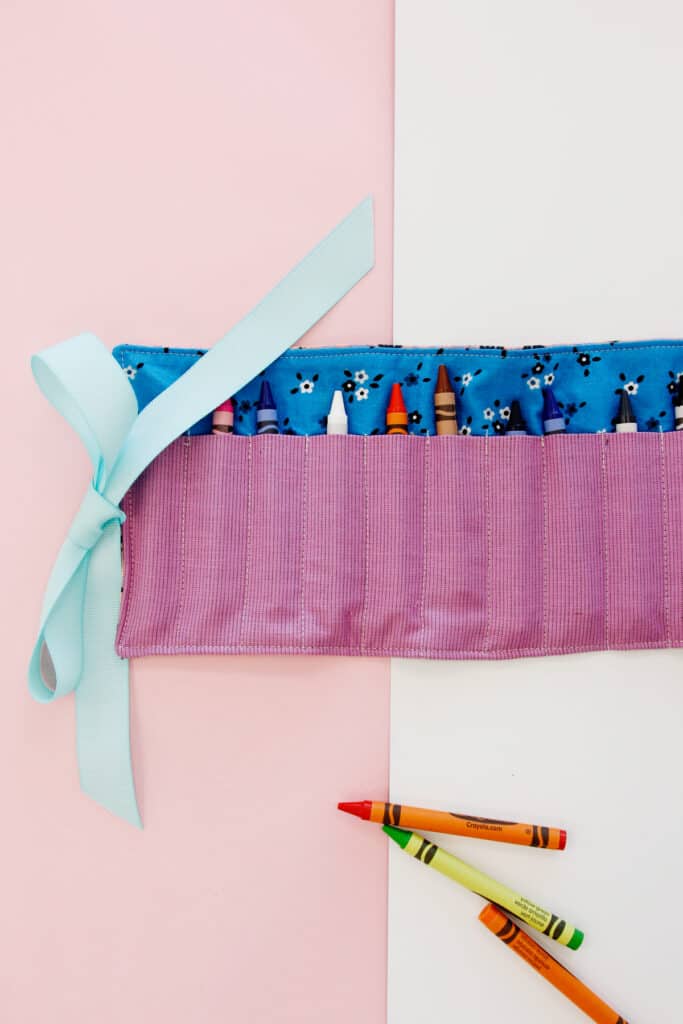
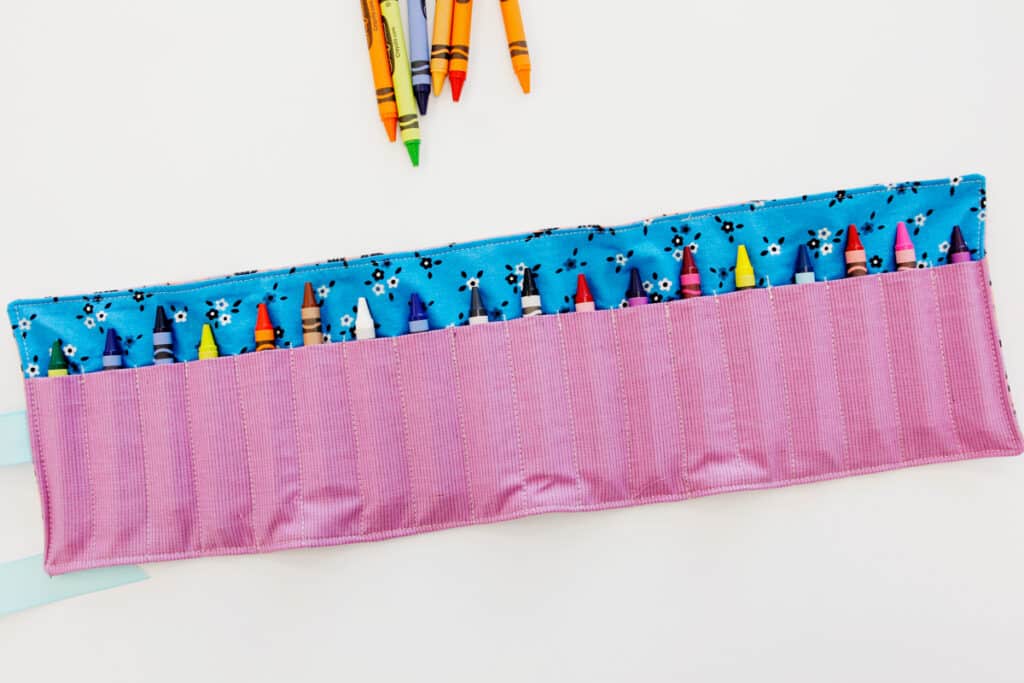
This crayon roll-up holds 18 crayons and it rolls up to a cute, easy-to-stash roll! This is a great back to school gift for kids and a great stocking stuffer at the holidays.
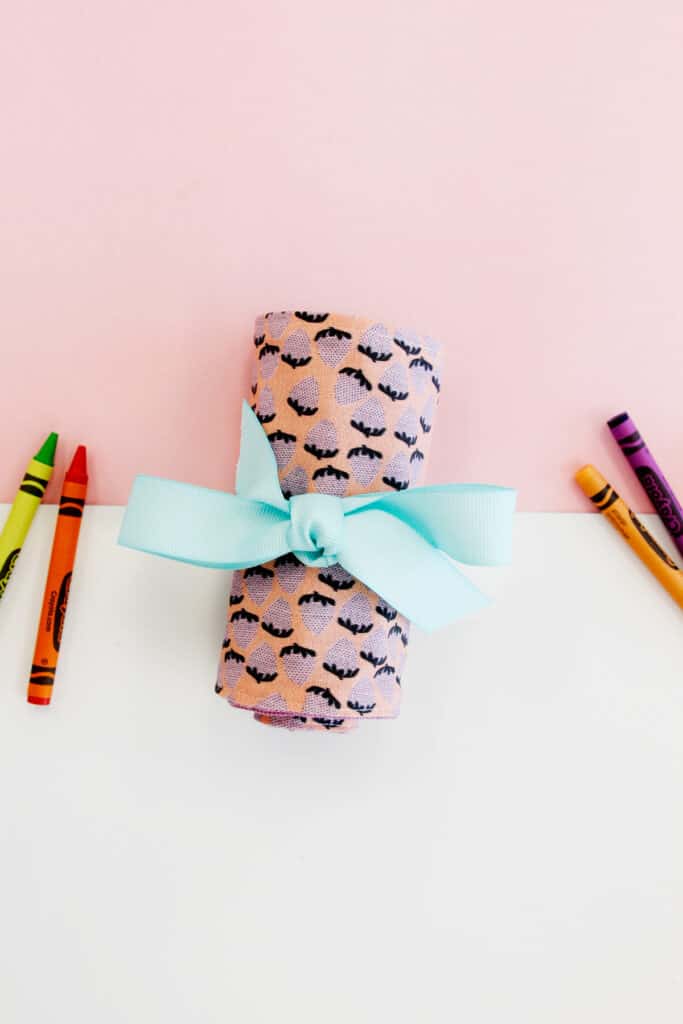
This post includes an easy fabric crayon holder tutorial making it the perfect beginner sewing project!
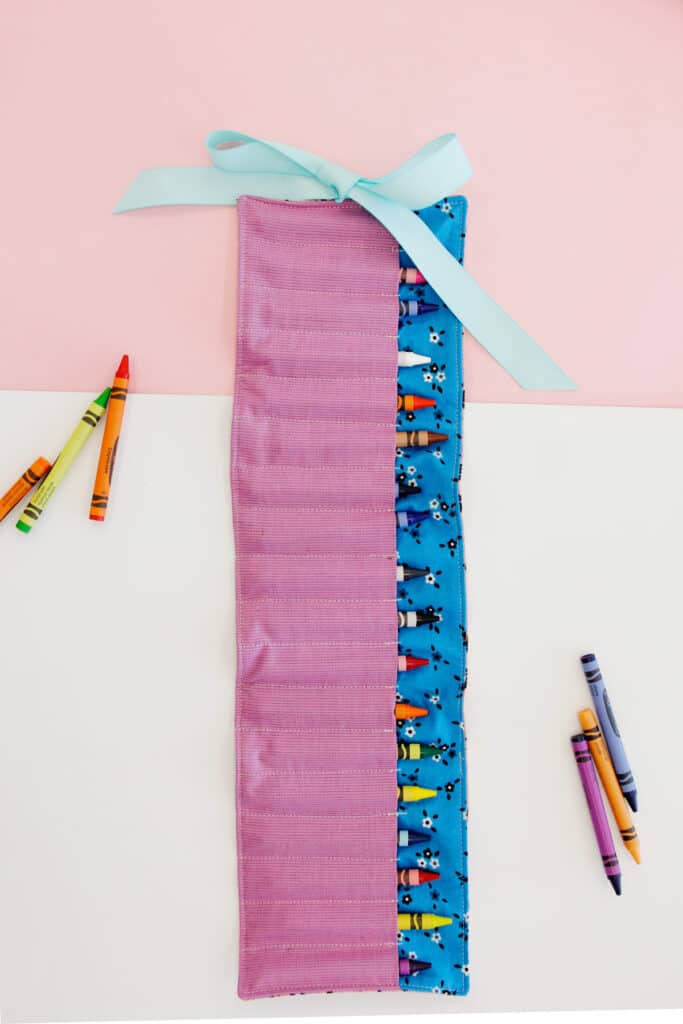
I love sewing back-to-school supplies and this is a fun way to store crayons in your purse or diaper bag to have on hand.

Roll Up Crayon Holder Materials
- 1/4 yard fabric for main, or two 1/4 yard cuts (fat quarters work here, too!)
- 1/4 yard coordinating fabric for pocket fabric
- Lightweight fusible interfacing
- 1″ grosgrain ribbon (28″ required)
- Fabric marker or chalk
- Ruler, rotary cutter, thread and sewing scissors
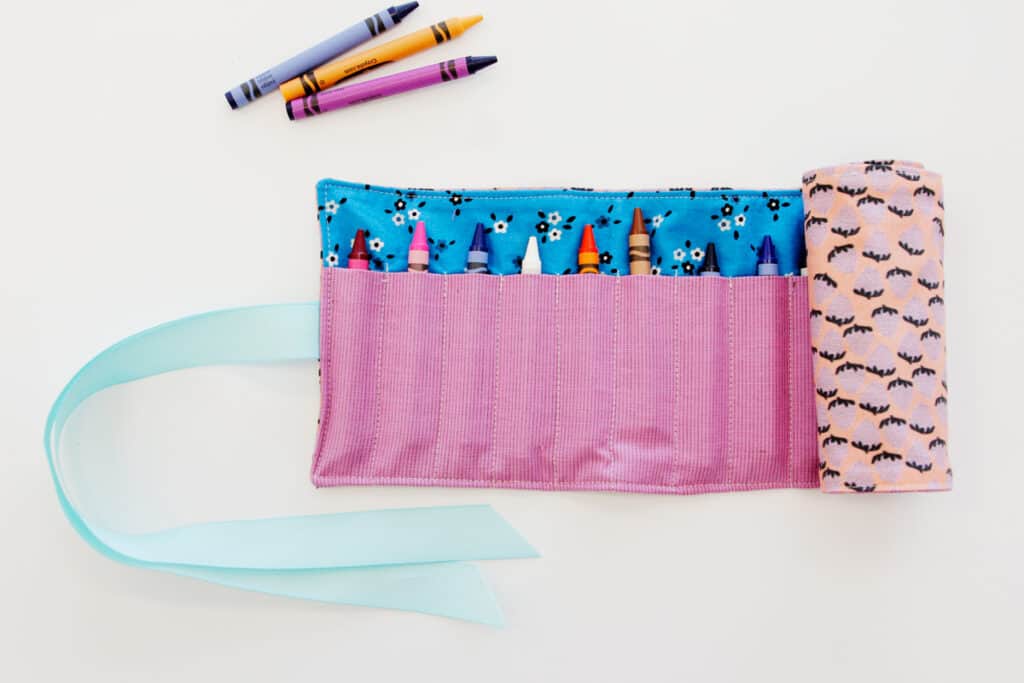
Crayon Roll Pattern Download
Click on the button below to download the free crayon case pattern! Just enter your email to sign up for the newsletter and you’ll be taken to the download page.
Print your pattern at 100% or DO NOT SCALE. It will print on two pages but you don’t need to tape them together.

How to sew a crayon roll
Use a 1/2 inch seam allowance.
Cut two layers of fabric from your main pattern piece. If you are using two different fabrics, cut one of each. Fuse interfacing to the back of outer main fabric.
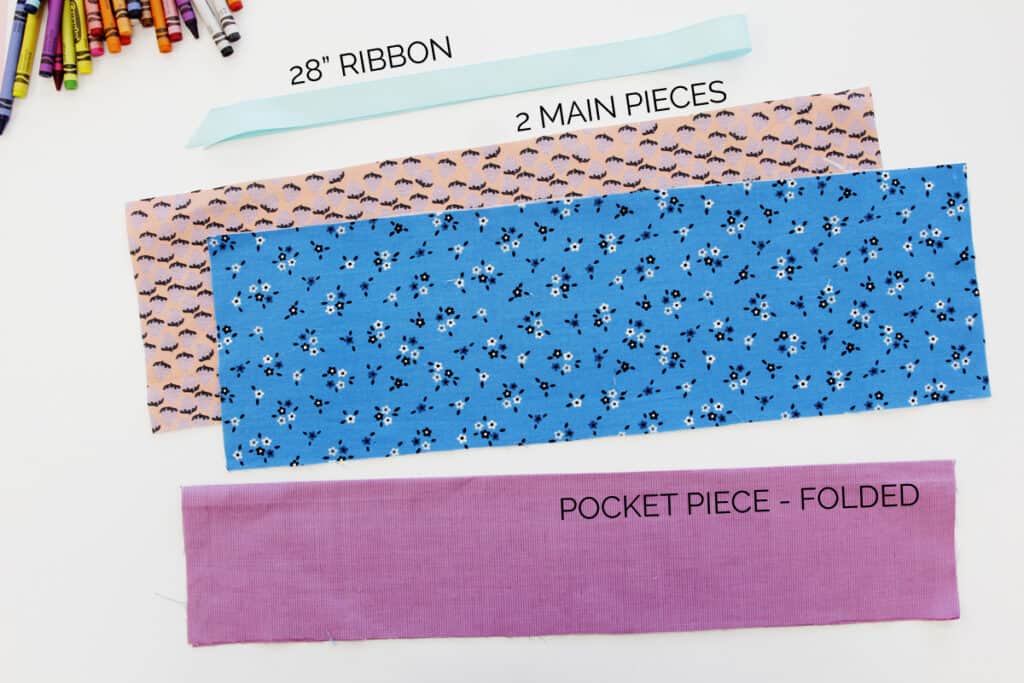
Cut the pocket piece out. You’ll need one piece cut on two folds of fabric. First fold your fabric in half and press. Then fold it again. Make sure the lines where the pattern piece indicate are both on folds.
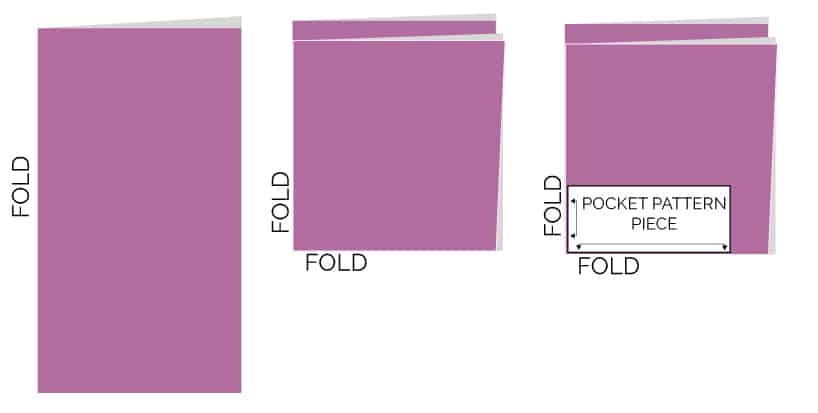
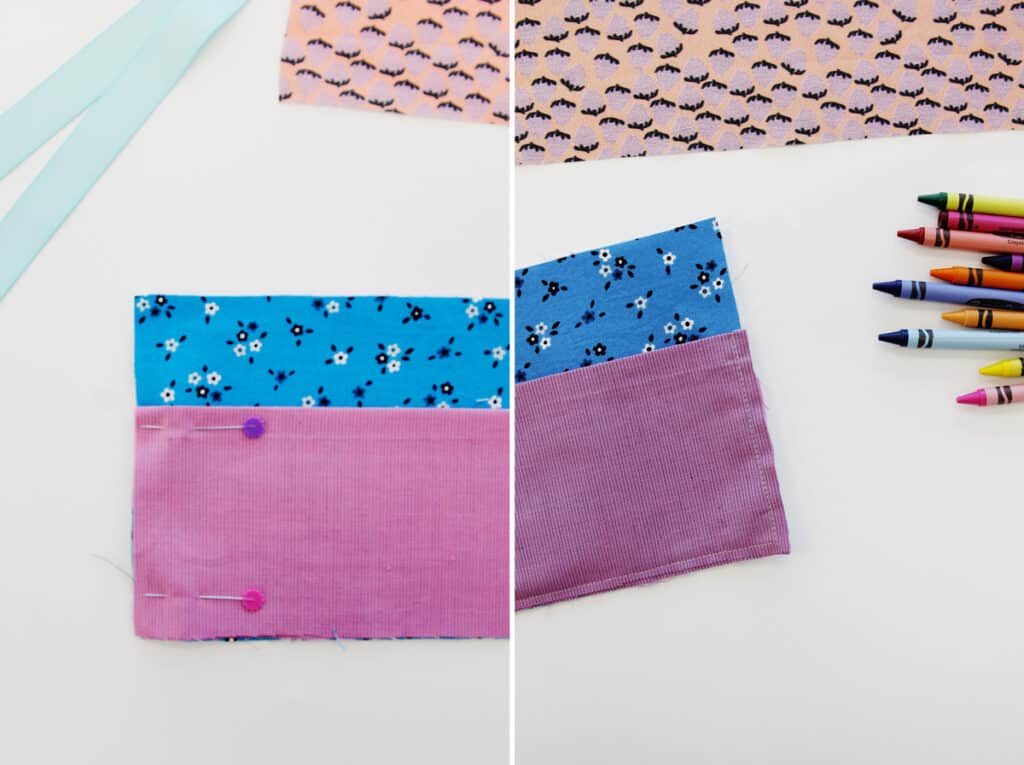
Fold pocket piece in half lengthwise and press. Match the bottom and corners of the pocket piece up with the main lining piece. Pin and sew around the bottom and sides to keep in place.
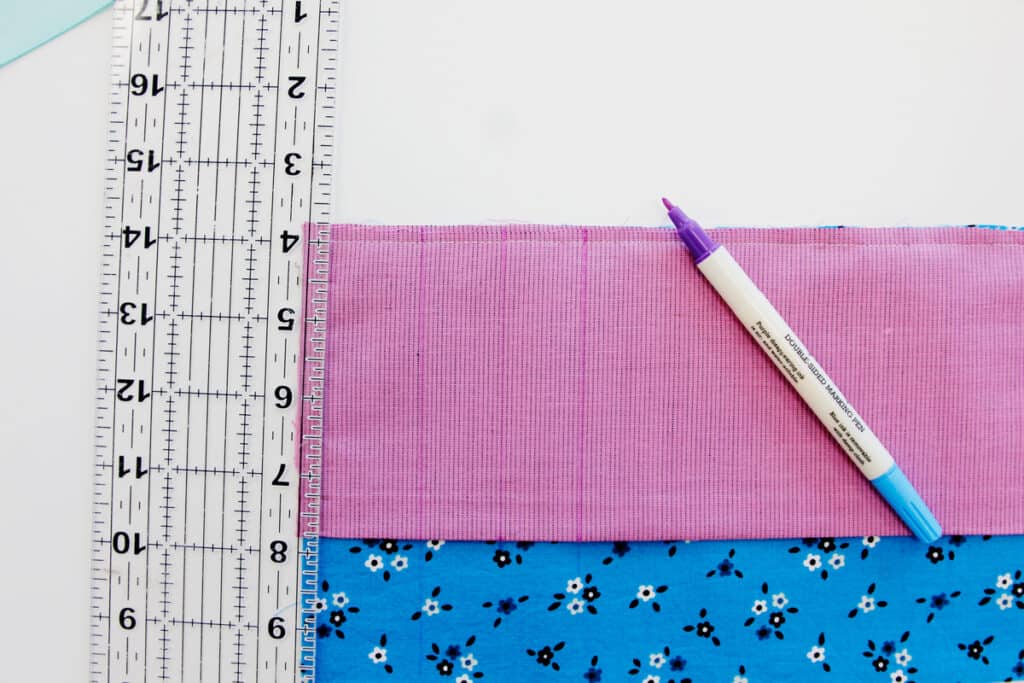
Use a ruler and fabric marker to mark the lines for stitching each crayon pocket. This roll can fit up to 18 crayons! Start at 1 1/2″ for the first stitching line to account for seam allowance. Then draw the lines 1″ apart. For jumbo crayons, increase the width of each pocket to 1 1/2″.
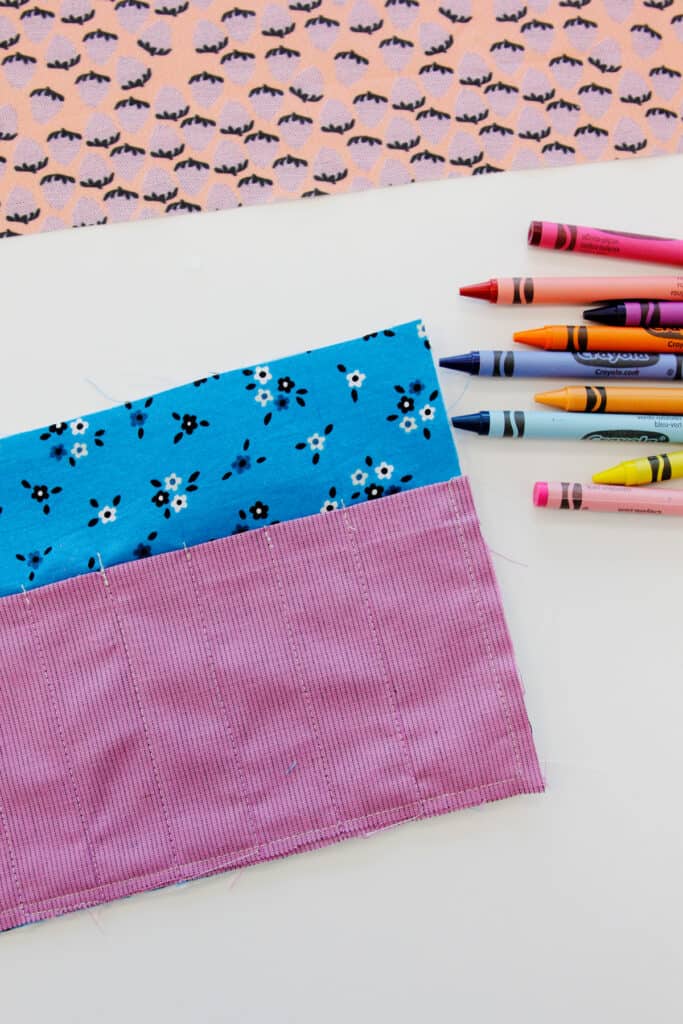
Sew over each of the marked lines. Backstitch at the top of each stitching line and stitch all the way to the bottom of the pouch. Repeat for all your lines.
Ribbon Tie Instructions
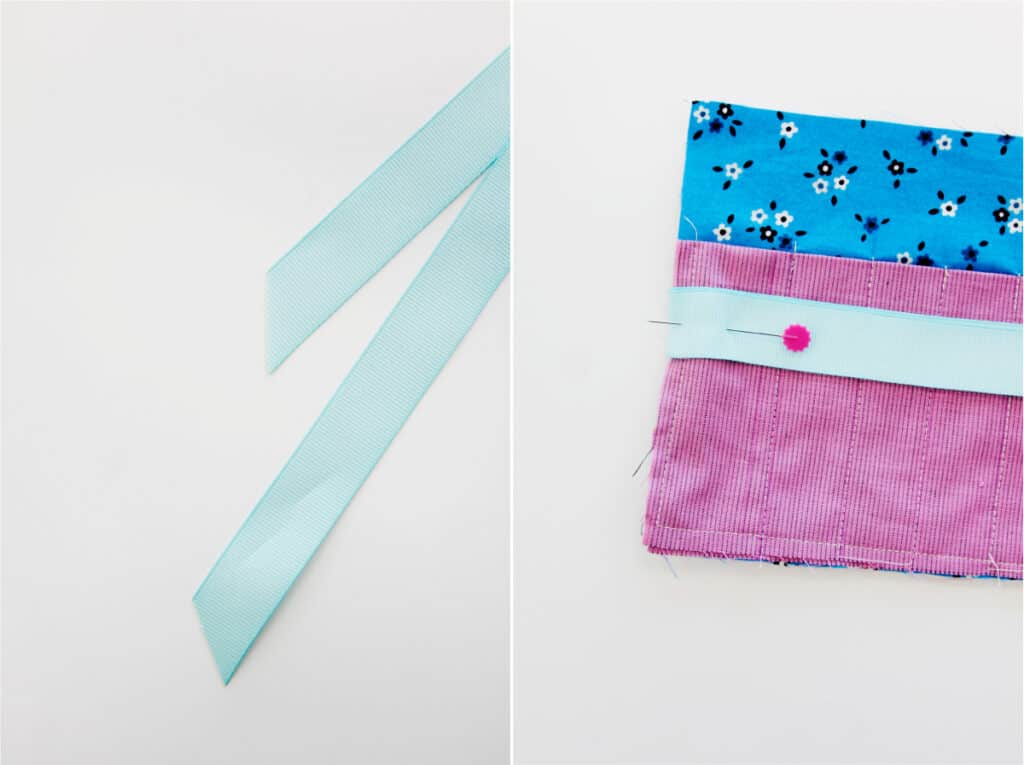
Trim the ends of the ribbon at a 45 degree angle. Pin the ribbon at the center of the left short side of the crayon roll. Pin the middle of the ribbon in a loop with the loop matching the raw edge of the roll. We want the ribbon to be fully enclosed in the roll as we sew it up so pin it in place if you need to.
Pin the outside fabric on top of the roll (and ribbon) with fabric right sides together.
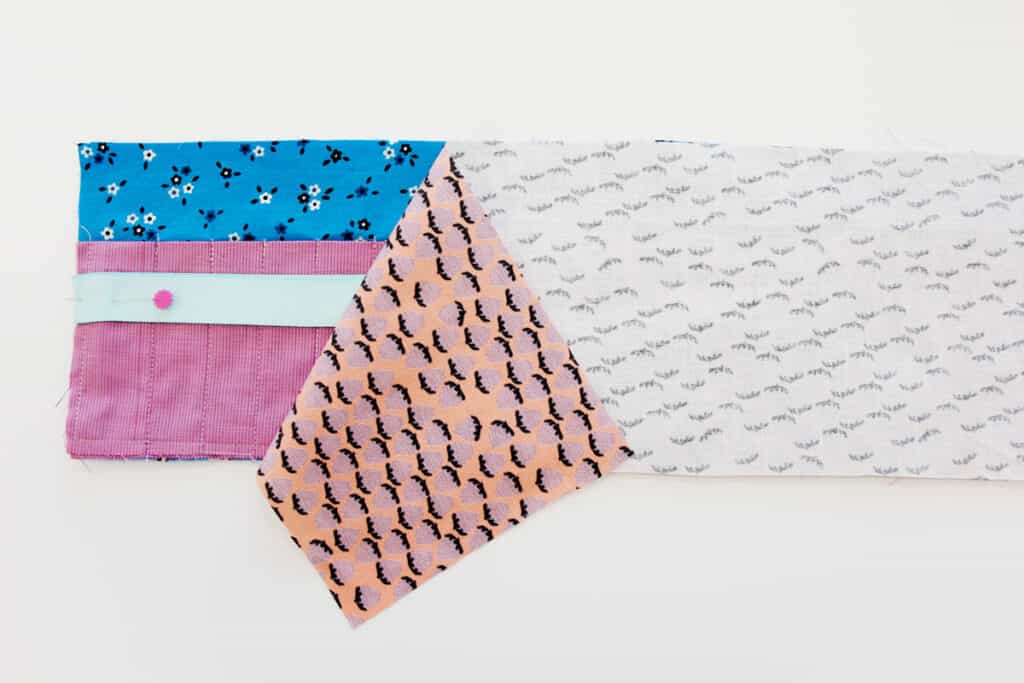
Pin together. Sew with a 1/2″ seam allowance, all the way around leaving a 2″ opening at the top.
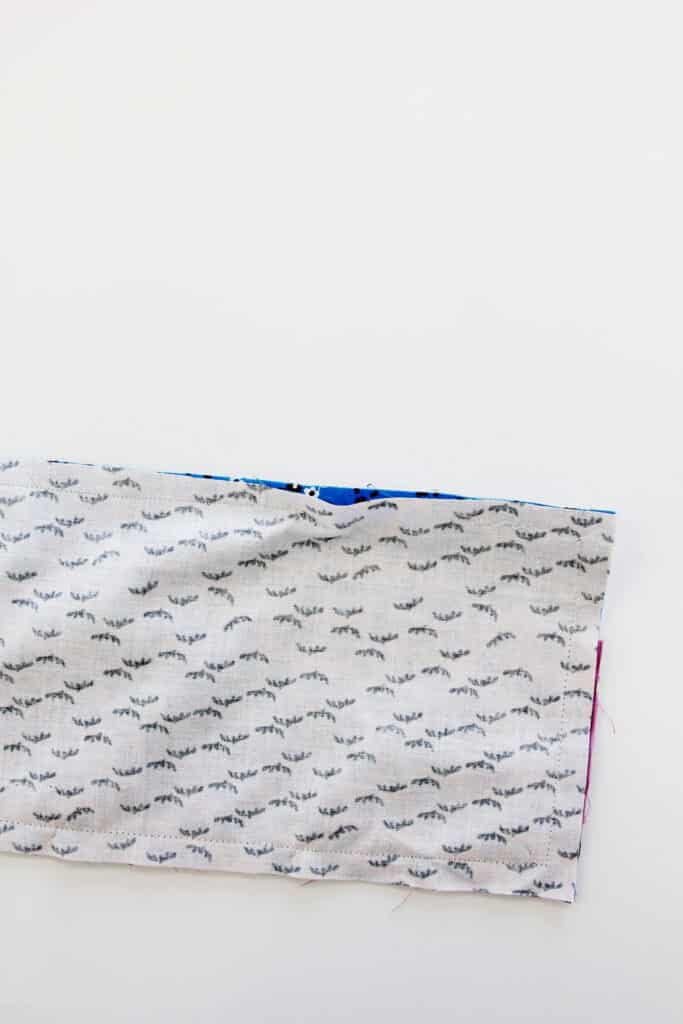
While you still have the roll with wrong sides showing, clip corners and turn right sides out. Press well.
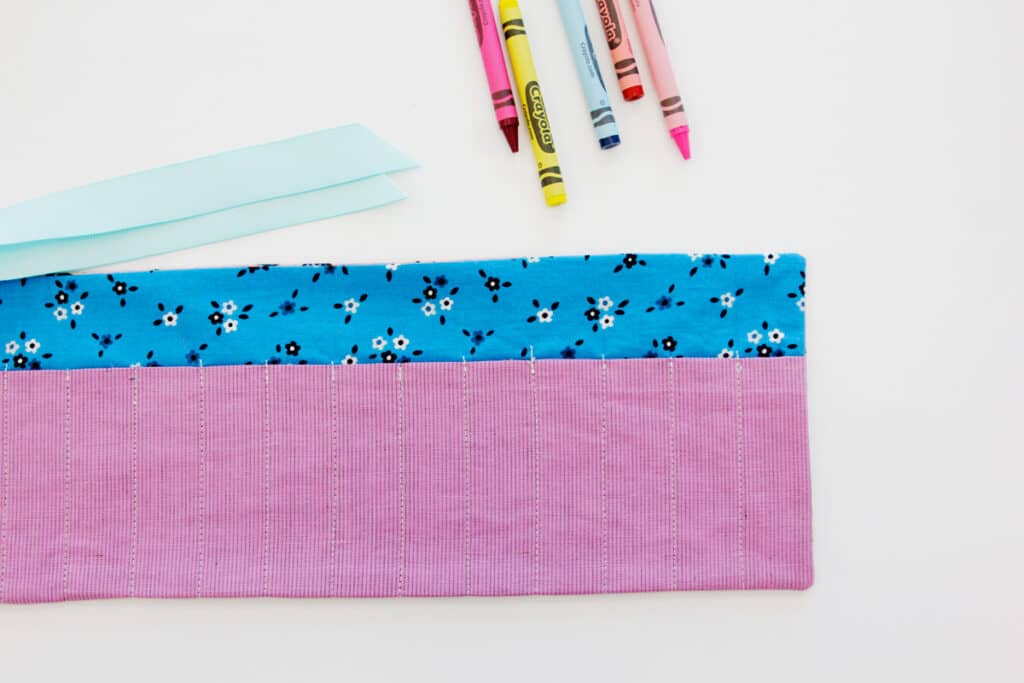
Topstitching
Topstitch around the whole crayon roll 1/8″ from the edge, closing the opening as you sew.
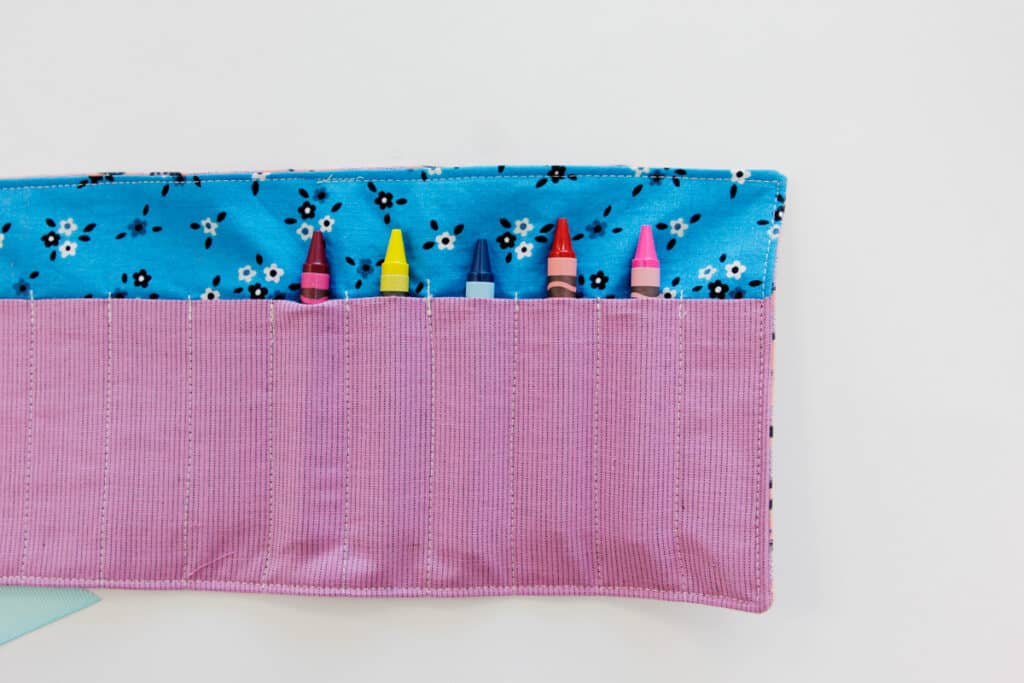
Give the roll a final press at the ironing board and you’re done! Now load it up with your crayons and get ready to color!
