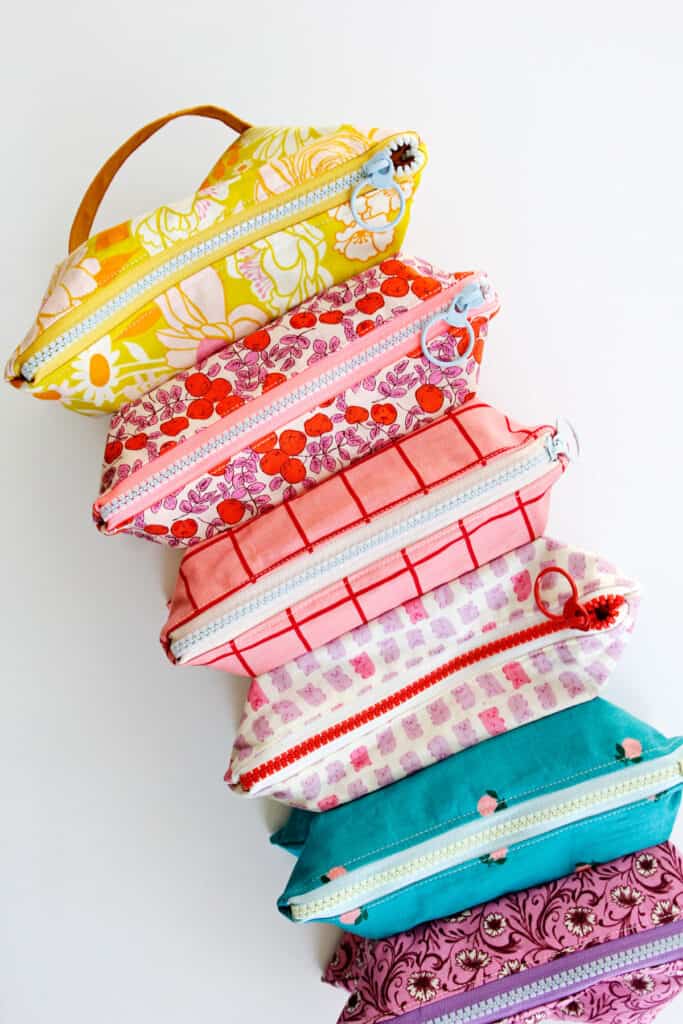
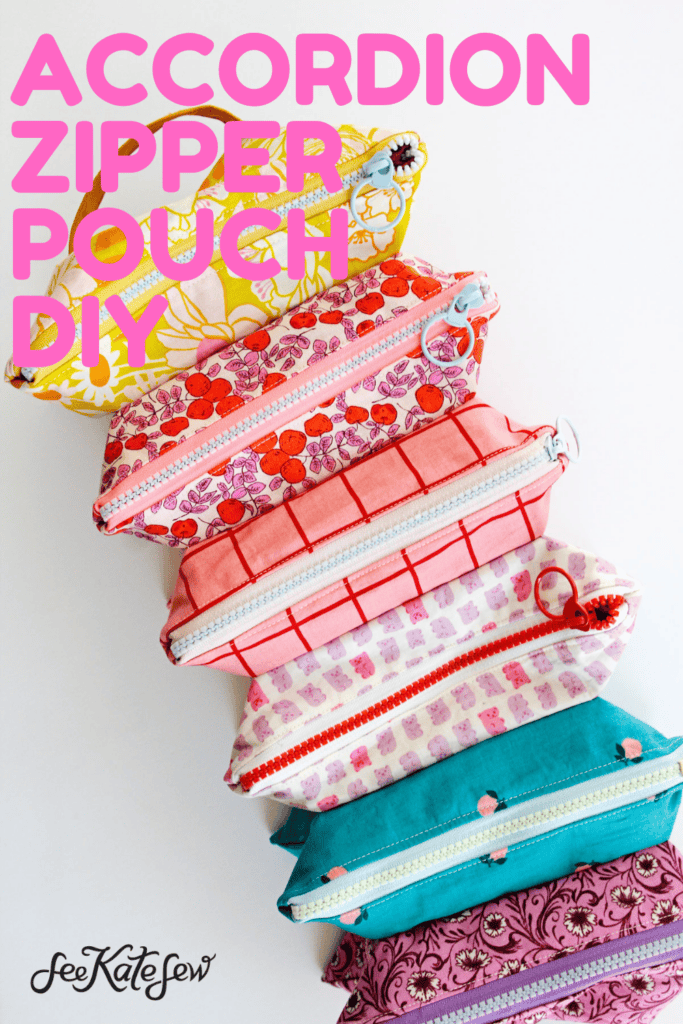
The zipper pouch is so extra! Learn how to make an accordion zipper pouch with 6 sections for you to organize your stuff!
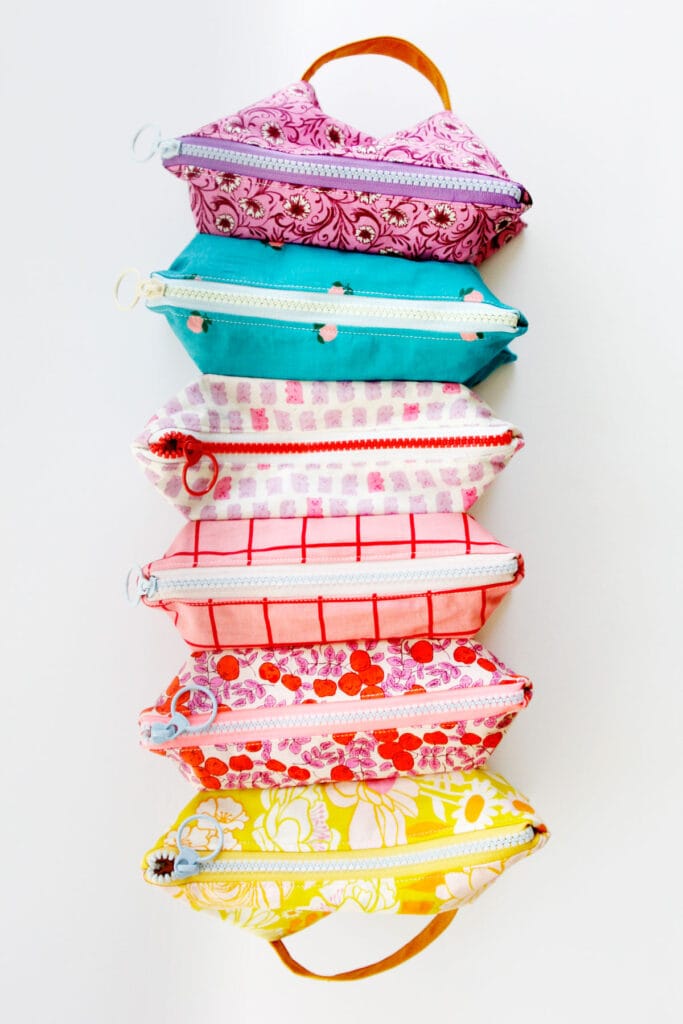
These are so great for a travel cosmetic case where every thing has a place. Or use it to organize pens and markers, little toys, bows and hair clips and other essentials – the possibilities are endless!
This project is essentially six zipper pouches stuck together with convenient handles on both sides. I’ll show you the trick for getting them to stay together and how to finish this bag with a professional look.
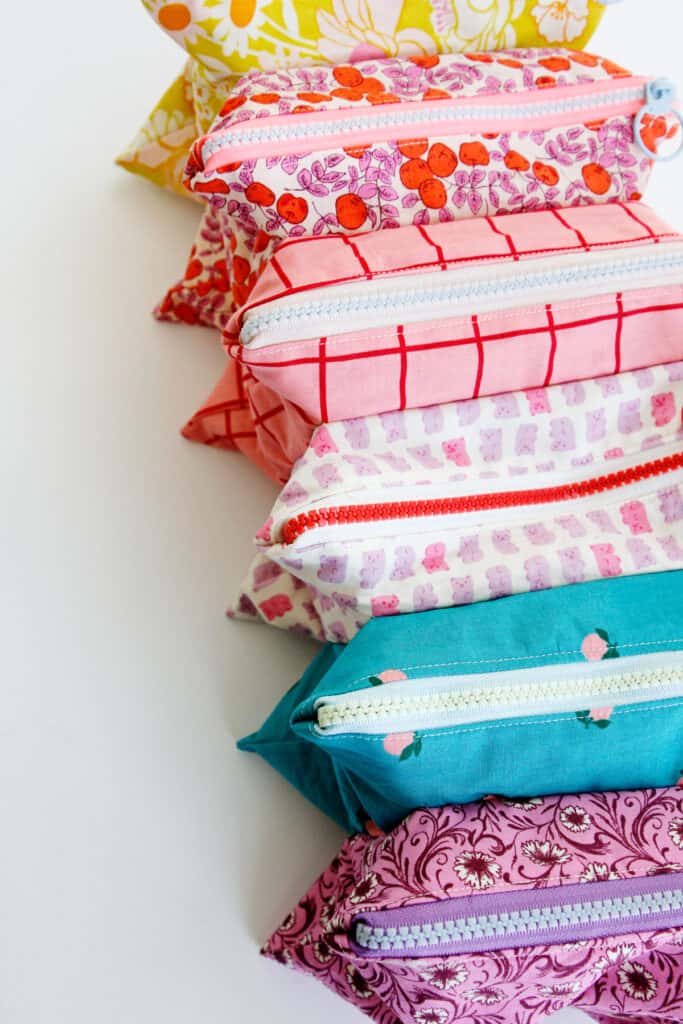
These zipper cases make a great gift and are perfect for organizing cosmetics, jewelry and more! This is an advanced beginner sewing project, or maybe intermediate. The last step is hard, however I included an easier version to connect the pouches for beginners.

This post includes step-by-step instructions with pictures, a full video tutorial and free template downloads, plus all the supplies you’ll need to get started on your own simple accordion pouch!
If you love bag making, check out the bags and pouches archives and see more bag patterns here!
Accordion Zipper Pouch Materials
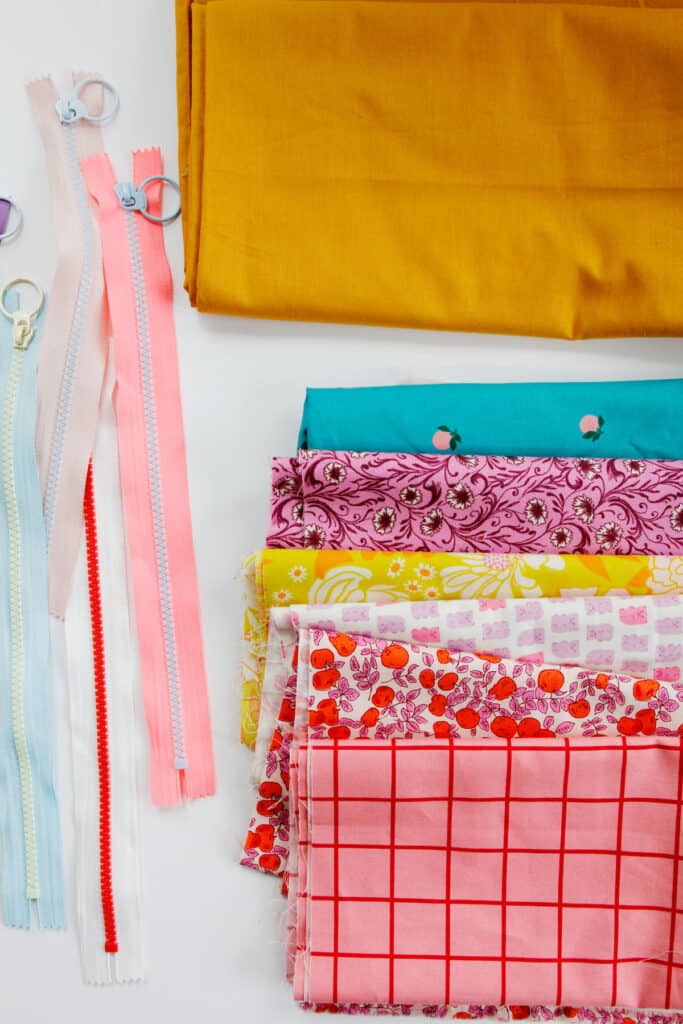
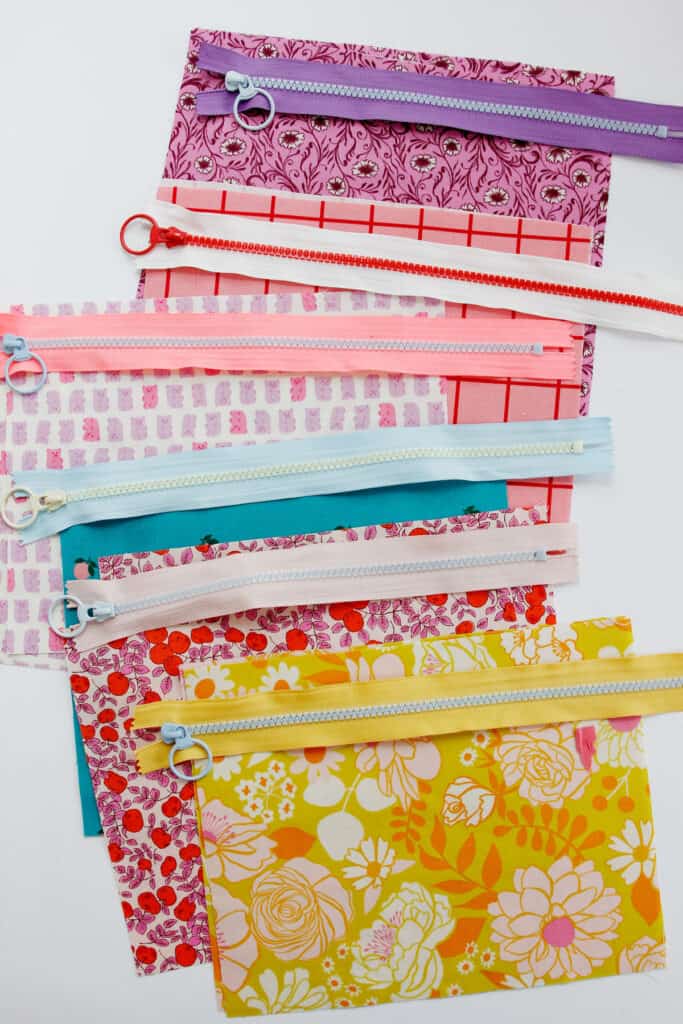
Use scrap fabric or leftovers to make this perfect travel bag! If buying fabric new, here are the yardage requirements and other supplies you’ll need:
- Six fat quarters (or 1/3 yard cuts) of 100% cotton fabric for the outer fabrics
- Fabrics I used:
- Tangerines Ruby Star Society (affiliate links)
- Reading Nook Purple Velvet Chamomile
- Sugar Cone Macaroon Gummy Bear Yardage
- Rise and Shine Golden Hour Morning Bloom
- Forestburgh Magenta Apples Yardage
- One Fine Day Pink Windowpane
- Fabrics I used:
- 1 yard total 100% cotton fabric for the linings
- 1/8 yard cotton for handles, or use excess of another fabric
- Heavy duty machine needle, optional
- 6 plastic zippers, 10-inch or longer
- I recommend 12-inch to make it easier to work around the zipper pull and bottom stop
- The ones I used came with a zipper pull attached so no other hardware is needed
- You can use metal if you want, but plastic zippers are a little easier to sew
- Interfacing of your choice – I like lightweight fusible interfacing, if you want a really sturdy bag use fusible fleece or Shape-flex
- Fabric marker, I love the Dritz 2-in-1 (buy these in bulk for way cheaper)
- Basic sewing supplies such as a sewing machine, scissors, a cutting mat, ruler, rotary cutter
Accordion Zipper Pouch Pattern Download
This pattern includes the main pieces of the pouch and the handles. Click on the button below to download the piece – you’ll be prompted to sign up for the See Kate Sew newsletter to get the scoop on the latest sewing patterns and projects!
Print the pattern pieces at 100% or DO NOT SCALE. The pattern will print on 3 pages and need to be trimmed and taped together along the dashed lines as shown:
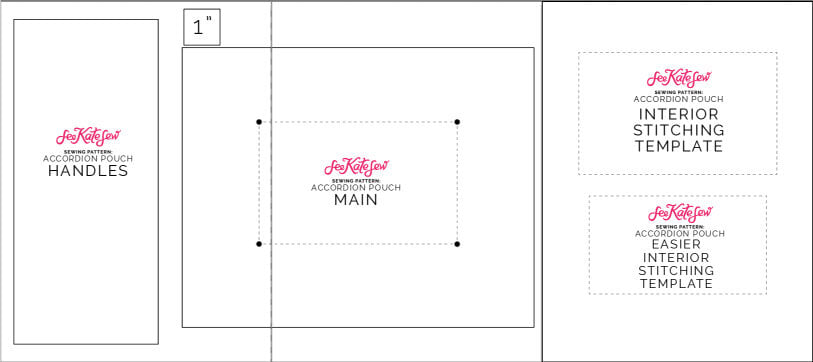
This zipper pouch will finish about 7″ by 9″.

How to Make an accordion zipper pouch
Use a 3/8″ seam allowance unless otherwise noted.
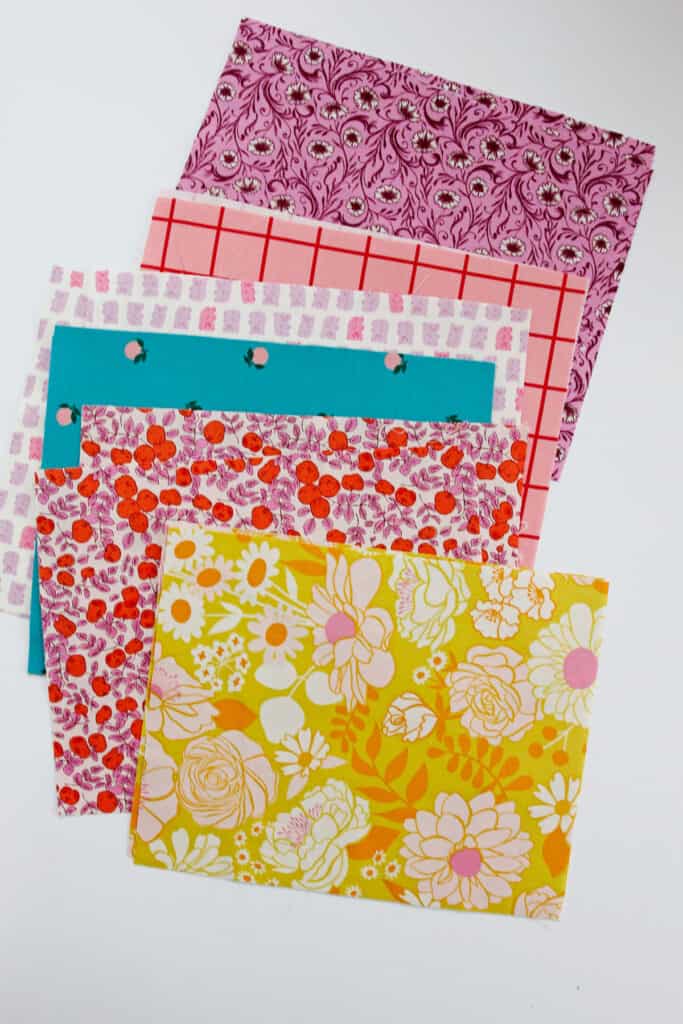
Cut your exterior fabric pieces, you’ll need two of each color for the outsides pieces. Cut 12 pieces from lining fabrics and 12 from fusible interfacing. If you prefer not to print the pattern, the fabric pieces measure 9.75″ by 7.75″.
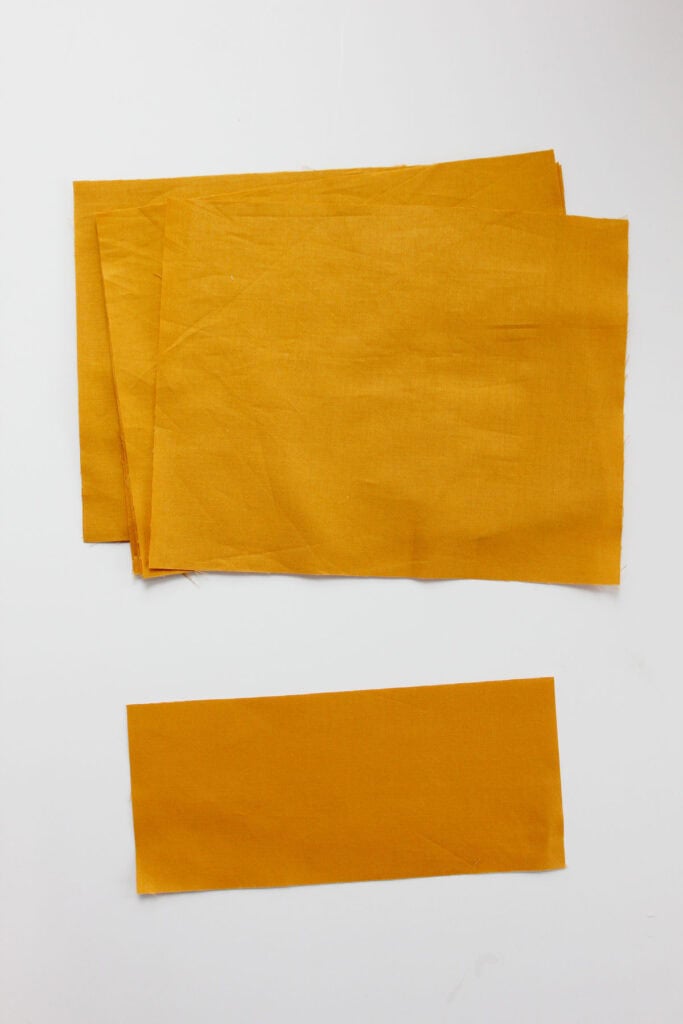
Cut out 12 pieces of lining fabric using the main pattern piece. These do not need to be interfaced but can be if you want a more stable clutch.
Also cut 2 handle pieces from fabric and 2 from interfacing. These measure 4″ by 9″.
Mark Lining Pieces
Use one of the interior stitching templates to mark the lining pieces. Use the placement on the pattern pieces or measure 2″ from the top and center the template. Mark the 4 corners and connect the lines. You will want to use a pen or marker that will stay long enough for you to get to the last step, so choose your fabric marker accordingly.
Stitching Template Sizes:
- Regular: 5.5″ by 3.25″
- Small: 5″ by 2.75″
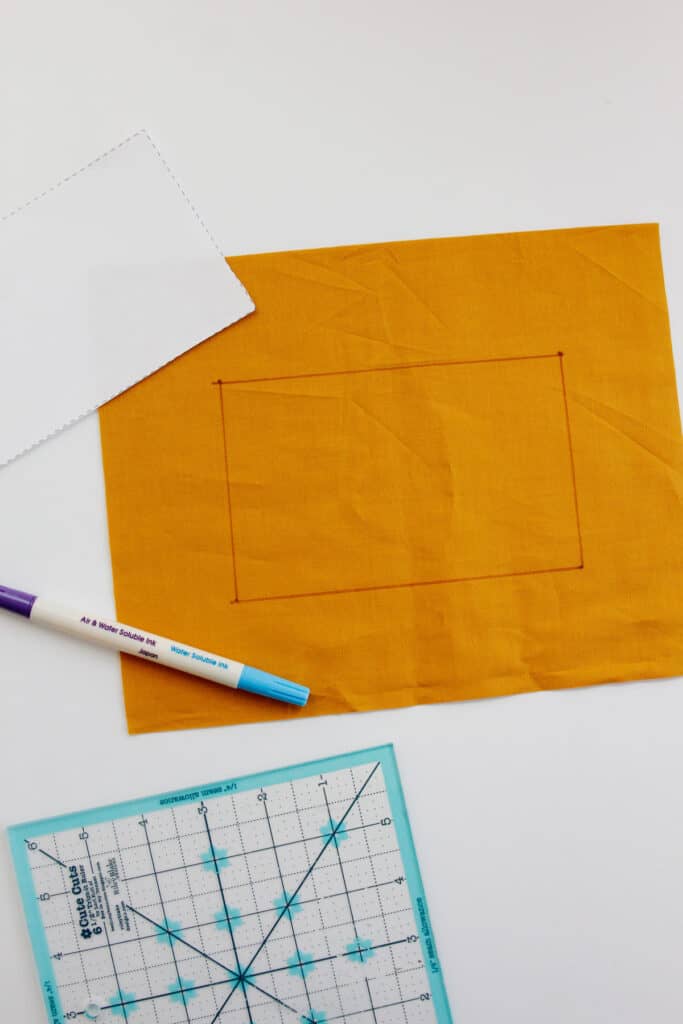
Not every lining piece will need these markings – mark at least 6 of them and use one in each zipper pouch. It doesn’t hurt to mark them all – that way you won’t have to keep track of which lining goes where!
Make handle pieces
Fuse interfacing to the back of the handle pieces. Fold them in half lengthwise and press. Then unfold and fold both long edges into the crease to meet in the middle. Then fold and press again to create a the handle. Press well.
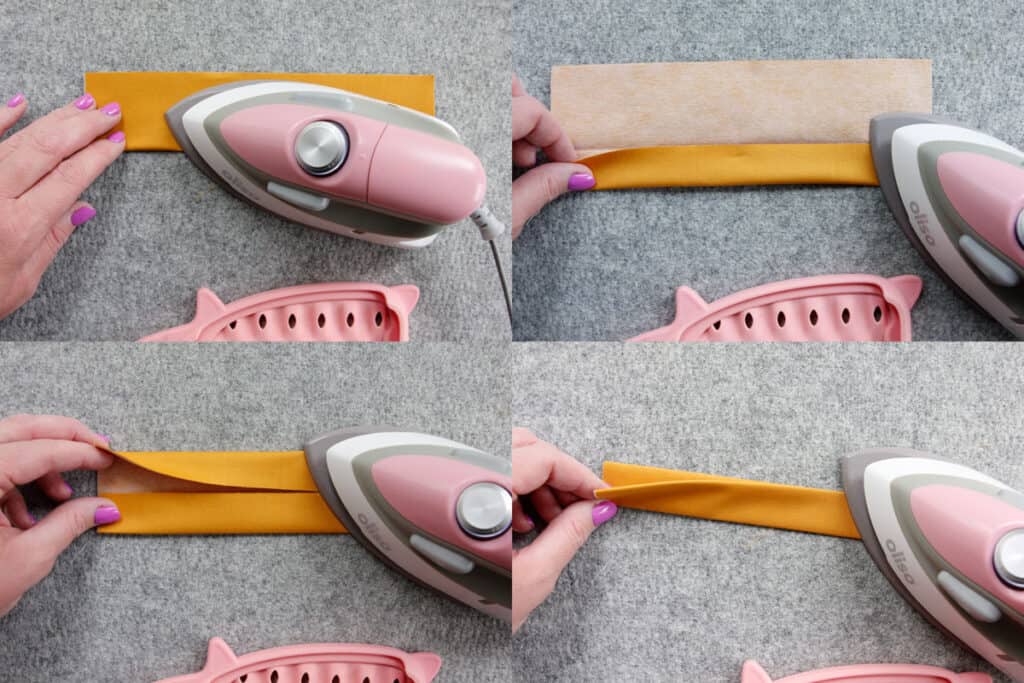
Topstitch on both sides of the handle, 1/8″ from the edges.
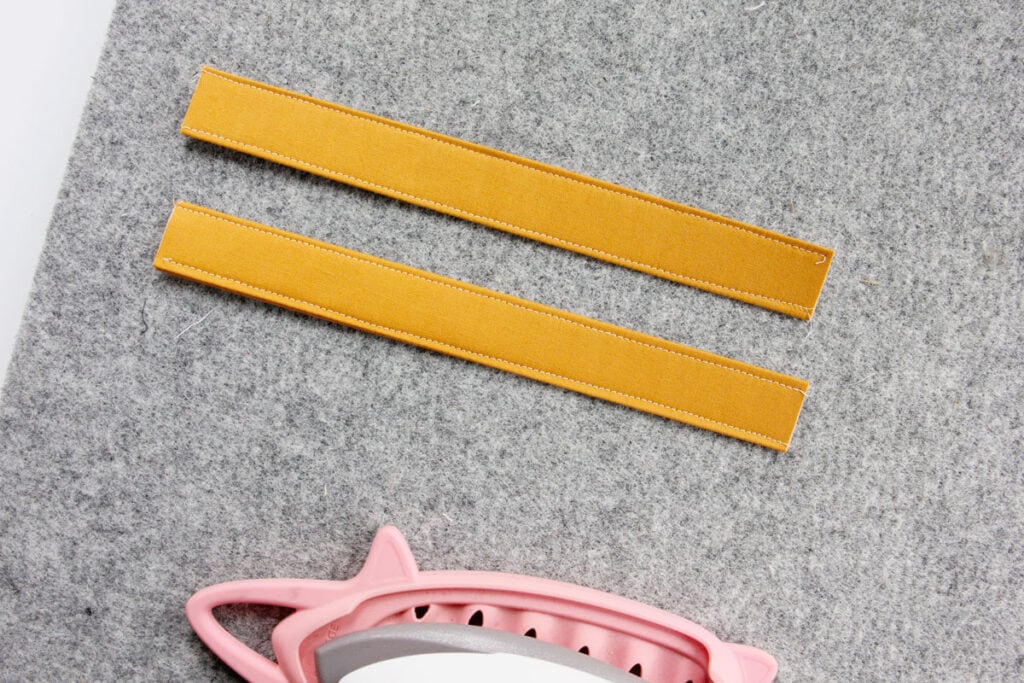
Fold both ends of the handle under 3/4″ and press well.
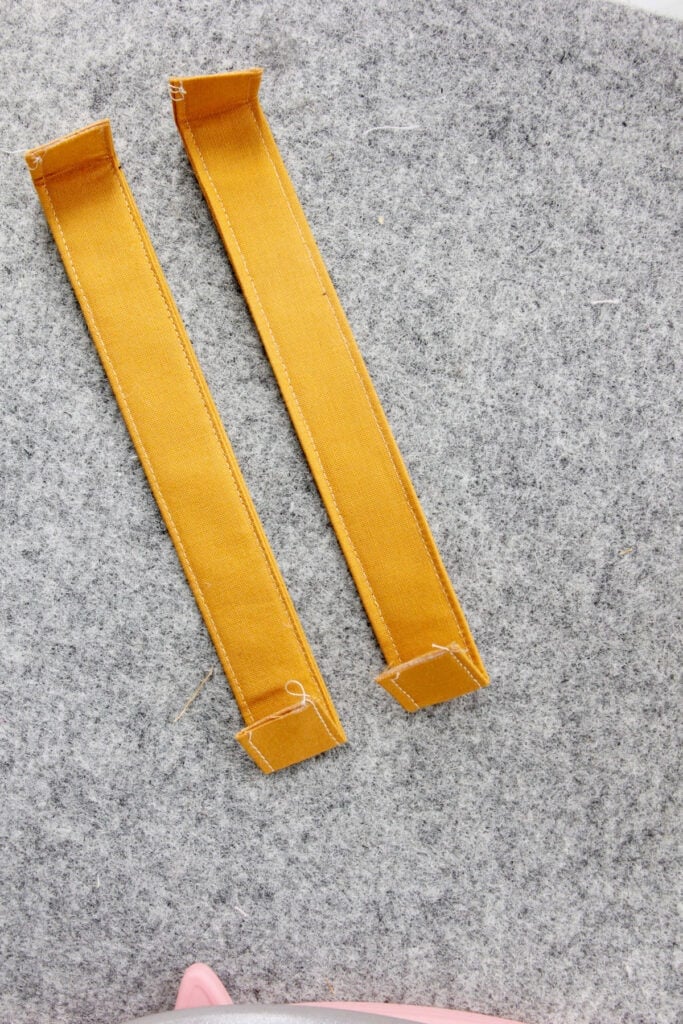
Then set the handles aside, we’ll sew them on to the pouch later!
Assemble the zipper pouches
Start the first zipper pouch by laying one of the main fabric pieces (outside fabric) face up on your workspace. Then place the zipper with the teeth down, lining up the edge of the zipper tape with the edge of the fabric.

Sew along the edge of the fabric, about 3/8″ from the edge. Align your needle as close as you can to the zipper teeth. As you sew, your presser foot should butt right up against the zipper teeth. A zipper foot is optional when sewing zippers in this way – I find that a standard presser foot is perfect for aligning my stitching.
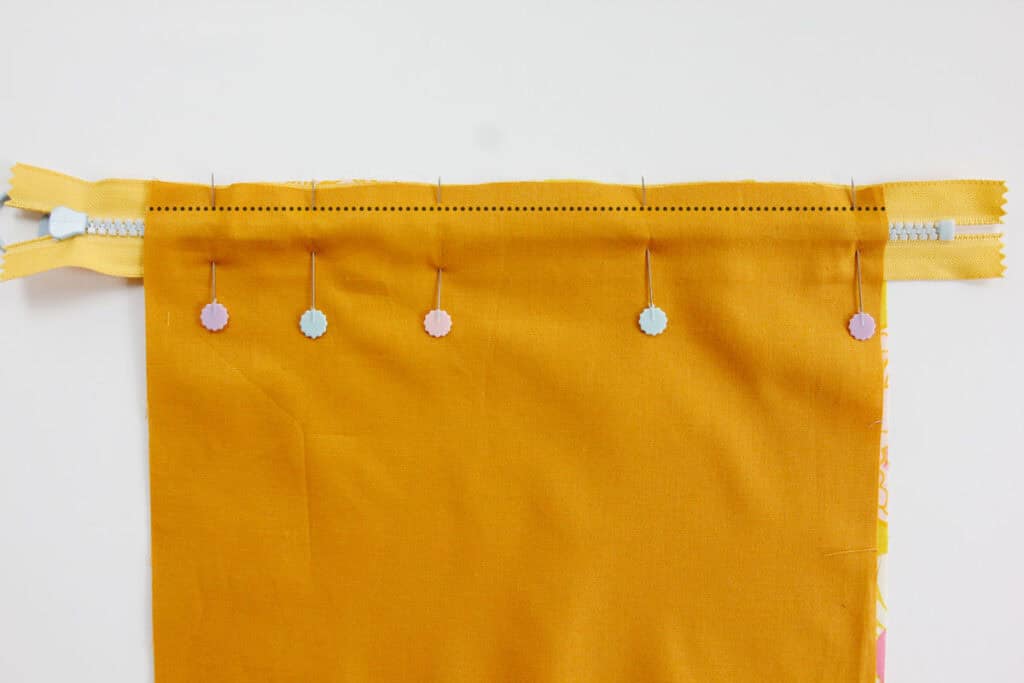
Open up the fabric layers and press the front layer with the zipper tape behind it.
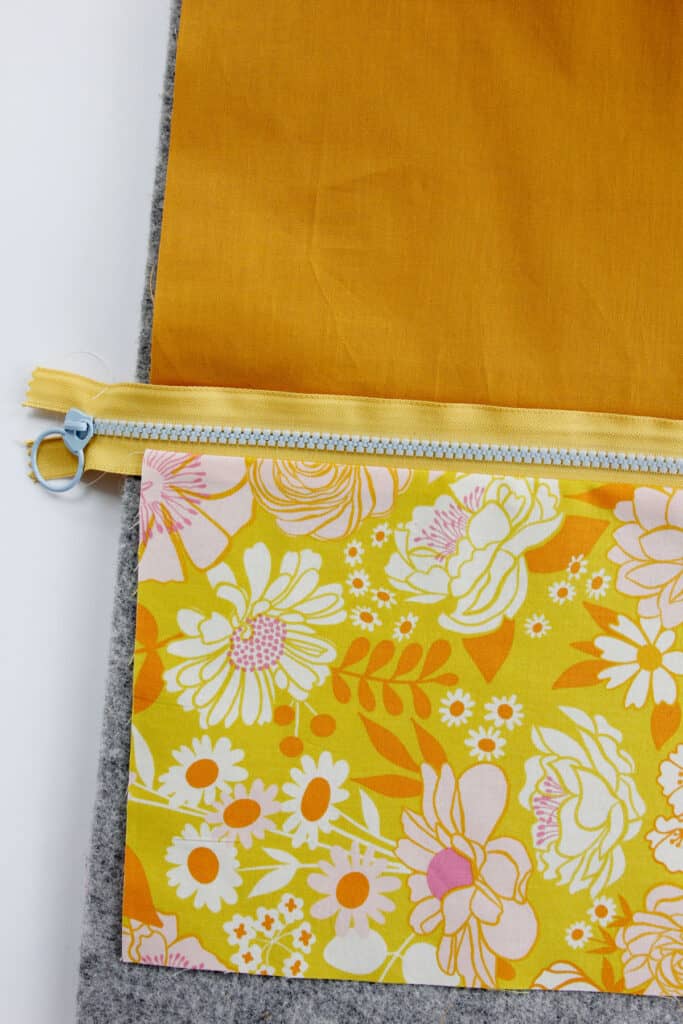
Topstitch along the top of the front fabric, about 1/8 inch from the fabric’s edge.
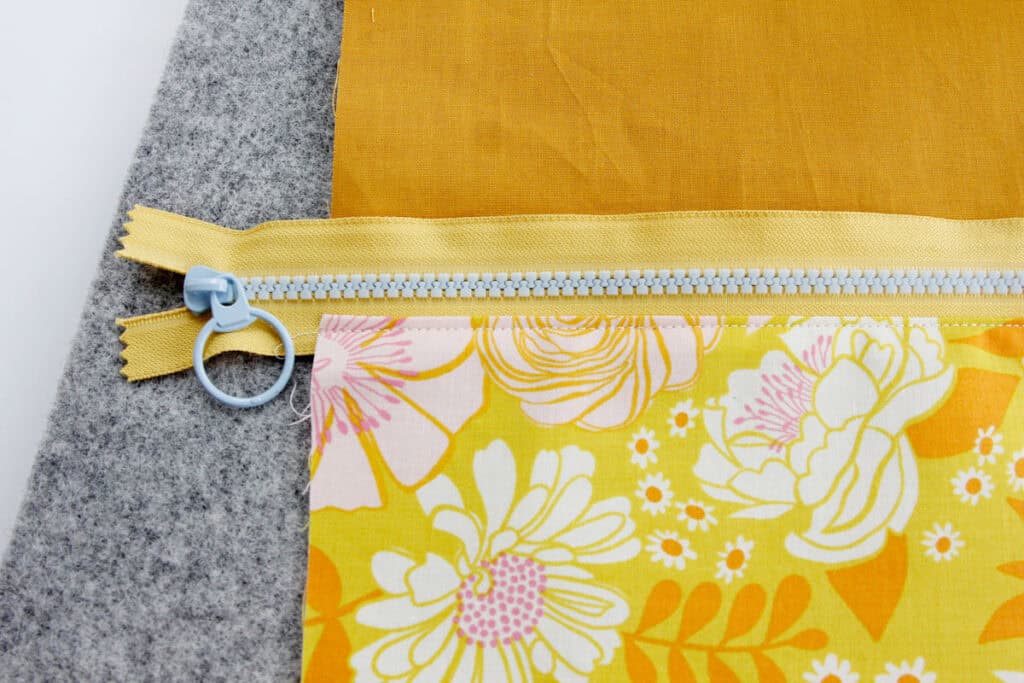
Fold the lining down and press. Then grab the second main and second lining pieces. Layer them over the zipper tape with the main right side down on the top of the zipper and the lining right side up behind the zipper.
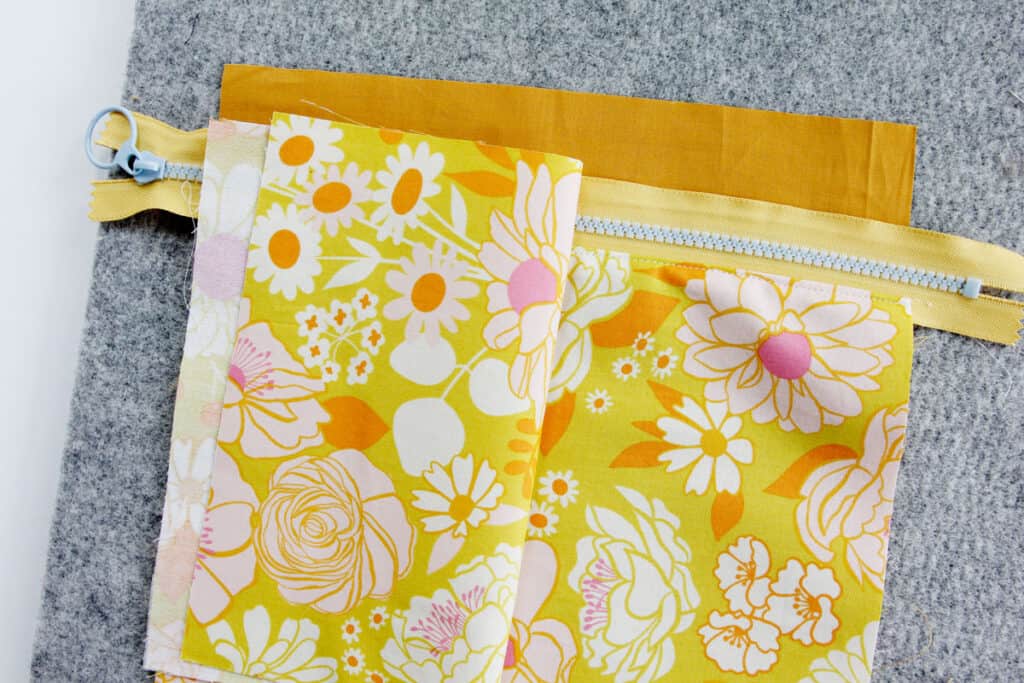
Pin in place. Make sure the edges of the fabric are lined up on the same point of the zipper.
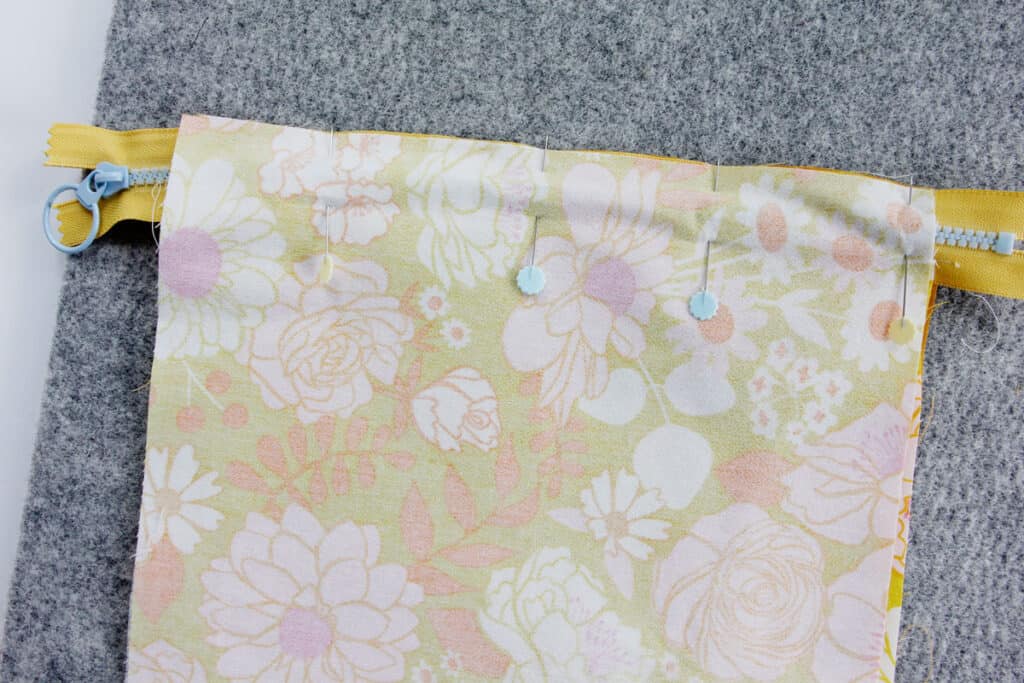
Sew, press and topstitch the same way you did with the first pouch side.

Now flip the fabrics to match the linings and main pieces, respectively, together with right sides together. Pin and sew around the pouch with a 3/8 inch seam allowance, pivoting at the corners. Sew slowly over the zippers, using the hand crank if needed. Leave a 3″ opening in the lining fabric.
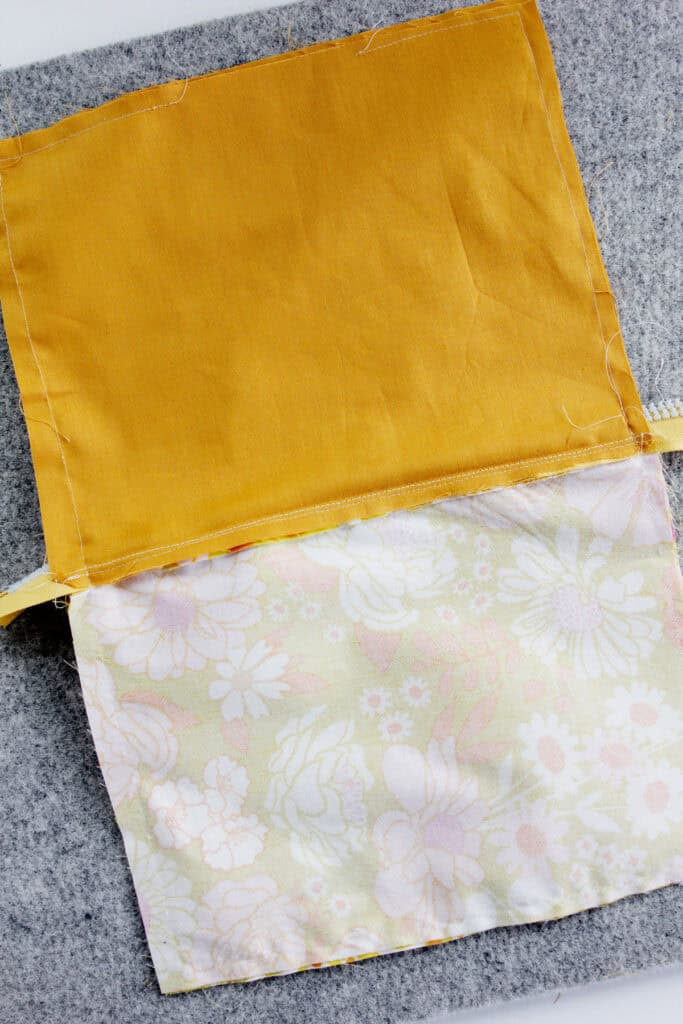
Clip corners and excess zipper tape and then turn right side out.
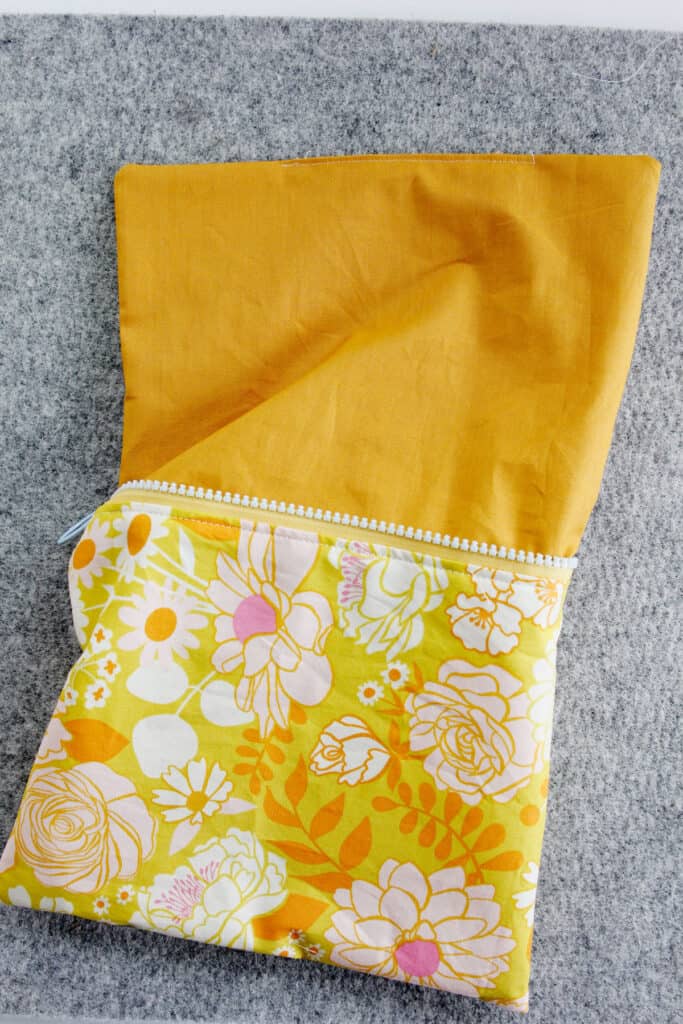
Push out the corners and press the pouch well. Sew the opening at the bottom of the lining closed close to the fabric edges.
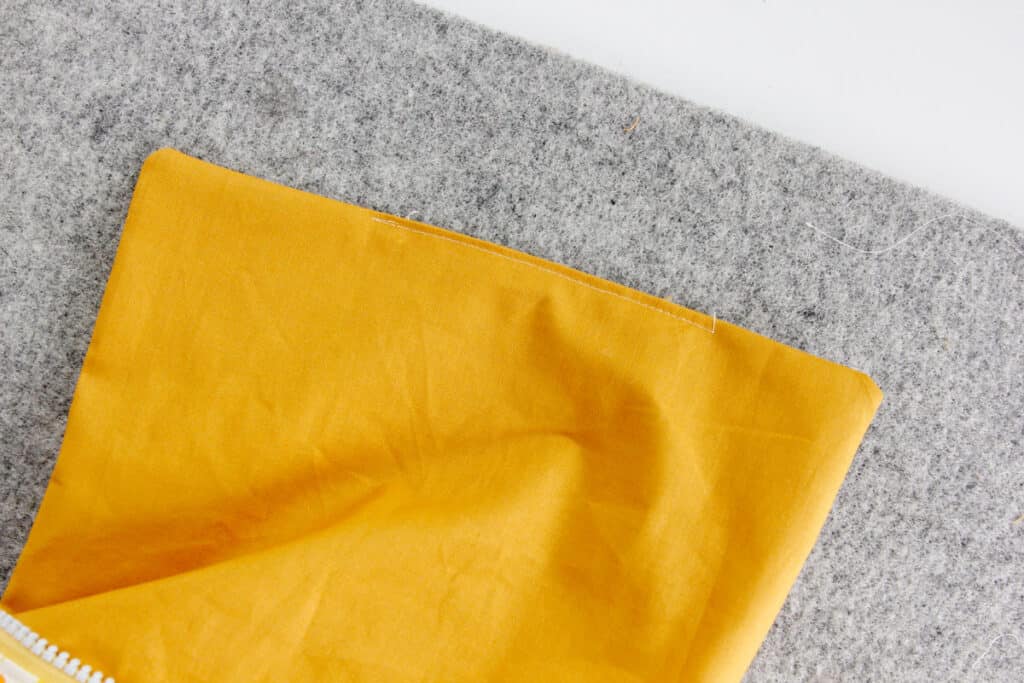
Push the lining inside and you’re done!
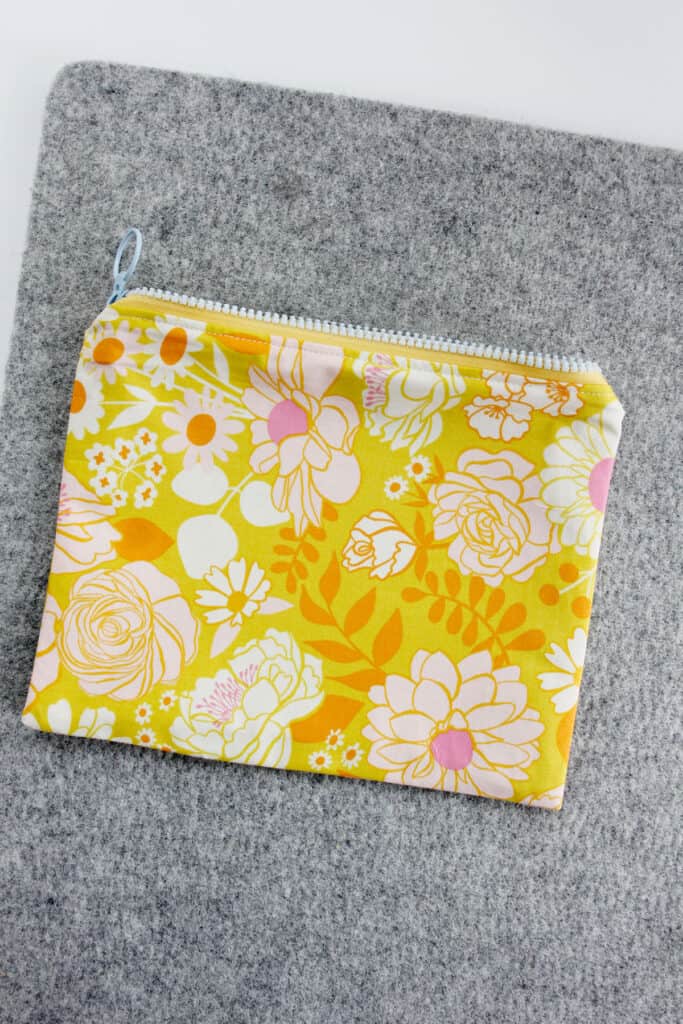
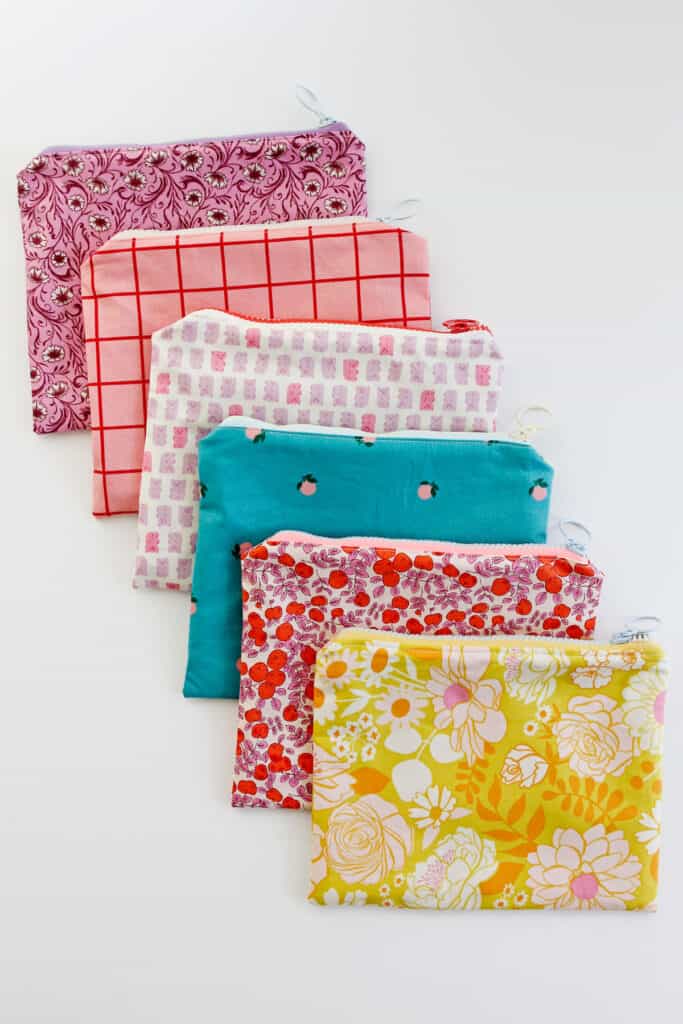
Repeat until you have sewn all 6 pouches.
Sew the handles to the end pouches
Before we sew all the pouches together we are going to sew the handles to the two pouches that will made up the bookends of the pouches. But to make sure we put them on in the correct orientation. Stack all your pouches together in the order and direction you want them to be in for the final accordion pouch.
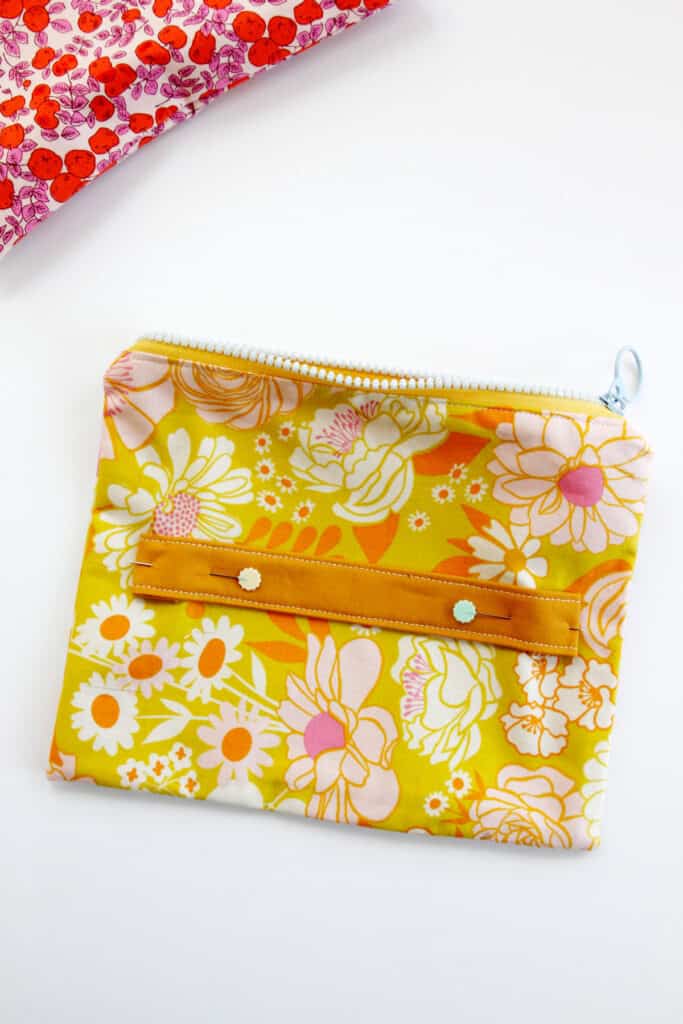
Then pin one of the handles to the front pouch and one to the back. Center them on the pouch.
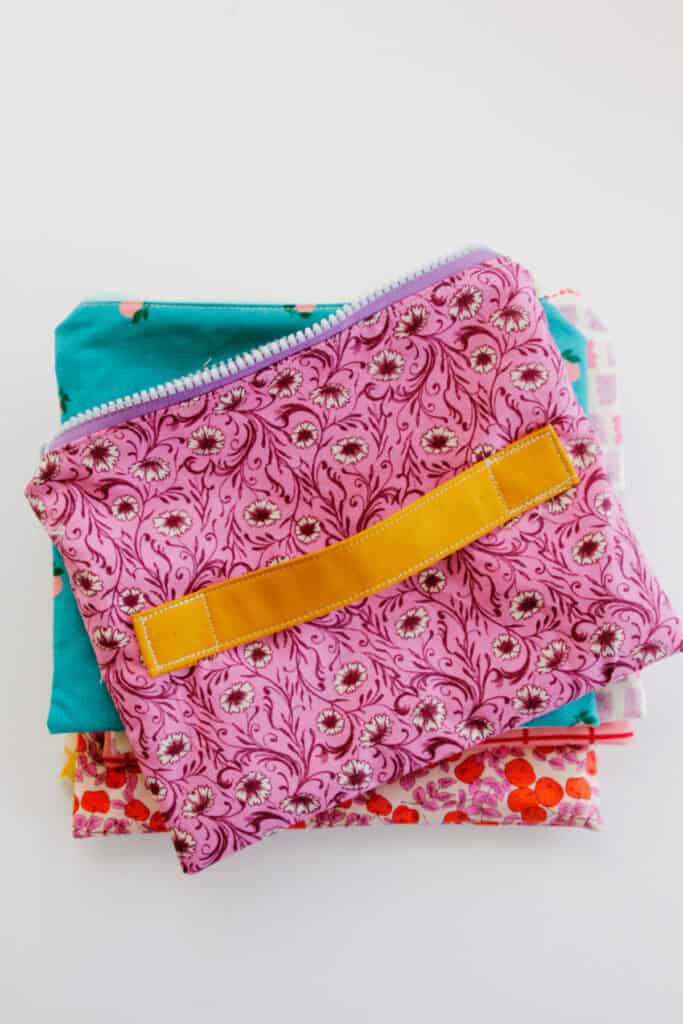
Sew around the ends of the handles to create a 1″ square of stitching on each side of the handle. Be sure to back stitch and you can even do 2 or more lines of stitching if you want a super good hold.

Sew the pouches together into an accordion zipper pouch
For a better finish, press all the pouches before starting this step!
If you didn’t premark your inside stitching lines(or if they disappeared), open up your zipper case. Mark the stitching lines with a fabric marker on the inside of the pouch. These may be a little tricky to draw but this is how we are going to connect the bags.
An easy way to mark these lines is to cut out the dashed stitching template and center it just under 1.75″ from the top of the lining fabric. Mark the corner dots and then connect the lines.
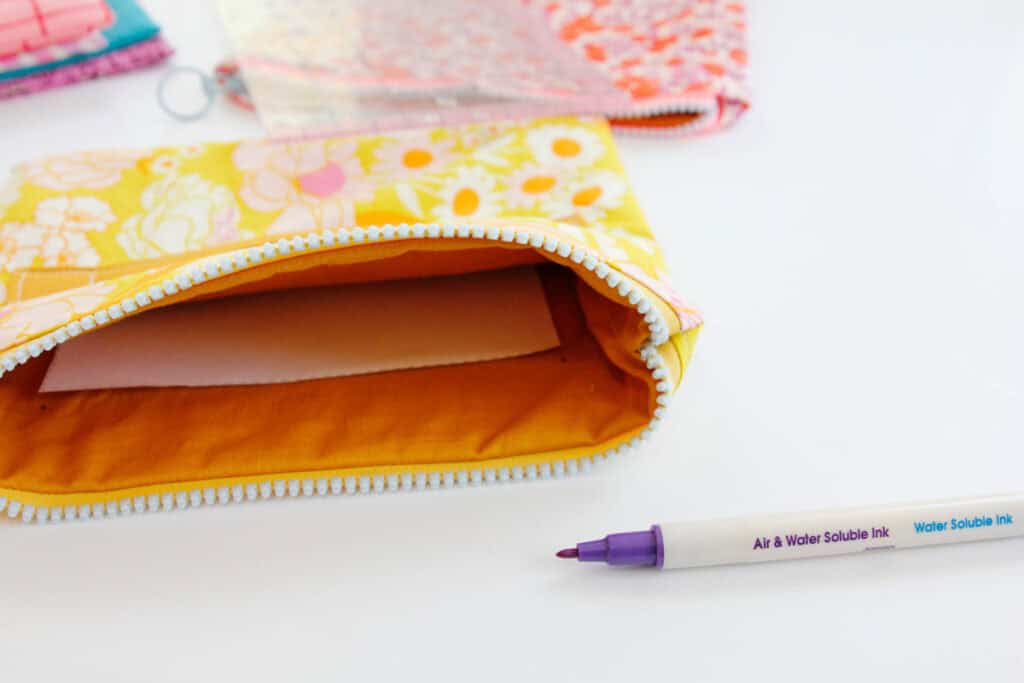
Then pin two of the pouches together. Make sure they are aligned correctly with the zippers in the directions you want. Match up the corners of the zipper pouches and pin the sides that meet together.
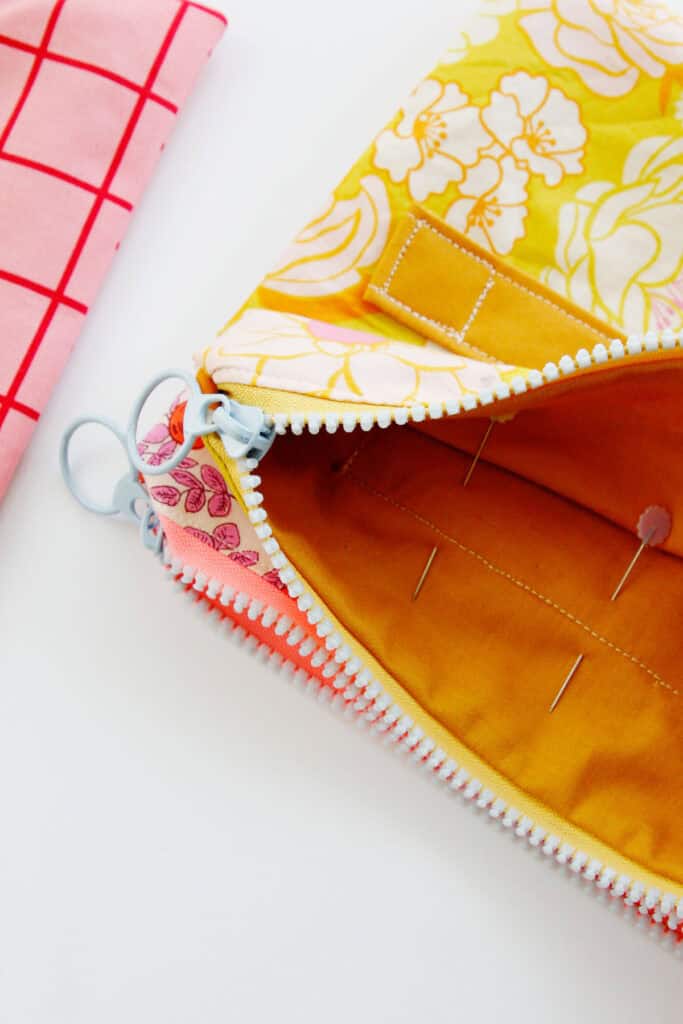
Now we are going to sew around that rectangle to connect the two zipper pouches. This is the hardest step but it will be worth it! Here are a few steps to make it a little easier:
- Utilize your needle alignment function if you need to.
- Sew in sections and remove the project so you can smooth it out between stitching.
- Backstitch at the corners to get a stronger hold on vulnerable stitching.
- Watch your fingers!
- Pivot at the corners with the needle in the down position.
- Too hard? Use the smaller stitching template.
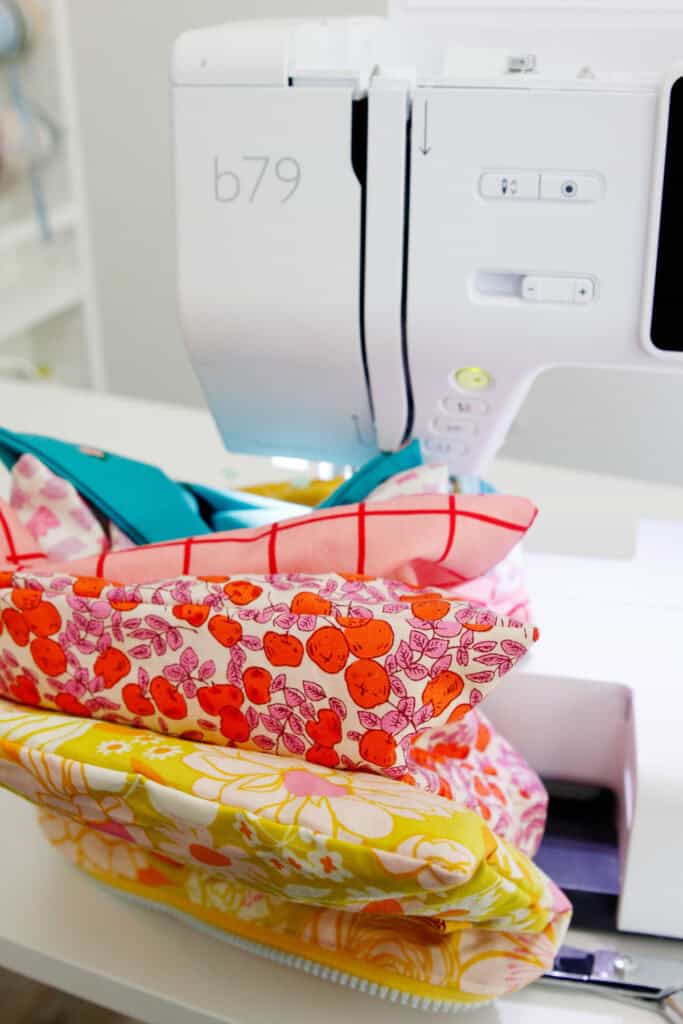
Repeat until you have connected all 6 sections of your accordion zipper pouch!
Watch the step by step tutorial video if you get stuck on any of these instructions!
More sewing projects
- Puff Quilt Tutorial
- The San Fran Deluxe Tote
- 40+ Fat Quarter Projects
- 5 great machines for beginners
- DIY Drawstring Bag
Join the Facebook Group for a supportive community of sewing friends!


