Get this free owl plush sewing pattern and make a little brood! These adorable owl stuffies are easy to sew and adorable to boot!
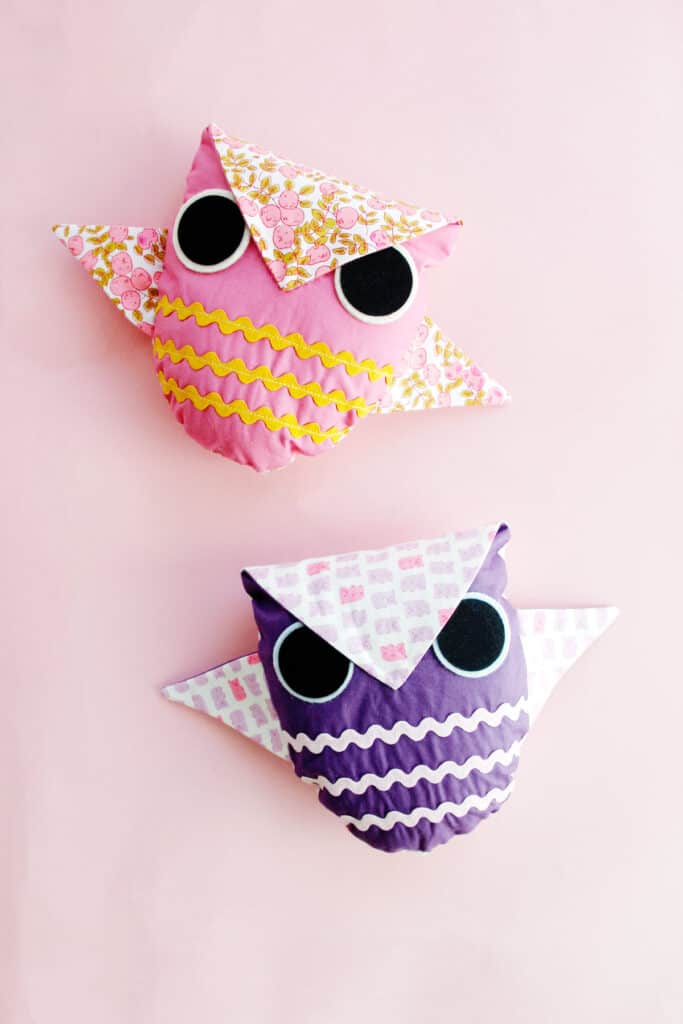
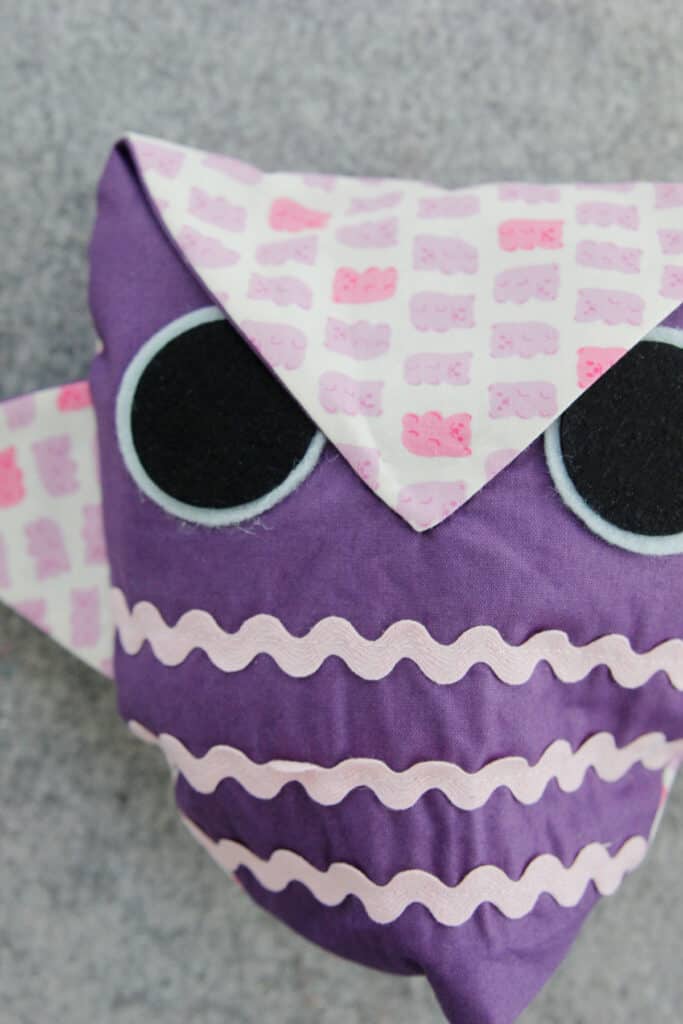
These little owl softies can be made with rick rack on the front to look like owls.

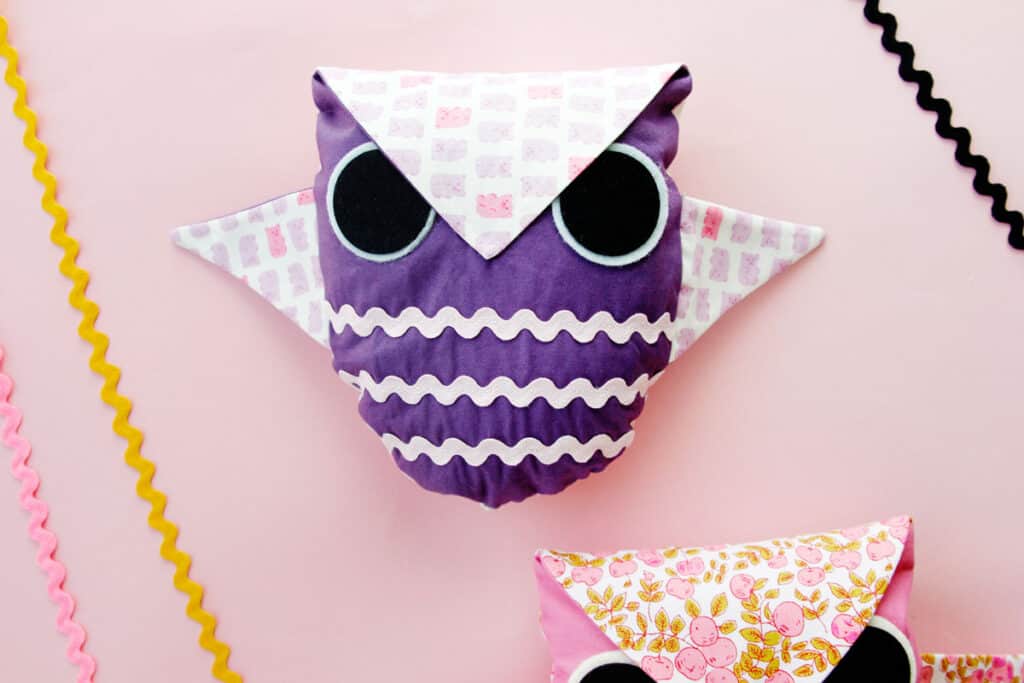
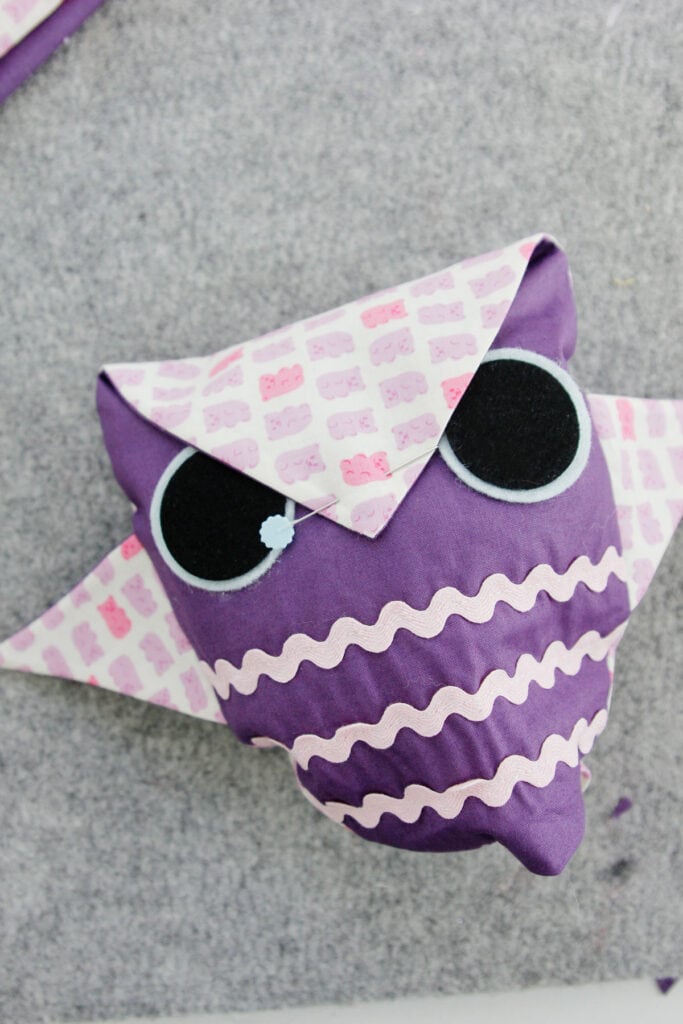
Use two fabrics for a fun two-tone look. The top of the owl folds over to create an adorable beak and owl eyebrows!

You only need a few supplies for this owl plush sewing pattern and you may already have them in your sewing stash!

Download and print this pattern out and then sew your own stuffed owls in two sizes! If you prefer, use buttons for the eyes!
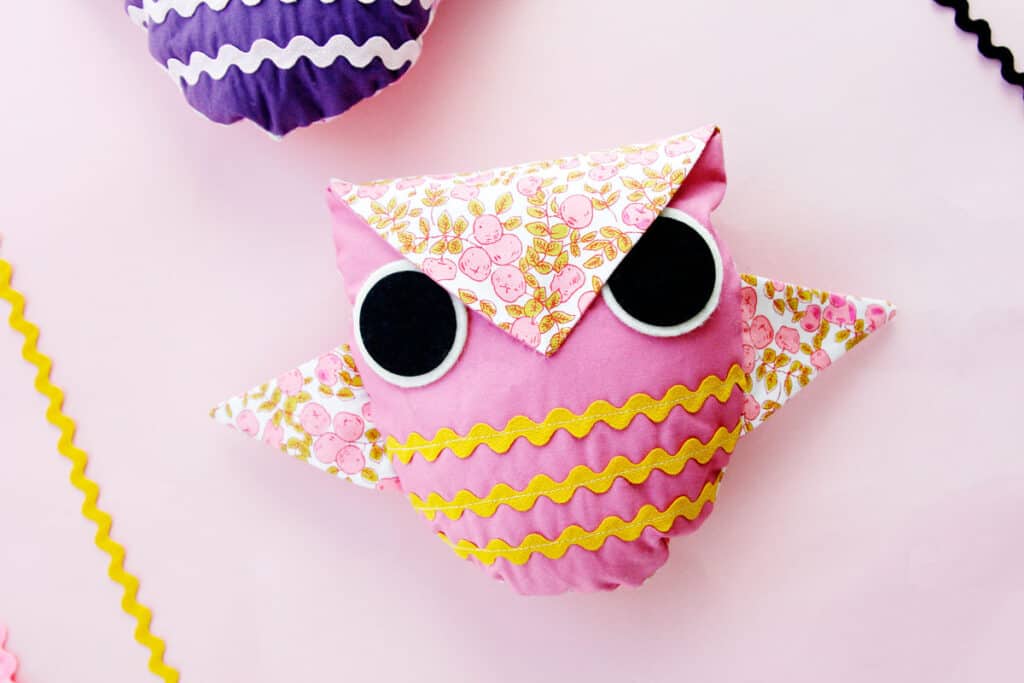
Rick Rack Owl Plush Sewing Pattern Materials
- 1/4 yard printed fabric for back
- 1/4 yard solid fabric for front
- 1/2 yard lightweight fusible interfacing (affiliate links)
- 1 package 1/2″ rick rack trim for “feathers”
- Scraps of felt for eyes, 2-4 colors
- Buttons for optional insides eyes *don’t use buttons for small children, use felt
- Fiberfill stuffing
- Fabric glue, optional for gluing eyes
- Needle and thread for hand sewing
Free Owl Plush Sewing Templates
Download the templates for this owl sewing pattern below. Just click on the button and use your email address to sign up for the See Kate Sew newsletter to access the pattern pieces.
Print the pattern at 100% scale or choose DO NOT SCALE to get the pattern the correct size. Check the size of the 1″ square to insure you printed correctly. This pattern will print on 2 pages so you’ll need to trim them along the dashed lined and tape together.
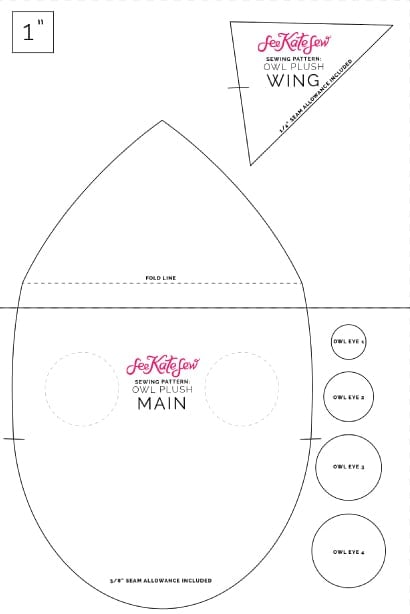
Print on card stock if you plan to make a lot of owl stuffies – it will last longer!
Owl Plush Eye Measurements
If you want to use a cutting machine to cut the eyes out (recommended!) create circles in your cutting machine software of the following sizes:
- 1.8″
- 1.6″
- 1.2″
- .85″
You won’t need all 4 sizes – choose 2 or 3 to create your layered owl eyes.
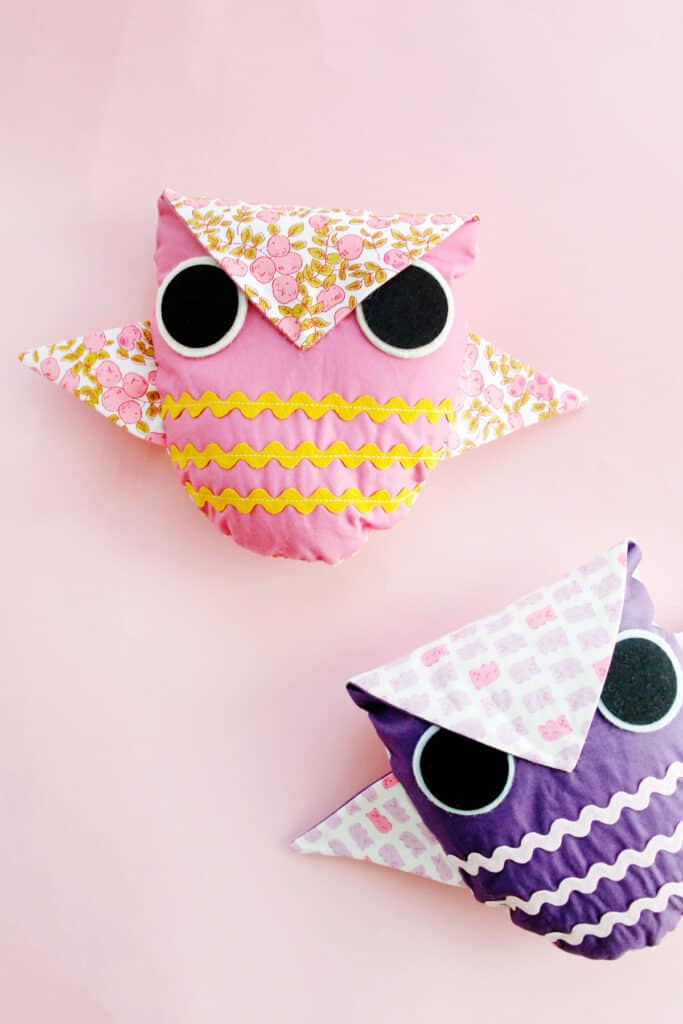
How to sew a plush owl
Use a 3/8″ seam allowance unless otherwise noted.
Fuse interfacing to the back of your fabrics.
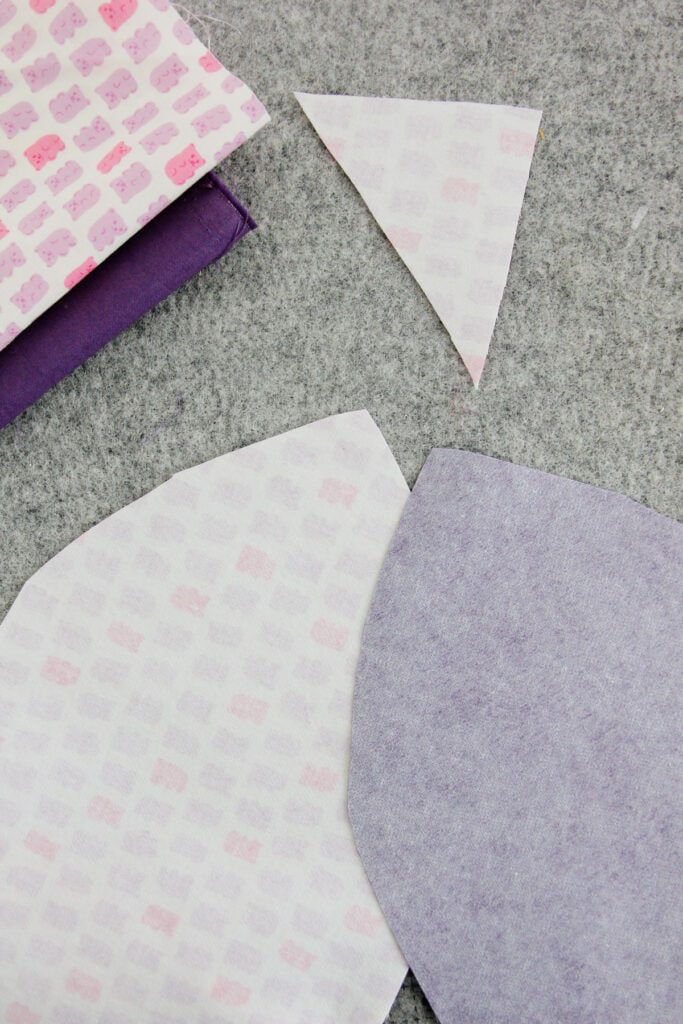
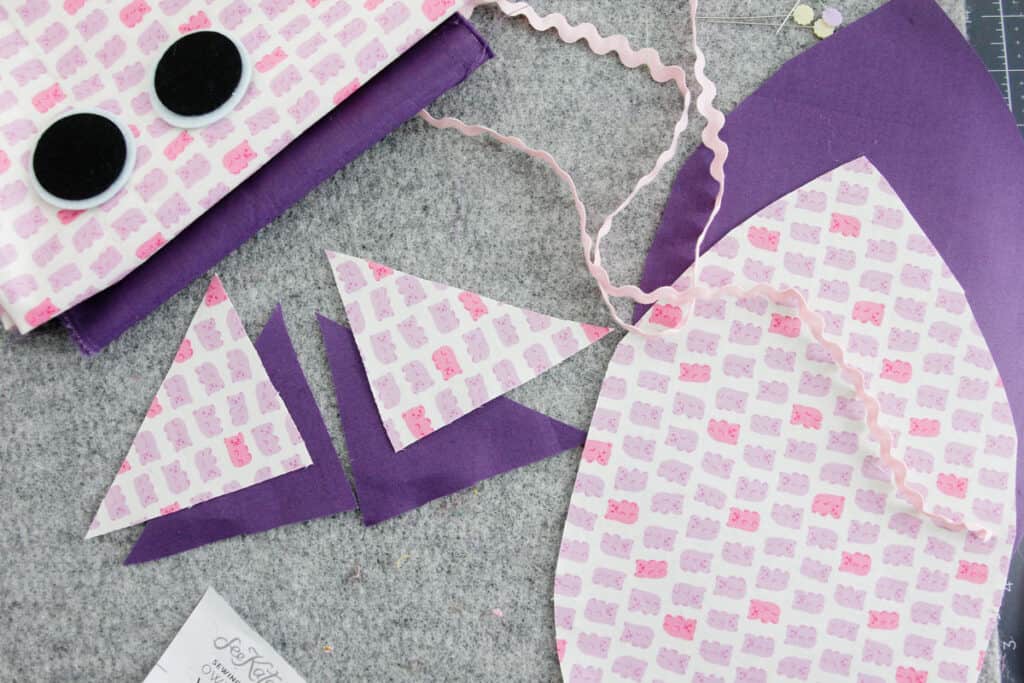
Cut out 1 main owl from each fabric. Also cut 2 wing pieces from each fabric, mirror image of each other.
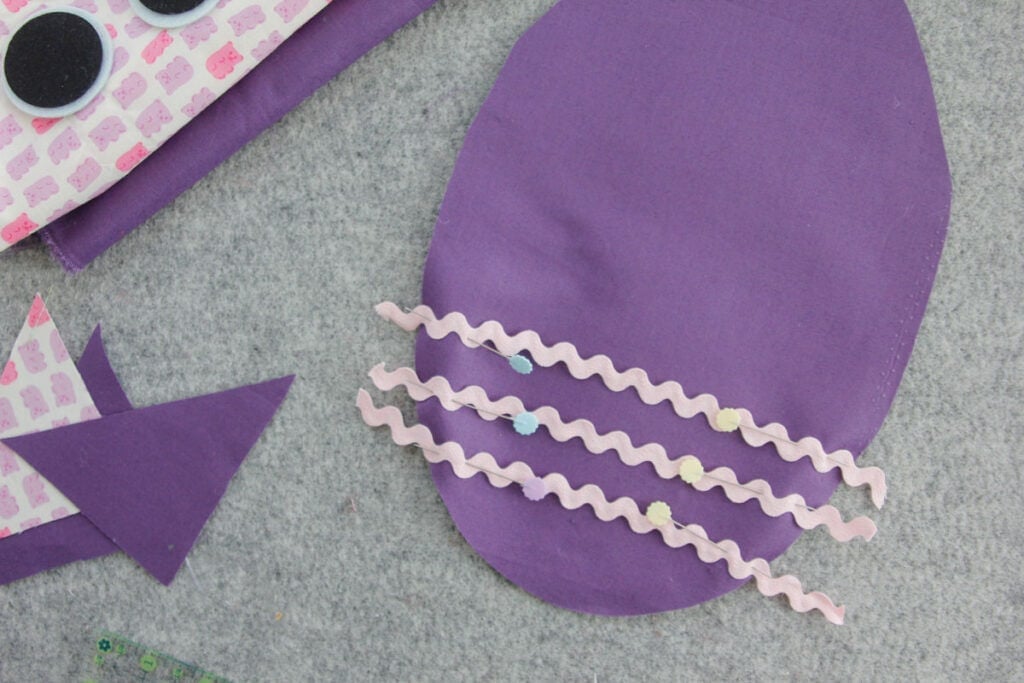
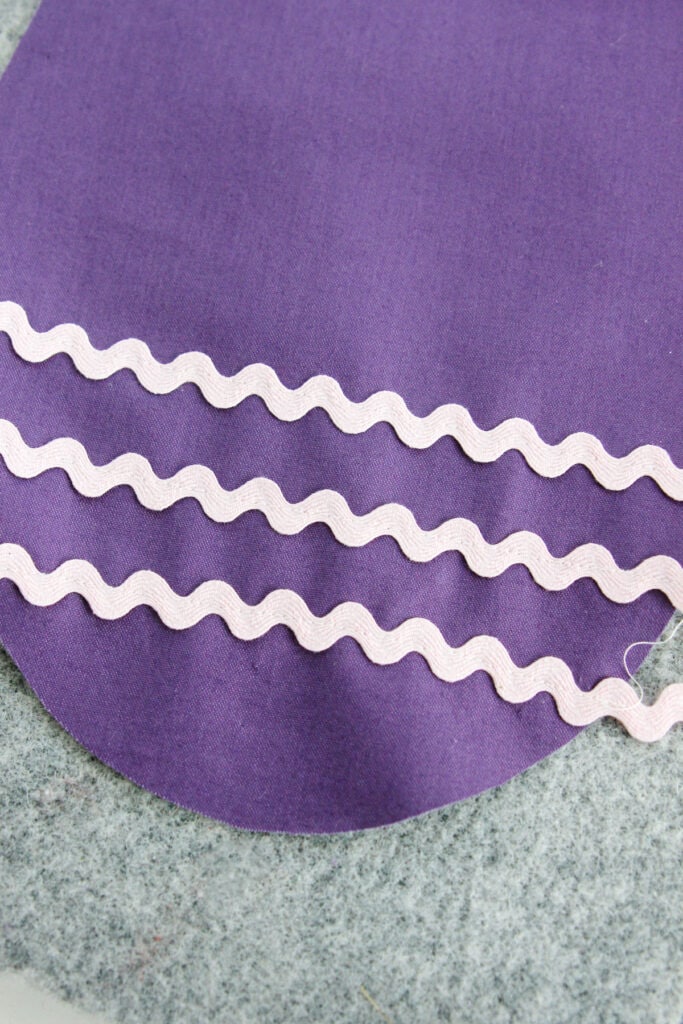
On the owl front piece, lay out 3 strips of rick rack for the feathers starting about 1.5″ to 2″ from the bottom. Sew these on with a straight stitch through the rick rack.
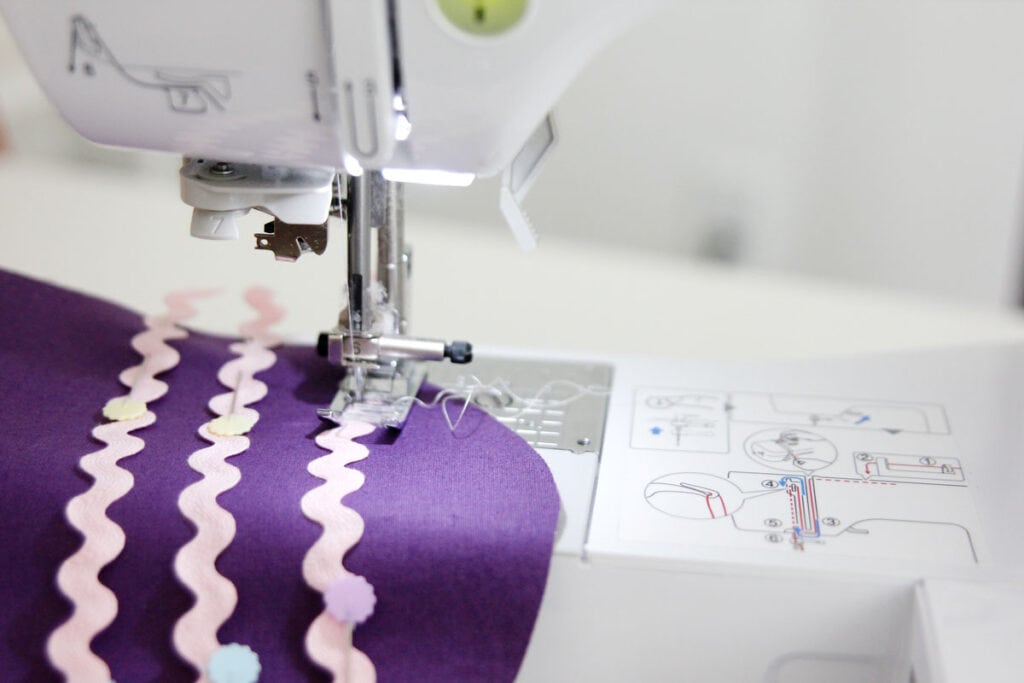
Alternatively, you can also glue these on.
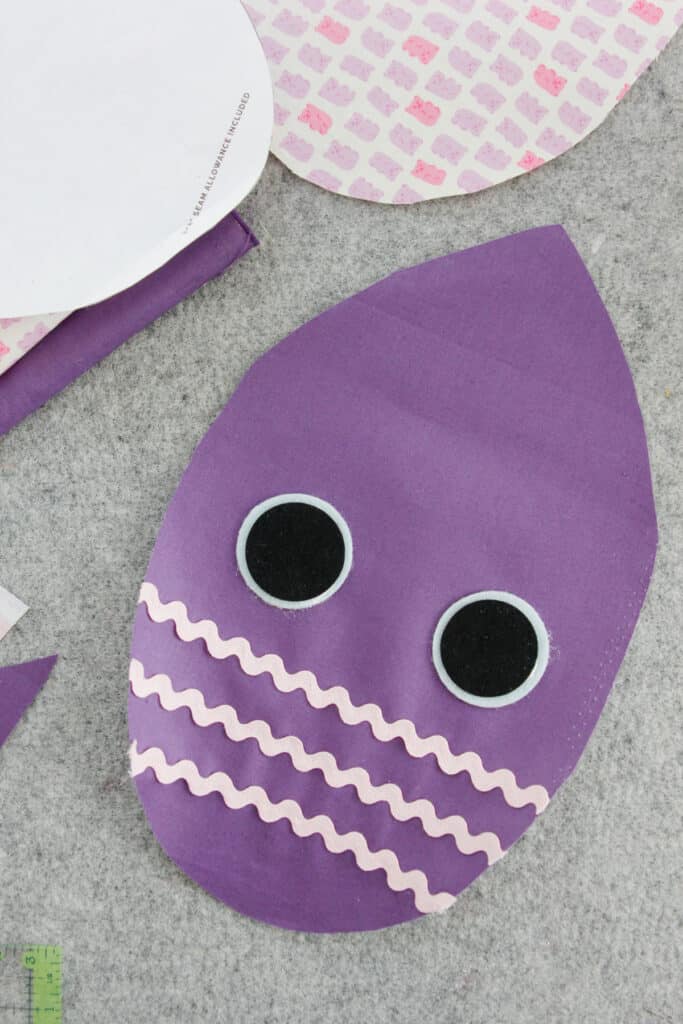
Next, sew or glue the eyes on. Fold down the top of the owl’s head to get a good idea of where to place the eyes, as shown. You can also use the suggested eye placement shown on the pattern piece.
Place wing fabrics together – one of each print – right sides together, matching up all the sides. Sew two sides of the wing together using a 1/4″ seam allowance. Make sure to backstitch at the ends of your stitching.
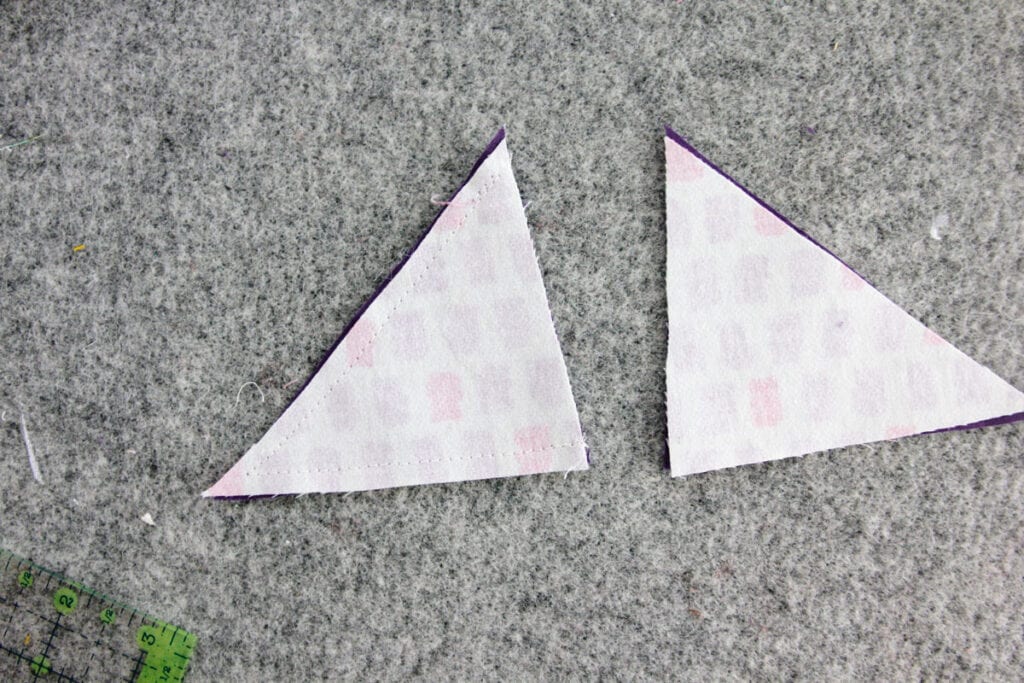
Clip the point of the wing seam allowance and trim the rest. Then turn right side out and press.
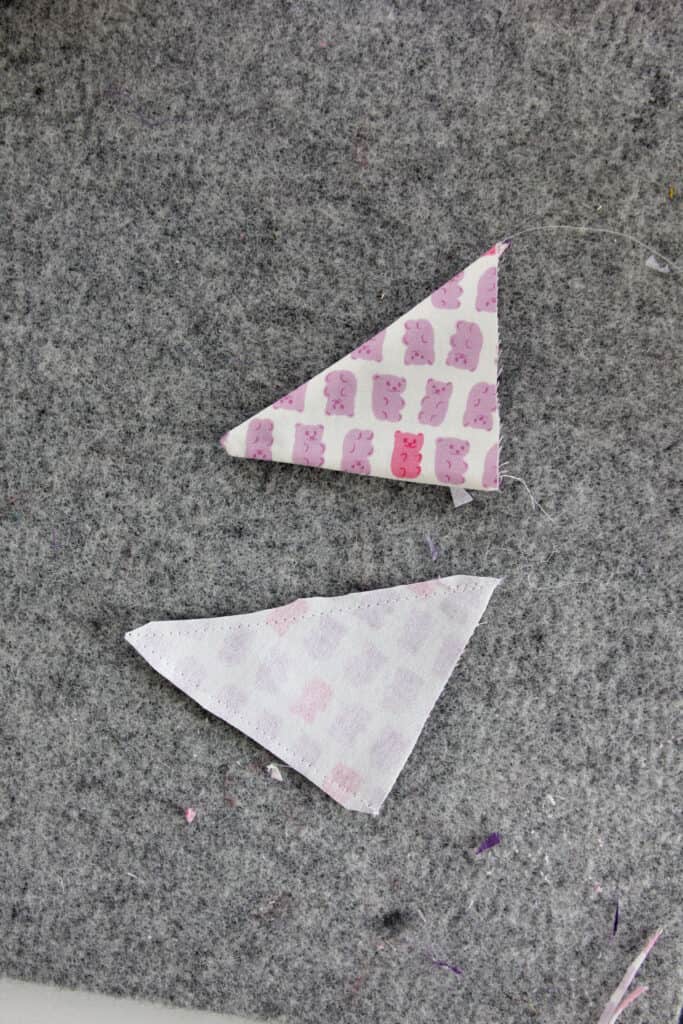
Pin wings face down on the front of the owl with the seam allowances lined up.
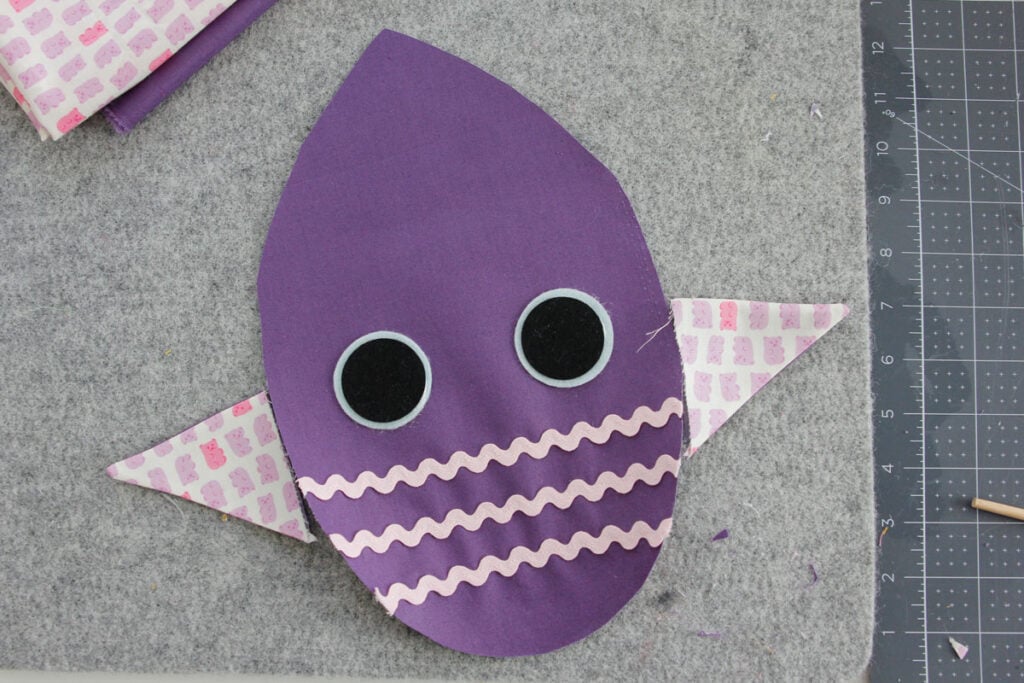
Sew or baste the wings on 1/4″ from the edges.

Place the owl back piece on the top of the front with the wings sandwiched inside.
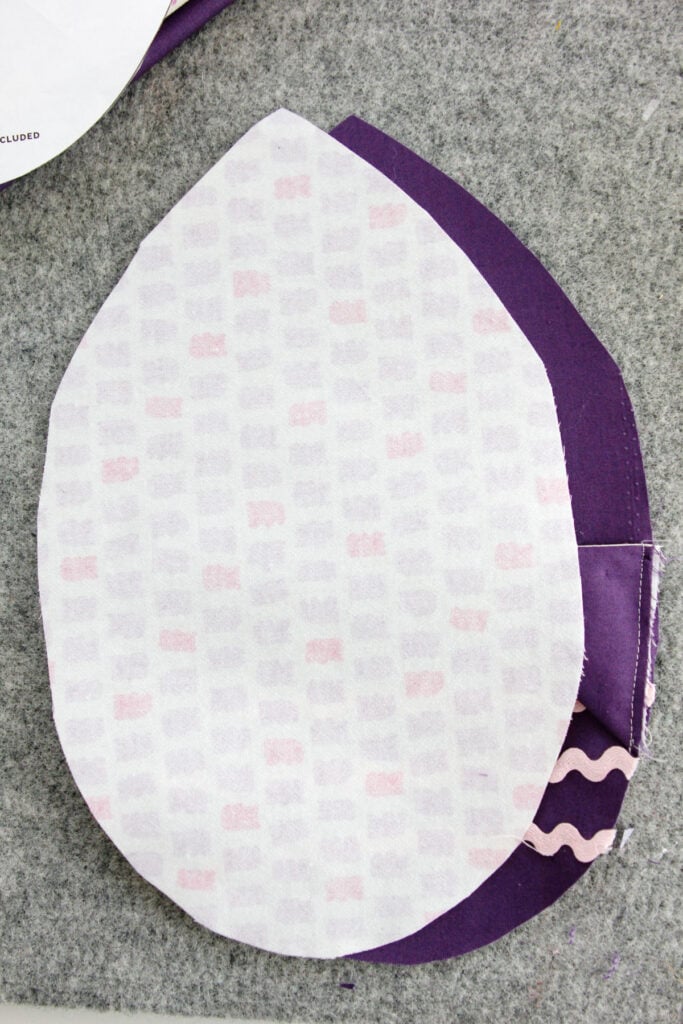
Sew around the owl, leaving about 2″ open at the bottom.
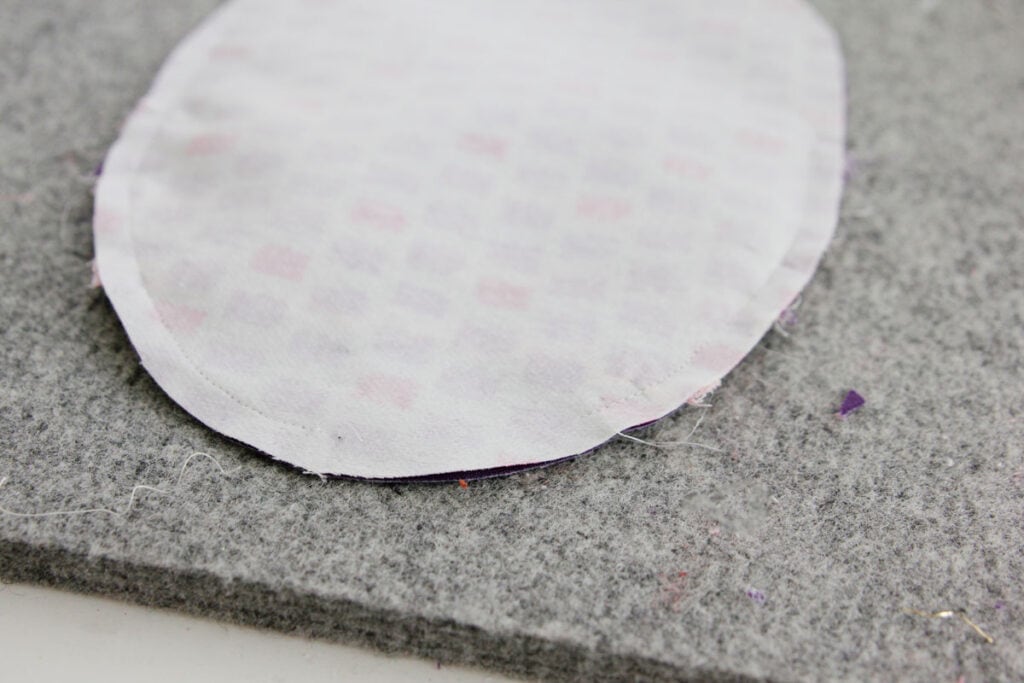
Clip and trim the points and curves of the seam allowance then turn right side out.
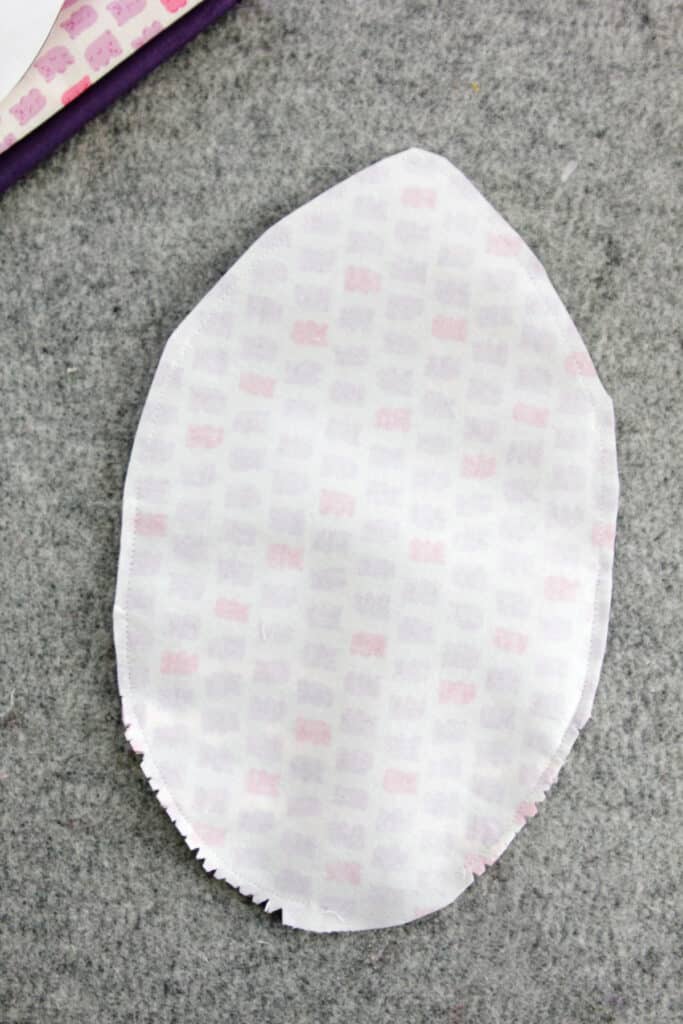
Finish your owl stuffed toy
Press well.
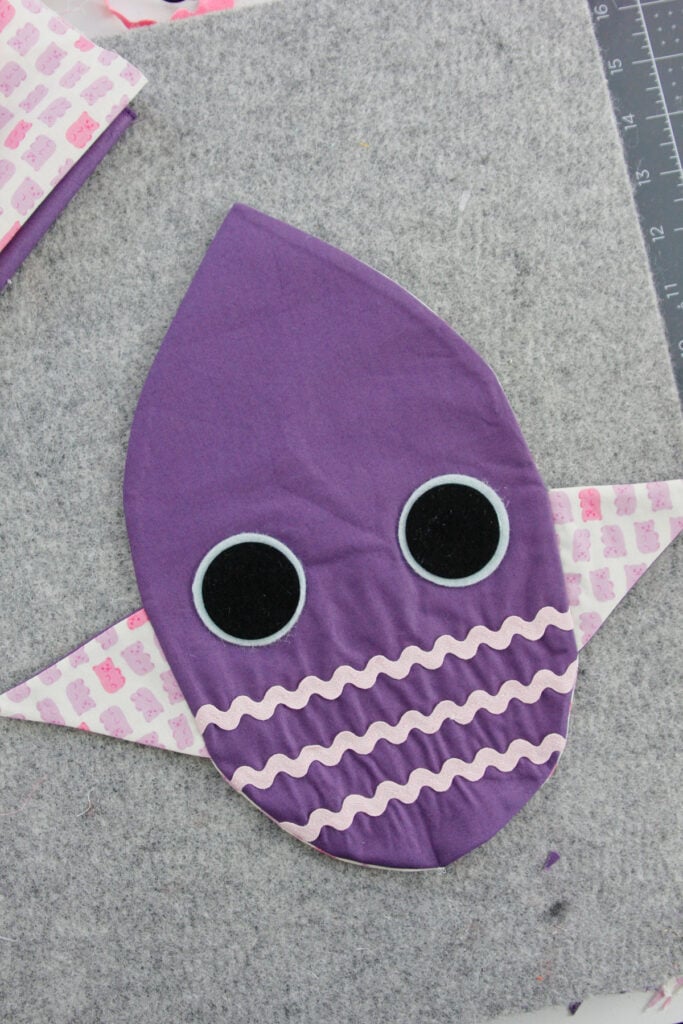
If you are gluing the eyes on you can wait to glue them on until after your owl is stuffed so you have a better idea of the placement.
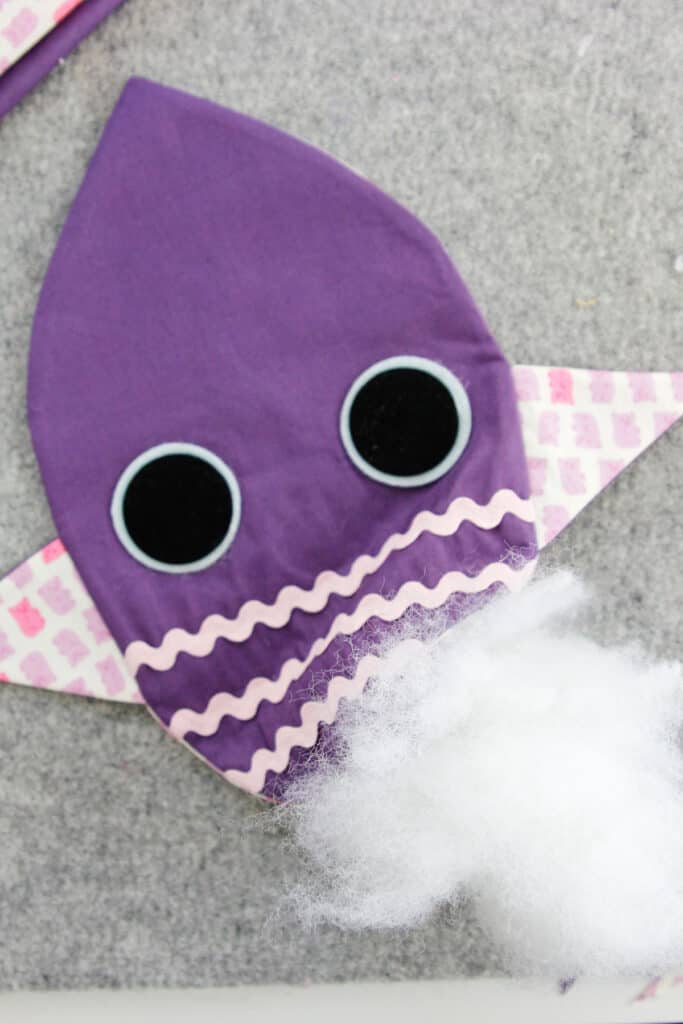
Start stuffing the owl with fiberfill stuffing, but don’t stuff the top part that will fold over. Once you have it about half stuffed, fold over the top of the owl at the fold line.
Pin it down between the eyes, creating a little beak.
Use a needle and thread to hand stitch the beak down, about 1″ on either side of the point.
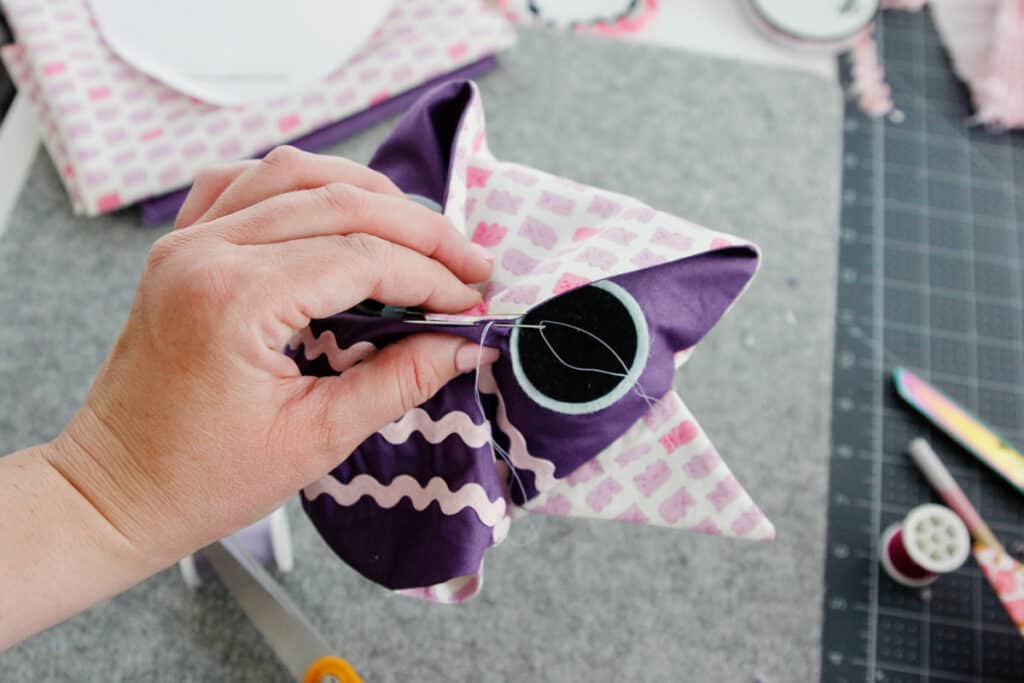
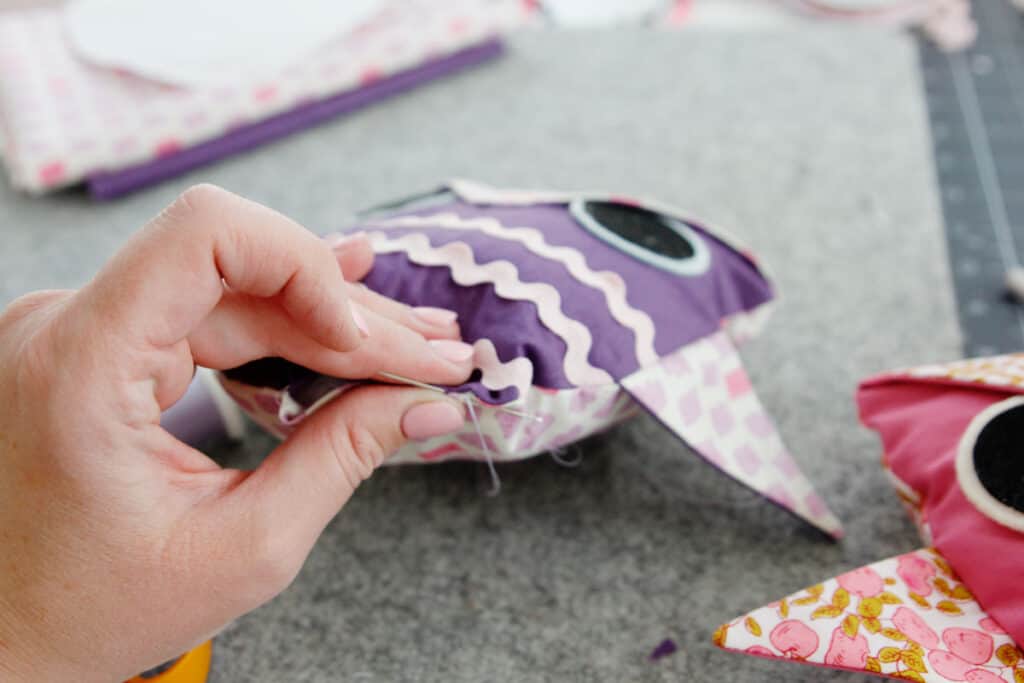
Use a hidden ladder stitch so you can’t really tell.
Continuing stuffing the owl – it should be full but not over stuffed. Then close the opening with a ladder stitch.

More Sewing Projects
I hope you enjoyed this stuffed owl plush sewing pattern! Here are some similar sewing projects to try:


