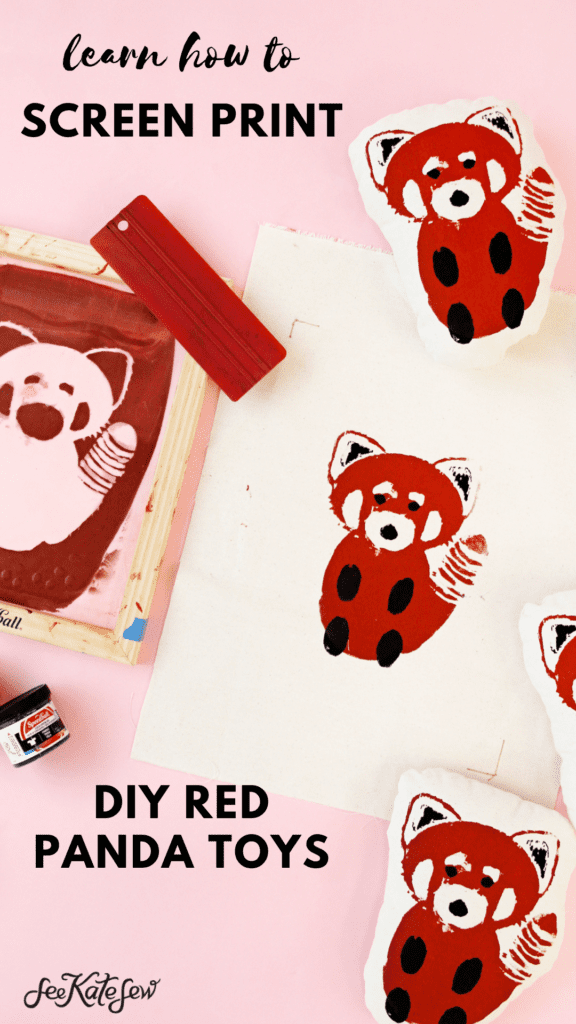
This post is sponsored by Speedball. In this post, I’ll show you how to use a silk screen printing kit with Speedball Drawing Fluid™ to print a two-color design. These DIY red panda plush toys are so fun to make and are surprisingly easy to print and sew together. Making stuffed animals has been a hobby of mine for a while and printing the designs adds so much character to the plushies!
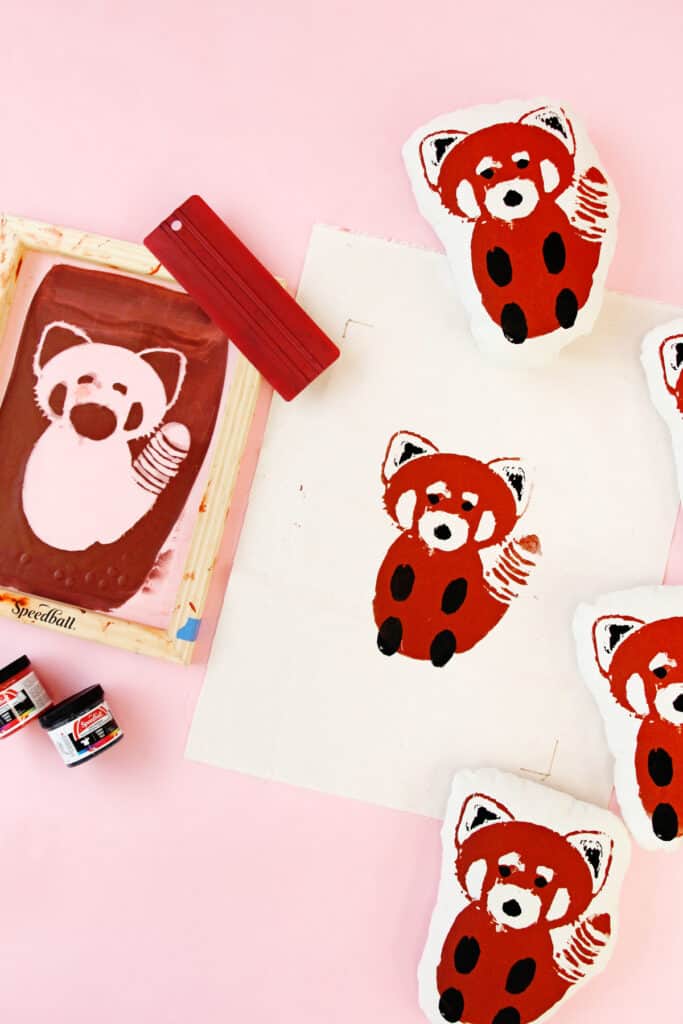
Take a 2-D design and turn it into a 3-D plush. In this post I delved into 2-color printing – which feels so professional! Screenprinting these little guys makes it easy to make a whole bunch at a time.
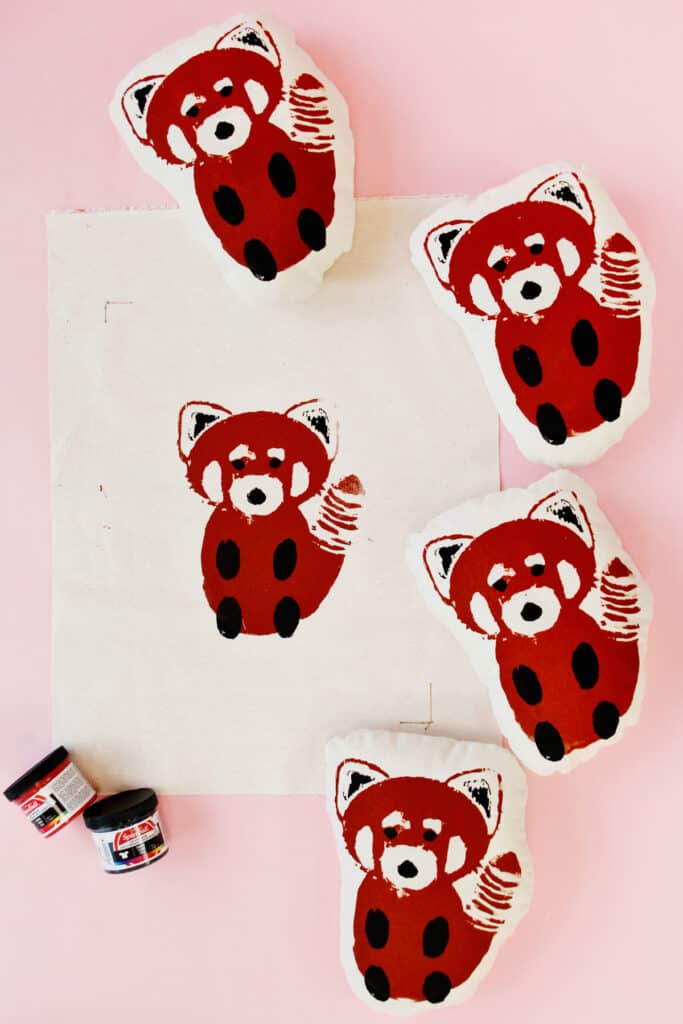
Print them on fabric, cut them out and sew them together. Then stuff them into little plushies! These are great for gifts, party favors or even craft fairs.
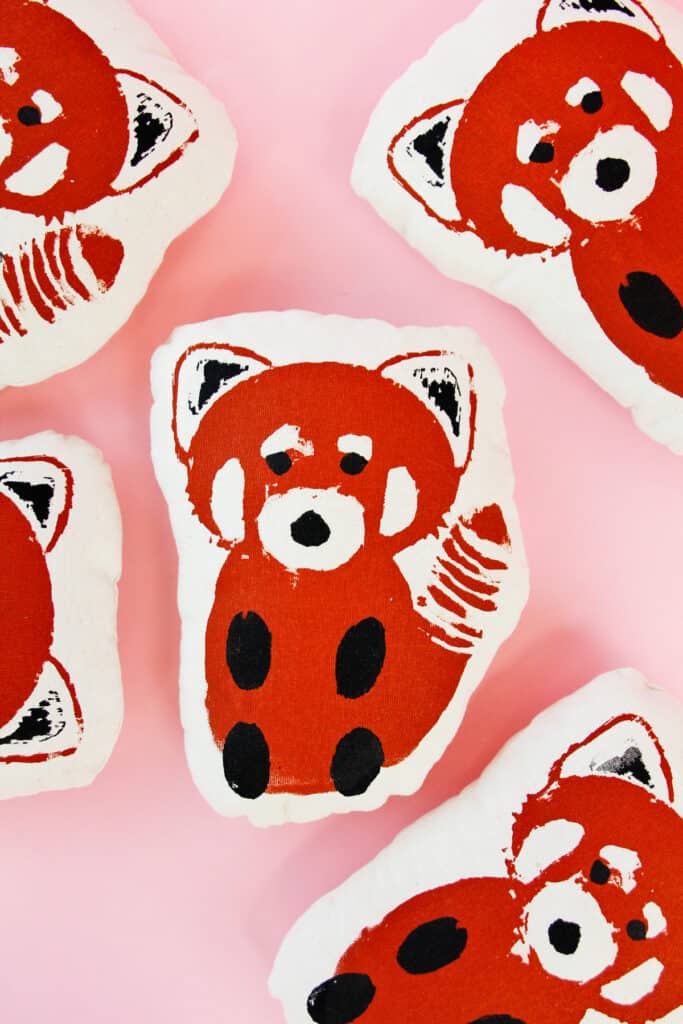
In this post I showed you another method of printing with Speedball using their Speed Screens for fabric screen printing. The kit I’m using in this post includes liquids for photo emulsion (light needs ton purchased separately) and materials for the Drawing Fluid method. This kit is a good option if you are ready to dive into screen printing and experiment with a few methods.
Between the Speed Screens™, Drawing Fluid™ and Photo Emulsion methods, you’ll be able to find a Speedball kit and method that works for your project and skill level. For beginners, I recommend starting with either Speed Screens or Drawing Fluid because of how simple they are. My favorite part about these methods is there aren’t any nasty chemicals that a lot of screen printers use.
What is Speedball Drawing Fluid?
Speedball’s Drawing Fluid is used to create your design by blocking off the screen where you want your design. After that, Speedball Screen Filler™ is used to cover the rest of the screen. The Drawing Fluid then rinses out with water and leaves your opening for your ink to go through! You are essentially creating a stencil stuck to the screen. The Drawing Fluid and Screen Filler are non-toxic which is a huge win. There are a few ways to use the Drawing Fluid and Screen Filler method:
- Paint Drawing Fluid directly onto the screen as you create your design OR
- Use Drawing Fluid to trace a printed image or drawing OR
- Lightly draw artwork directly onto the screen then go over with Drawing Fluid OR
- Skip the Drawing Fluid and just outline your design with Screen Filler blocking off all the parts of the screen you don’t want ink to go through
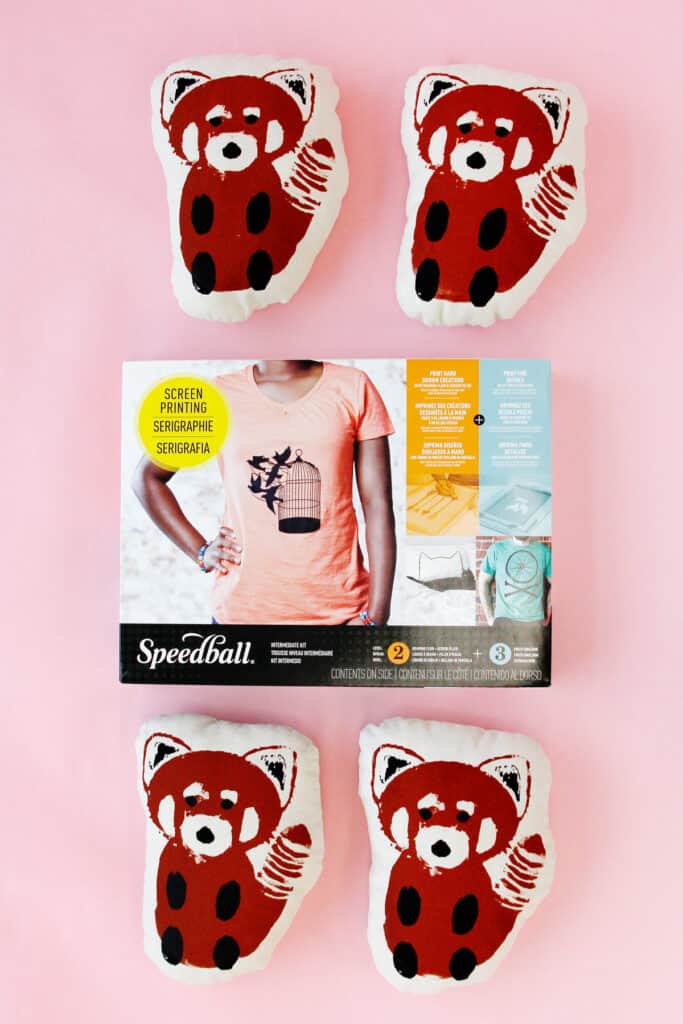
The Drawing Fluid method is really fun to apply to the screens and is a great option for illustrators, painters or artists with the confidence to free hand or those interested in a more painterly design. For my screens, I traced a printed design of a red panda – the brushstrokes of the Drawing Fluid helped me get the furry look I wanted.
Speedball Intermediate Silk Screen Printing Kit
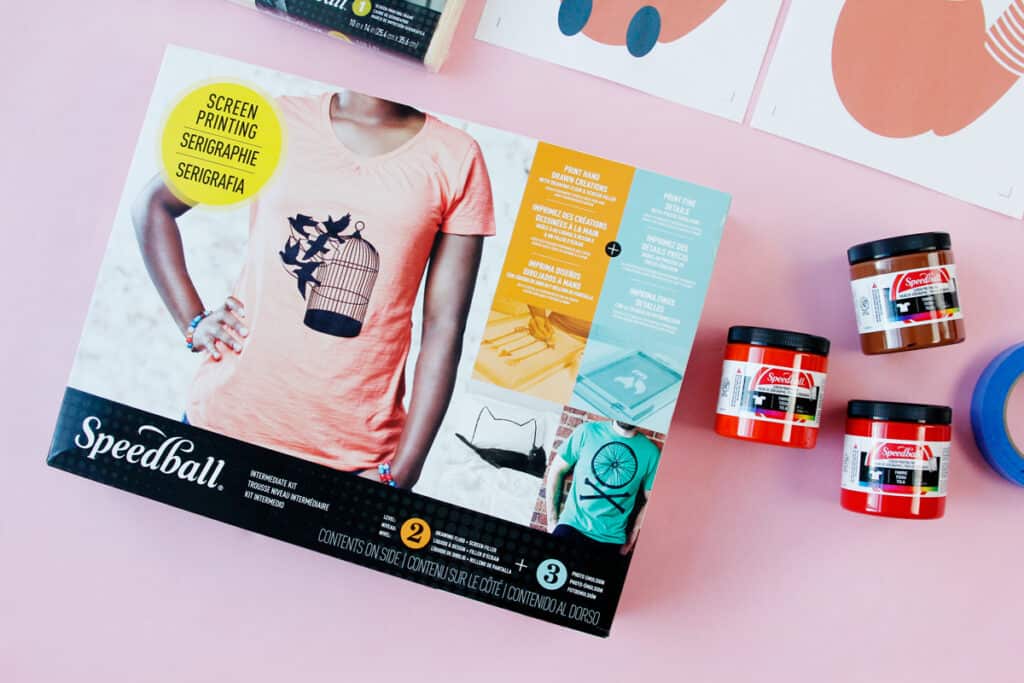
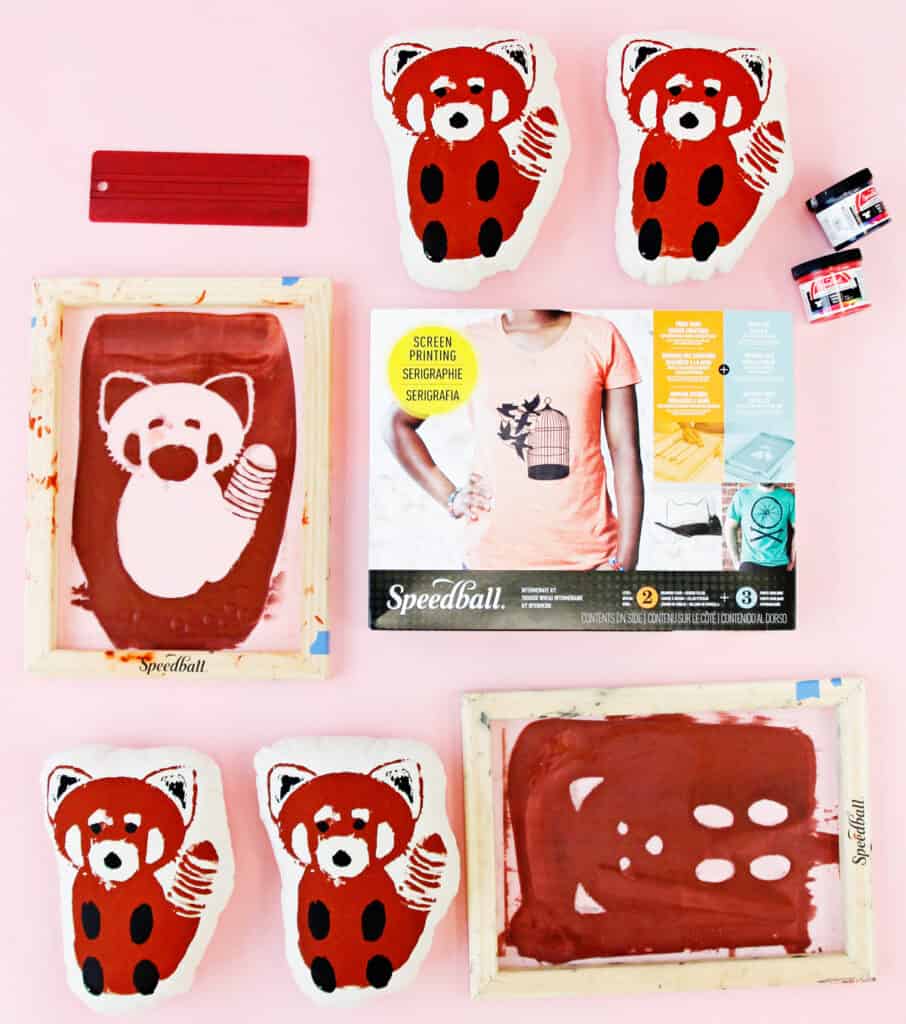
I used the Speedball Intermediate kit for this project. The kit is available on Amazon (affiliate link) and at local craft stores. This silk screen printing kit includes the following:
- Screen with wood frame, 10″ by 14″
- Squegee
- Black and Red Fabric ink
- Drawing fluid and Screen Filler
- Speedball Speed Clean screen cleaner
- Paintbrush
- Photo emulsion supplies
- I’m not using these in this project, however they come in the kit and you could also use this method to create plush toys!
- Booklet of instructions
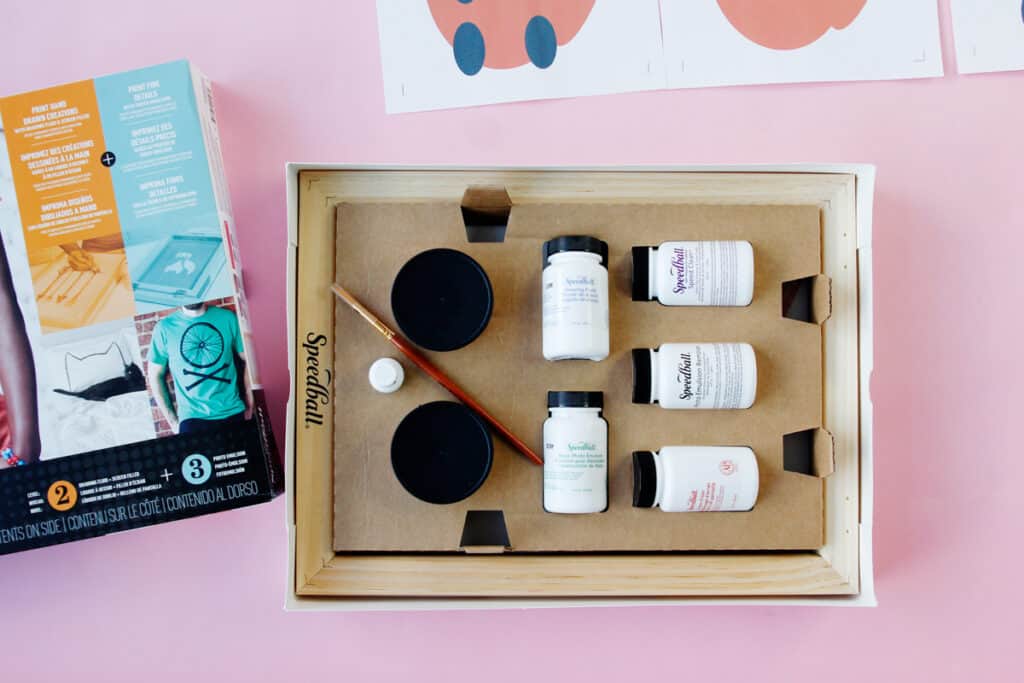
I love a silk screen printing kit that comes with what you need, but you can also purchase the Drawing Fluid and Screen Filler separately if you already have other supplies.
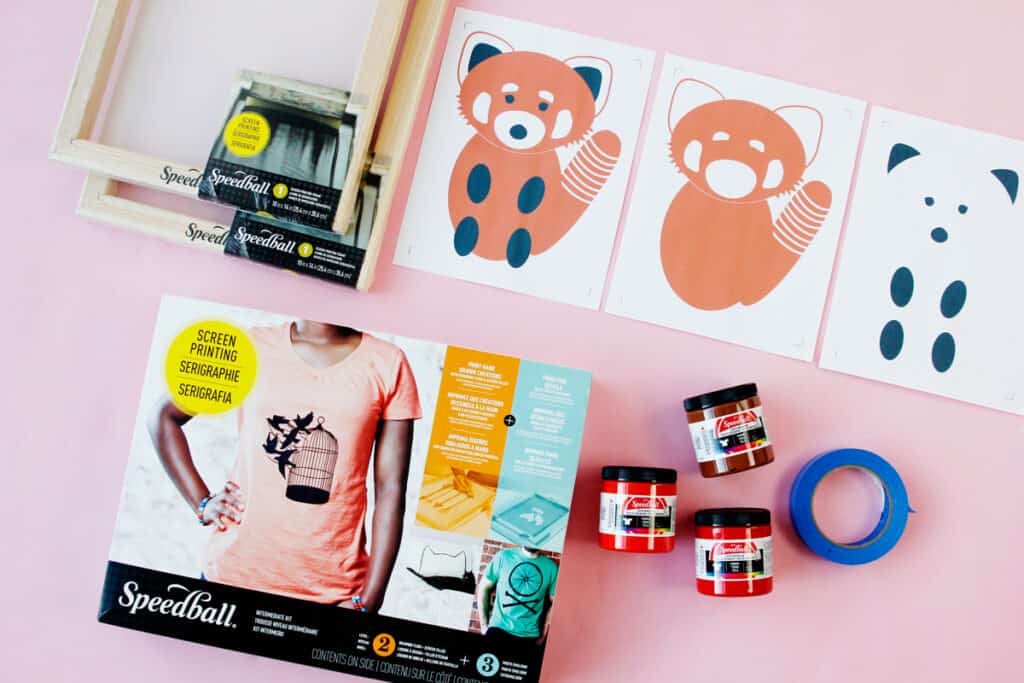
Other supplies you’ll need
- Additional framed screen for second color
- This is optional, however having a second screen makes it easy to complete this project without having to wash out the first screen to prep the second color.
- Make sure the two screens are the same size
- Additional Speedball fabric screen printing ink colors
- Optional: Additional paintbrushes for smaller or larger strokes
- Painter’s tape
- Paper towels
- Water soluble fabric marker
- Canvas or duck fabric, pre-washed and pressed
- Almost any textile will work for this project. I am using unbleached duck cloth.
- Fiberfill stuffing, cluster fill
- Hand sewing needle and thread
Red Panda Plush Design Download
I have provided a PDF file below which includes the Red Panda design on 3 pages.
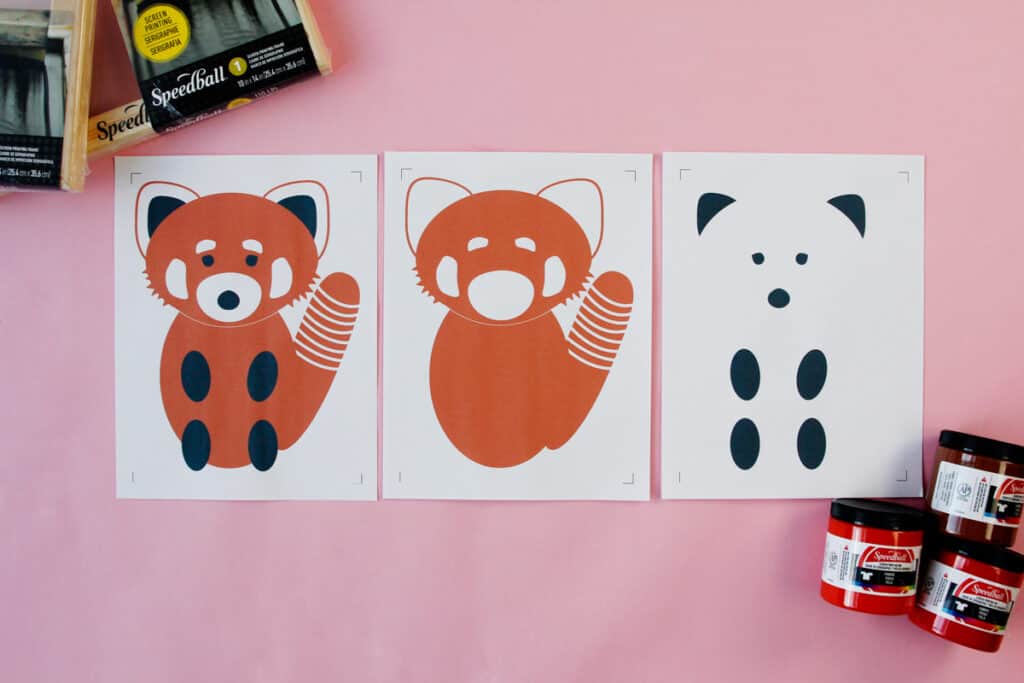
The first page has the full design. The second page has all the red color and the third page has just the black coloring split up for easier tracing with the Drawing Fluid.
Print the design
Print the pages at 100% or DO NOT SCALE for the same size red panda plush toys I have made. The design will fit on standard letter size paper or A4 paper. The finished panda print measures approximately 7.5″ by 10″ and the finished plush is approximately 11″ tall by 8″ wide when stuffed. You do not need to print the design out mirrored because we will trace it from underneath the screen.
Can I mix Speedball ink colors?
Yes! You can definitely mix colors. For this project I needed a perfect reddish orange that you might see on a real Red Panda so I mixed some colors to get the shade I wanted. You can easily mix like Speedball ink colors (make sure they are both fabric ink for this project) to get the shade you want. Make sure you mix enough at the beginning to cover your whole project so you don’t get mismatched ink later on. Mix inks in a cup or jar – I used an empty jar from the craft store.
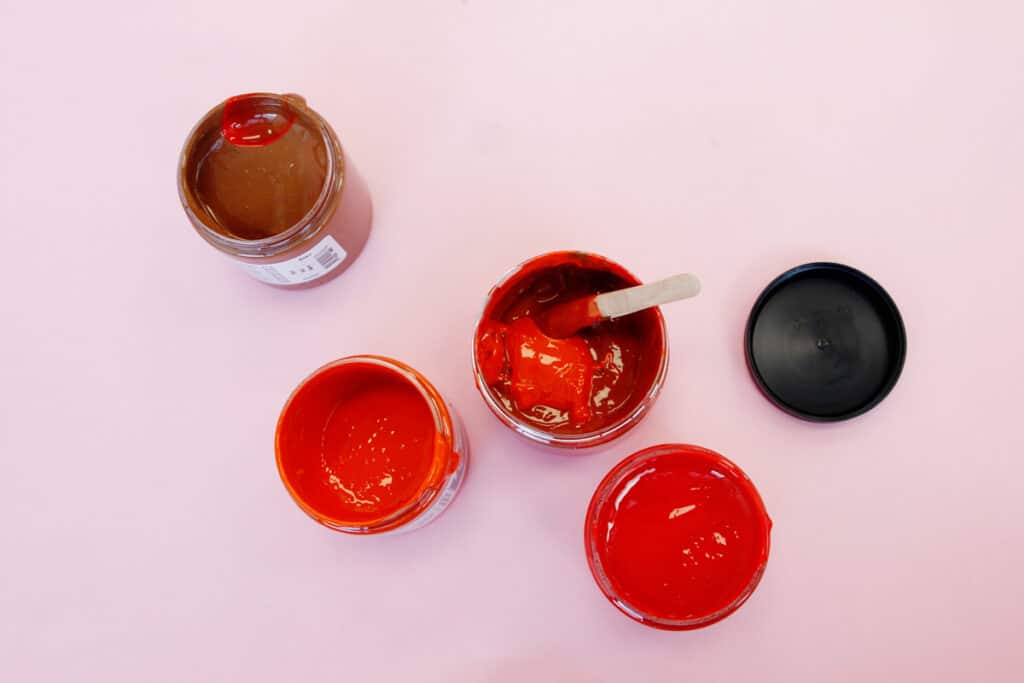
To get the panda fur color I mixed red, brown and orange until I liked the shade I had. For the black in this project, I used the black ink straight from the jar.
Drawing Fluid Silk Screen Printing Kit Method
It is so simple to print out a design and trace it with the Drawing Fluid since the screen is see-through. Here is how to do it!
Step 1: Draw
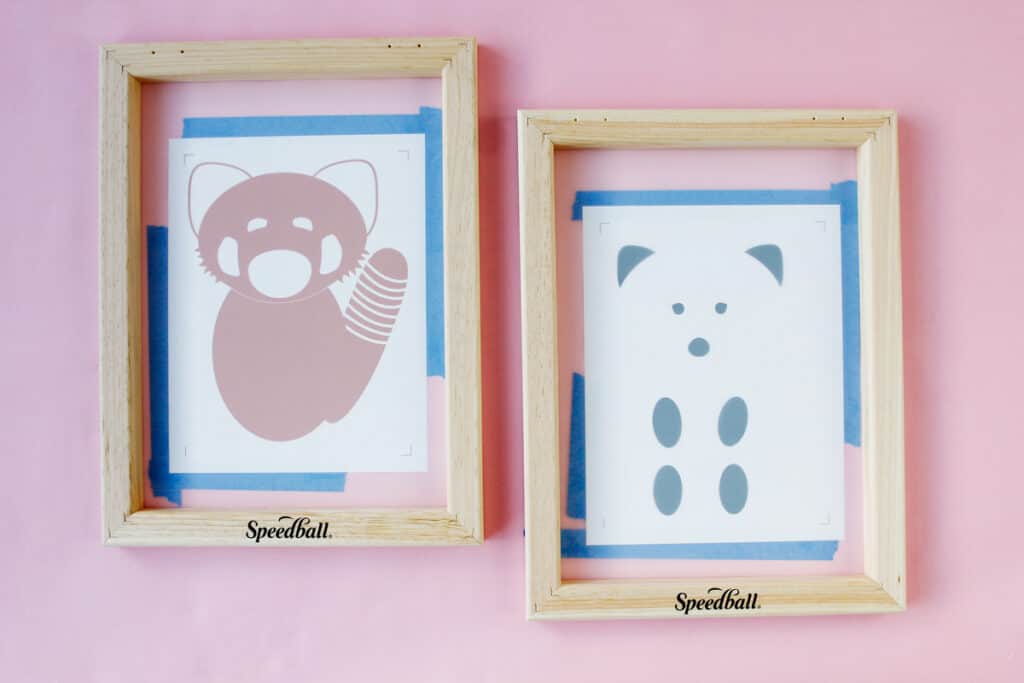
Tape your design to the bottom of the screen. I measured 3″ at the top of the screen and 1.75″ on the left side of the screen to position my paper.
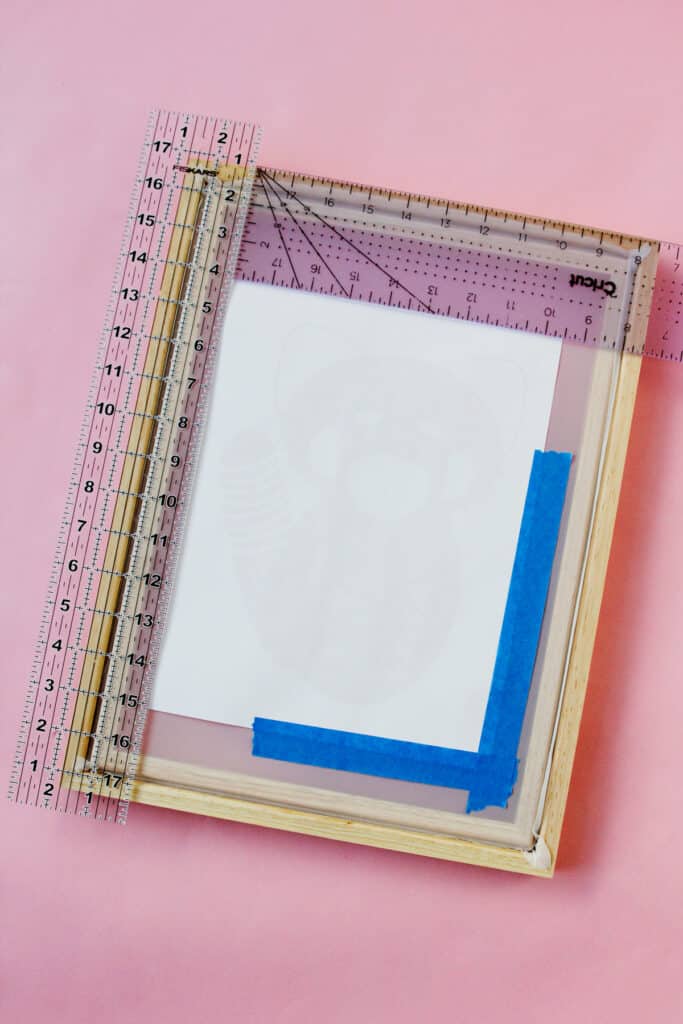
Measuring exactly makes it so you can get the second paper in the same position. This is really important when printing multiple colors.
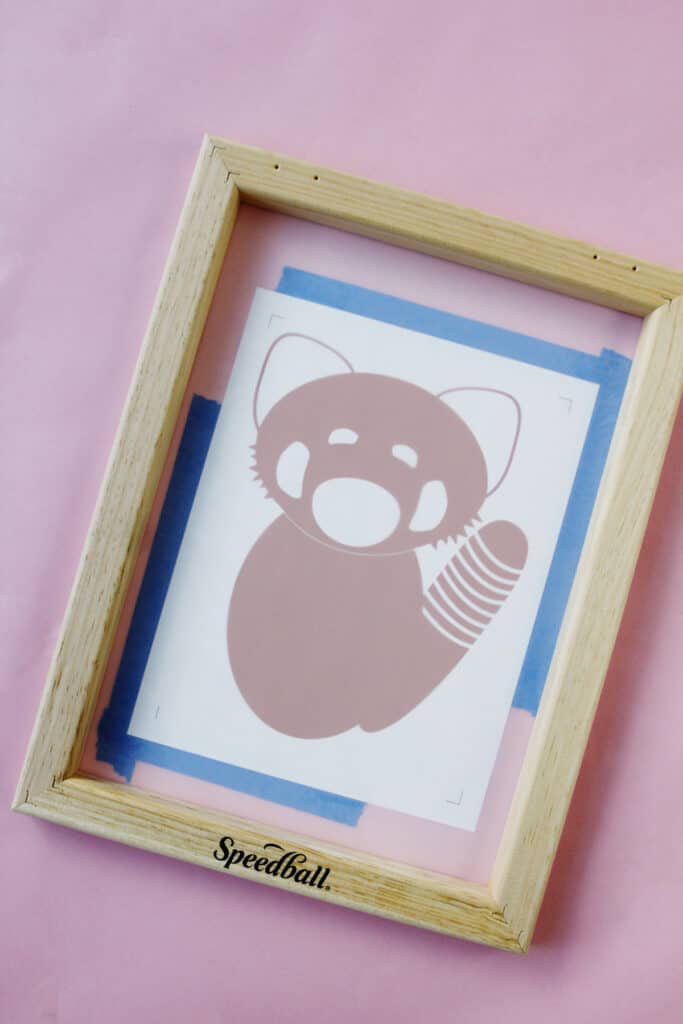
Tape the second color page to your second screen, placing it exactly in the same position as the first.
Turn the screens over and use Drawing Fluid to trace your artwork. The Drawing Fluid is fairly watery at first so use a light hand and carefully spread the fluid over the colored portions of your design. You don’t want the liquid to pool up or drip as it is in my photo below. This is a little bit of a learning curve, but just remember you can always add more fluid but it’s harder to take it off!
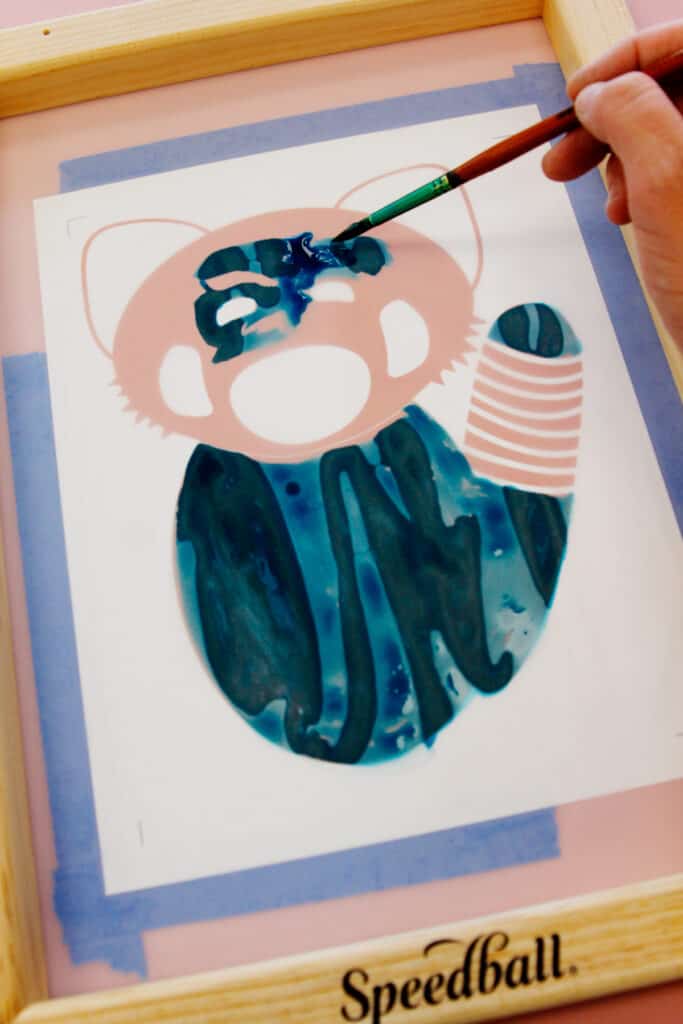
Screen 1 will be filled where we want the reddish ink to go.
Screen 2 will be filled where we want the black ink to go.
After you’ve covered up the colored portions of the artwork, turn the screen over and remove the taped design slowly.
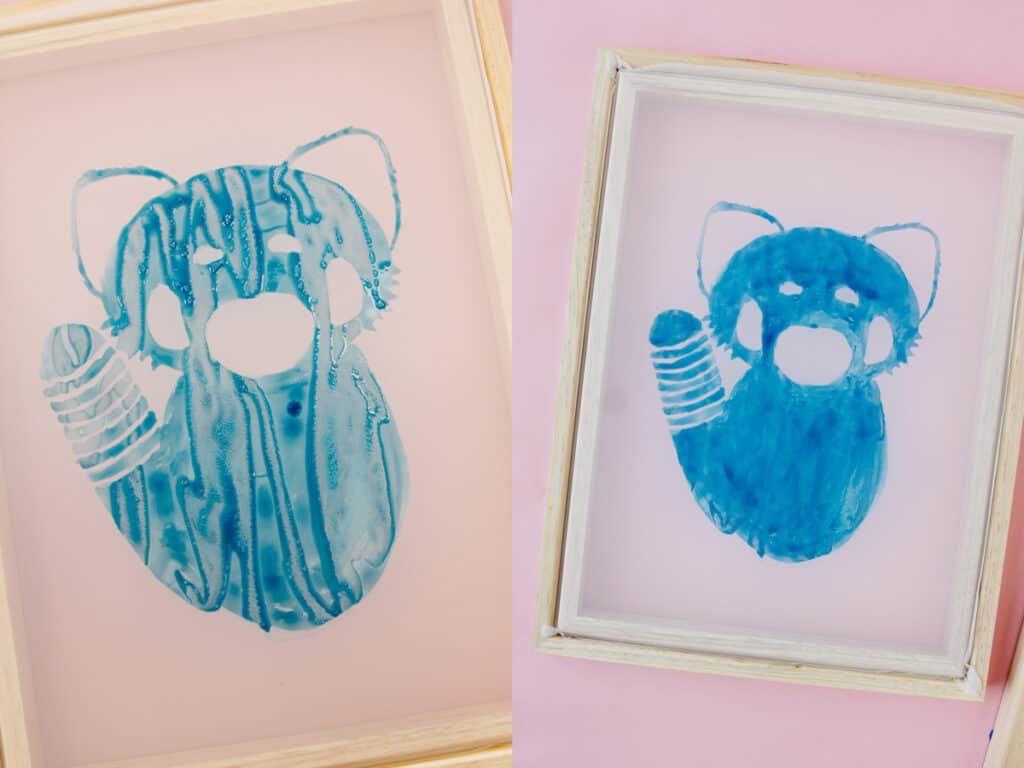
If you used too much fluid, the paper will pull some up and skew the fluid a little, shown on the left. Like any new craft, you’ll get a feel for the Drawing Fluid with practice. Use more fluid on the other side to touch up any spots that haven’t been covered yet or look uneven. You will feel the Drawing Fluid will start to gel up a little as it begins to dry.
A few notes about Drawing Fluid application
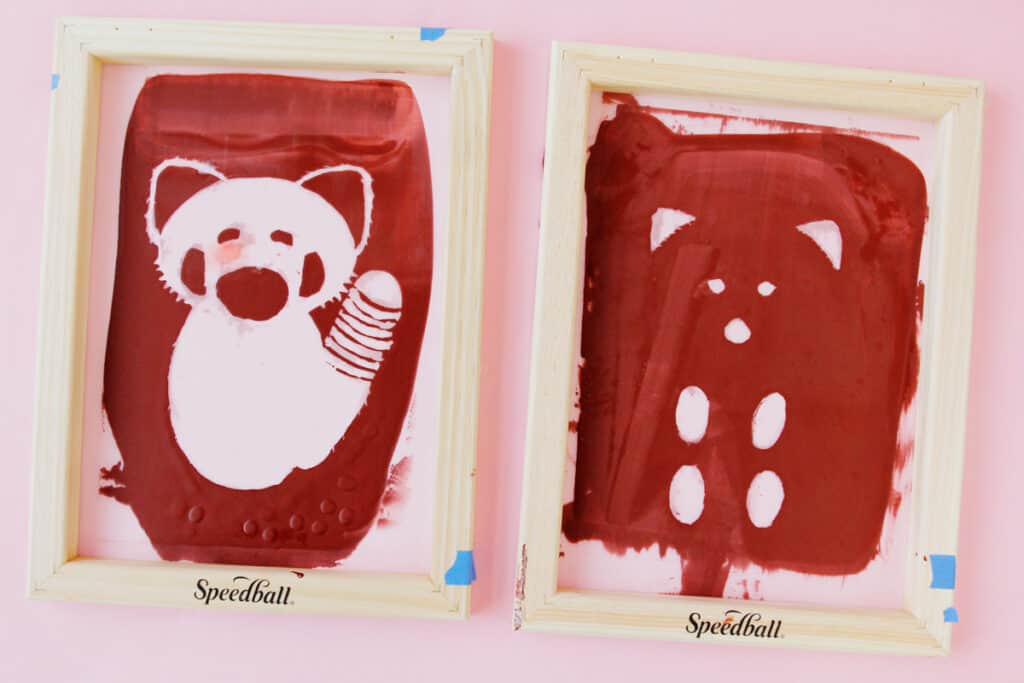
I did my Color 1 screen twice because I wasn’t happy with the first one after using the Screen Filler. I did two passes of Screen Filler (don’t do that!) and the filler started smudging and dripping. It was messy and I think the main problem was my Drawing Fluid application. It seemed like the lighter layers of fluid dried better and was less likely to gel in uneven splotches but some of the lighter layers weren’t thick enough to block the Screen Filler. Also, leaving bubbles made holes in the Drawing Fluid when I went to pull the filler through. After your Drawing Fluid is mostly dry, check for popped bubbles and fill those in.
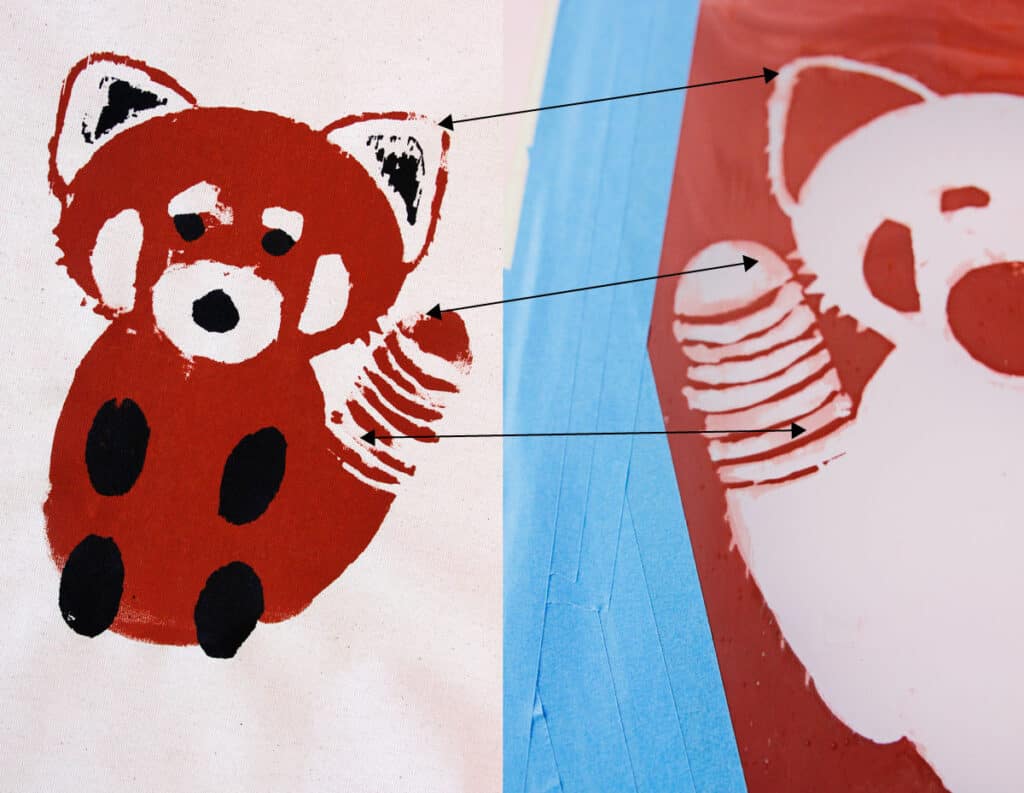
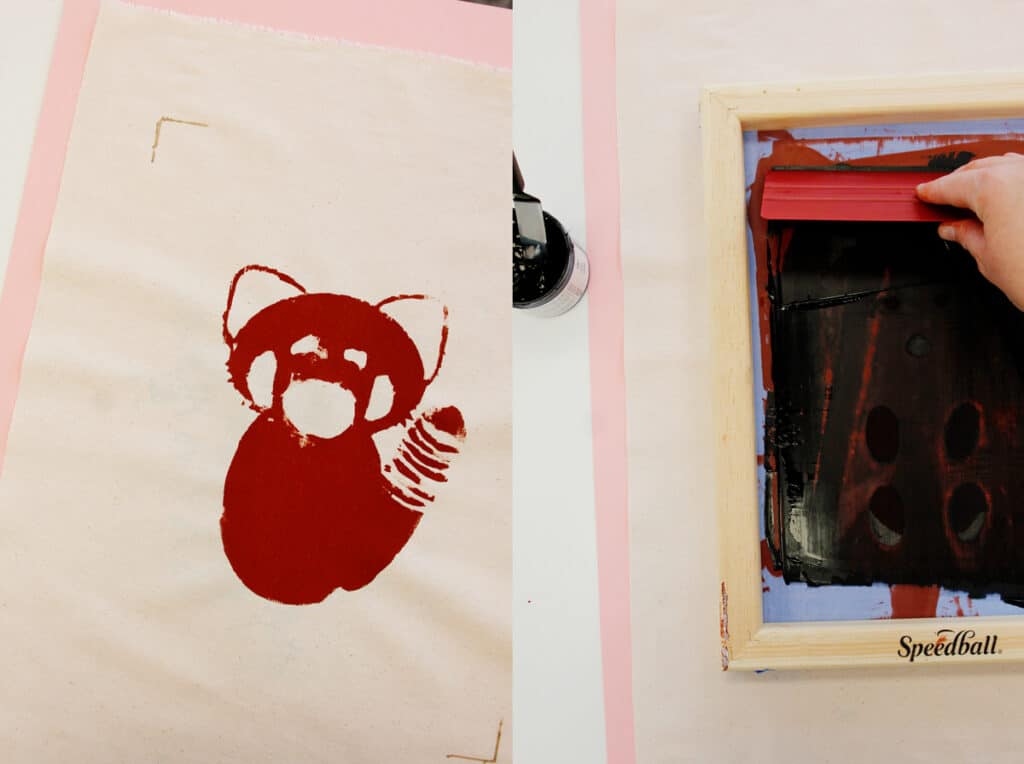
The image below shows some of the places where I don’t think I used enough Drawing Fluid on a screen that is ready to print (right). The left shows the final print and a few faded areas. The light areas of Screen Filler (red) almost look like they will pass ink, but you can see when I pulled ink through, even the light Screen Filler blocked the ink. So getting enough fluid but not too much was my biggest challenge. I learned a lot though and I know my next project will be easier!
When you are done applying Drawing Fluid, wash your brush out and let your screen dry completely. This should take about an hour, depending on how thick your fluid is. Some spots may still look wet.
Step 2: Screen Filler
After your Drawing Fluid is totally dry, we’ll apply Screen Filler to fill all the other space on the screen.
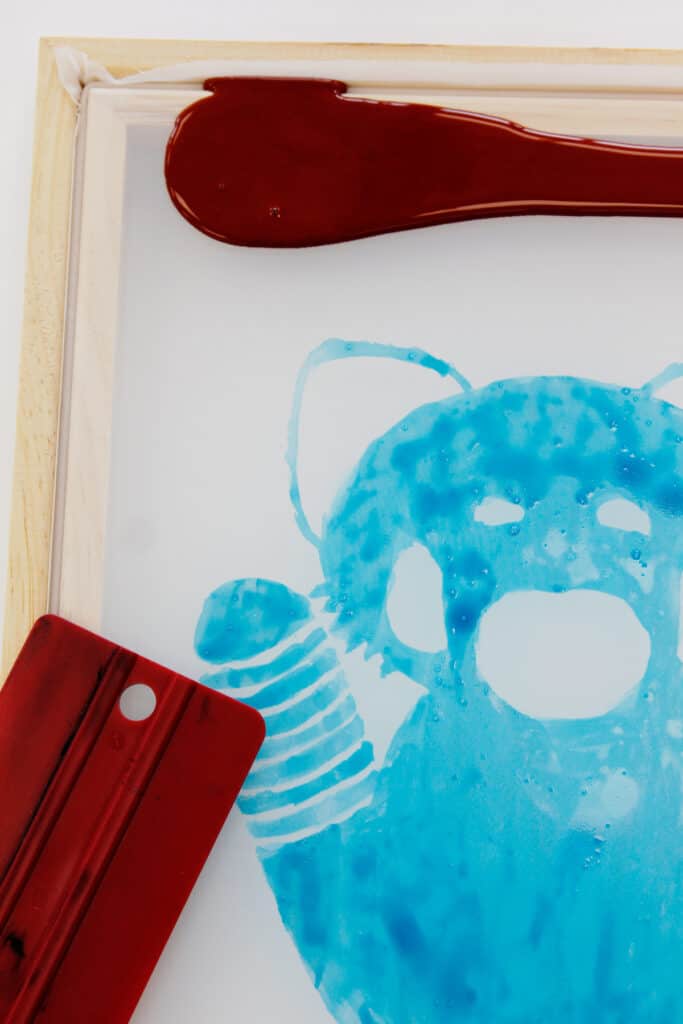
The Screen Filler is red and will go on almost like ink. Drizzle the filler at the top of your screen and then use a squeegee to pull the filler down over the design coating the screen with one even layer. You should do this over a sink. Don’t do multiple passes as it could dissolve the Drawing Fluid and skew your design. As I noted above, I did this and it was a bad idea!
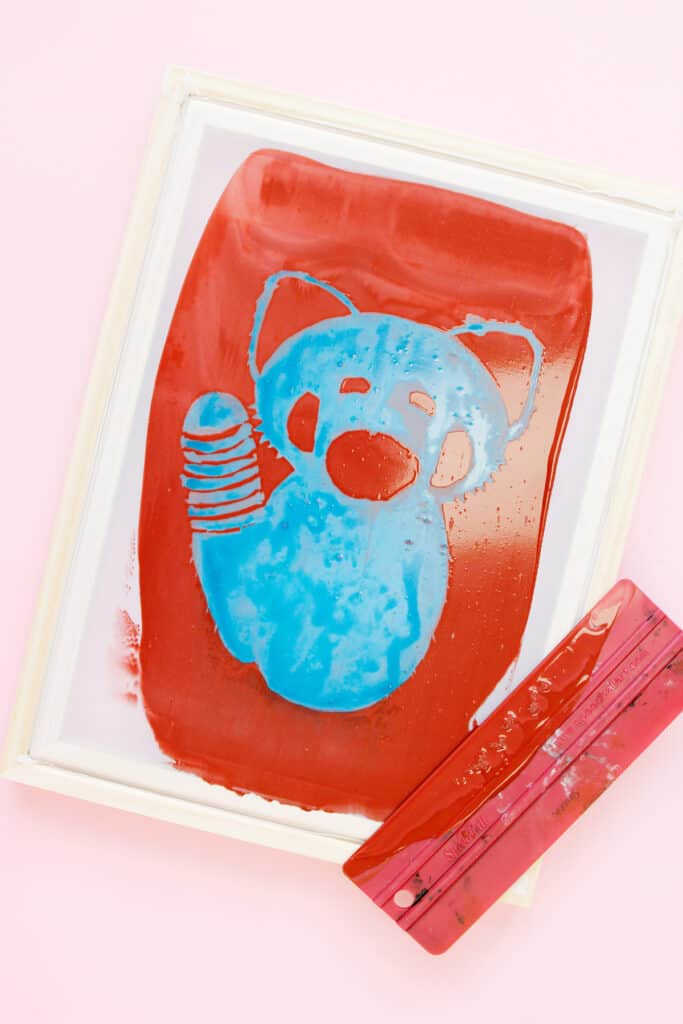
The hardest part of this was getting enough Screen Filler on but not too much. It was a little bit tricky but the most important thing is to drizzle an even amount of filler across the top of the screen before pulling.
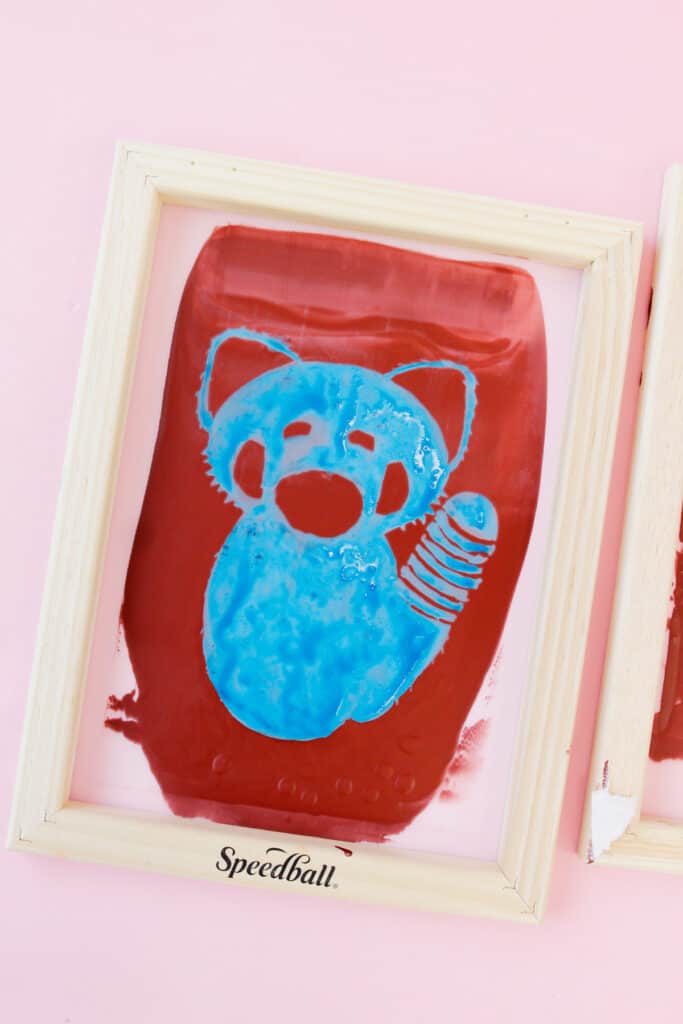
After I pulled the Screen Filler over the design, I used a paintbrush and more filler to fill in a few spots that bled with the Drawing Fluid. You can leave the edges uncovered and tape those off later.
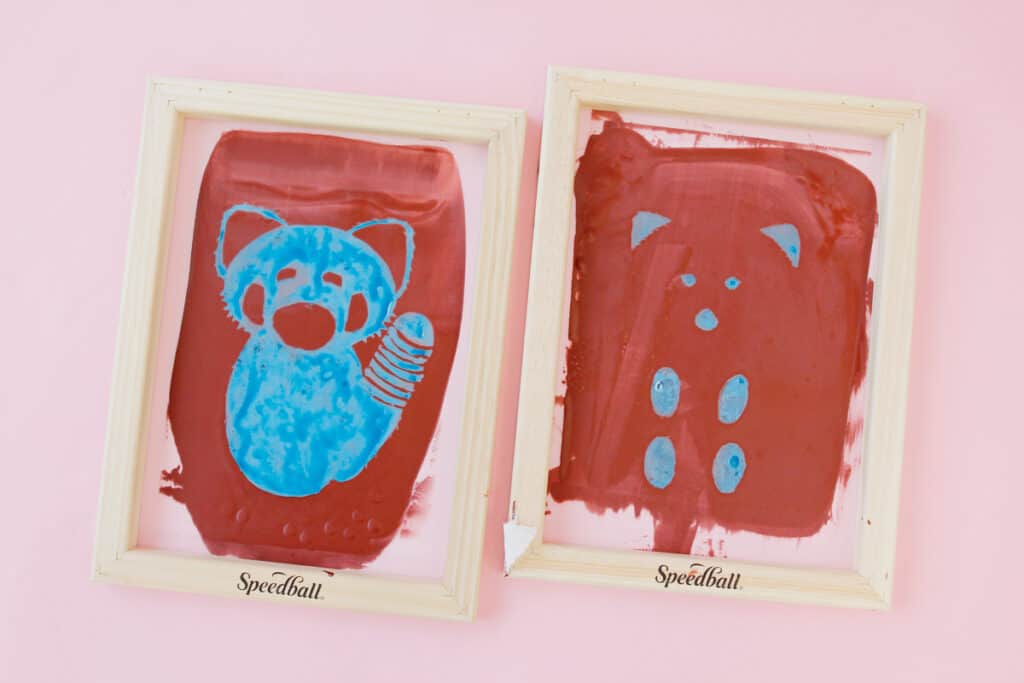
Let this dry completely. The filler took longer for me to dry than the Drawing Fluid so you can prep your fabric while you wait.
Step 3: Prep fabric
While your filler is drying, prep your fabric for printing. Cut rectangles of fabric larger than your screen. I cut mine approximately 18″ by 22″.
If you are printing multiple colors, use one of your screens (or an extra if yours is drying) to trace corners at the top left and bottom right of your screen. Center it on your fabric and mark the corners – this will help you get the placement right when you go to print your second color.
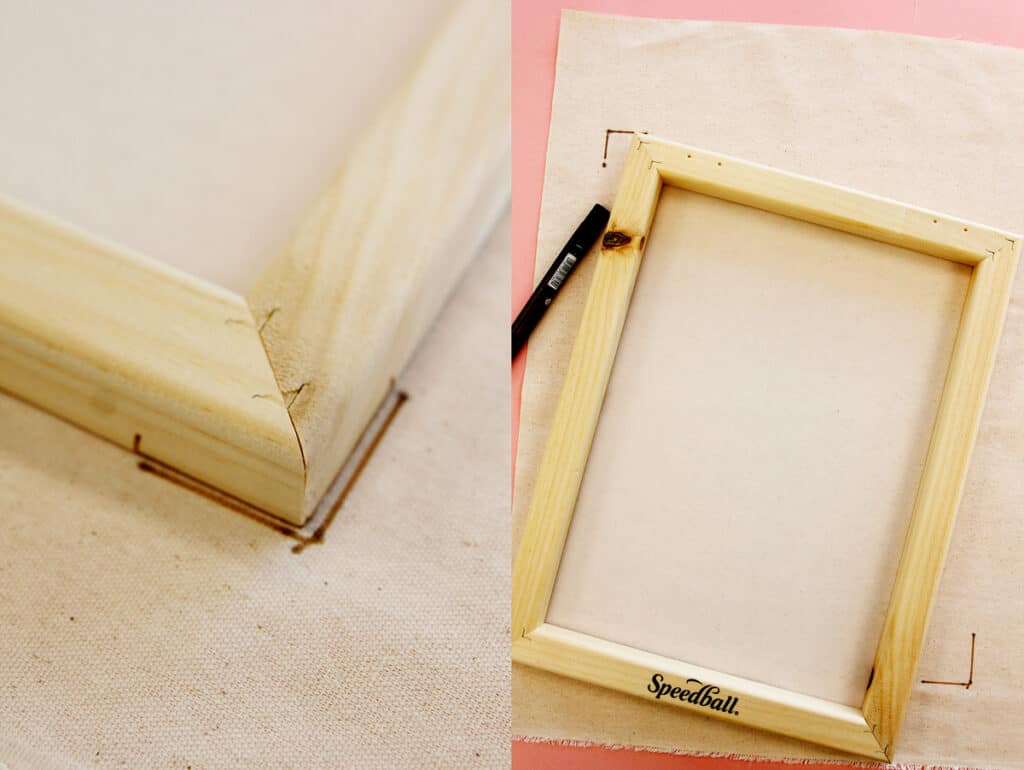
Lay your fabric out on a flat table with a large piece of paper underneath in case your ink runs though the fabric. Newspaper or butcher paper work great, just make sure there aren’t any bumps or creases in the paper because they could affect your print.
Step 4: Rinse
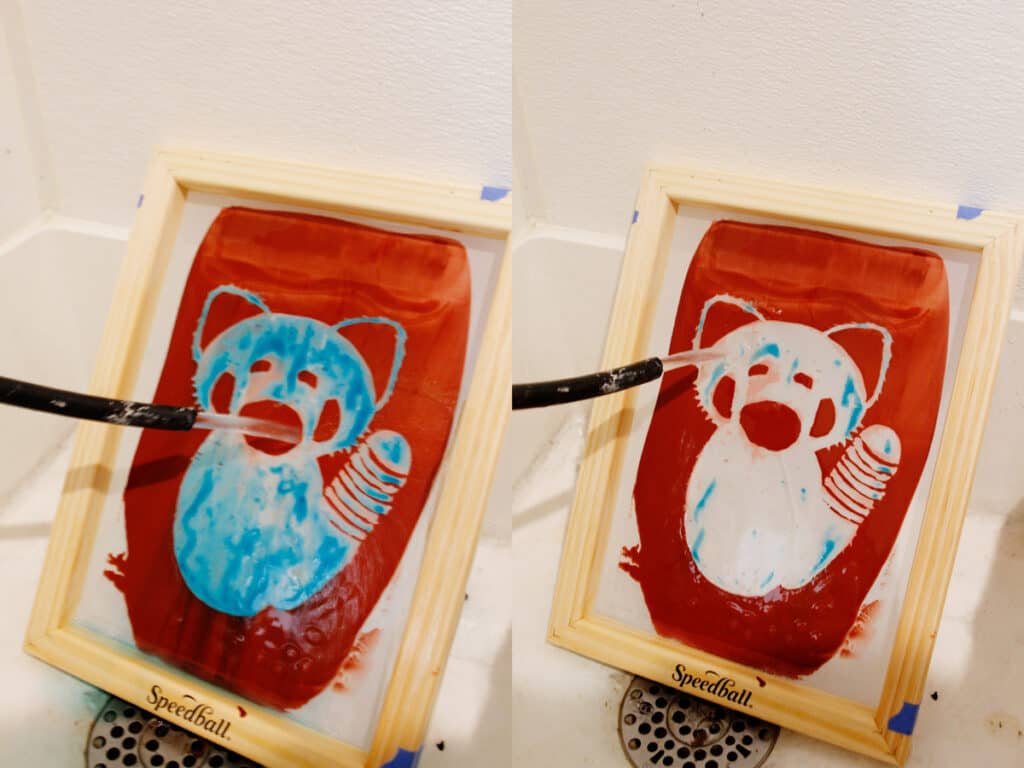
Once your Screen Filler is dry, take your screen to a sink and rinse out the Drawing Fluid.
Step 5: Tape screen
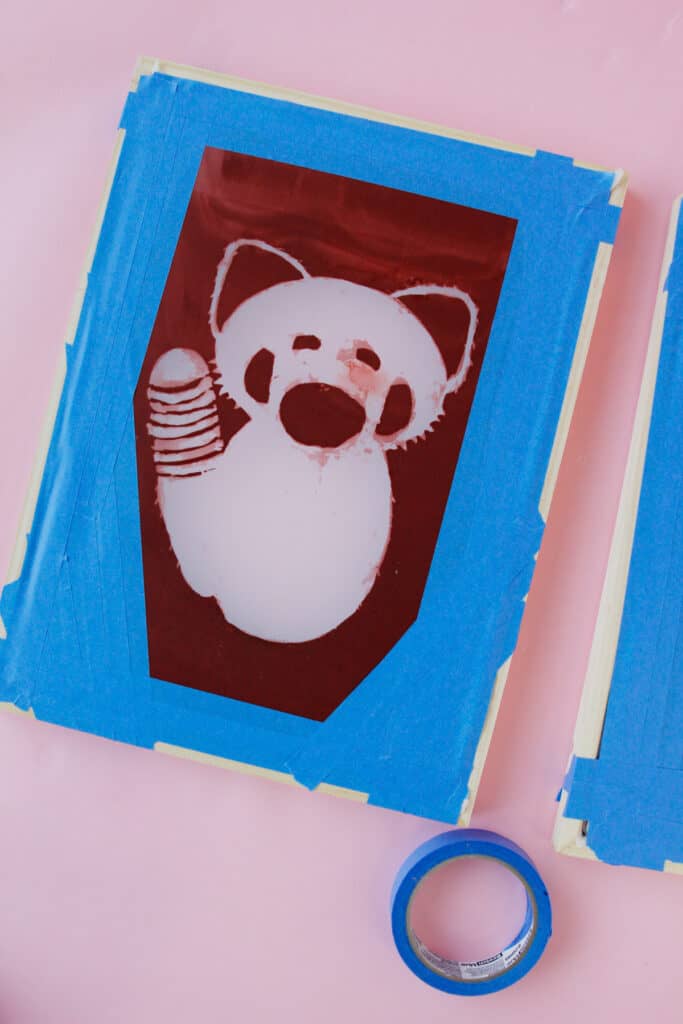
Turn the screen over and use painter’s tape to tape off the edges of the screen. Cover any spots of open mesh you see so the ink doesn’t go through. Press the tape down.
Step 6: Print Color 1
If you are happy with your screens, you are ready to print! Lay the screen down inside the corner brackets that you drew.
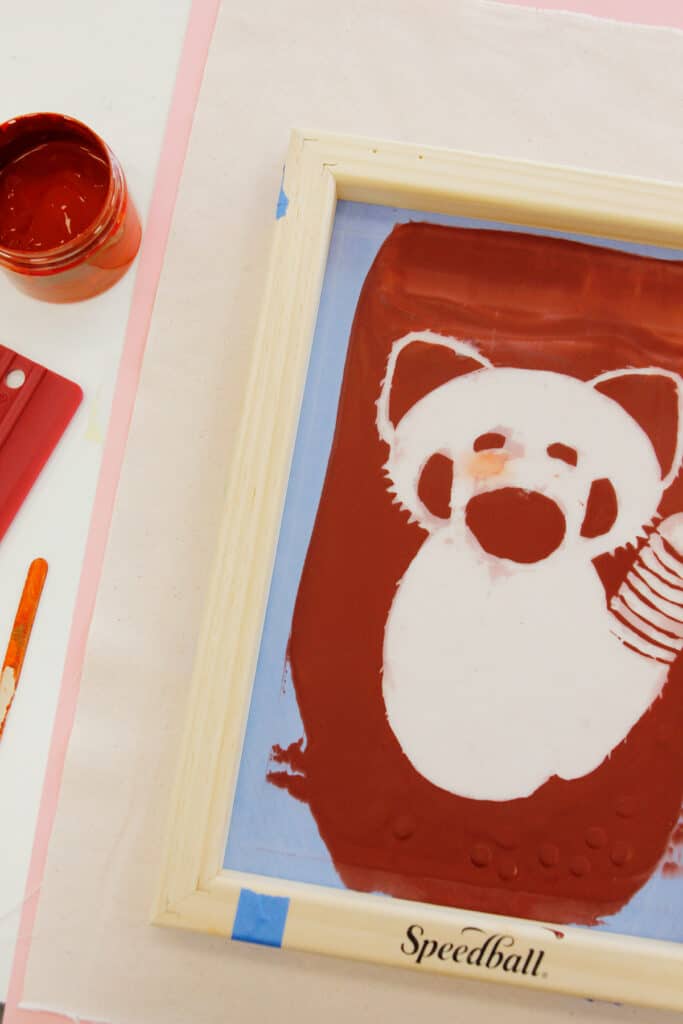
Apply ink to the top of the screen above your design. Pull squeegee down, applying pressure. Be sure to cover your whole design with ink as you pull. Make 2 passes with the ink. Sometimes I throw in a third but that can be risky as ink will start to bleed at some point.
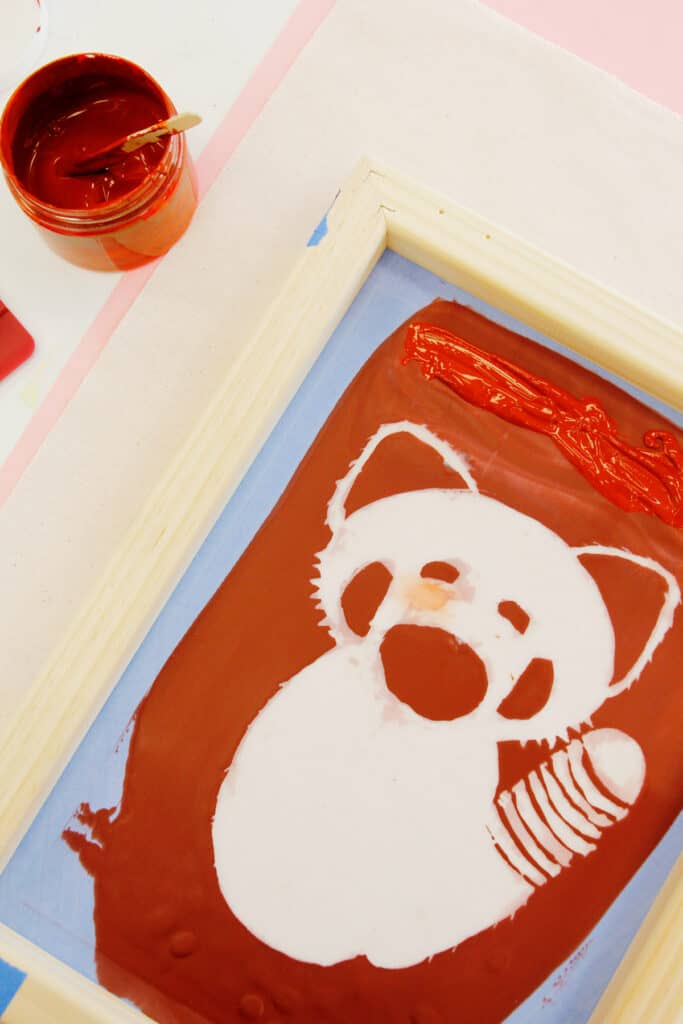
Set down squeegee and carefully peel the screen off of the fabric, holding the fabric down if necessary.
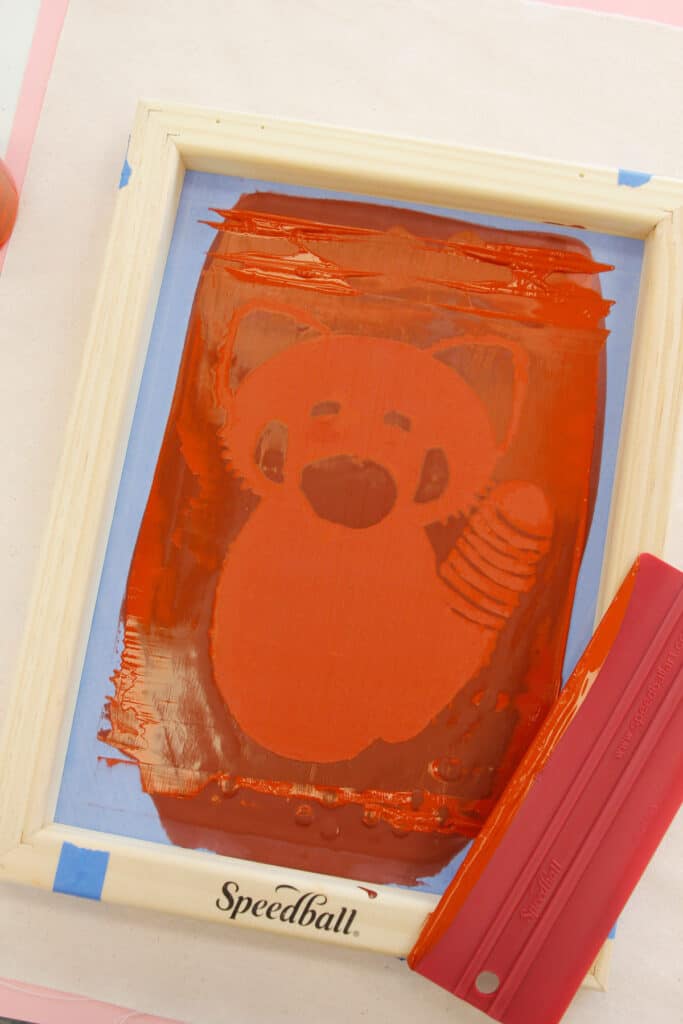
Let dry! If your design is not as saturated as you want, take note for your next pass to use more ink and more pressure. This will take time to learn, but the imperfect prints are still very cute!
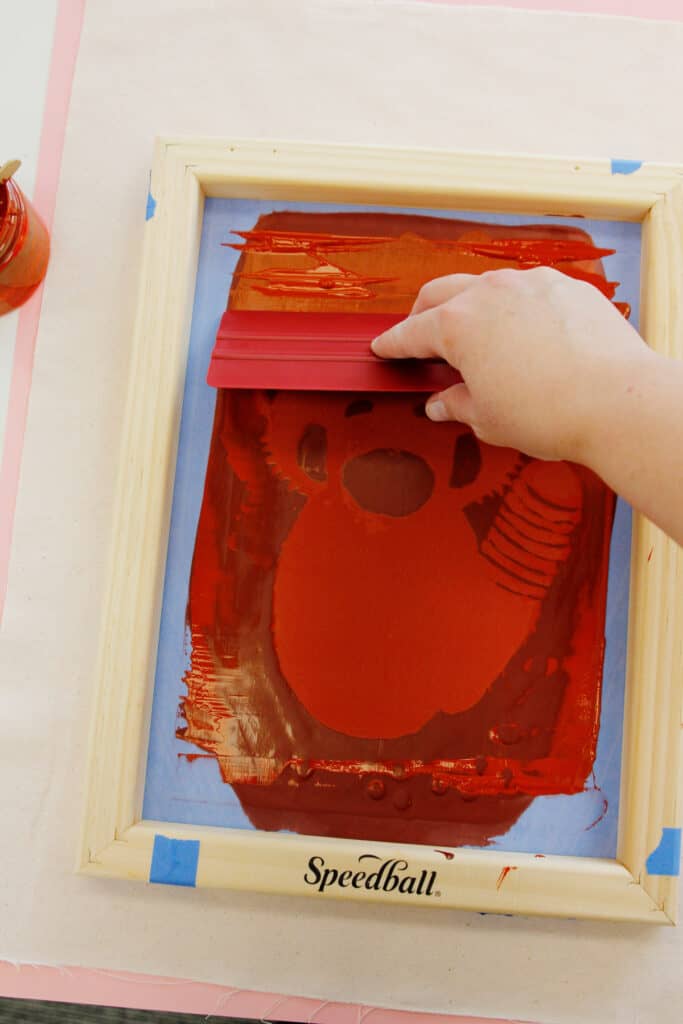
After printing my first fabric of the background color I noticed a few spots of light Screen Filler that I thought would pass ink but didn’t. So with my next Drawing Fluid screen, I will be more careful with the fluid and be sure to get all the spots covered. However, with this furry red panda project, it gives it just the unique color variation that a real red panda has, so it works! Once the plush is sewn up into a toy, the imperfections won’t seem unintentional.
Step 7: Clean Up
You’ll want to clean up your screen right after printing so the ink doesn’t dry in the mesh. Use cold water to rinse out the screen and rinse off your squeegee. Peel off painter’s tape. Let dry. You can use this screen again or even change colors and print some more now! Just replace the painter’s tape.
Step 8: Print Color 2
Once Color 1 is dry to the touch, get ready to print Color 2!
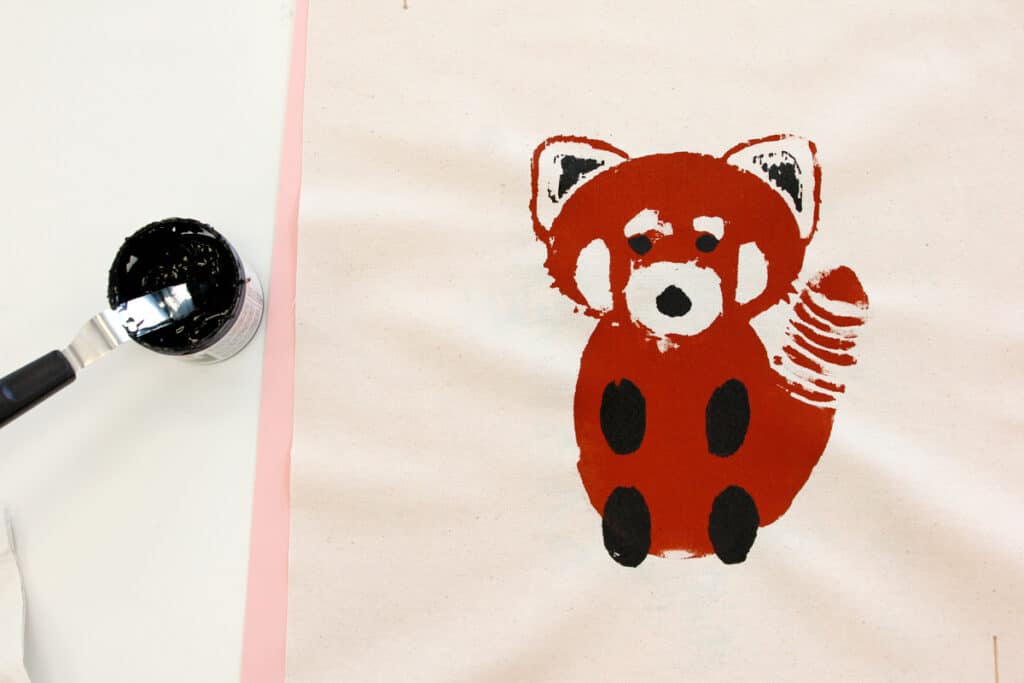
Lay the fabric out again and line up your second screen using the marker brackets. This will insure that your fox face and hands goes where it is supposed to.
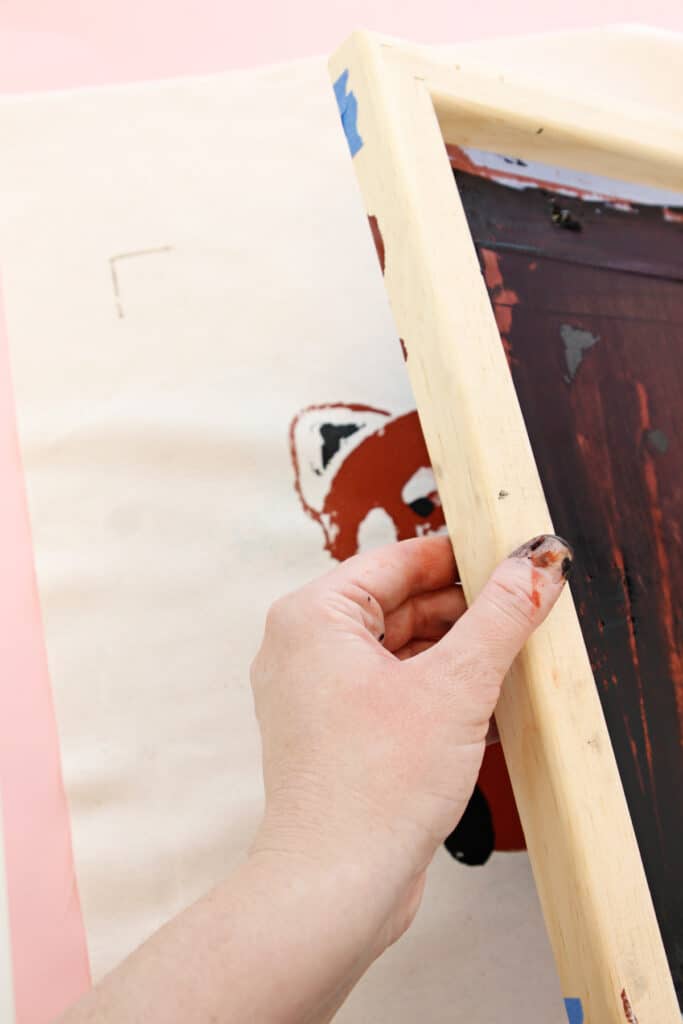
Repeat instructions in step 5 to print the black ink.
Step 9: Heat set ink
To heat set the ink, iron the design for 1-2 minutes with a piece of copy paper between the iron and the fabric.
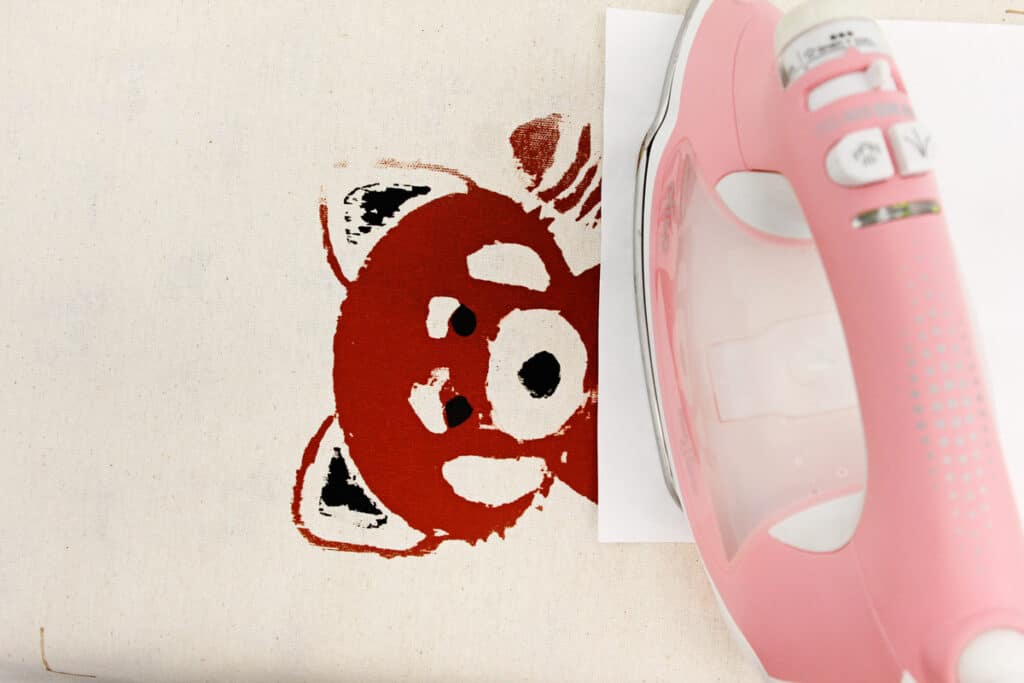
The ink needs to heat to between 275*-375* to cure, which can be achieved with a standard iron on a wool or cotton setting. Move the iron and repeat to heat the whole design.
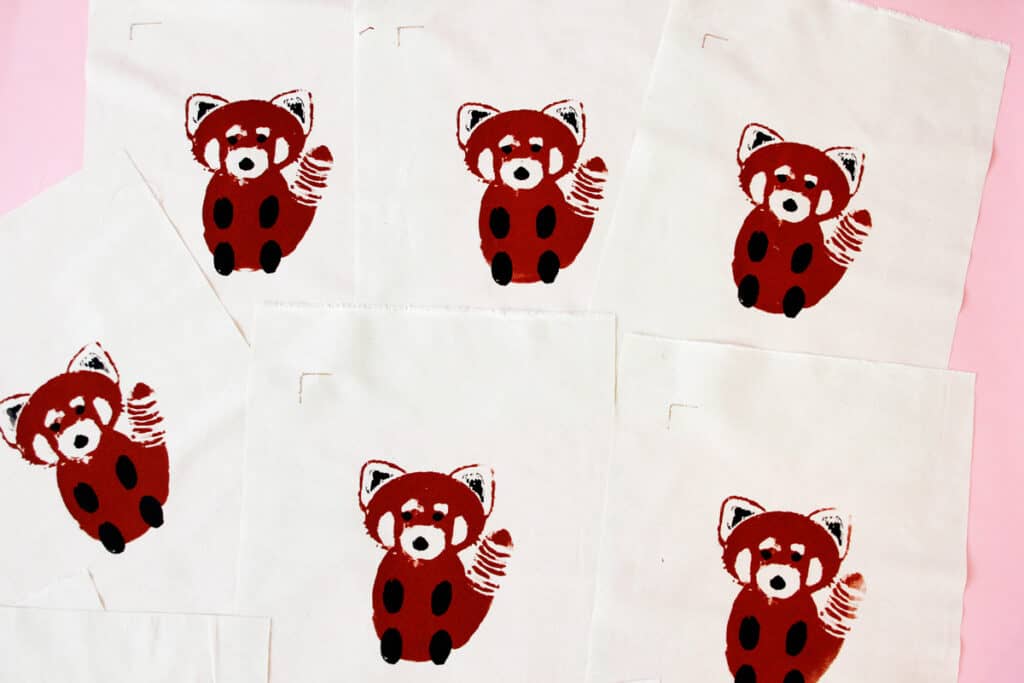
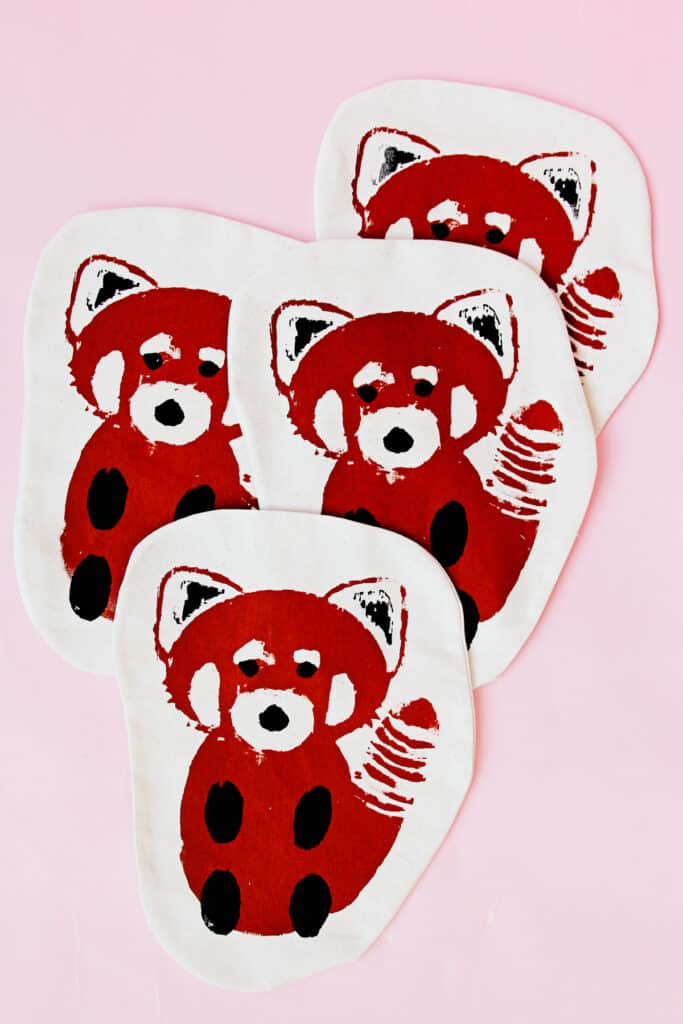
After your fabric is dry, you can sew it up like any other fabric!
Sew the red panda plush together
Cut around the red panda design, a few inches from the edges of the ink. I like this to be a blob shape around the animal measuring about 1.5″ from the design and then rounded out.
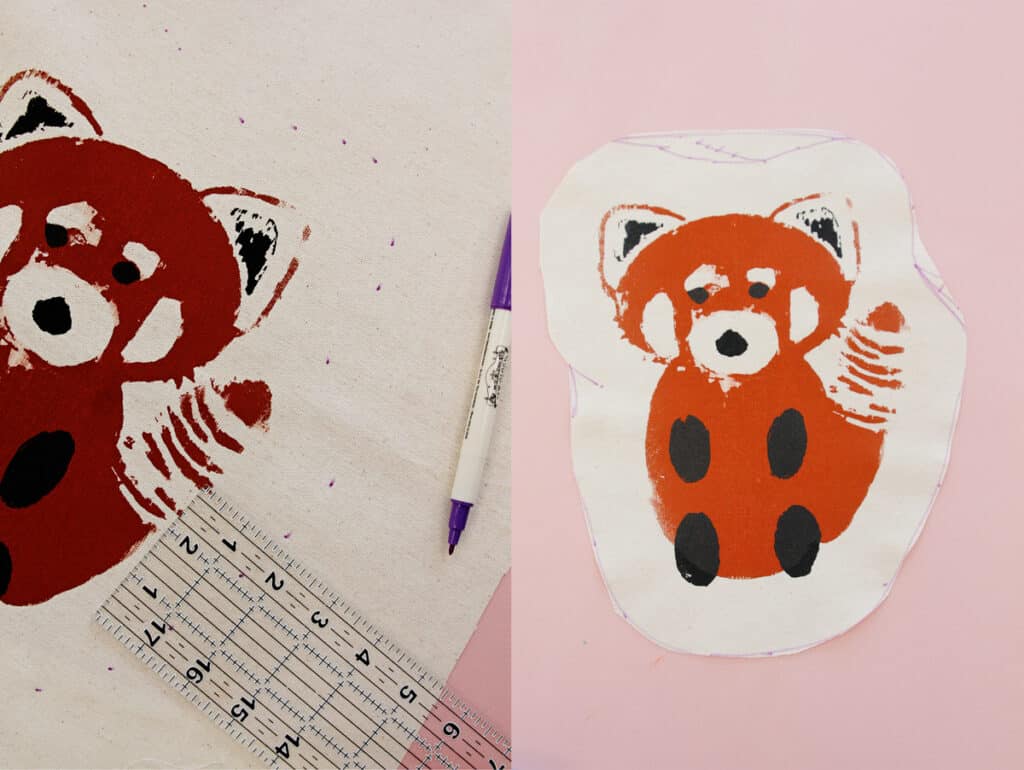
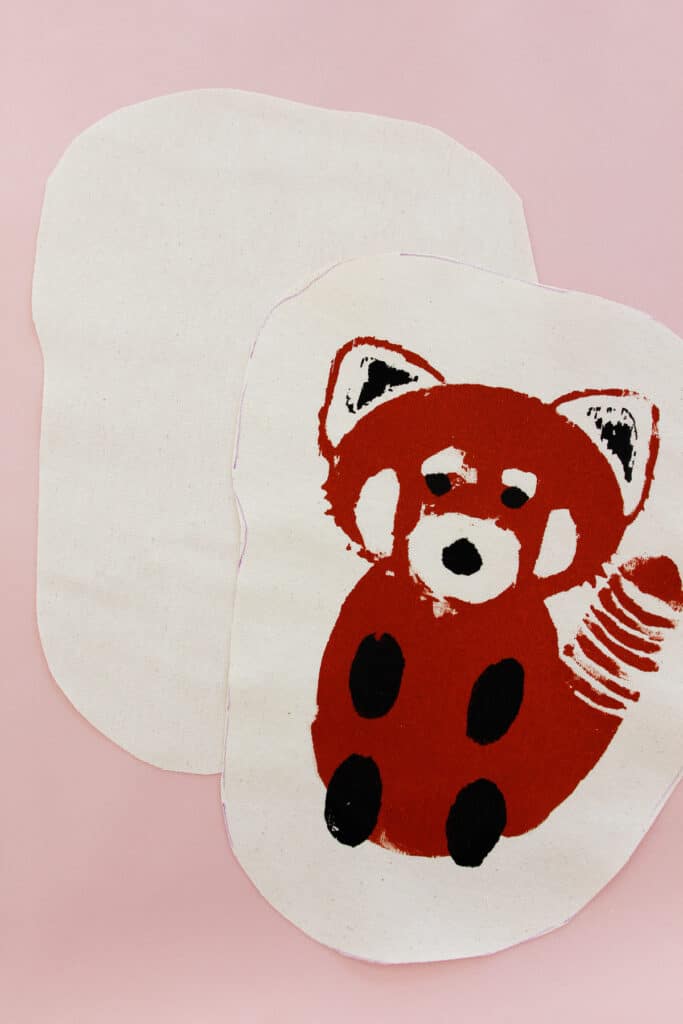
Cut a piece of blank fabric with the same shape for the back of the plush using the panda layer as a template. If you want, you can use different colors of fabric for the backs.
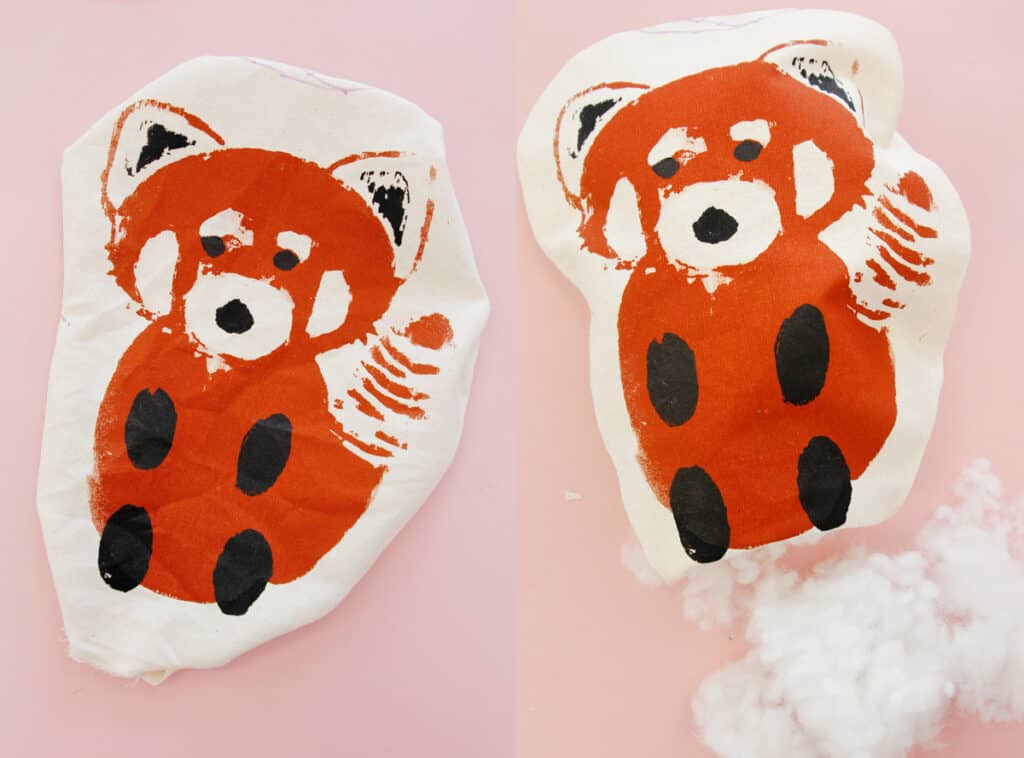
Pin the two layers together, right sides together and pin around the edges. Sew with a 3/8″ seam allowance, leaving about 3″ open at the bottom of the plush. Clip the seam allowance and trim before turning right side out.
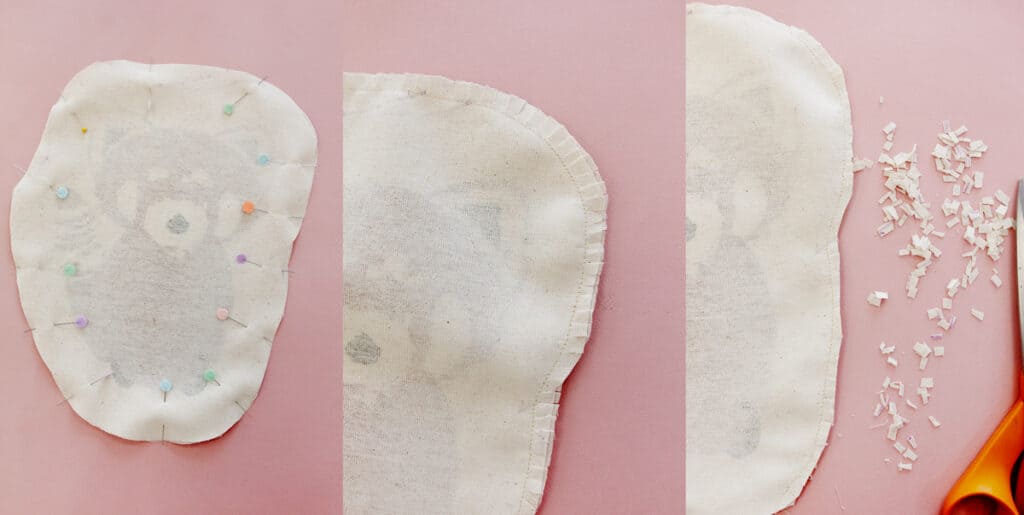
Turn and press well, making sure you get the edges all the way pressed out.
Then stuff your pillow! Don’t overstuff it so you can keep the design flat on the plush.
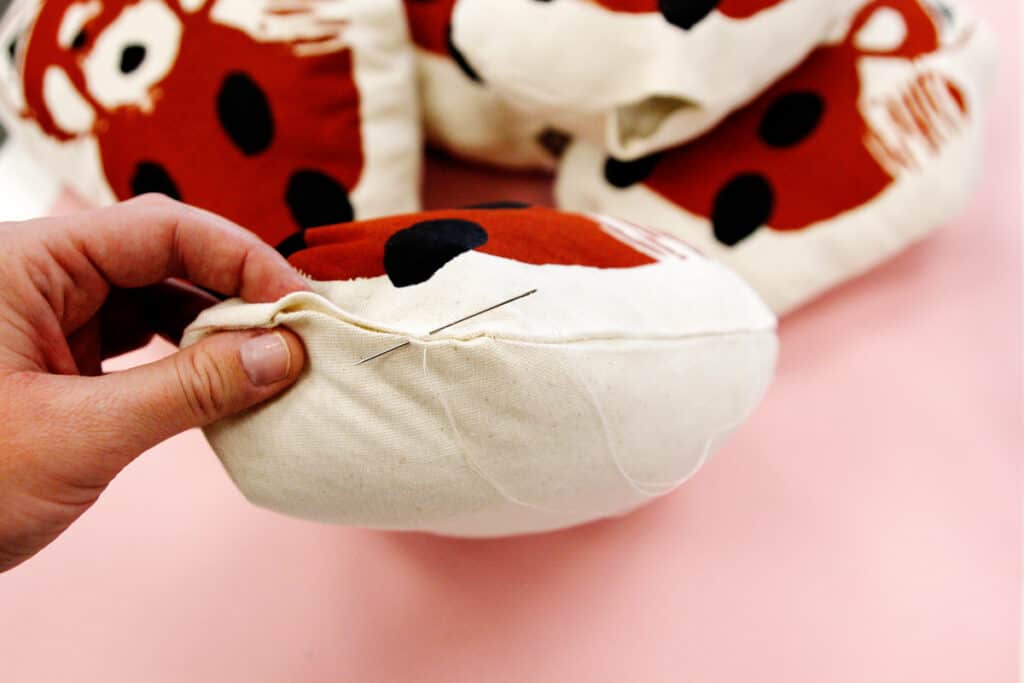
When your toy is stuffed, use a needle and thread to close the opening with a ladder stitch.
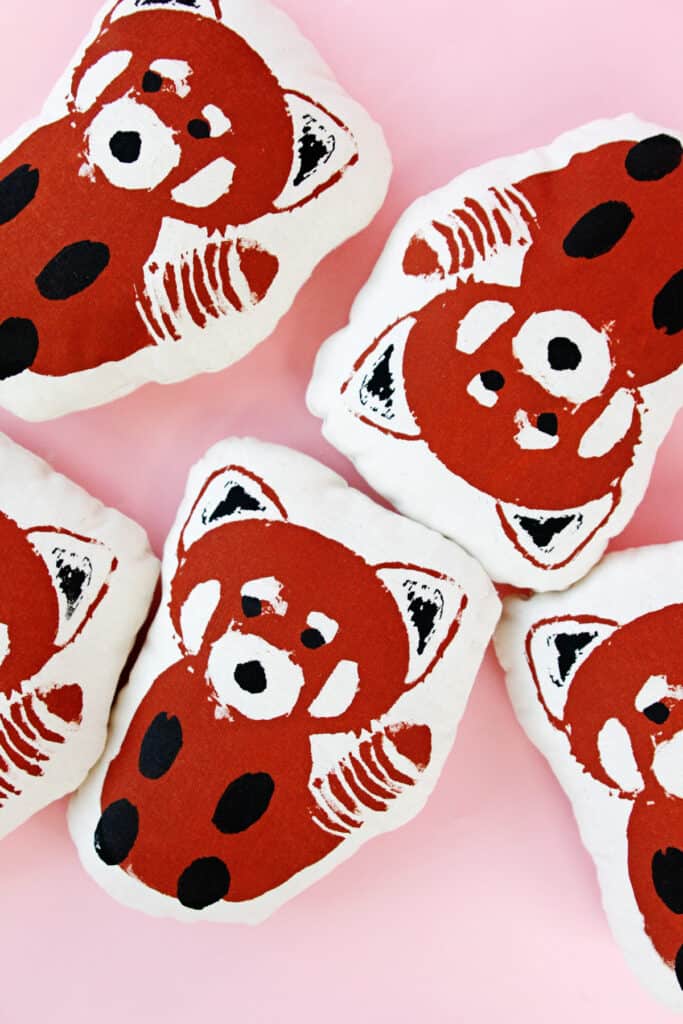
Your red panda plush pillow is done! Stick it on your couch, bed or wrap it up to give this holiday season!
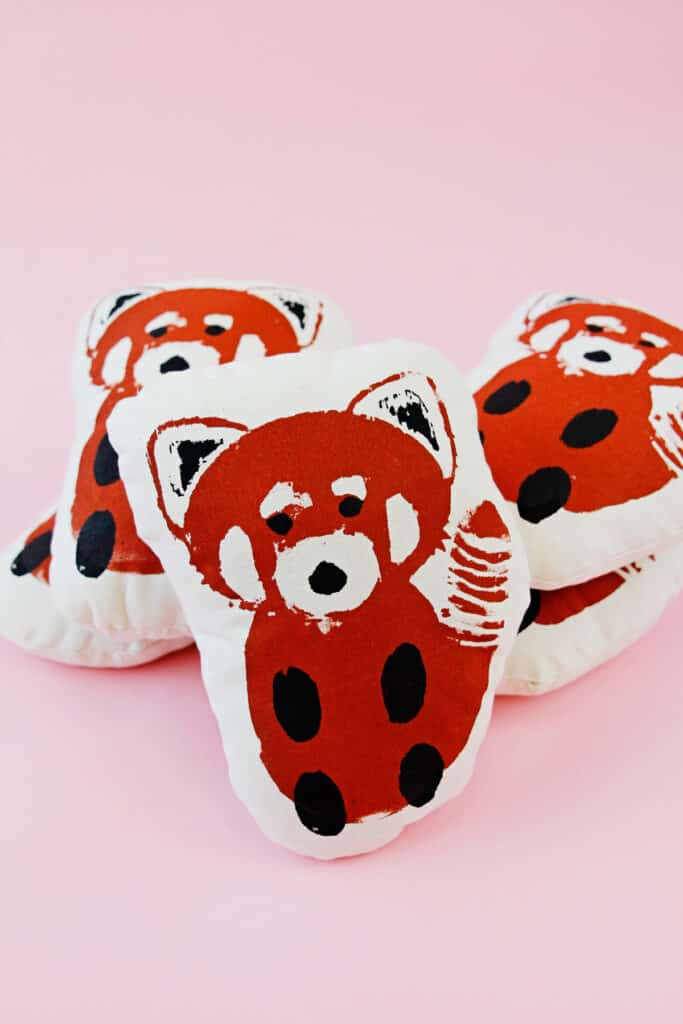
This method and silk screen printing kit can be used to for any screen printing projects including t-shirts, other garments, tea towels and canvas tote bags!
Speedball is the best place to go for all the essential screen printing supplies. Check out Speedball’s silk screen printing kit selection here and tell me if you try it!


