This post, DIY Screenprinting, is sponsored by Speedball.
I have used Speedball inks and products for over 20 years, so I’m thrilled to partner with them to take your sewing to the next level with custom screen printed fabric! Speedball kits are an awesome holiday gift for teens, crafty friends or even a great creativity kickstart for you!
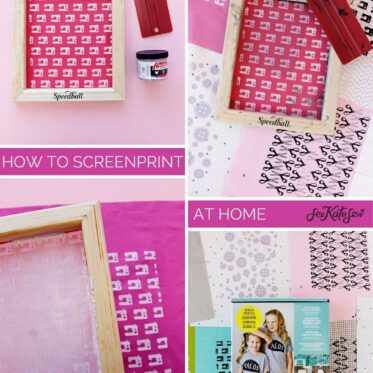
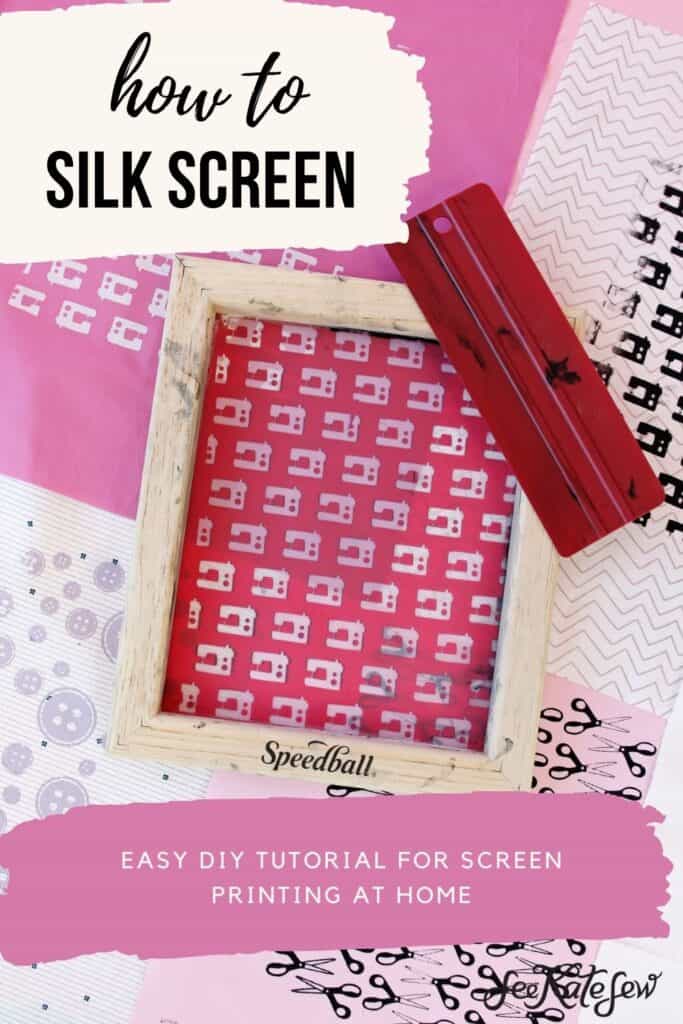
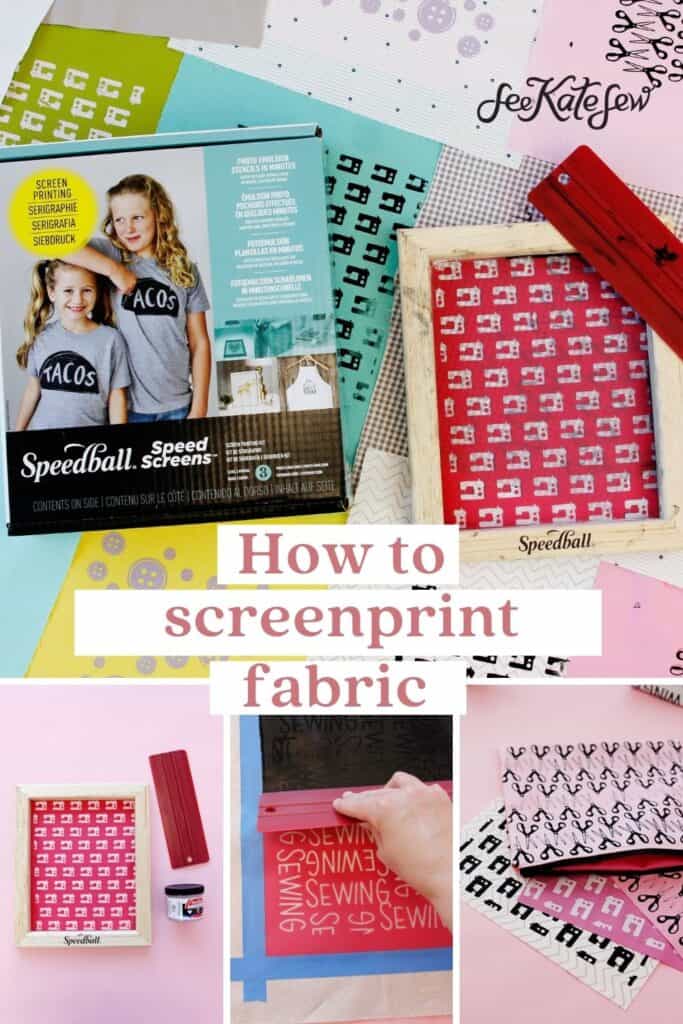
In this post I will show you how to create your own screen designs with Speed Screens™ and then screen print on fabric.
These DIY Screenprinting screens can also be used to screen print t-shirts, tote bags and more!
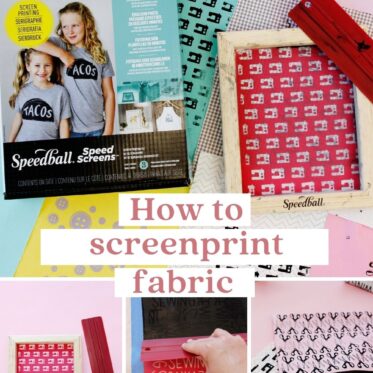
Intro to Screenprinting – What’s in a Speedball Kit?
I have been recommending Speedball DIY Screen Printing kits to others for years because they come with everything you need to get started and the ink is water-based ink, or water soluble, which means you can wash them without gross chemicals. If you have been afraid of DIY Screenprinting because you don’t know where to start, a Speedball screen printing kit is the perfect way to dive in! Check out my post here about another method – the Drawing Fluid method!
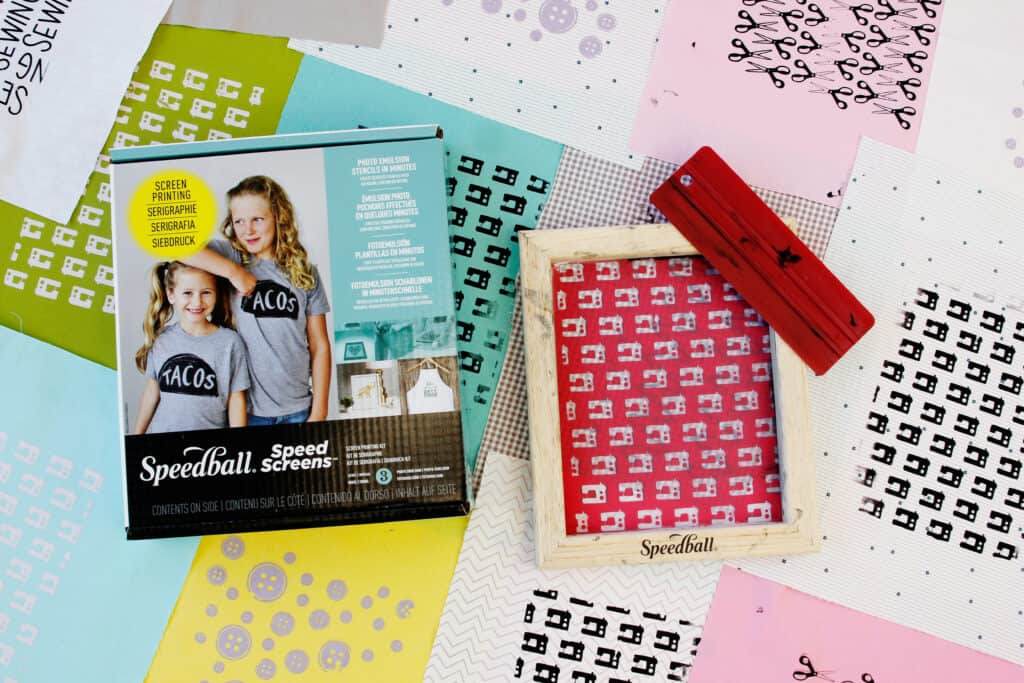
First I’ll show you what is inside the kit and then how to use it! This was my first time using Speed Screens and I love how simple it makes silk screening a custom design!
You can create a mini print shop or t-shirt factory easily with these kits! Speedball kits are available through online retailers as well as many craft stores.
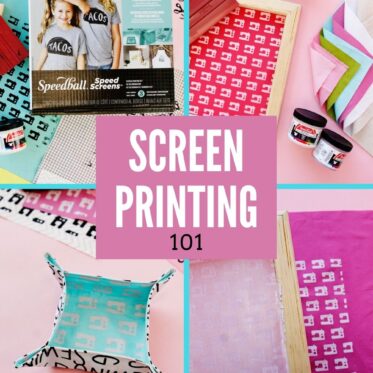
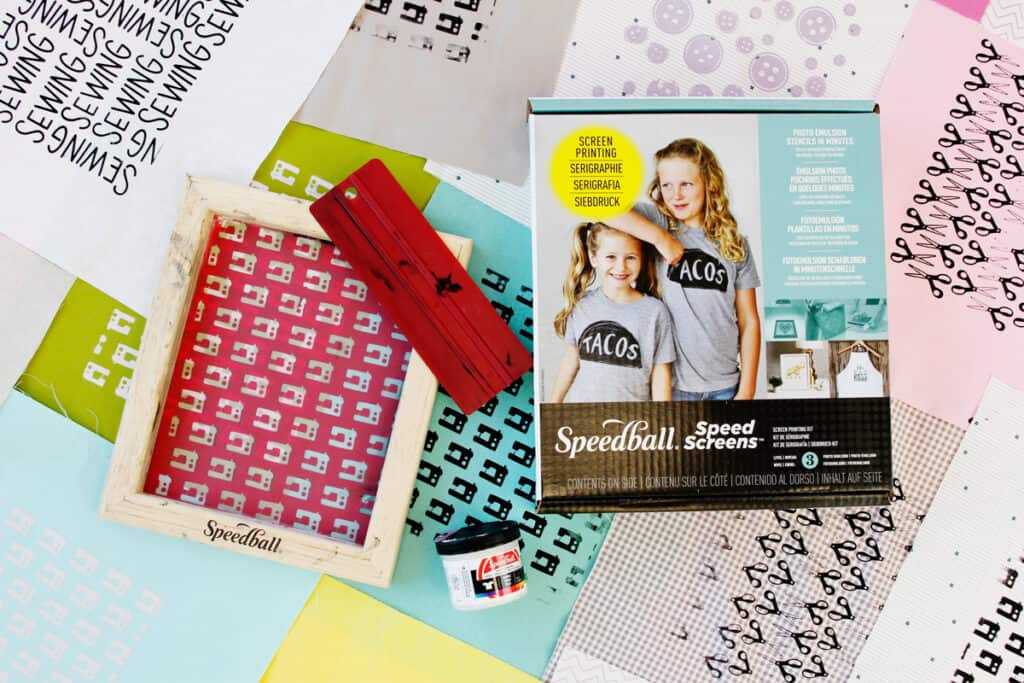
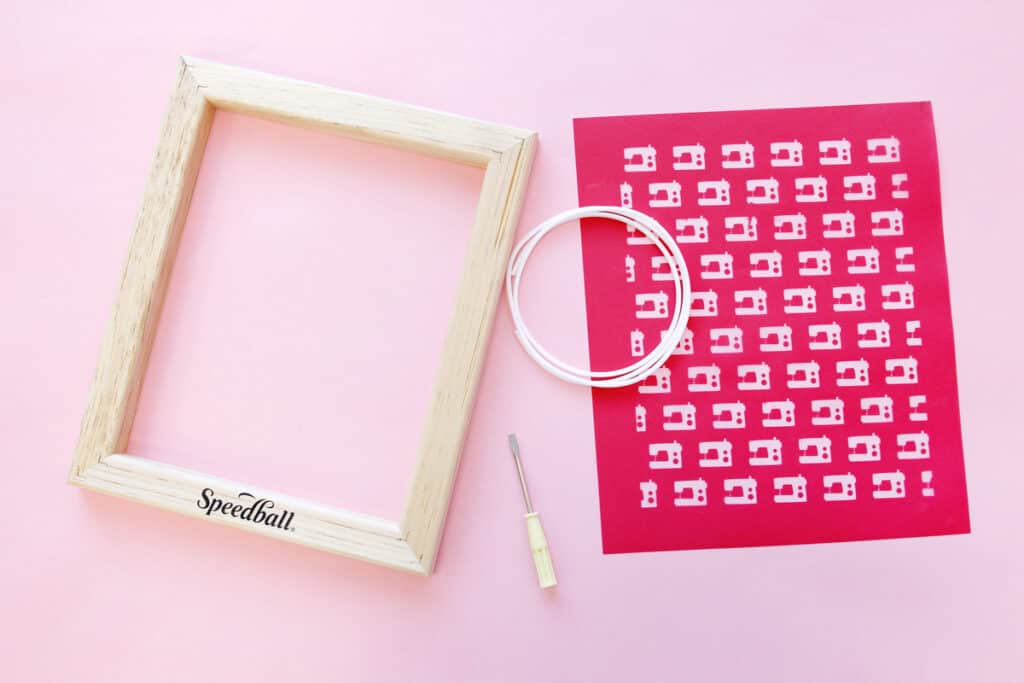
Speed Screens Speedball Kit Contents
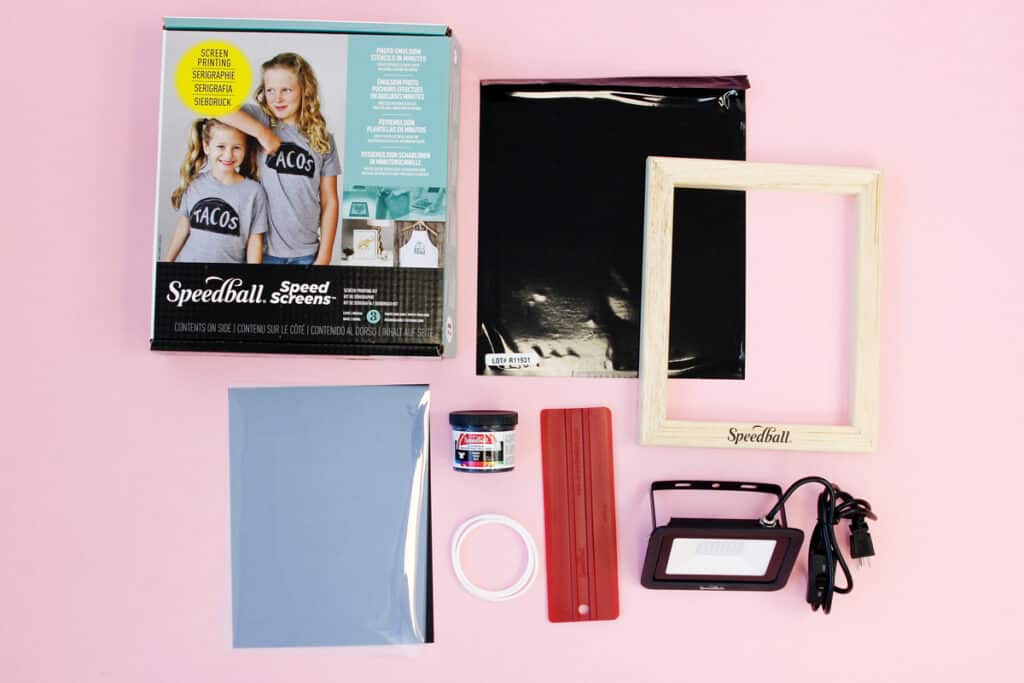
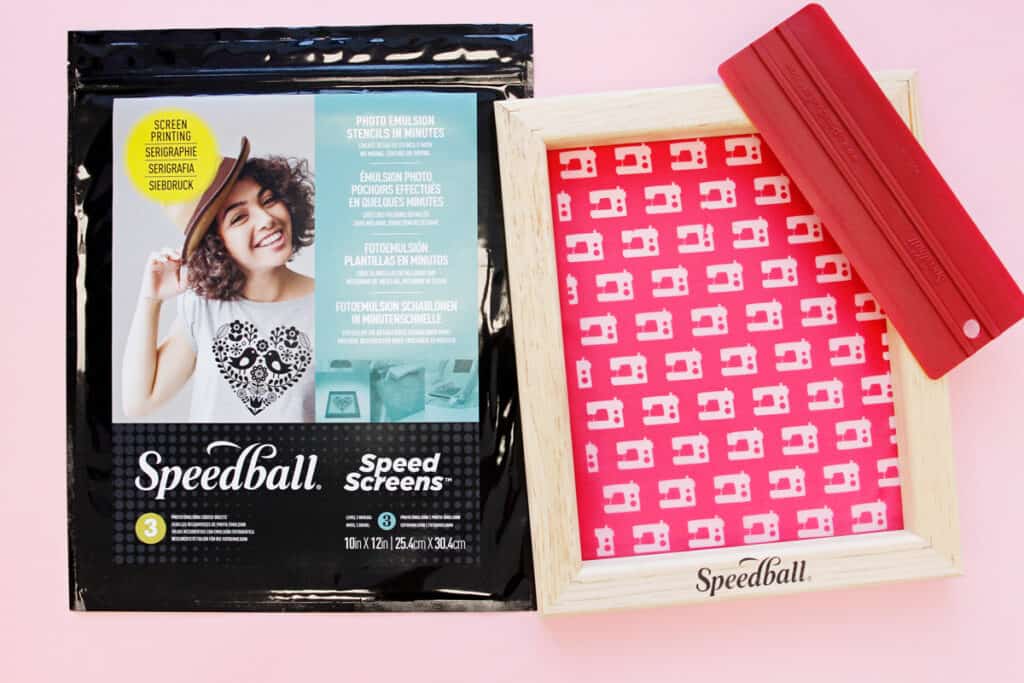
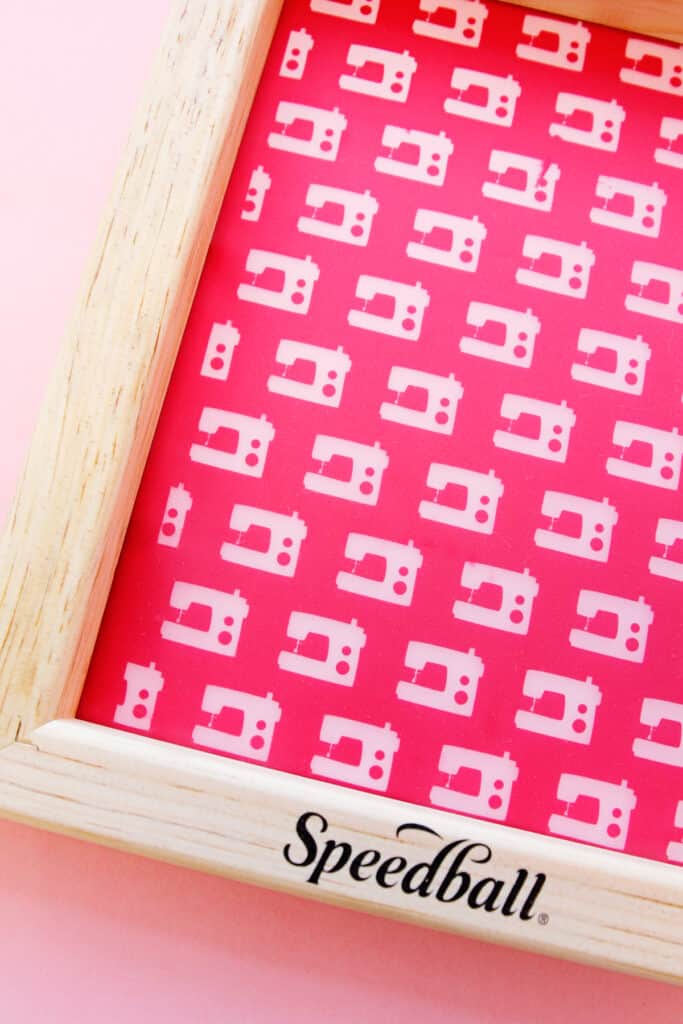
The Speed Screens Kit is available here and comes with everything you need to get started screen printing at home!
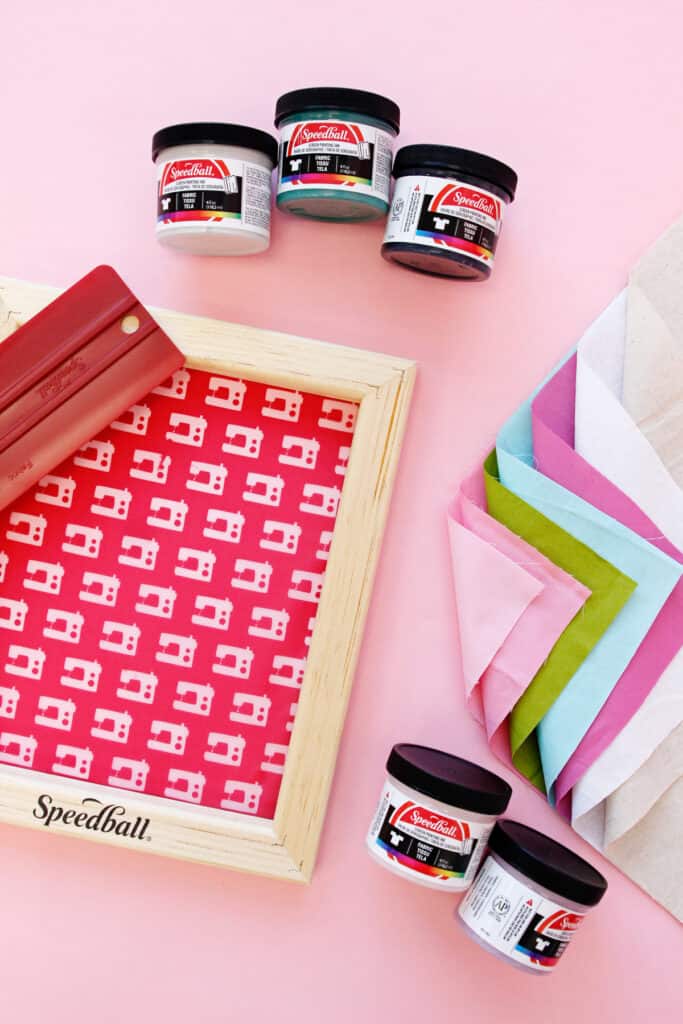
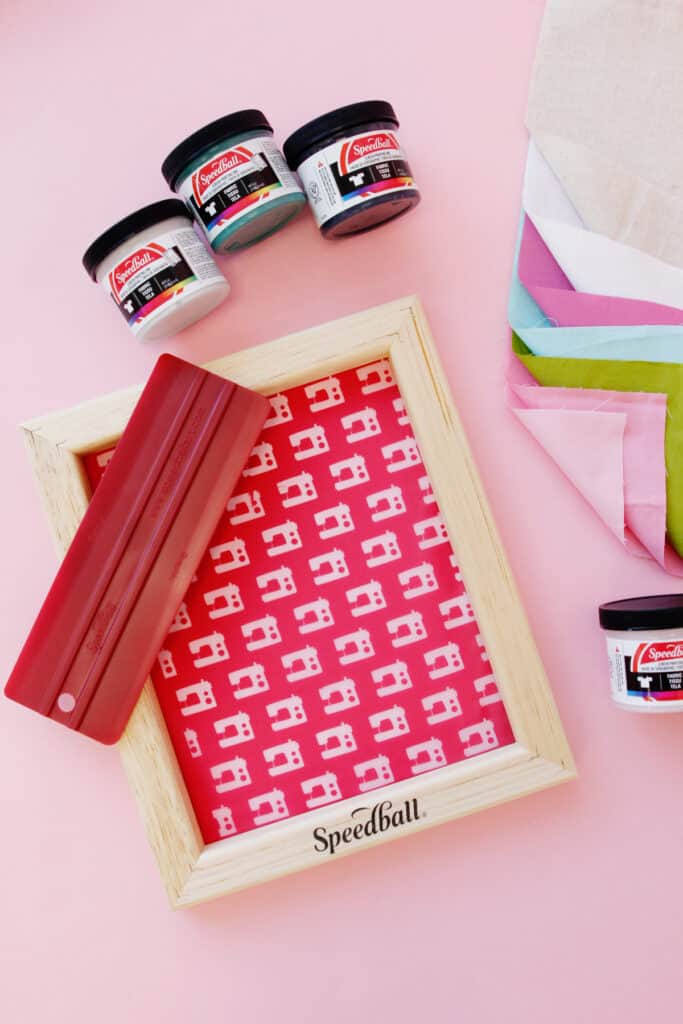
- Screen Printing Frame
- Speed Screens (in the light proof black sleeve)
- This package is resealable
- Plastic overlays, included in black package
- You can also use a piece of glass if you prefer. Make sure it is non-UV light blocking
- Transparency sheets
- Black Paper
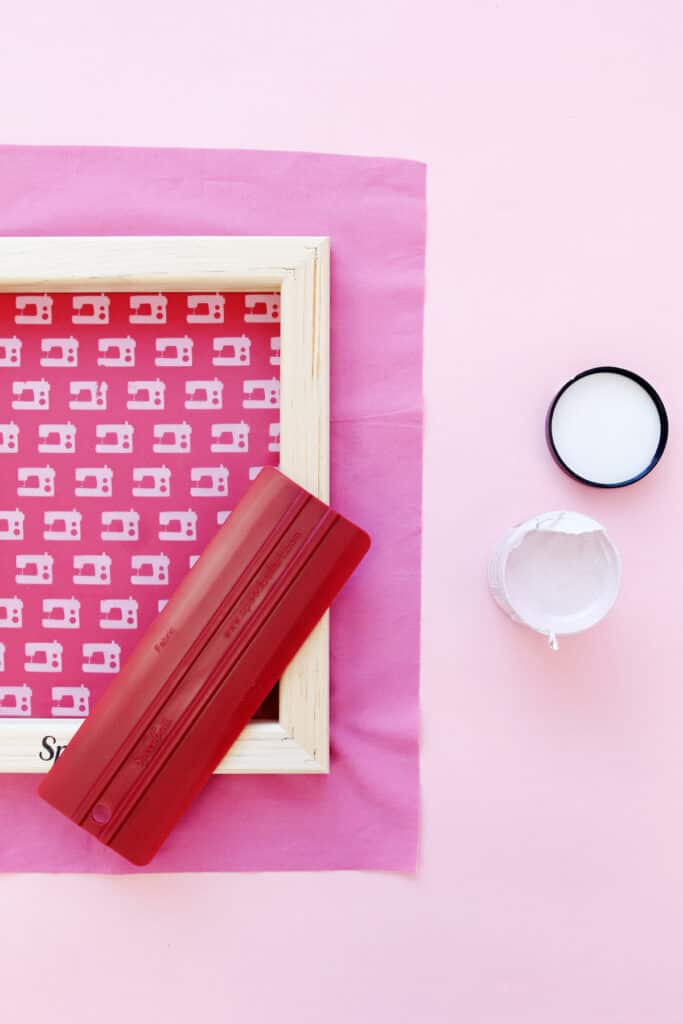
- Squegee
- Black Fabric Ink
- 30W LED Lamp
- Screen cord
- Craft stick (not shown)
Things you will also need:
- Painter’s tape
- Iron for heat-setting ink
- Solid fabric, pre-washed
- Use natural fabrics – the inks have to be heat set at high heat (275-375*) so use fabrics that can withstand that heat without melting.
- I used a few printed fabrics too for a double printed look!
- Extra Speedball screen printing ink, optional
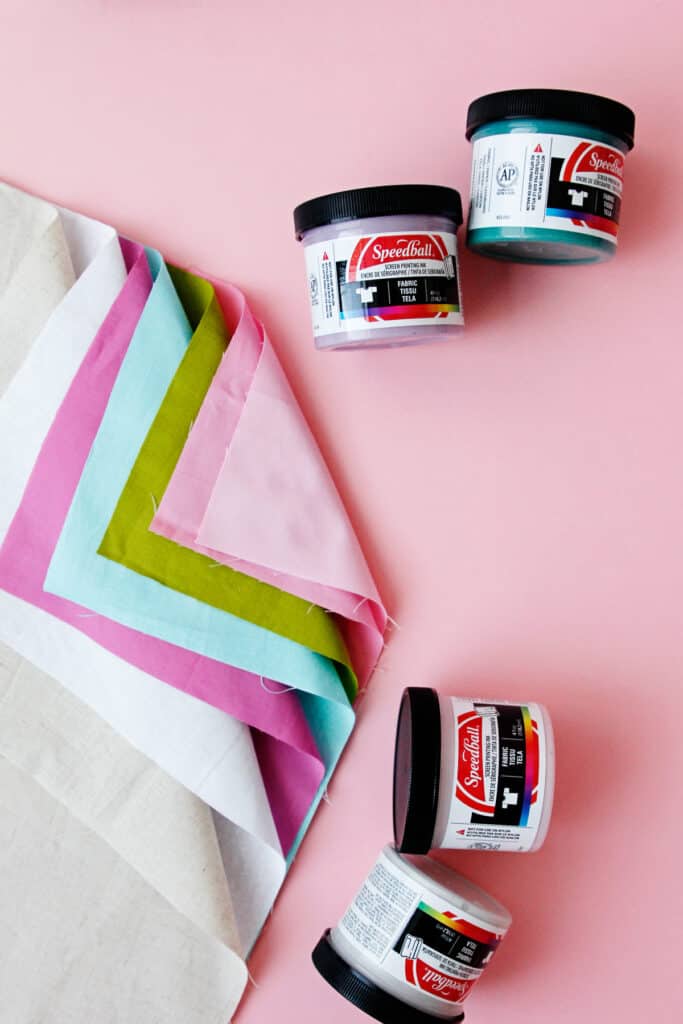
- I’m using the Polished Pastel pack, which has shimmery inks!
- Be sure to get Fabric inks as Speedball also creates inks for other surfaces like paper
- Roll of paper towels
- Flat head screwdriver, if you plan to use the frame
- Also helpful: a lint roller
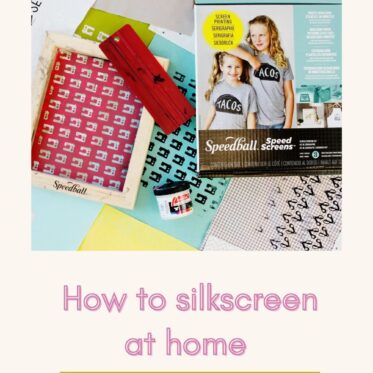
Speedball Speed Screens Process
This kit includes everything you need for simple photo emulsion that can be done at home. This is really cool technology that allows you to create a detailed stencil without any cutting. Back in the day I tried a few different methods of photo emulsion and could never get it right. I would have to wake up in the middle of the night to set my screen outside before the sun came up – the process requires UV light. After trying once or twice I gave up forever. I would cut my screens by hand which took forever and I could never get small details quite right.
What is a Speed Screen?
A Speed Screen from Speedball is essentially a premade photo emulsion screen with the filler already perfectly applied to mesh in a film-like coat. To use it, you just expose the sheet to light with a design over it. Anywhere that is covered will wash out of the screen leaving you a crisp design that is ready to print. I almost cried when it came out perfectly, hah! I must have some silk screening trauma that I need to work through – but oh man, I could have used these in high school when I printed 300 shirts of my Vice Principal’s face for my classmates. Sometimes I’d stay up until 3am finishing shirts that I needed the next day. I feel like having these screens would have helped me go to bed at a decent hour!
This process is simple and it works flawlessly! With this DIY screenprinting method, the possibilities are endless. I can see this being used for family reunion shirts, sewing retreat totes, Disney shirts, birthday shirts, and of course hundreds of yards of custom fabric. There is just something really cool about printing fabric and then sewing with it.
Speed Screens turn a once-daunting art into a totally practical craft that you can do at home!
And you can use either inkjet or laser printers for the designs and the kit comes with a mini UV light.
Screen Design Downloads – Sewing Themed Fabric
Download these PDF designs to create your own sewing themed fabric.
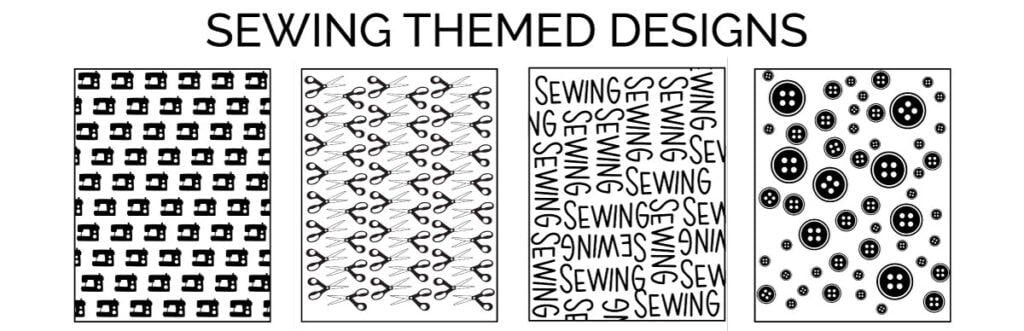
The PDFs below are already formatted reversed so the screen will print correctly. If you are creating your own artwork, make sure to flip it so the design is mirror image of the original. These will print on letter or A4 paper at 100%.
DIY Screenprinting – how to screen print at home
Let’s get started with the screen printing tutorial.
Step 1: Print Design
Print out your design onto a transparency paper sheet (3 are included in the kit).
Load your transparency sheet into your inkjet printer. You’ll want to print the design on the rough side of the transparency, not the super smooth side. Check to ensure that your sheet is installed correctly before printing. Also make sure you have plenty of black ink – the emulsion will work best with rich black.
If you are using the included designs they are already mirrored. If you are creating your own design, be sure to flip it before printing.
You will know if you have printed on the wrong side because the design will start to bleed as shown below:
Step 2: Set up the materials
Exposing the screen will require a dark room or space. Turn off the lights in a small room and block any natural light possible. Set up your dark spot and set up your materials. Don’t worry if you can’t get this room completely dark, it does not have to compare to a photography darkroom. Blocking the natural light is the most important thing.
Open the speed screens from the light proof bag and remove the white sheet on the exposure side of the screen.
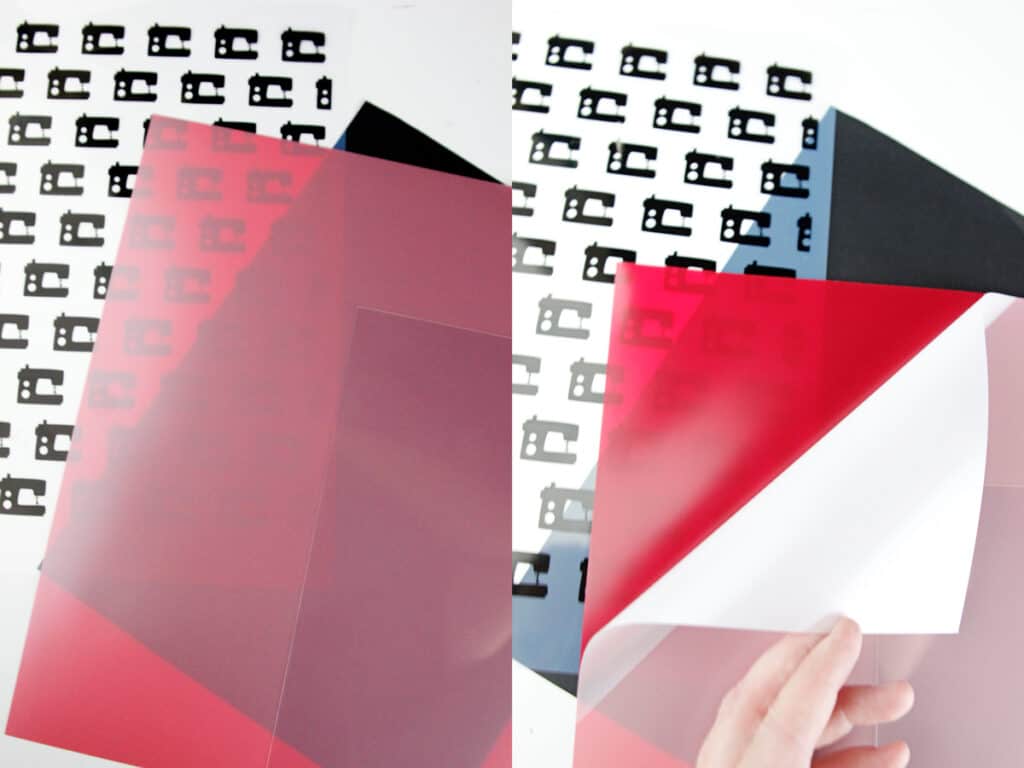
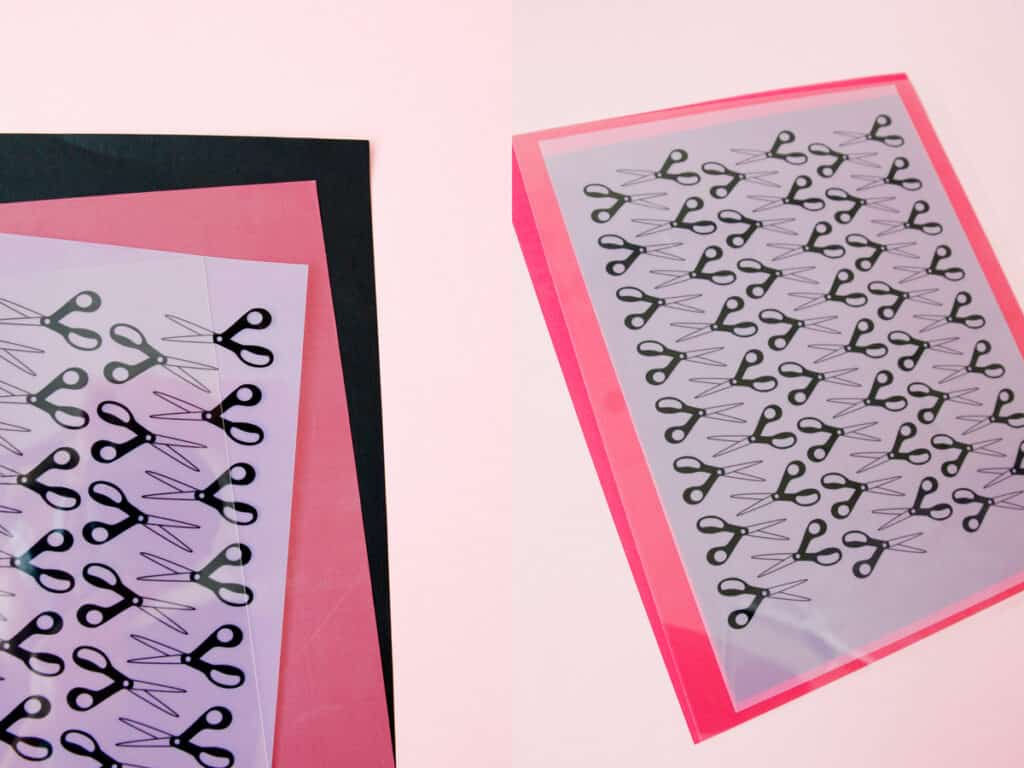
Now we are going to layer all of our materials. Here’s what goes in the stack, from bottom to top:
- Black Paper
- Speed Screen, shiny side up (the side where the sheet was removed), white carrier sheet removed
- Transparency with Print side up
- Plastic or glass overlay
Step 3: Expose Screen
Before you expose your screen check the following:
- Design is mirror image
- Red sheet is shiny side up
Use the exposure unit that comes in the box. Hold it 14 inches above the design and turn it on for 1 minute.
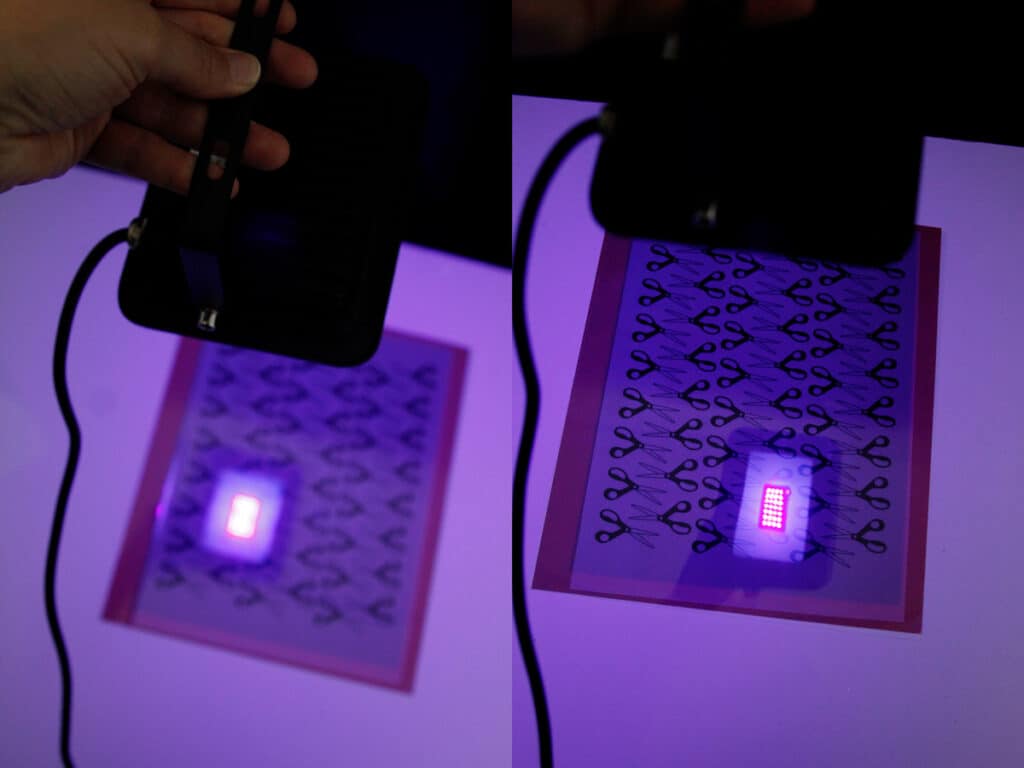
Turn the light off and head to a sink! Don’t worry if it seems like nothing has happened – you will not really be able to see anything until you rinse.
Step 4: Rinse screen
Take your screen to a sink and use your sink sprayer to clean out the screen. Don’t rub it, just allow the water to take out the spaces of your design. This step took longer than I expected so be patient! Warm water works faster but don’t use water that is too hot. I made my water pretty hot with the button screen and I can see how it got a little wonky – so just be patient with warm water.
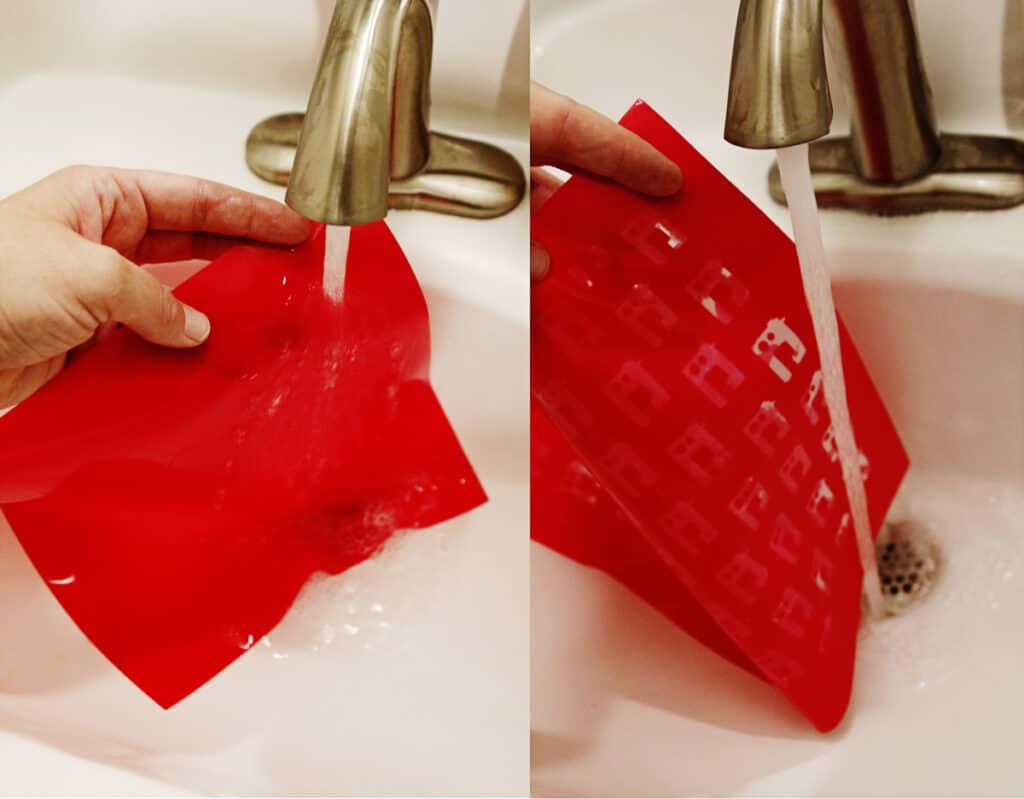
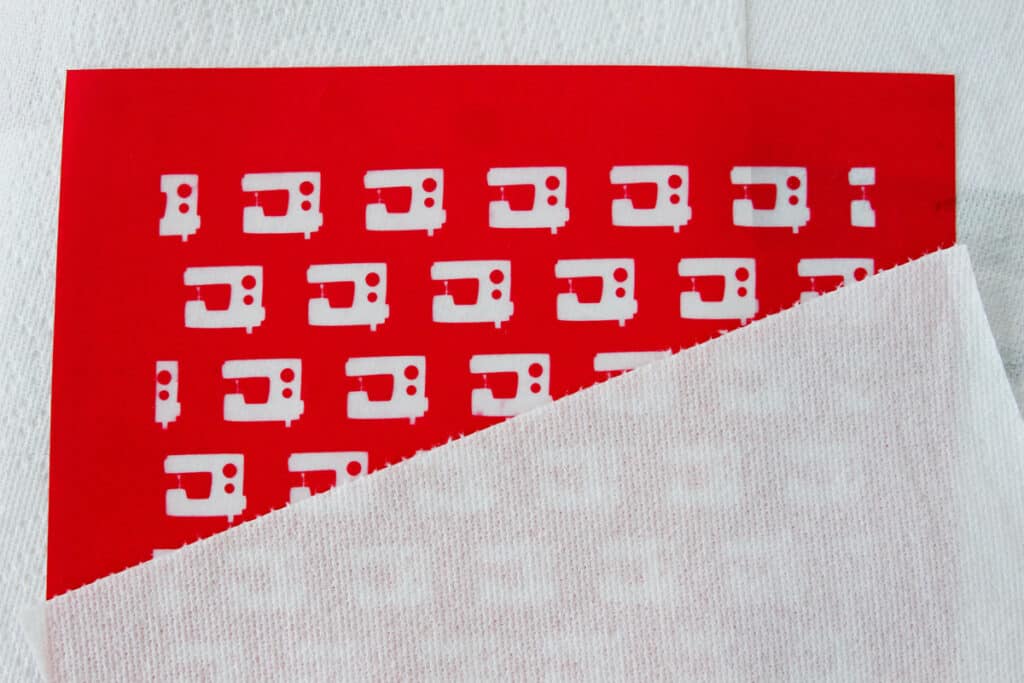
Pat screen dry with paper towels and lay it flat or hang to dry. Do not leave the screen on paper towels, use the white sheet that you pulled off of the Speed Screen to lay the screen back on. The fibers of the paper towel may stick to your screen and make a mess (learned from experience!)
Let screen dry completely, it will take about 45 minutes. You can use a hair dryer to make this faster.
Step 5: Post-expose screen
Once the screen is totally dry, lay it back down in your dark exposure area. Hold the lamp 14 inches above the design and expose it again for 1 minute. This will sort of seal the design to get it ready to print.

Step 6: Tape screen to fabric
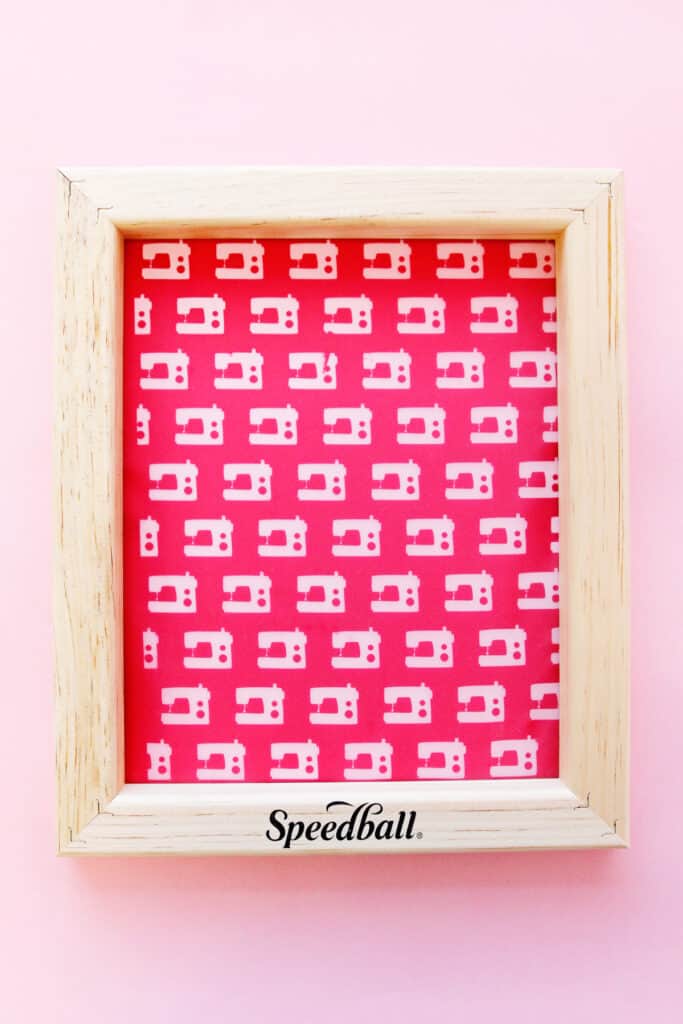
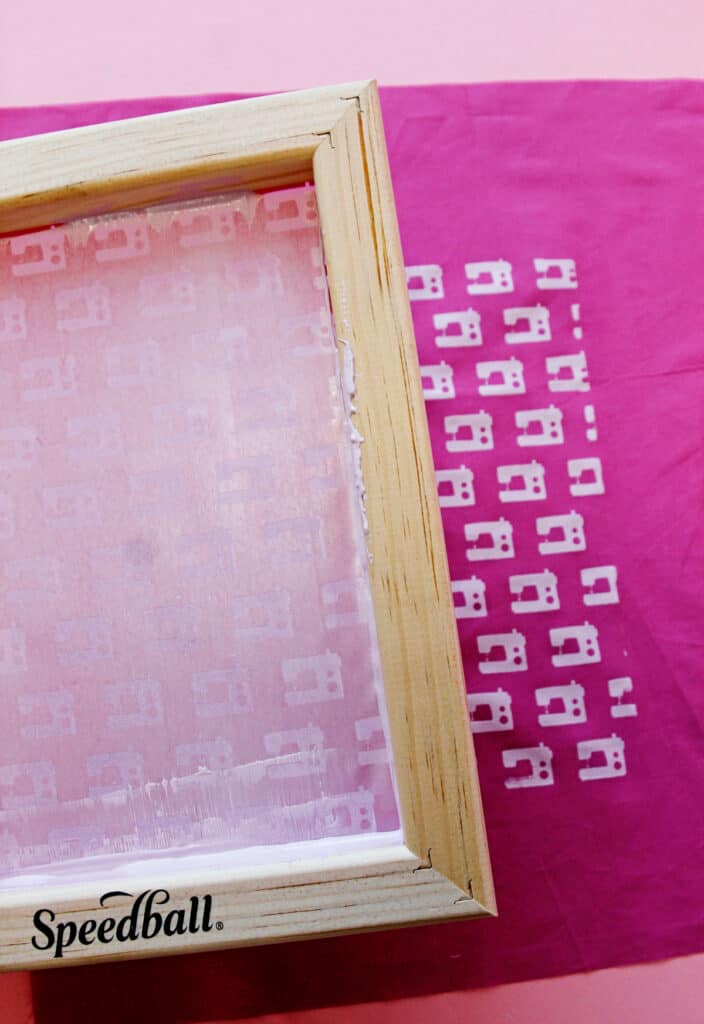
You can either put the screen into the included wooden frame or simply tape it to your substrate.
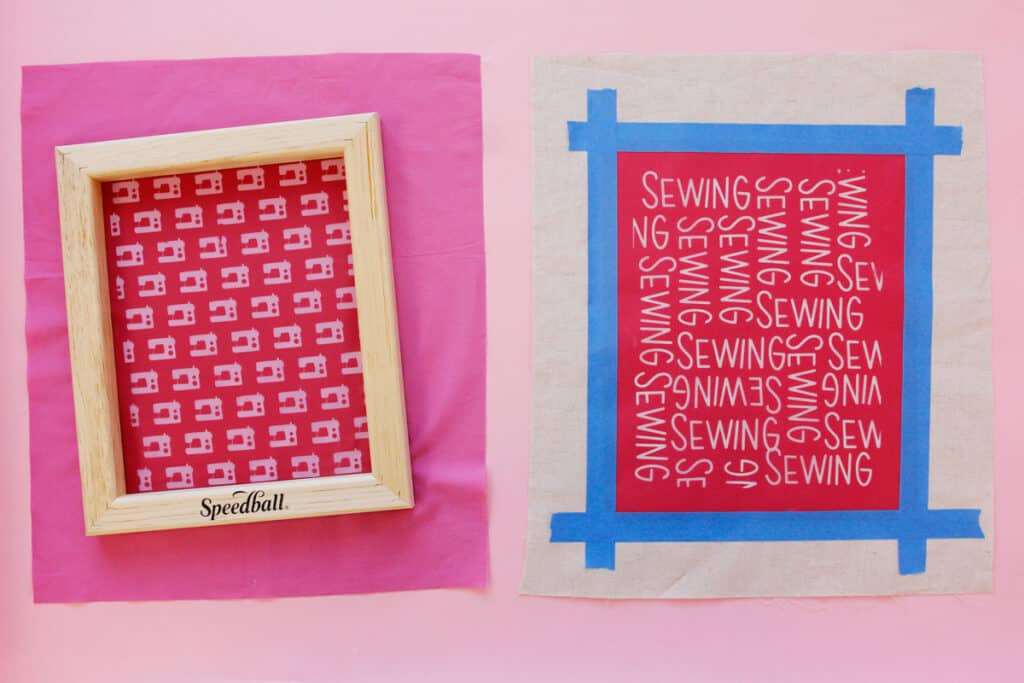
If you want to make multiple prints with the same ink color, I recommend using the frame. If you are just making a few you can just tape it to the shirt or fabric you’re using.
Scroll down to see how to install the Speed Screen into the frame.
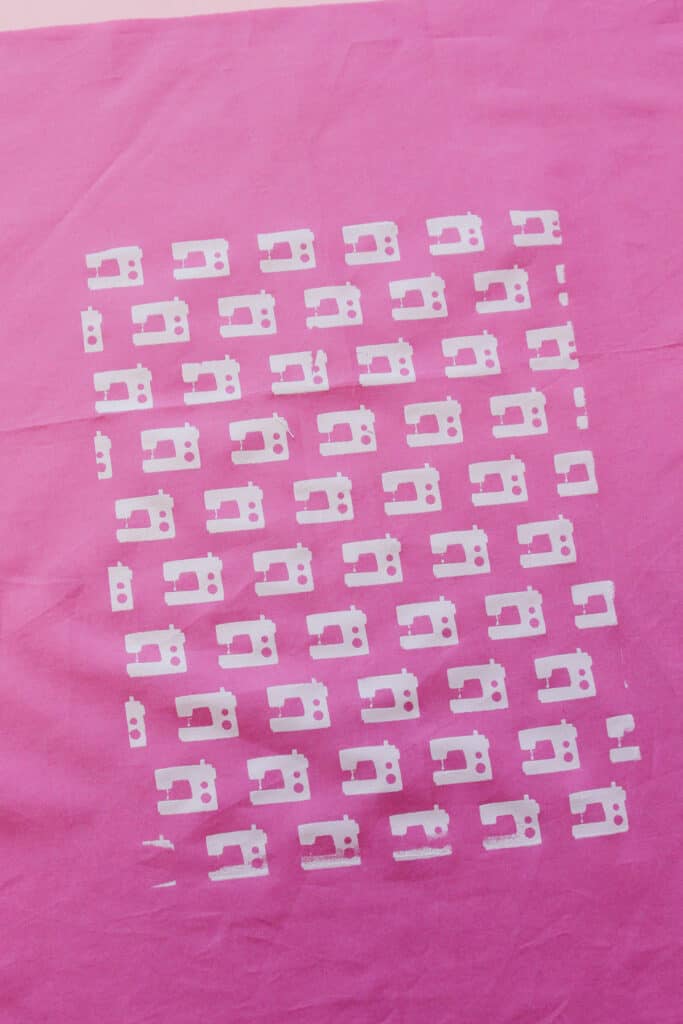
Step 7: Ready to print!
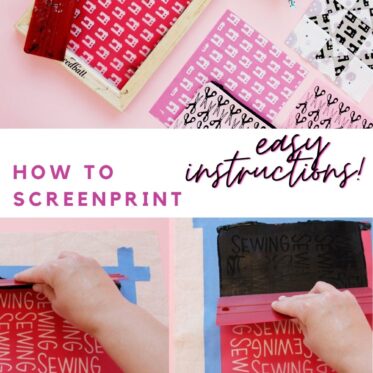
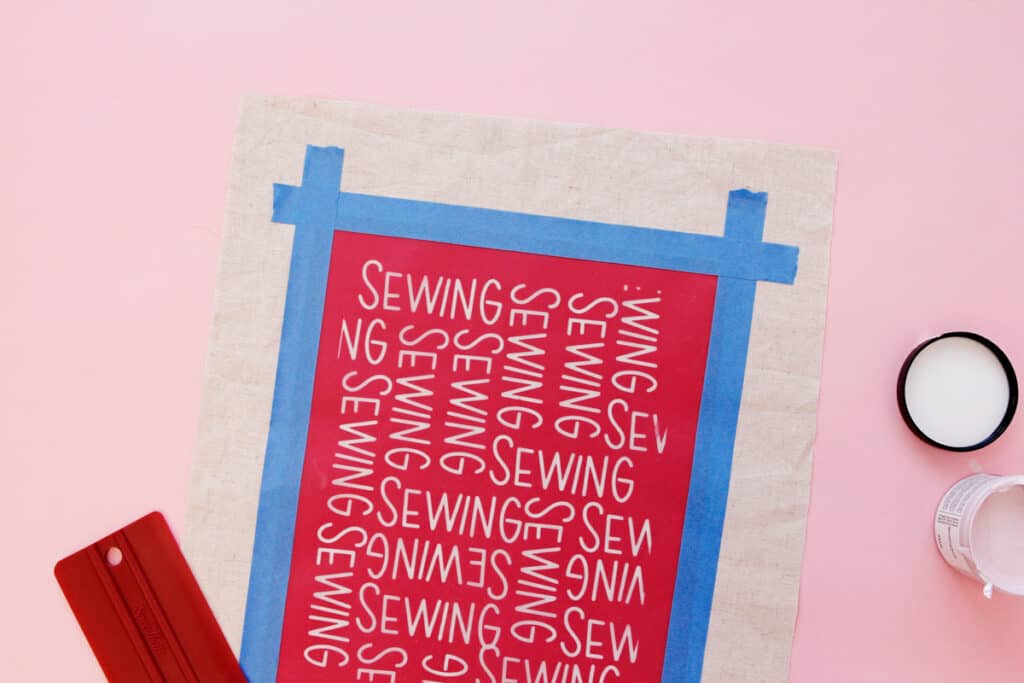
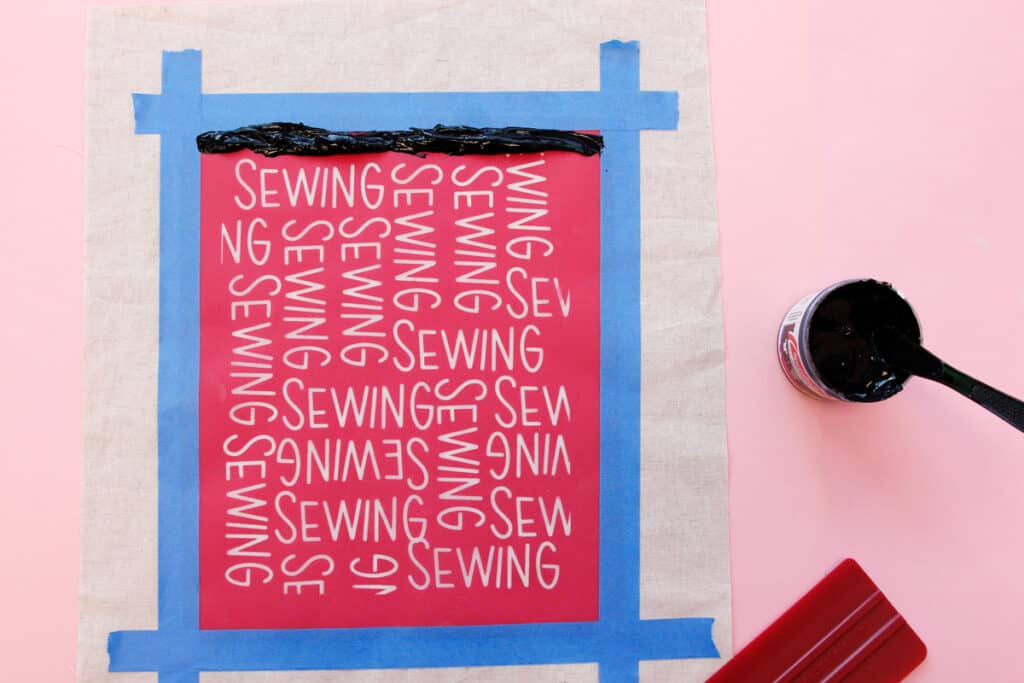
Use the craft stick or plastic knife to apply ink to the top of your screen, above your design. You don’t need a lot of ink, just a few tablespoons for each design. Make sure you don’t put any ink directly on the design because it will bleed through unevenly.
Use the squeegee to pull ink over the design and through the screen, stopping after you have passed over your design. You will want to hold the squeegee at a 45-60 degree angle and apply pressure. There are two sides to the squeegee – be sure to use the side labeled for fabric.
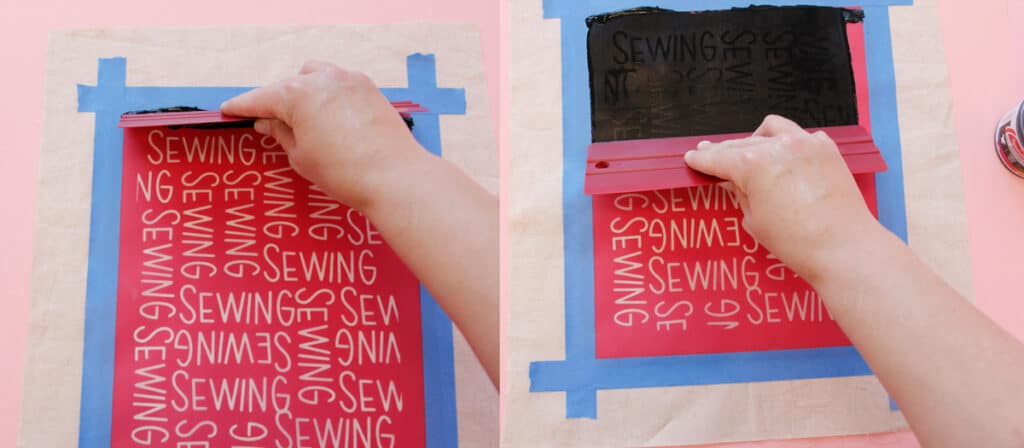
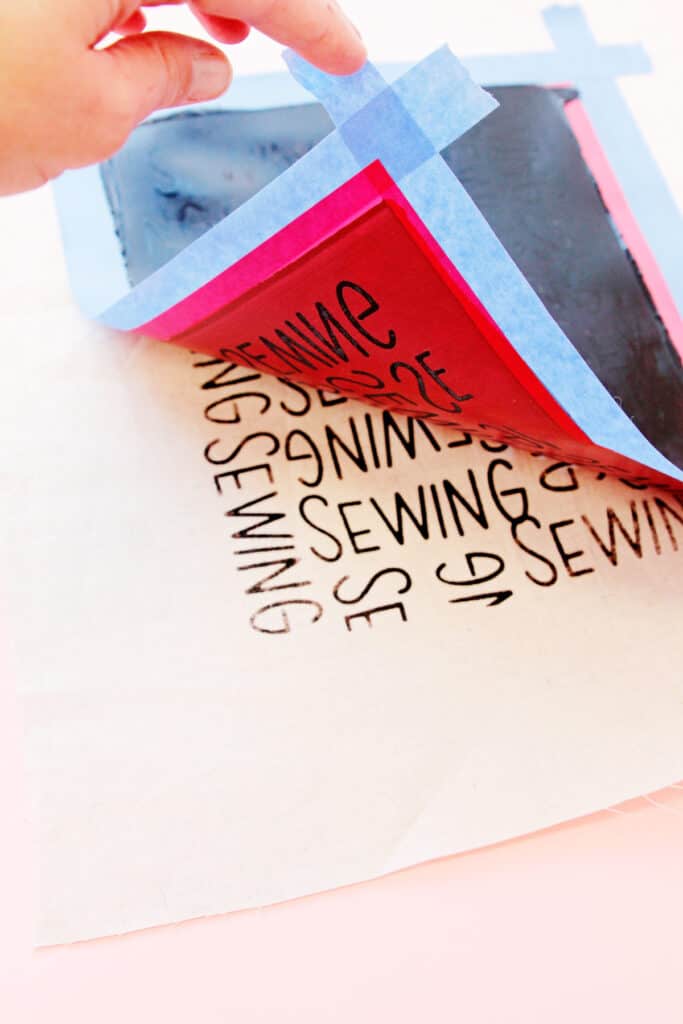
Repeat one more time for a total of 2 ink passes. Set your squeegee aside and carefully peel up the corner of your screen.
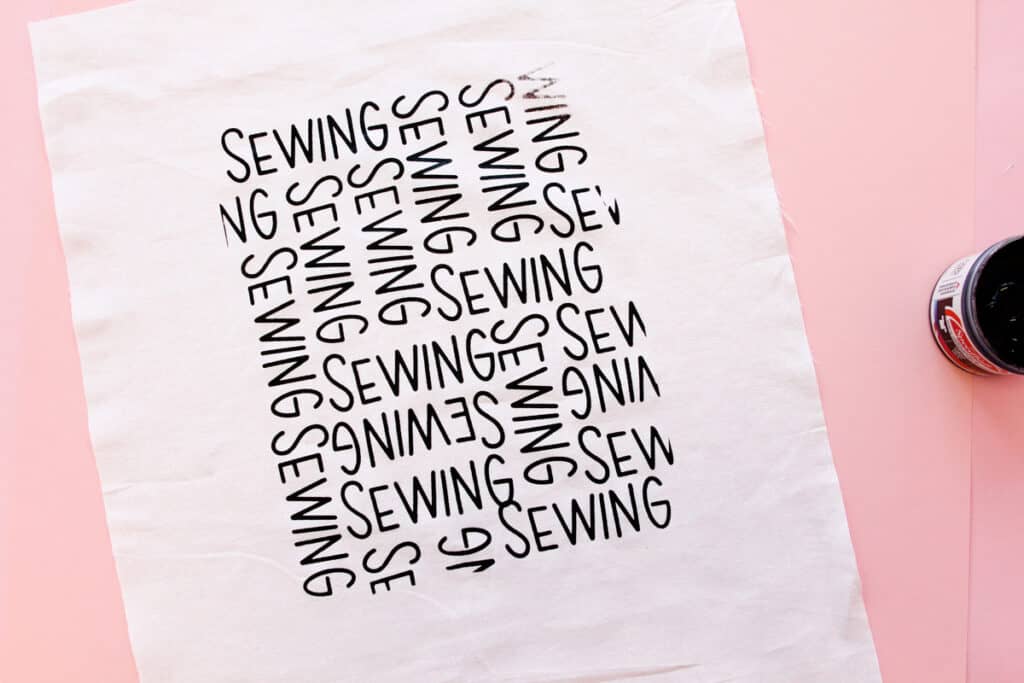
You will want to do a few test prints before doing your final print. The science of screen printing is all about how you pull the squeegee and it will take some practice to get it just right! However, I love prints that aren’t perfect. The little ink blots, bleeds and uneven ink give it that screen printed look. In fact, I love using screens over and over because they tend to get a more distressed look as time goes on.
Tips for an even silkscreen print:
- Pull the ink down in one direction for every pass. Changing directions (such as down to up or side to side) increases the likelihood of ink bleeding through.
- Apply an even layer of ink and not too much.
- Apply a moderate amount of pressure. You’re pulling thick ink through tiny little mesh squares so it does require some pushing as you pull the squeegee.
- Check your squeegee before you pull – one side of the red squeegee is marked for fabric and that will give you the best print on fabric.
- Practice! You’ll get a feel for the art as you continue printmaking!
Remove screen and painter’s tape.
Clean up:
To clean up your screen, put any ink you can back into your ink pot. Take off the painter’s tape and rinse out screen. Lay Speed Screen down with the shiny side up and blot with paper towel. Put it back on the white carrier sheet and let it dry completely before the next use.
Heat Setting Ink
Before sewing with your fabric you will want to heat set the ink so it will be fully washable. Let your ink dry first. Then put a piece of copy paper over your design.
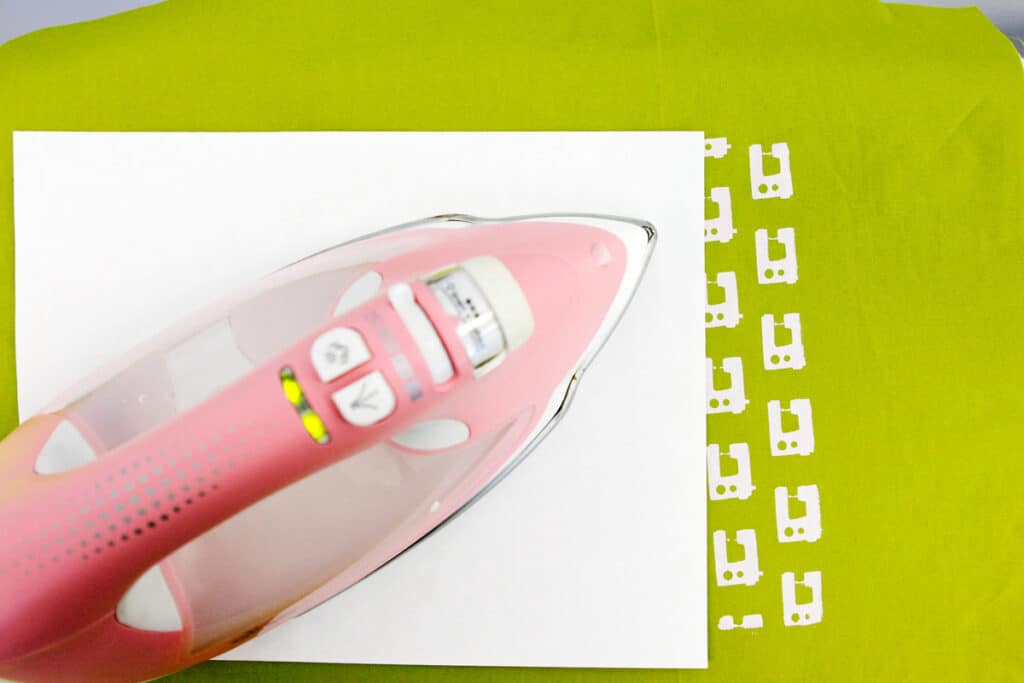
Iron with a hot iron for 1-2 minutes. The heat should be between 275-375*. Most irons get plenty hot on a high heat or cotton setting.
Attach silk screen to a frame for DIY Screenprinting
Depending on your project, you may want to attach the screen to the included frame. I recommend doing this if you are printing more than one of the same design. The frame makes it easy to pick up your design off your substrate with less error. You won’t spend any time taping your design to the surface that you’re printing, so it’s really the best option if you are making multiple items. You can always decide to attach your Speed Screen to a frame later.
Here is how to do it:
Place your screen on the back of the frame with the exposure side facing up.
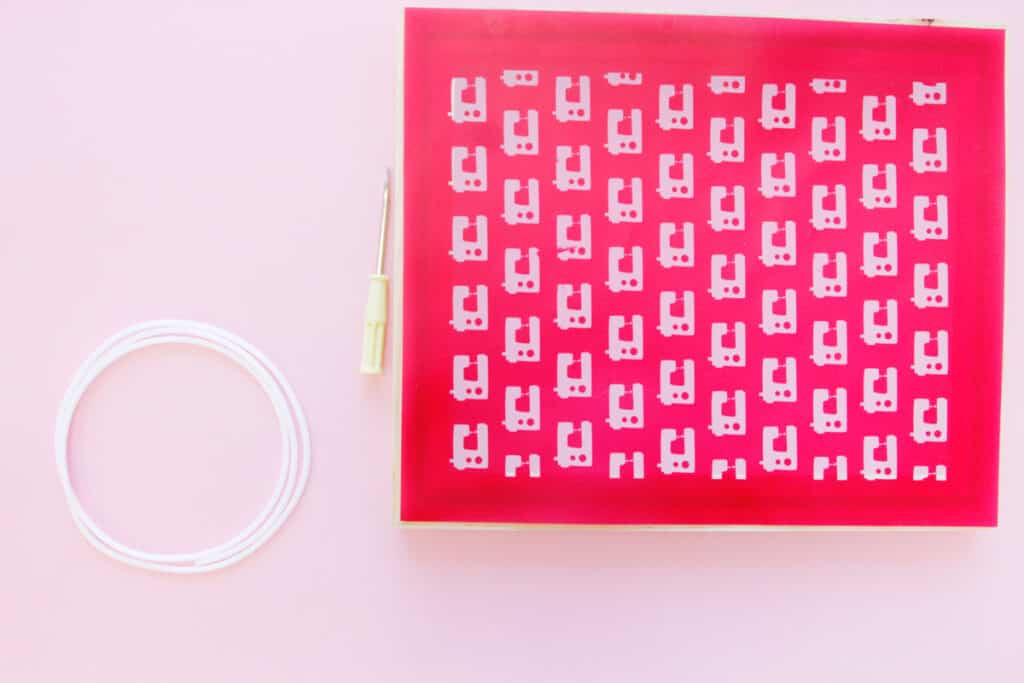
Use the screen cord to secure the screen into the frame. Push the cord over the edges of the Speed Screen and into the grove or channel in the wood.
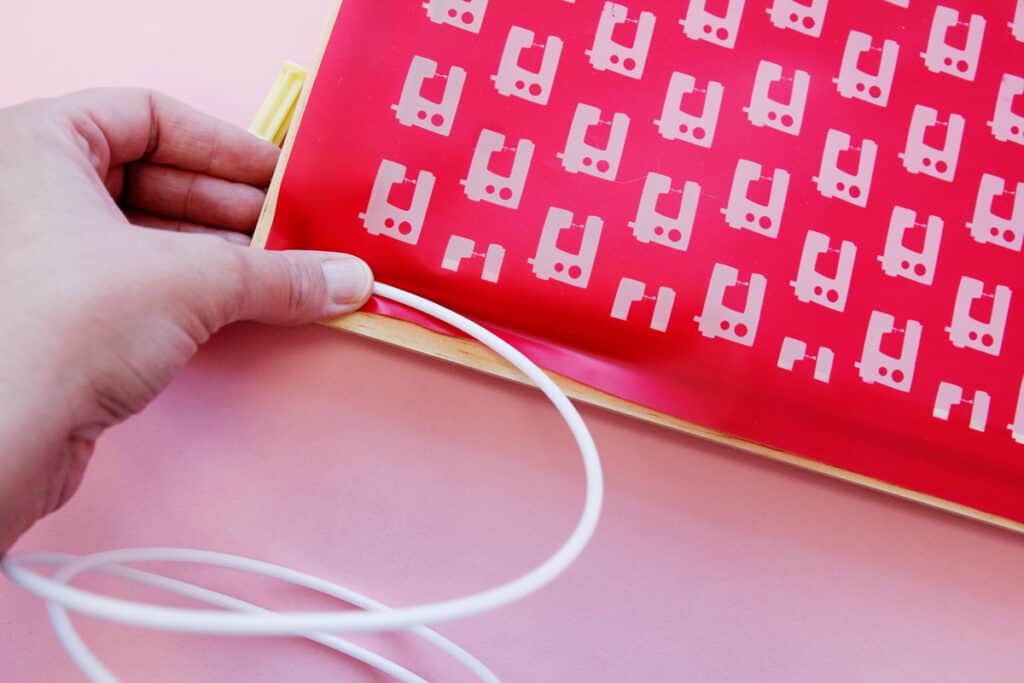
Use the screwdriver to shove it in. This will require a little bit of pushing.
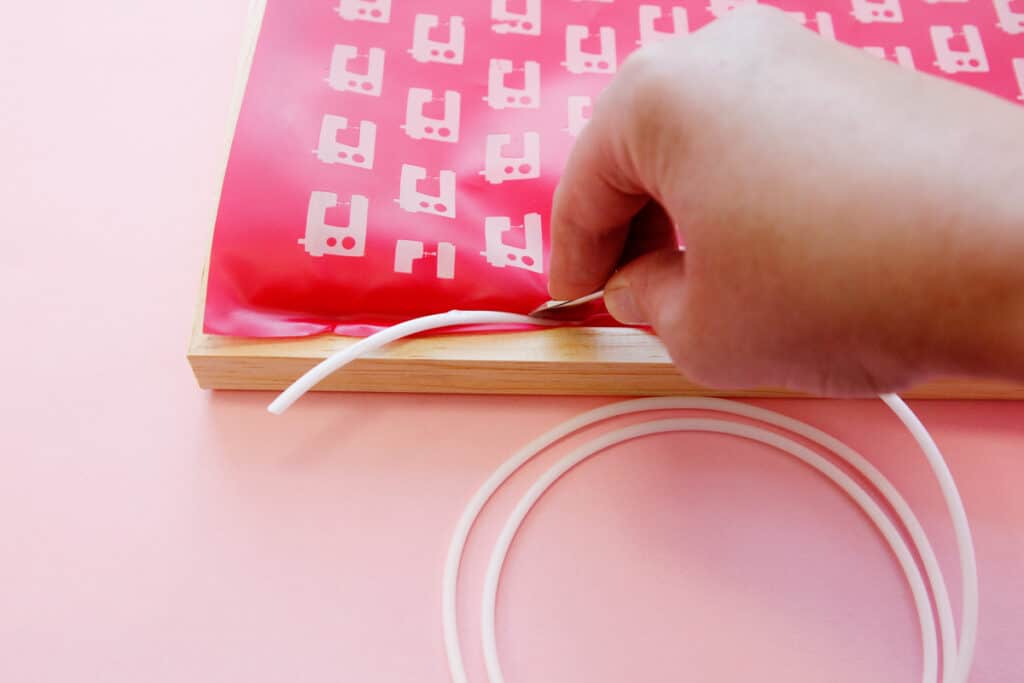
Continue until you have met back with the cord where you started. Trim cord if necessary.

Ta-da! The screen may feel like it isn’t going to be very smooth as you are pushing in the cord. But keep going, the cord will keep it night at taut.
Now you are ready to print with your framed Speed Screen.
If you are using the included squeegee and frame you will have to pull from the side of these design since it won’t fit top to bottom.
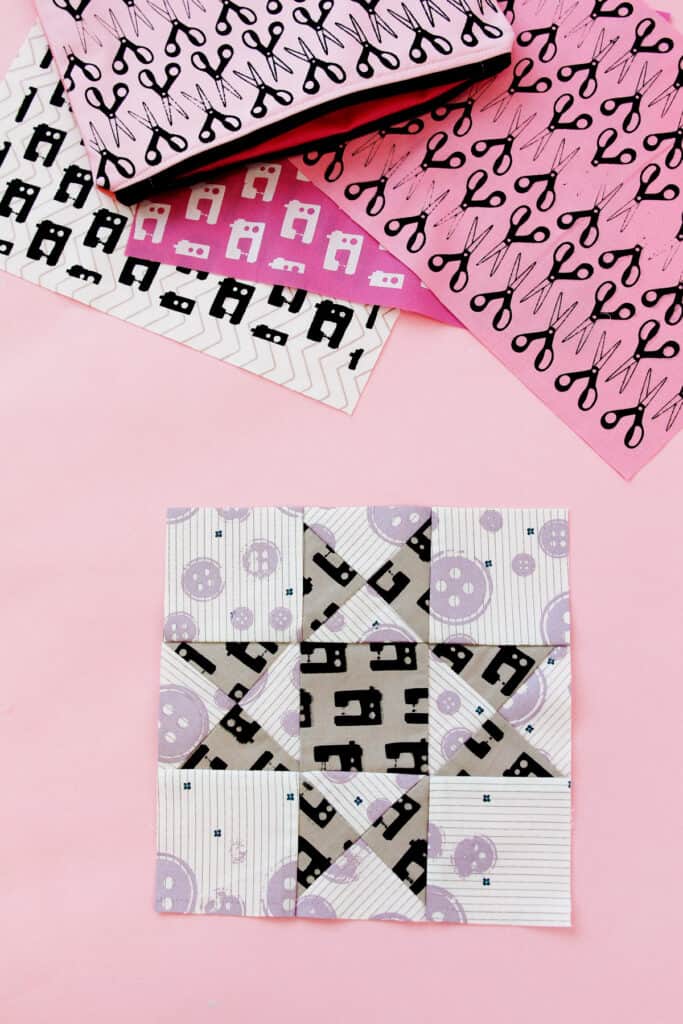
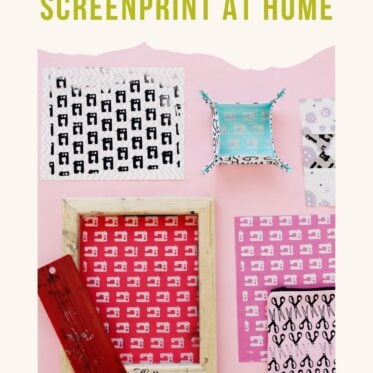
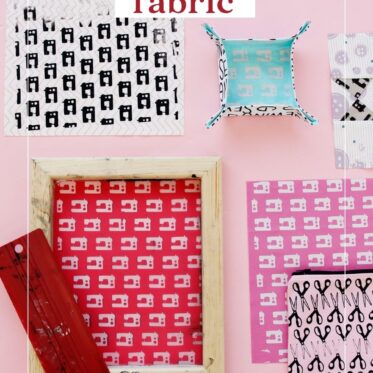
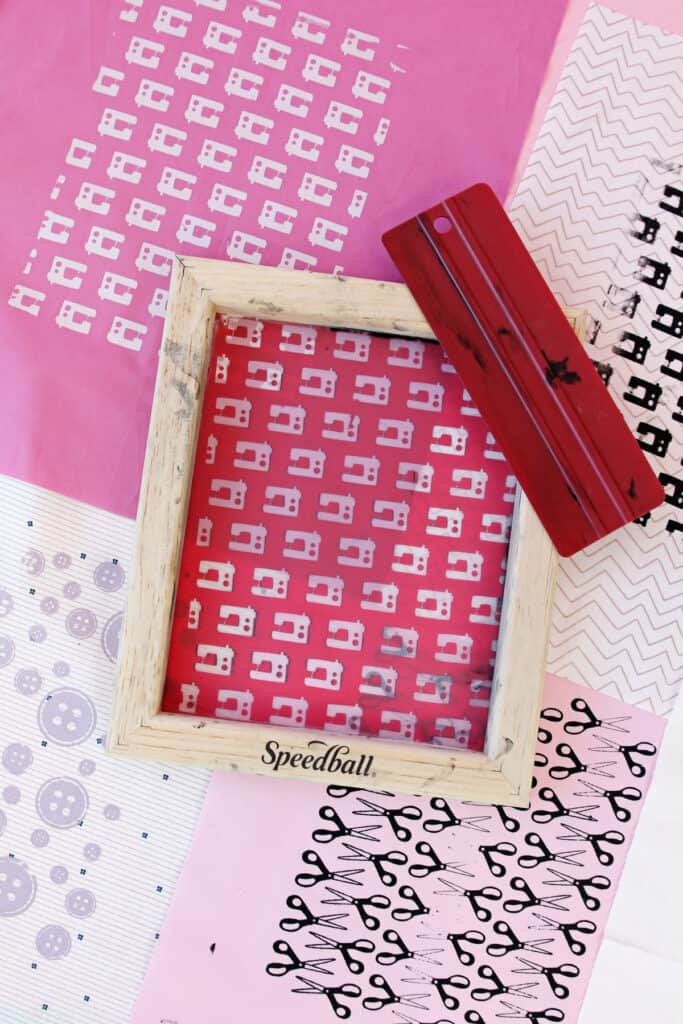
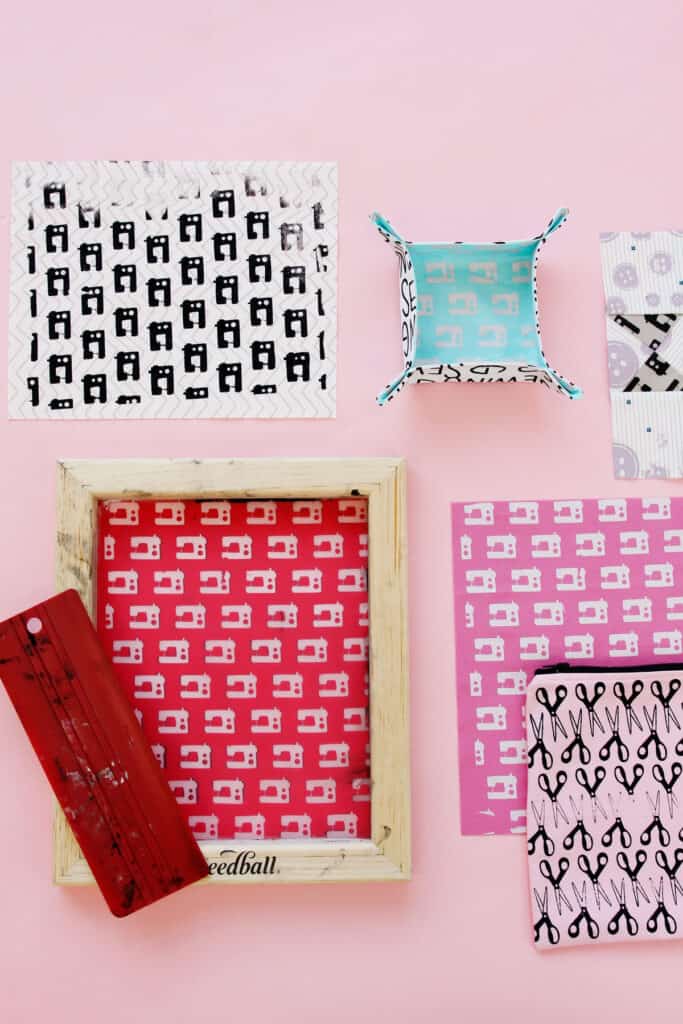
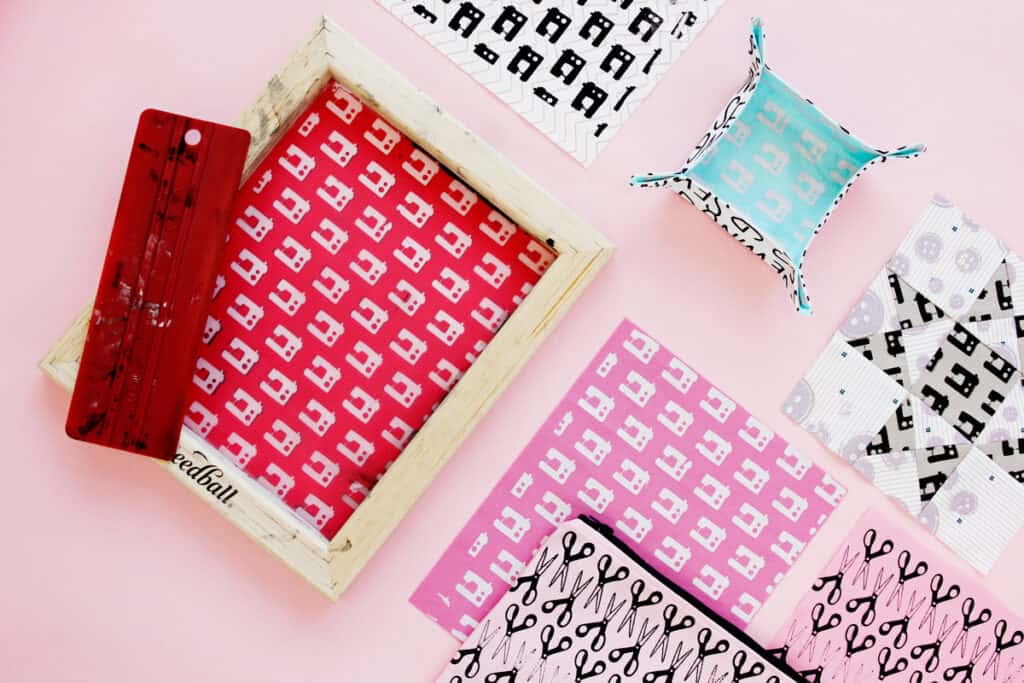
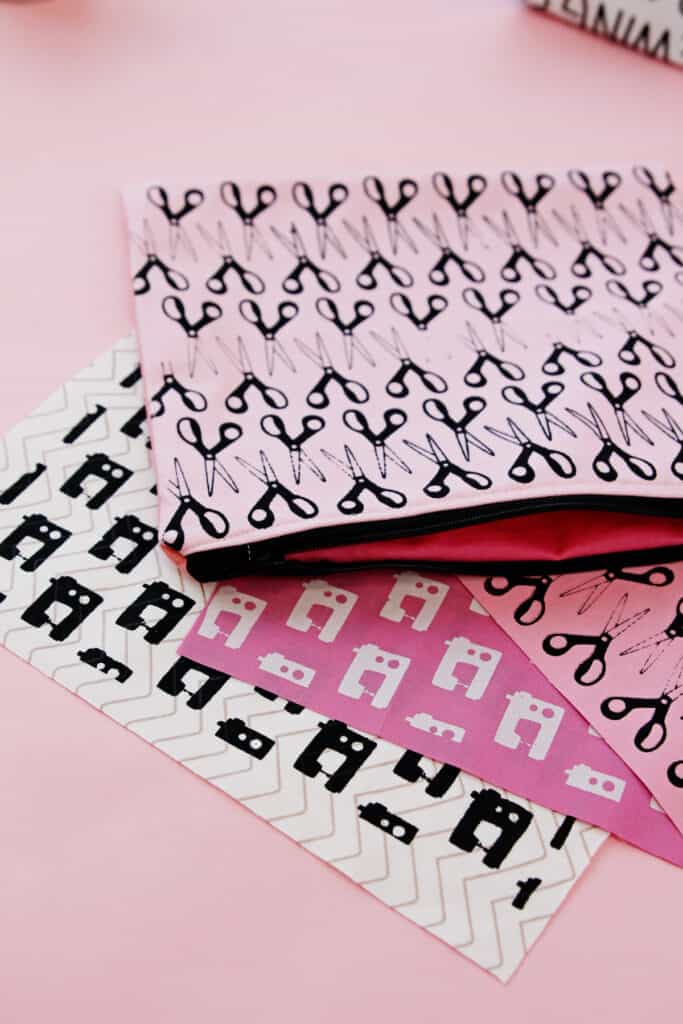
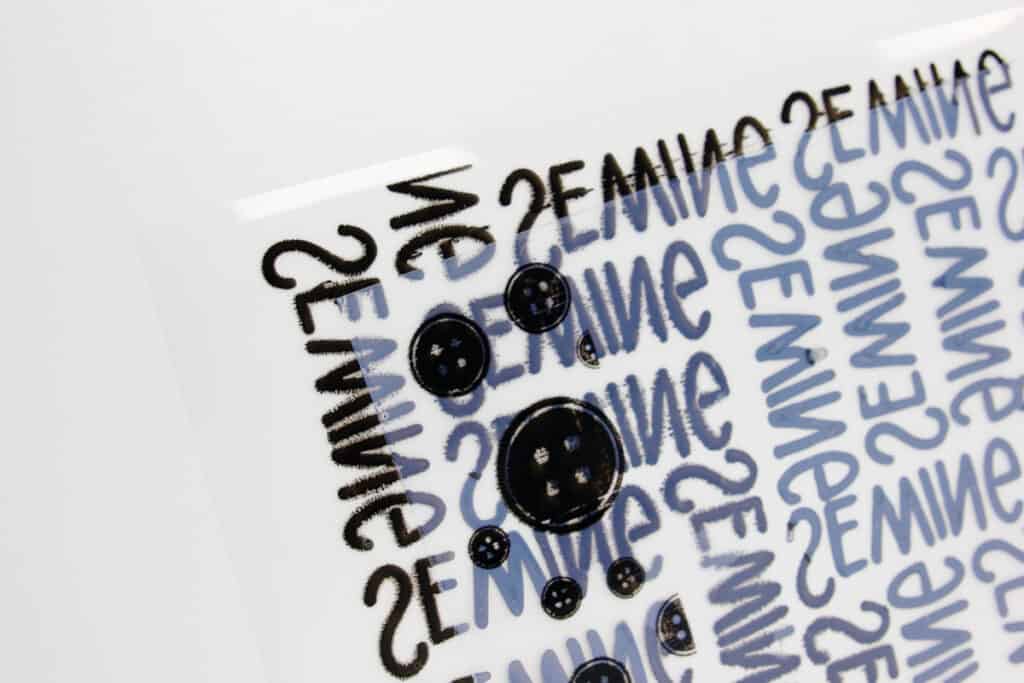
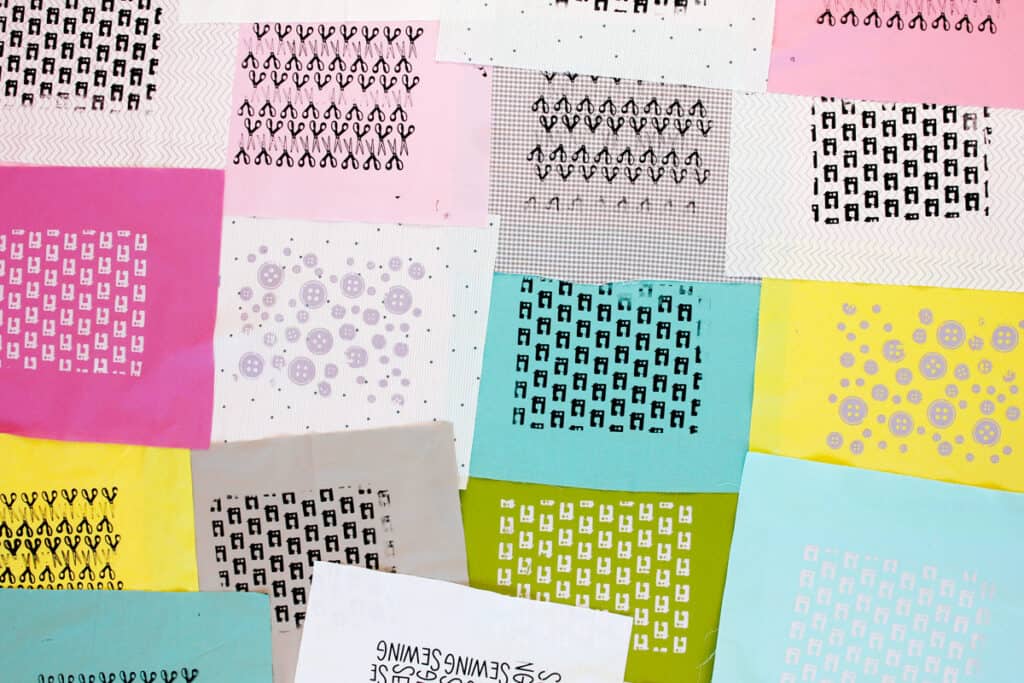
Now you’ll have a stack of printed fabric to use in sewing projects! Pair them with each other or with other fabrics! These are so fun in quilt blocks, zipper pouches and more! I even made this little tray for sewing notions!

I hope you enjoyed this post! DIY Screenprinting is so fun, I hope you have a chance to try it.
Stay tuned for more DIY Screenprinting ideas with Speedball!
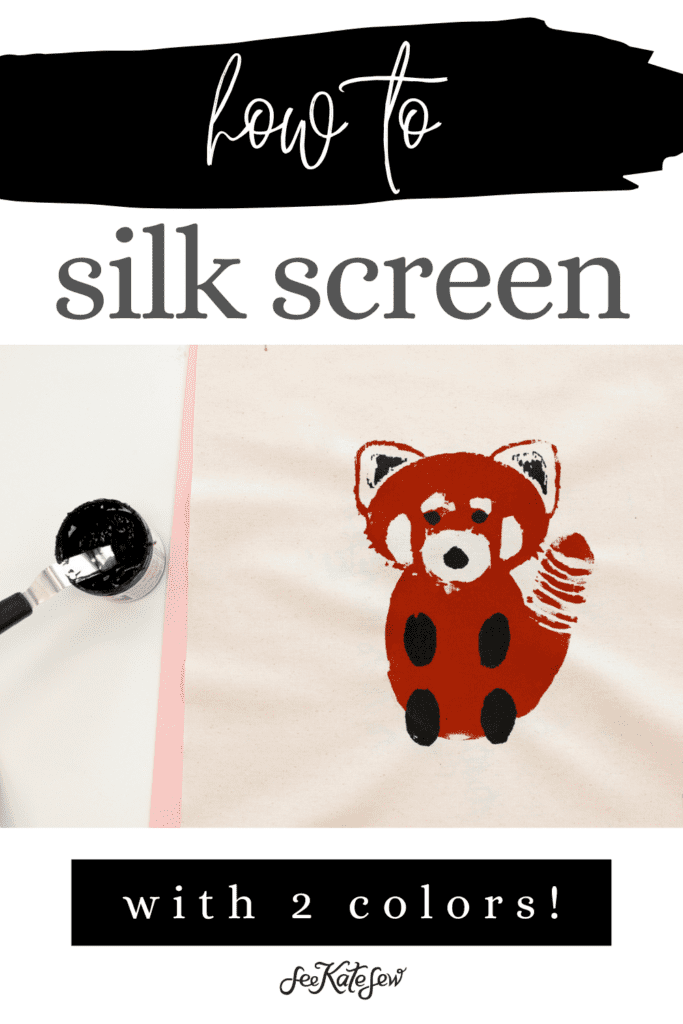
Check out how to make DIY Red Panda Plush Toys with a 2 color process!


Can you use a laser printer to print the designs. I don’t have an ink jet printer.
Yes, laser works as well.