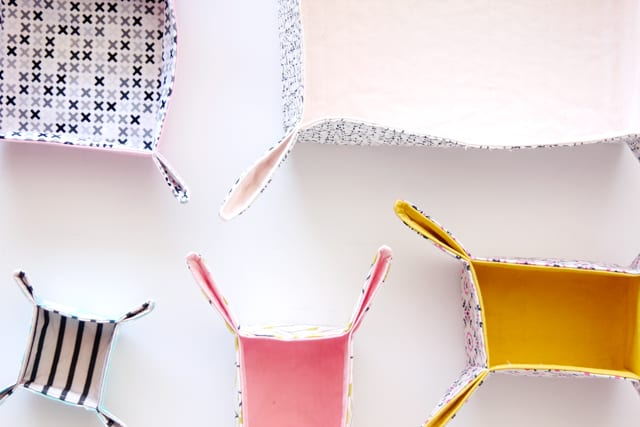
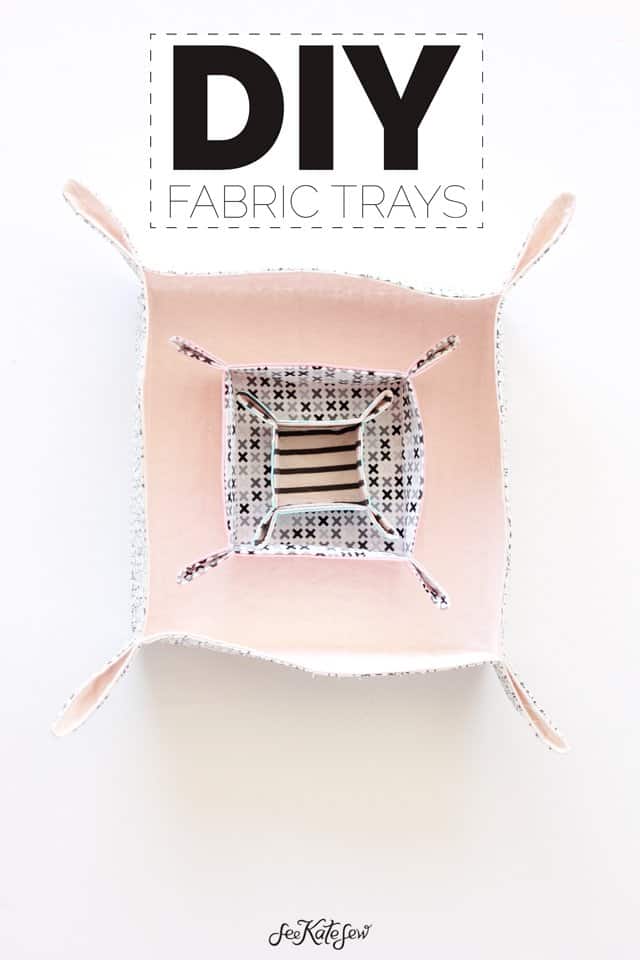
This DIY fabric tray tutorial will help you organize your life!
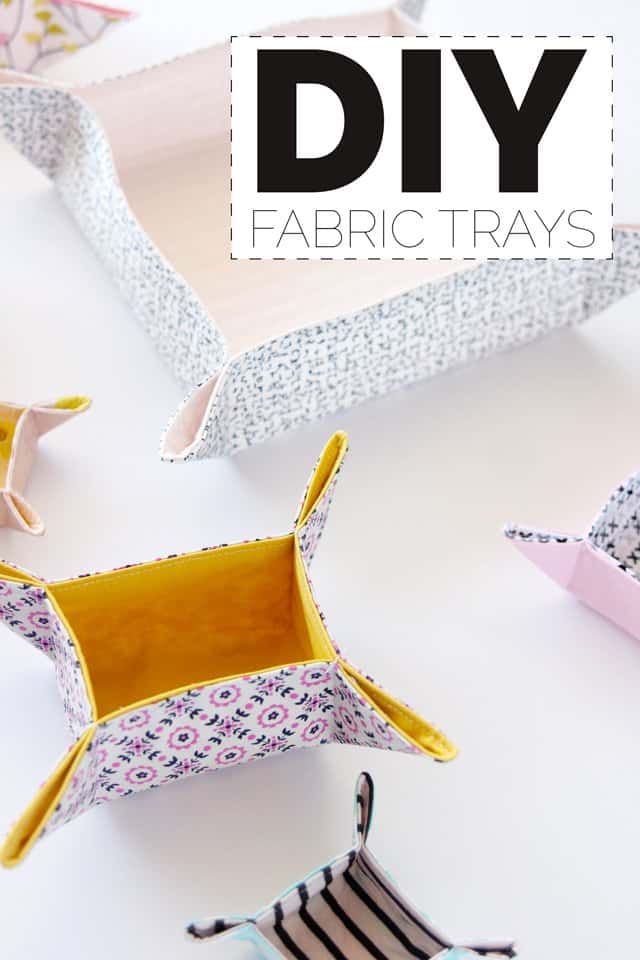
Time for a quick project that will help you ORGANIZE your life! Since, you know, it’s January!
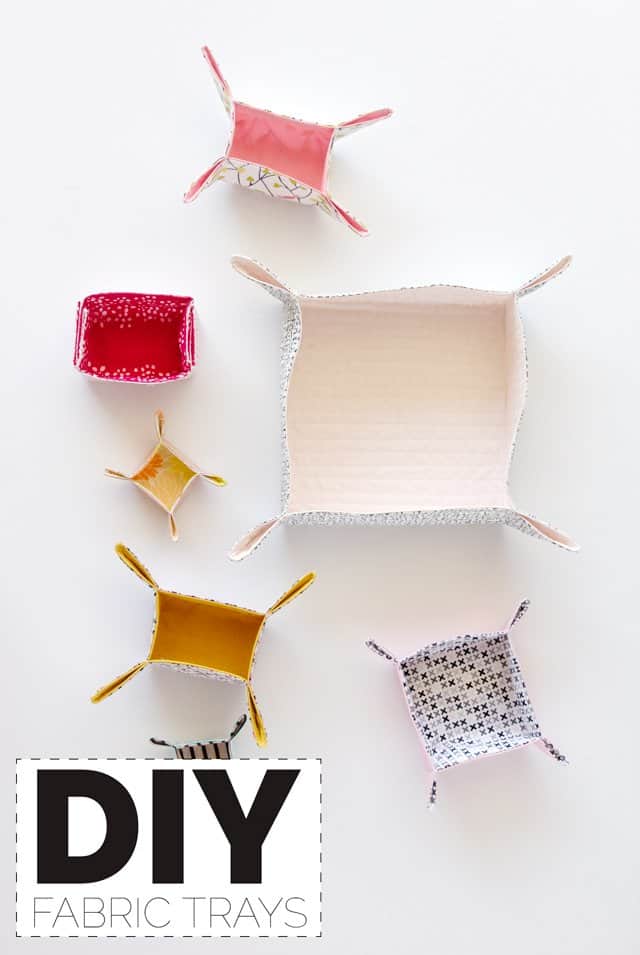
You can make this tray in ANY size and I’ll tell you how!
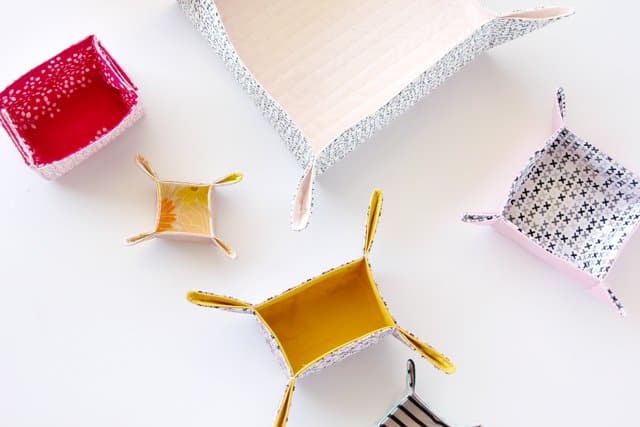
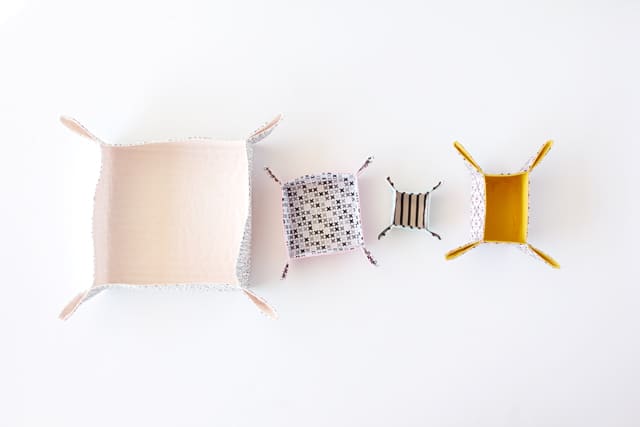
I also included pattern pieces for 4 sizes, if you’re not quite sure what you want to use it for yet.
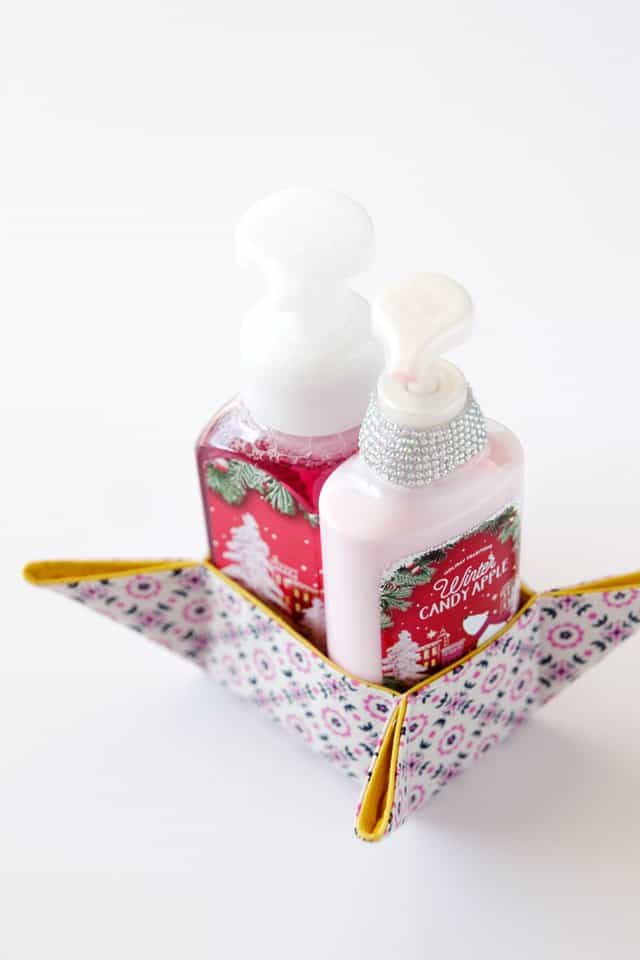
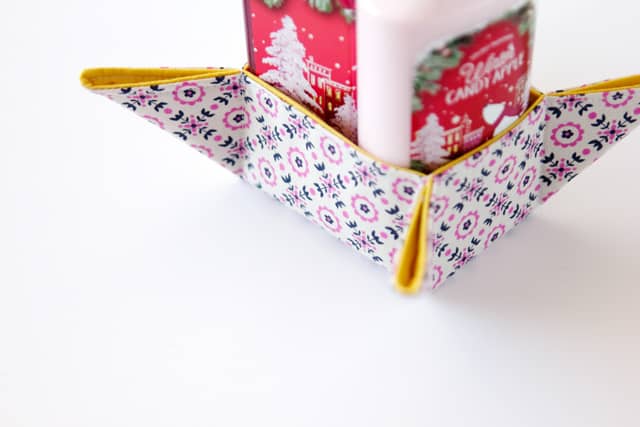
I made the first tray for a specific purpose: holding a soap/lotion combo in my bathroom.
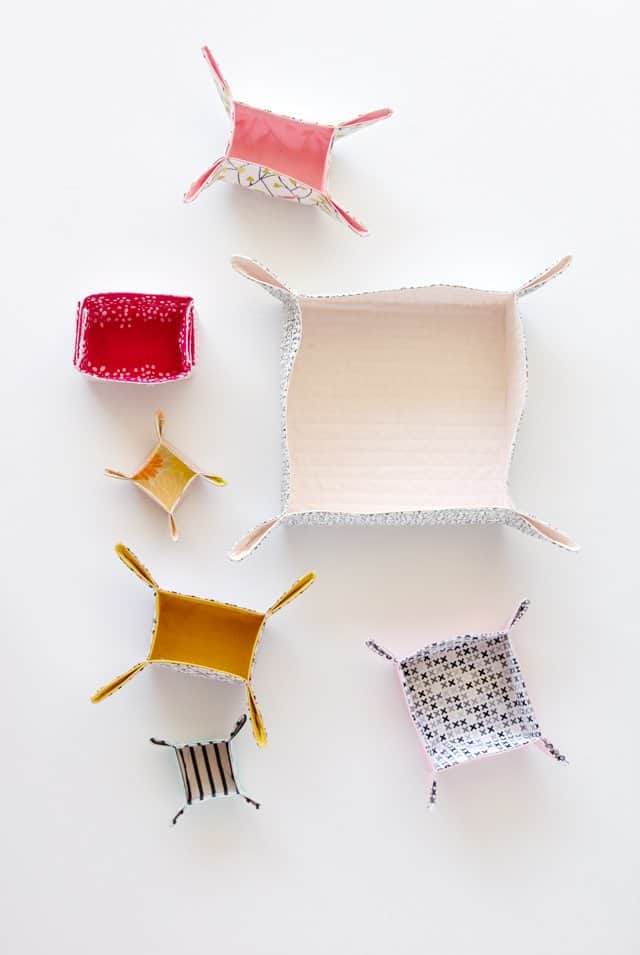
But I had so much fun making it that I knew I had to make more!
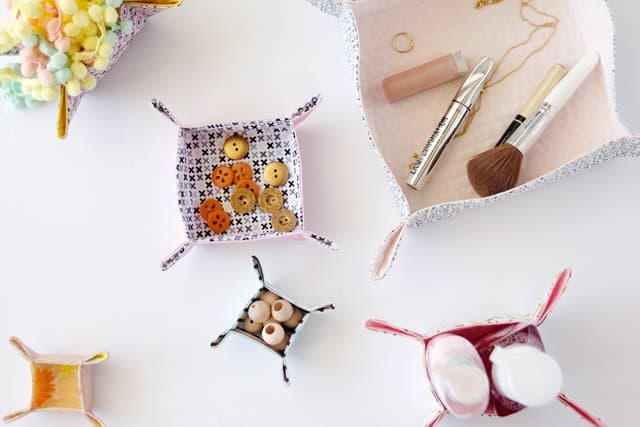
DIY Fabric Tray Tutorial
This is such a FAST project, it’s fun to do and such a satisfying sew! I also enjoyed picking out fabric combinations for the linings and outsides.
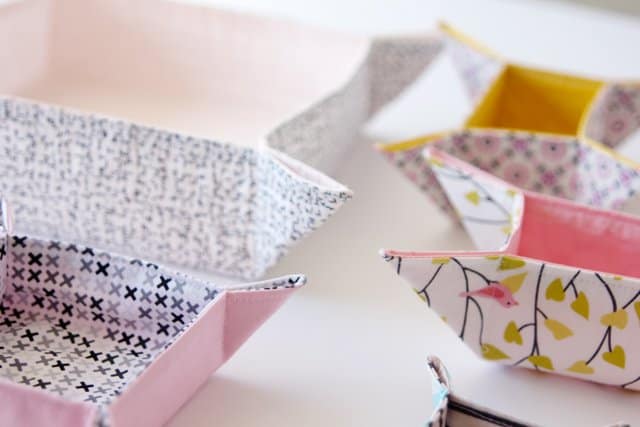
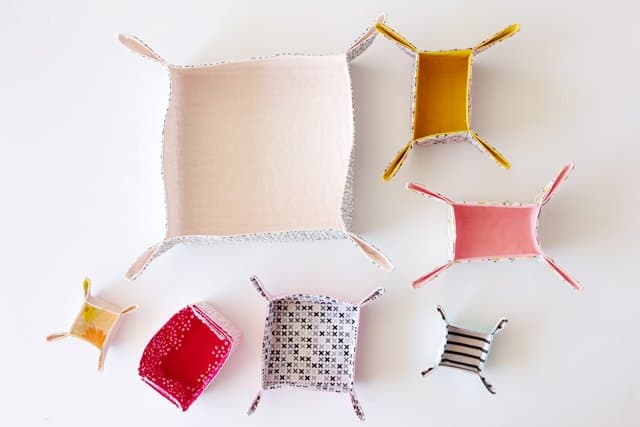
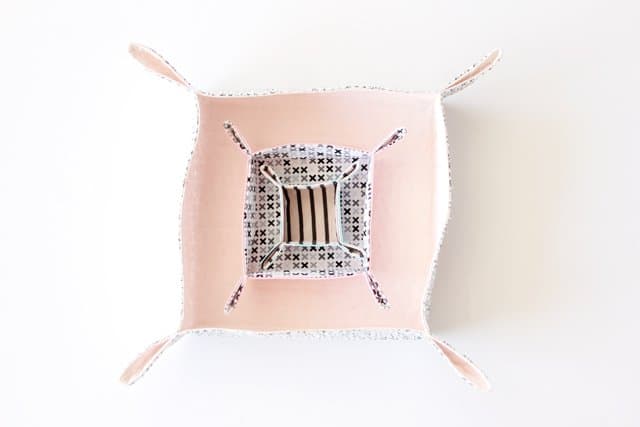
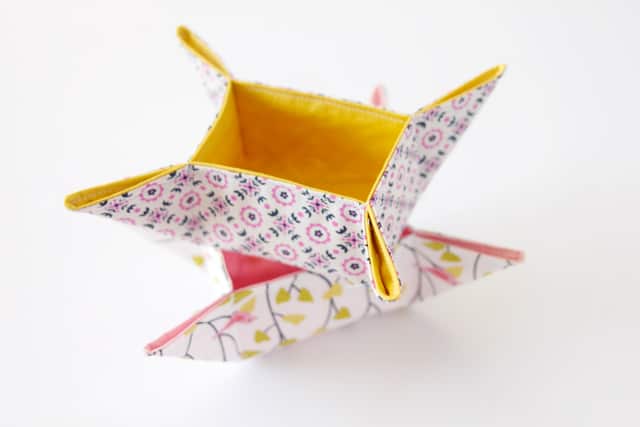
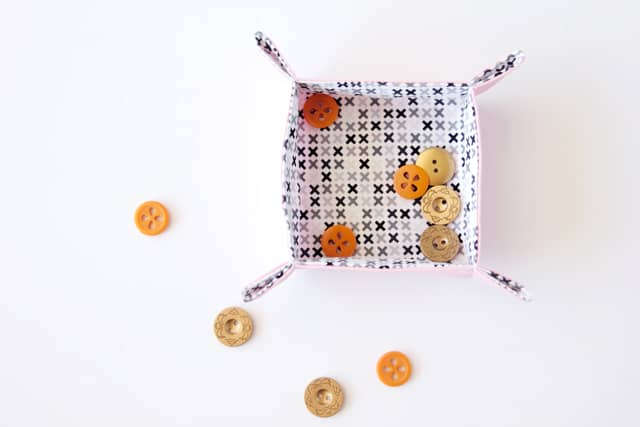
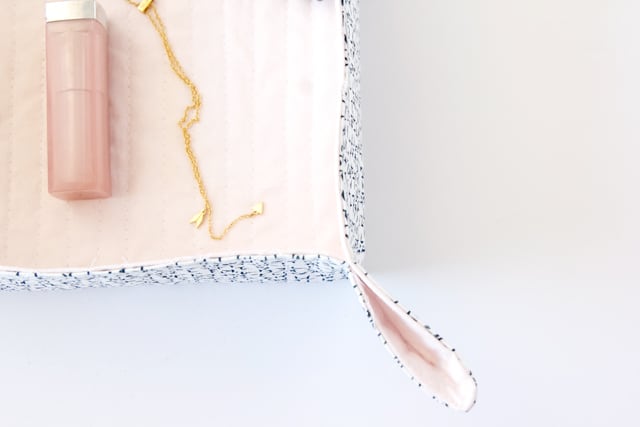
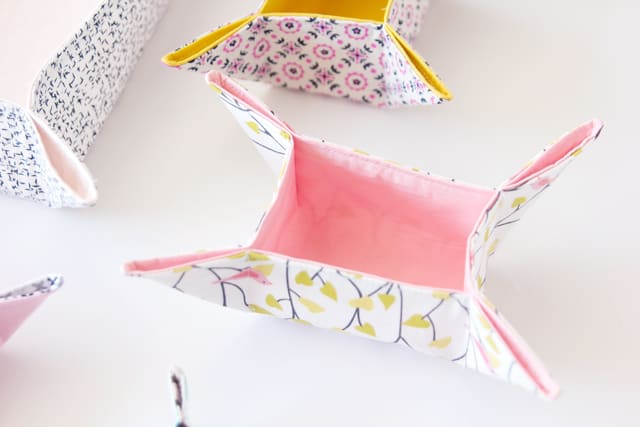
Fabric Tray Tutorial Materials:
- 1 Fat Quarter of fabric (1/2 yard for Large)
- 1 Fat Quarter for contrast (1/2 yard for Large)
- Fabric Marker
- Fusible Interfacing
DIY Fabric Box Pattern Download
How to make your own size
Decide how big you want the base of your tray to be. This could mean measuring what you plan to put in it. To make a soap/lotion holder for my bathroom, I set both bottles on a piece of paper and traced around them. Then I added 2.5″ to each side to account for the sides and seam allowance. Choose your number based on how deep or shallow you want your tray. I like to use 1/4″ seam allowance for these trays, but you can use more if you want!
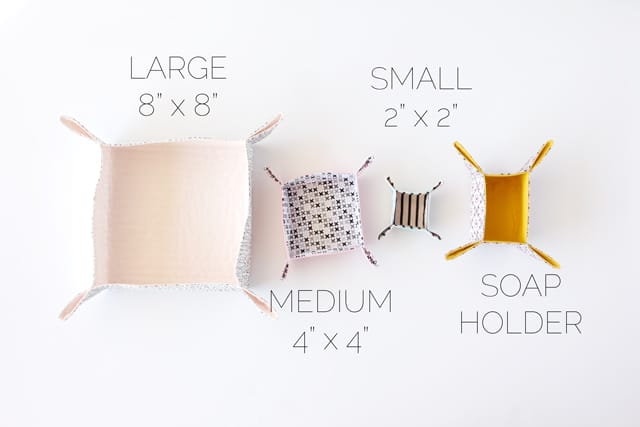
Print the premade pattern
Small Tray (2″ x 2″ inches with a 1″ side)
Medium Tray (4″ x 4″ with 1.5″ sides)
Large Tray (8″ by 8″ with 2″ sides)
Soap + Lotion Holder (2.5″ by 4″ with 2.5″ sides)
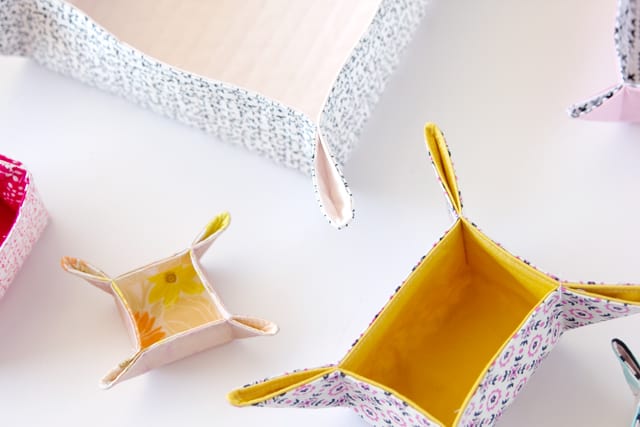
Ready to sew!
Cut 2 pieces from fabric ON THE FOLD, one in main and one in contrast fabric. The arrow on the pattern piece will line up with a fold.
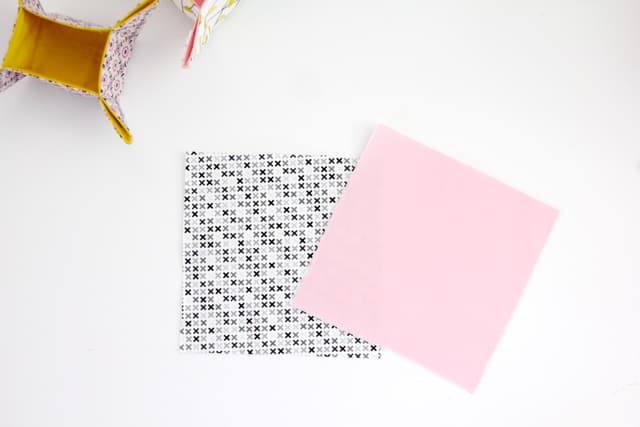
Also cut 2 from interfacing. Using interfacing on both sides will make the tray extra sturdy. I’m using lightweight fusible. If you use a heavier weight interfacing, you may only need to fuse it to one side of the tray.
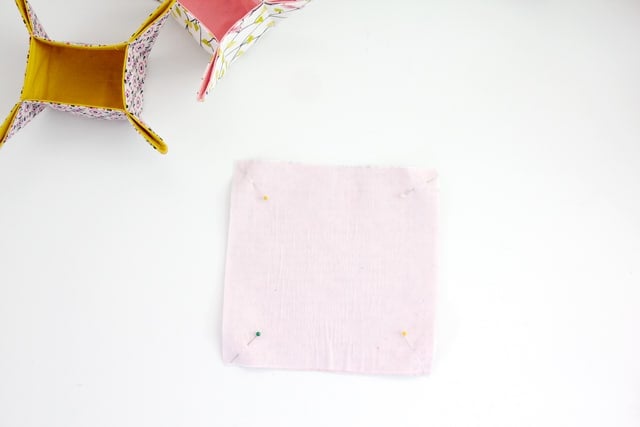
Sew the pieces together with right sides together, leaving a 2-3″ opening on the side. Use 1/4″ seam allowance.
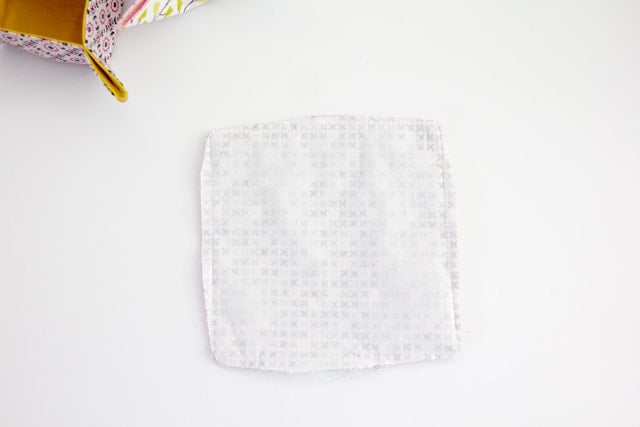
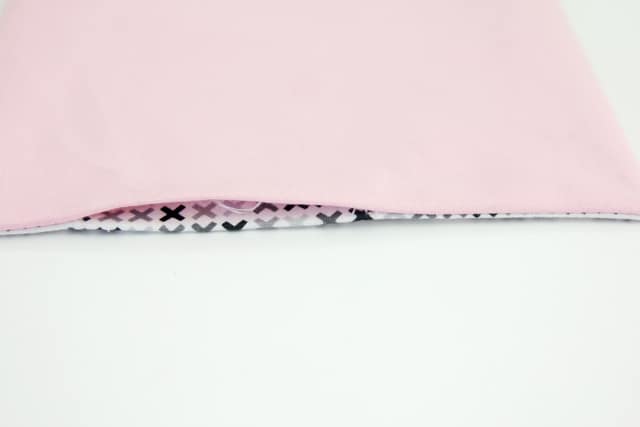
Clip corners and turn. Make the points sharp and press well.
Topstitch around at 1/8″. When you topstitch, you’ll also close the gap you left before.
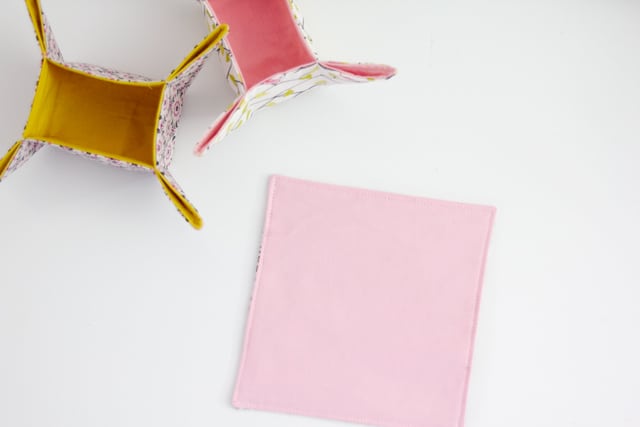
Take out your pattern piece and a pen or pencil to mark. I like this disappearing ink pen. The marker is purple but the ink disappears in a few days in the air, or immediately if you use water.
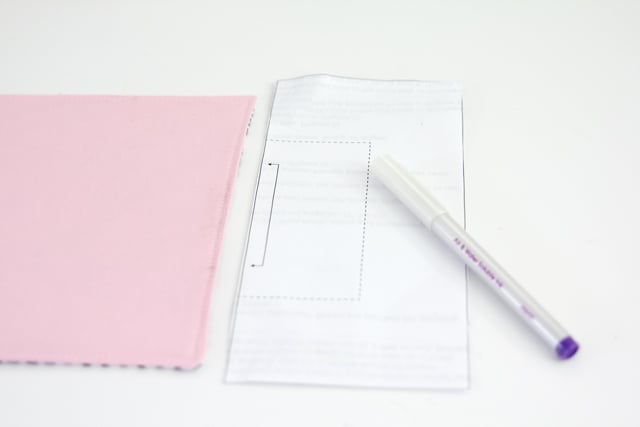
Fold the tray fabric in half with the fabric you want on the OUTSIDE facing up. Pin the inner part of the pattern piece to the fold, centered.
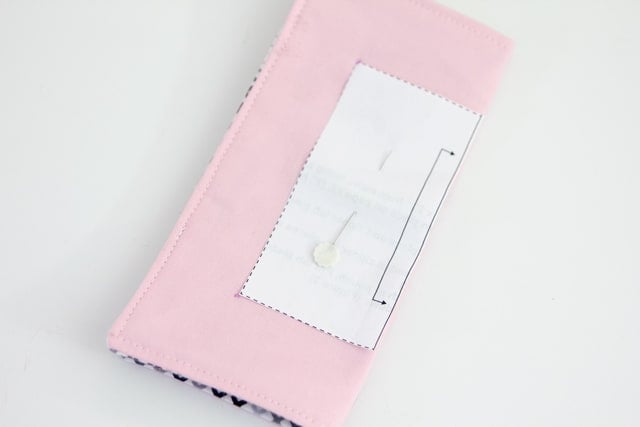
Mark the corner points on both sides. If you want, connect the points with a square of stitching.
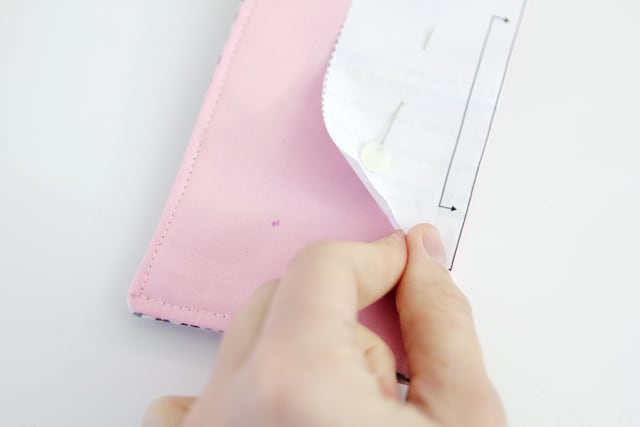
Now fold the corners of the fabric tray in half like so.
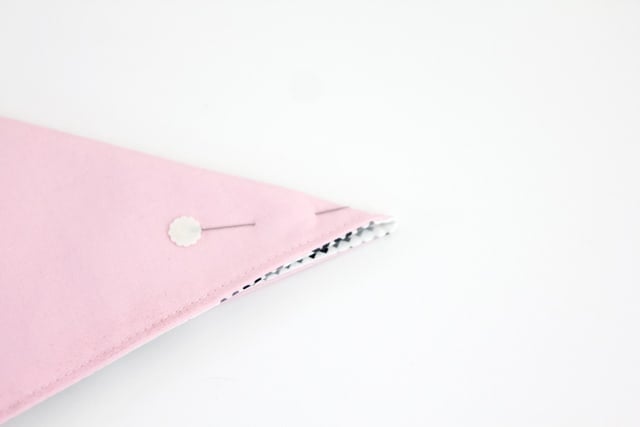
Sew from the marked point down to create each corner.
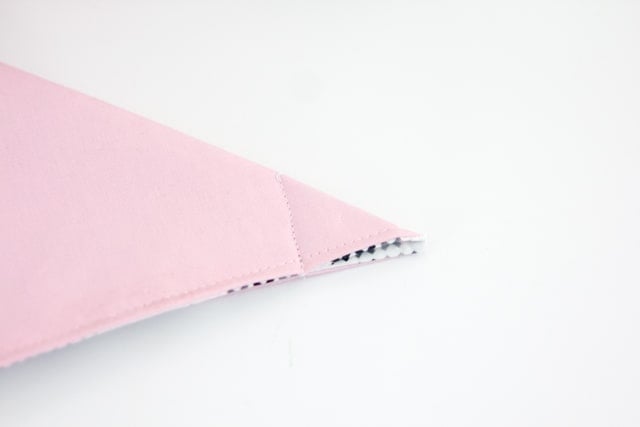
Repeat on all 4 corners and you’re finished!
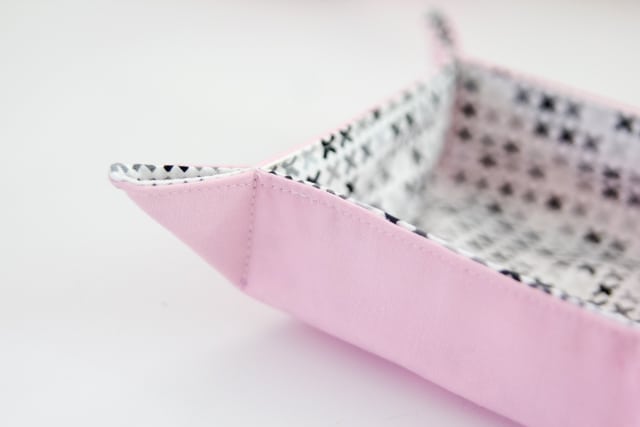
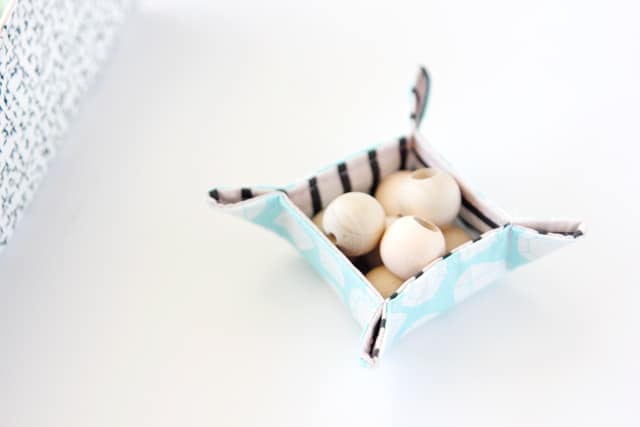
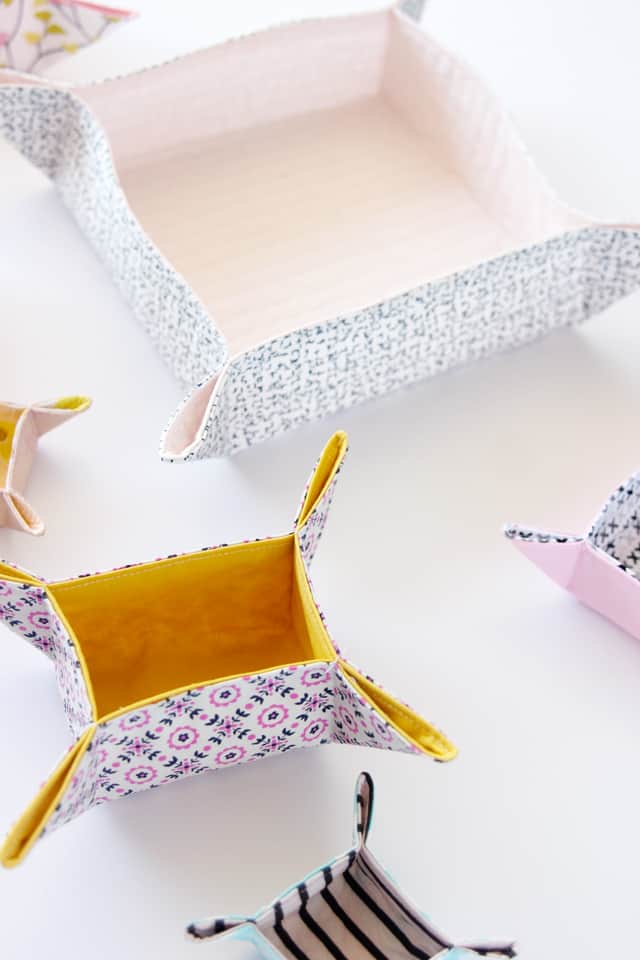
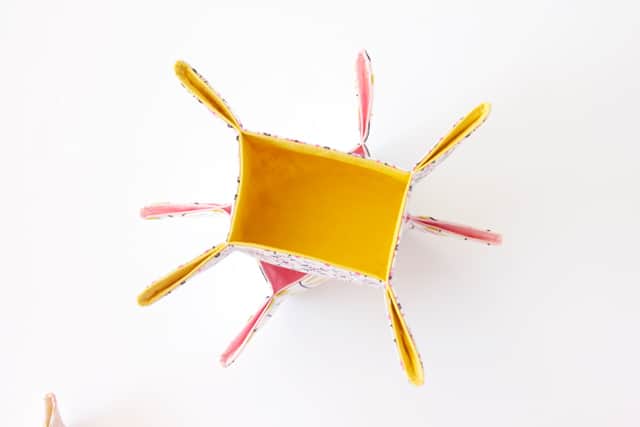
For a quick variation, fold in the corner points and sew them down.
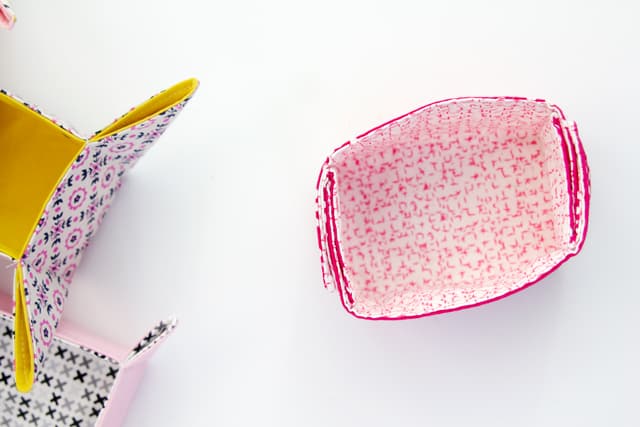
You can also flip it inside out at this point for a nice clean tray.
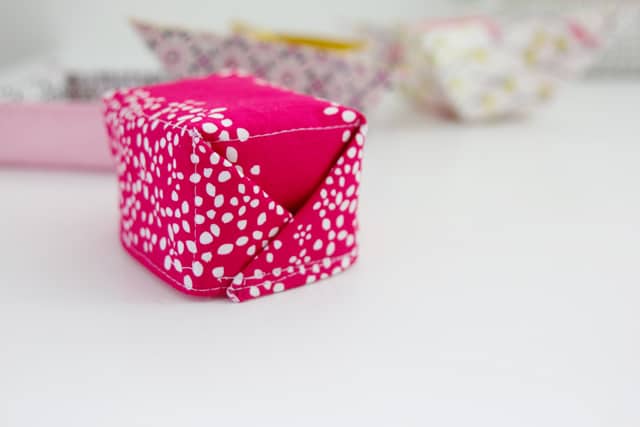
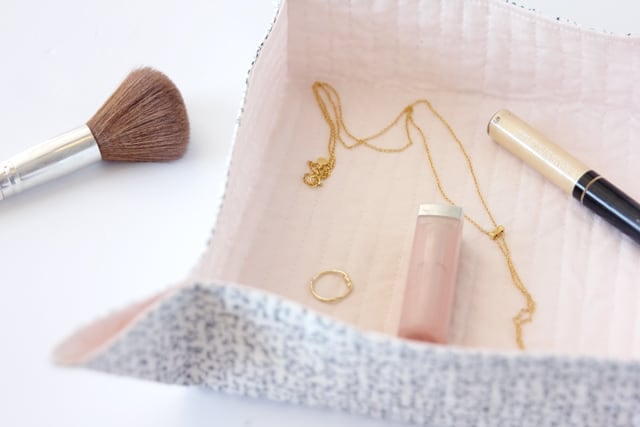






Fabric trays make everything pretty! I’ve got a Craft Gossip post scheduled for later this morning that feature your tutorial: http://sewing.craftgossip.com/?p=86106 –Anne
Adorable. Great way to use up scraps!