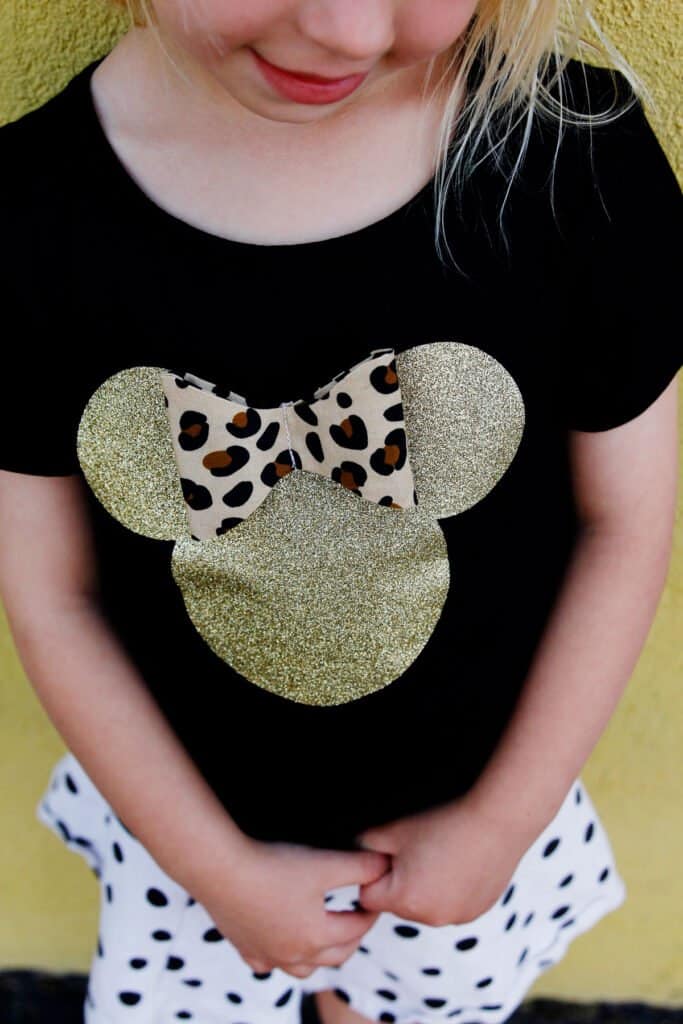
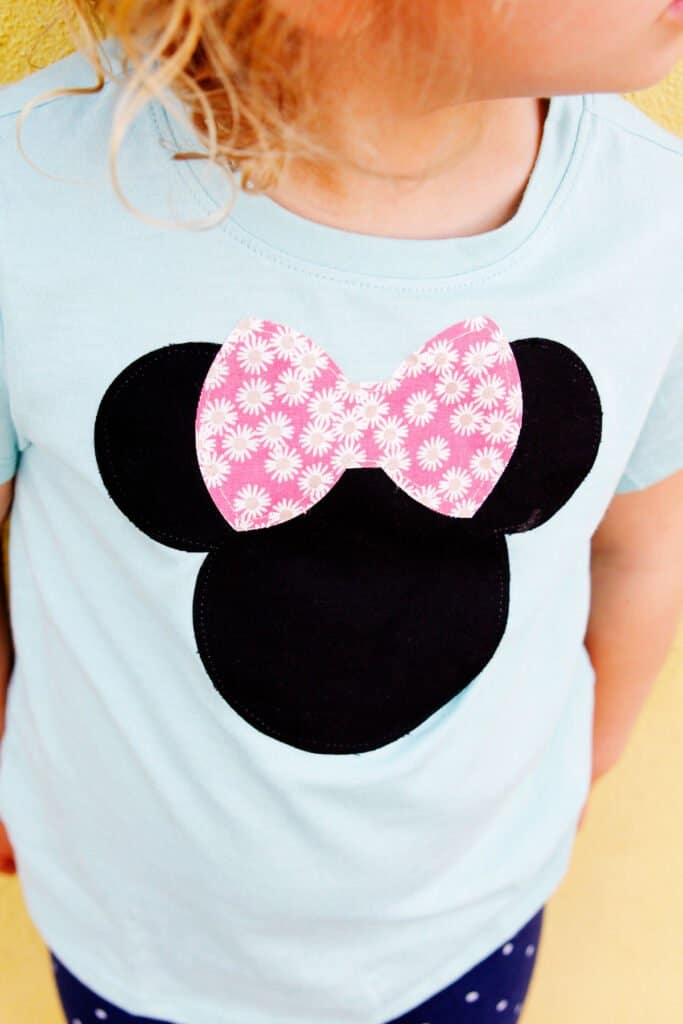
Make your own Cricut Disney Tees with this simple tutorial! These Minnie mouse tees are made with fabric applique and a big 3-dimensional bow! Such a unique shirt to wear to Disneyland!
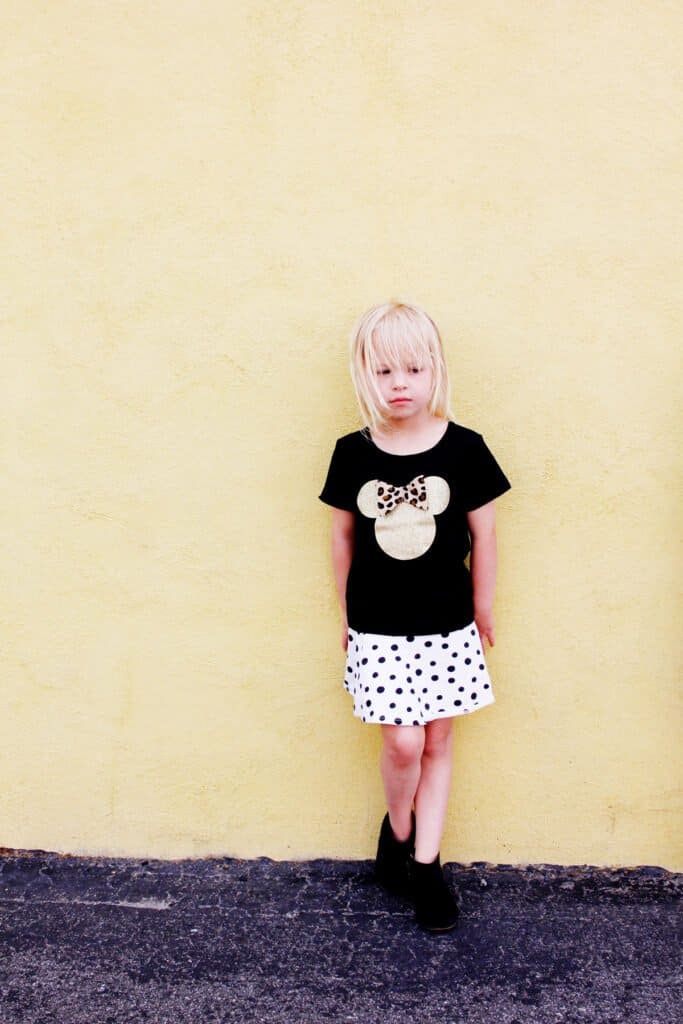
The Minnie mouse outline can be made with either black fabric or iron-on vinyl – whichever you prefer! Choose your favorite printed fabric for the bow! These shirts are washable – just turn inside out to wash, then press the bow with an iron before wearing!
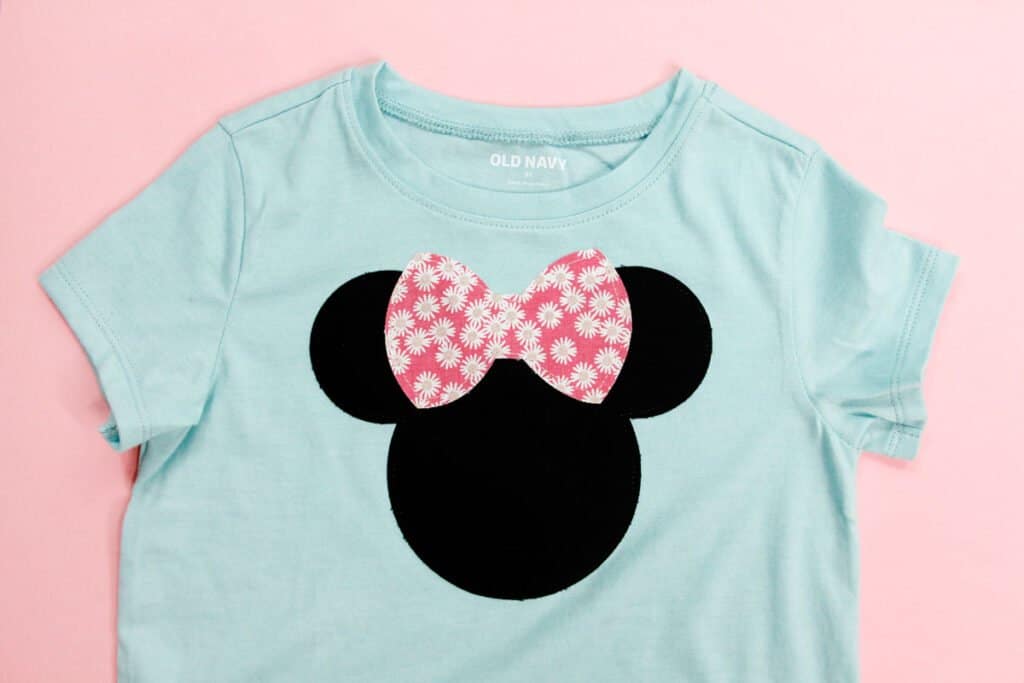
This 3D bow shirt will help you stand out at Walt DisneyWorld! The SVG files also include a flat version of the bow, so you can make a fully iron-on (htv) shirt or flat fabric appliqué. You have options!
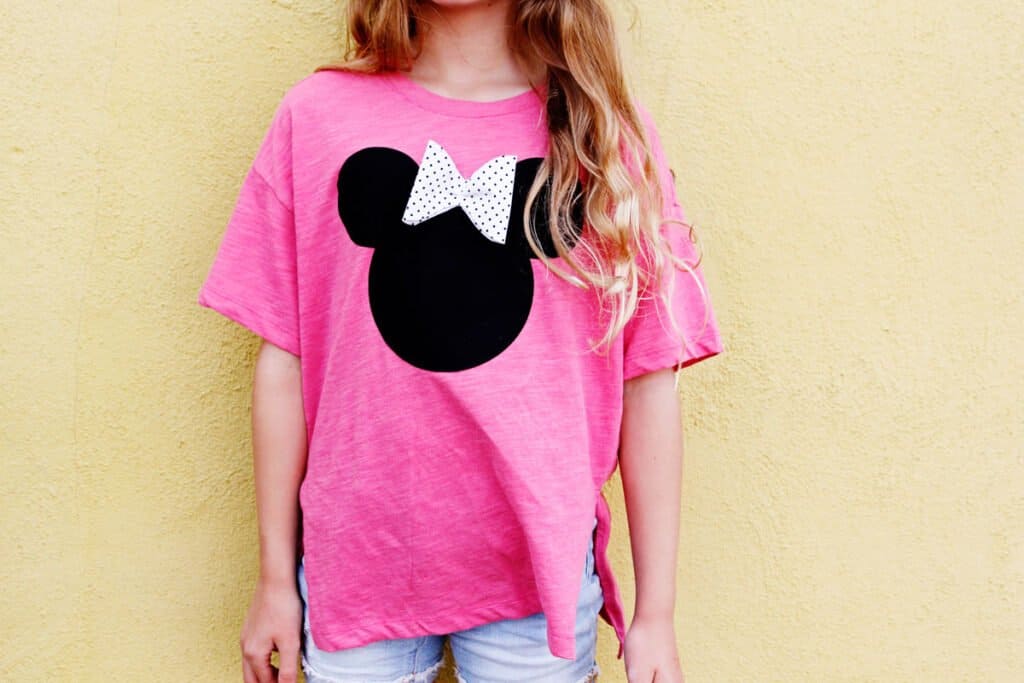
Make a Disney t-shirt for everyone for a family trip, Disney cruise, or just everyday wear!
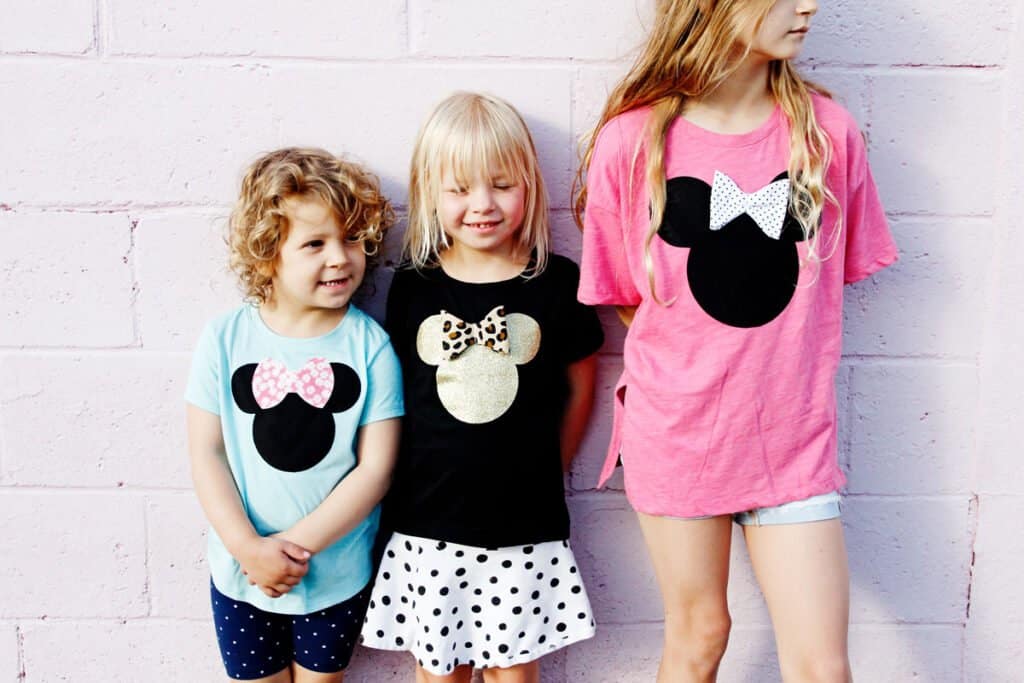
DIY Disney shirts are simple and start with plain t-shirts. This is a great beginner project!
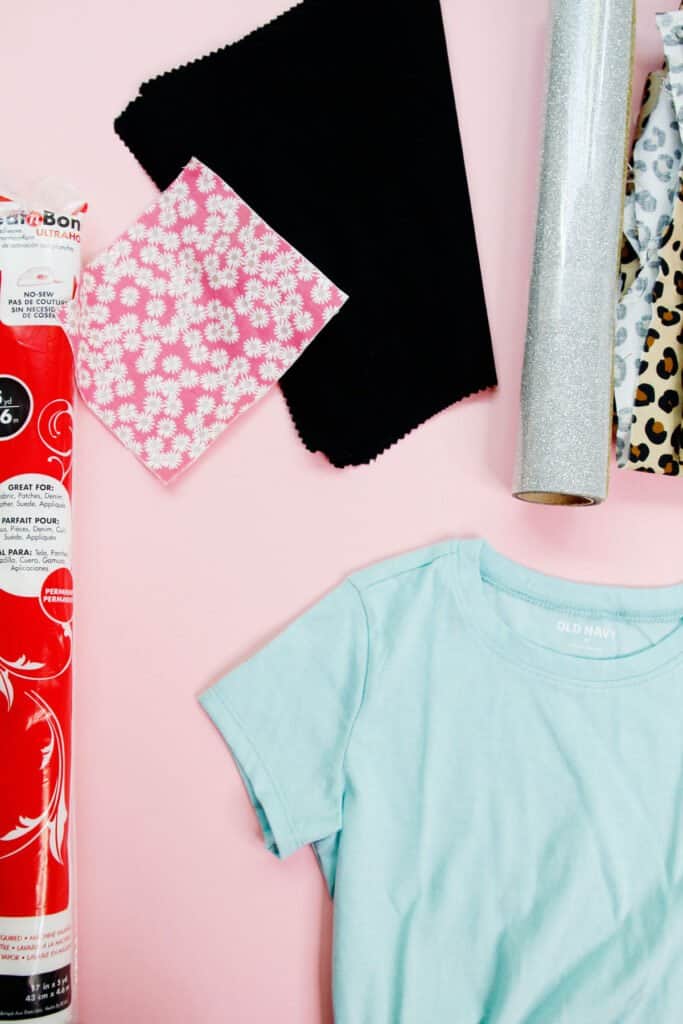
Minnie Mouse Bow Tee Materials
- Blank shirt (affiliate links)
- I love getting these from clothing stores like Old Navy, Target or Amazon versus a craft store like Hobby Lobby or Michaels. The clothing store shirts are often softer and just as cheap!
- Black fabric or black iron-on vinyl
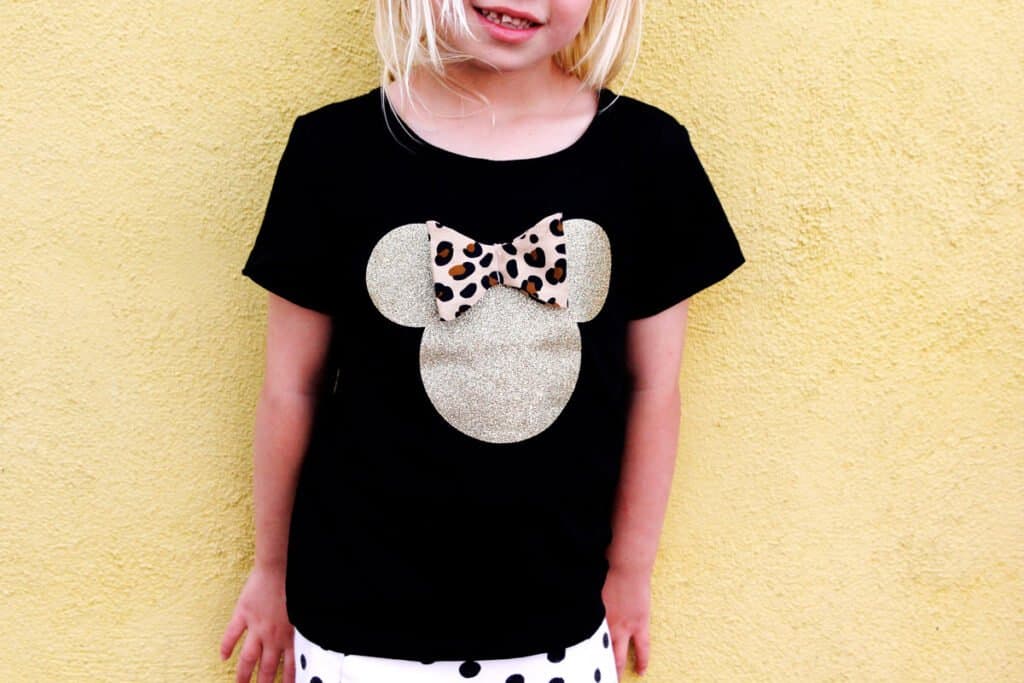
- You don’t have to use black, mix it up and use a bright color or glitter iron on!
- Printed fabric for bow
- Heat N Bond Ultra
- Cricut machine, I’m using the Cricut Maker 3 (c/o Cricut)
- I recommend a starter bundle!
- Cricut rotary cutter blade, this comes with the Cricut Maker
- Cricut EasyPress or iron
Mickey Mouse SVG File
Sign up for the newsletter to access the Mickey Mouse SVG – you’ll get an email with a link to the downloads. This is the best way for me to offer free SVGs, it seems like a hassle but a lot of web browsers don’t like SVG files so this is the easiest way!
You can also find the bow templates (both 3 dimensional and flat) in the same spot!
Use the bow file to make a Minnie mouse tee or leave it off for Mickey. These shirts are great for Disney parks!
Minnie Bow Template
The Minnie Mouse template bow is a 3d bow, which I think makes the shirt extra fun! This type of detail is super unique. It’s washable – just be sure to iron out wrinkles before wearing!
There is also a flat option if you don’t want to deal with a 3 dimensional bow or want to use iron-on.
PDF Mickey Templates
Click the button below to download these templates as PDF files. You can cut these by hand if you don’t have a Cricut machine!
Cricut Disney Mouse Tees Instructions
Prep your fabric by applying Heat N Bond to the back of the fabric with an iron or heat press.
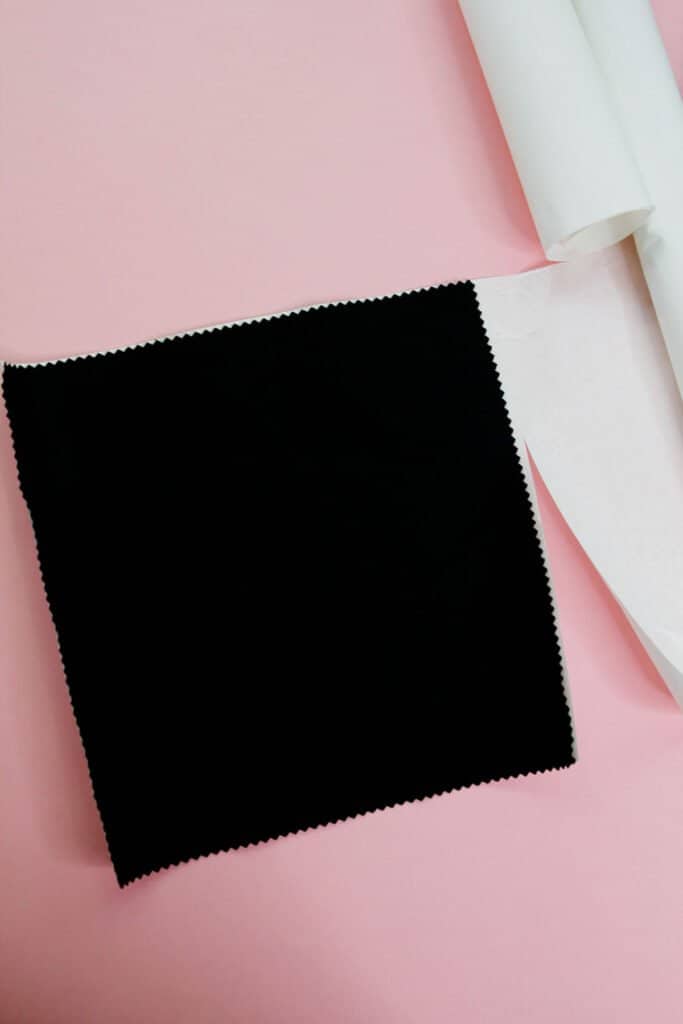
Peel off the paper backing on the heat n bond.
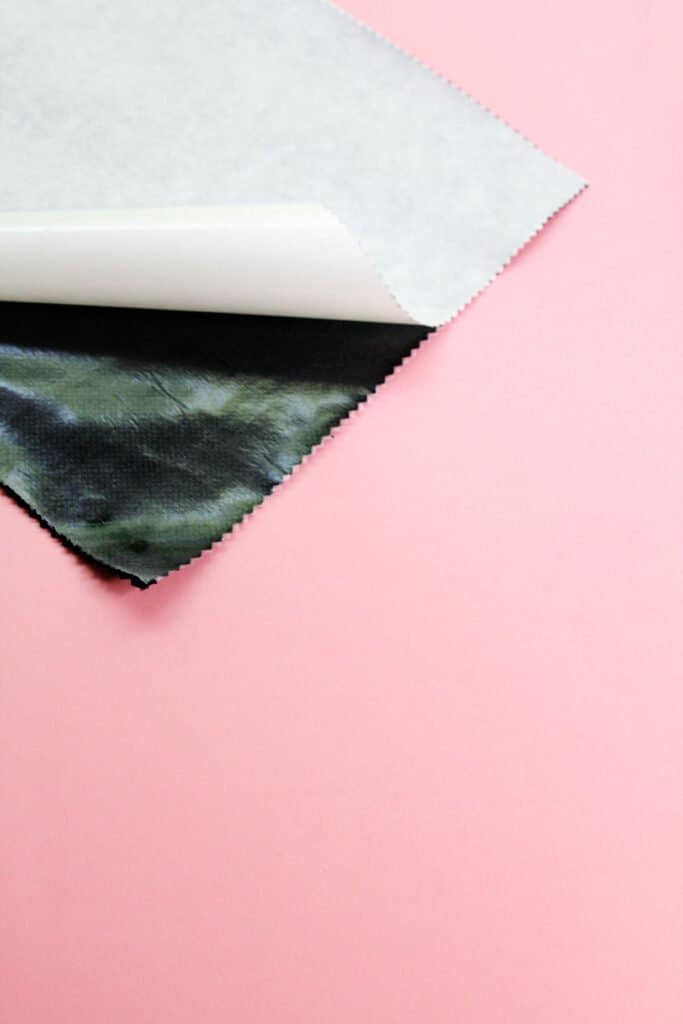
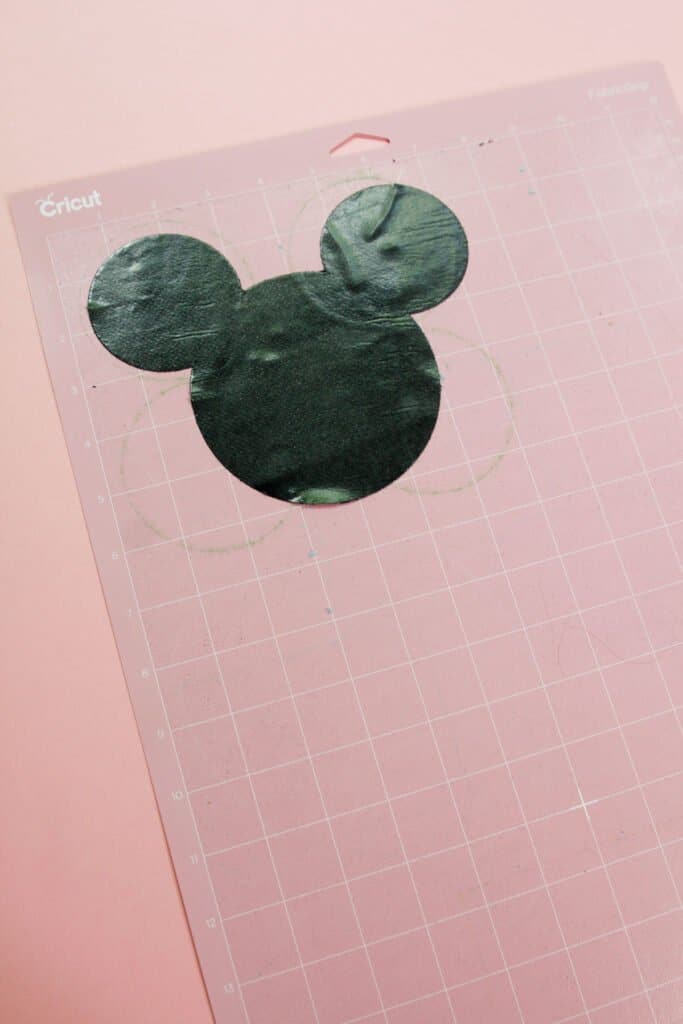
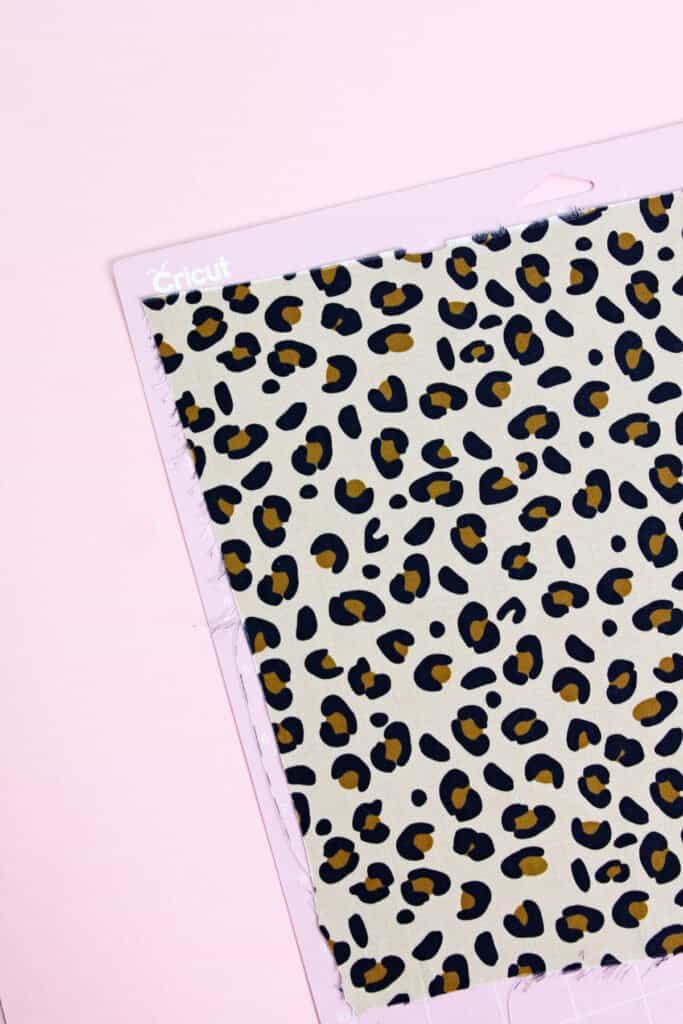
Stick the fabric face DOWN on a Cricut fabric mat, the pink one! The fabric has to be face down for this because if you put the heat n bond layer on the sticky part, it might be a sticky disaster and will affect the adhesiveness of the interfacing layer.
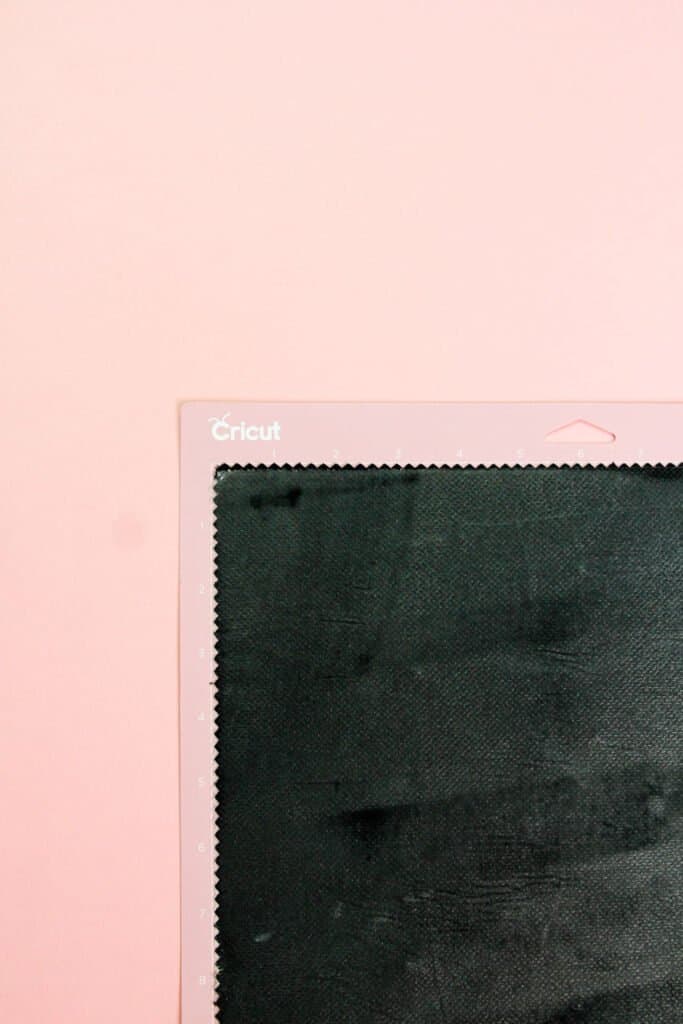
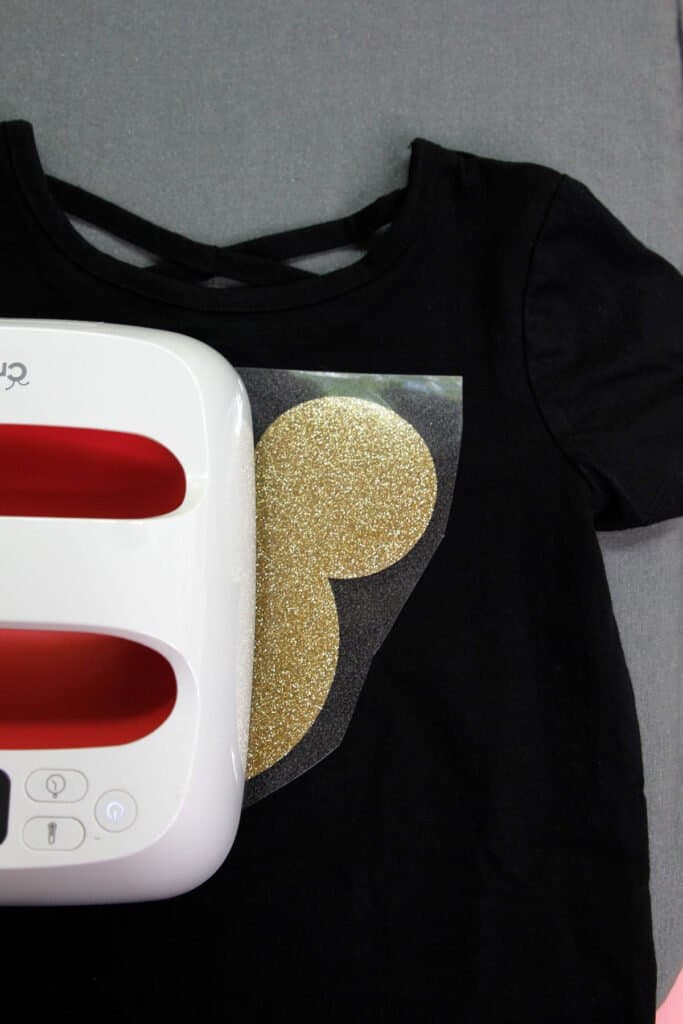
If you are using heat transfer vinyl, place the shiny side down on the Cricut mat.
Open Cricut Design Space and click ‘new project’. Upload the SVG file. Adjust the size depending on your shirt size. For a kids shirt, make the Mickey head about 6-7″ wide. If you are making these for the entire family, mom or dad’s shirts can have a little bit larger mouse head, measure 8-9″ on your blank shirt to help you decide how big to make it.
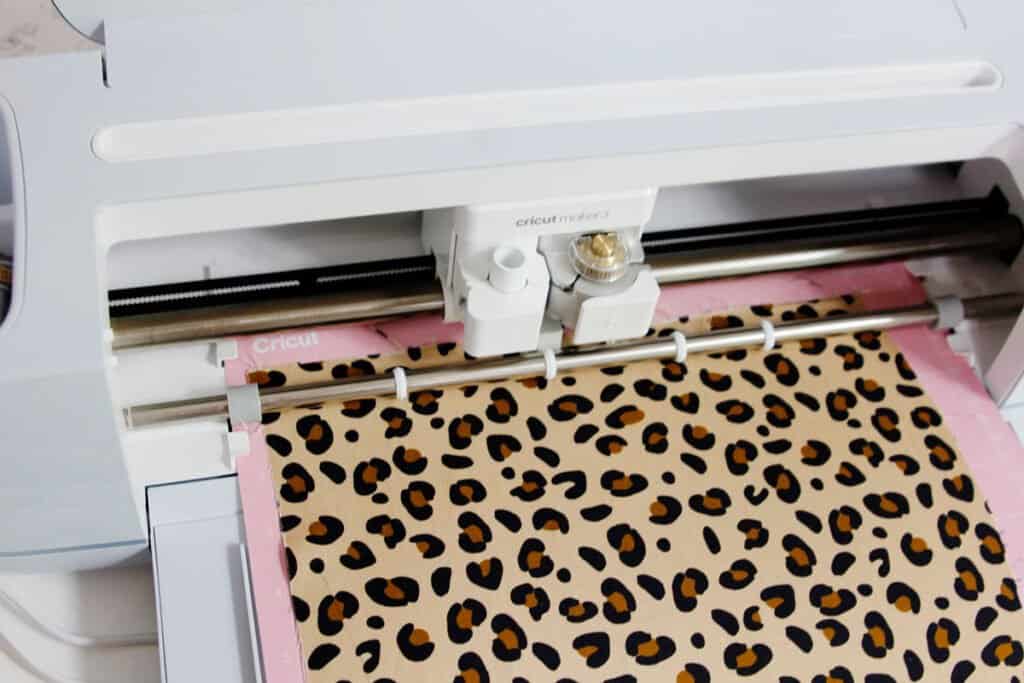
Choose “canvas” as the material when cutting. We’re not using canvas, but since we’ve altered the fabric we need it to cut a thicker material. Choosing cotton (backed) will force the machine to ask for the fine point blade, so make sure to choose canvas to use the rotary cutter.
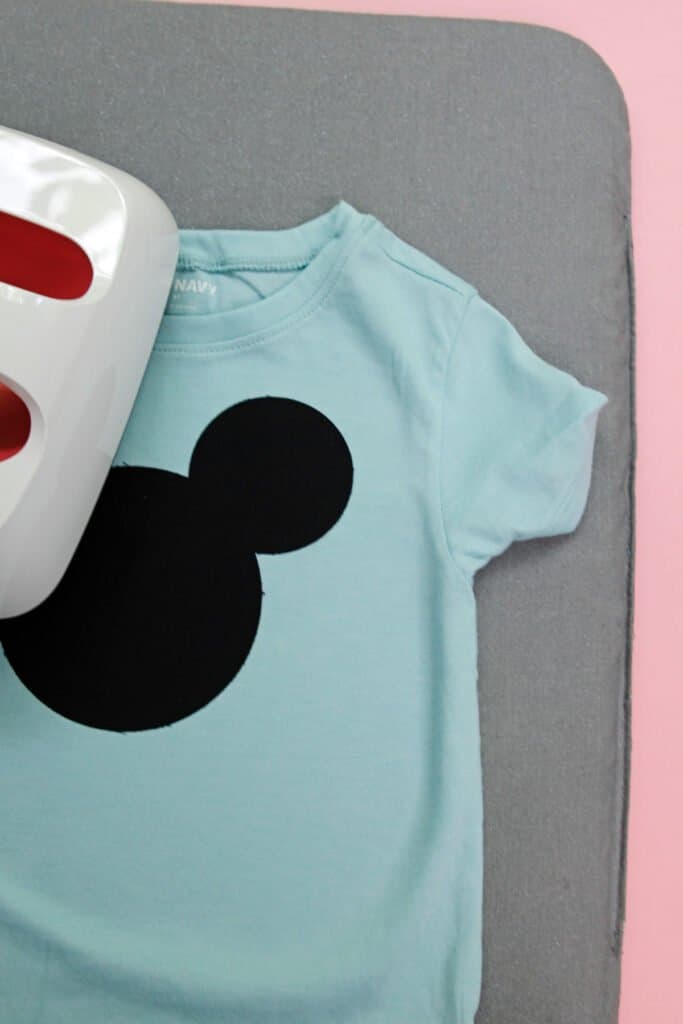
Apply heat to adhere the fabric to the shirt.
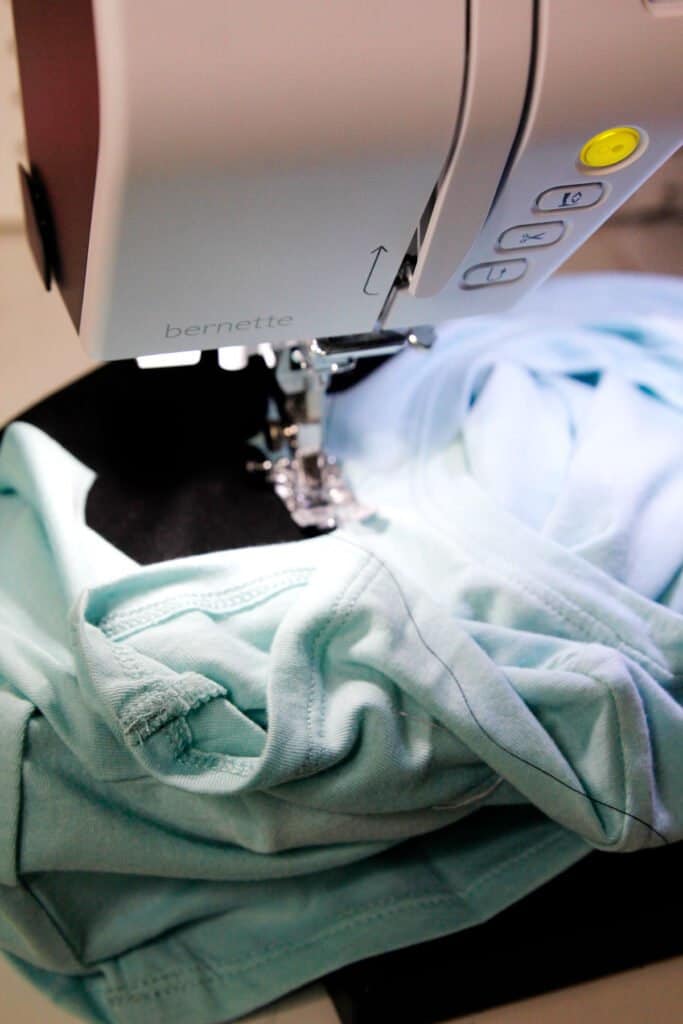
Sew around the Mickey head using black thread (or whatever color matches the fabric!), about 1/8″ from the edge. You can use a straight stitch or an appliqué stitch like a small zig zag.
If using iron-on vinyl, use the EasyPress to apply the vinyl to the front of the shirt.
Make the Minnie Bow – 3D version
Cut your cotton print fabric down to fit the Cricut mat. Press down. The direction of the fabric doesn’t really matter here.
Cut out two bow pieces using the SVG file.
Peel fabric off of the cutting mat.
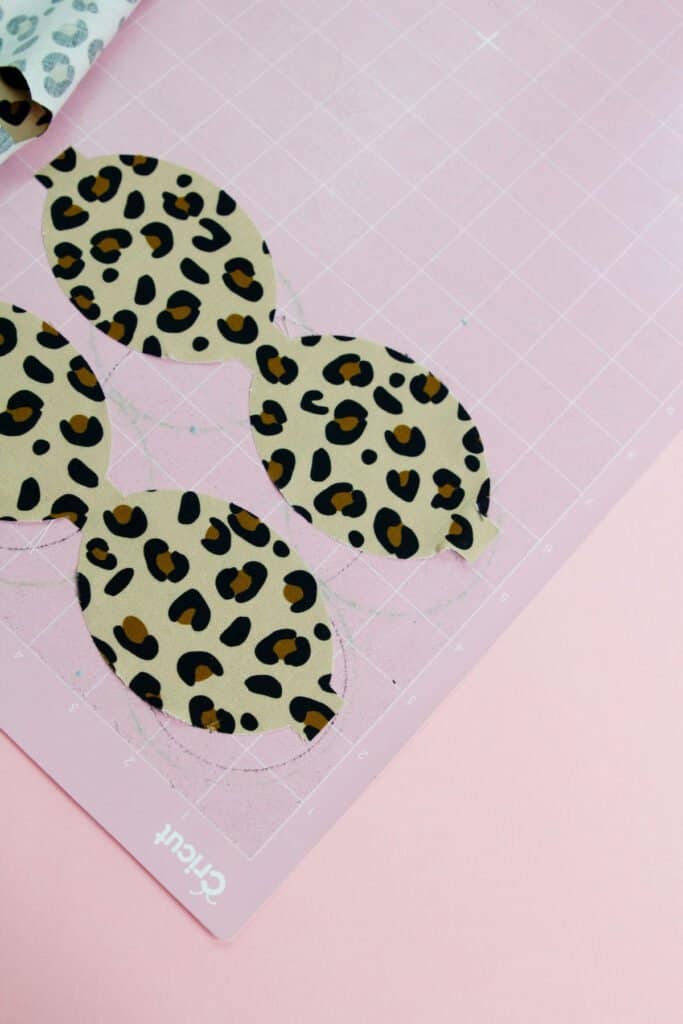
Lay both pieces together with right sides together. Pin them together and sew around the edges 1/4″ from the raw edges. Leave the sides open.
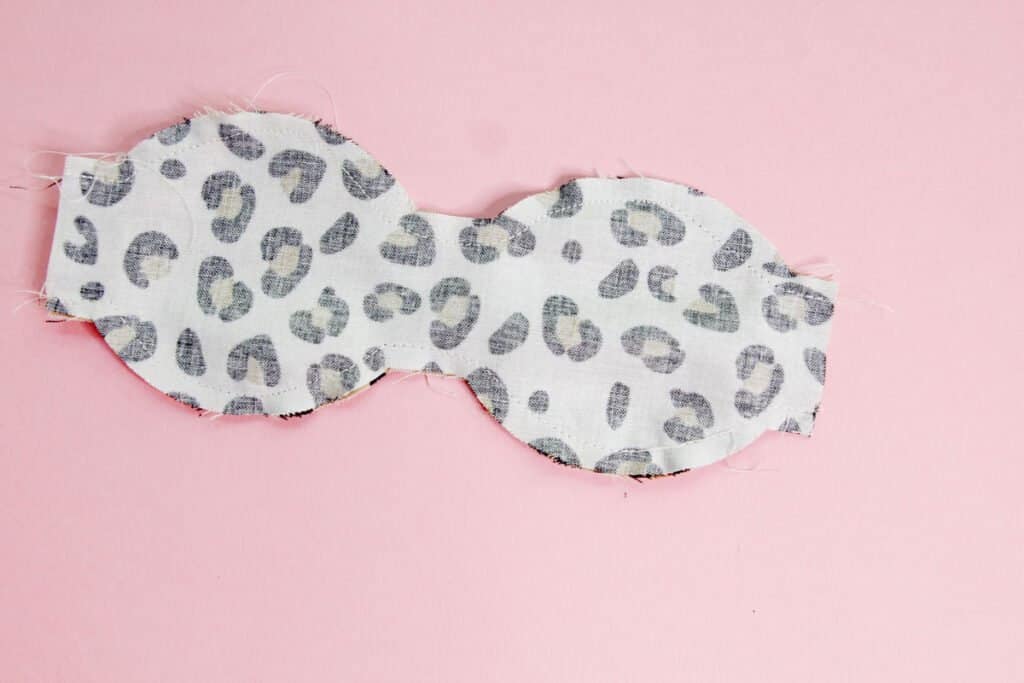
Clip seam allowances and turn right side out. Press well.
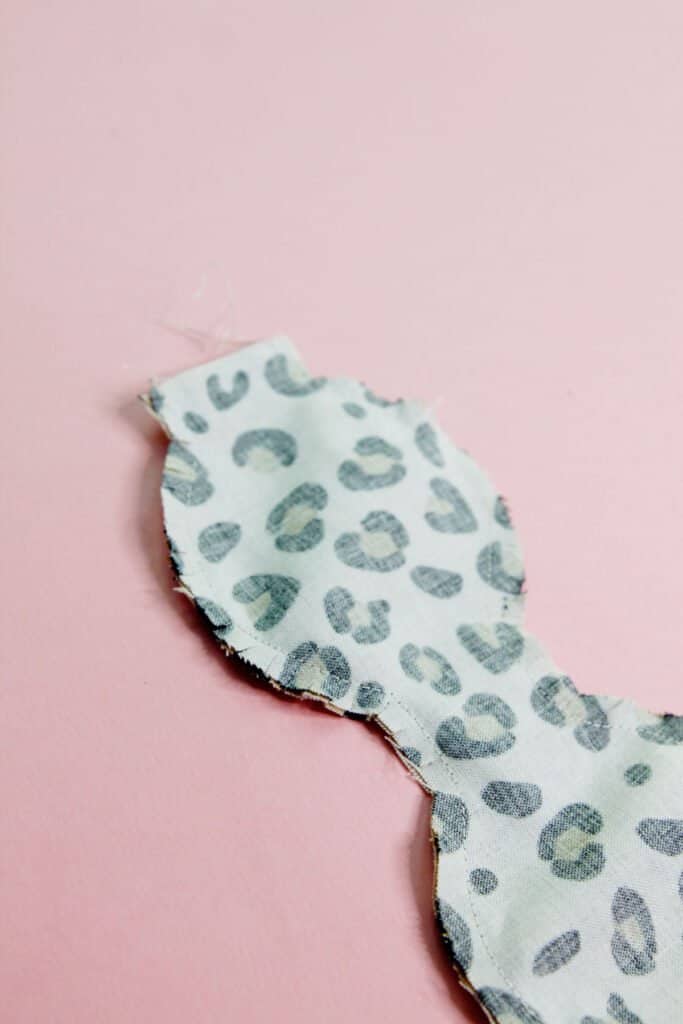
Fold bow so the edges meet together at the back. Pin and sew.
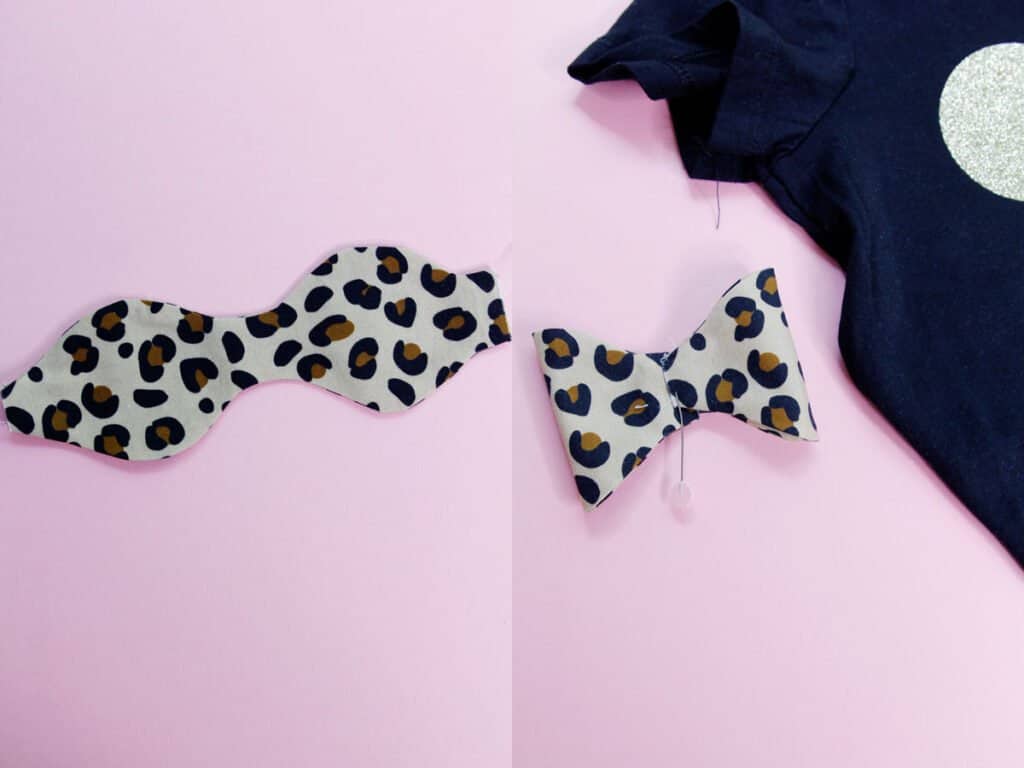
Place the bow in between the Mickey Ears and sew.
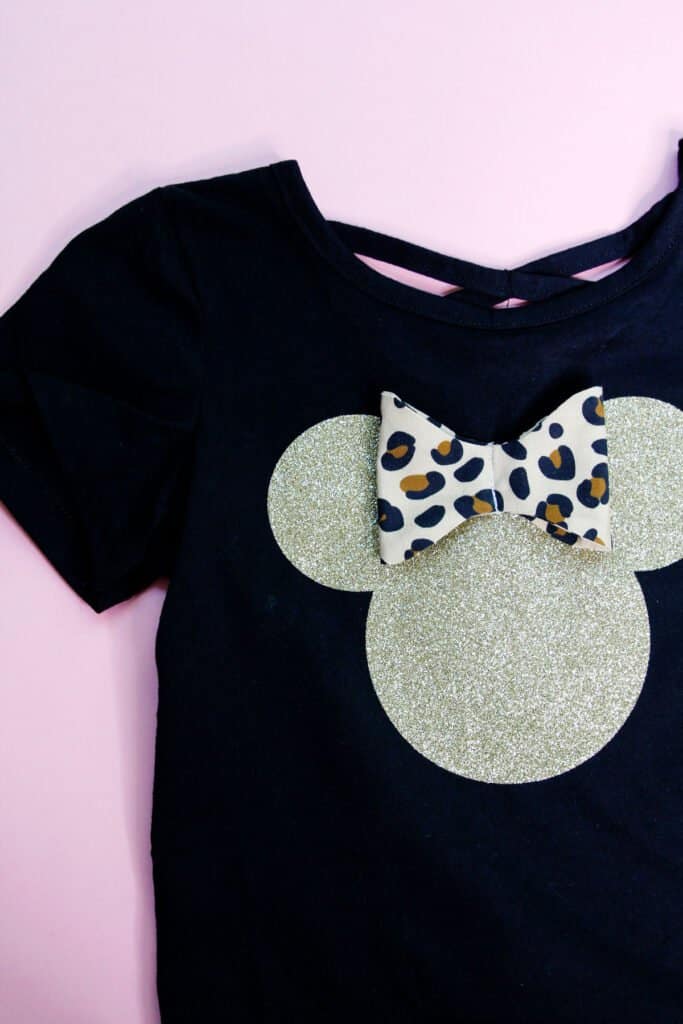
2D Bow DIY Minnie Tee
For the 2D bow, cut it out with fabric or iron-on vinyl and apply on top of the Minnie ears. Topstitch around the fabric. This method is super easy.
I hope these Cricut Disney tees help you make the most of your Walt Disney world or other Disney vacations! Happy crafting!
More Disney Shirt Ideas


Kid Tee Patterns
Sew your own knit tee and then add the Minnie Ears with one of these fun patterns!


