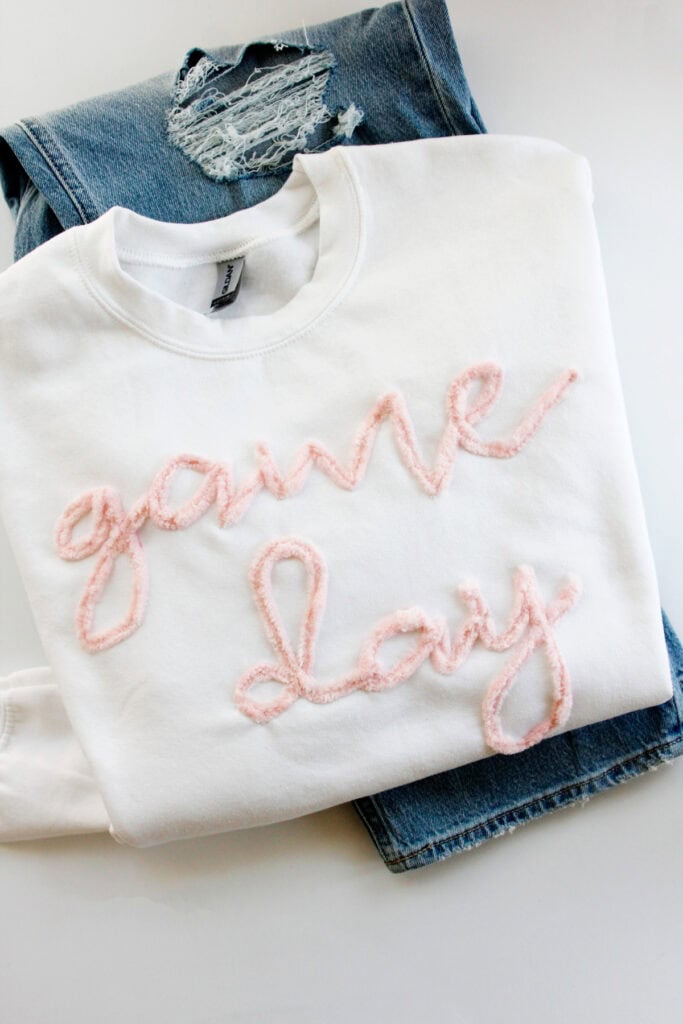
I love the look of game day embroidery on sweatshirts! It’s so collegiate and so cute! In this tutorial I am going to show you how to mimic chenille embroidered sweatshirts with a simple sewing technique (or no sew!!)! This chenille yarn sweatshirt tutorial sweatshirt tutorial will take you through all the steps.
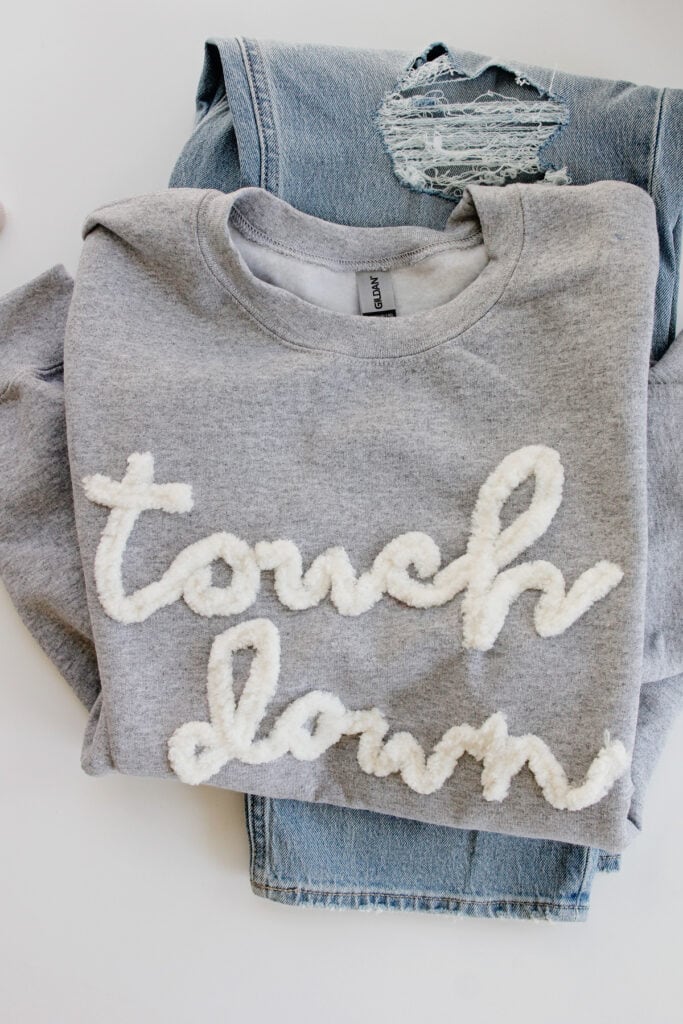
DIY yarn sweatshirts are so easy to make and you can customize them for your team! Use team colors and your mascot name and get ready to cheer!
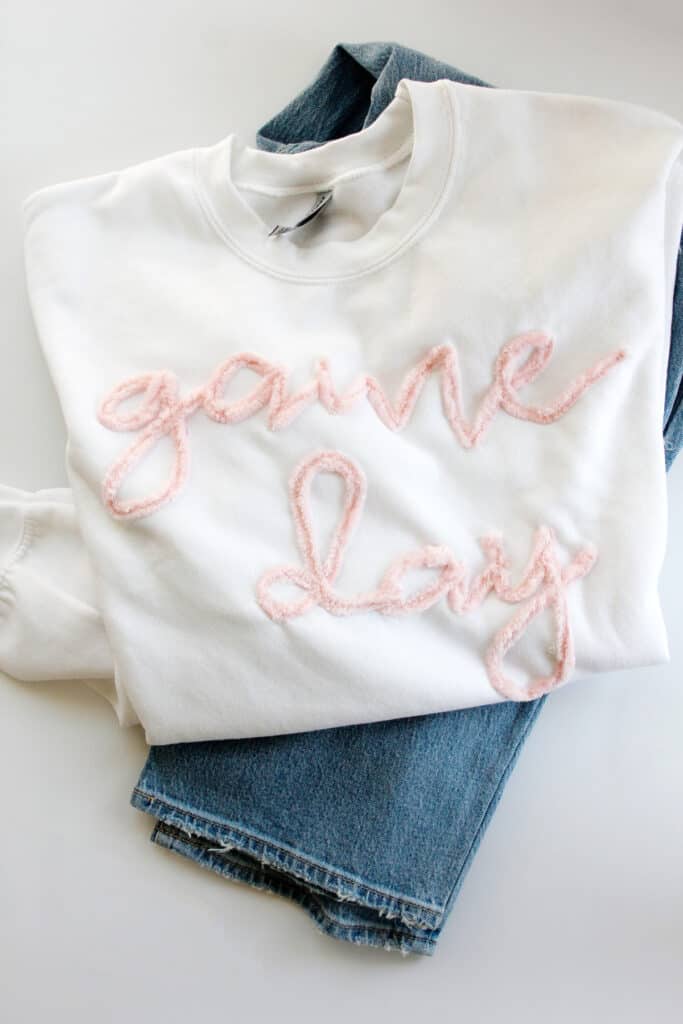
These are also great for really any holiday! Sew on JOLLY for Christmas, BOO for Halloween, MOM for a mom, etc!
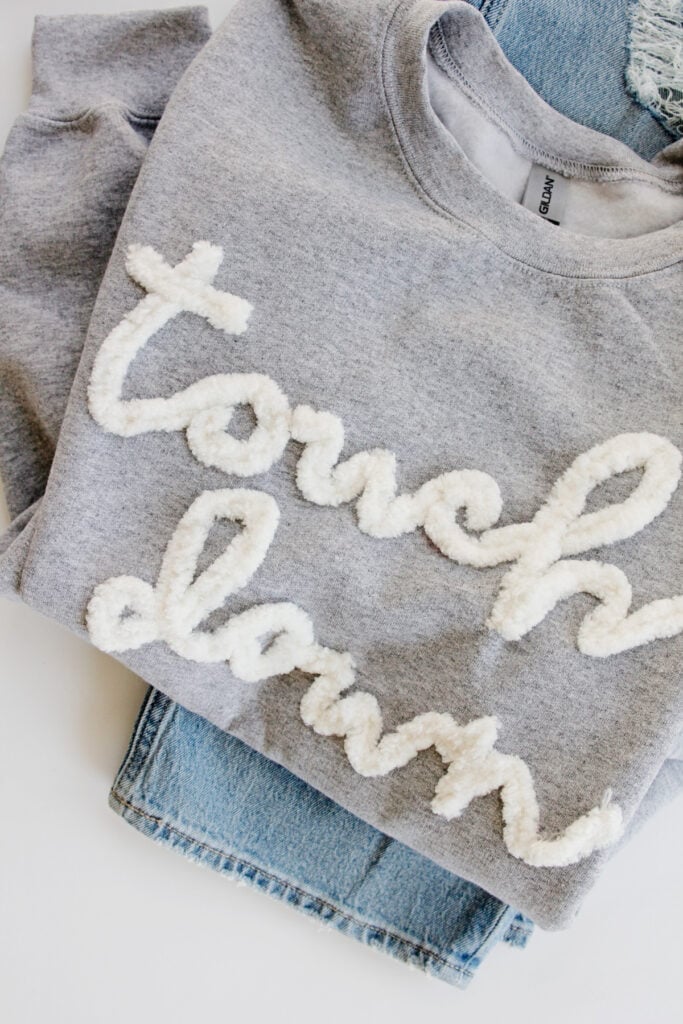
Game Day Chenille Sweatshirt Materials
- Size 6 or 7 chunky chenille jumbo weight polyester yarn*
- Matching thread
- Fabric marker
- Aunt Martha’s Tracing Paper and Hot Iron Transfer Pencils
- Fabric Fusion, no sew version
- Blank sweatshirt
*Chenille yarn is a chunky yarn that is very plushy. I used size 6 for the pink Game Day shirt and size 7 for the Touch Down design. I like the size 7 better because the fluff was more forgiving. The size 6 worked better for a smaller shirt and would work best for longer words. This may vary based on your yarn brand and type.
Washing Instructions
As long as your yarn is 100% polyester it is fine to wash in a regular cycle but you may compromise quality – the yarn may shed or fray or skew. To help with that be sure to secure the yarn well and backstitch at the ends of the words. This will vary based on your yarn so you may want to do a little sample and test it before washing your final project.
If you don’t want to risk it, hand wash or dry clean only. I usually hate garments you can’t just throw in the wash, but I feel like this one is worth it!
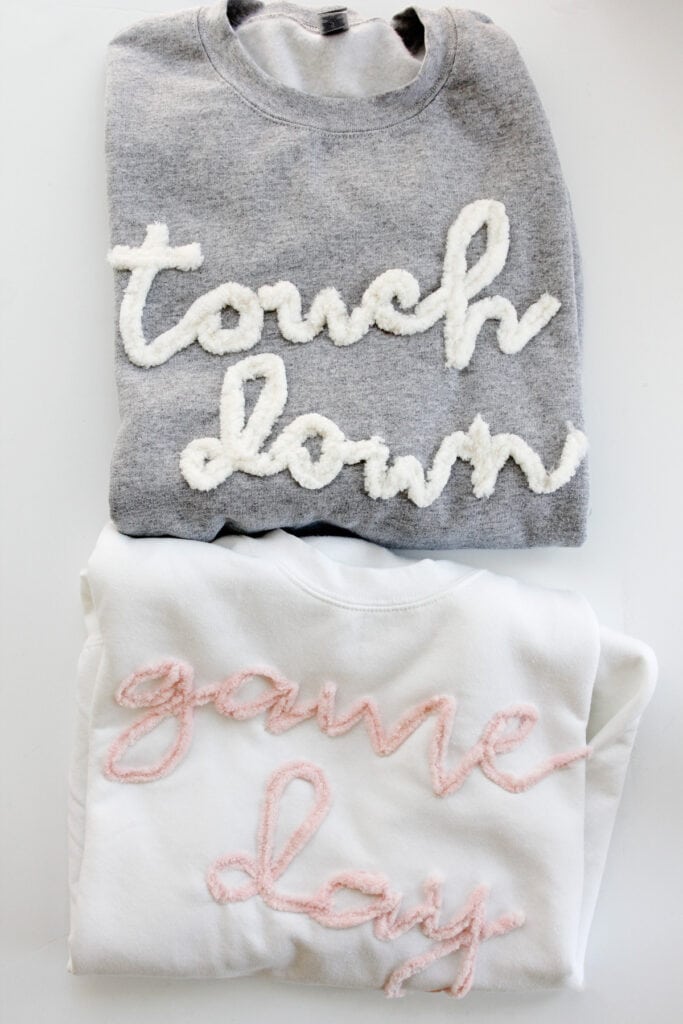
Chenille Yarn Sweatshirt Designs
Download the designs below! Click on the buttons below to download:
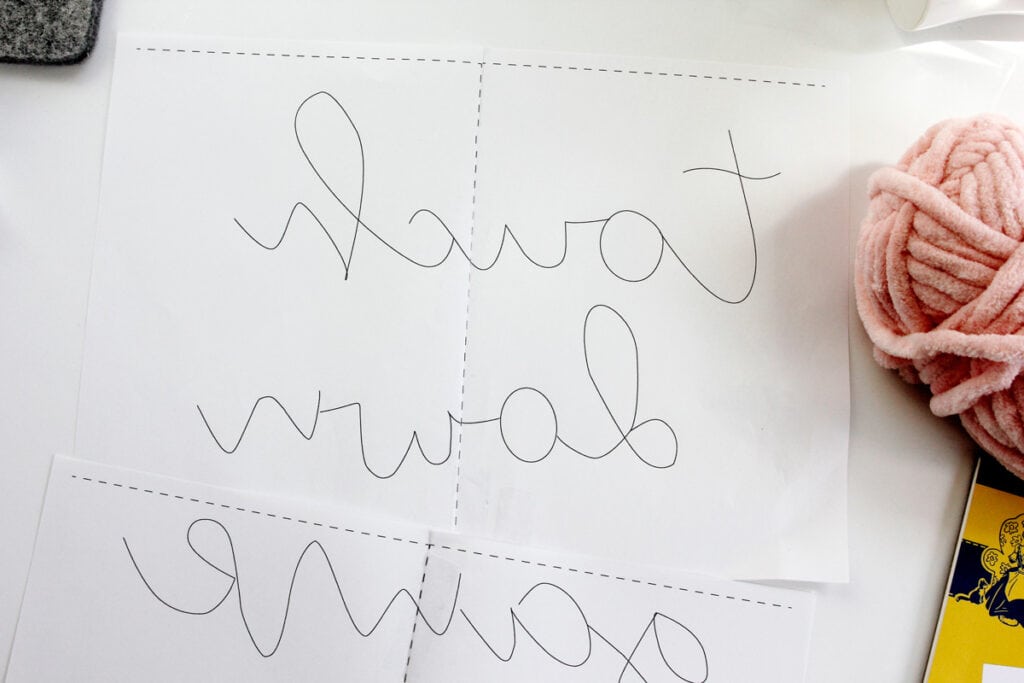
The designs are too big for one page so they will print on 2 pages. Tape together along the dashed line. The designs are backwards because we’re going to use a transfer paper and pencil to get the design on the shirt so it can be traced with the yarn.
Make your own design
To make a custom design for your favorite team, find a simple cursive font you like and print out the words you want in a big font. You can even freehand the designs straight on the sweatshirts if you want!
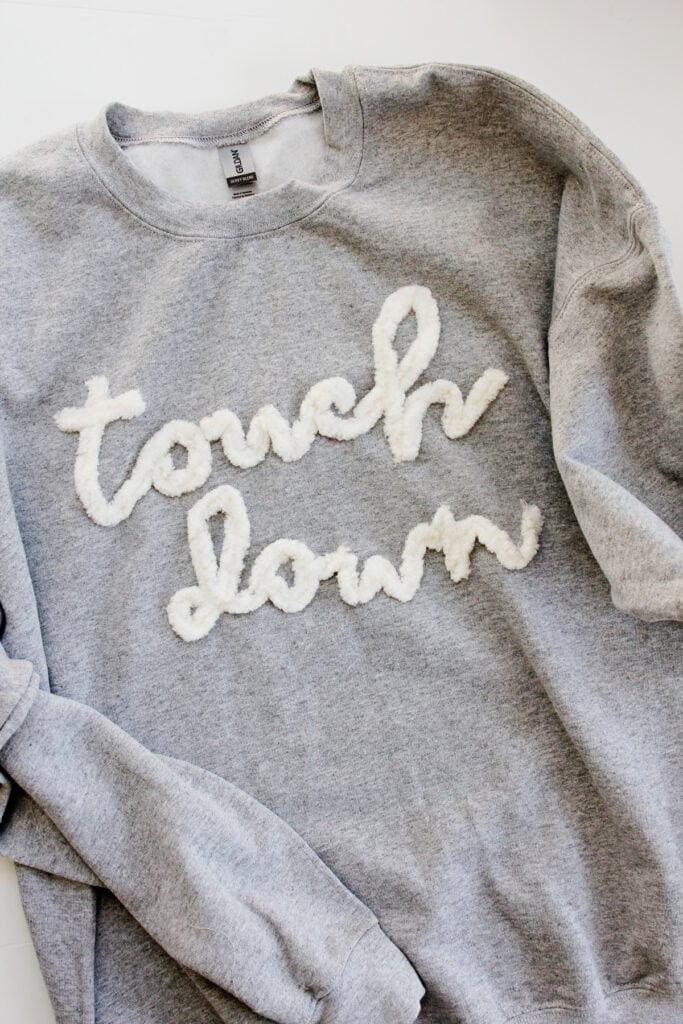
Chenille Yarn Sweatshirt Tutorial
Place a sheet of tracing paper over your design and tape them both to the table. If the design is too big, just cut a smaller piece of tracing paper and tape it on the other side of the paper – not the side you draw on.
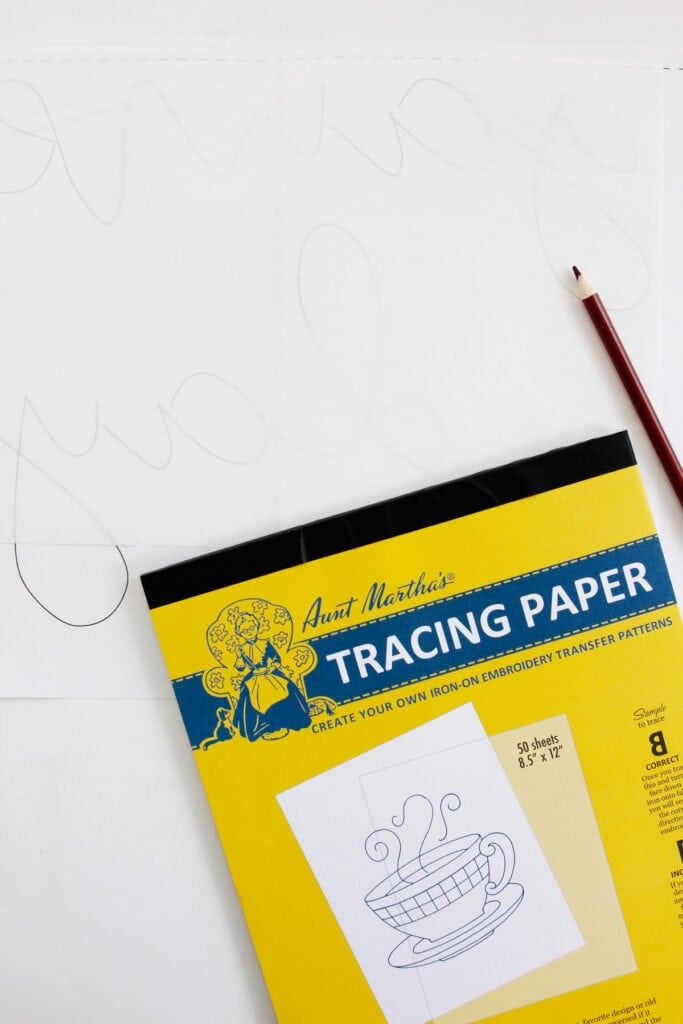
Trace over the design with the transfer pencil.
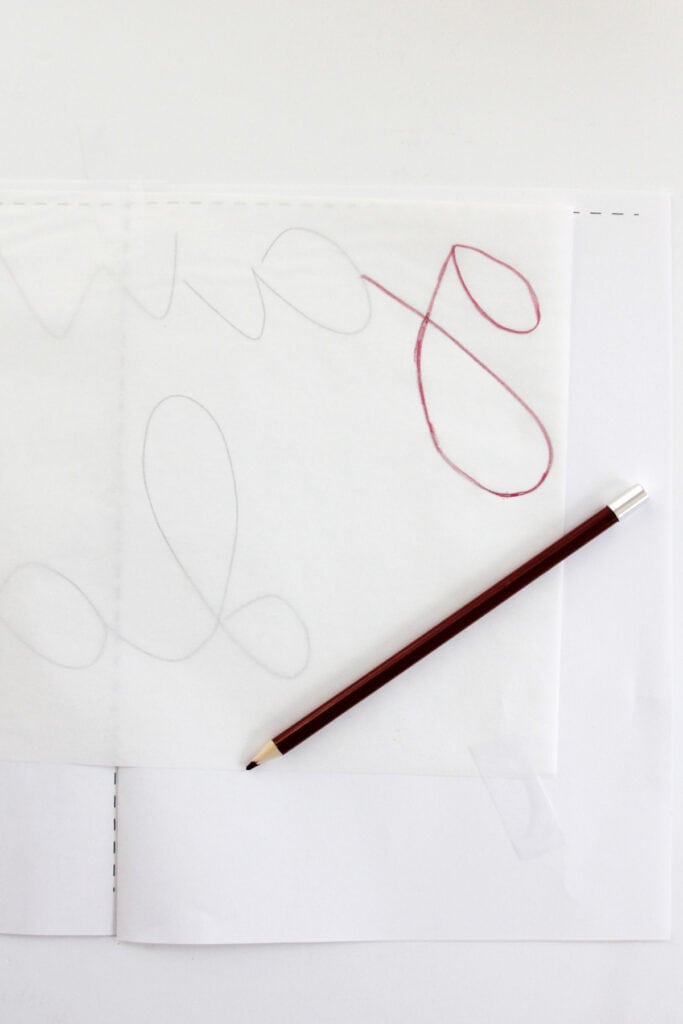
Go over the design twice pressing firmly.
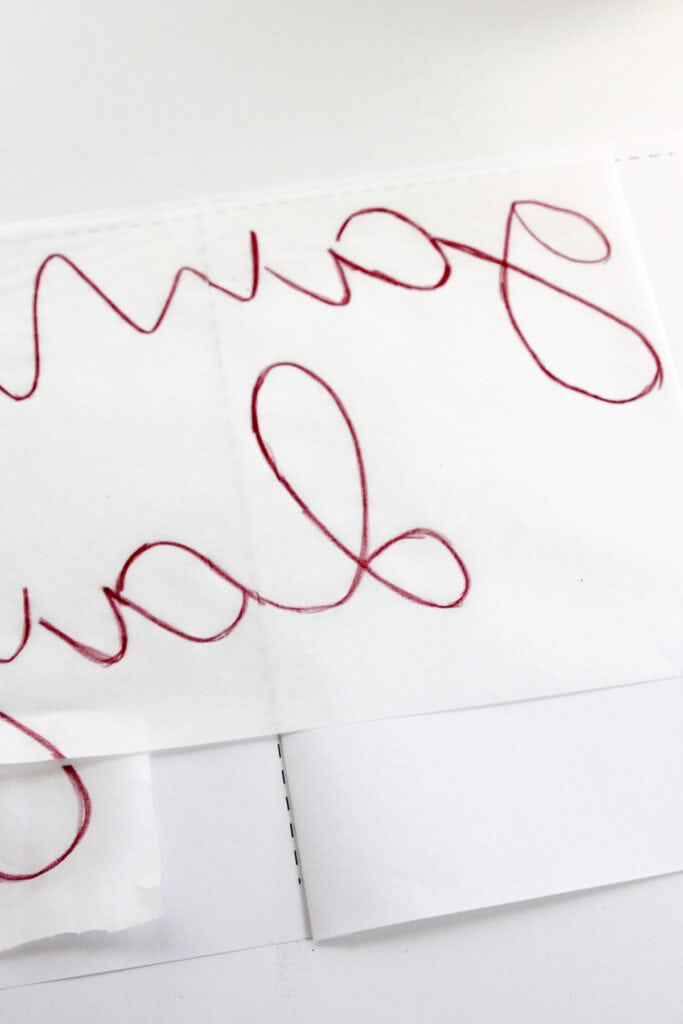
Flip the paper over and center it on your sweatshirt. Now you can see the design is readable!
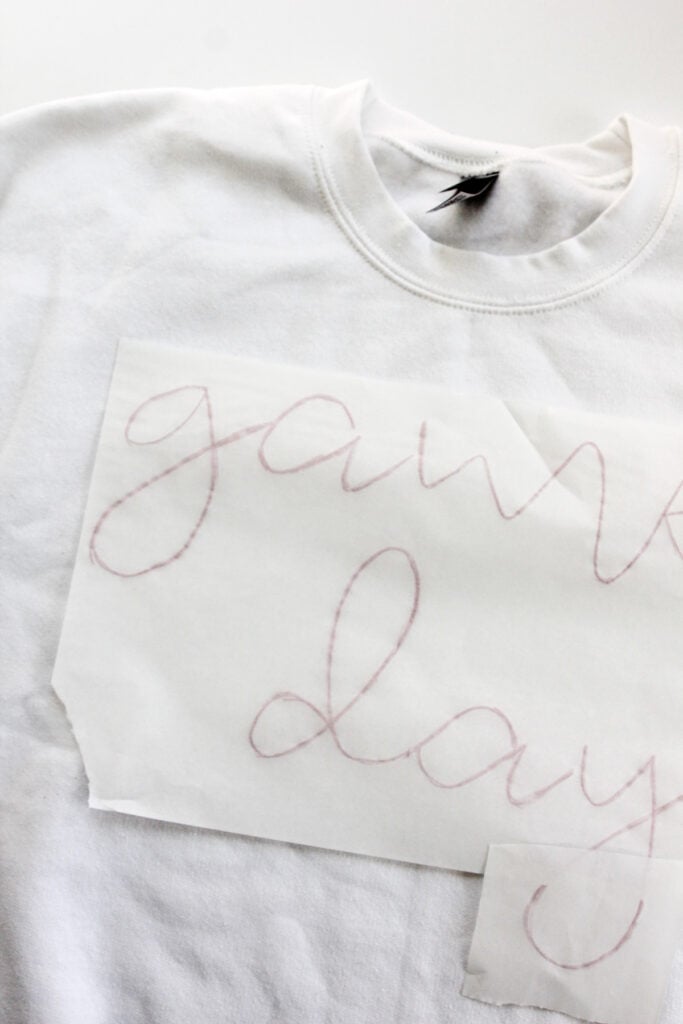
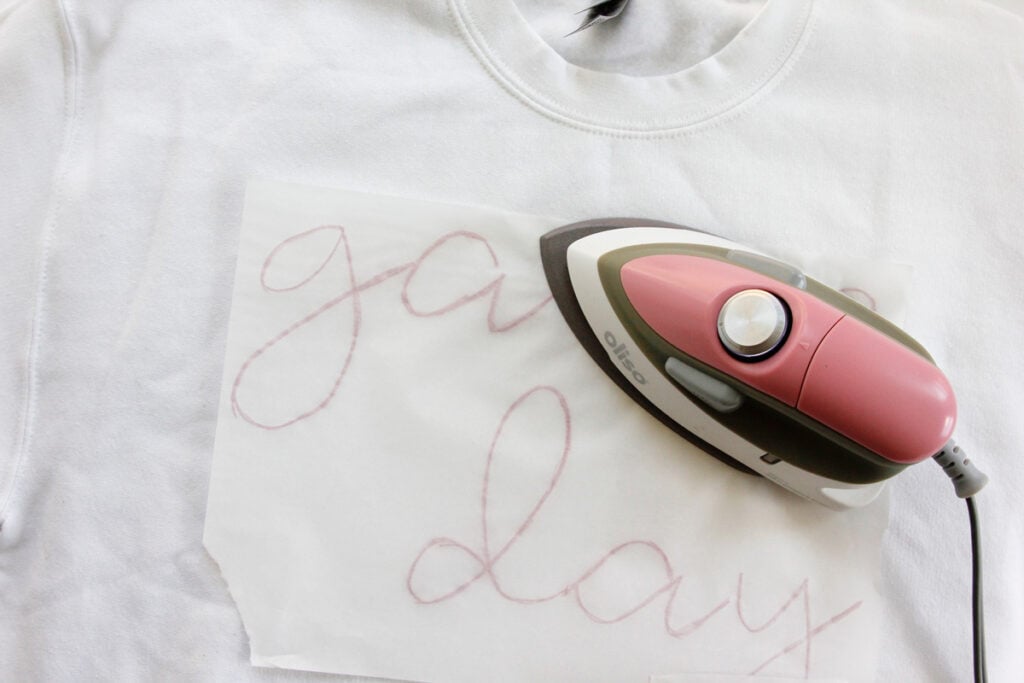
Hold the tracing paper carefully and press down with an iron. Move the iron to heat the entire design.
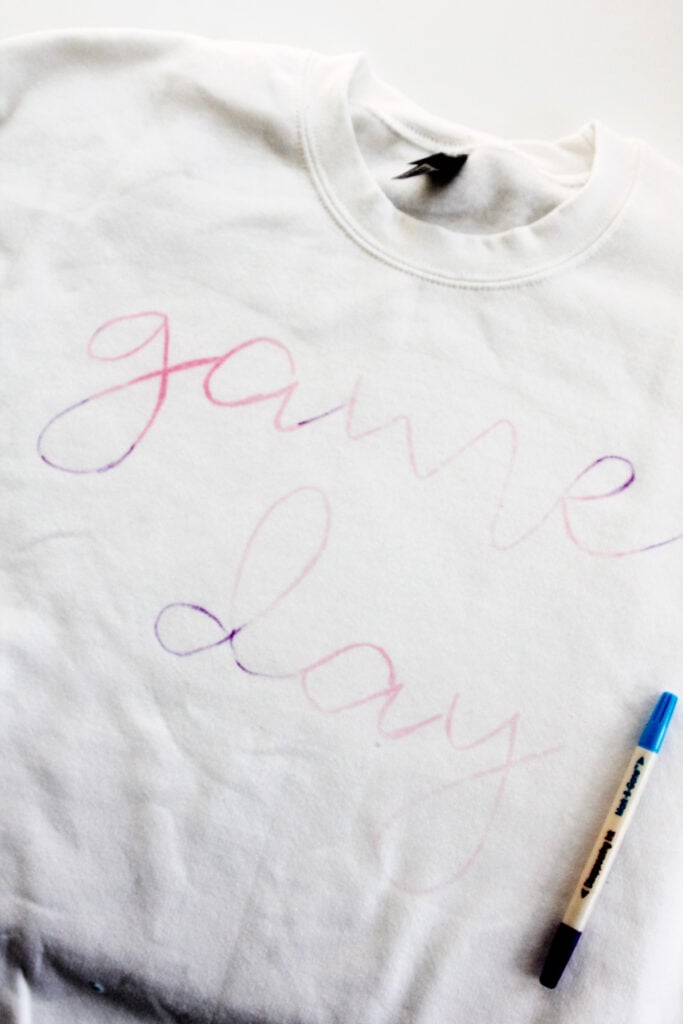
Take a peek before peeling to make sure the design transferred. If there are spots that aren’t dark enough to see well, fill them in with a fabric marker. Now we are ready to sew the yarn on!
Put the top of your sweatshirt under your sewing machine, making sure the back is out of the way. Place the yarn on the first letter and lower your presser foot. Sew on with a zig zag stitch, backstitching when you start and end a piece.
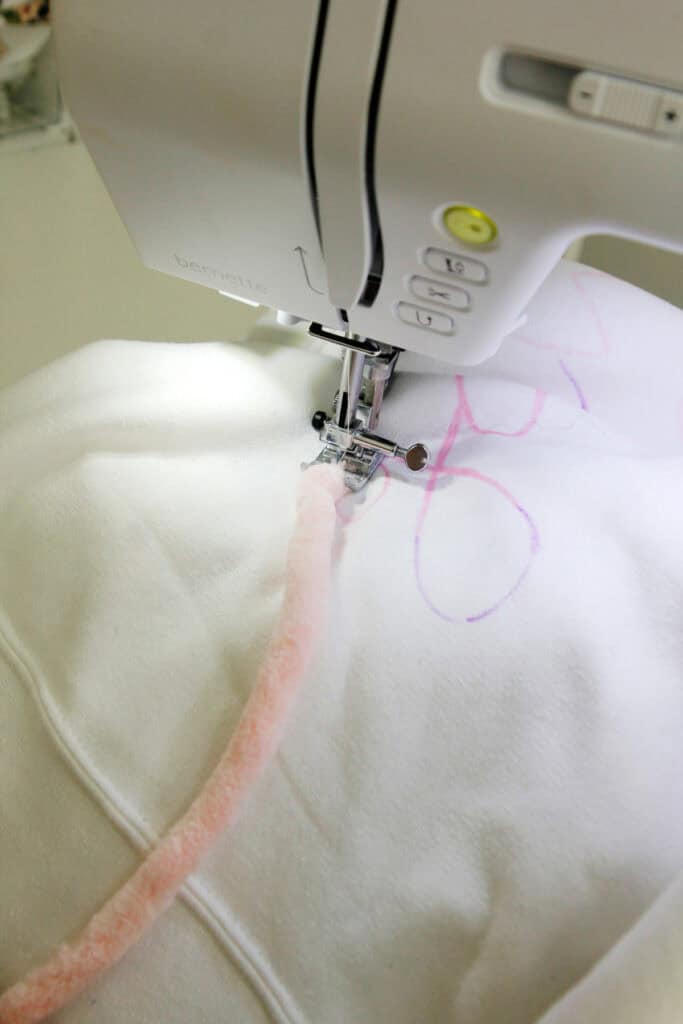
Follow the natural breaks in the wording. There are places where you will want to cut the yarn and then start again at another point. Feel free to overlap the yarn and curve it as needed.
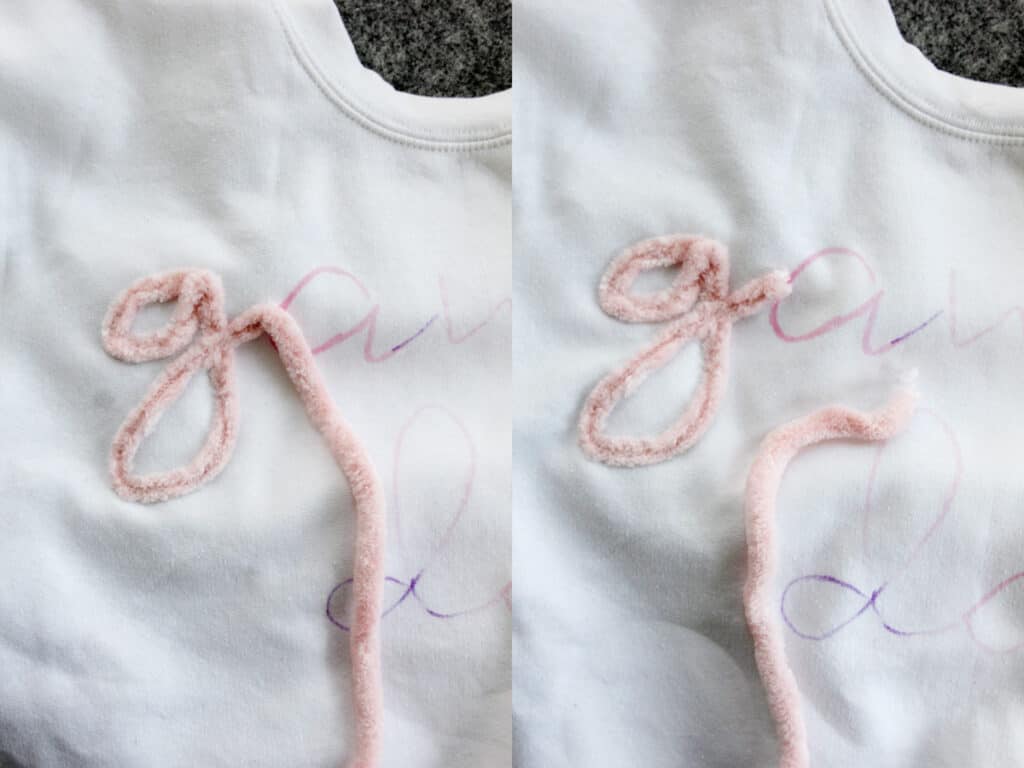
Continue until your words are all done.

No Sew Chenille Yarn Sweatshirt
For the no sew version:
- Follow the instructions for transferring or drawing your design
- Slip a piece of cardboard into the middle of your sweatshirt to protect from glue seeping though
- Trace your design with a thick line of Fabric Fusion
- Carefully place yarn on glue using pins to hold shapes if necessary
- Let dry and remove pins


