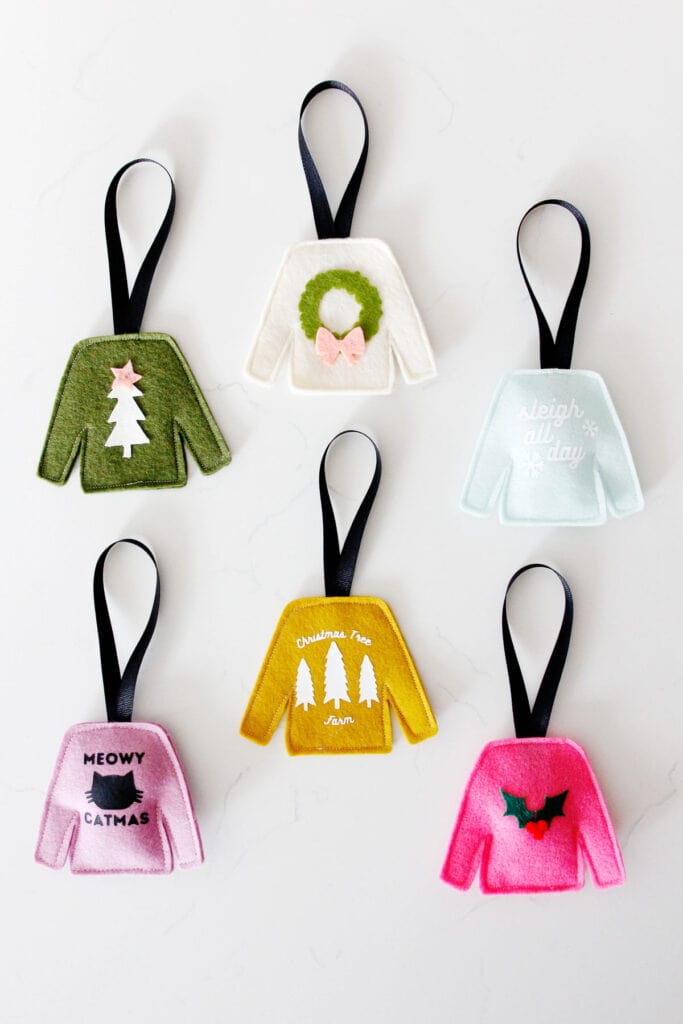
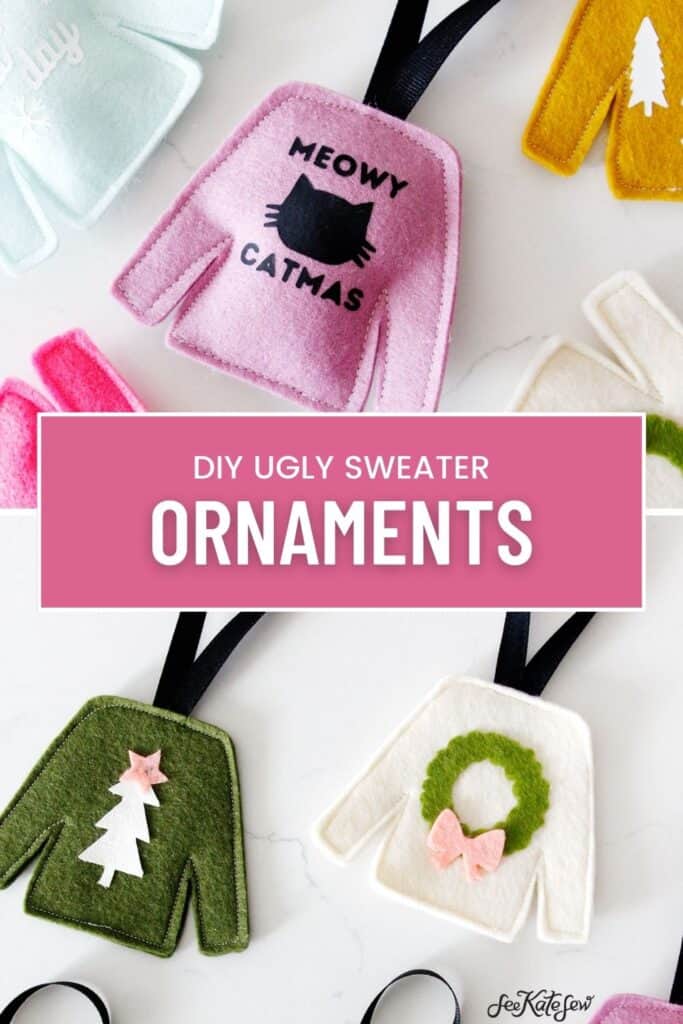
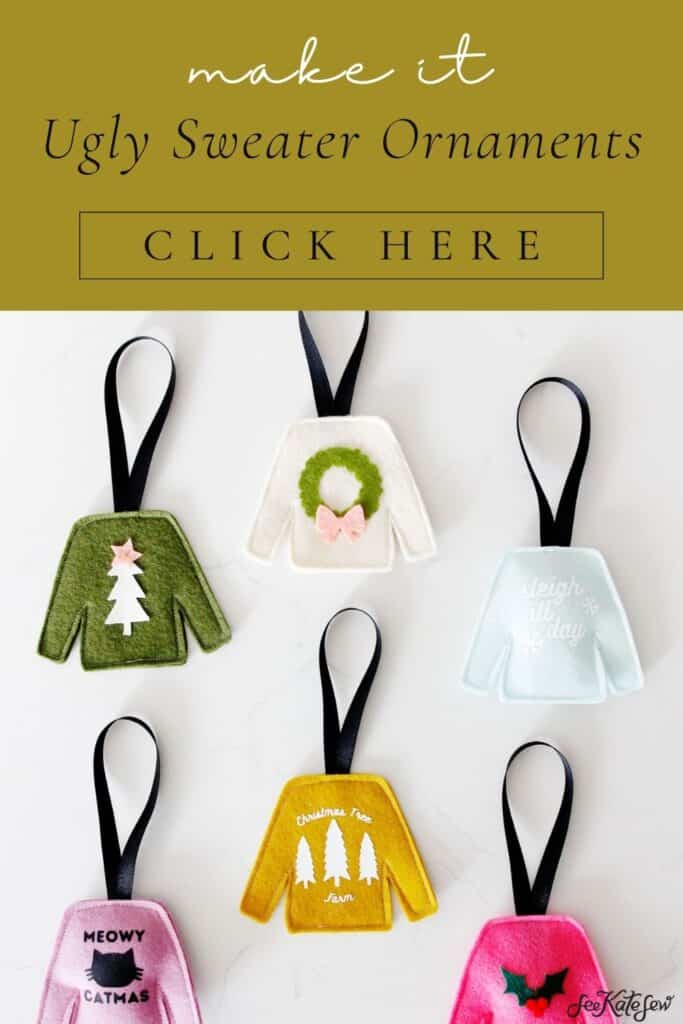
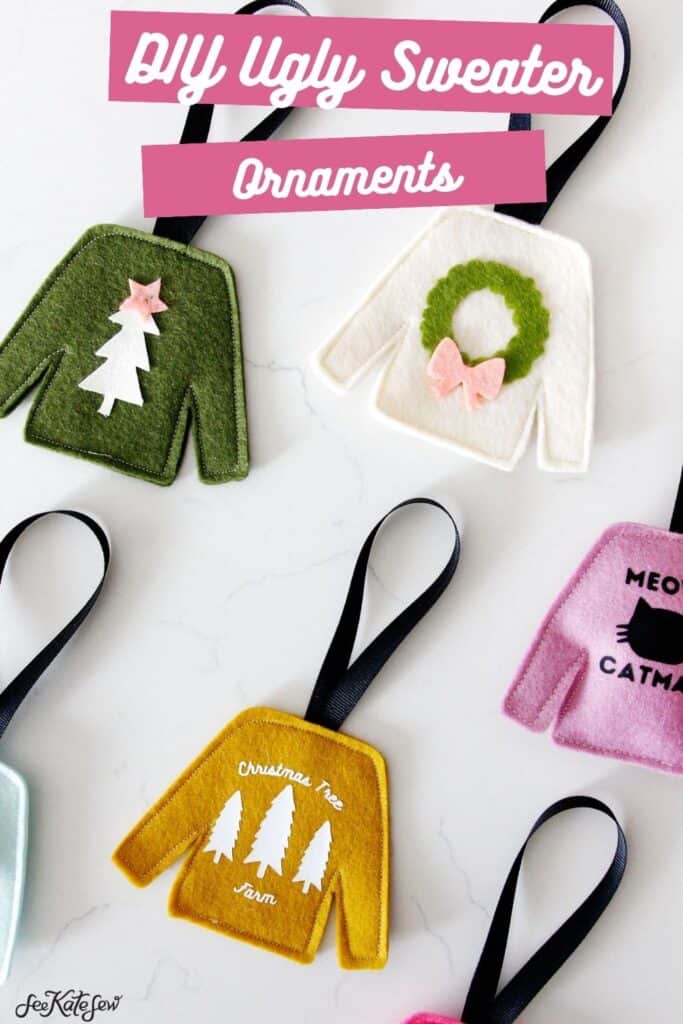
Decorate your own DIY ugly Christmas sweater ornaments! These ornaments are made from felt – make a batch and then decorate them as a family activity! You can even host an ugly sweater contest after decorating!
You can use so many things to decorate these and make them truly ugly – try string, sequins, beads, puffy paint and more! These are a great craft for kids during the holiday season.
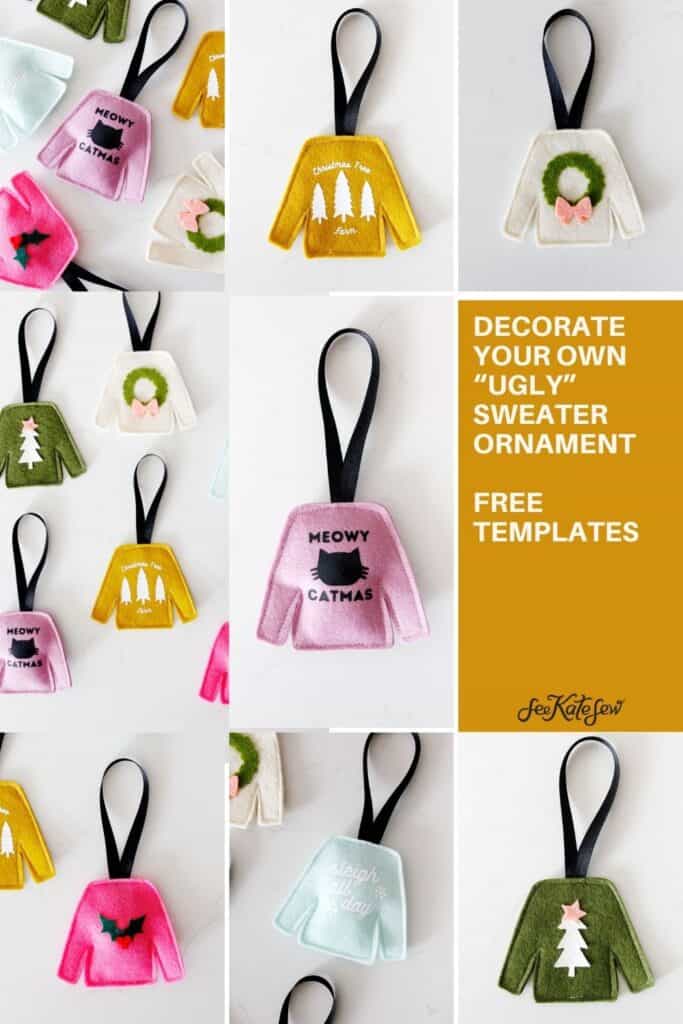
You can make them as ugly or as cute as you want! Ugly Christmas sweater ornaments make a great gift, too!
This can be a sewing project or a no-sew project! Both ways are simple! Soon you’ll have adorable felt ornaments for your Christmas tree!
This is a great project for a crafting party or party favors. You can even make a whole bunch into a garland.
I’ll even show you how to make it into a cardigan for the Swifties!
DIY Ugly Sweater Ornament Materials
- Felt (affiliate links)
- 3D fabric paint
- Sequins or rhinestones
- Mini pompoms
- Embroidery floss
- Iron-on vinyl
- Hot glue gun or elmer’s glue for attaching items
- Fiberfill stuffing, optional for a cozy, stuffed sweater
- 10″ of ribbon for hanging
The sky is the limit when it comes to embellishments! Use anything you can find including buttons, glitter, iron-on vinyl or cut out more shapes with felt.

- If you want to add small hangers to this ornament, just bend paper clips into a hanger shape and glue to the back or in between the sweater pieces.
- Stuffing is optional – this will make your sweater look a little bit cozier. Stuffing your ornaments is a preference, I love them both ways!
- Another option for finishing this ornament is to sew around the edges with a blanket stitch. This adds a pop of color and I love hand stitching for a calm activity by the fire!
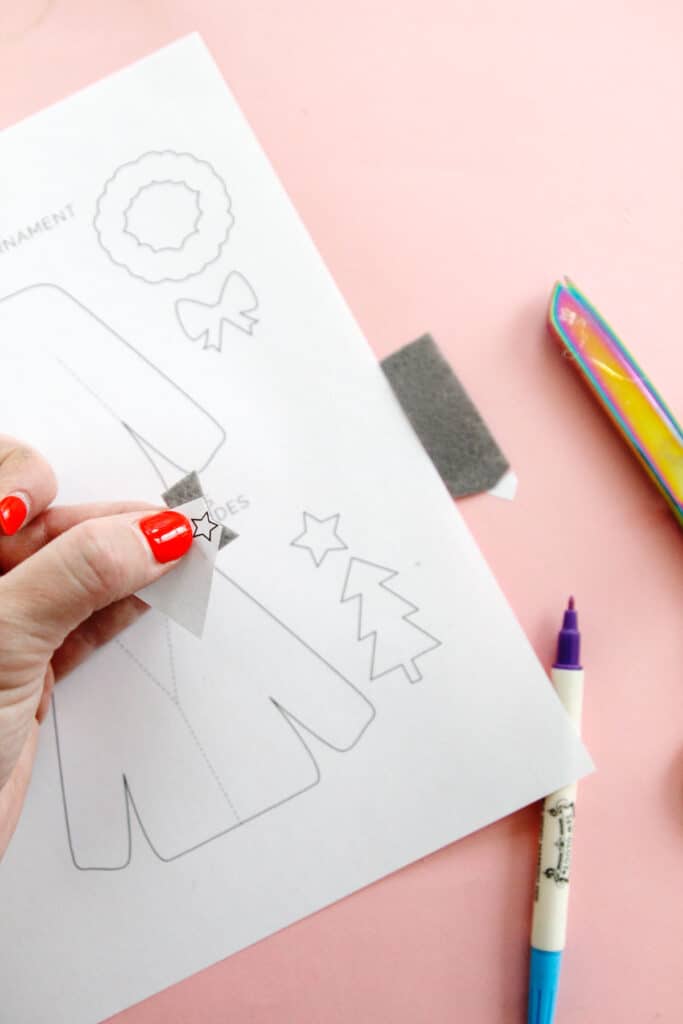
Ugly Sweater Christmas Ornament Templates
Download the sweater shape templates below! This template will print on 1 page.
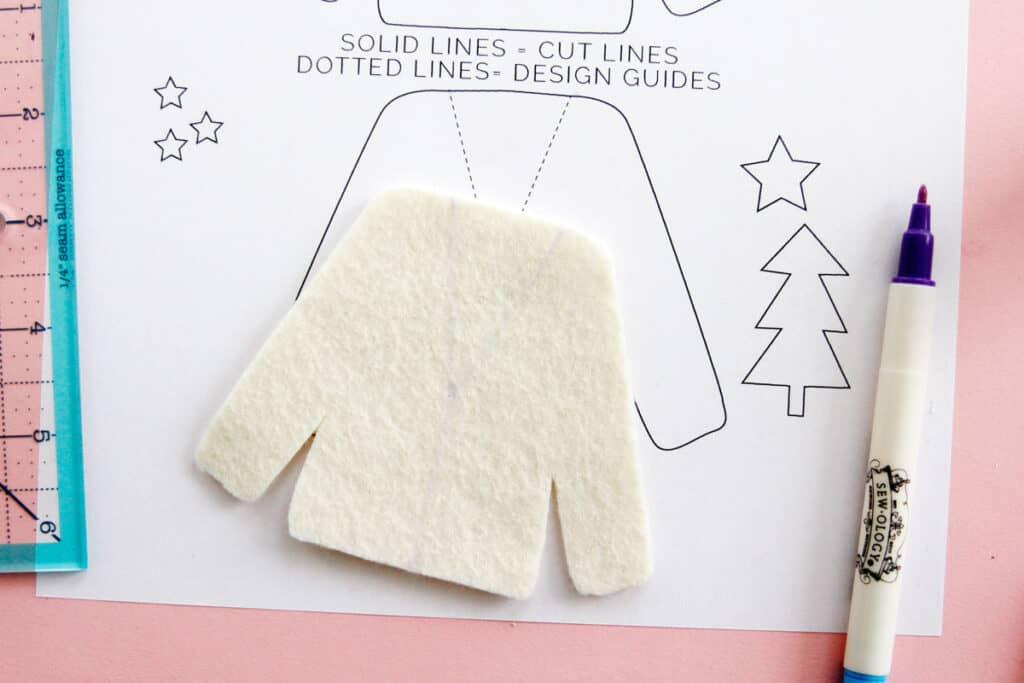
The solid lines are where you cut and the dashed line are provided for design guides. There are two styles: a basic sweater and a v-neck cardigan.
If you are planning to use a Cricut machine (I love my Cricut Maker 3) to cut these out, use the JPG file below. Just upload it in place of an SVG. When cutting them out, remember that you can turn the sweater shapes to fit more on one mat. You can get 6 shapes cut from 1 felt sheet from a craft store, which will make 3 sweaters.
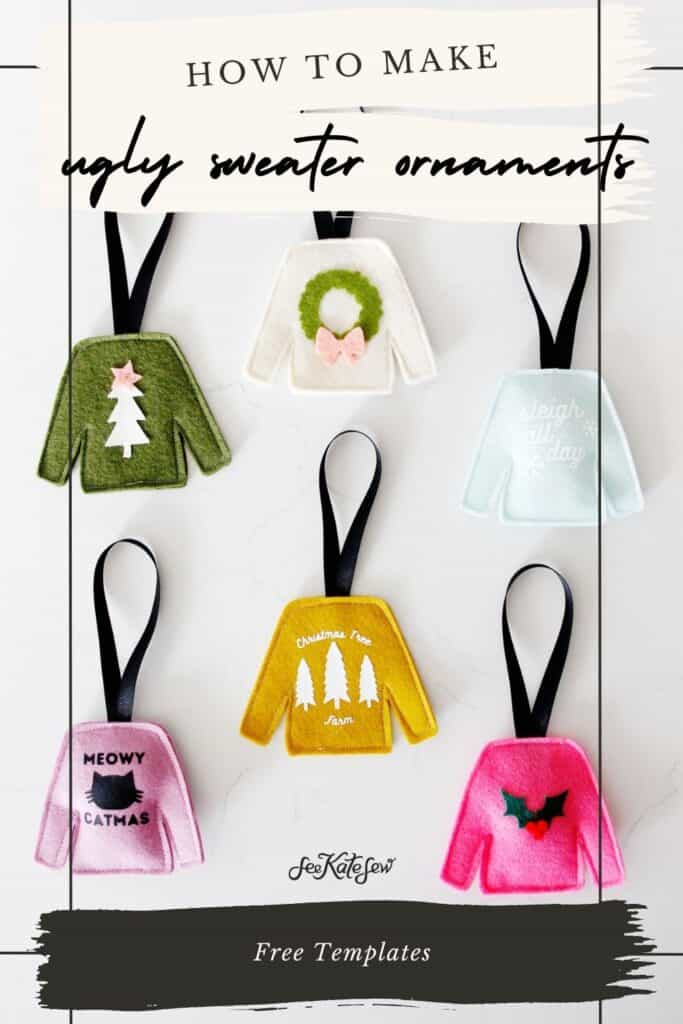
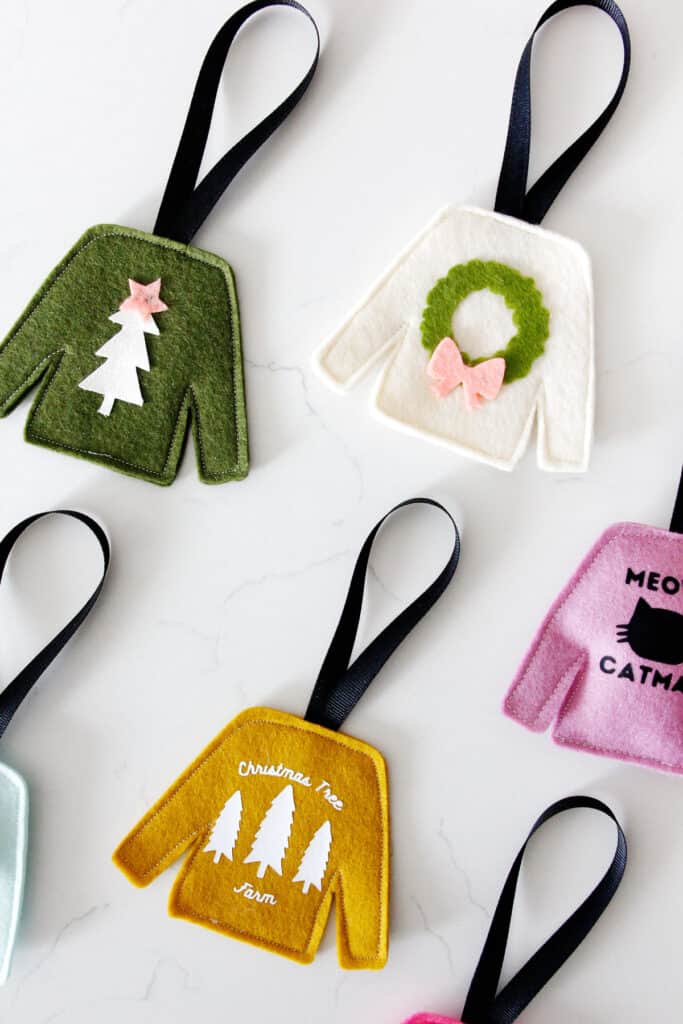
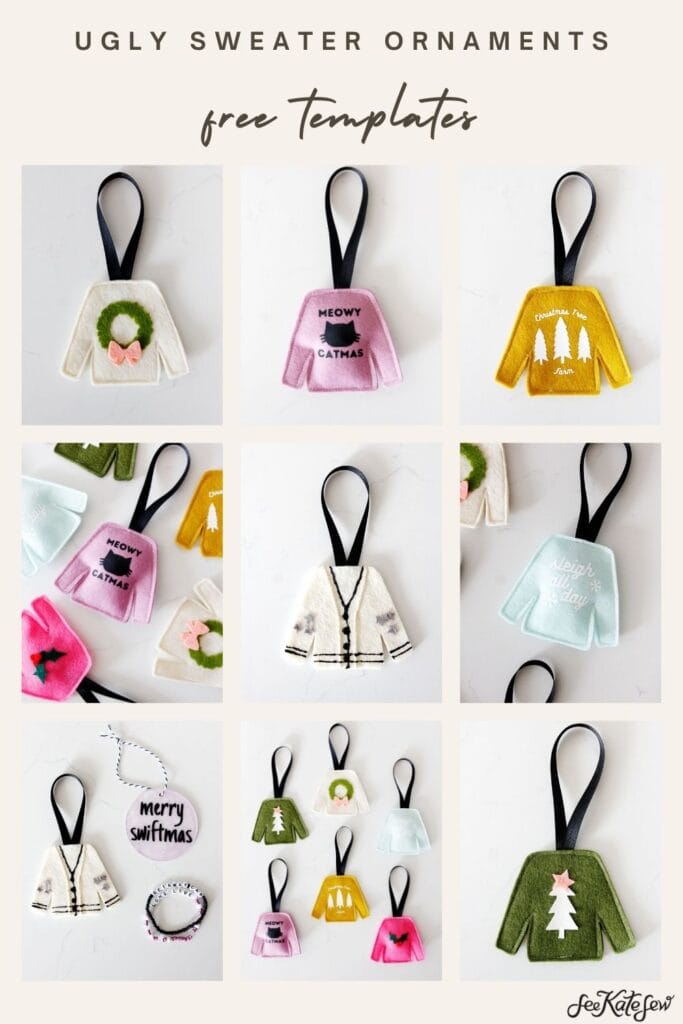
A few styles included in the downloads are:
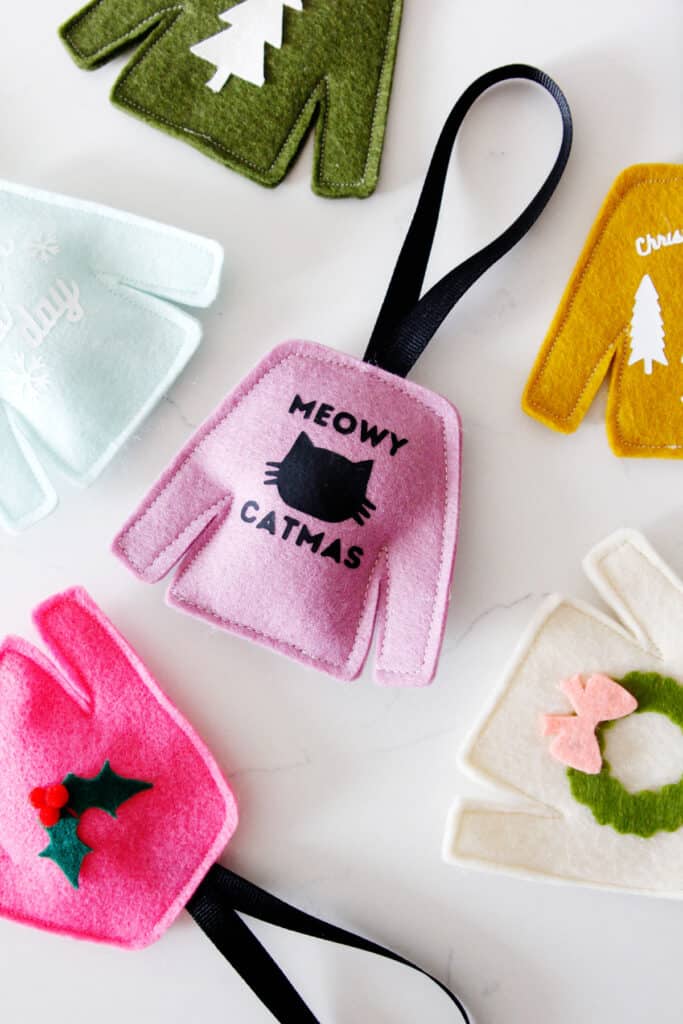
- Wreath with a bow
- Holly leaves
- Christmas tree outline with a star
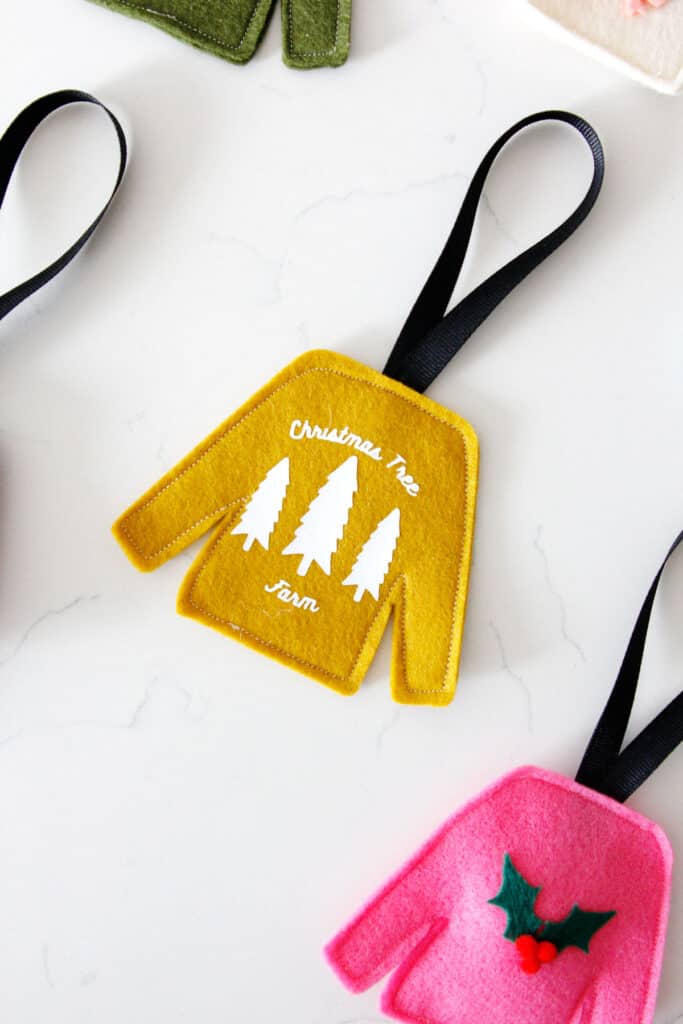
- Christmas Tree Farm with tress
- Sleigh all day with snowflakes and
- Meowy Catmas with a cat face
These are all on one JPG file. When uploading to your software, delete the elements you don’t need. You can always upload the same file again to get the other elements. There is a black square on this file, that should be used to get the sizing correct. Scale the JPG down until the black square is 1″.
How to make an ugly sweater Christmas ornament
To make this ornament, cut out 2 layers of the sweater template from felt. You can choose to use the same or different colors.
If you plan to do an iron-on vinyl design, I recommend applying that before doing anything else. If not, assemble the sweater then decorate it after.
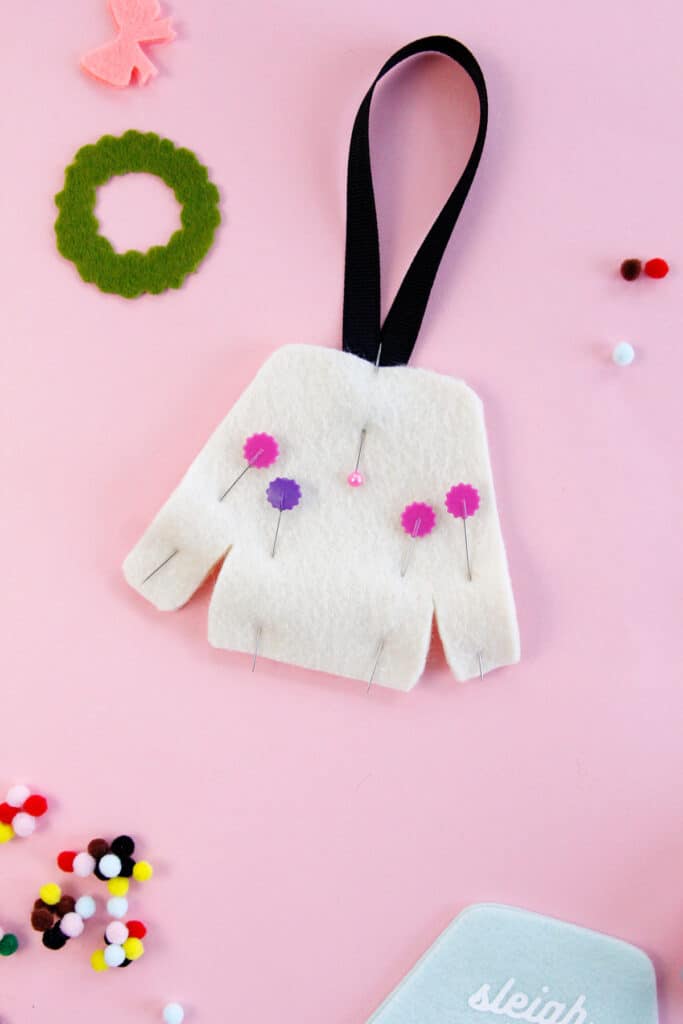
Fold your 10″ ribbon in half to make a hanging loop and glue or pin it it to the back sweater piece.

If sewing, pin the sweater pieces together with right sides together. Some felts have a nicer side but some are the same on both sides so check before sewing. If you are using glue, simply glue the two layers together.
If you are sewing, sew around the ugly sweater Christmas ornaments about 1/8″ from the edges, pivoting at all the corners. I like to increase my stitch length a little bit to 3mm to give me a nicer stitch.
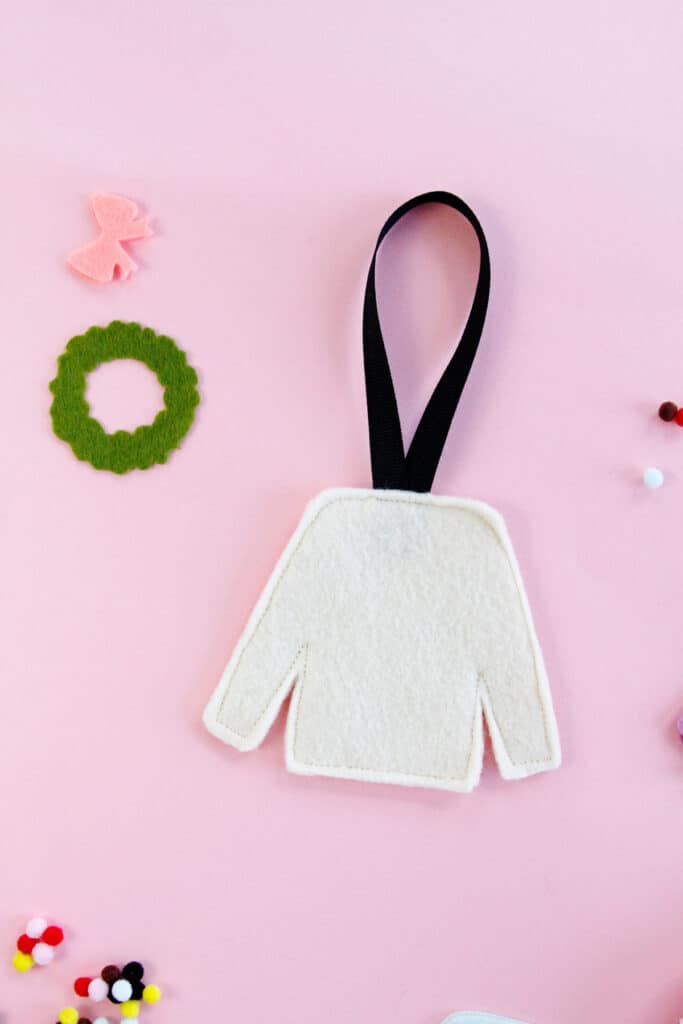
If you want to stuff your ornament, leave about 1″ open at the bottom of the sweater. Stuff just a little bit of fiberfill stuffing inside to give it some dimension. Then finish sewing the ornament shut, backstitching at the ends.

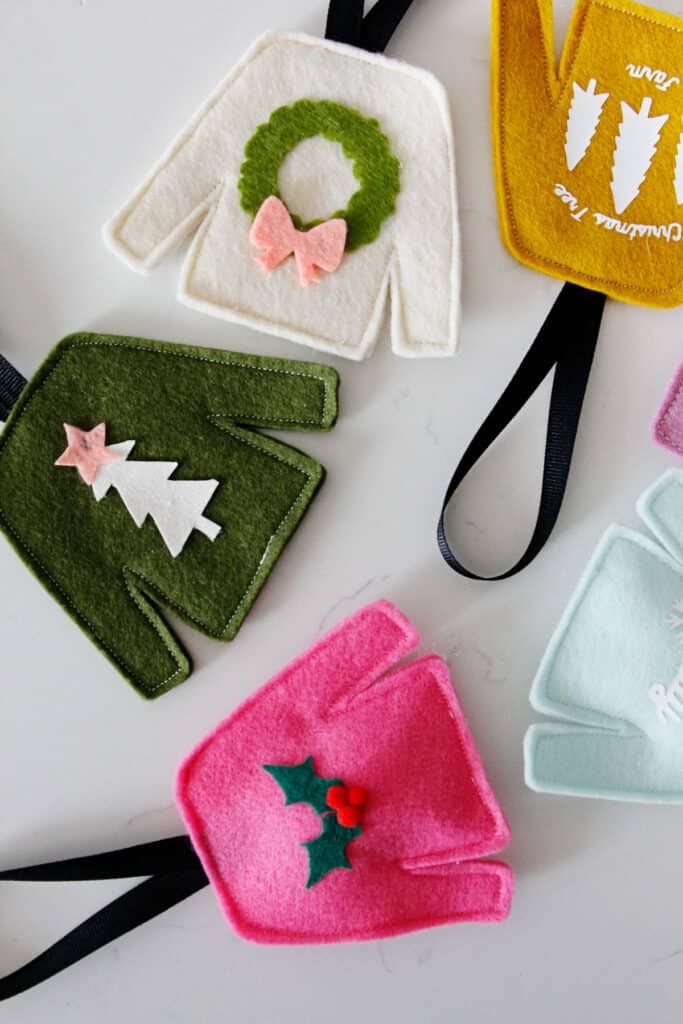
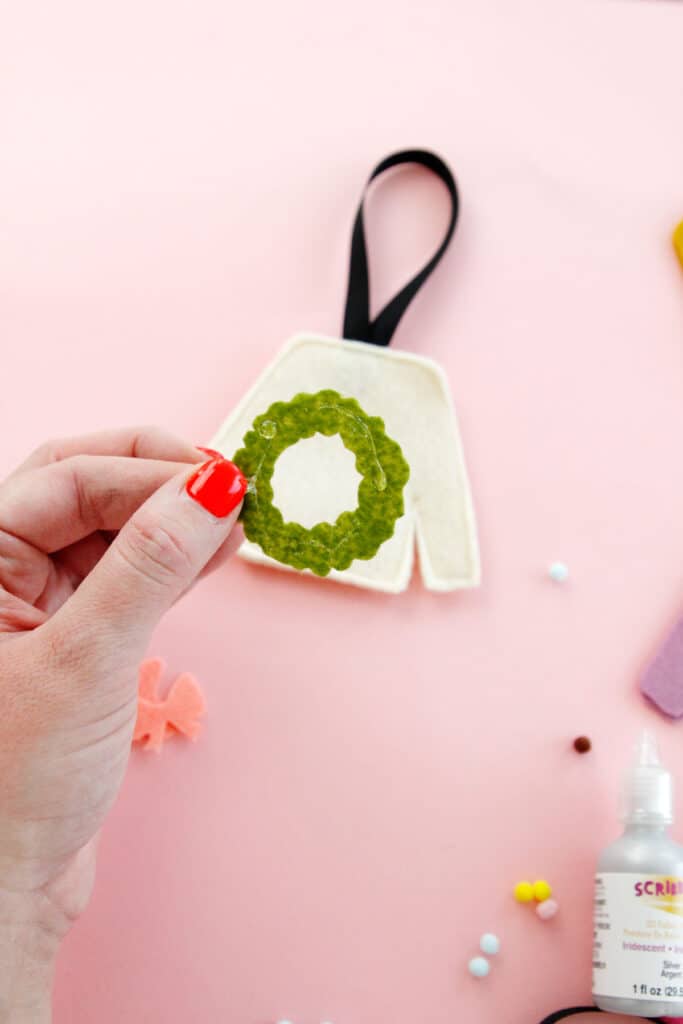
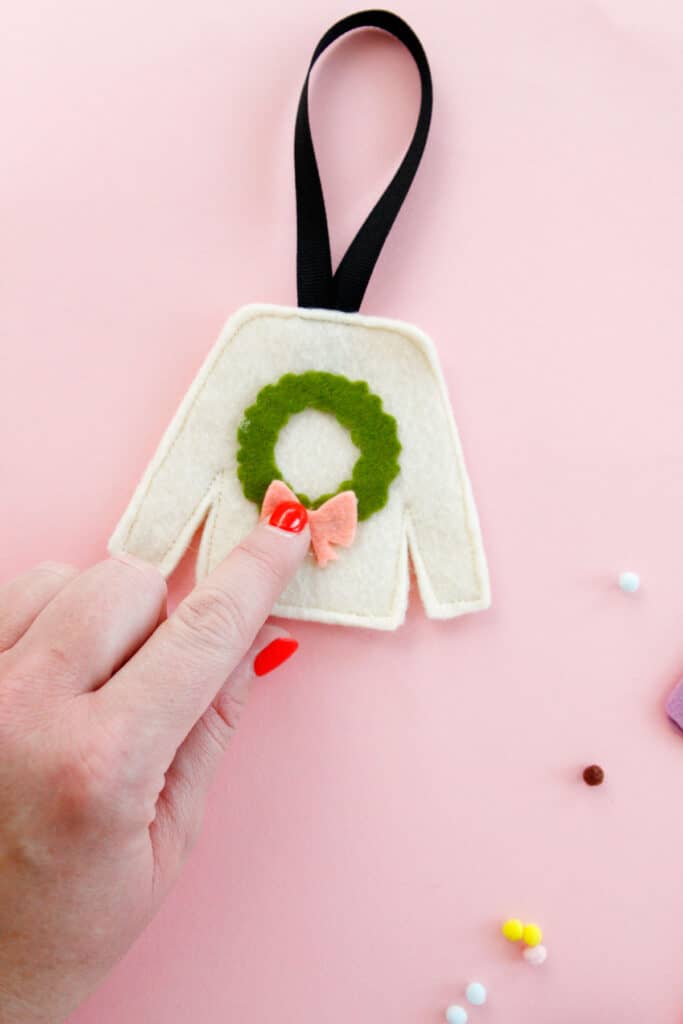
Now you are ready to decorate! For the wreath, holly and Christmas tree, use hot glue to attach the felt elements.
If you are doing a freeform ornament, have fun with any supplies you can find! There are no rules with this project!
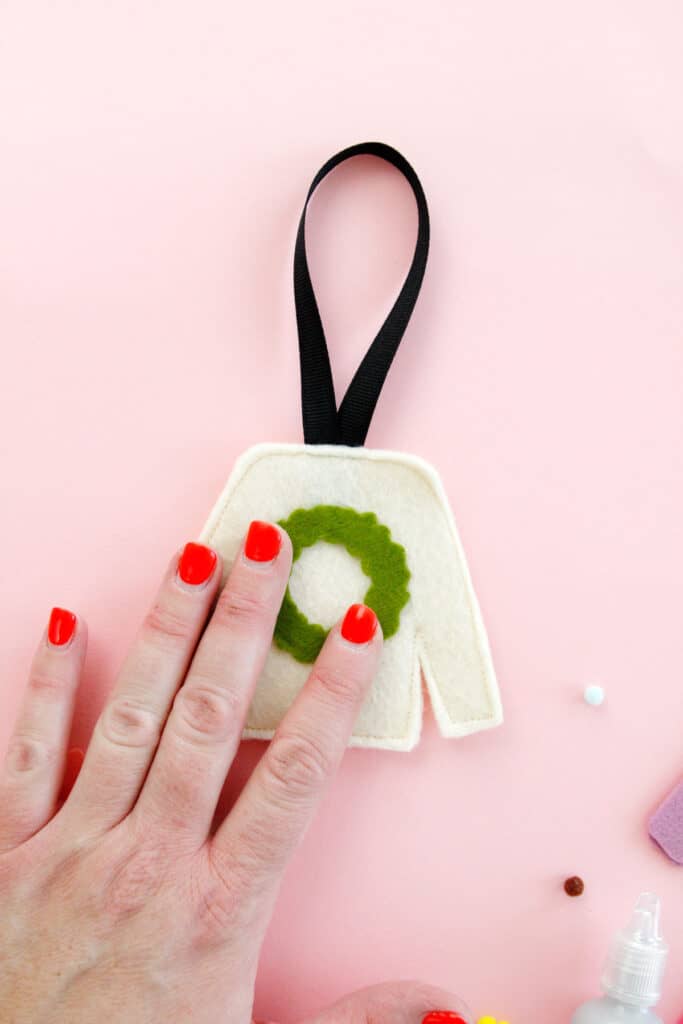
For the lighter felt pieces, like the bow, you may want to cut two and stack them. Some felts can be a little bit translucent, especially if you use hot glue on them.
Done! Now hang it up!
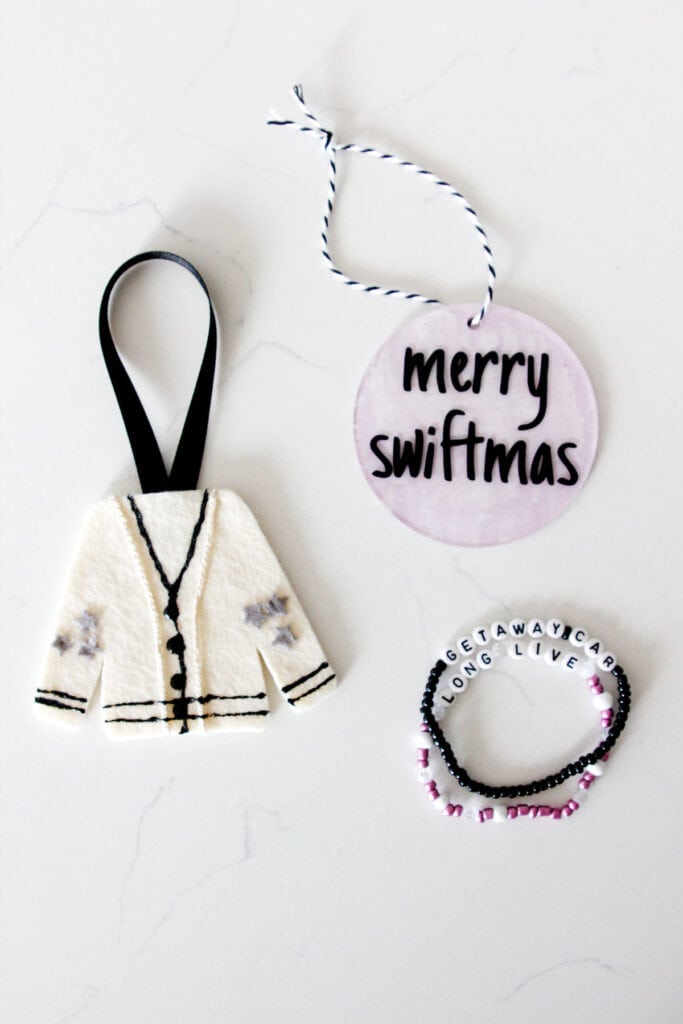
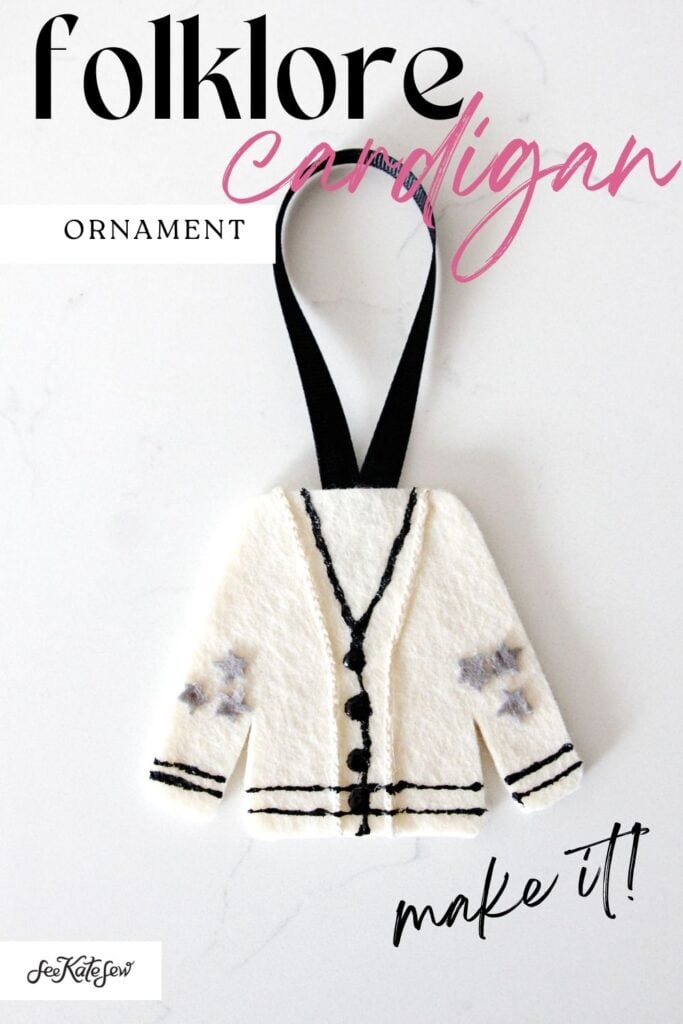
Taylor Swift Cardigan Ornament DIY
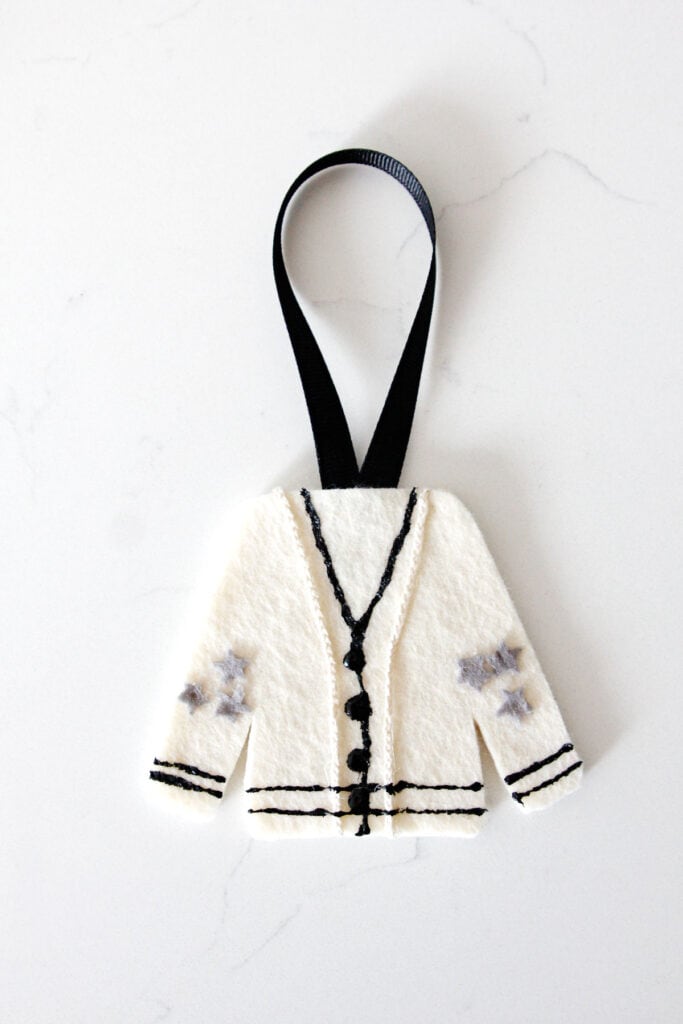
To make this into a Taylor Swift cardigan use the V-neck collar design to help you with the lines. This is the Folklore cardigan.
You’ll need a cream colored felt, some matching (cream) embroidery floss plus black puffy paint and grey felt for the stars.

To get started braid 3 strands of cream embroidery floss into a regular braid about 4″ long. Make 2 of these and tie them off. These braids will give the sweater a knitted texture!
Use a fabric marker or pencil to draw in the neckline shape.
Glue the braids about 1/4″ from the neckline on either side. If you want to add more of these, feel free!
After the glue has dried, go over your neckline with puffy paint. Be careful to use an even stream. After the neckline, create 2 lines across the bottom of the sweater and both sleeves. Then add 4 buttons with puffy paint.
Once that is dry, glue on 3 stars to each of the elbows. You can add a little rectangular piece of felt for the folklore “tag” if you want!
More Christmas ornaments to make
- Felt Gingerbread Men Ornaments
- Felt Gnome Ornaments
- Sewing machine ornaments
- Fabric scrap ornaments
- Felt Cat Ornaments
- Snow Globe Ornaments
More holiday craft ideas and inspiration
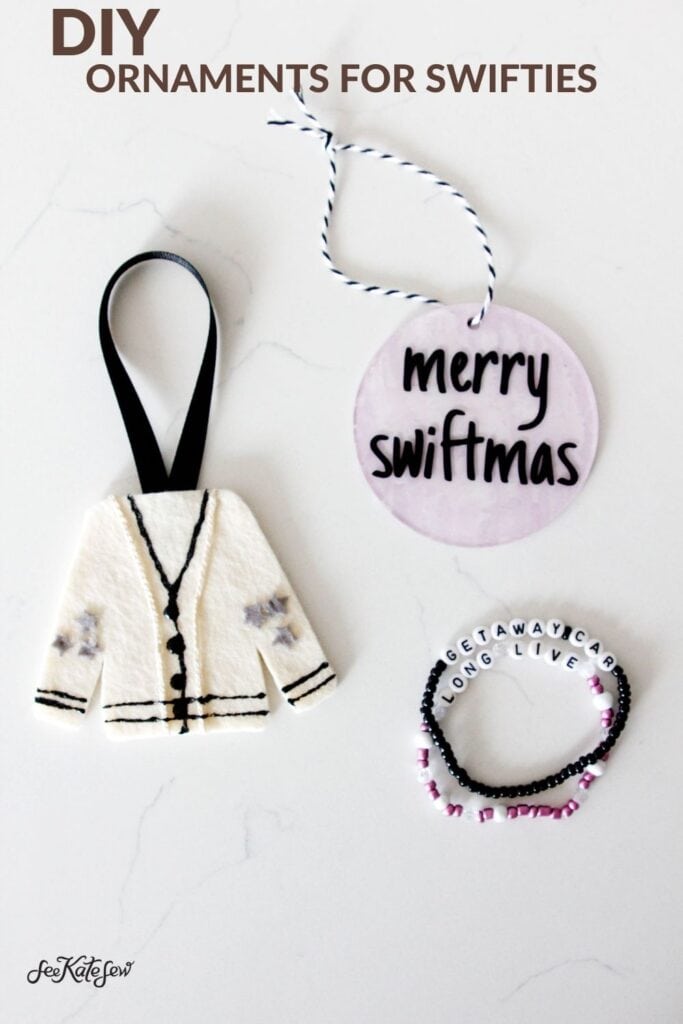
We have a Taylor Swift theme tree this year! Here are a few more ornaments that are on it: