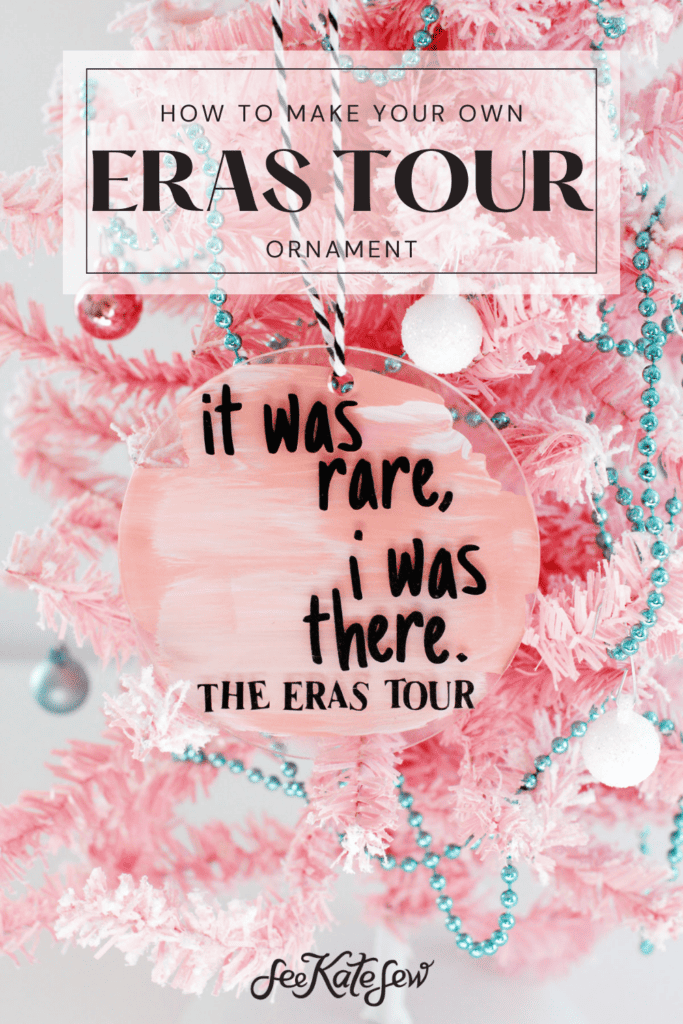
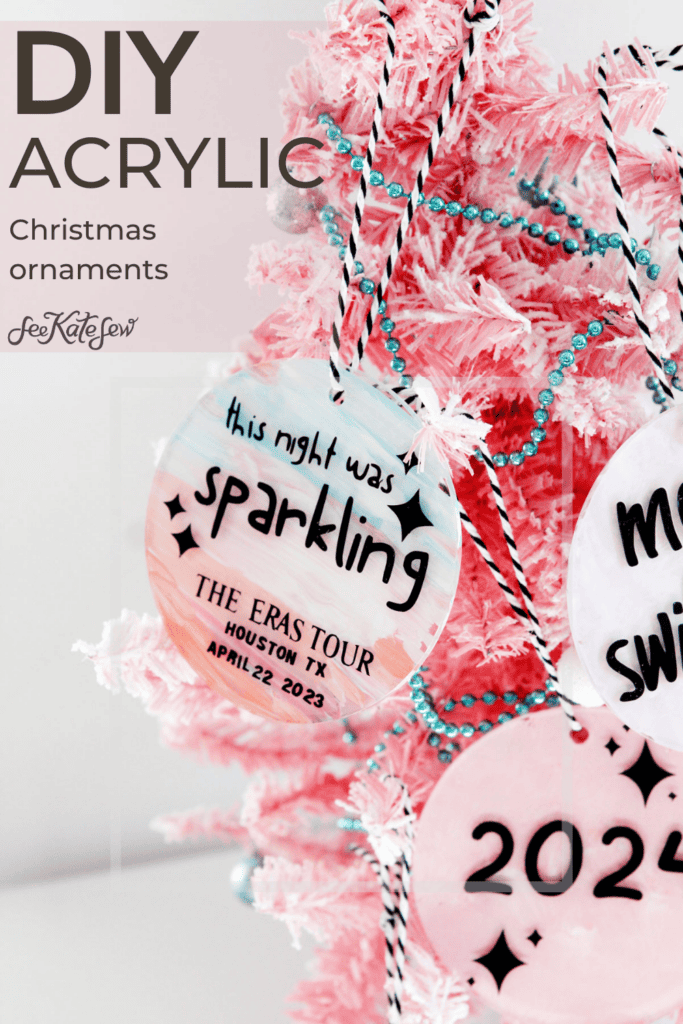
Make your own acrylic disc ornaments using paint and vinyl. This easy project is so fun to customize and makes a great gift. Christmas decorations are so fun to make and these acrylic Christmas ornaments are perfect for so many on your list!
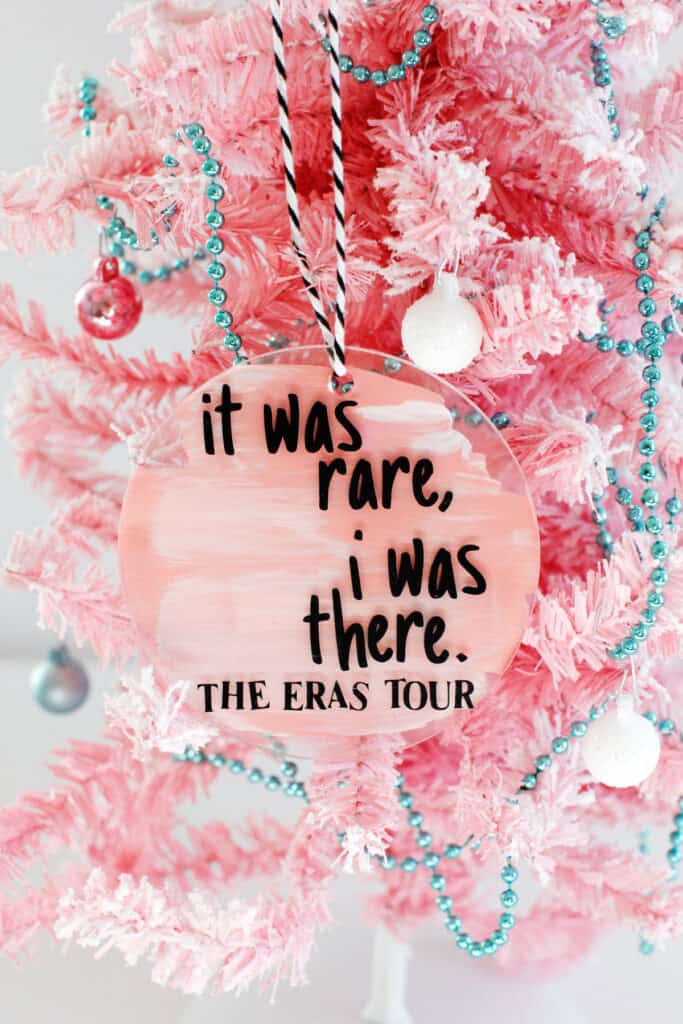
I used precut plastic discs for this project. Since it’s so fun and easy you might be making these for everyone!
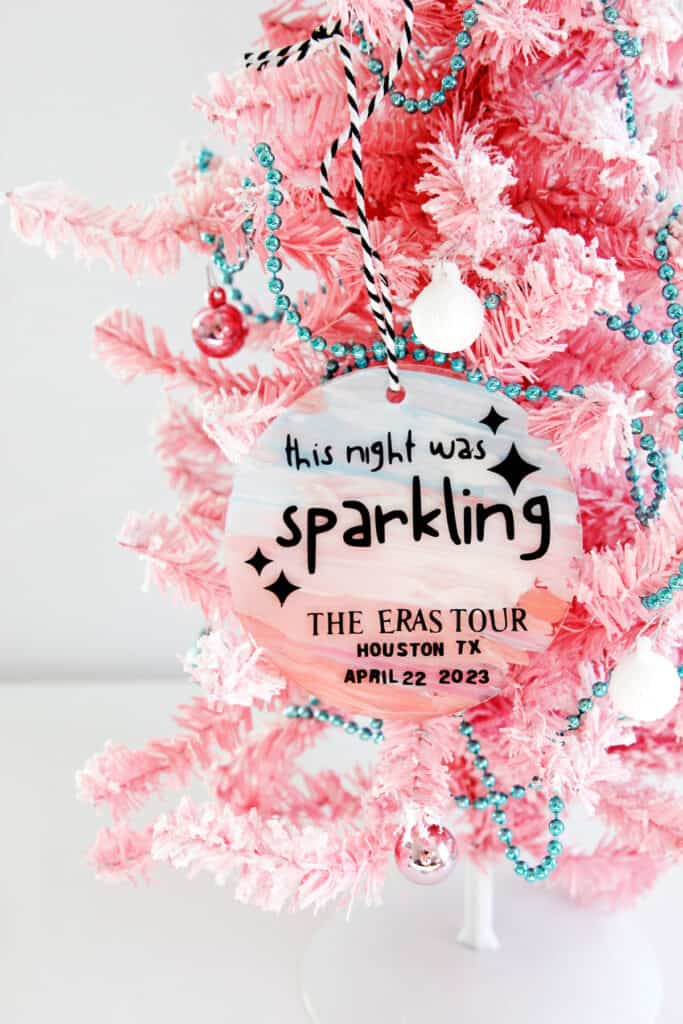
These are a fun way to mark an event you don’t want to forget, like an epic concert ;). Use provided cutting machine designs to make a DIY Eras Tour commemorative ornament. Such a fun keepsake to give to your concert friends!
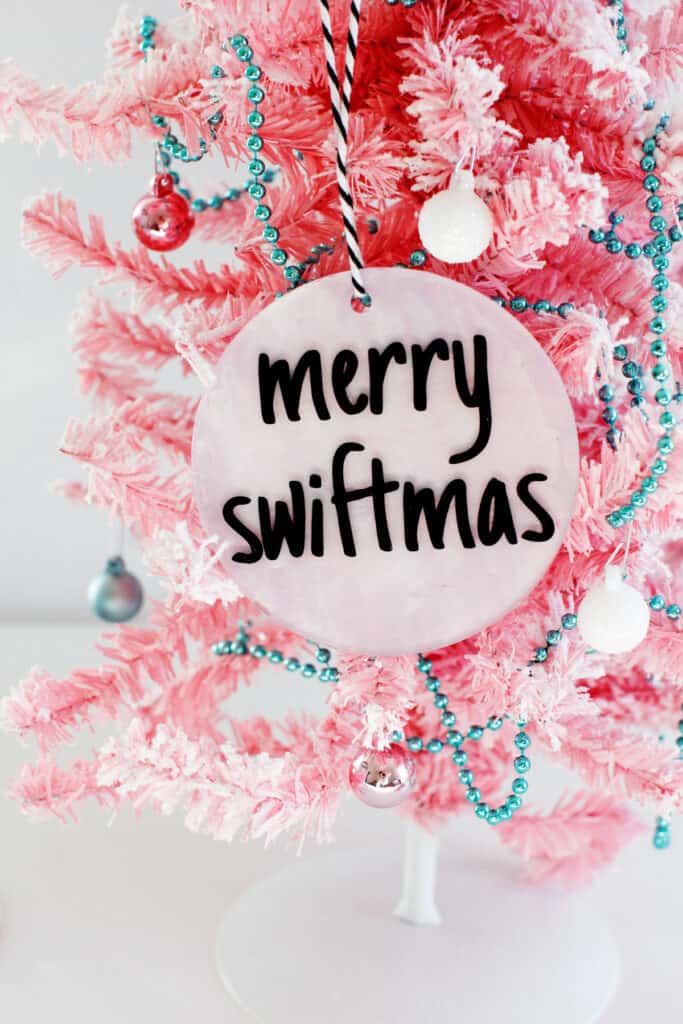
This post also includes year ornaments for 2023 and 2024 (and even 2025!)! I love a simple ornament to mark the year!
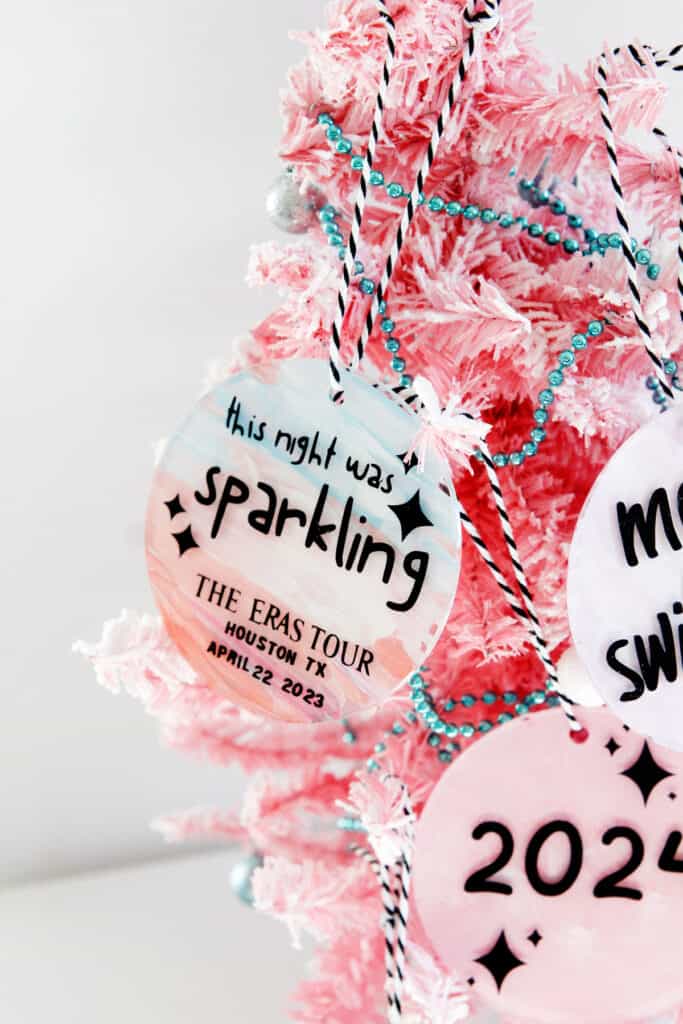
You can also use these clear acrylic discs as gift tags!
Eras Tour Commemorative Ornament Supplies
- 3.5″ acrylic blanks ornaments (affiliate links)
- Acrylic paints and a paintbrush
- Clear acrylic sealer
- Or use a thin layer of Mod Podge to seal
- Vinyl and vinyl transfer tape
- I used permanent glossy vinyl for this project but it was a nightmare to weed. I recommend regular removable matte instead.
- Cutting machine such as a Cricut Machine, the Cricut Maker, Cricut Explore Air or Cricut Joy
- Ribbon or baker’s twine for hanging
- Hair dryer, optional
If you want to make it sparkle use metallic vinyl or add some glitter paint.
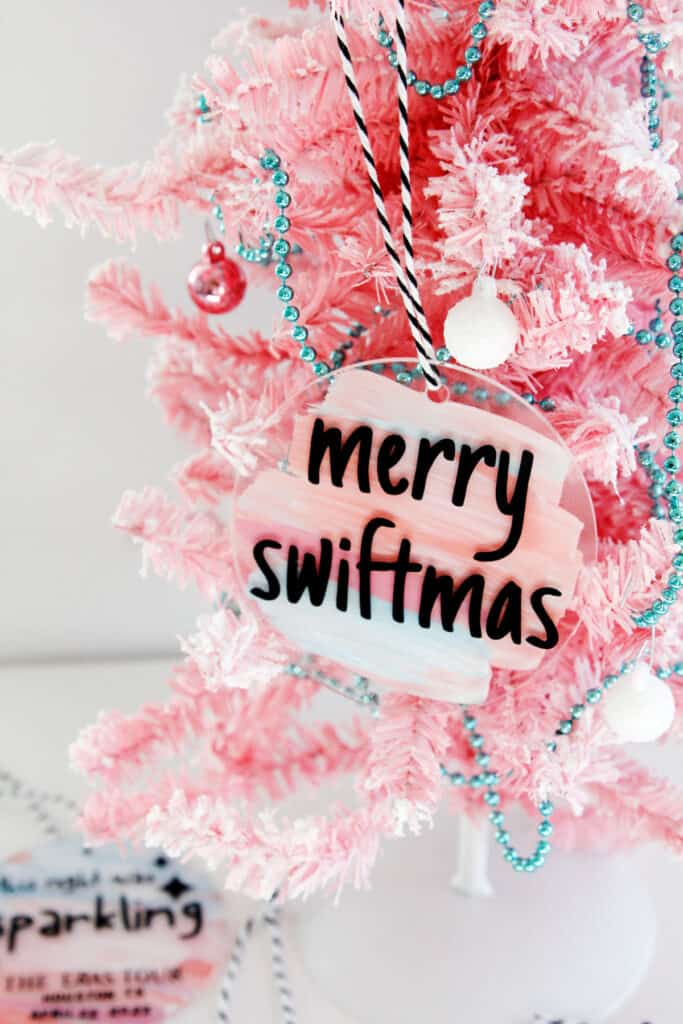
Merry Swiftmas Acrylic Disc Ornament Designs
You can put anything on these ornaments which makes it such a great project for any occasion!
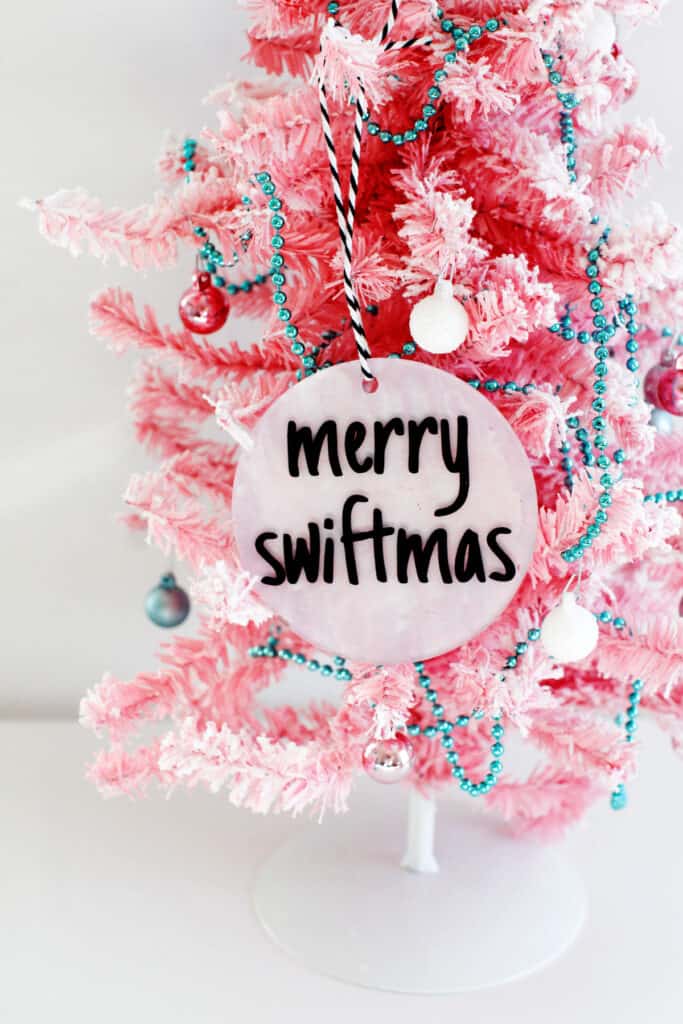
You can add your tour date, location and even your secret songs if you want! Customize with names of your concert buddies, etc. This acrylic ornament is a great gift topper, too! Tie it to the top of a plate of cookies for an easy neighbor gift!
Grab paints in the colors of your favorite eras, like pinks and blues for Lover, dark neutrals for Evermore ornaments and red for Red, etc
To download the designs, click on the buttons below, enter your email and you’ll be taken to a download page. Right click and save to downloads. Then upload it to your cutting machine software.
2023/2024 Acrylic Disc Designs
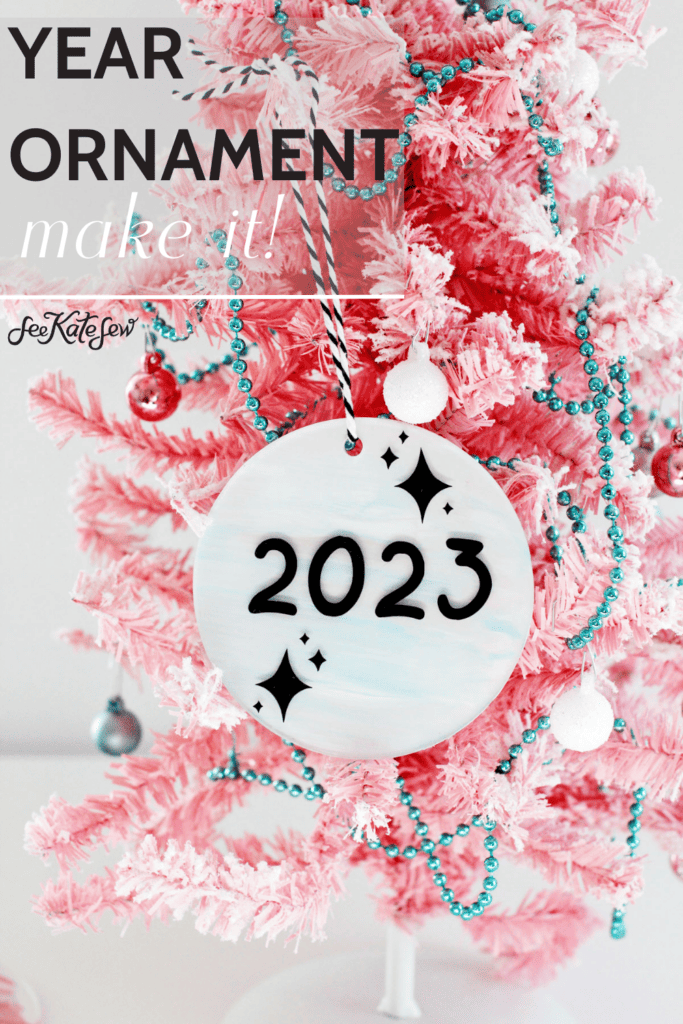
Use the free designs below to make a yearly commemorative ornament with acrylic discs. I included 2024 and 2025 just in case you’re planning ahead or want to make an ornament for New Years! These are formatted as PNGs which work with most software in place of SVGs.
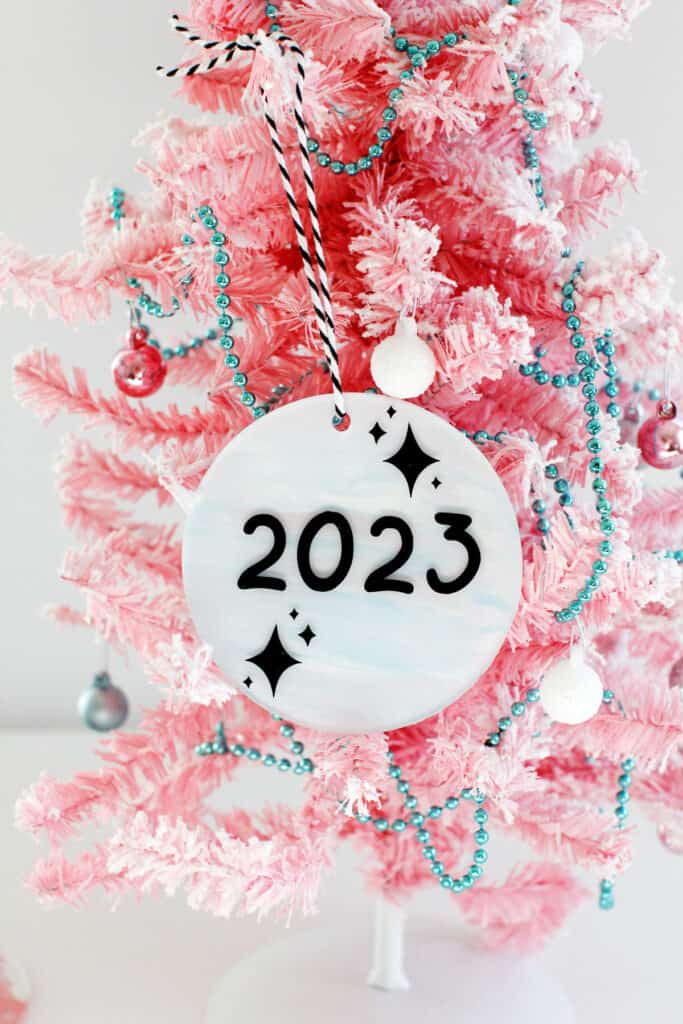
Use any colors for these ones!
Painted Acrylic Disc Ornaments Instructions
To paint the ornaments, gather a few paints. I recommend a few different paint brush sizes for different stokes.
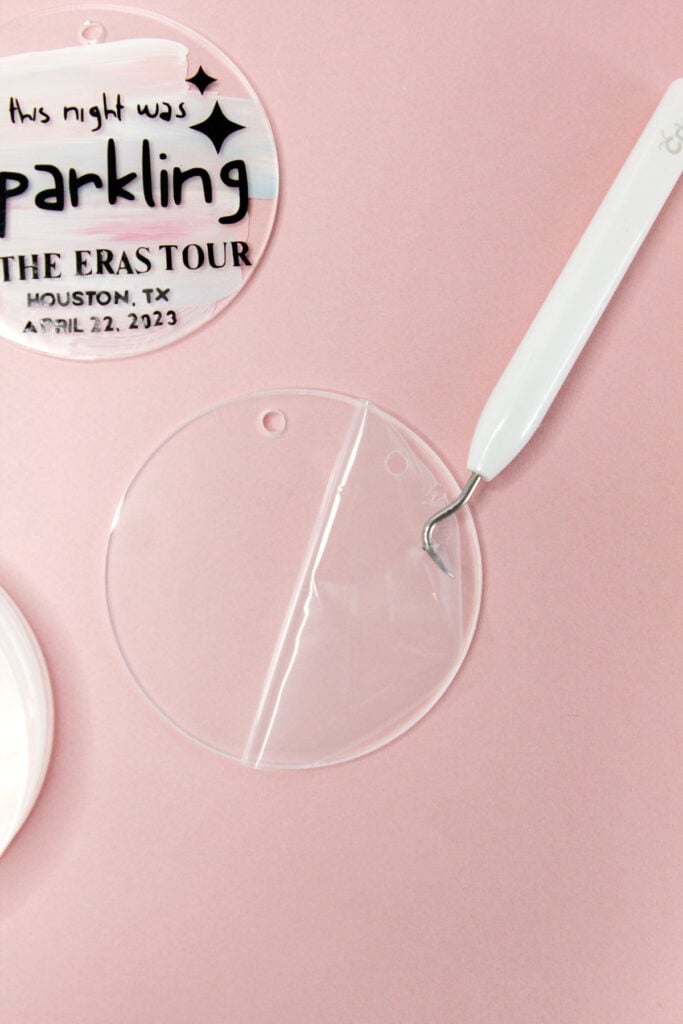
If your acrylic has a protective film, remove it from both sides of your ornament. If needed, clean the clear acrylic disc with glass cleaner and a paper towel before painting.
Start painting the backside of the ornament! This will be the back of the ornament but the colors will show through.
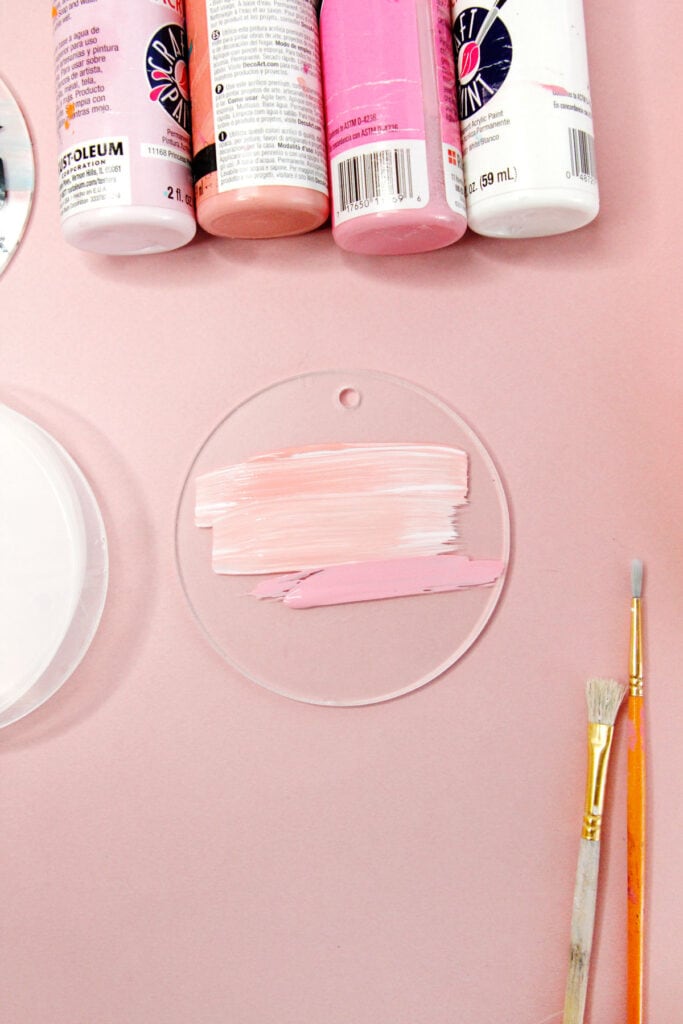
Depending on the look you are going for you may want to dry the strokes in between each color application. If you plan to dry each layer, pull out a hair dryer to speed up that process.
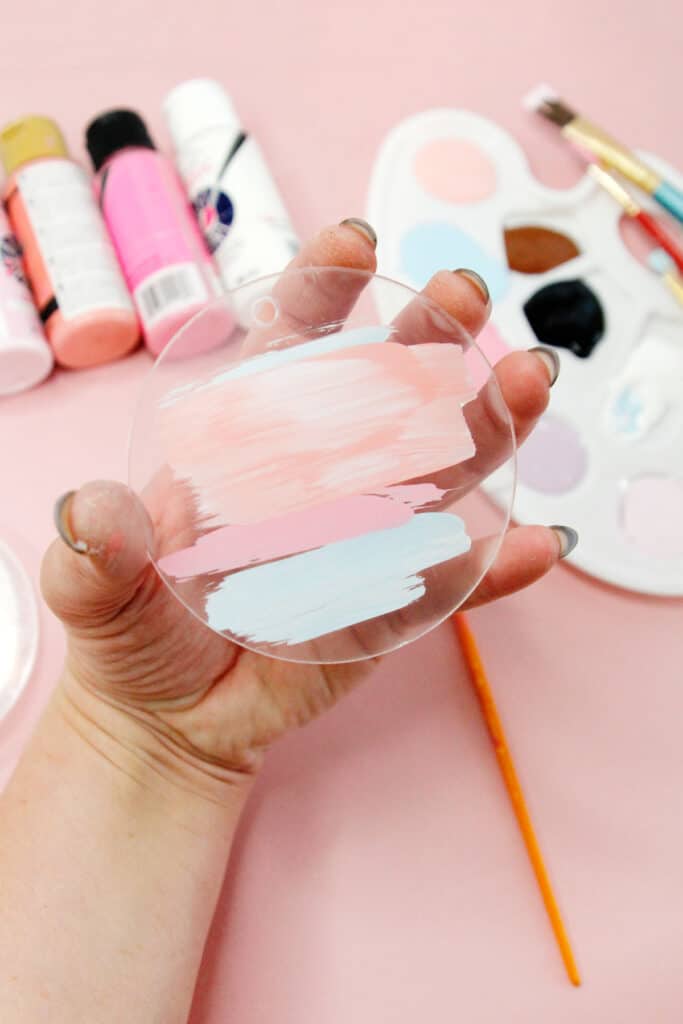
Use strokes or different brush techniques to get different looks!
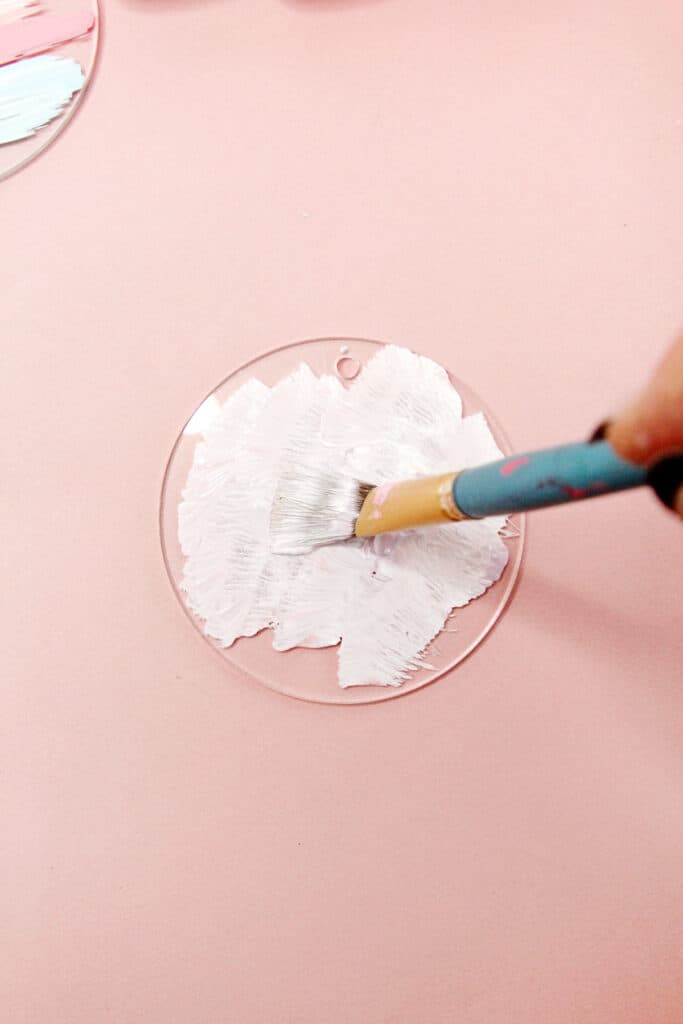
After your back is fully dry, spray it with acrylic sealer to lock the paint in. I recommend 2 or 3 layers of spray to seal in the vinyl letters and the paint. Plan for 15 minutes between each layer.
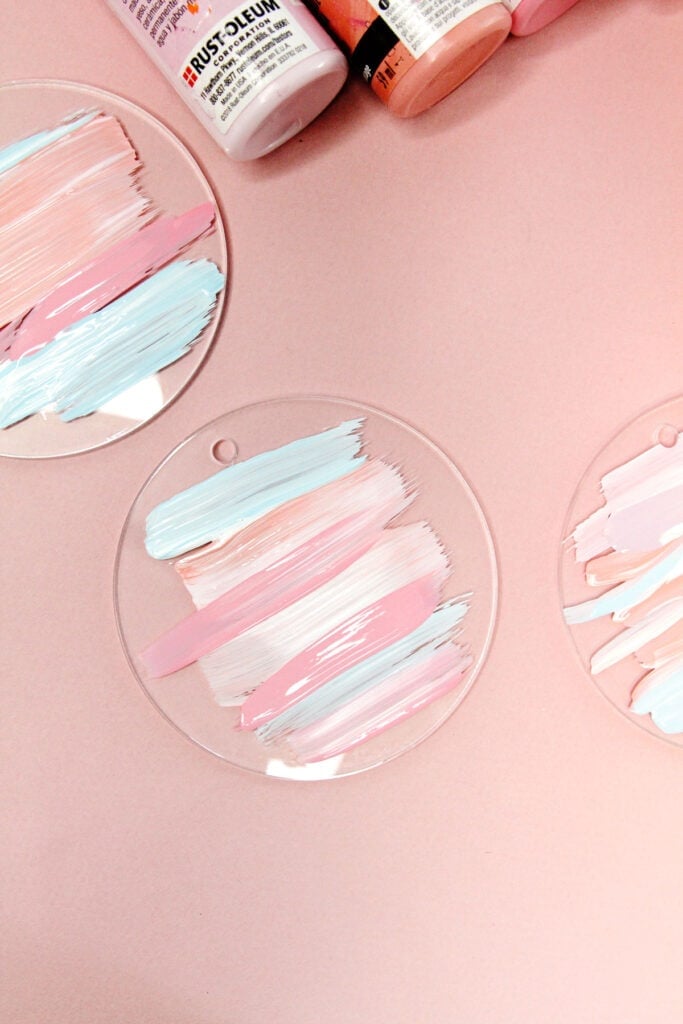
Add the vinyl to your acrylic disc ornament
Use a cutting machine to cut the designs with vinyl. Upload your design and resize it to 3″ by 3″. If the design is not square, make the larger measurement 3″ so it will fit on your ornament. Sparkle vinyl can add a fun touch to these ornaments!
Use a piece of transfer tape to apply your design to the front of the ornament. Press down and peel off transfer paper.
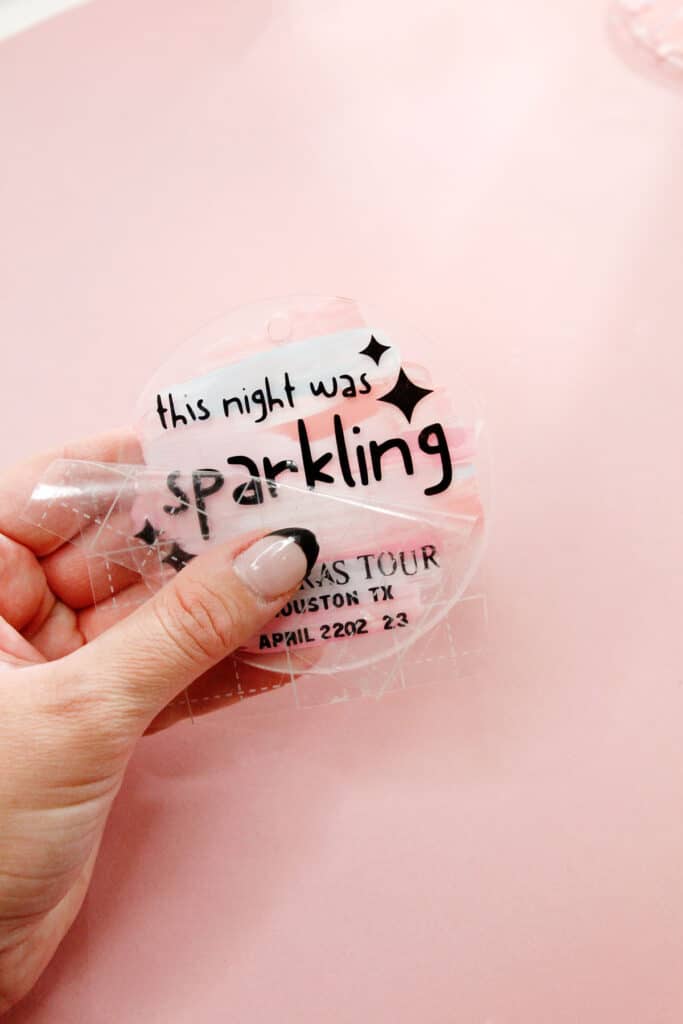
Seal the front of your ornament with acrylic sealer and let dry.
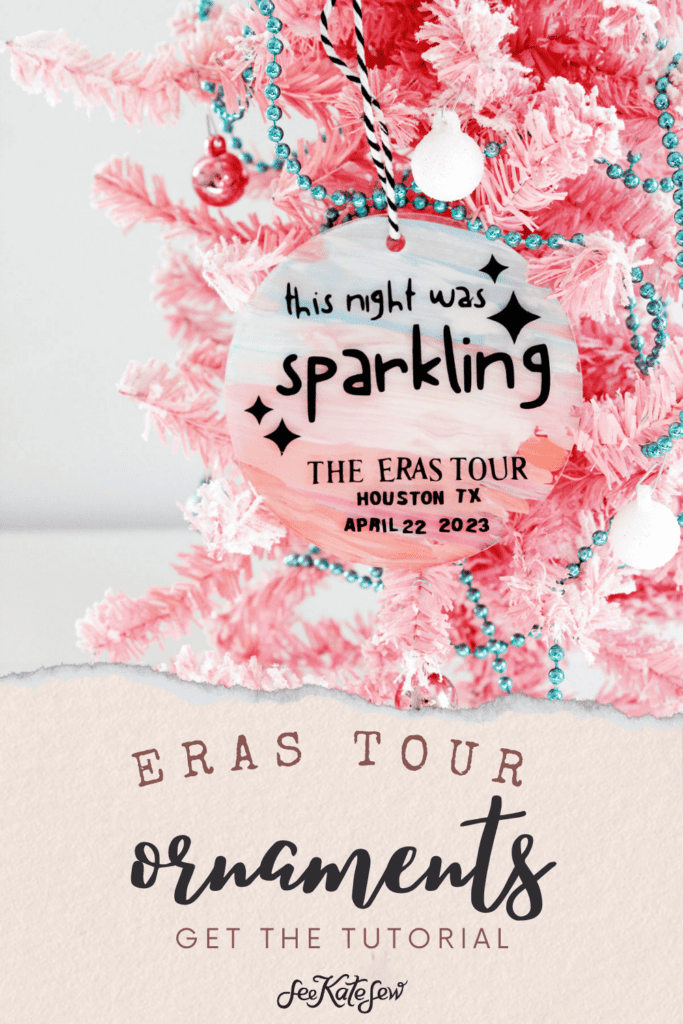
Cut a piece of ribbon or twine about 18″ long. Then tie on the ribbon and you’re ready for the best Swiftmas ever! Use the string to hang it on your Christmas tree.
