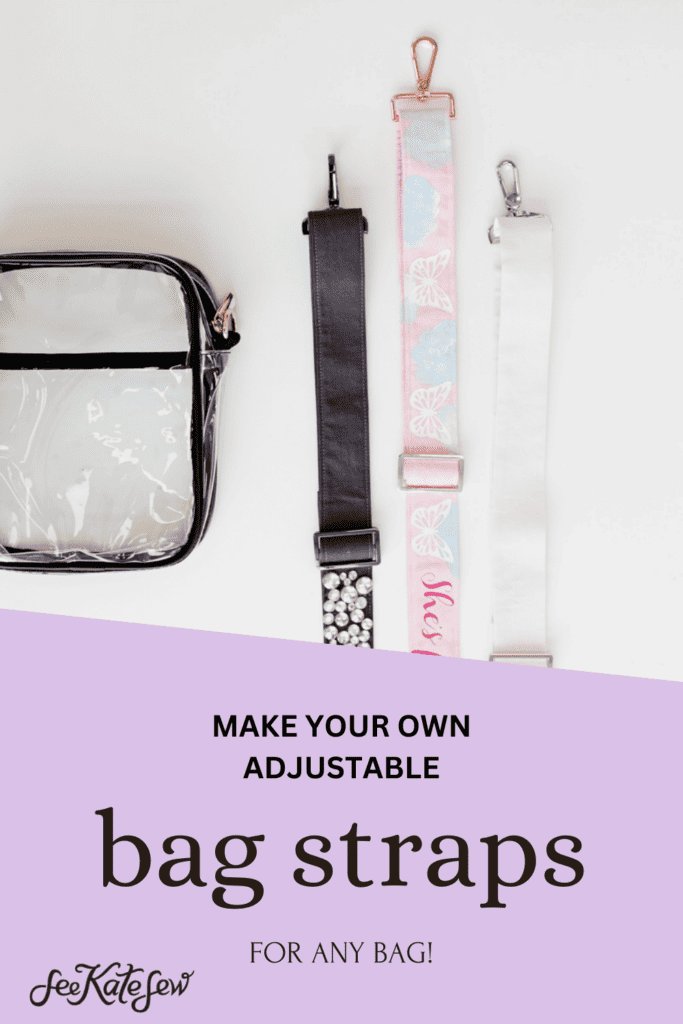
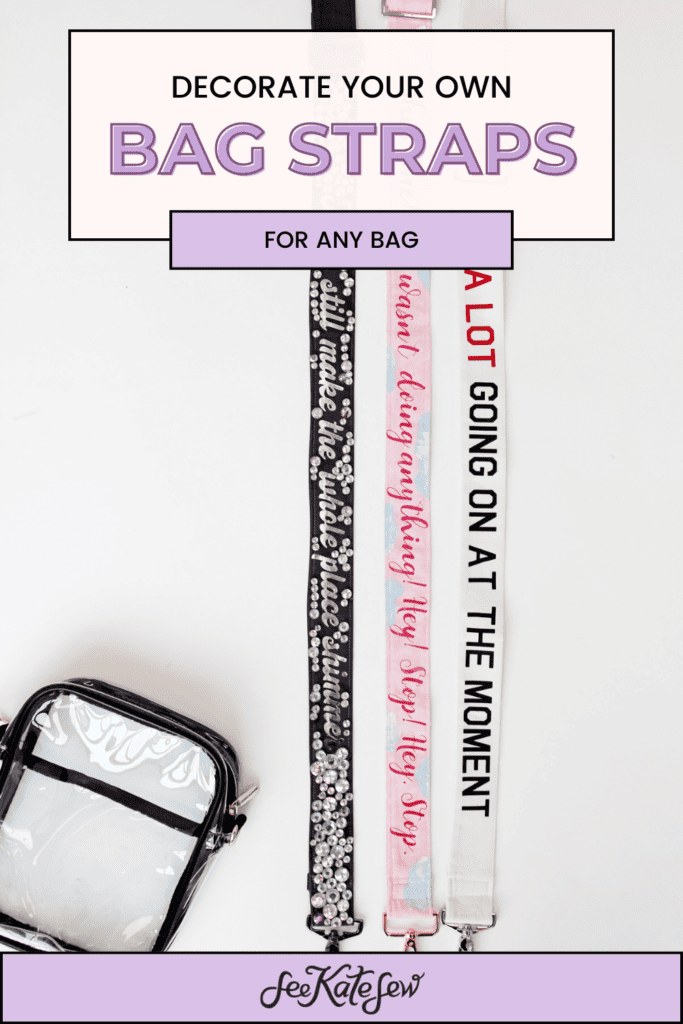
Clear stadium bag…but make it Swiftie! In this post I’ll show you how to make an adjustable strap for any bag! These straps can be totally customized and add a personal touch to a shoulder bag or purse!
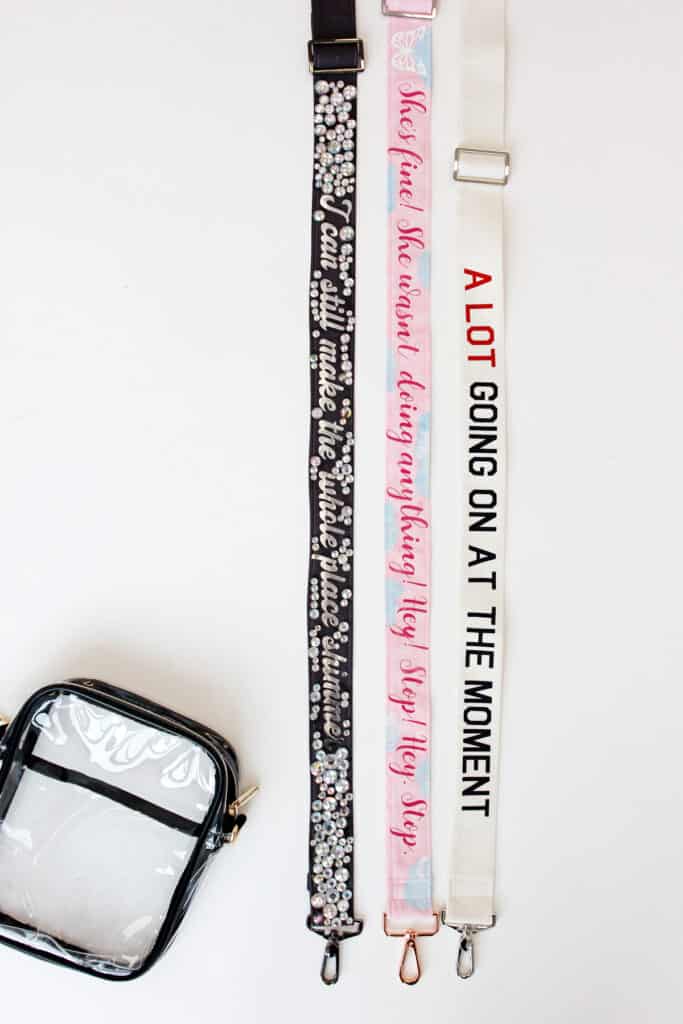
These are Taylor Swift themed – perfect for the Eras tour – but you can make them any theme you want!
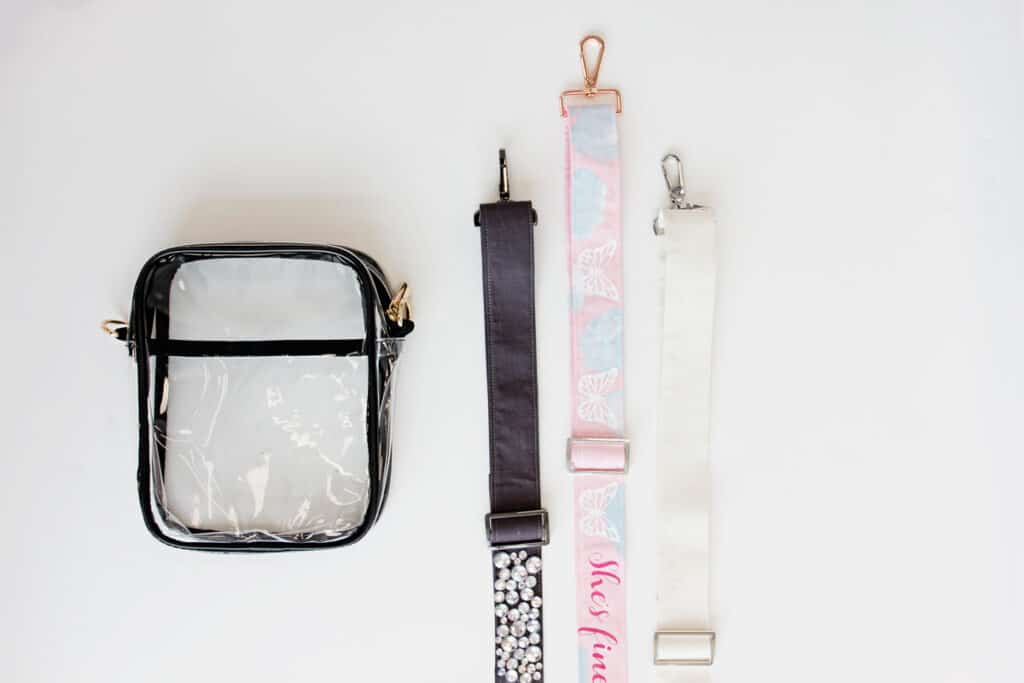
I had to get a clear stadium bag but didn’t love the plain black strap. Plus, I wanted something to add to my Eras outfit! So I made a few adjustable straps that I can swap out whenever I want.
This adjustable purse strap can be used for any bag that has d-rings to attach them to!
I used my sewing machine to make these straps from fabric and then iron-on vinyl and extras to customize them.
You can go crazy with these and have so much fun prepping for a big event. Pull out the gems, beads or dimensional fabric paint and go to town!
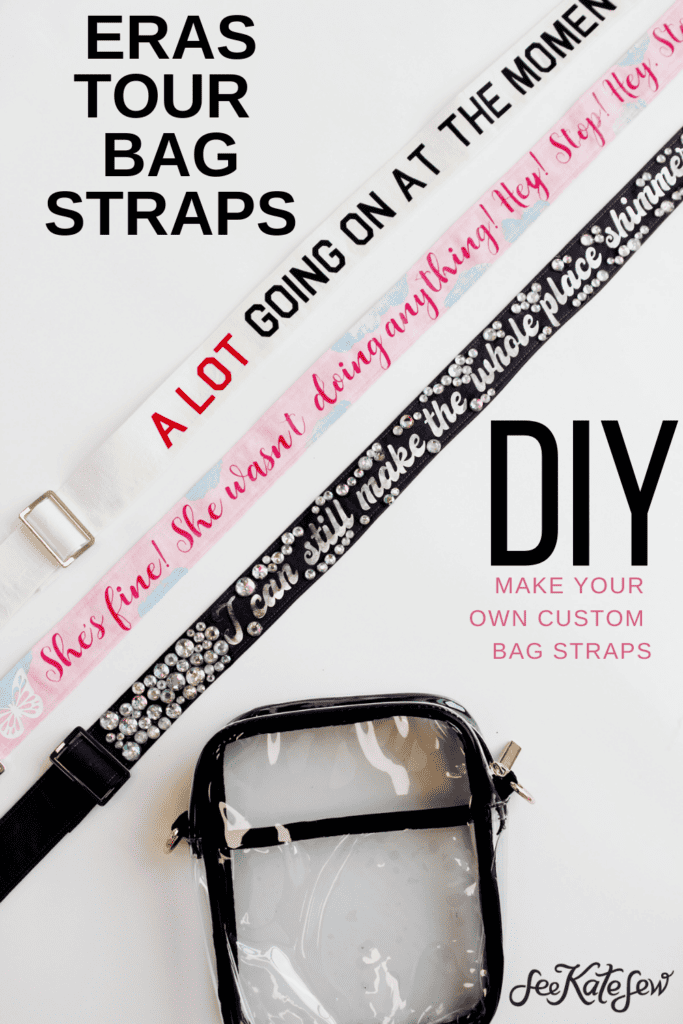
This bag strap will help you make the whole place shimmer! The instructions will walk you through step by step.
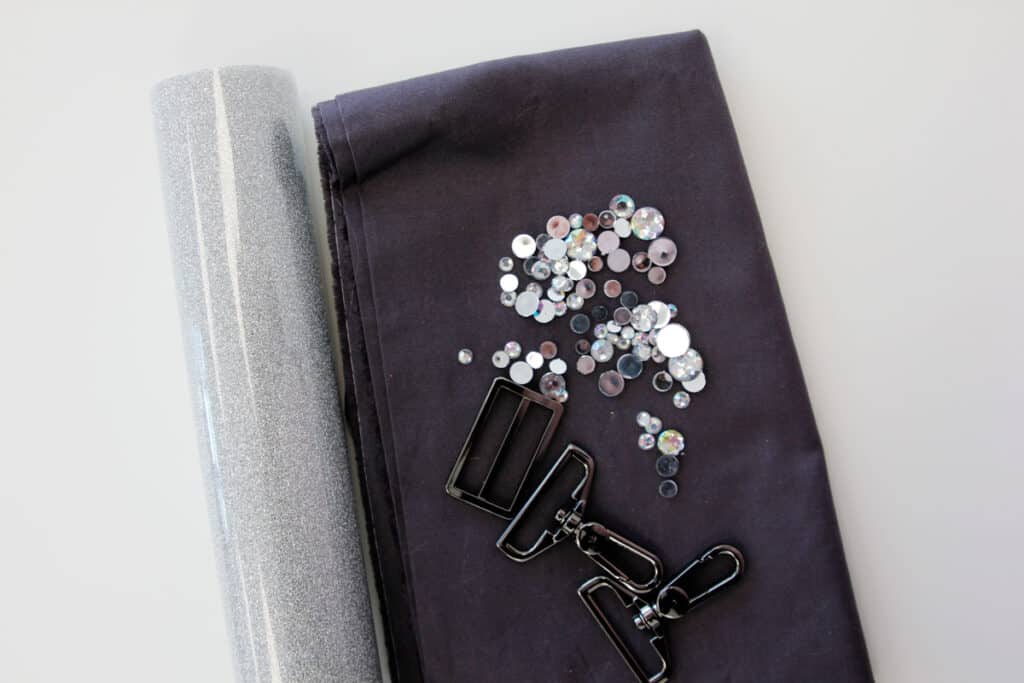
DIY Bag Strap Materials
There are a few basic supplies for this adjustable strap and then a few extra supplies that you can use to decorate the detachable strap as you please!
Raid the craft store for other decorating options like puffy paint, fabric markers, etc. At the end of this post, I will show you how to make an adjustable strap with iron-on vinyl and also a bejeweled version with gems!
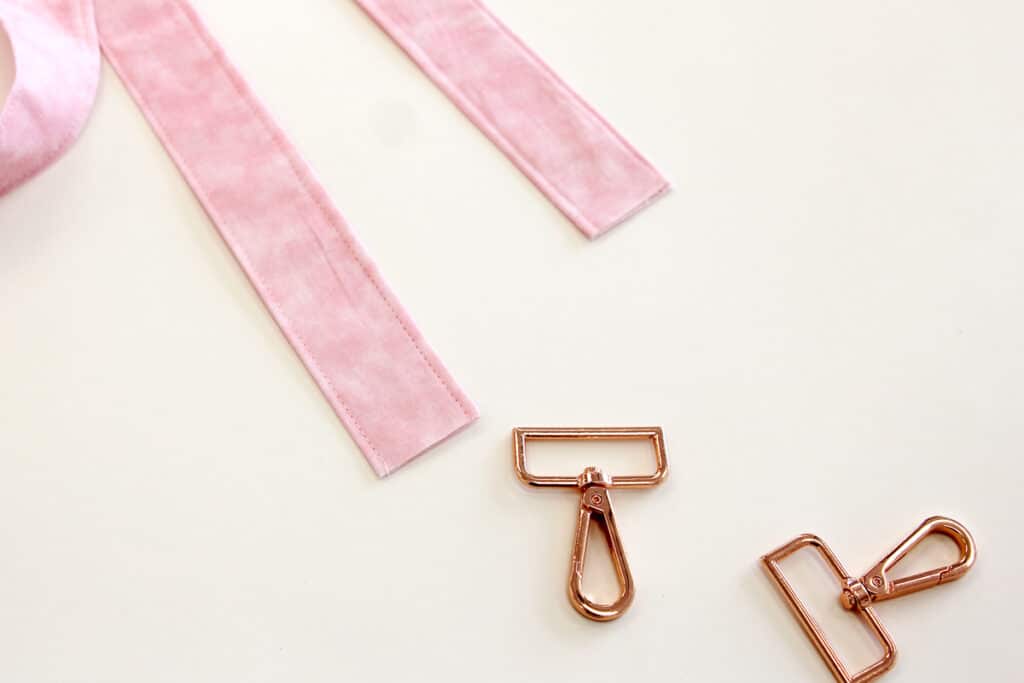
- Two 1.5″ Lobster Swivel Clips
- Rose Gold Lobster Clips (affiliate links)
- Gold Lobster Clips
- One 1.5″ Strap Adjuster, or slide adjuster
- 1/4 yard fabric – I’m using quilting cotton
- You need a long strip of fabric so don’t use a fat quarter for this project.
- Lightweight fusible interfacing
- Safety Pin
Bag hardware is available at most craft stores – just ask for lobster clips and strap adjusters.
Crossbody Bag Replacement Strap DIY Tutorial – How to make an adjustable strap
Use a 1/4″ seam allowance with a regular stitch length (about 2.5 mm)
Fabric straps for bags are so easy to make! Let’s get started.
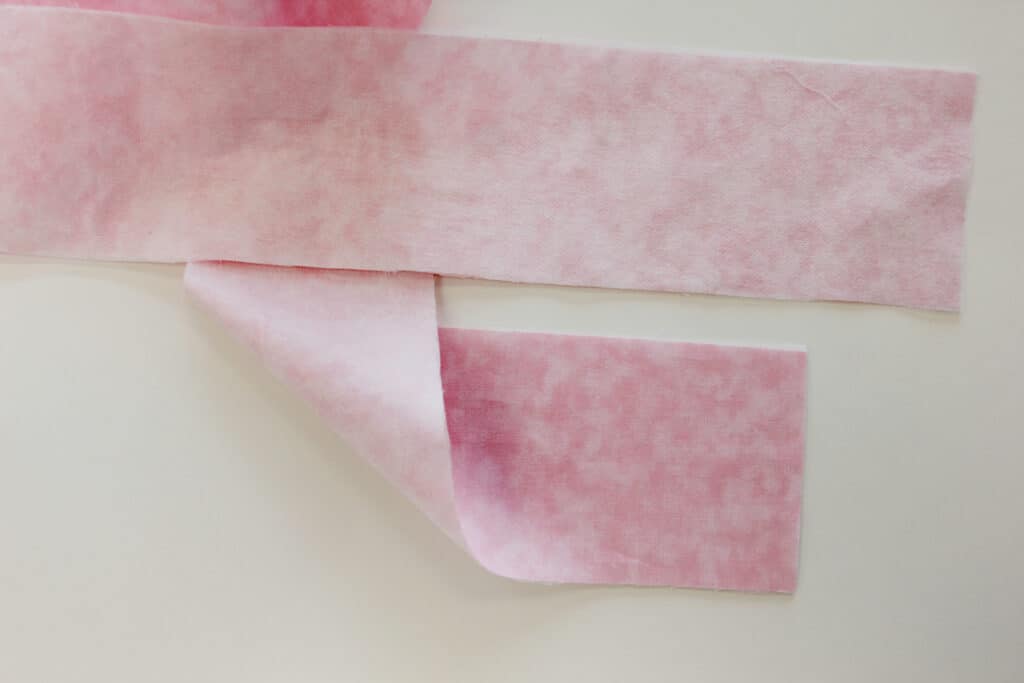
To make this fabric DIY bag strap, start by cutting a piece of fabric measuring 54″ long by 3.5″. Most fabrics come on 44″ bolts, so you may have to sew two pieces of fabric together to get a 54″ fabric strip. This length is a good length for a shoulder bag, but if you want a longer strap just increase the length.

The 3.5″ width will give us a finished strap width that measures about 1 3/8″ wide which will fit with 1.5″ hardware.
Fuse interfacing to the back of the fabric. This will give your strap extra stability.
Fold your strap in half with right sides of the fabric together and press lengthwise. Sew long edge of the strap 1/4″ from the raw edges.

Trim the seam allowance down to 1/8″ to reduce bulk on your adjustable bag straps.
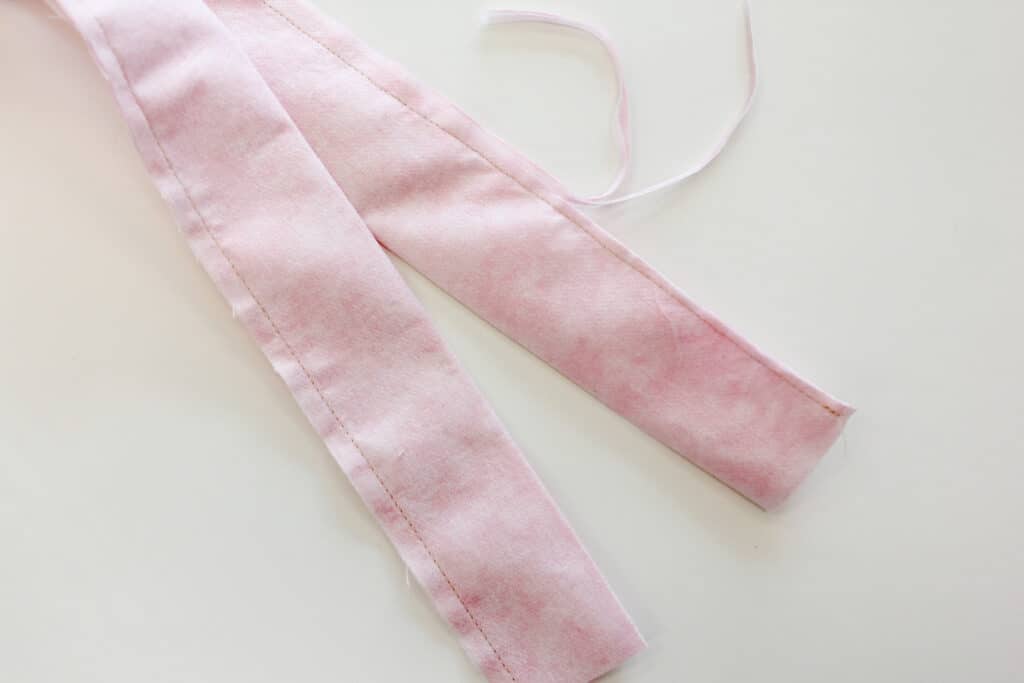
Attach a safety pin to one of the tube’s edges and turn the tube right side out.
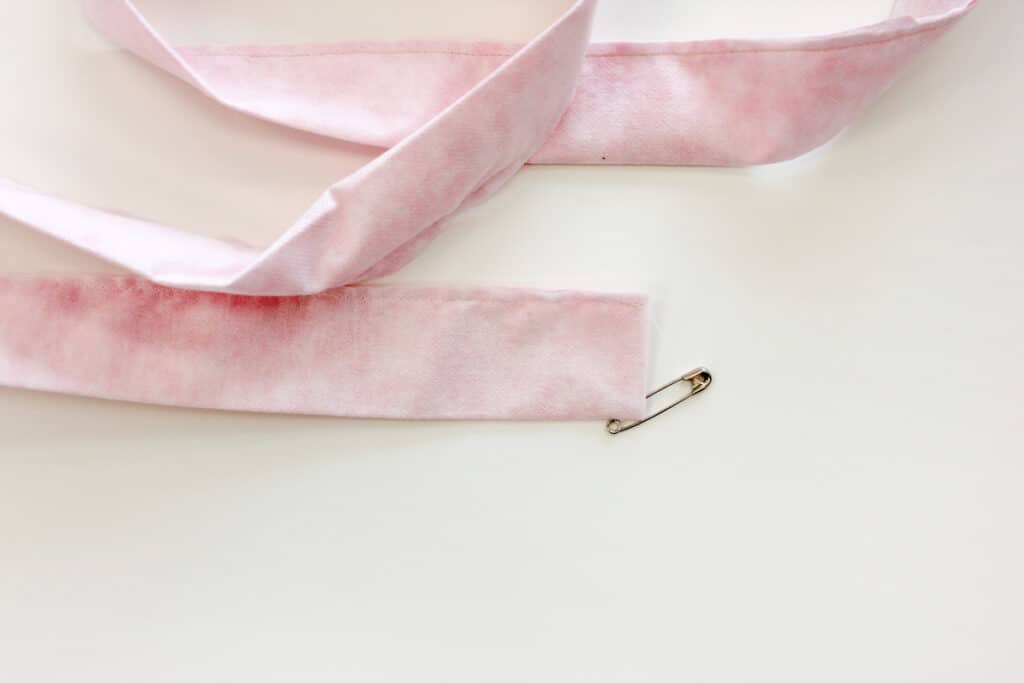
Press the strap well with the seam on one of the long sides.
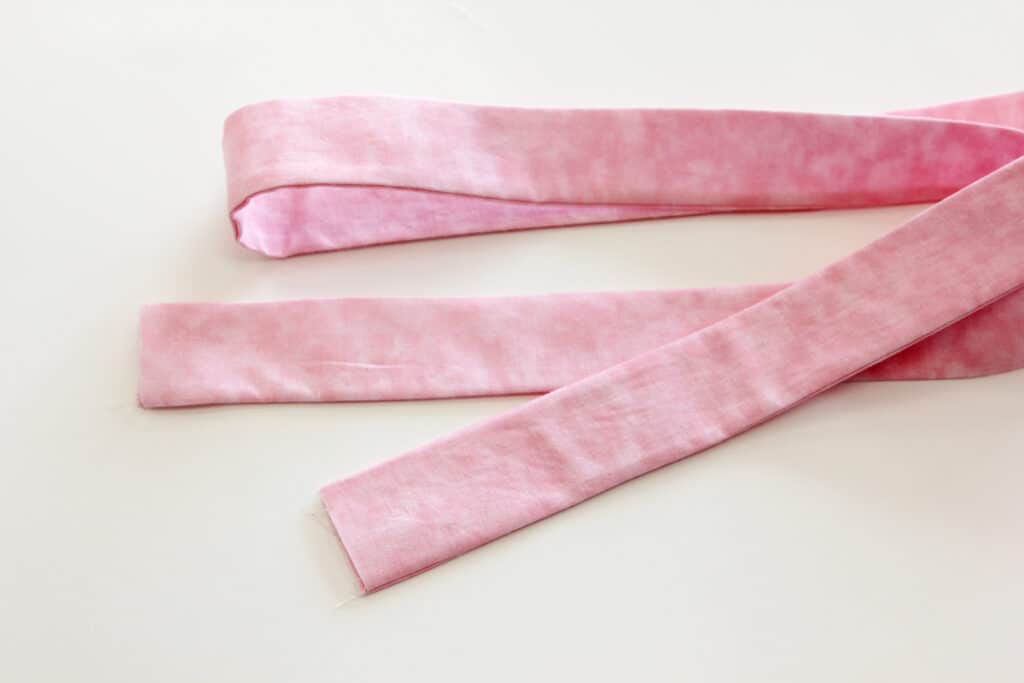
Optional: Topstitch both sides of the strap 1/8″ from the pressed edges.
How to make an adjustable strap – Add the slide adjuster
Slide the slider onto the unfinished edge.
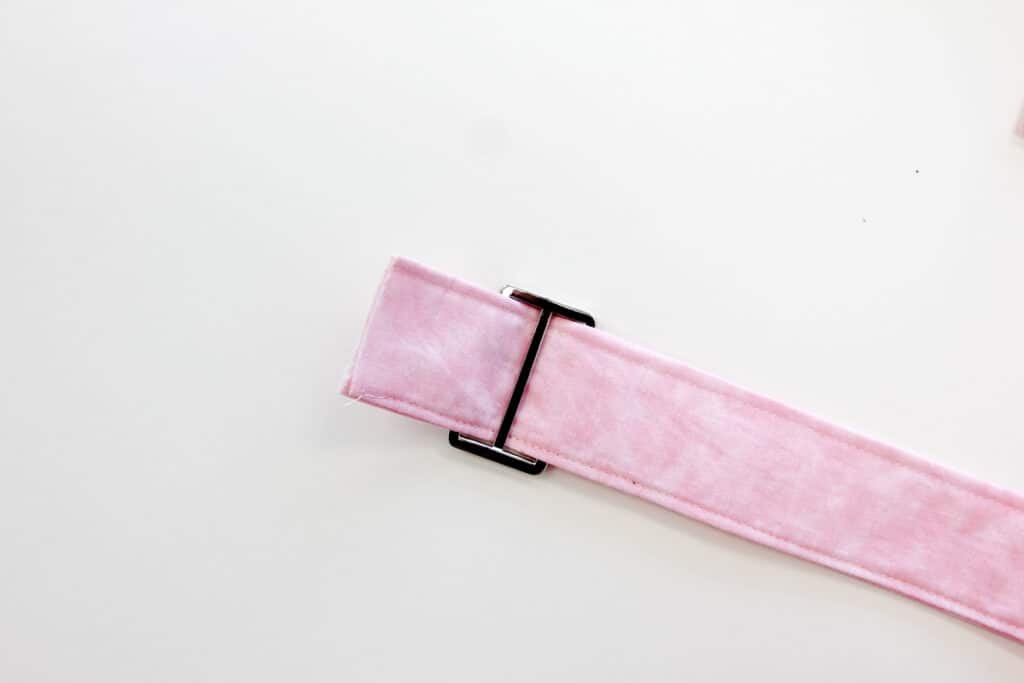
Press under 1/2″.
Then fold over about 1 1/4″ and pin or clip in place.
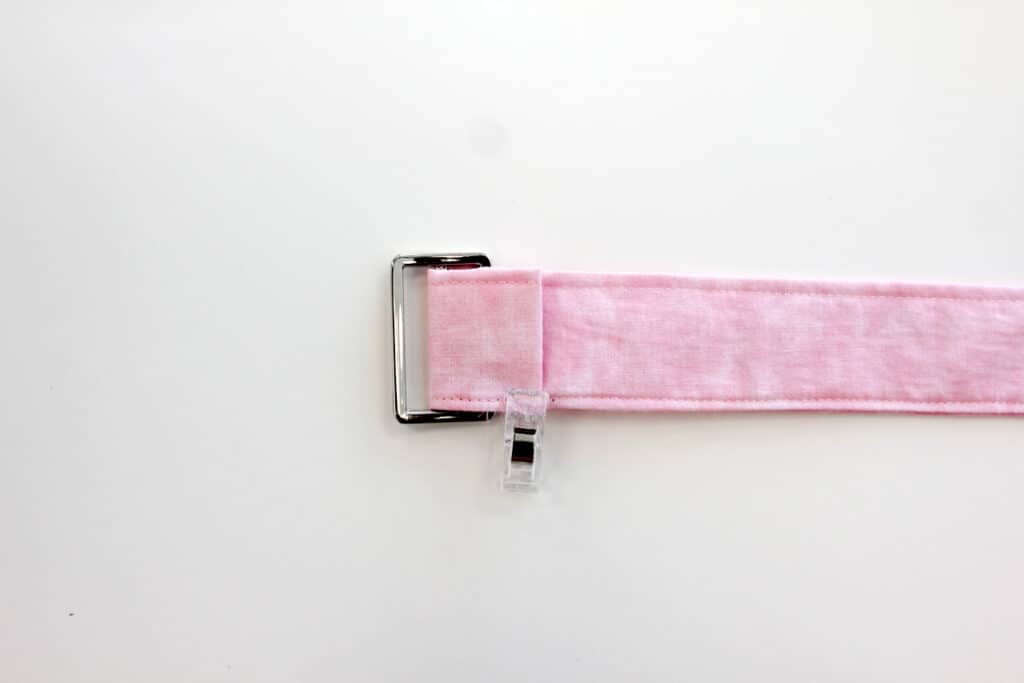
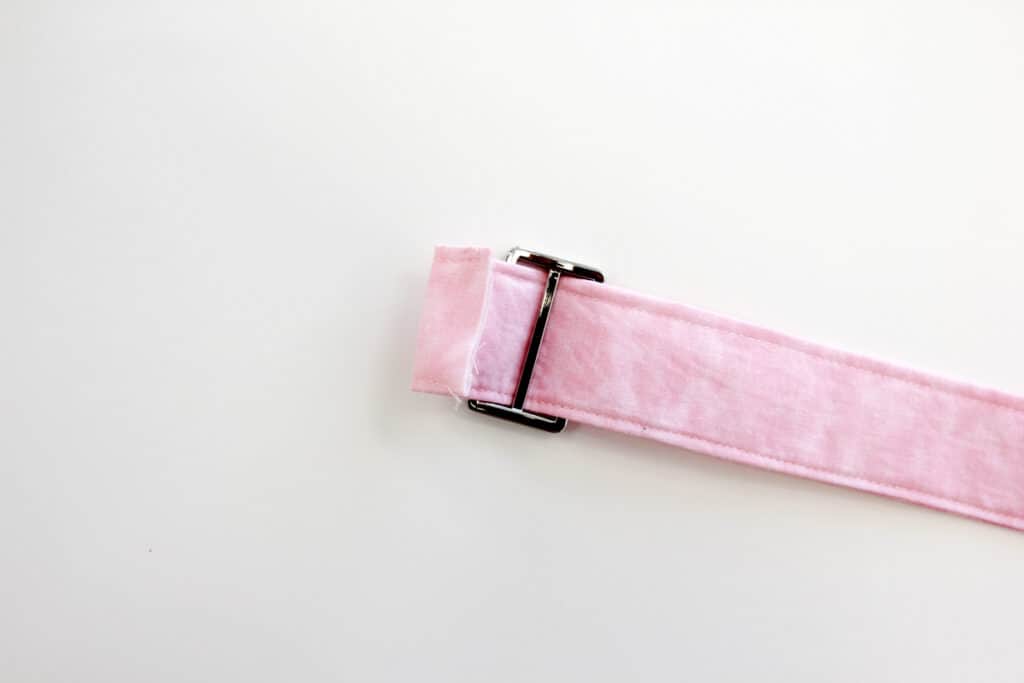
Sew in a rectangle to hold slider in place.
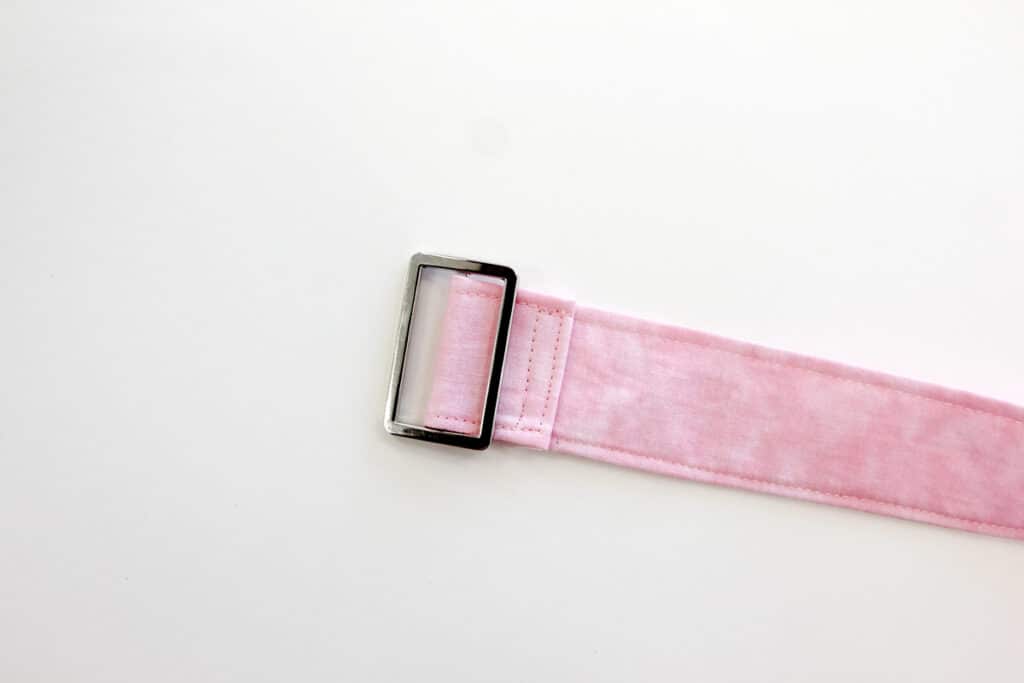
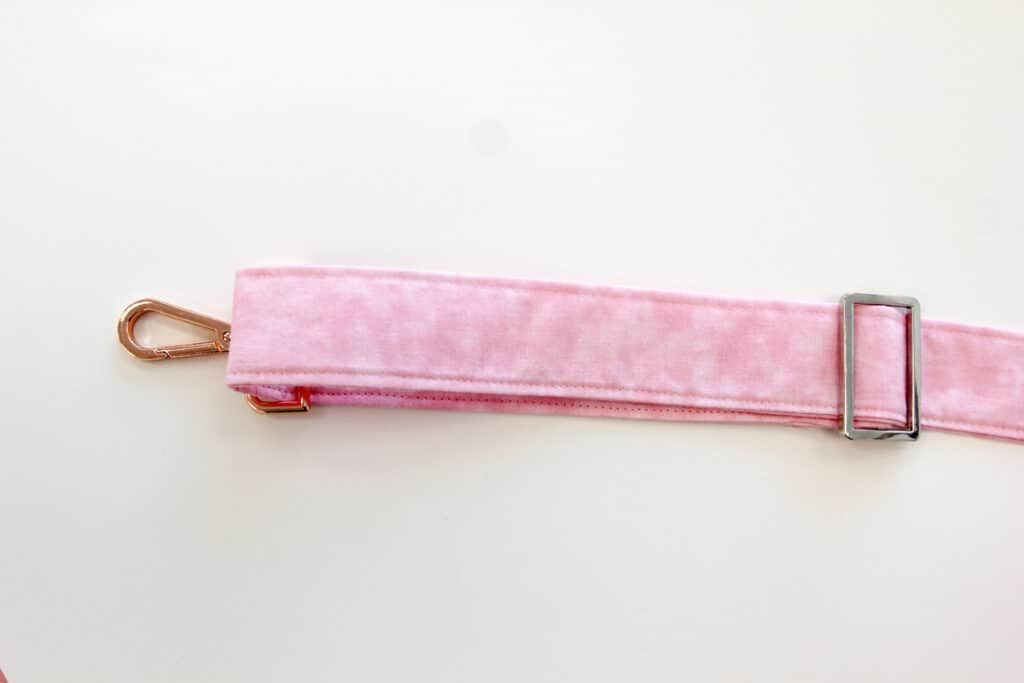
Add a lobster clasp to the strap as shown.
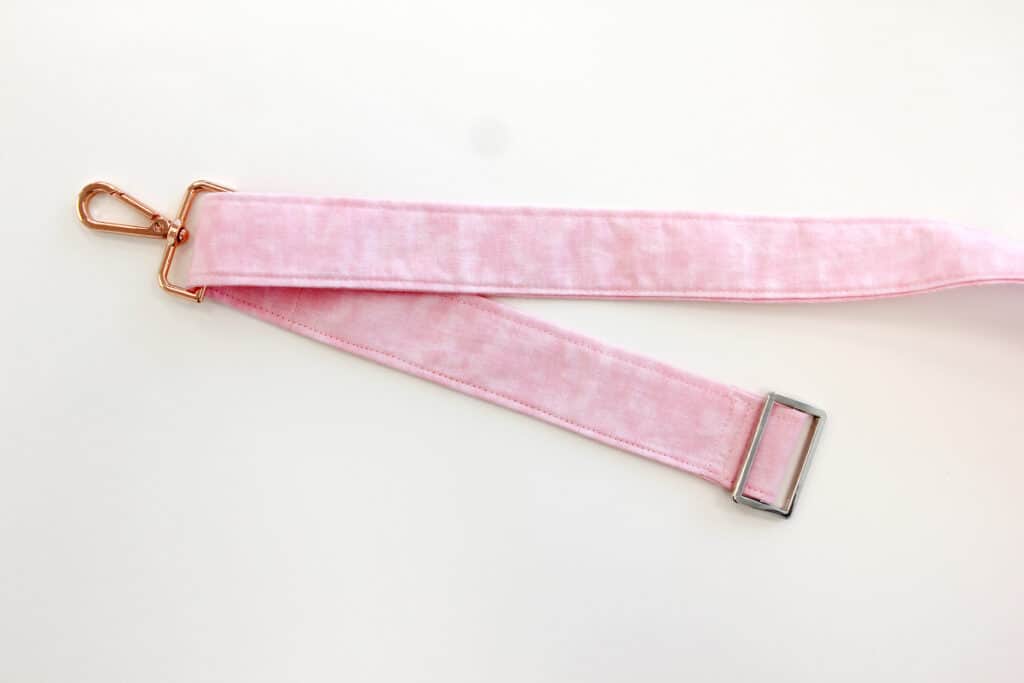
Now grab the other end of your strap and thread it through the slider.
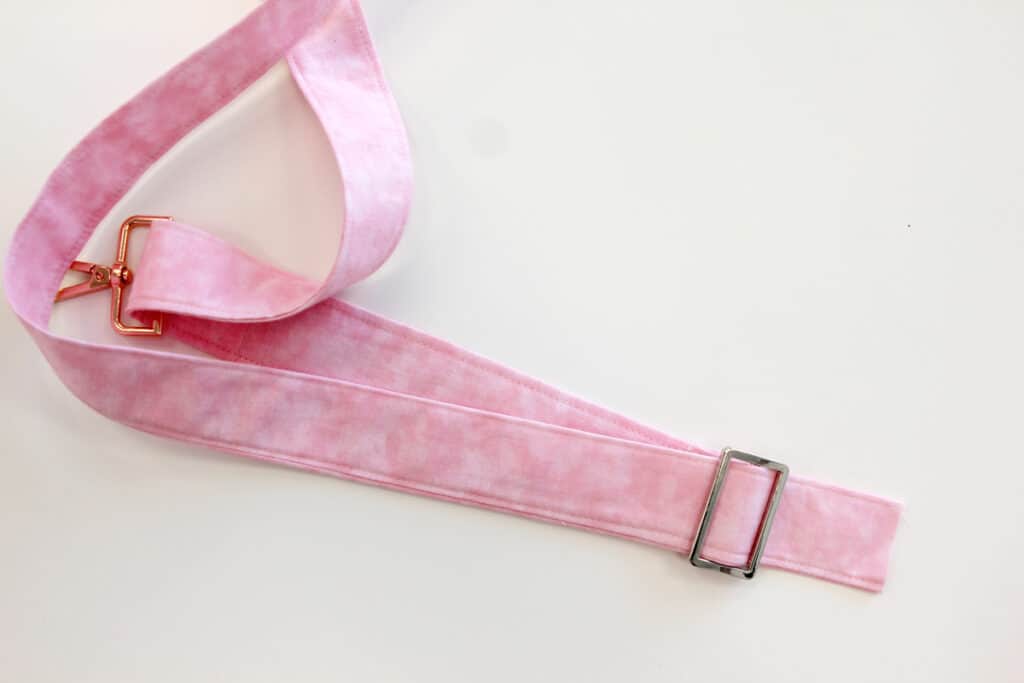
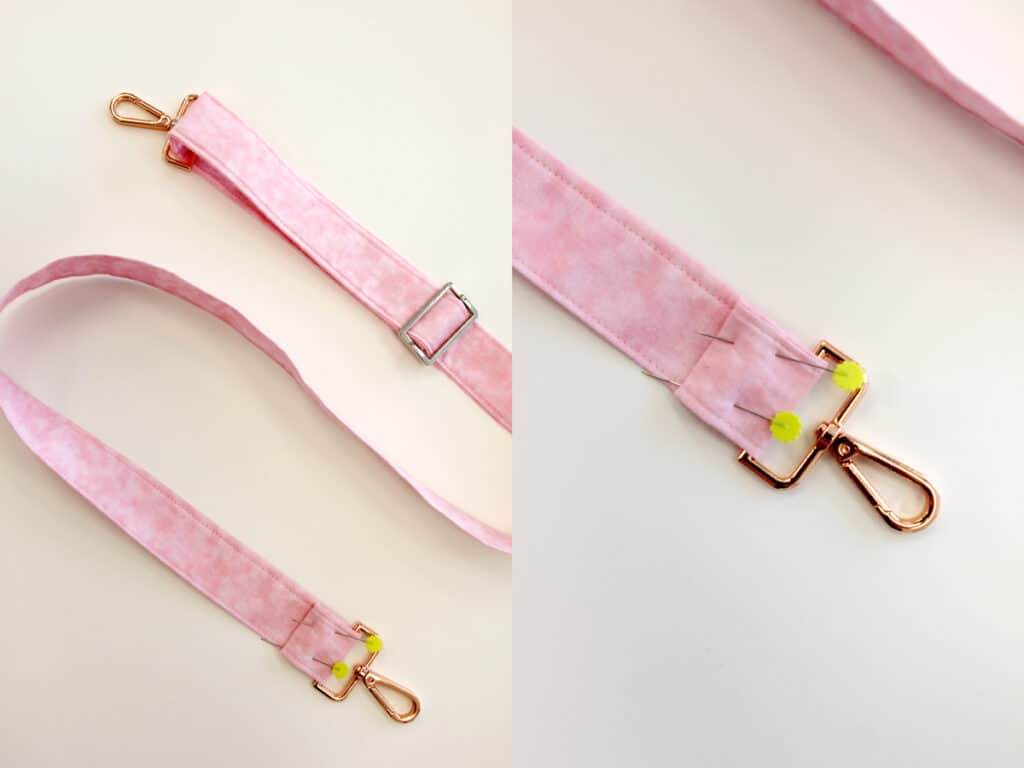
Slip the second lobster clip onto the free end of the strap. Fold under 1/2″ and then another 1 1/4″ as we did with the slider. Sew in place with a rectangle of stitching.
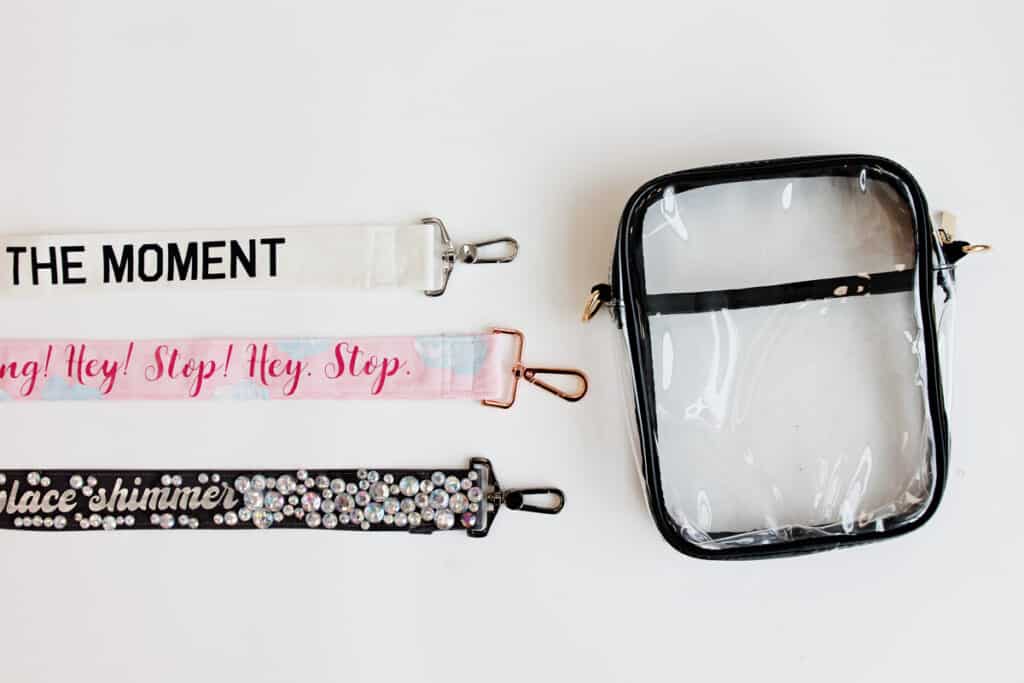
The finished strap is done – now it’s time to decorate!
Taylor Swift Inspired Lover Purse Strap
If you’ve never used iron-on vinyl before, check out this blog post for a full tutorial.
- Pink cotton fabric, I used a tie dye pink fabric
- Magenta and white iron-on vinyl
- Light blue and white fabric paint
- Foam paint brush, round
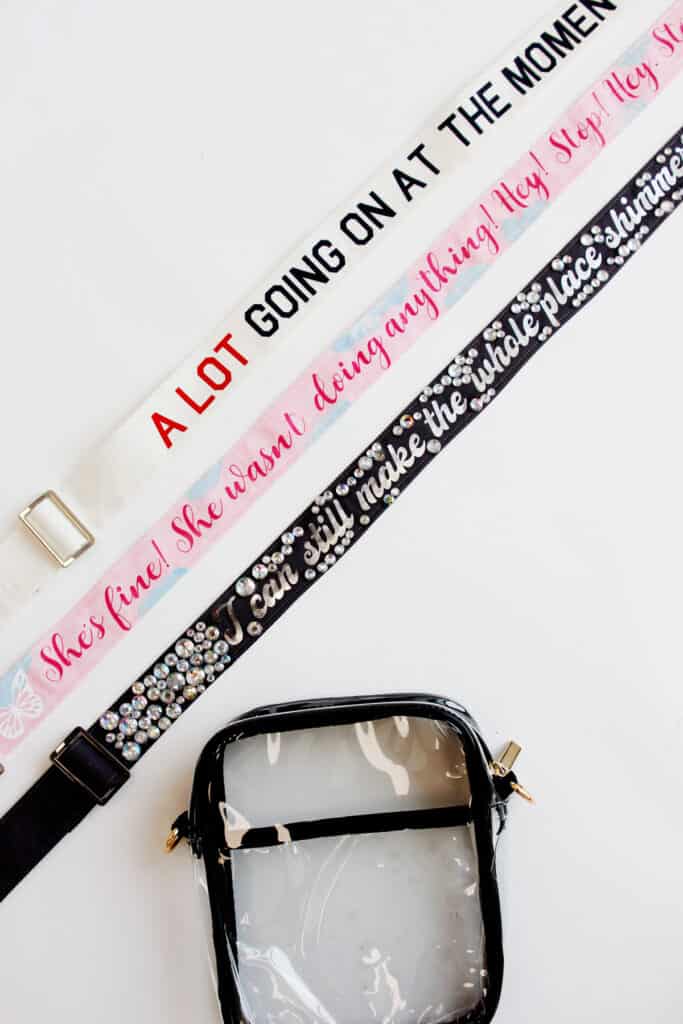
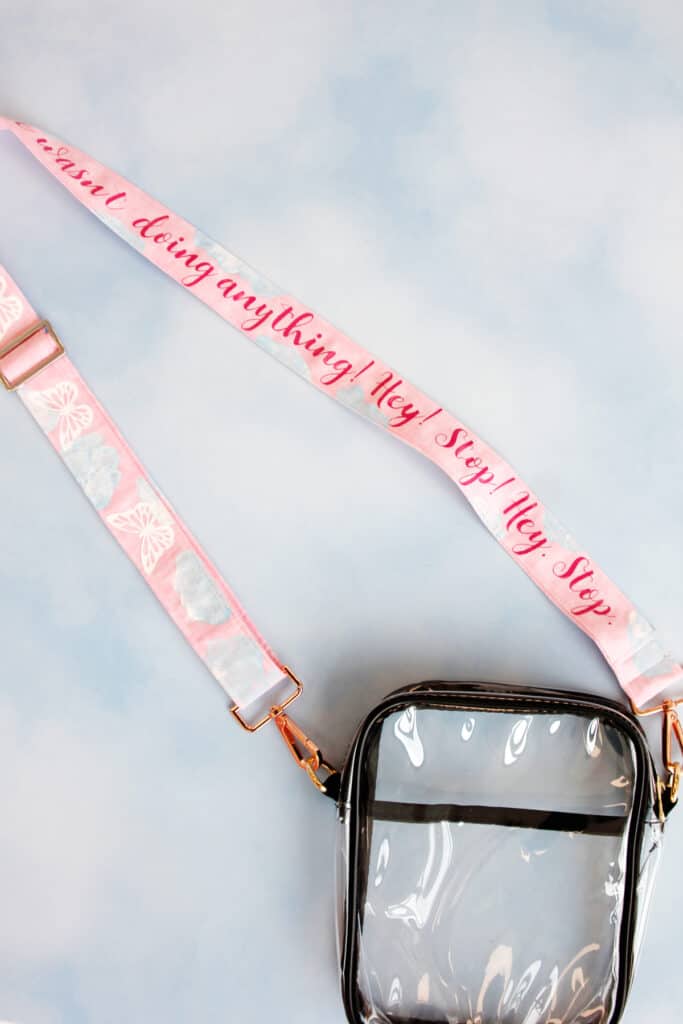
For this one I used a Lover color palette with the quote “She’s fine. She wasn’t doing anything. Hey, Stop! Hey, Stop.” from the Eras tour when Taylor was yelling at a security guard in between lines of Bad Blood. Hopefully this one will make someone laugh!
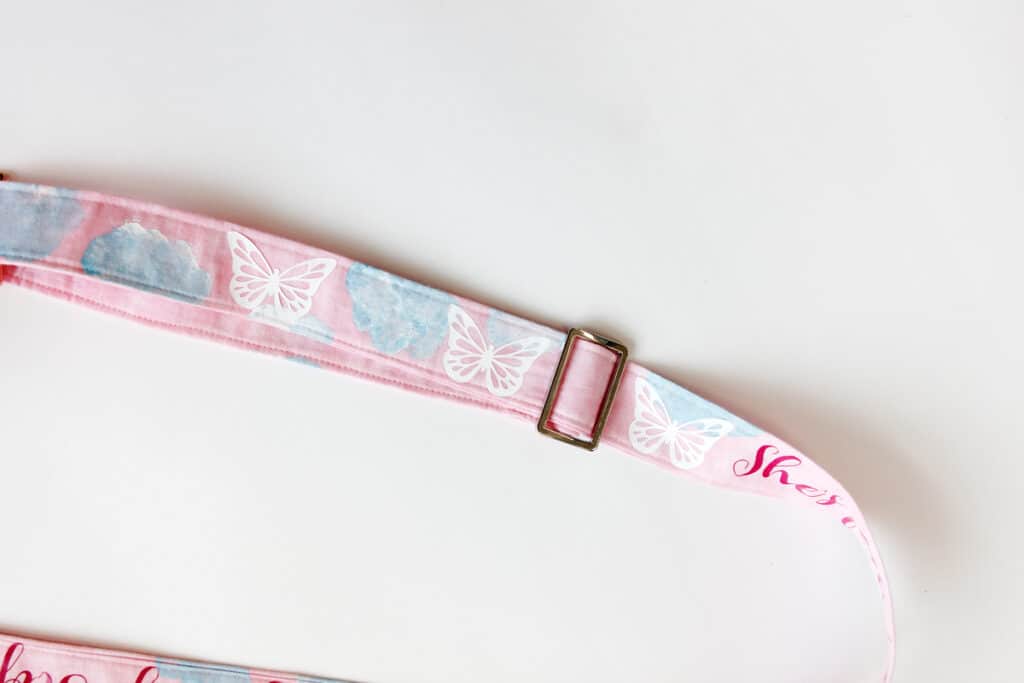
I cut out the words and some butterflies with iron-on vinyl. The butterflies are a design in Cricut’s Design Space and I used a cursive Lover-style font for the words. I mixed up blue and white paint to create little clouds with acrylic paint for a total Lover vibe.
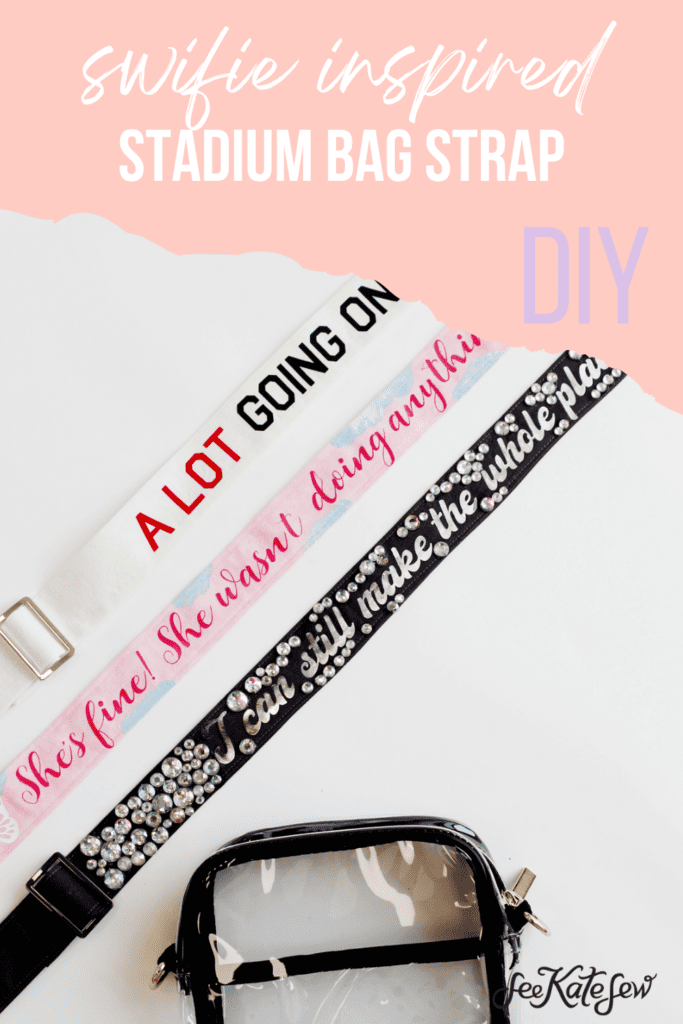
Bejeweled Bag Strap for Eras Tour

- Dark grey cotton
- Silver iron-on vinyl
- Loose rhinestones
- Jewel-it embellishing glue(affiliate link)
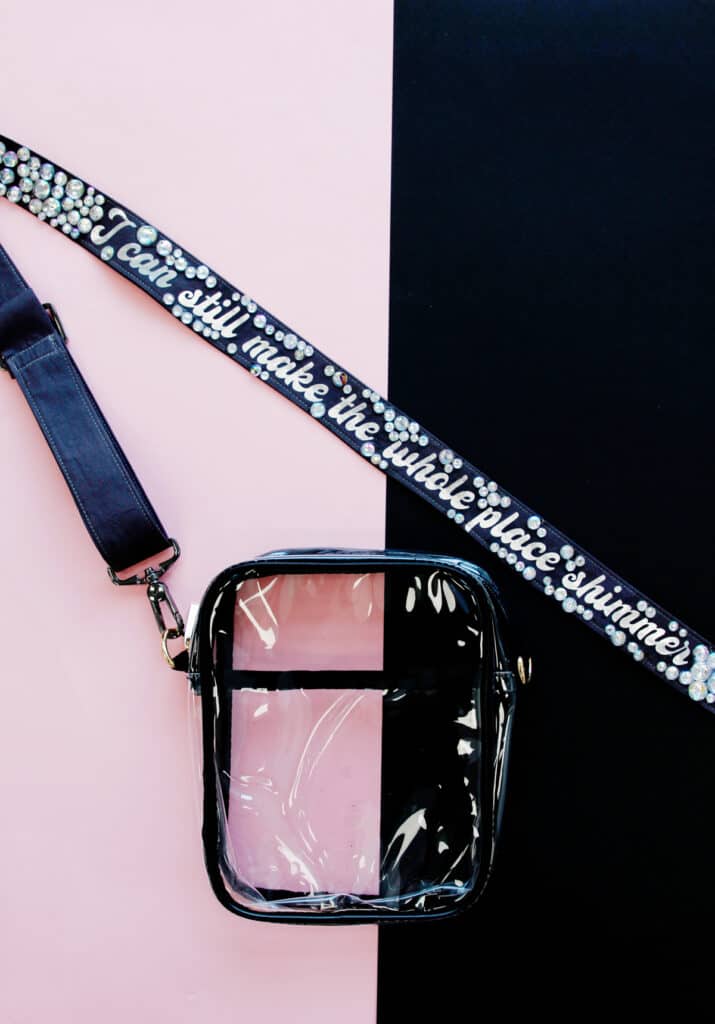
I can still make the whole place shimmer! Add a ton of shimmer to your strap with glue on jewels and fabric jewel glue. This has a Taylor Swift bedazzled guitar effect and I love this strap!
The jewels make it hard to adjust the strap so make sure it is a good length before you glue the gems on. I recommend placing the gems only on the part of the strap that doesn’t have the adjustable slider.
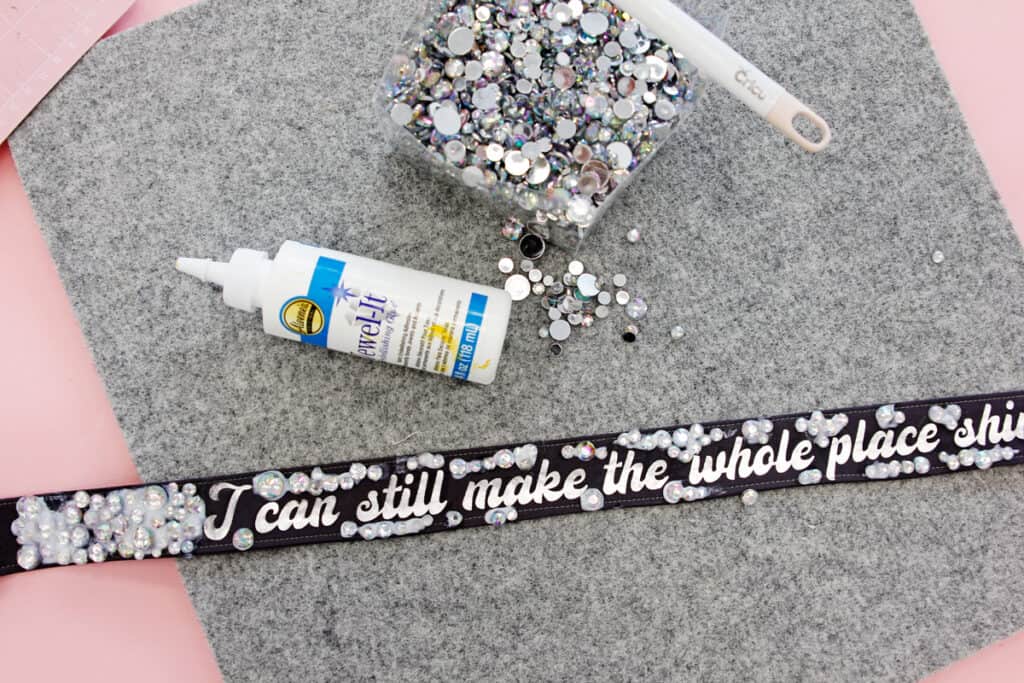
The glue will dry totally clear so don’t worry if you get it all over the strap!
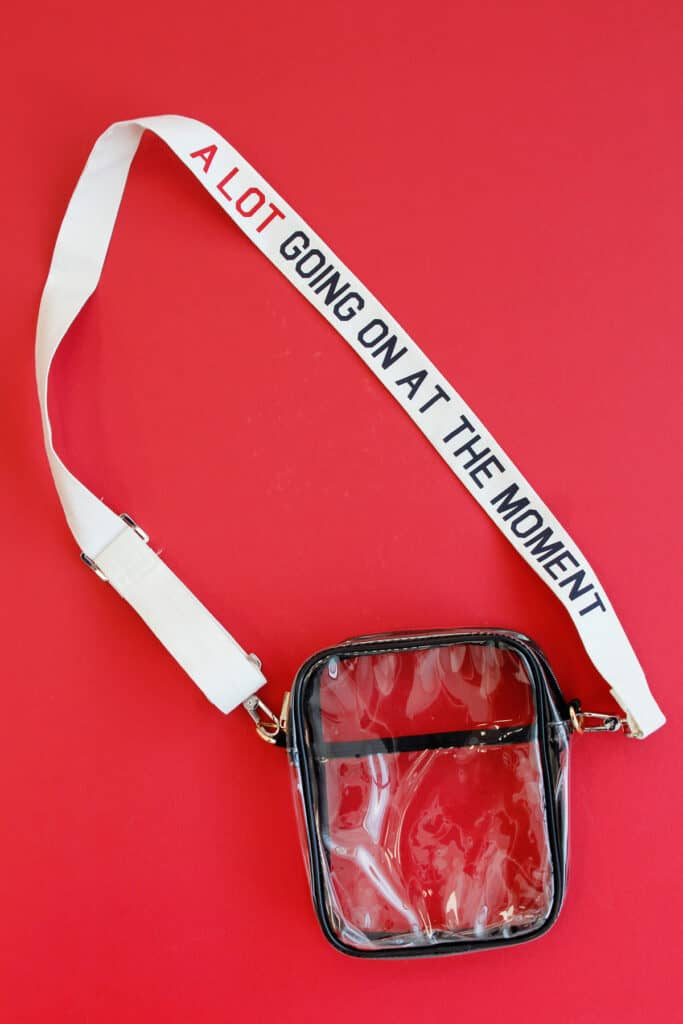
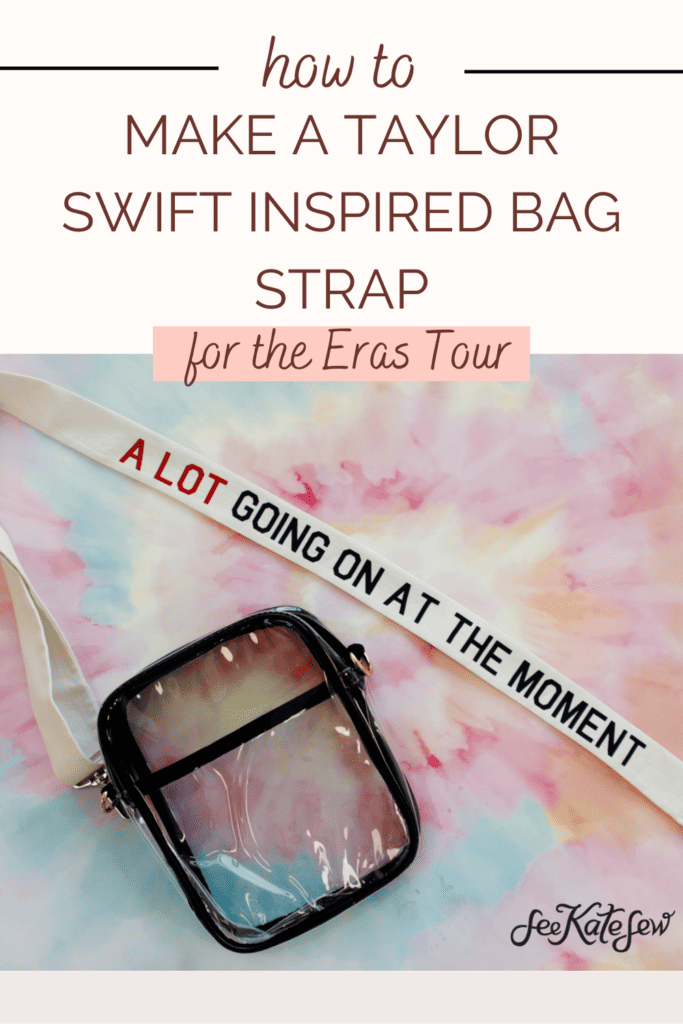
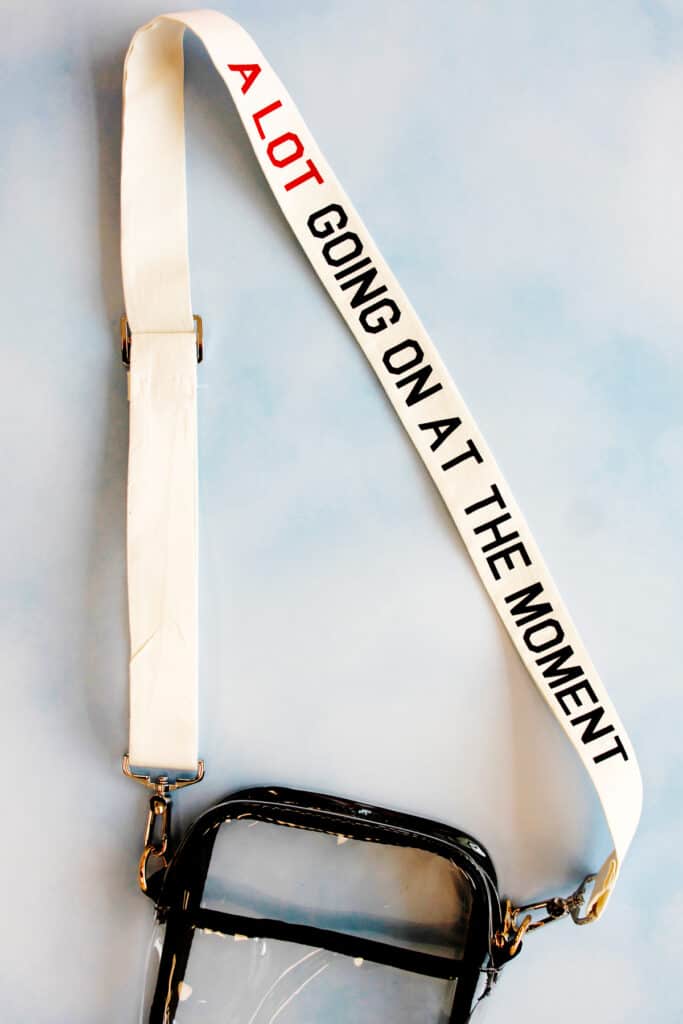
A Lot going on at the moment adjustable strap
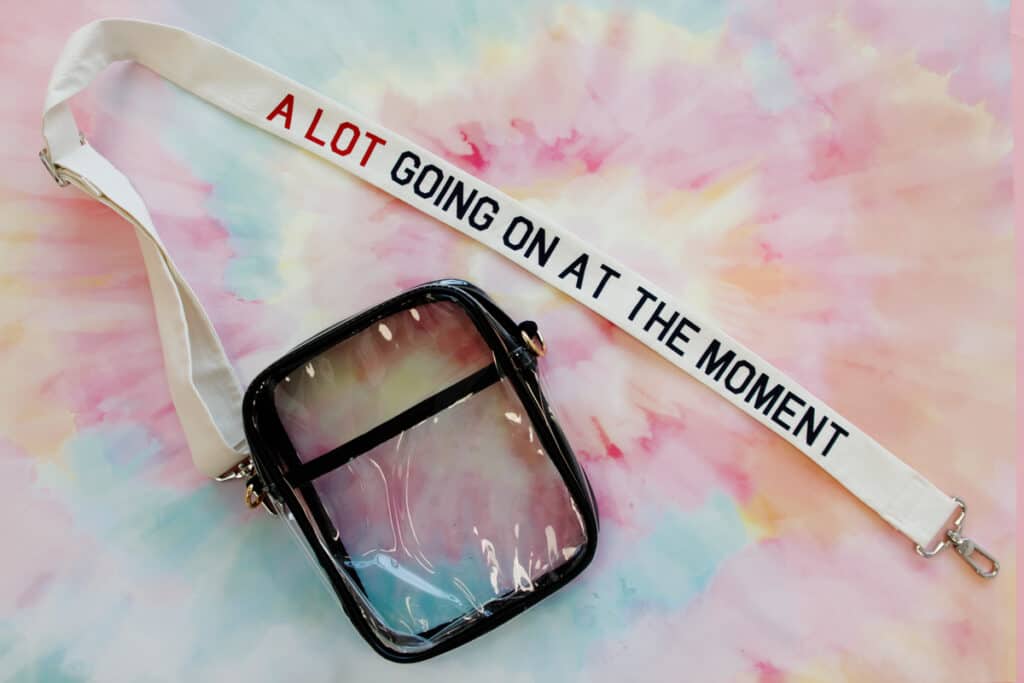
- White cotton
- Red and black iron-on vinyl
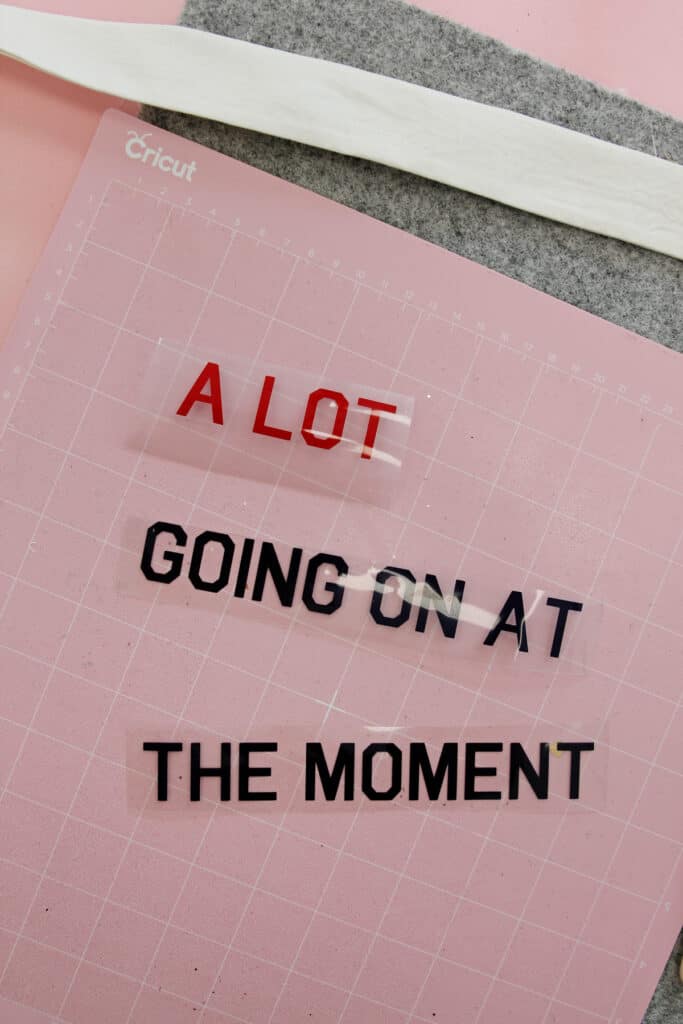
This strap is perfect if you are doing a Red outfit! Sew a white strap then use iron-on vinyl to write the words. The font I used for the words “A LOT GOING ON AT THE MOMENT” is called Bou College and is available for free. Just cut it out with a cutting machine and iron it on.
Clip them to the side of the bag and you’re ready to rock!
More awesome crafts
- Glitter Pencil Pouch DIY
- Mermaid Snap Coin Pouch
- Clear Pencil Pouch
- Sequin Shake Pouch
- How to sew with metallic thread