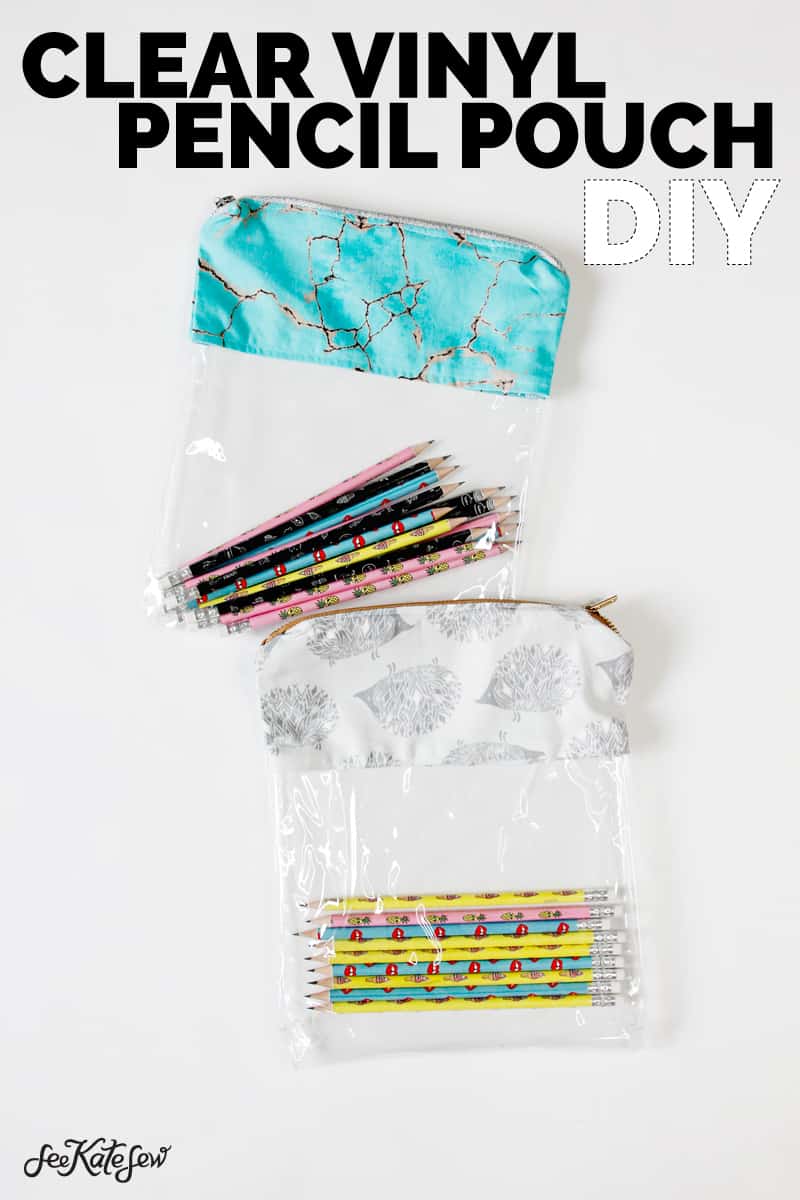
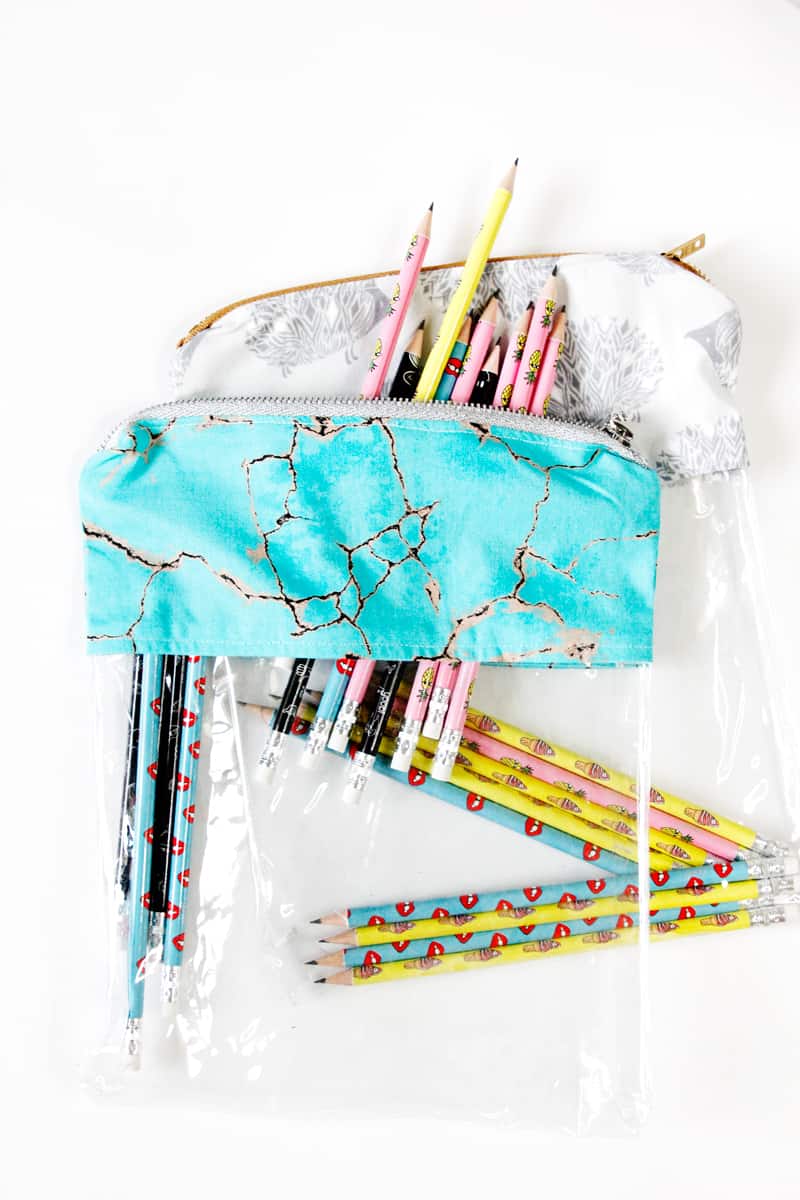
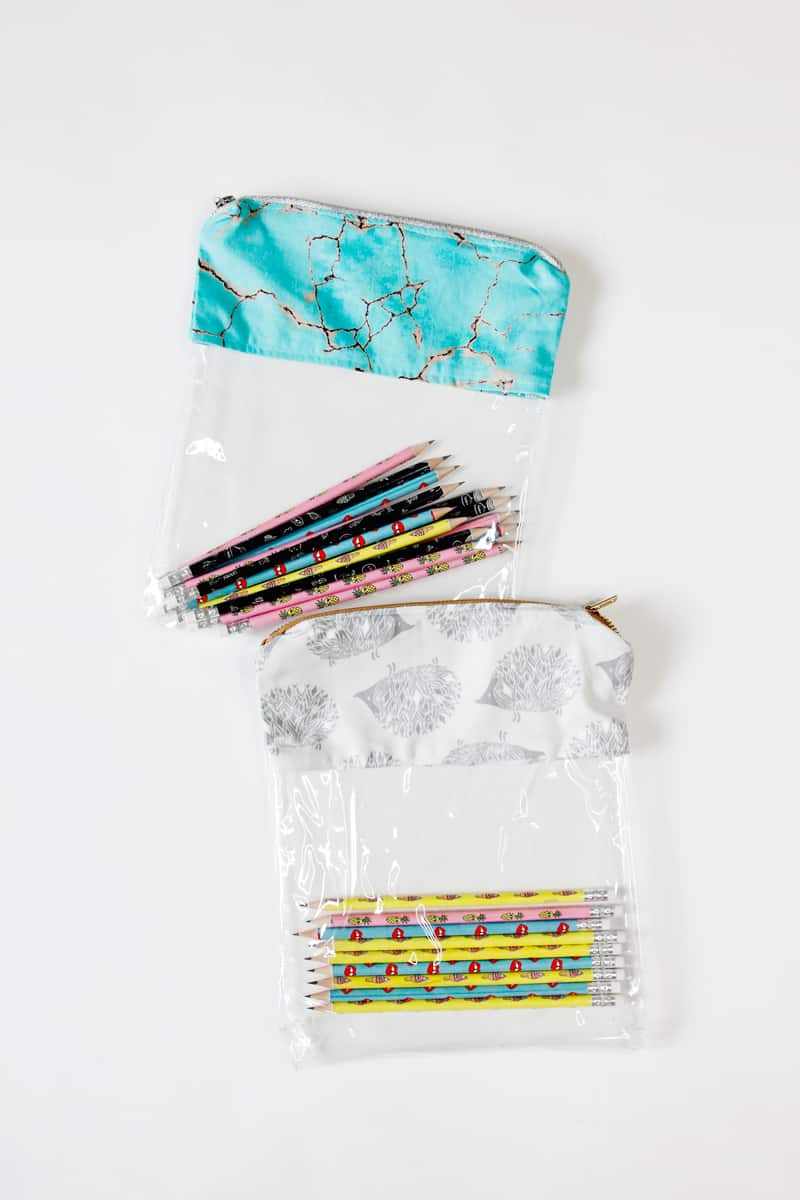
Nothing like a shiny new pencil pouch to get you excited about back-to-school! This little pouch has clear vinyl so it makes finding things super easy! In this post I will show you how to make a DIY pencil case with vinyl at the bottom. The vinyl is clear and super easy to sew through. It also makes the pencil pouch a great showcase for all your cute supplies! These pencil cases are big enough to hold a pencil any way and they’ll hold quite a few pencils and pens. The zipper at the top of the pencil pouch is pretty heavy duty so the pouch should last the whole school year!

Materials//
–10 gauge clear vinyl, 10″ wide by 15″ tall
–1/4 yard cotton, cut 2 pieces 4.5″ tall by 10″ wide
–9″ Heavy Duty Zipper
–Non-stick teflon foot
A note about vinyl: I love to save the vinyl bags/covers from buying sheets or similar things. That vinyl is usually thin and works well for projects like this but you can also purchase it by the yard. 1 yard goes a long way!
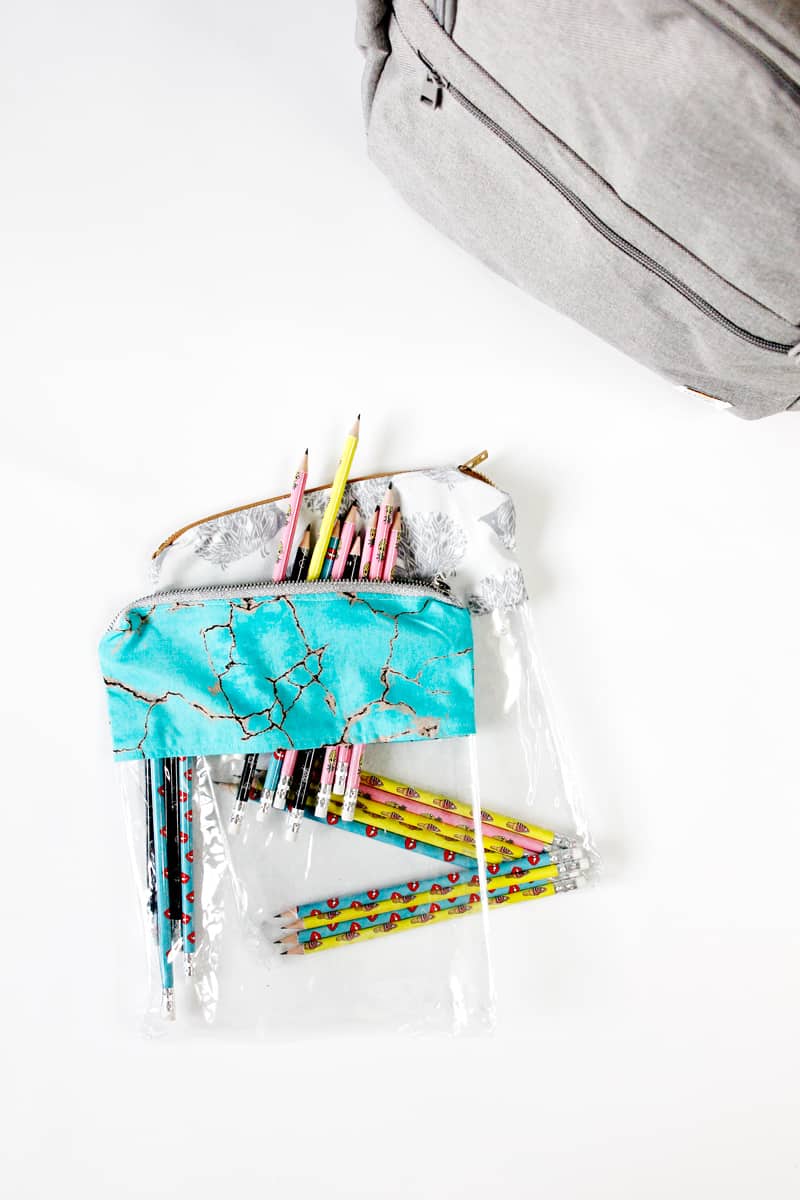
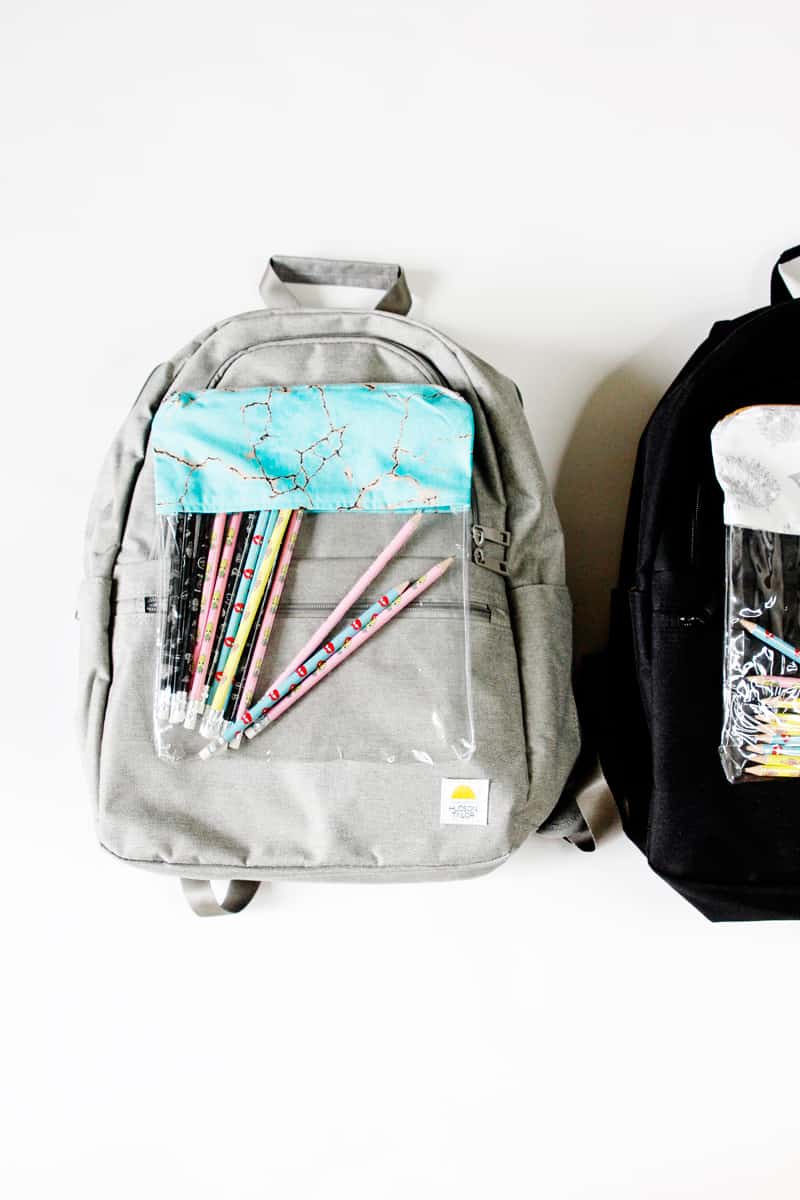
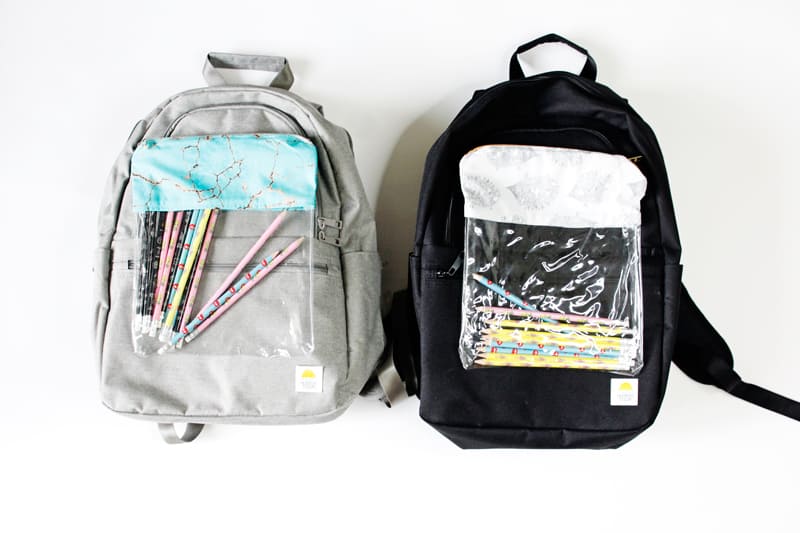
Hudson Tailor sent these backpacks and we love them! I really love the modern look of them, but also how durable and padded they are. And no characters! But my kids still love them because they have so many pockets, including side pockets for water bottles! The top curved pocket is really deep, it goes all the way to the bottom of the pack! 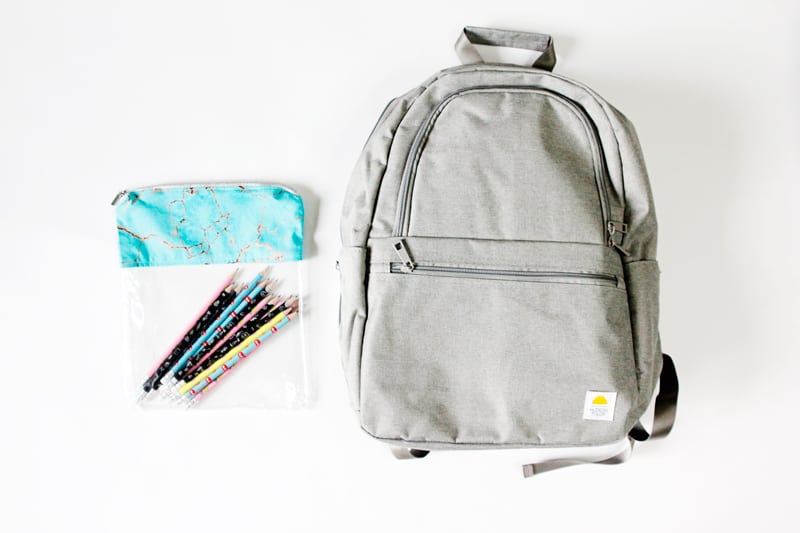
Look at that cute interior fabric! It’s all nylon so it will be easy to clean which is a bonus! Hudson Tailor also has coordinating lunch boxes, pencil cases and another style of backpack plus duffle bags! I’m looking forward to not replacing backpacks every year! The quality on these is top notch! and you can see how well padded they are from the photo below! You can also find them on Amazon.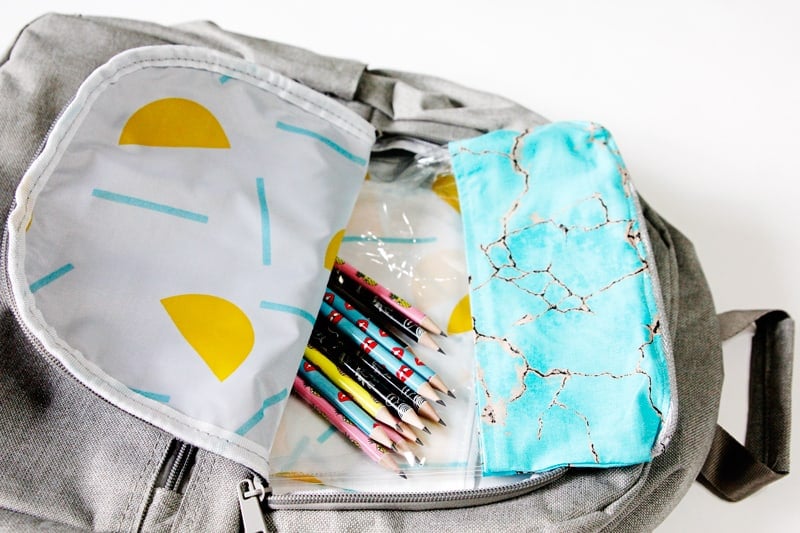
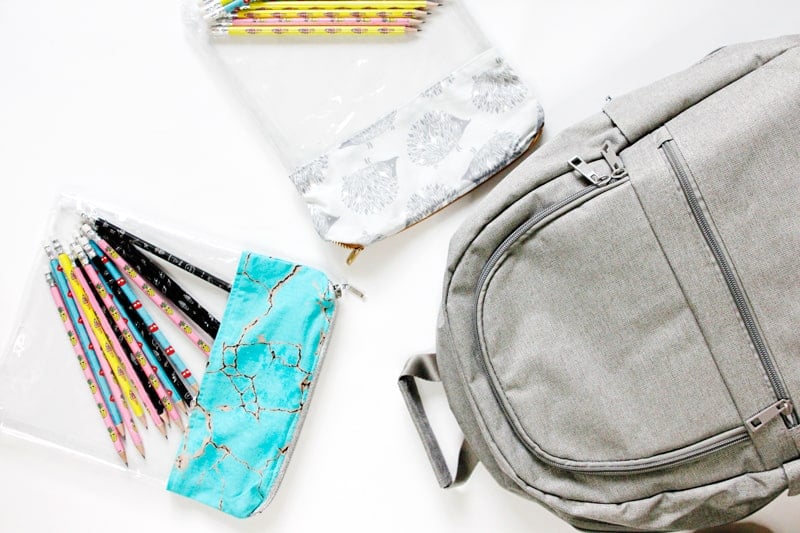
I picked fabrics to sorta coordinate with these backpacks and had fun doing that! I’m totally obsessed with school supplies including backpacks and can’t stop making pencil pouches. You can see the bow pencil pouch tutorial here and the knotted pencil case tutorial here! But anyways, let’s get sewing!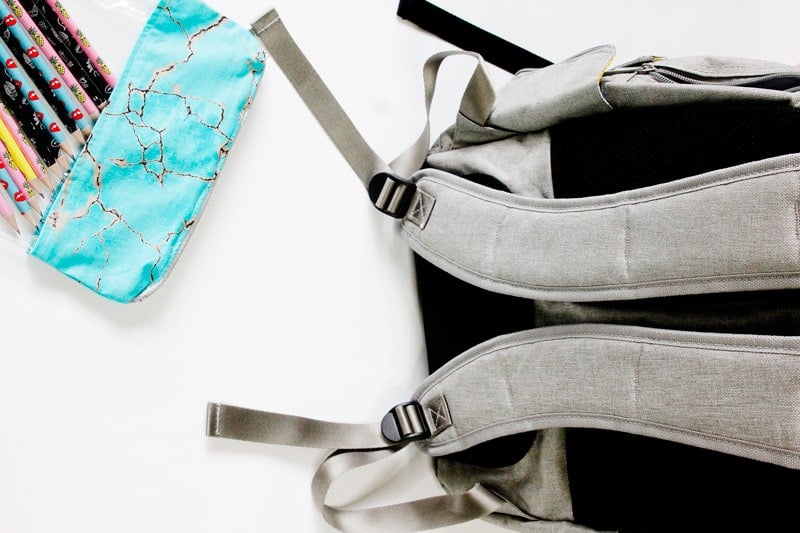
INSTRUCTIONs//
Use a 1/2″ seam allowance.
Cut one piece of vinyl, 10″ wide by 15″ tall.
Cut 2 pieces of fabric, 10″ wide by 4.5″ tall each.
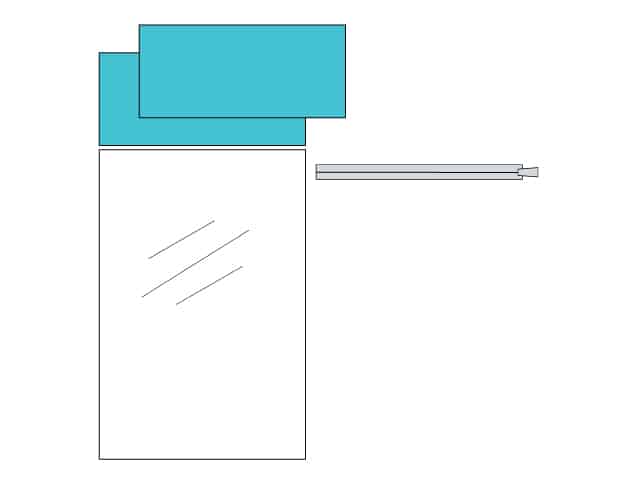
Place the fabric pieces face down on the vinyl and sew.
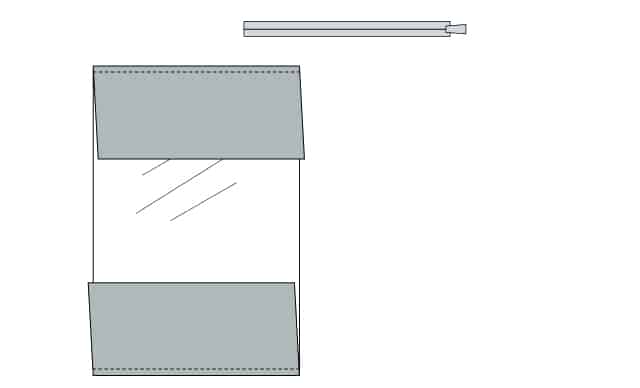
Press the seam allowances towards the fabric and topstitch along the fabric, about 1/8″ to 1/4″ from seam.
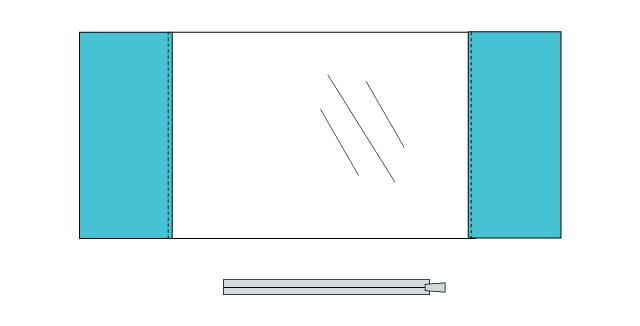
Place the zipper face down on fabric. Sew close to the zipper teeth.
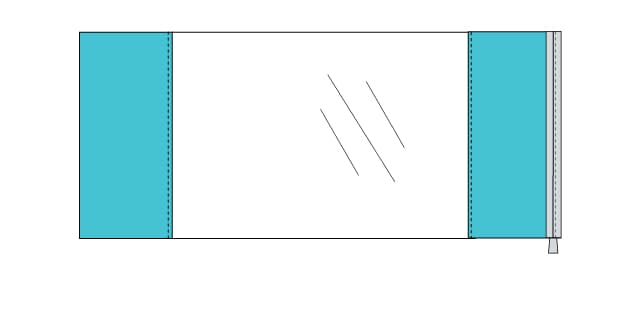
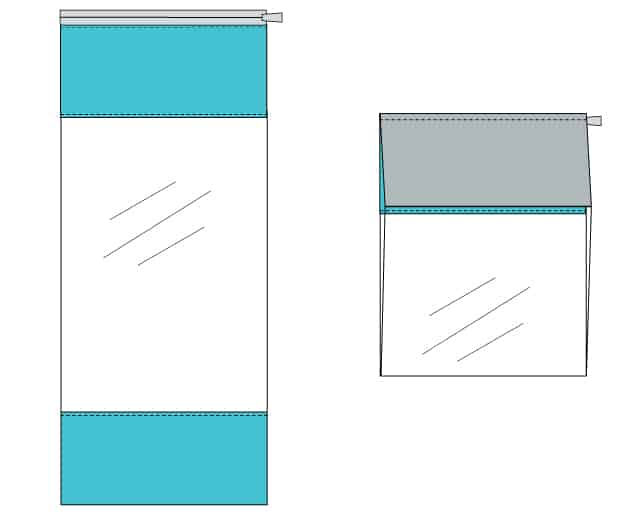
Press the seam allowance towards the fabric and topstitch. Fold the bottom of the pouch up and sew the other side of the zipper teeth to the other piece of fabric, with right sides together. Repeat the pressing and topstitching like you did on the other side of the zipper teeth.
Open the zipper and fold the zipper teeth down. Pin or use clips to hold the side seams together and stitch the side seams closed, using white thread. Backstitch at each end.
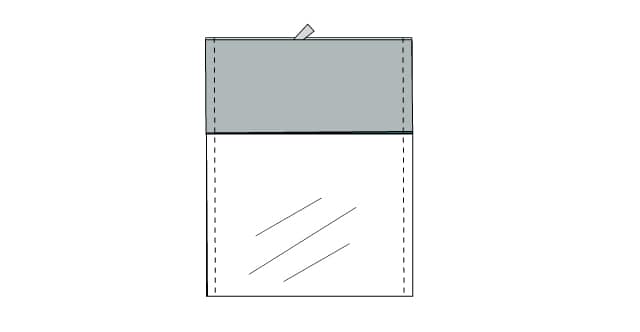
Turn right side out and you’re done!
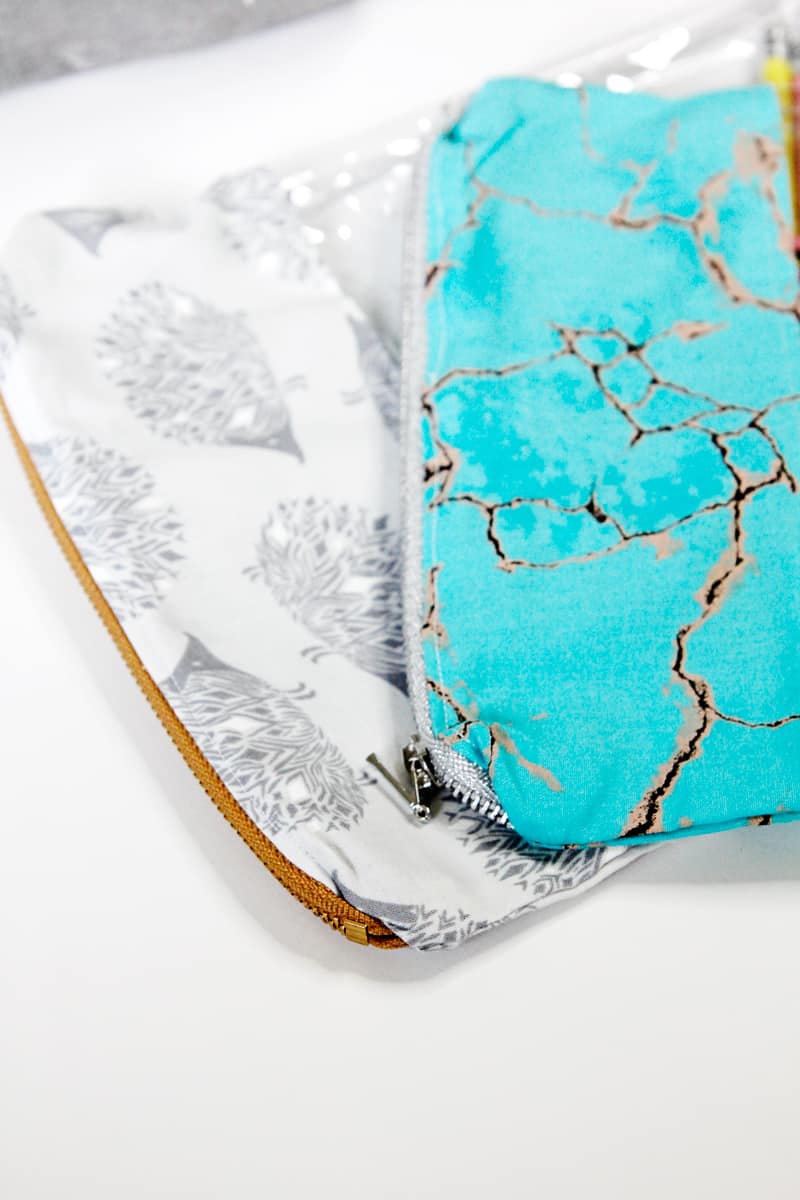


What size/length zipper? (Pictured, but not listed)
Do you prefer metal zippers over vinyl? (Picture shows metal)
What weight of vinyl? (If I purchase, instead of recycle.)