How to sew an easy zipper pouch
I love zipper pouches and I love sewing! If you’ve been reading for a while you know how much I love sewing zippered pouches – they are so easy! I have a few different tutorials you can follow for these, the basic zipper pouch tutorial shows you how to sew a lined zipper pouch. And here is a list of 15 zipper pouches to sew, including leather ones, a see-through one and small zippered pouches for coin purses.
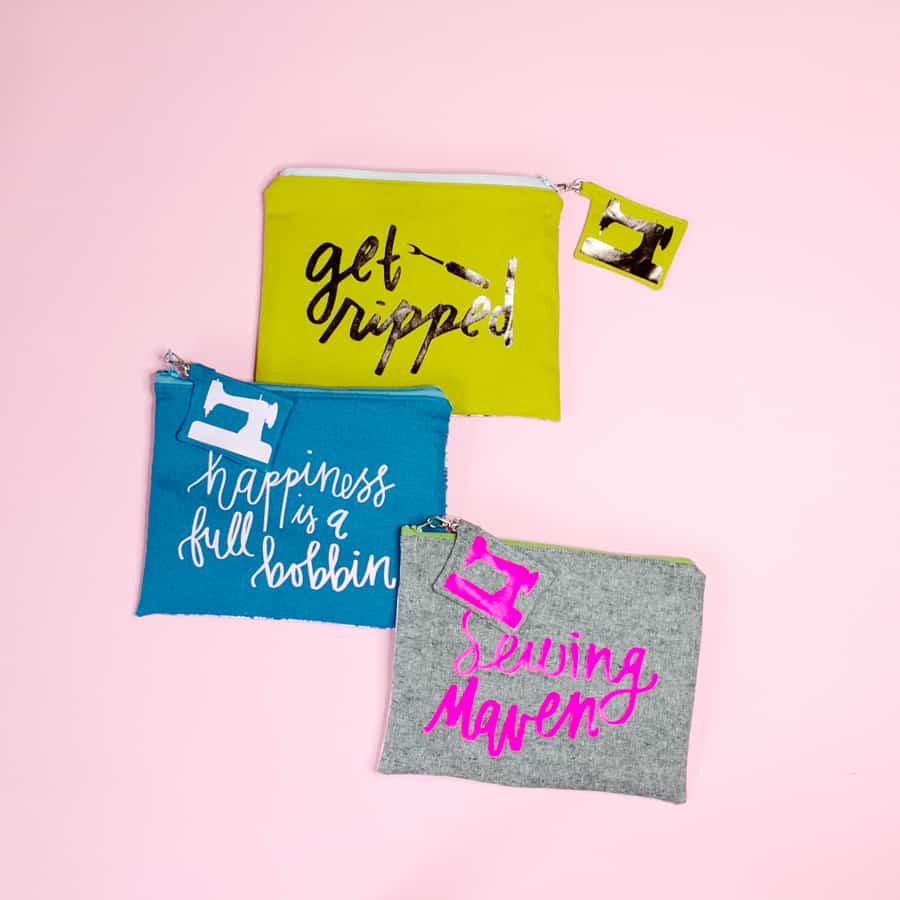
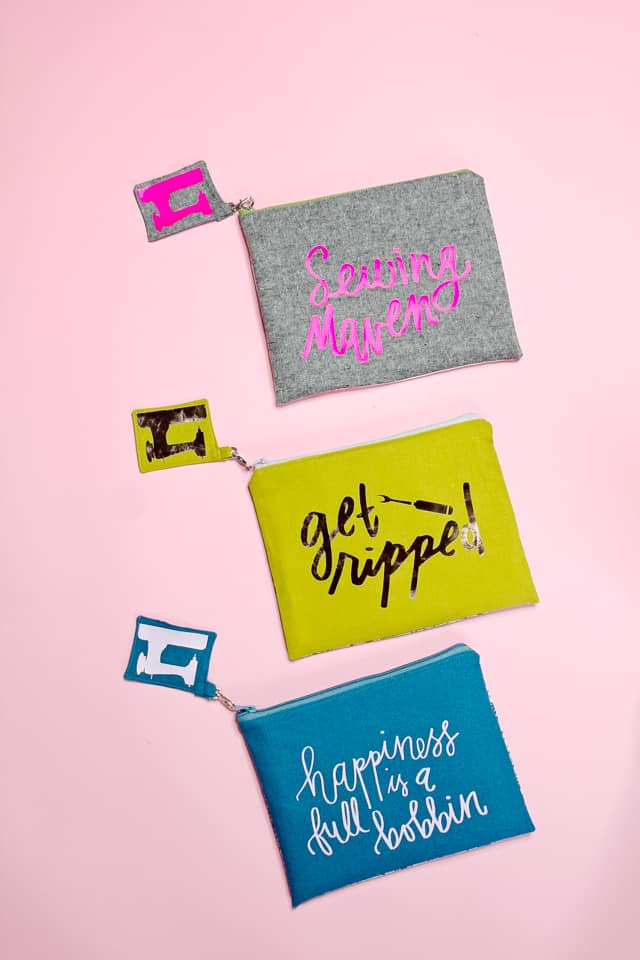
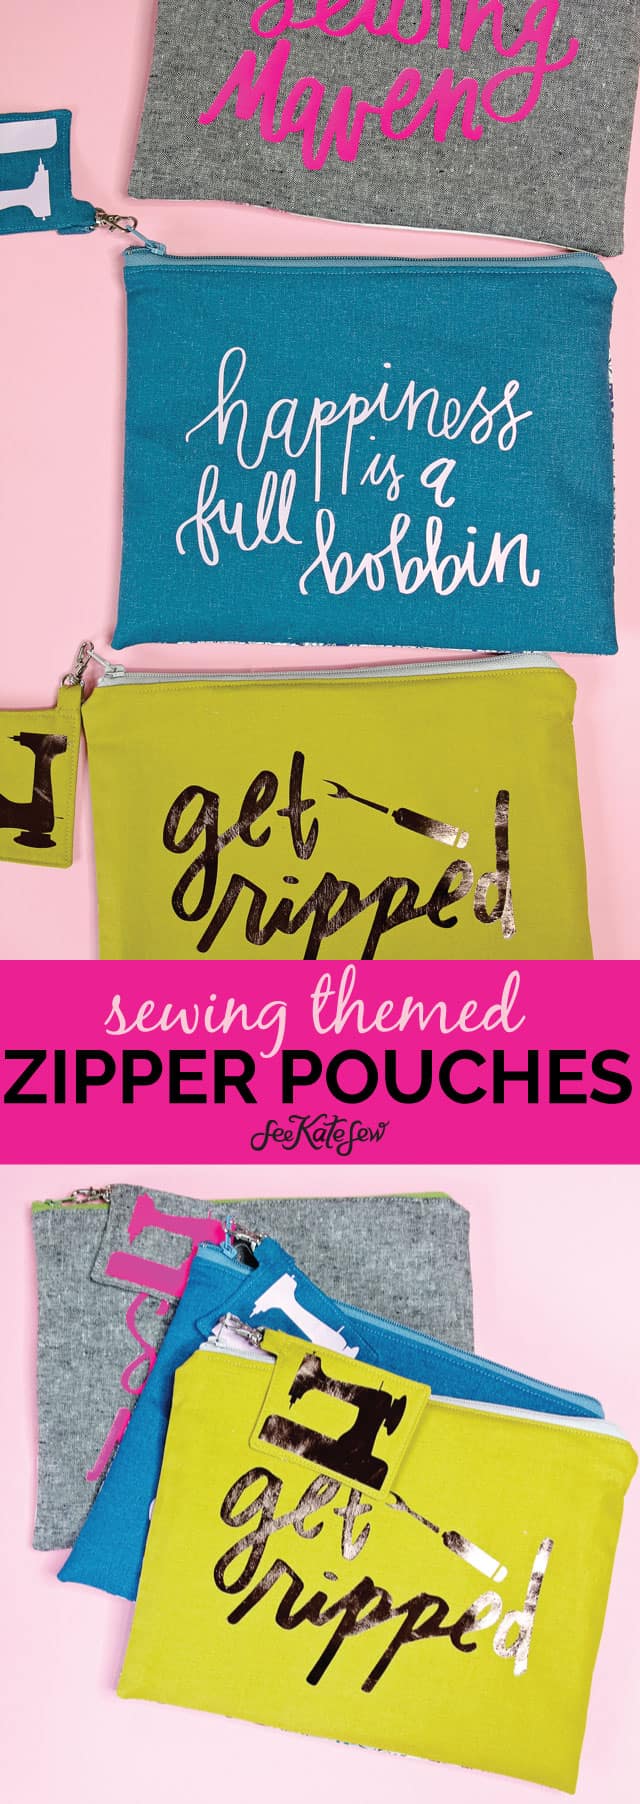
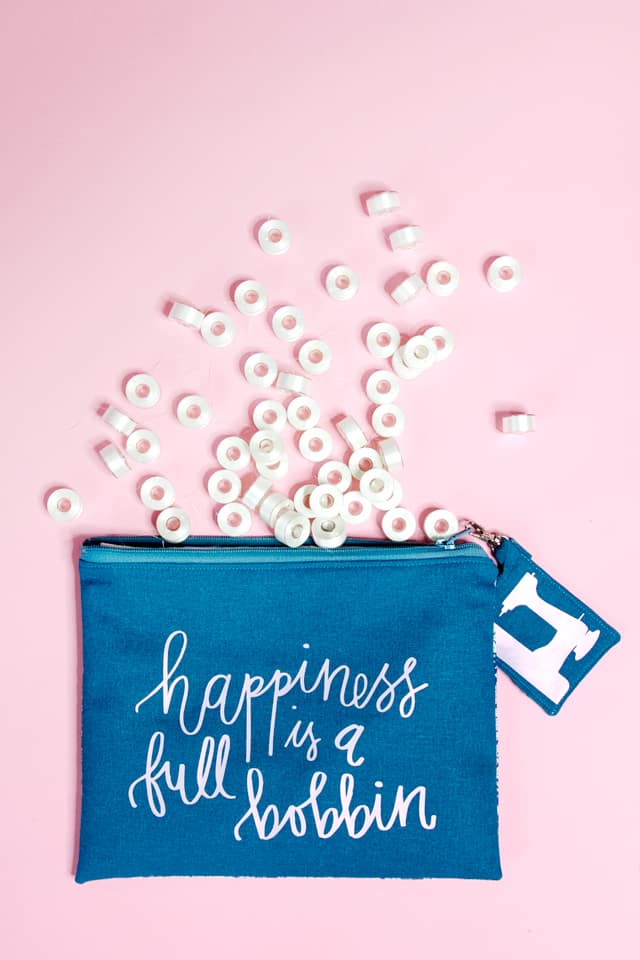
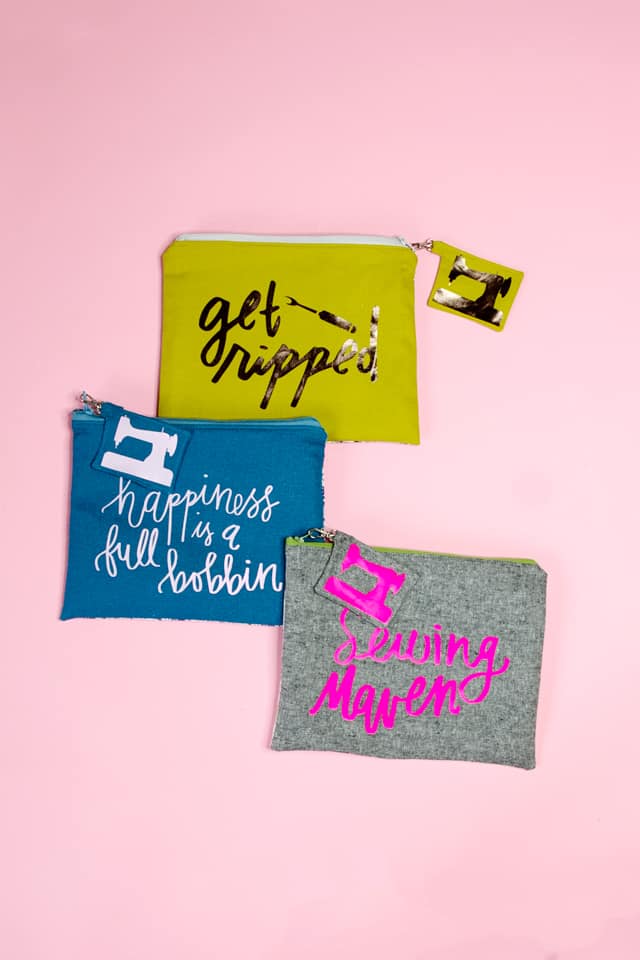
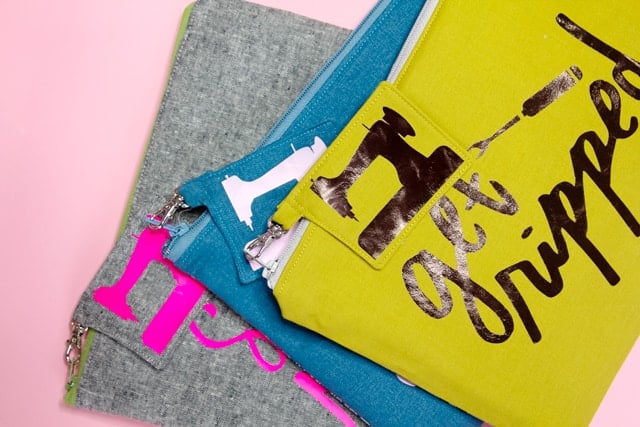
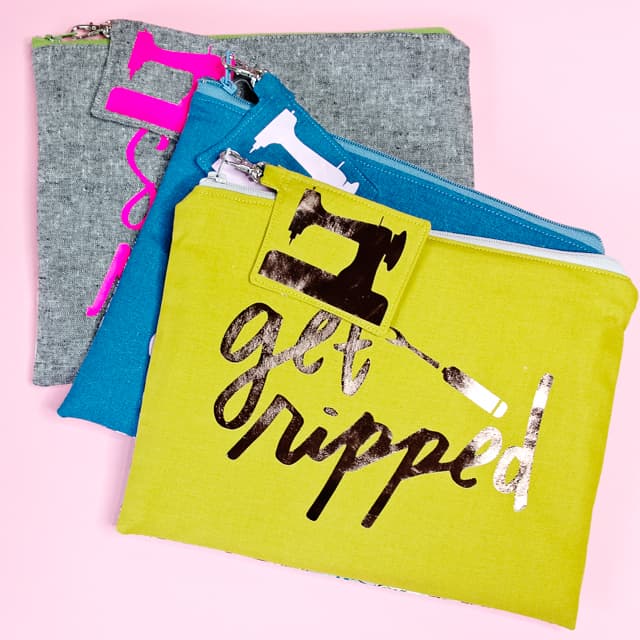
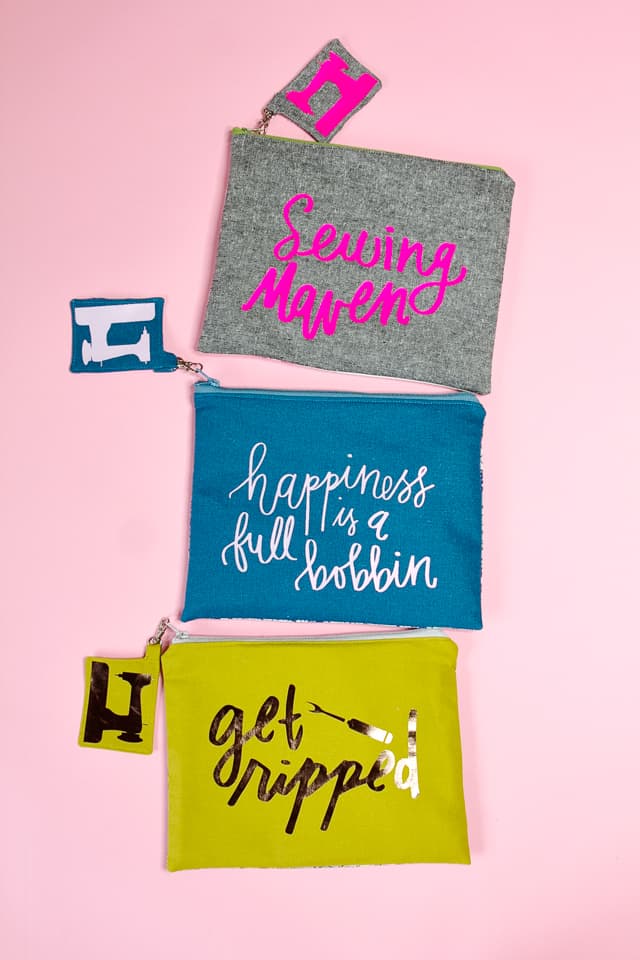
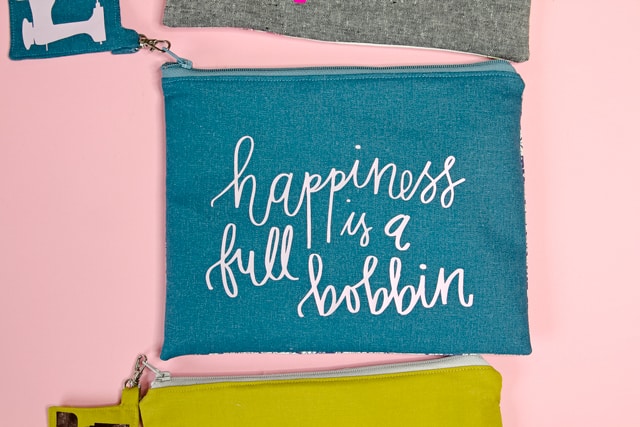
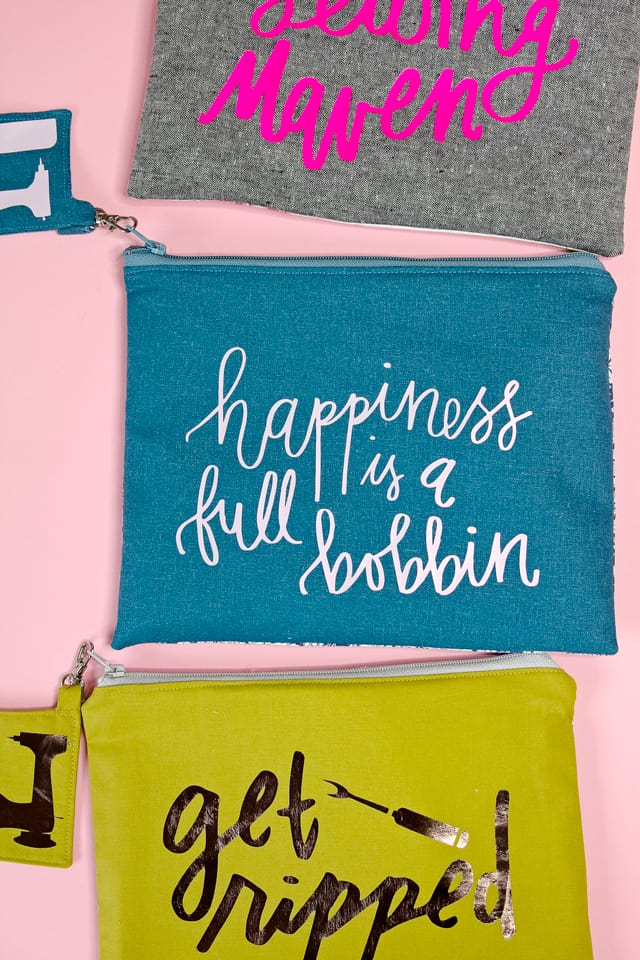
So this zipper pouch combines my love of sewing zipper pouches and sewing puns! I used 4 different files from the SVG + PDF Creative Bundle for these. I used one of them to make sewing machine zipper pull, I’ll show you how to make that too!
You don’t need a pattern for the pouch, I used a standard piece of computer paper as my pattern piece. I have found that it makes a perfect size zipper pouch!
Materials//
-fabric scraps
-1 sheet of 8.5″ by 11″ paper
-tag pattern download, PDF or SVG for cutting on the Cricut (free, below!)
-Iron-on colors used: Neon Pink, light pink, copper
–Cricut EasyPress
–SVG + PDF Creative Bundle Download (still on sale until Saturday!)
–Key chain hooks
-Download: Keychain Tag Pattern
These are fun for cosmetics, sewing supplies, your button stash maybe? You can even make it for use as a pencil pouch!
Instructions//
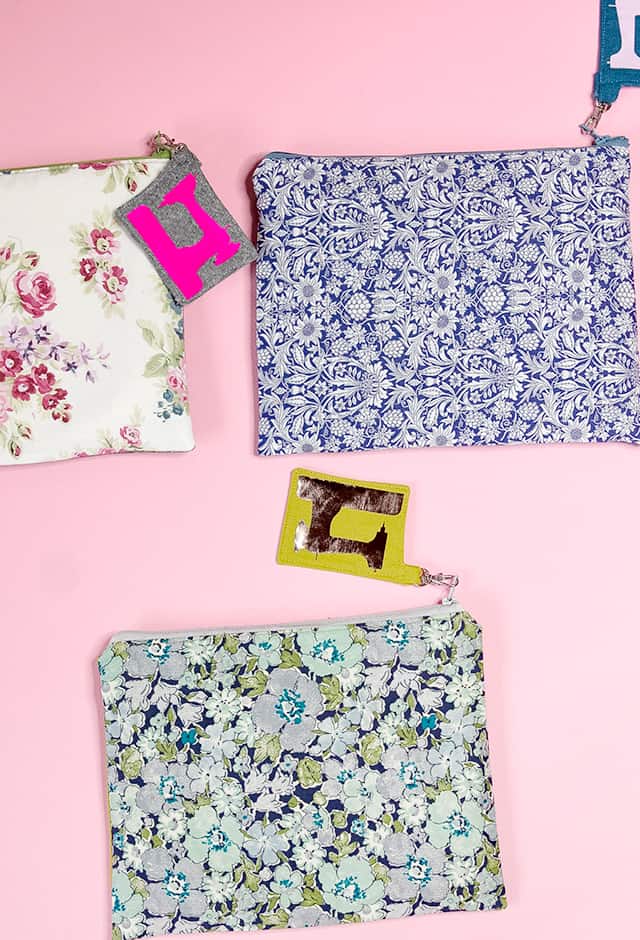
For each pouch, cut 4 layers of fabric. One will be for the front, one for the back and 2 for the lining. I used solids for the front since I wanted it to be a nice palette for colored vinyl. I used pretty scraps for the back and plain solids for the lining.
Cut 1 layer from fusible interfacing and fuse it to the front piece.
Fuse your chosen design to the front of the pouch.
Follow the instructions in this tutorial to make the pouch.
To make the tags cut 2 layers of scrap fabric, basic cotton works best for these. The blue fabric I used is a thicker almost canvasy cotton and it was more difficult to make it not wonky. So, I recommend thin cotton for the keychains.
Cut 1 layer from fusible interfacing and fuse to the front piece.
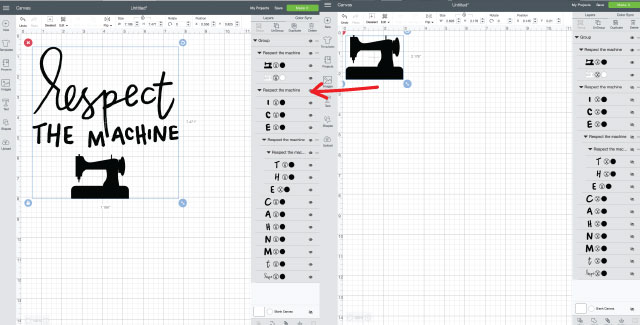
Use the “Respect the Machine” design. Use the little eye on the right to turn off the lettering so you just have a machine. The machine will be the right size for the template as is. Cut this design Mirror Image ON so it’s aligned correctly.
Fuse it to the front piece on your keychain fabric.
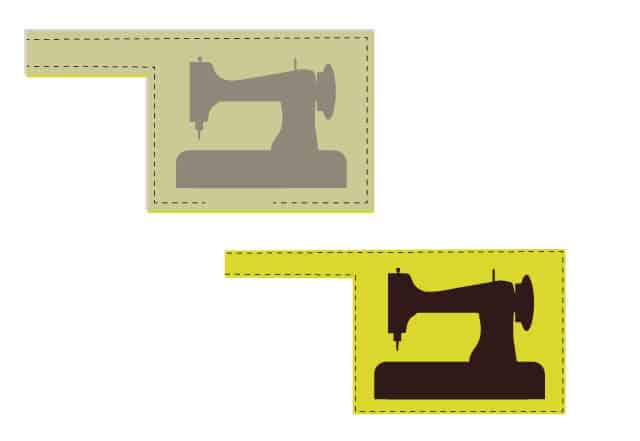
Place the back on top of the front and sew around the shape using a scant 1/4″ seam allowance. A scant 1/4″ means just inside 1/4″. Leave about a 1″ opening at the bottom of the tag for turning. Also don’t sew the end of the tab closed. The tab will be fairly narrow and we’ll enclose that end.
Turn fabric right side out and use a point turner or stick (or whatever you use!) to turn the edges in. Press well and topstitch all the way around right near the edge.
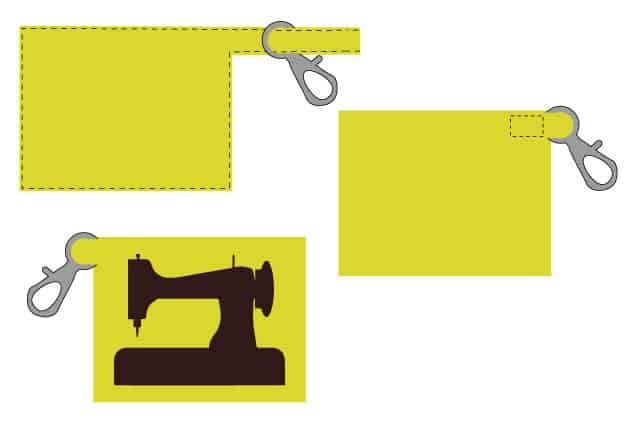
Slip the key ring onto the tab and scoot it to the corner where the tab meets the tag. Fold the tab piece over twice and stitch a rectangle around to hold in place. Trim threads and you’re done!
Hook it onto the zipper!
If you liked this post, check out yesterday’s sewing themed fringe leather banners, and stay tuned for more sewing projects this week!

