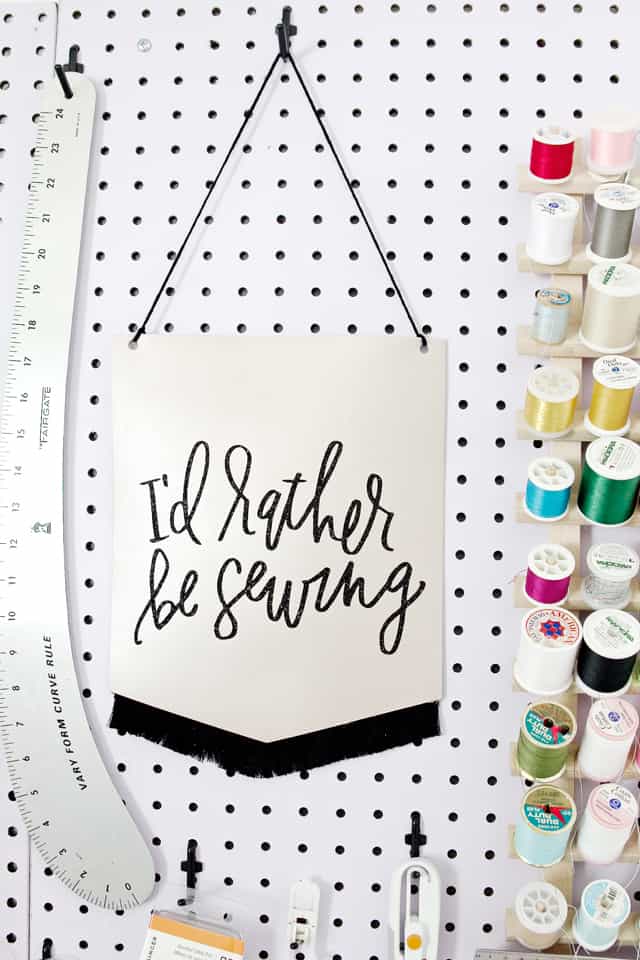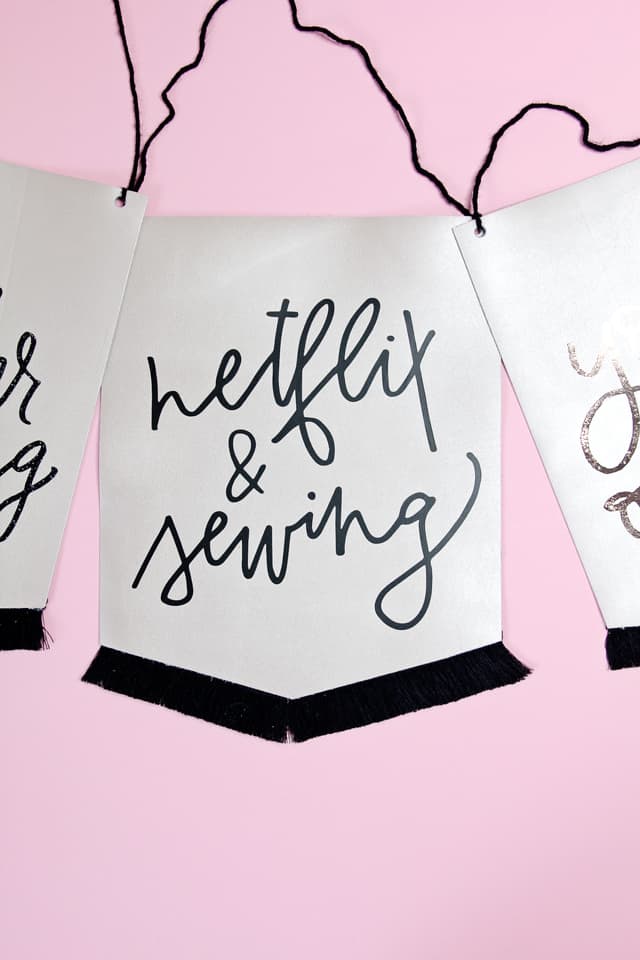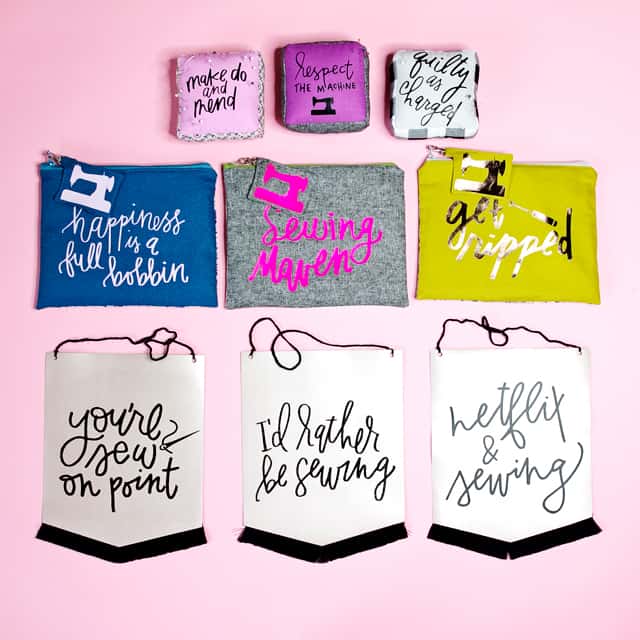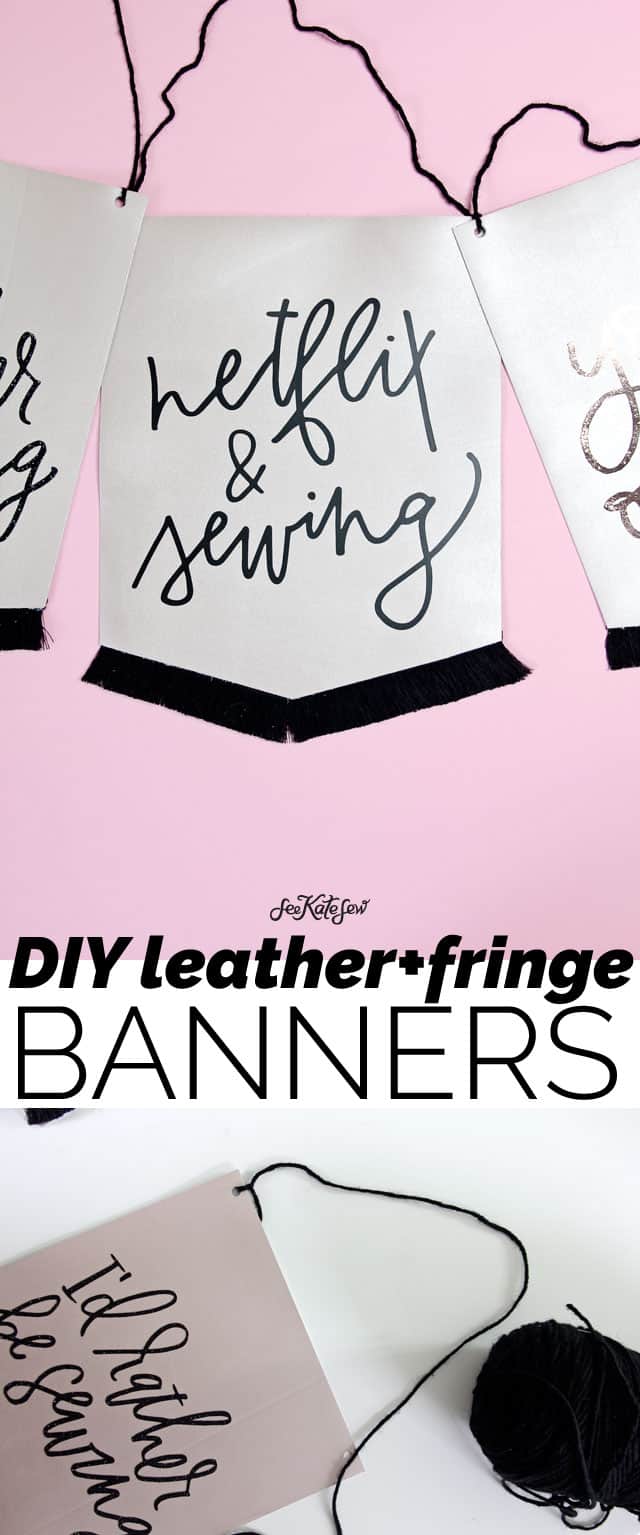
These leather + fringe banners are the perfect addition to your sewing space! These are super fast to make. I used the Cricut Maker to cut out the iron-on vinyl AND the leather pieces. It cut out the banner and the hanging holes at the top. I’ve used Cricut leather before when make this Kitty Purse, and these cut out just as simply. This is the Rose Gold color but I’m also itching to make one in a camel leather.
If you don’t have the Maker I included a PDF file so you can cut the leather by hand. You will also need some kind of craft punch to punch the holes at the top.
The iron-on designs do need to be cut by a cutting machine. I got crazy and used THREE different types of iron-on vinyl, though it is a bit hard to tell. “I’d rather be sewing” is cut out with GLITTER VINYL. It’s so pretty. “You’re sew on point” is actually cut with a copper metallic iron-on. And then Netflix & sewing is my good old standard iron-on lite in black. I could craft entirely with Iron-on Lite in Black but I am trying really hard to try other colors because there are so many good ones!
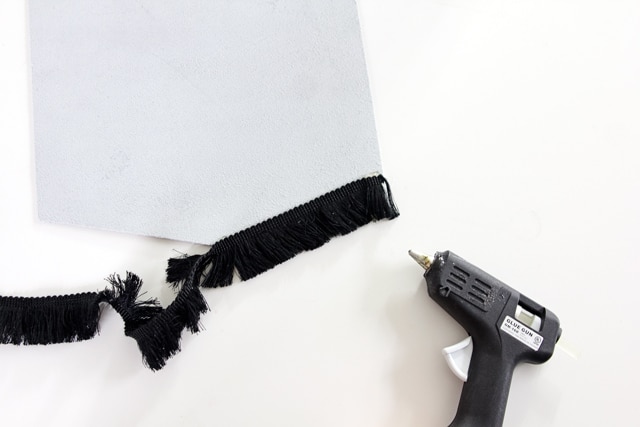
I really just raided my craft room for this project. I had the fringe on hand from another project and threw it all together. You can use anything for the bottom trim, such as pom pom trim or lace. Or leave it plain!
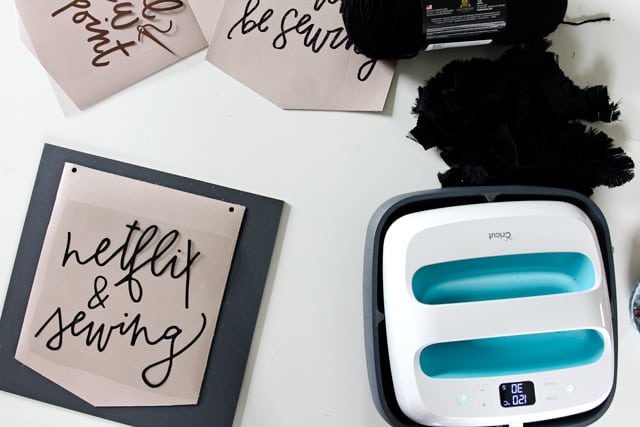
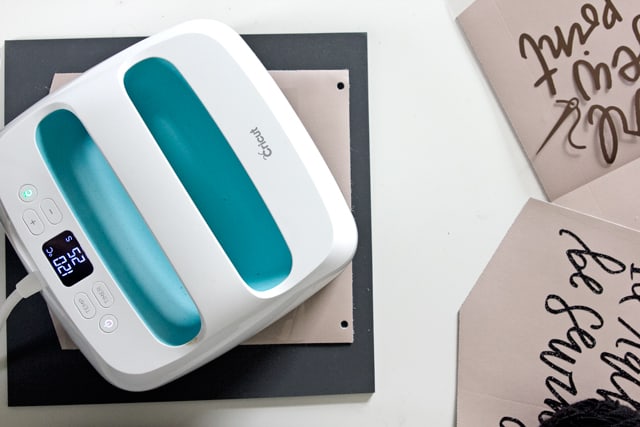
I used the Cricut EasyPress to fuse the vinyl to the leather.
Materials:
–black yarn– 20″ length
-glue gun
–black fringe
–rose gold leather
–black iron on lite
–glitter black iron on vinyl
-copper metallic iron on vinyl
–SVG files from the Sewing Mantras Craft SVG + PDF PACK (available here!)
-Banner Shape Cut File and PDF file, download free below:
Banner Template Files
Cut the leather piece out using the Banner Template file. *Note when cutting on the Maker, be sure to push the white rollers to the right side before cutting the leather. I neglected to do this on one of my banners and it has little wheel marks down the front.
Cut the vinyl pieces out with MIRROR IMAGE ON. The designs are from this SVG bundle!
Weed out the excess vinyl from your design and center it on the leather banner.
Heat up the EasyPress or your iron and fuse the vinyl to the leather. The settings for the faux leather are 125* Celsius for 30 seconds. I’m not sure if the genuine leather is supposed to be ironed but…I’ve done it twice now and it works fine! :)
Turn the leather over to the back and glue the fringe along the bottom edge of the banner.
Tie the yarn to the circles at the top and use the glue gun again to glue the loose end of the tie to the back of the leather banner so it doesn’t show through!
Buy the SVG Creative Bundle Here!
See more ideas for these cut files here!

