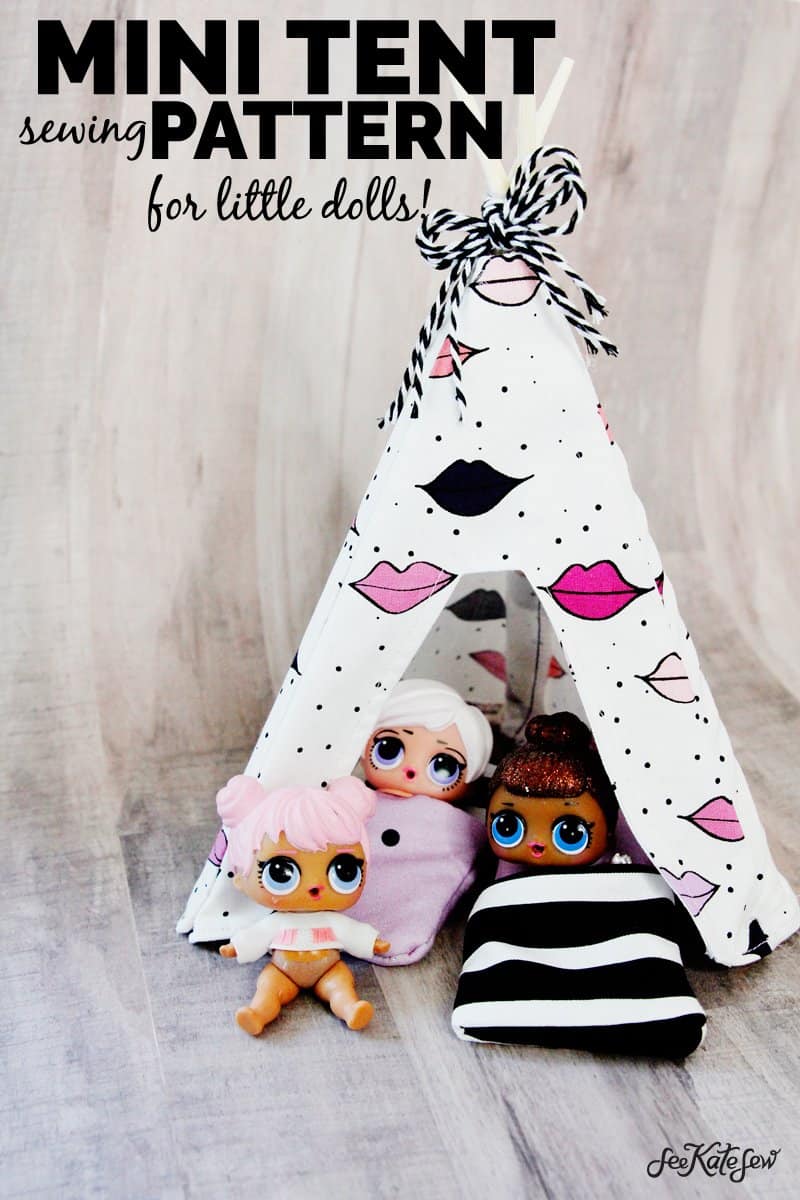
The LOL surprise doll obsession continues over here! A few months ago I showed you how to make an LOL doll sleeping bag in this tutorial. But if you’re dolls don’t want to sleep right under the stars, this little DIY doll tent is the perfect addition to your LOL neighborhood!
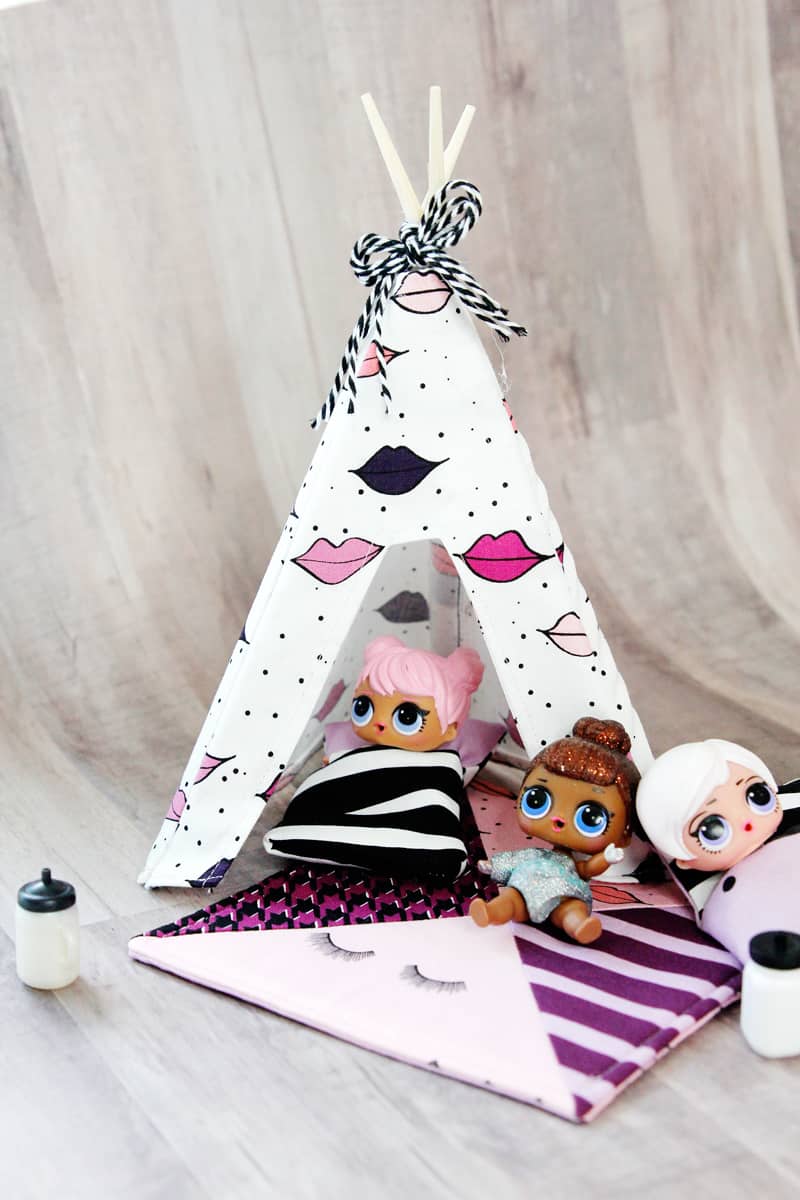
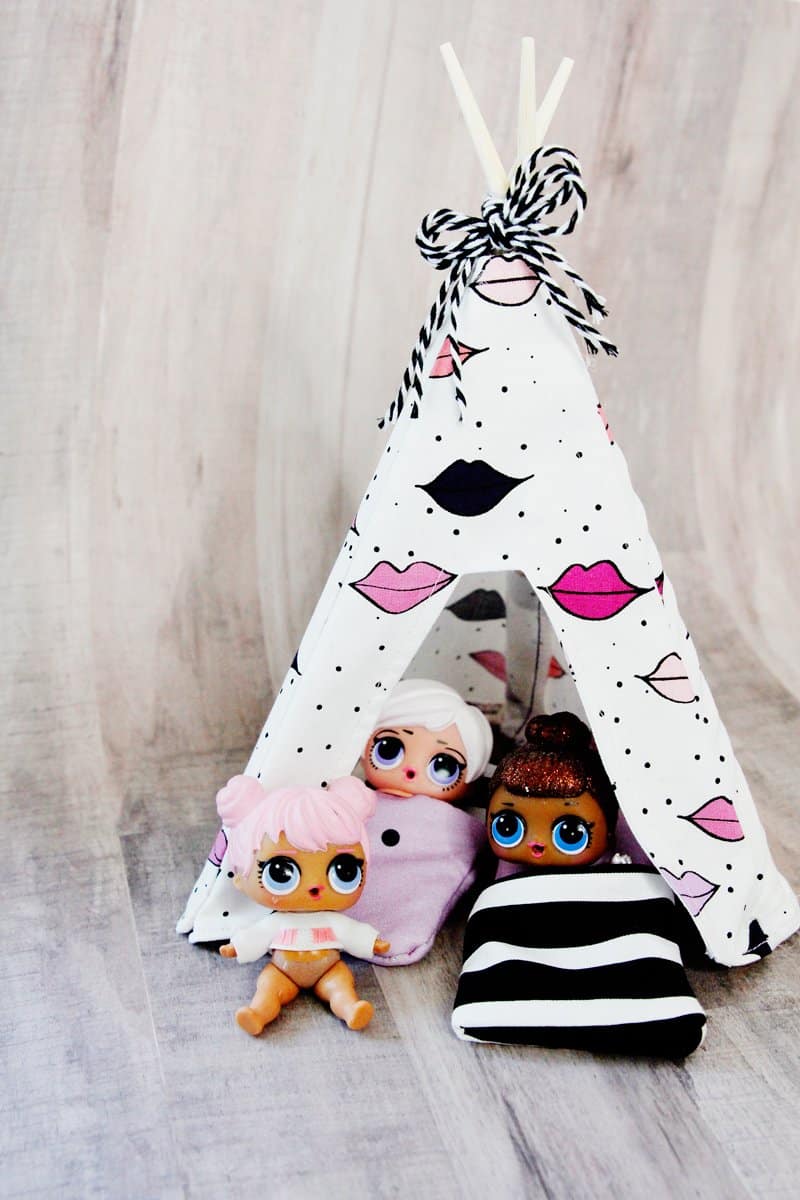
This DIY doll tent is teepee style and uses chopsticks as the framework.
It’s perfectly sized for a few LOL dolls to share and it also works for other similarly sized dolls like little pony figures, Littlest Pet Shop, etc.
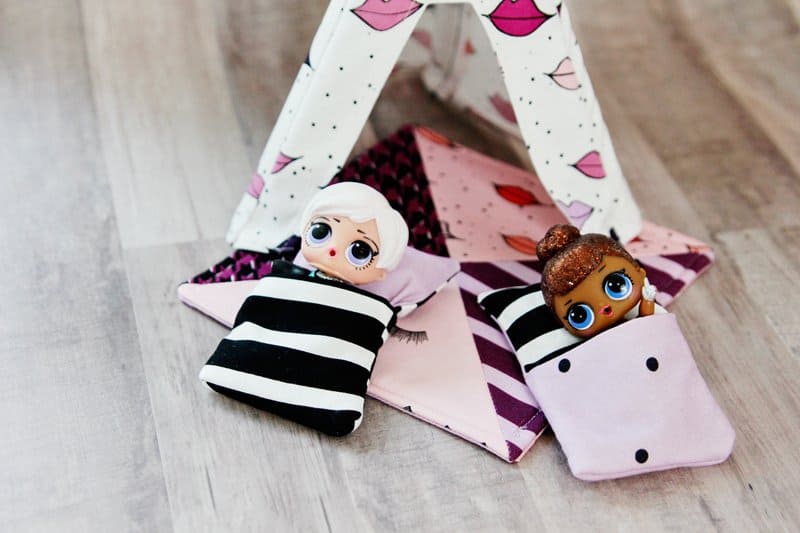
And it’s also fun to make!
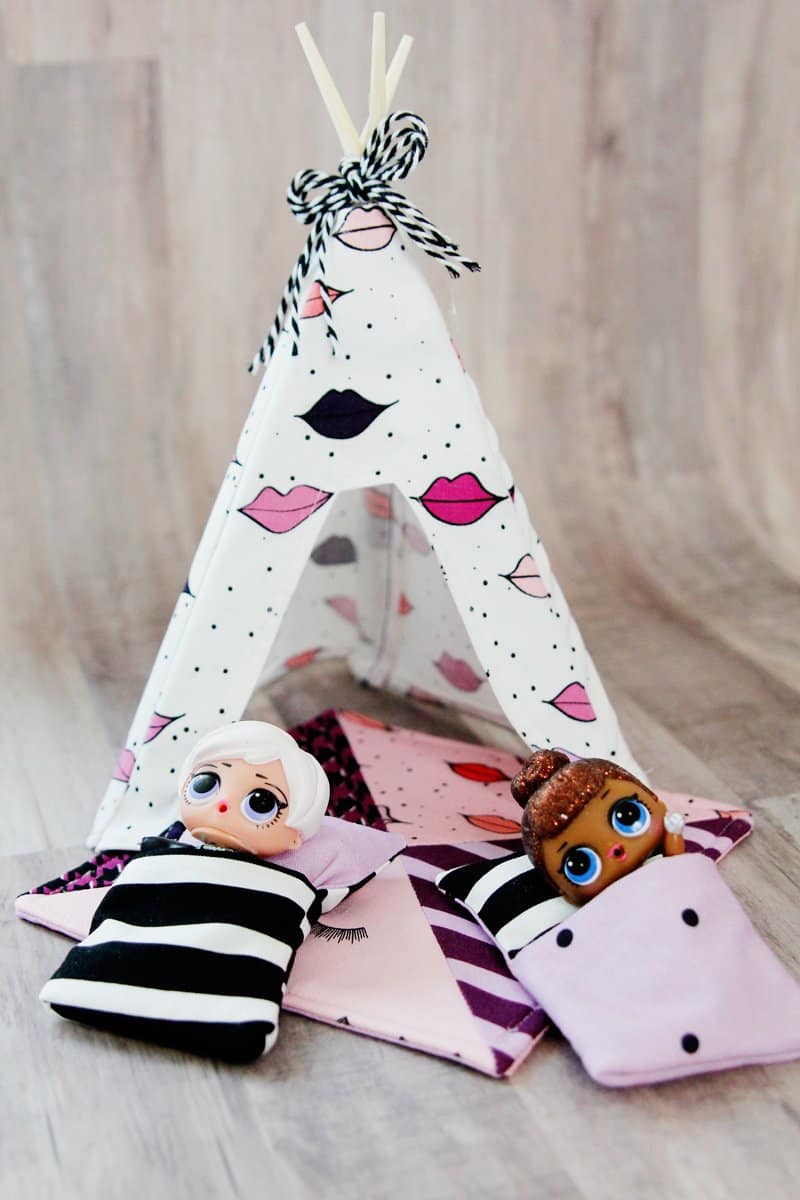
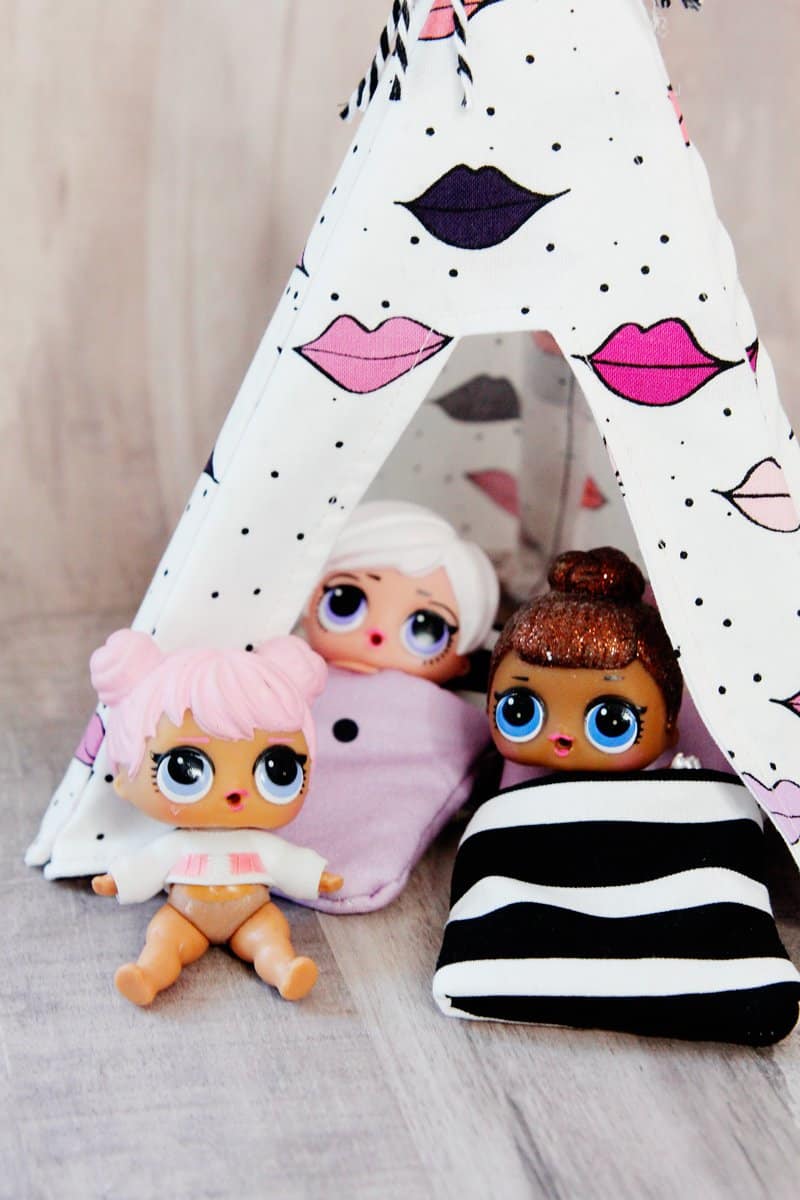
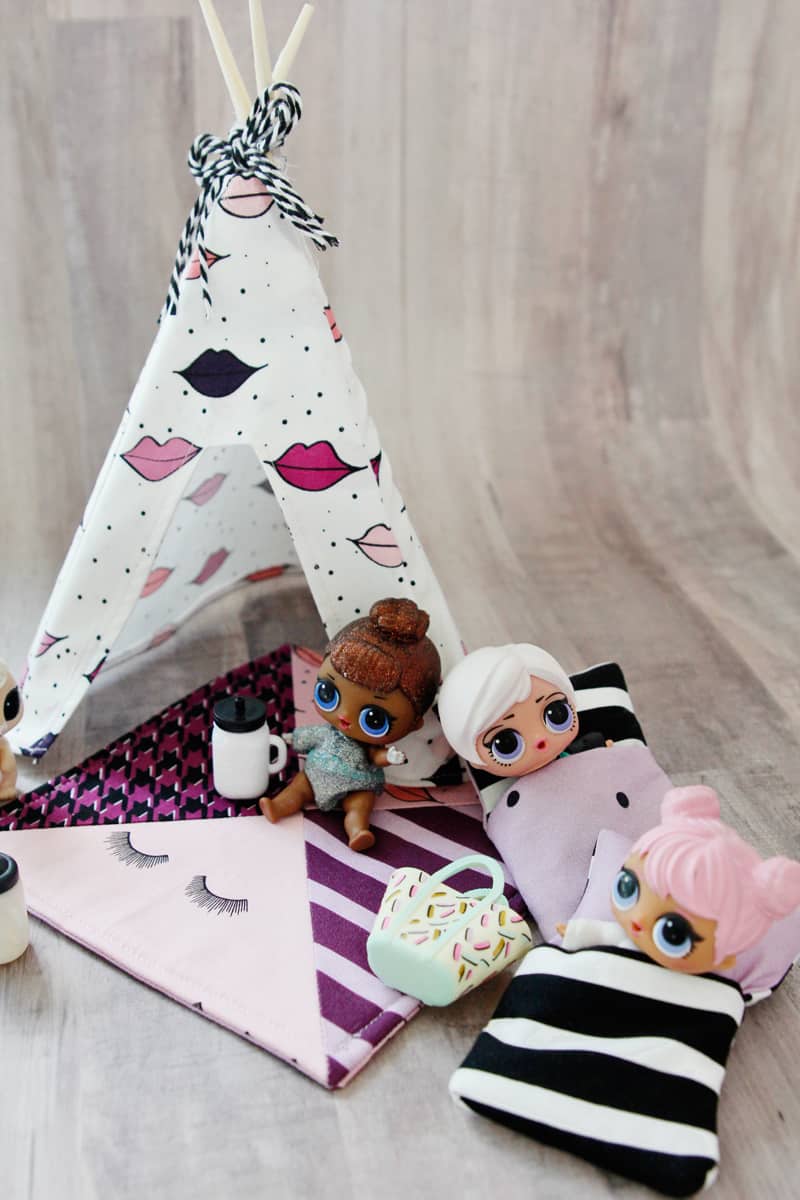
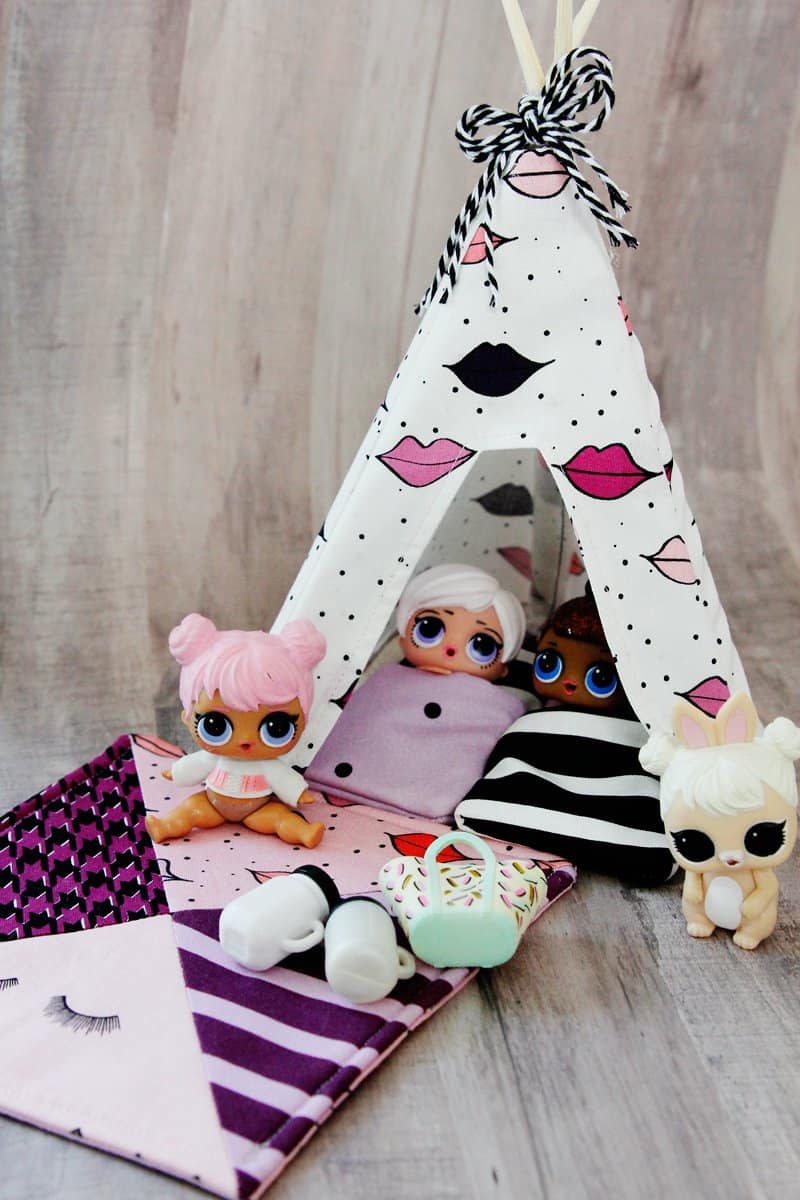
Look how cozy those girls look in this lol tent!
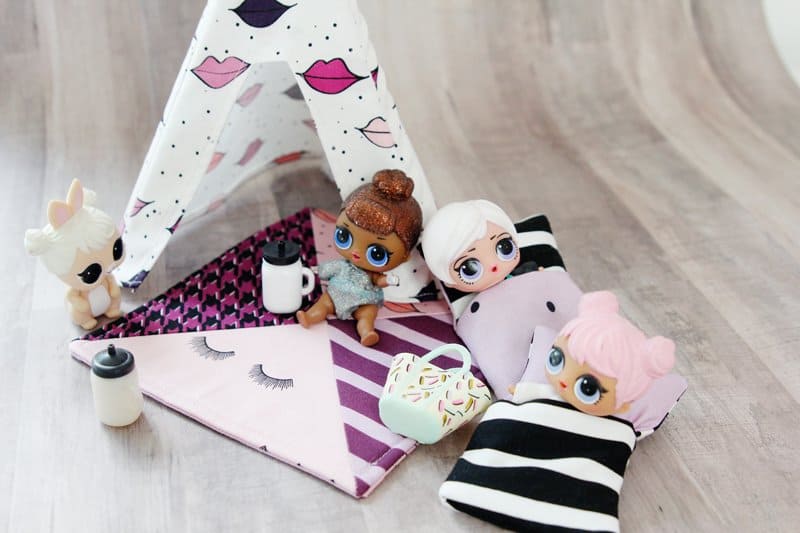
This is perfect for glamping (glam camping!) under the stars!
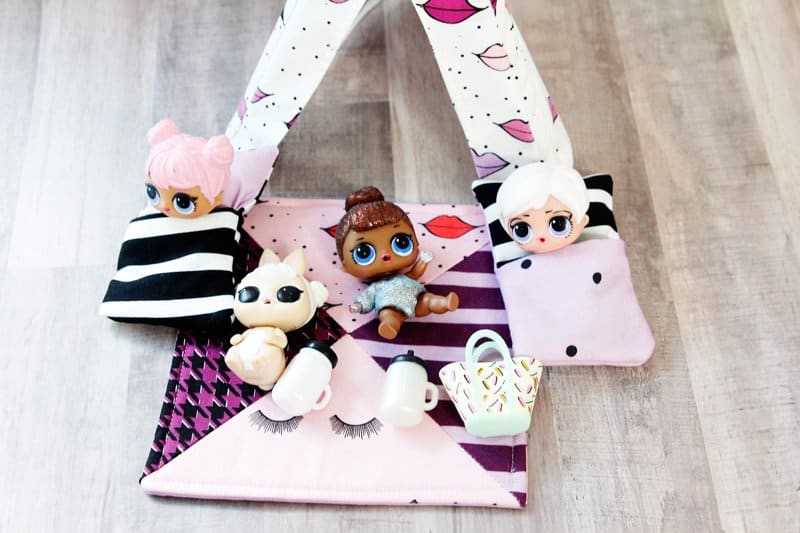
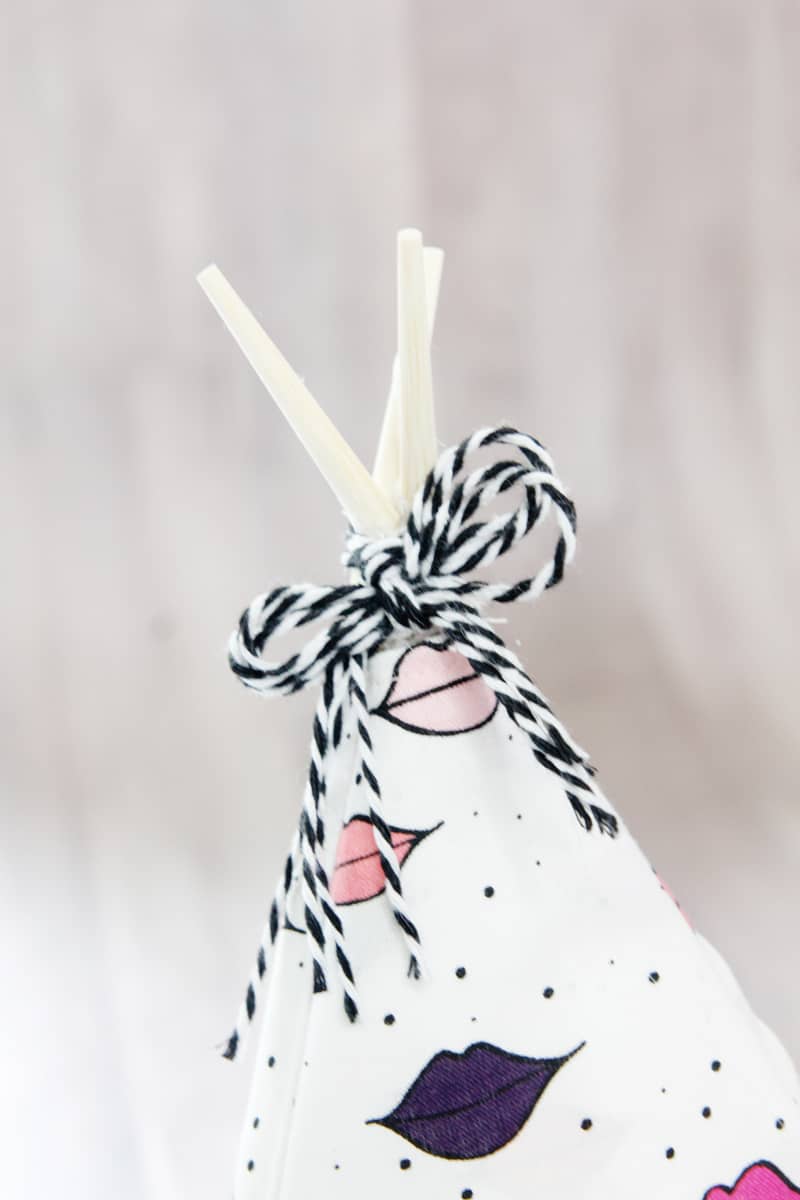
And the little bow on top of the LOL tent tops it off!
Tomorrow I’ll share the quick tutorial for the coordinating quilt! But until then, let’s sew a tent!
LOL Tent Materials
-scraps of Kiss Me Kate fabric
-three 10.5″ chopsticks
-glue gun
–bakers twine
–disappearing fabric marker
–fray check, optional
-pattern download, sign up below to get the pattern!
LOL Tent Pattern – Free Download
Doll Tent Sewing Instructions
Cut 4 tent pieces using pattern piece. Cut out the tent opening from two of the pieces.
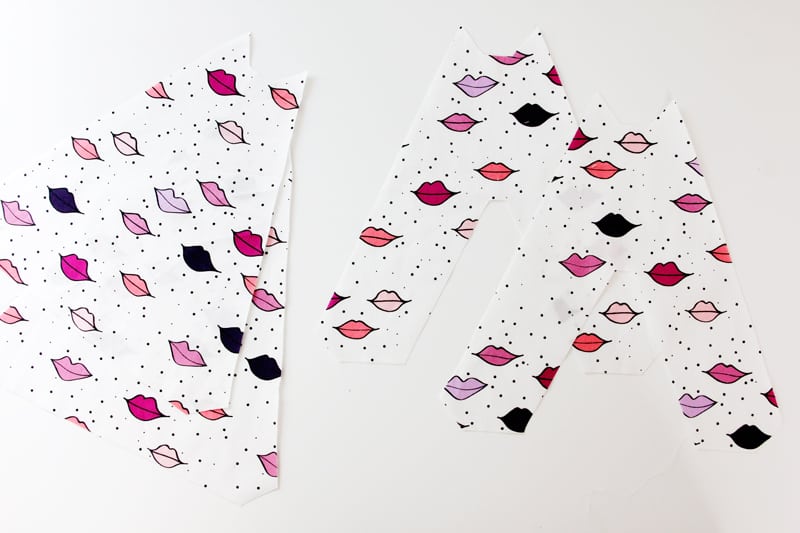
Sew the two front pieces together with right sides together, 1/4″ from the opening.
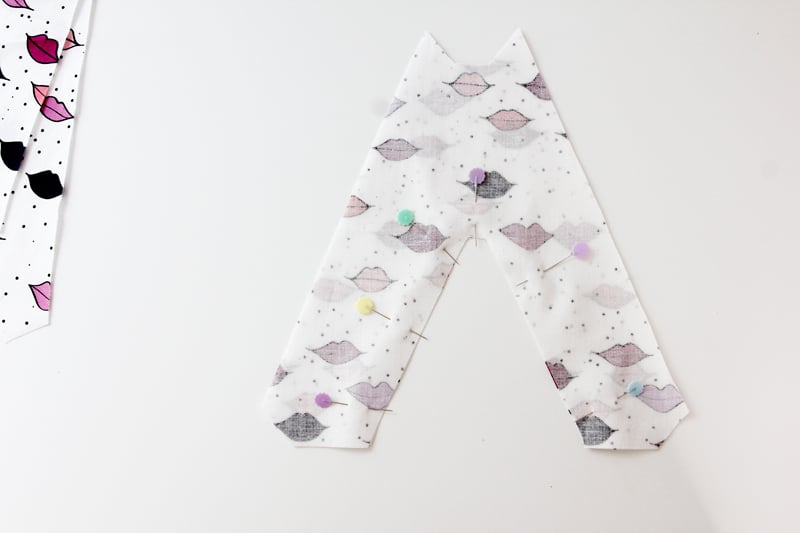
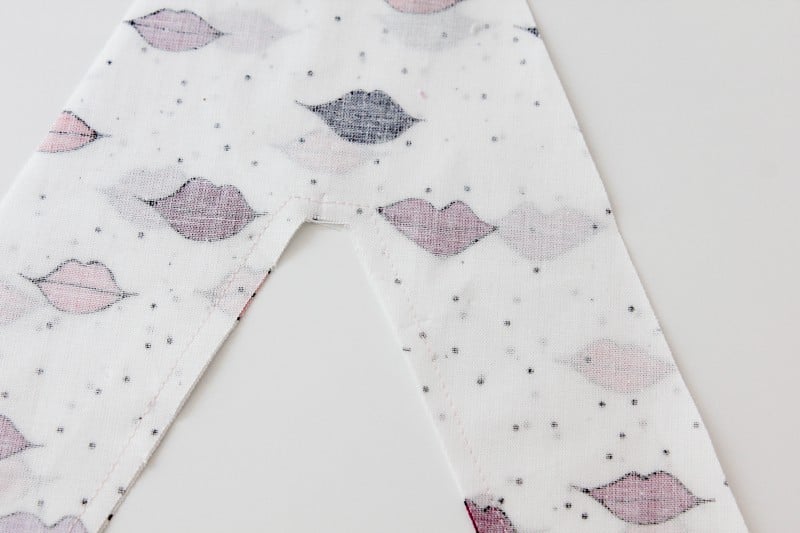
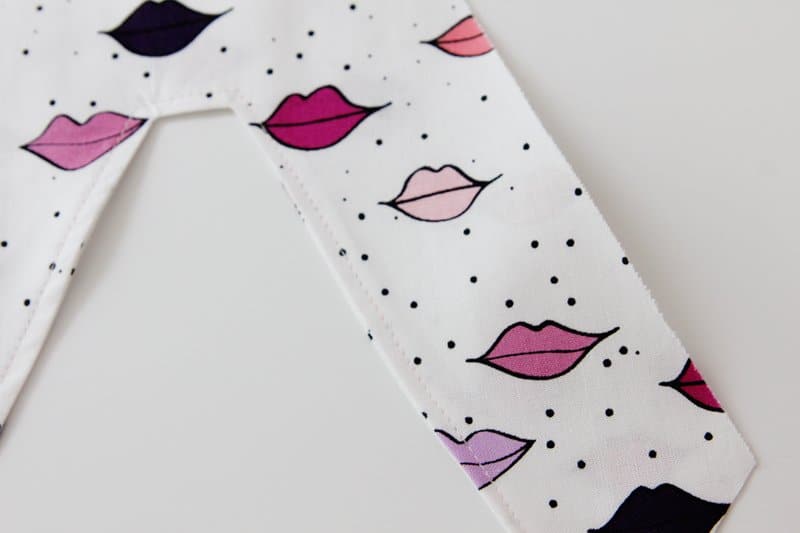
Clip the corners of the opening and press.
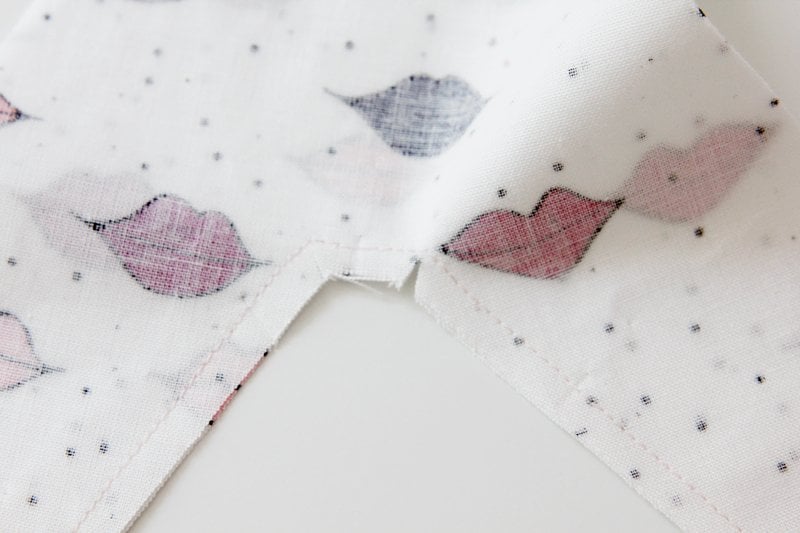
Turn the fabric so the right sides are on the outside. Topstitch around the tent opening, 1/8″ from the seam.
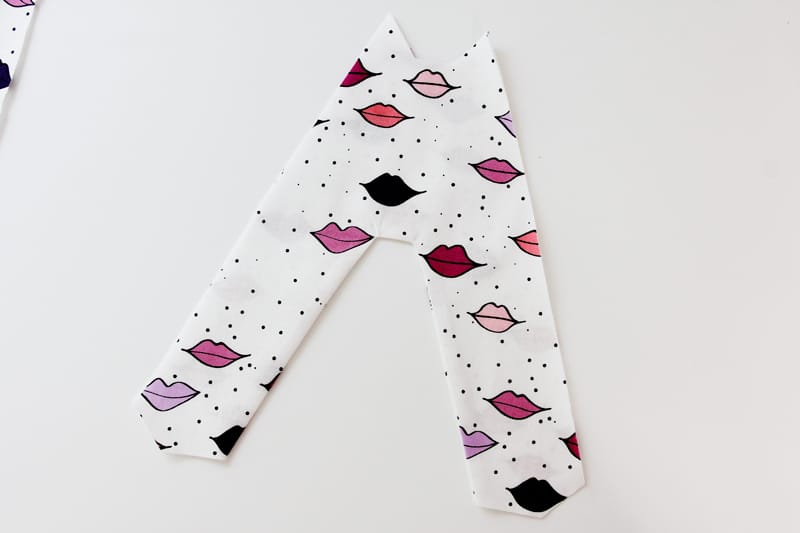
Topstitch around the tent opening, 1/8″ from the seam.
Finish the top and bottom edges of all tent pieces by serging or zig-zag stitching.
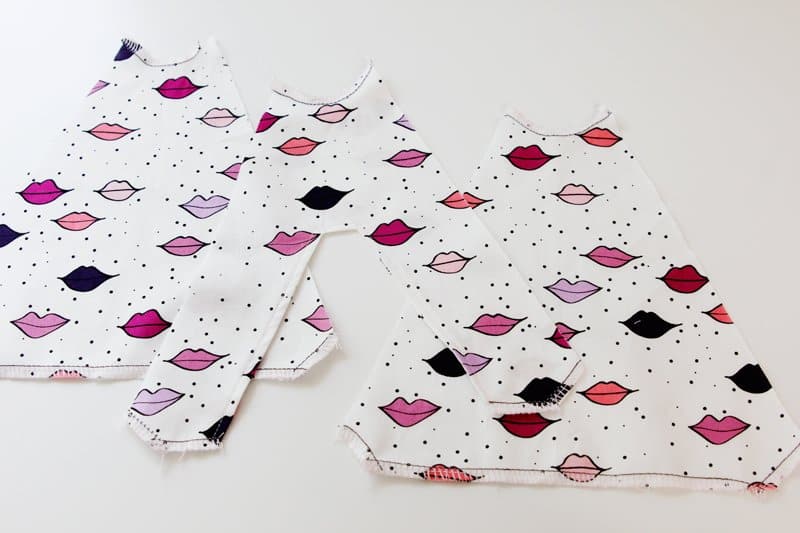
Turn and press 1/4″ of the edge under and stitch. Finishing the edges before we sew them together may be a little confusing, but this way we will have nice tubes to stick the chopsticks in.
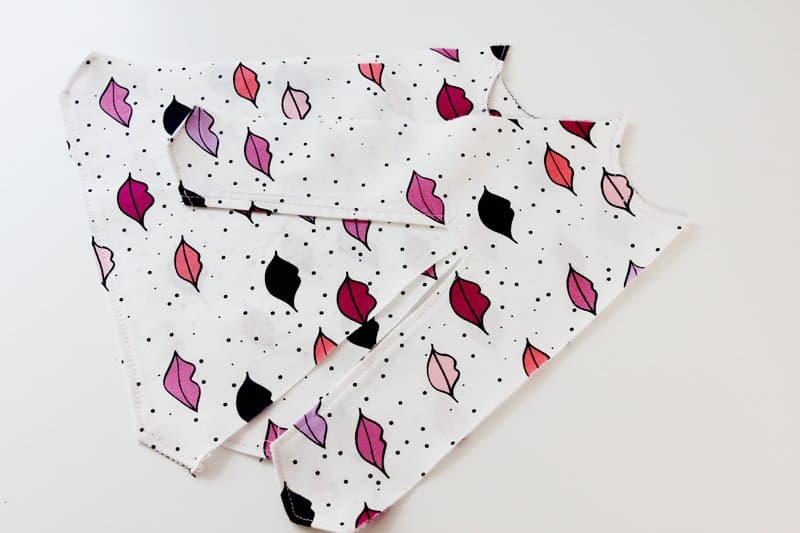
Pin the tent pieces together at the sides. Use an acrylic ruler and fabric marker to draw a line from the crease to the other crease. I like to draw a line for myself whenever I use a seam allowance that I don’t normally use so this will help you get a nice even tent.
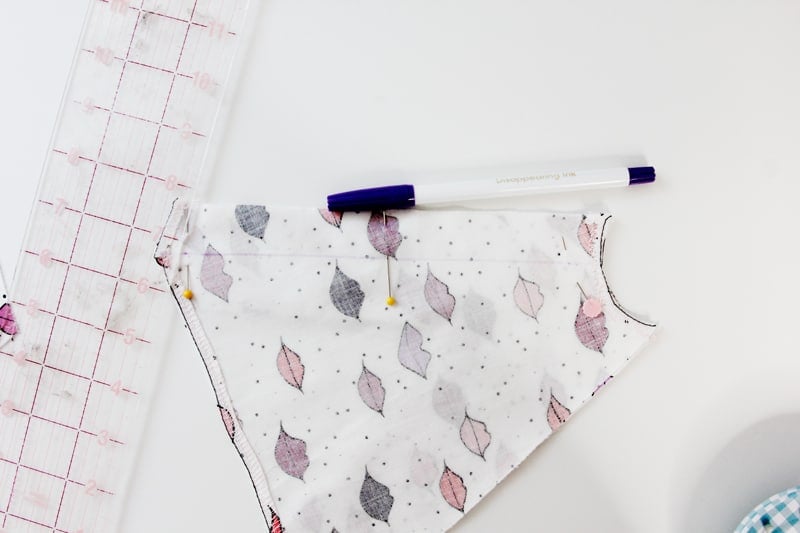
Sew over the line, and continue with TWO of the tent side seams. Serge or zig zag the seam allowances.
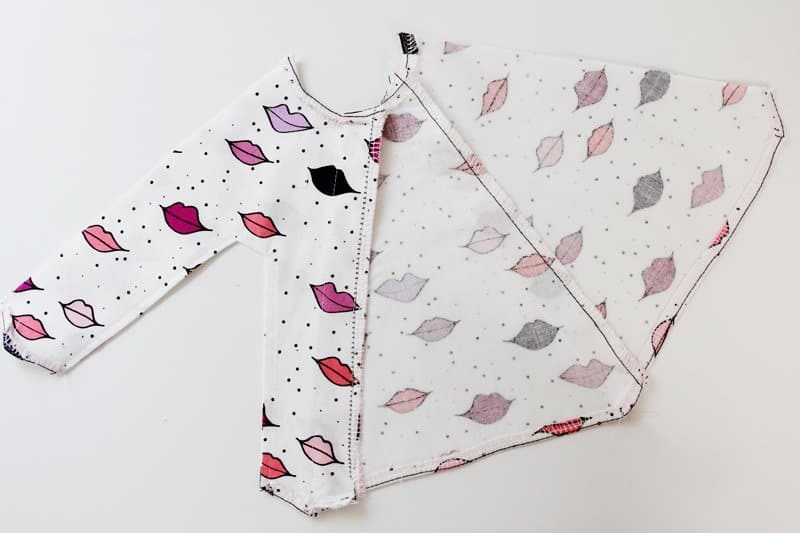
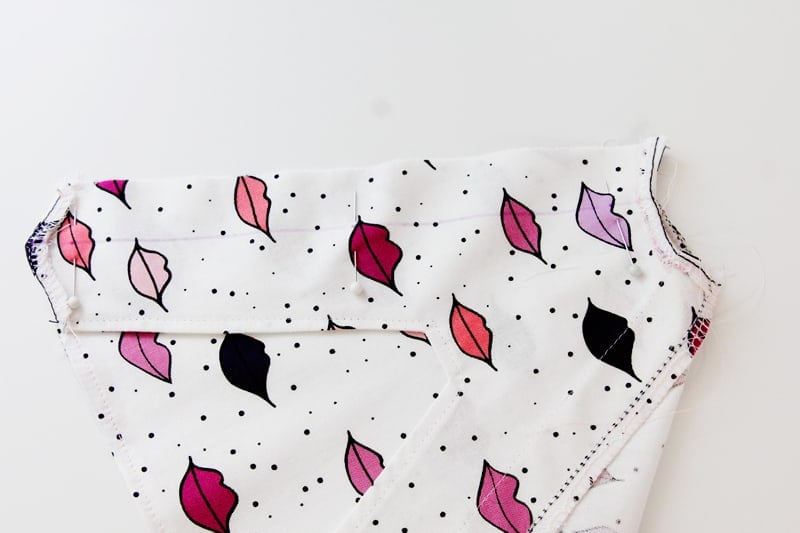
Pin the seam allowances down and sew to create a casing. Backstitch at each end.
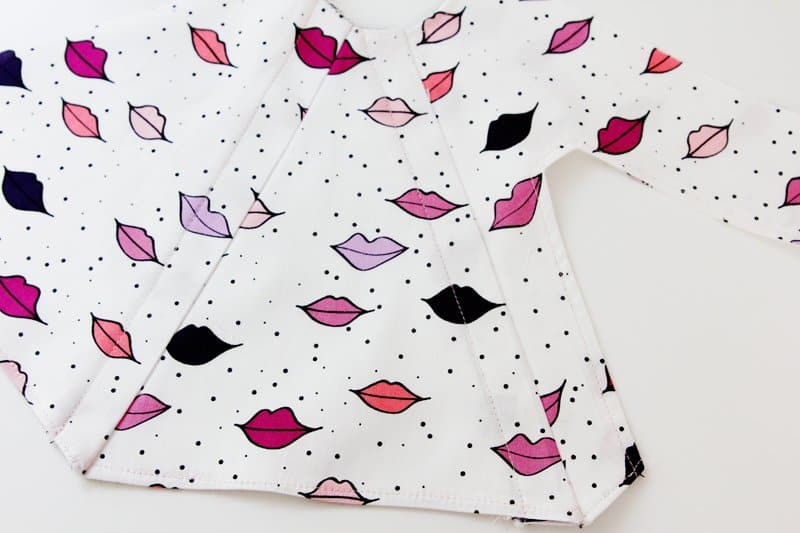
Repeat with the final casing to finish up the tent!
Stick the chopsticks through the casings and glue them to the fabric at the bottom of the tent casing.
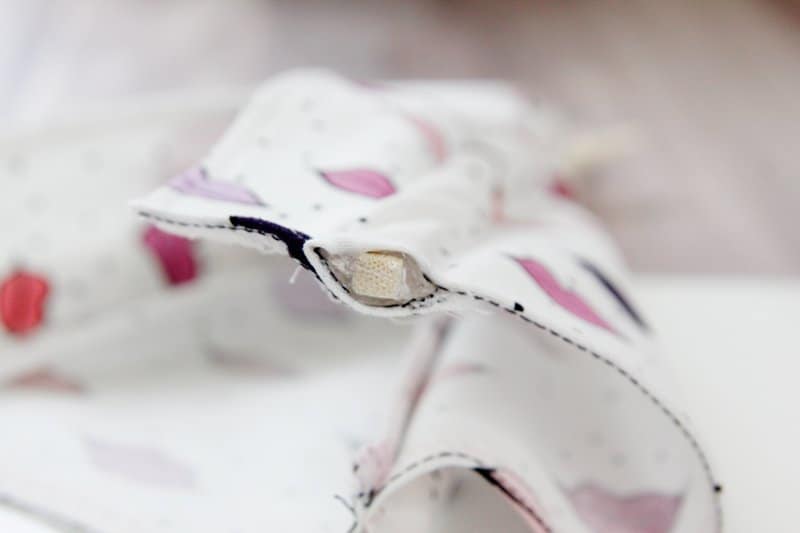
Apply glue liberally at the top to keep the sticks together. Tie bakers twine around the chopsticks and before the glue dries entirely.



I am already on the email list. Do I need to sign up again to get the pattern?
I can’t figure out how to get the pattern. ????
I tried Crafts unsuccessfully; can’t find a link in here.
I can’t seem to find an actual pattern to download and print. There are so many ads on this page. ????
Put your email in the box and then it will take you to the download page! It is also available here: https://www.craftsy.com/sewing/patterns/lol-doll-tent/631208
Love it! Somehow I can’t find the tent pattern though.
Put your email in the box and then it will take you to the download page! It is also available here: https://www.craftsy.com/sewing/patterns/lol-doll-tent/631208
I cant find the link to sign up for the free pattern. Help please
So excited to make these for my grand daughter!!
Excited to see these for my grand daughter! I signed up but still can’t get the pattern.
Thank You! I found and printed the pattern easily. I’m excited to sew som tents ⛺️