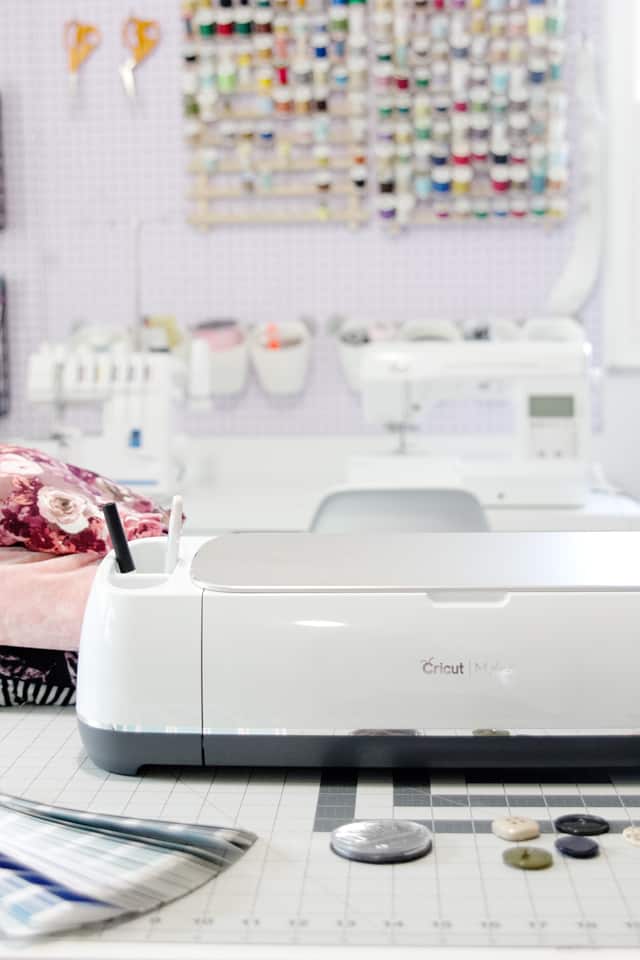
This post is sponsored by Cricut! I’m so excited to introduce you to the Cricut Maker! This machine released TODAY and is about to change sewing big time! Get yours here!
This post contains affiliate links.
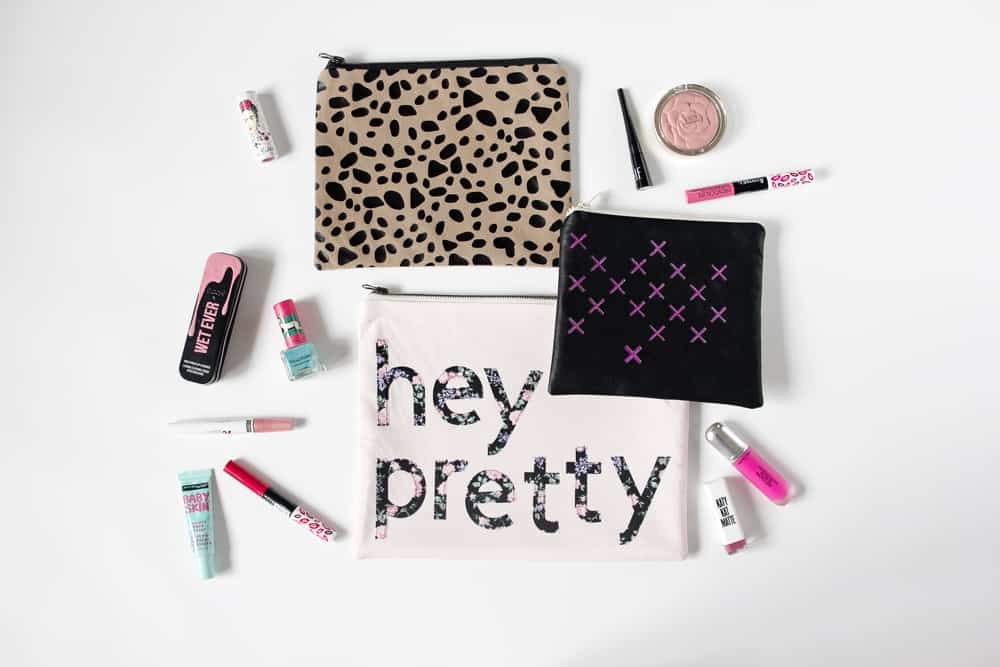
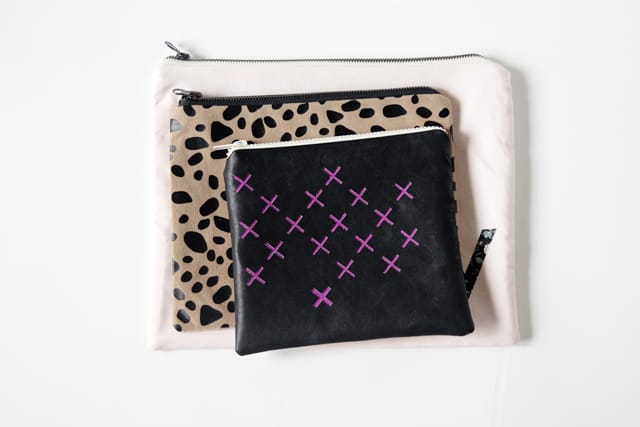
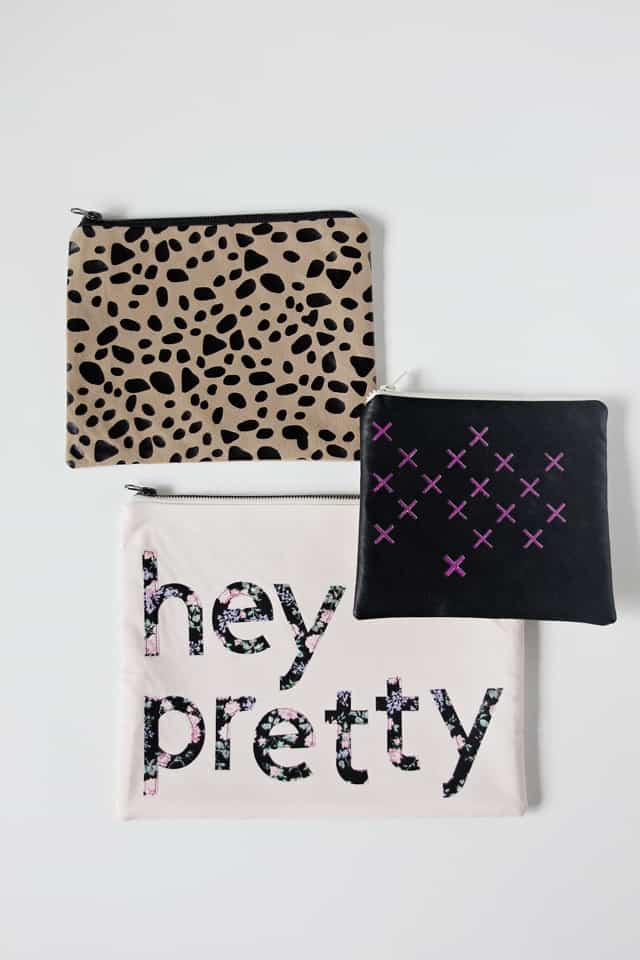
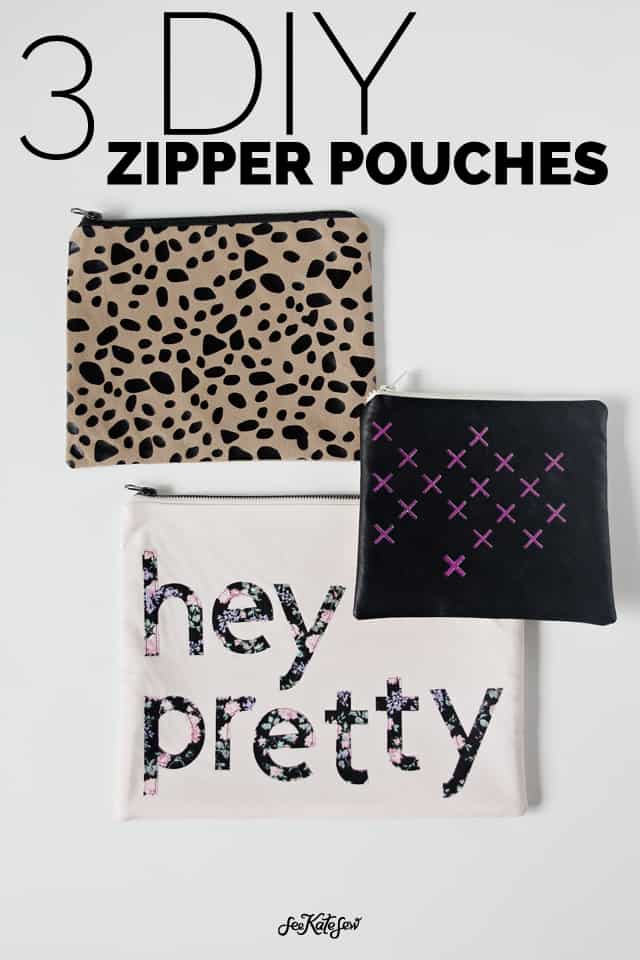
I’m recklessly sewing zipper pouches again which must mean I’m getting back into the swing of things! I’m so excited for fall fashion and I am wanting to swim in pleather and bright colors paired with soft pinks and animal prints! So I made a few clutches to go along with that theme! The Cricut Maker makes a few of these possible and a few of them much easier than they would have been before!

I used the Cricut Maker to make 3 different kinds of pouches utilizing 3 cool things the Maker can do: iron-on vinyl, cut out fabric, and perfect appliqués! The Cricut line has previously had the ability to cut fabric, but the fabric had to be backed with a special material, which vastly limited the materials it could cut.
This new machine was totally reengineered from the ground up, it’s not just an update. It’s super strong and has 2 new blades: the rotary blade for most types of fabric (new fave!) and the Knife blade for cutting things like balsa wood and leather! I don’t have a knife blade yet (I can’t wait to get it!) but I do have the rotary blade already (it comes right in the box with the machine!). It’s made it’s almost-permanent residence on my machine. I change it out sometimes to cut iron-on vinyl, but for the most part it is my new staple! It’s AMAZING, perfectly accurate and gorgeous also!
I thought this post would be a good way to introduce the Maker with a few of the applications that I plan to use the most and can impact your sewing as well! There are even MORE ways to use the Maker with sewing, so we’re really just scratching the surface with this post!
See how the Maker compares to the Cricut Explore Air 2 in this post! And head to this post all about the new Maker machine!
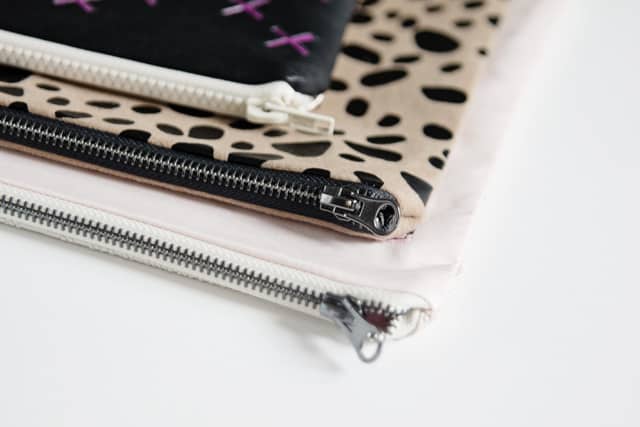
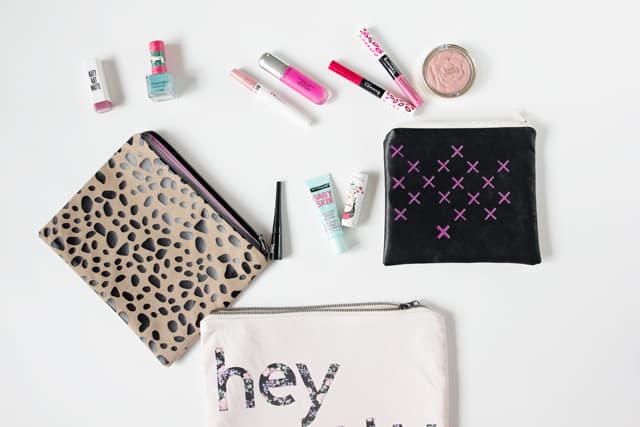
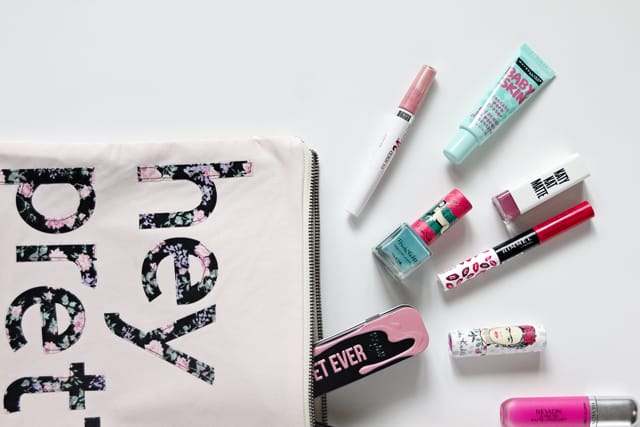
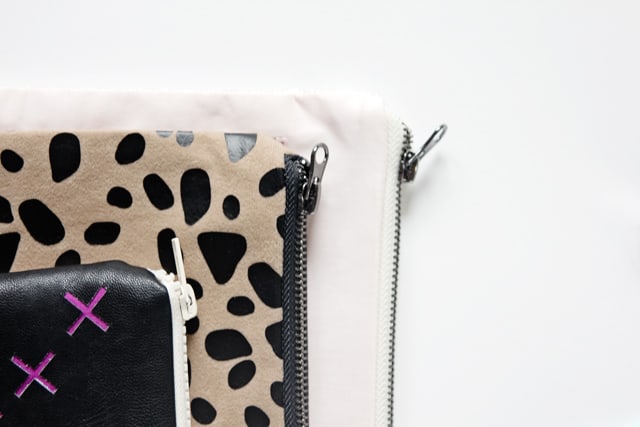
So let’s get started with these zipper pouches! I can’t choose a favorite, they are all so fun! These are all different sizes so you can use them for whatever! Makeup, sewing notions, sticker collections, etc!
Each pouch is made the same way after you create the top layer. The Maker does so much and my head is exploding with ideas that can be applied to sewing! It’s a blast!
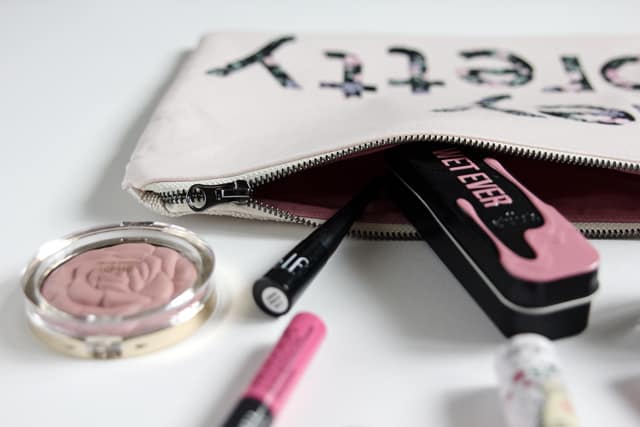
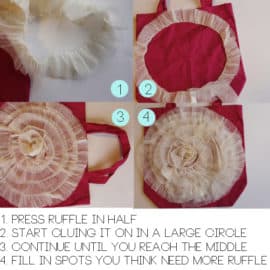
Let’s start with a basic appliqué project! The machine can cut out precise letters, shapes etc from fabric so appliqués are an obvious use! You can also apply these to quilts, clothing, and home projects.
“hey pretty” Applique pouch
Materials//
–Cricut Maker (goes live on the site tonight!)
-1/3 yard colored cotton
-1/4 yard contrast cotton for letters
-1/3 yard faux leather for backing
–heat n bond
–Hey Pretty Project on Design Space
–lightweight fusible interfacing
-zipper
Instructions//
Cut 4 rectangles 11″ by 14″
-2 lining fabric
-1 front fabric
-1 back fabric
Iron the heat-n-bond to the back of the fabric you will be using for the appliqués. The Maker cuts fabric without a backing but since we are going to adhere these letters to another piece of fabric we need to have the heat-n-bond cut out also.
Once the heat-n-bond is applied to the fabric, lay the fabric on your Fabric Grip cutting mat, face up and press down with you hand.
Choose ‘bonded cotton’ in Design Space and load the rotary cutter. If you’ve never used design space, you’ll be happy with how easy it is! It’s an online interface, so you don’t have to download anything! I’ve made this project Public, so you can access it through this link! (all free!)
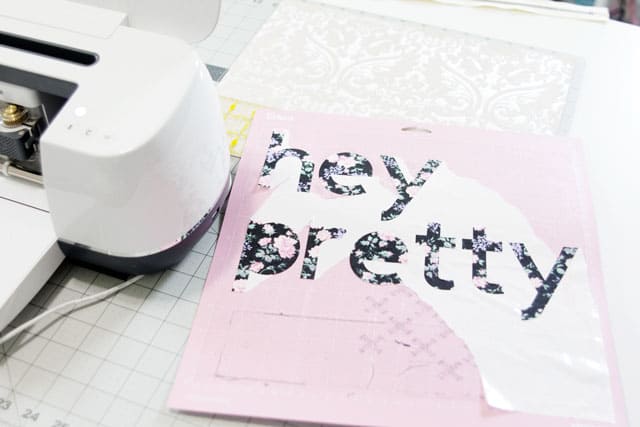
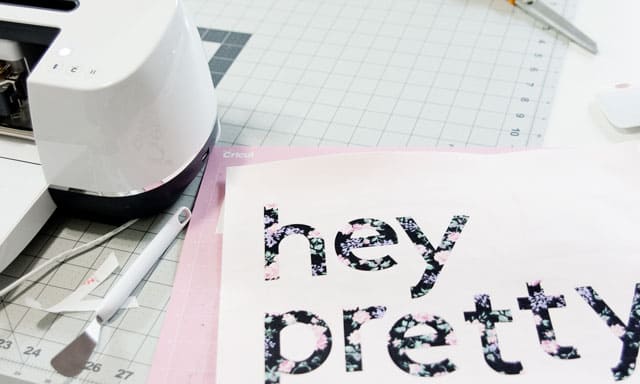
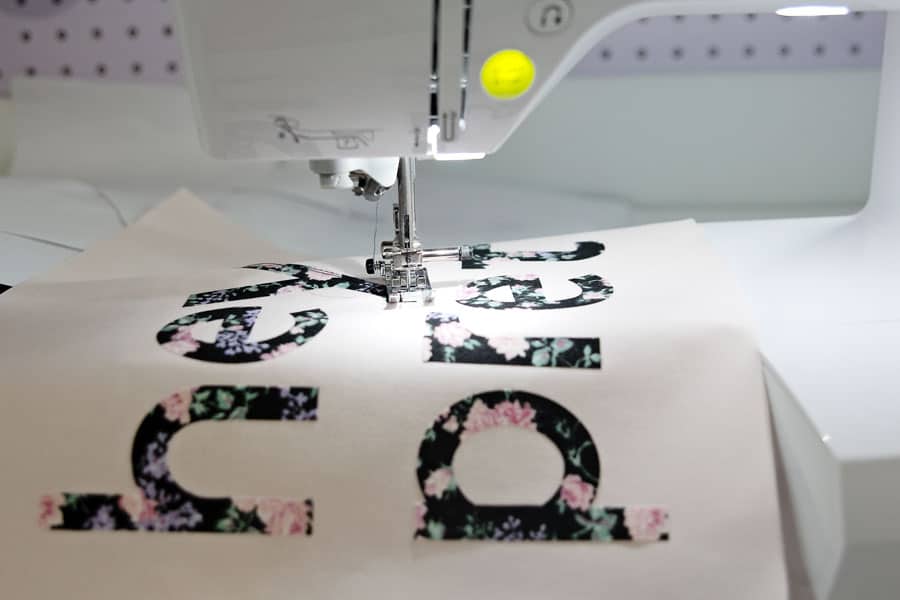
Send it through the machine and then remove the excess fabric. In the photo below you can also see the remaining heat-n-bond backing. Remove all of that with your Cricut tool kit and then peel the letters off.
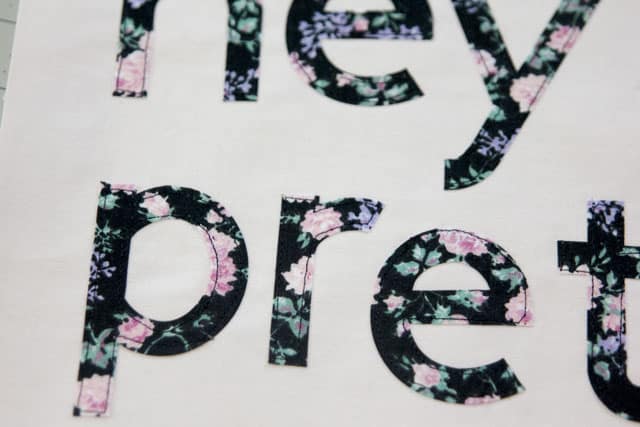
Place the letters where you want them on your top fabric piece and press to adhere.
Topstitch around each letter, 1/8″ from the edges. This gives it a nice finish and will up the quality and longevity of your piece!
Now that the top is done, let’s assemble the pouch! This method will be exactly the same for the other versions of the zipper pouch so come back and start here if you’re making a different type!
ZIPPER POUCH ASSEMBLY
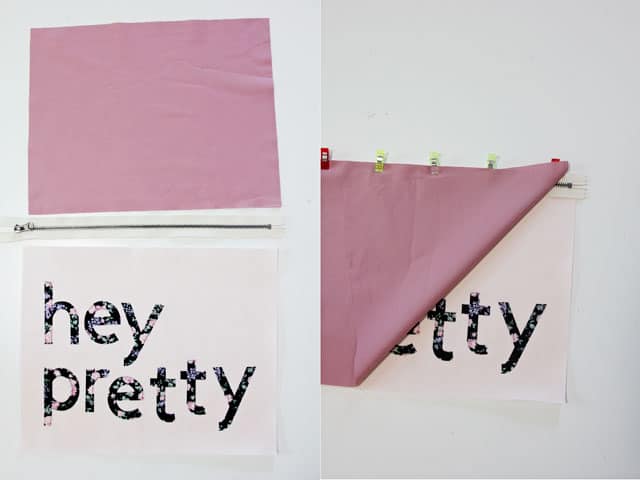
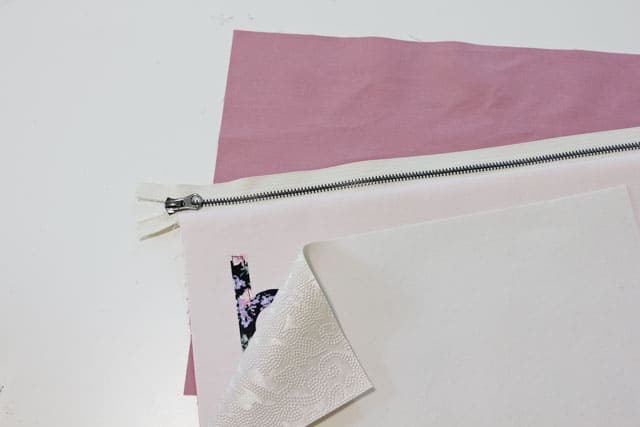
Place the front of the pouch in front of you right side up, with the zipper right side up and 1 lining piece right side up. Flip the zipper and lining pieces over so the right sides match the right side of the front pouch. Clip together with wonder clips and sew along the top of the zipper.
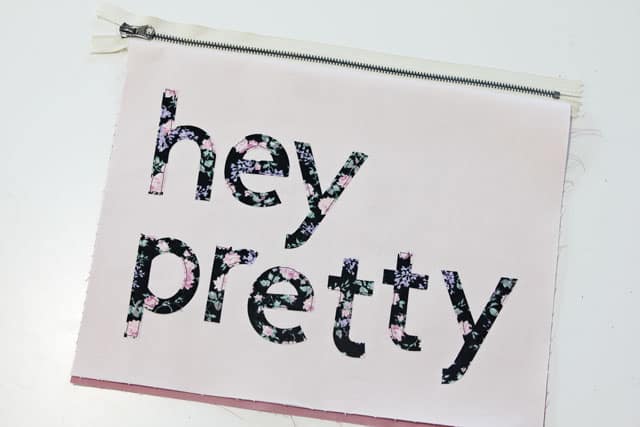
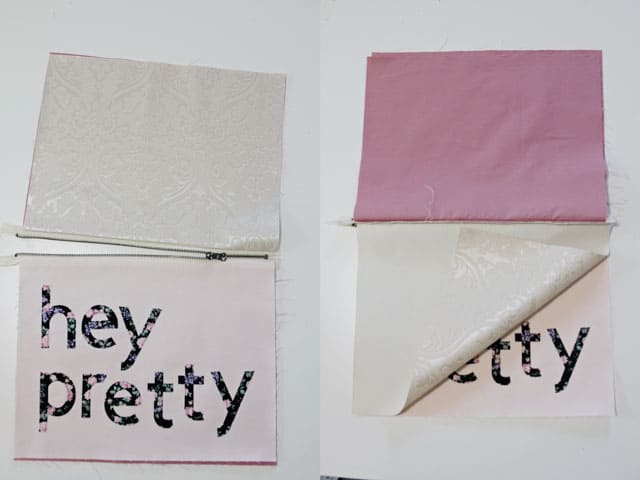
Open the pouch and press the seam allowance towards the lining. Topstitch along the zipper tape and press.

Fold lining to the back and press again. You may topstitch the front of the pouch if you want.
Lay the second lining piece behind the pouch and the back of the pouch right side down on top.
Line up all the pieces with the edge of the zipper tape and clip. Sew across the top.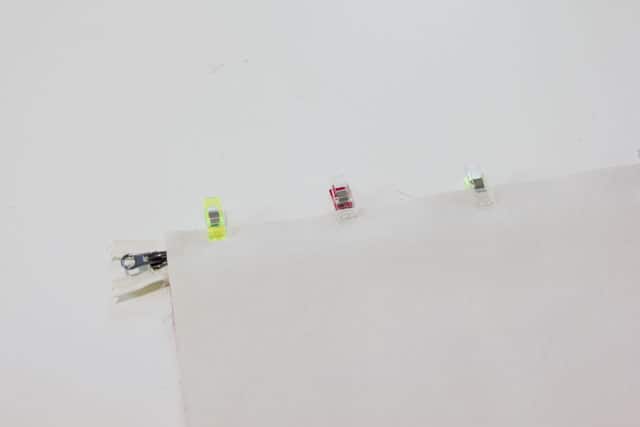
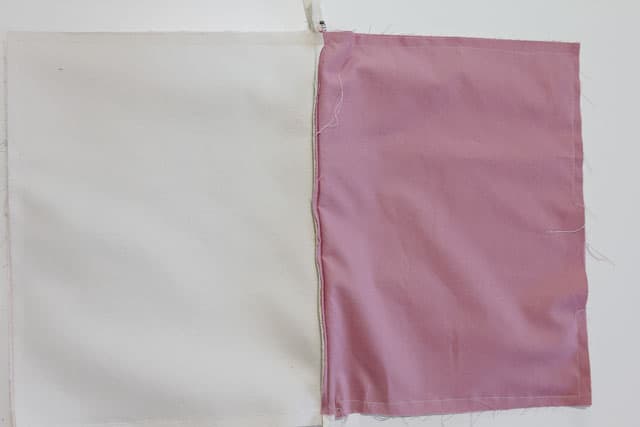
Repeat topstitching as done above. Open the zipper part way. Then match right sides of the front and back together and right sides of the lining pieces together. Match up corners. Push zipper pieces towards the lining and pin all pieces in place.
Sew around the pouch, pivoting at the corners. Leave a 2-3″ opening in the lining. Clip the corners and trim seam allowance. Turn right side out and finish lining hole. Push lining into pouch and you’re done!
For more photos of a basic zipper pouch, see this post!
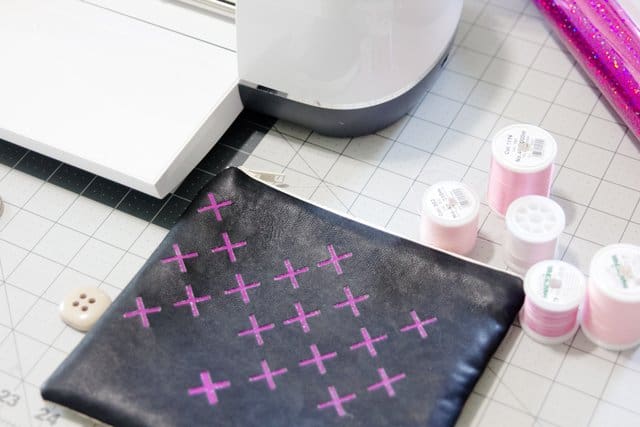
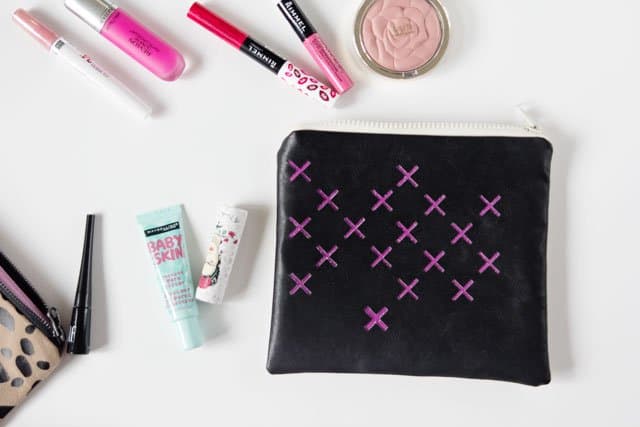
This second tutorial is for an “X” cut-out pouch! This uses a faux leather material. You slide it right into the machine and the Maker CUTS OUT THE SHAPES! As soon as I saw the capabilities of the Maker, I was itching to do this “laser-cut” fabric technique. I cut the X shapes out and then glued a piece of colored cotton to the back of the pleather so the color peeks through the holes. I love the way it turned out. There is no way I’d be able to do this by hand!
cut files for Spotted Clutch and X pouch
X cut-out pouch
Materials//
-Cricut Maker (available Aug 20)
-pleather, bonded denim, faux leather or another similar (plastic-y) fabric
-1/3 yard colored cotton
-svg cut file
–adhesive spray
–lightweight fusible interfacing
-zipper
Instructions//
Cut out 3 layers of fabric, 9″ by 7″. 2 are for the lining and 1 is for the back. Cut out another piece of cotton the same size for the color pop behind the pleather.
The 5th layer will be cut out by the machine as it cuts out the X’s.
Download the SVG file above and upload it to Cricut Design Space (free, free!).
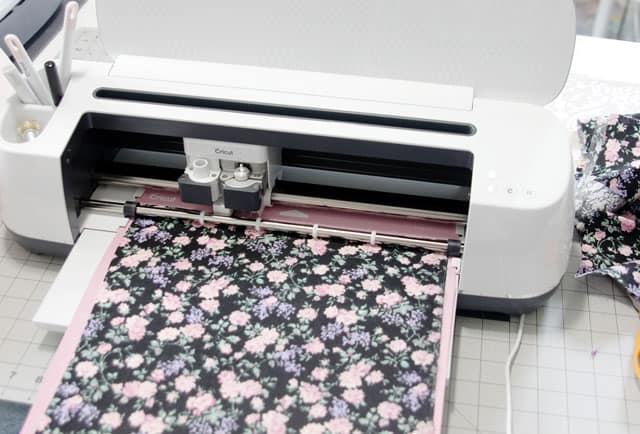
Lay the pleather down right side up on the FabricGrip cutting mat and load it into the machine. Select the type of fabric you are using and cut it!
Let the machine work it’s magic.
When the top layer is done, spray it with spray adhesive and lay it on top of the purple cotton. Press down well and let dry according to package instructions.
When it is fully dry, follow the instructions in the first section to complete the zipper pouch.

Spots print pouch!
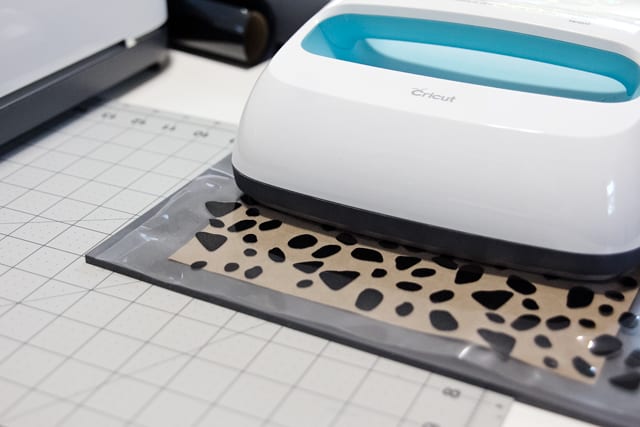
This animal print pouch is made with iron-on vinyl and the Cricut EasyPress!
Materials//
–Cricut Maker
-brown fabric, any type
-1/3 yard colored cotton for lining
-1/3 yard pleather for backing
-black 12″ zipper
-png cut file (above)
-lightweight fusible interfacing

Instructions//
Cut 4 layers of fabric 9″ by 11″
-2 lining pieces
-2 outer pieces
Use the svg file to cut out a sheet of spots.
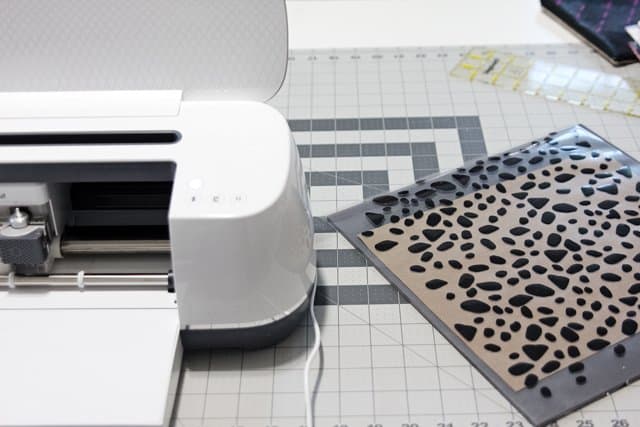
Press to the top layer of your zipper pouch. I used the Cricut EasyPress (review coming soon!) but you can use your regular iron.
Now assemble the zipper pouch as shown above!
Yahoo! 3 pretty new zipper pouches!


See you Monday for a big giveaway and Tuesday for another zipper pouch tutorial! and grab your MAKER HERE at midnight!!
This is a sponsored conversation written by me on behalf of Cricut. The opinions and text are all mine.


It doesn’t have scanning capabilities. Why did you get it instead of a Scan and Cut or KNK?