Gift cards are easy to give and everyone loves getting them, but I always feel like they need an extra touch. A DIY gift card holder is a cute way to give the gift a personal touch.
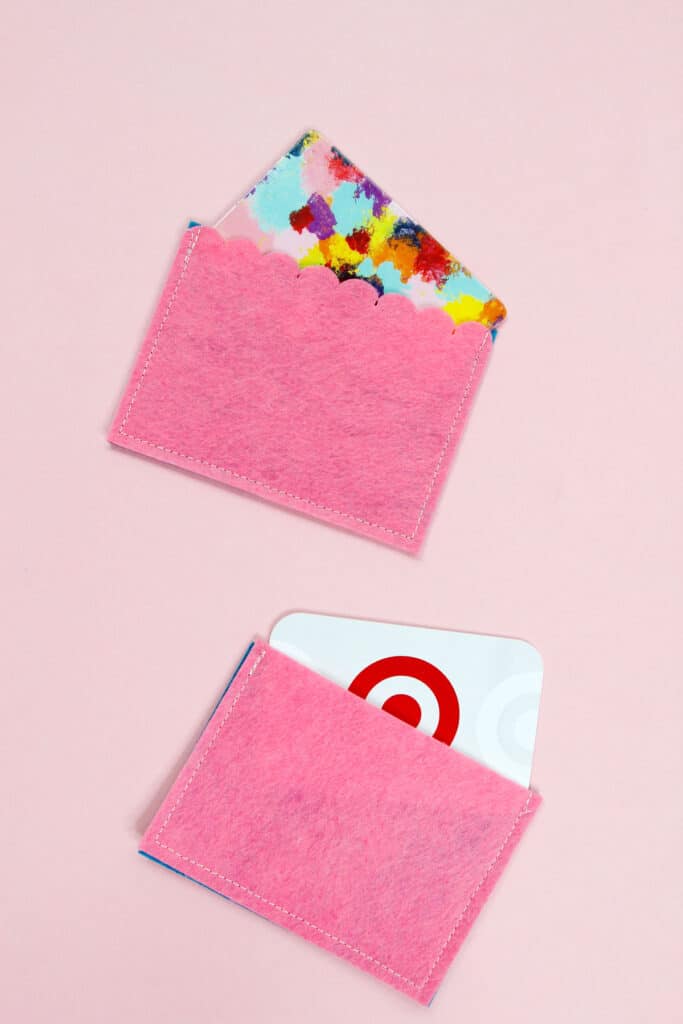
This post has a few ways to make a gift card holder with felt or paper. You can cut these by hand or use a Cricut machine to cut the holders. This is an easy craft that even kids can do and the recipient will love the extra handmade touch!
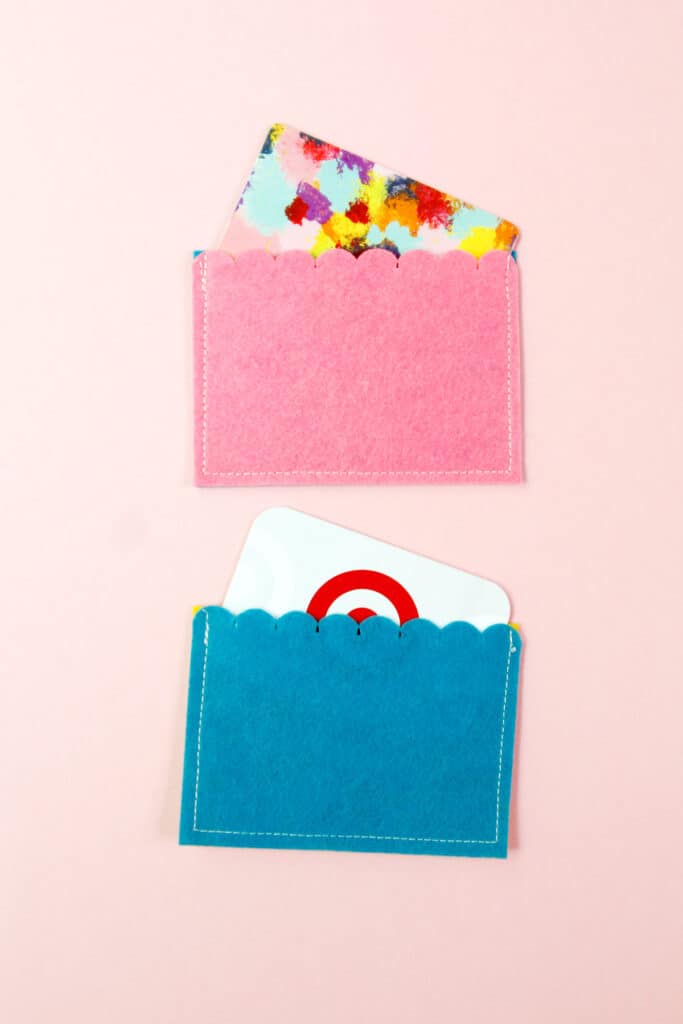
A unique or personalized gift card envelope can be given for Christmas, teacher gifts or even birthdays! Give a Starbucks card to the coffee lover or choose one of your favorite stores! Use the holder for money if you prefer!
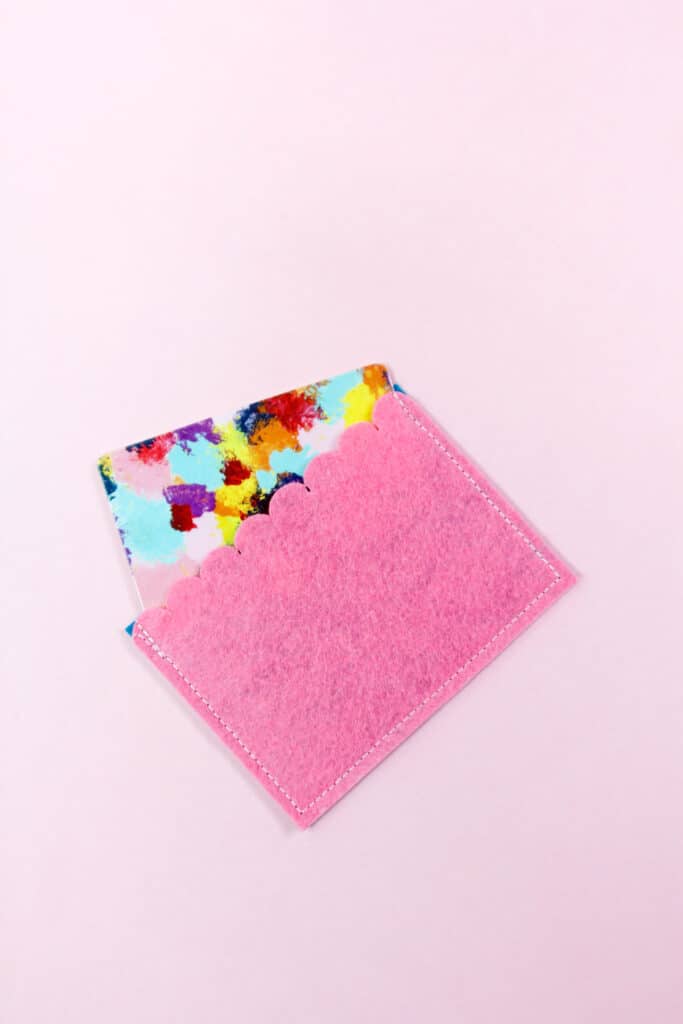
I also included a free svg gift card holder file so you can upload it to your cutting machine. I recommend using the SVG files for the scalloped version since it can be tricky to cut by hand. Download the JPG and print it off or upload the SVG to your cutting machine software.
There are two versions of the gift card holder, one is plain and one has scallops at the top! Use either paper or felt for these. The felt can be sewn (use a contrast thread for an extra pop!) or use glue for a no-sew version.
Gift Card Holder Template
The gift card sleeve template is a PDF file. Click below to download the printable template. Print it off using your printer at 100% or DO NOT SCALE.
Gift Card Holder SVG
To make these gift card holders with a Cricut, use this SVG file. Enter your email address below to get access to the templates as SVG files for Cricut Design Space.
Custom Gift Card Holder Materials
- Felt or paper
- I love Cricut brand felt(affiliate links) for this because it is sturdy and comes in lots of colors
- Use a thicker card stock or scrapbook paper for paper version
- Sewing machine, fabric glue OR hot glue gun
- Cricut Maker, or scissors
Cricut Felt Tips
After lots of trial and error I have learned a few things about using Cricut felt with the Cricut Maker.
- Choose ‘Acrylic Felt’ in your cut settings, not Cricut brand felt. This will force the machine to request the Rotary blade.
- Choose ‘More’ pressure if your blade isn’t brand new. As the blade dulls it takes more pressure to cut through the felt, but I’ve found applying more pressure will allow you to use the same blade longer
- If your mat has lost it’s stick, tape down the edges of the felt to the mat to help it stay in place.
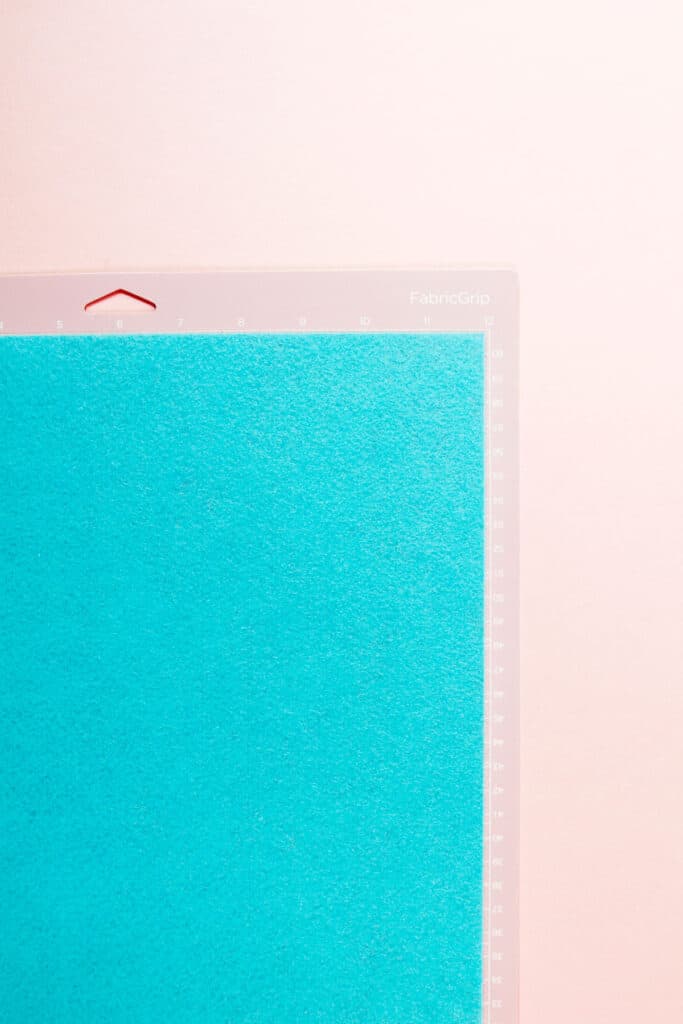
How to make a gift card holder
Cut out two layers of felt using the scalloped or straight edge pieces. Cut two of the same or choose two coordinating colors.
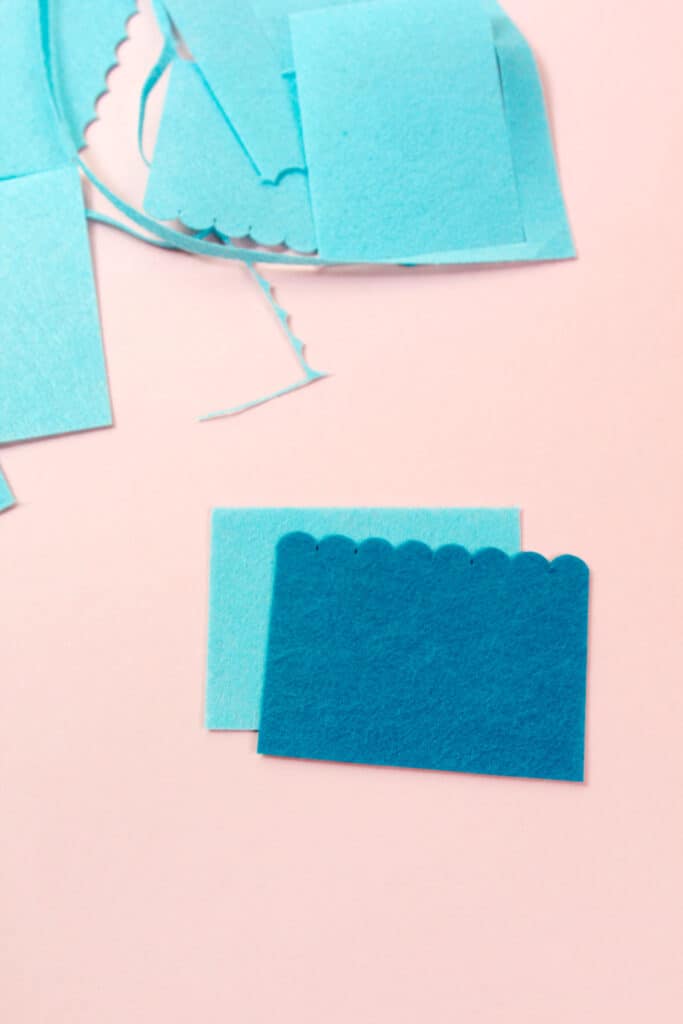
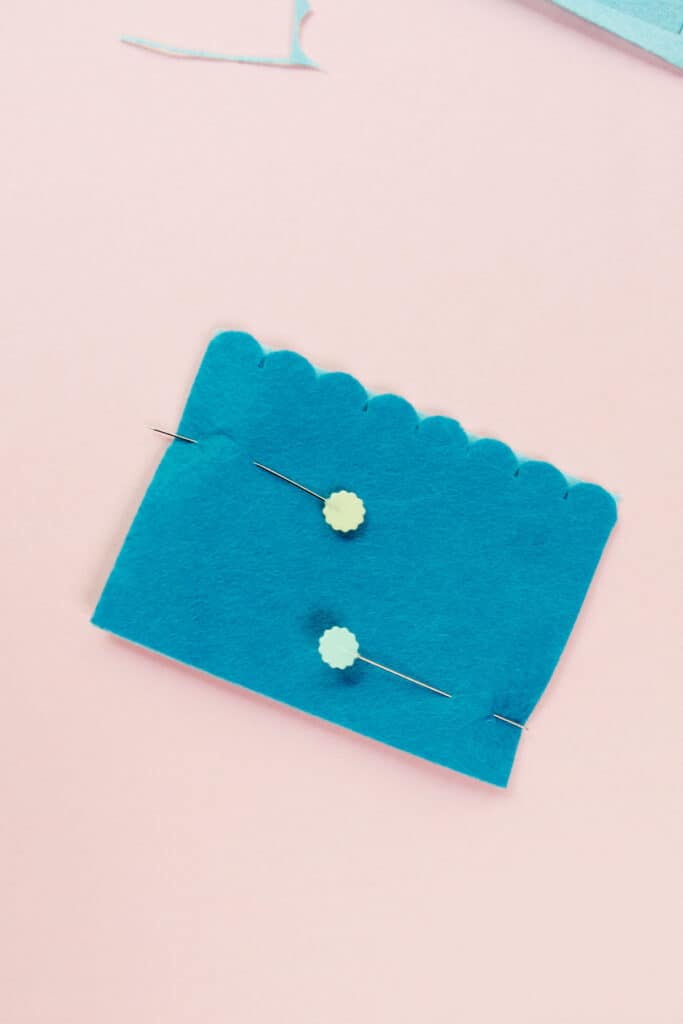
Stack two layers of felt and line up all the corners. Pin in place if you want.
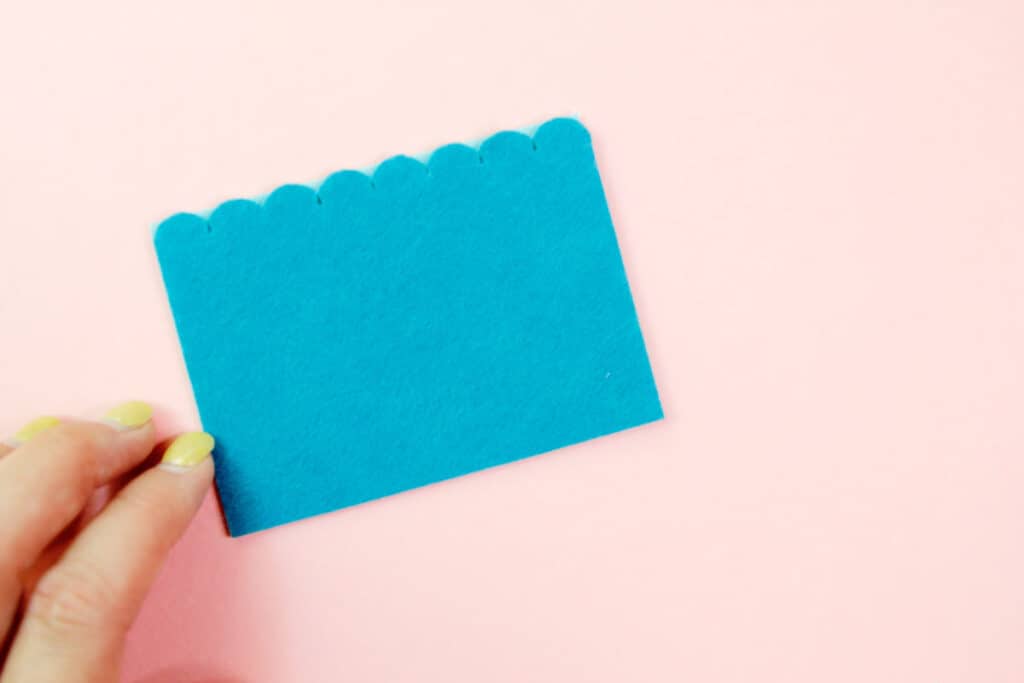
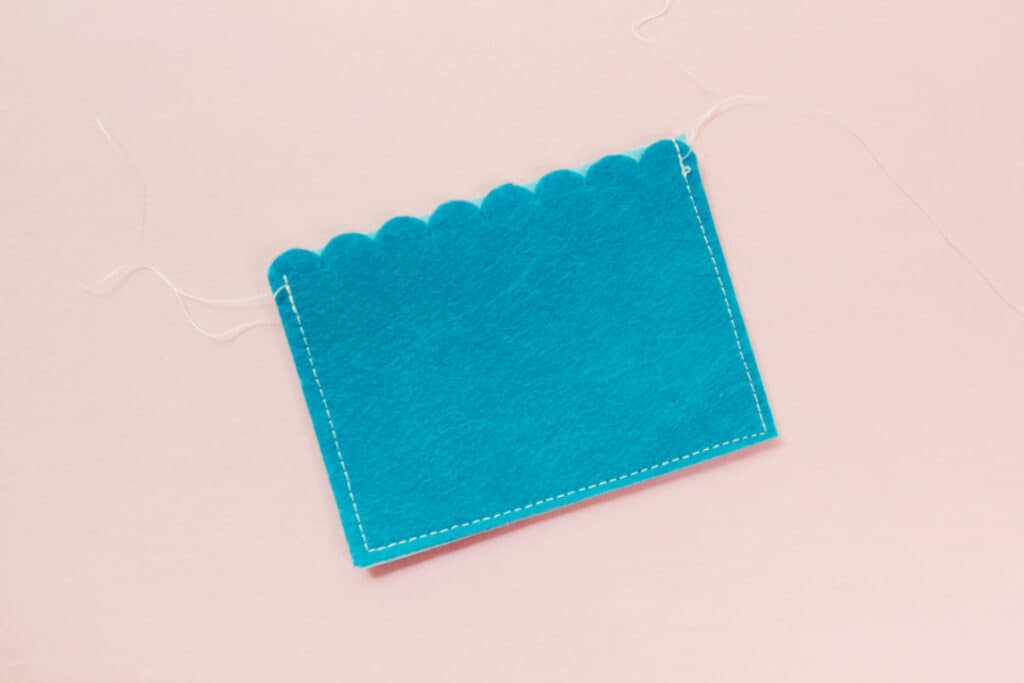
Sew the sides and bottom of the felt together, backstitching at the tops of the gift card holder.
Clip the threads and slip your gift card inside!
No sew gift card holder
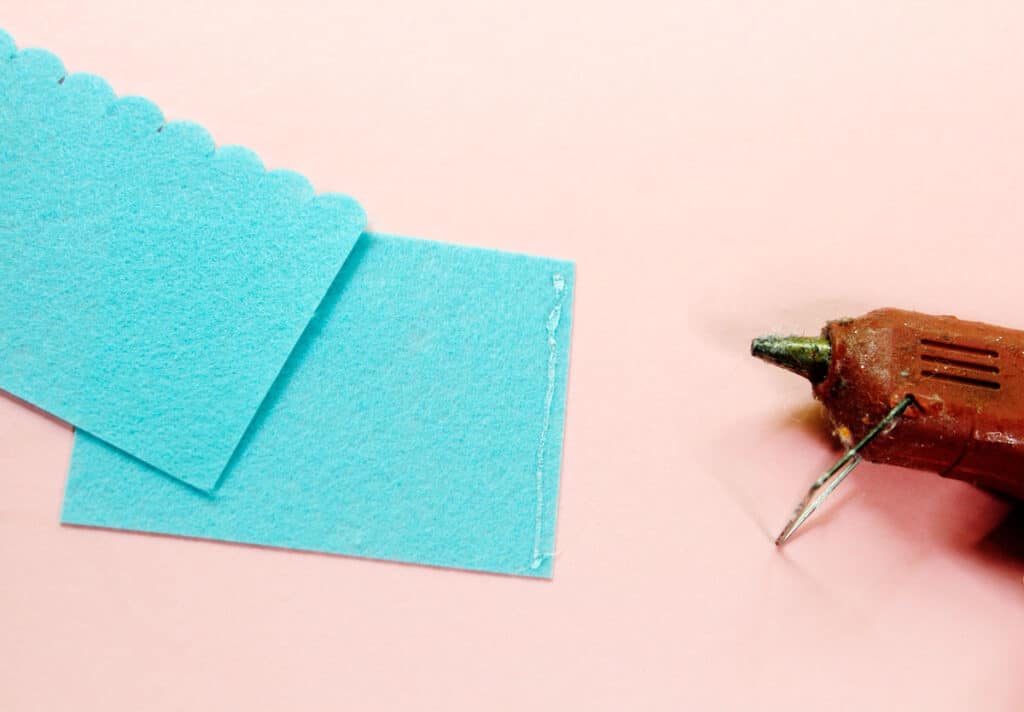
To make a no sew DIY gift card holder, just use a hot glue gun along the sides and bottom of the felt. Make sure you use a narrow line of glue so the gift card will still fit.
Paper Gift Card Holder
For a paper version, just use paper like cardstock and the no sew glue method!
Make gift card sleeves extra custom
Use your creativity to make the sleeve your own1
- Use iron-on vinyl or puffy paint to personalize
- Tie ribbon to make tiny bows and glue to the front
- Glue embellishments like rhinestones or ribbon on the front
- Tie to the top of a gift
- Use fabric markers to add a name or phrase to the front
More Holiday Tutorials
- Plaid Tidings Christmas Stockings
- The Happy Patch Christmas Quilt
- Elf on the Shelf Costume
- House Quilt Block Advent Calendar
Share your project in our Facebook group!


