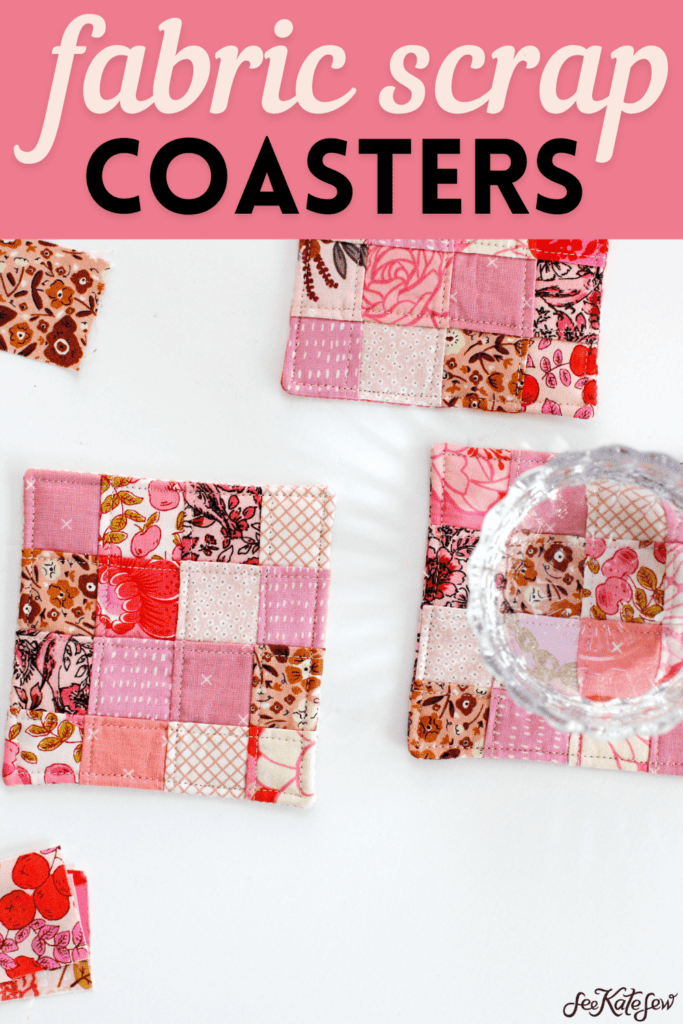
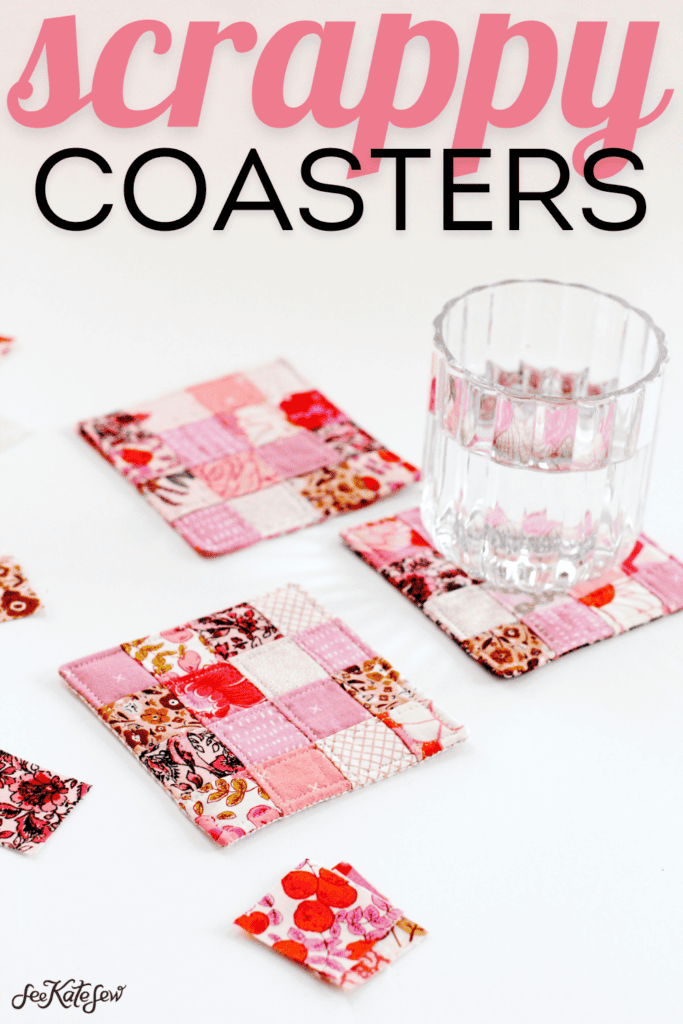
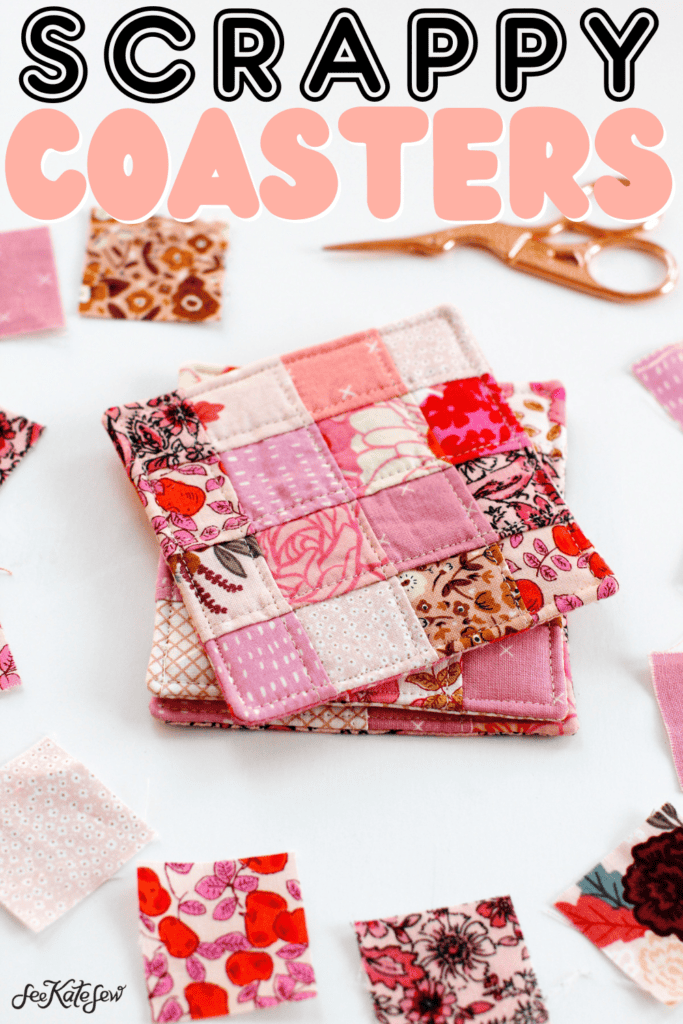
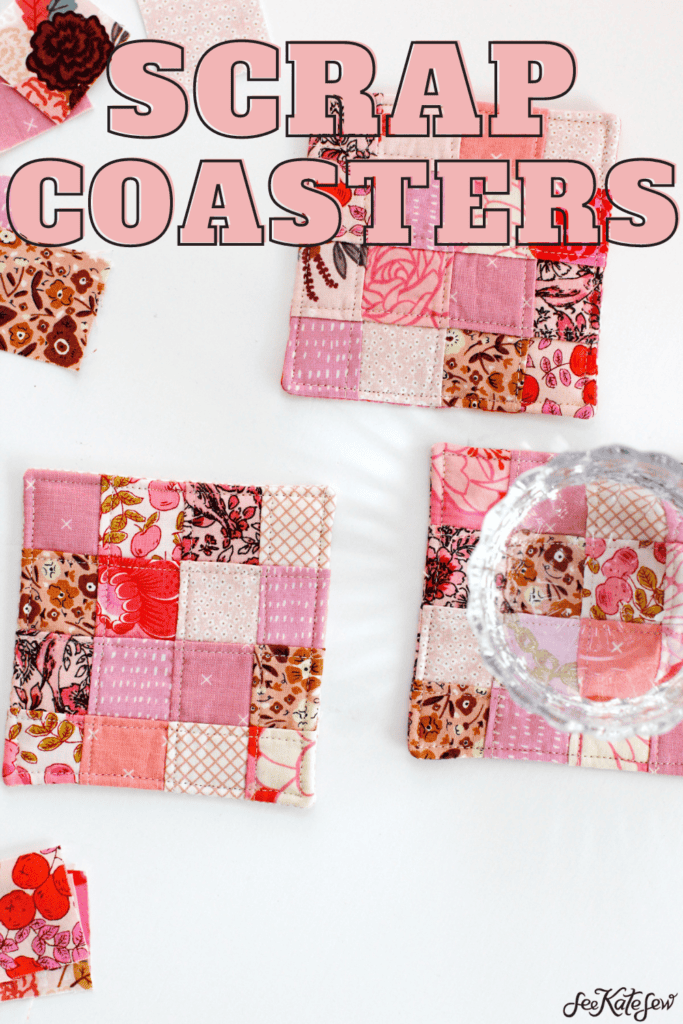
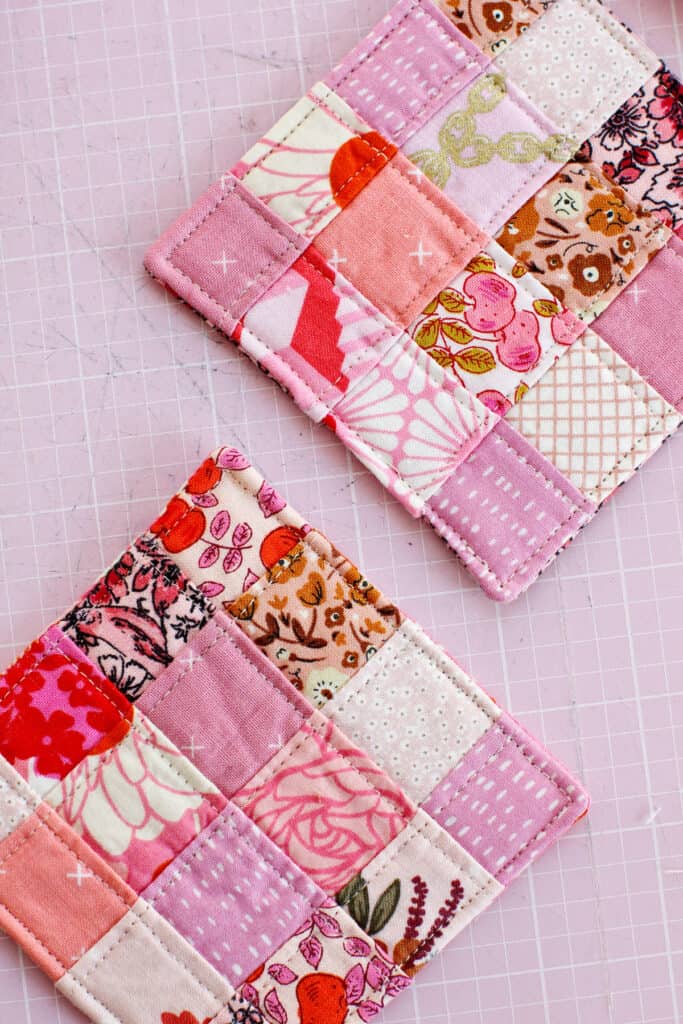
Raid your fabric stash for this adorable coaster set! This fabric scrap coaster tutorial will turn your favorite leftovers into useable art!
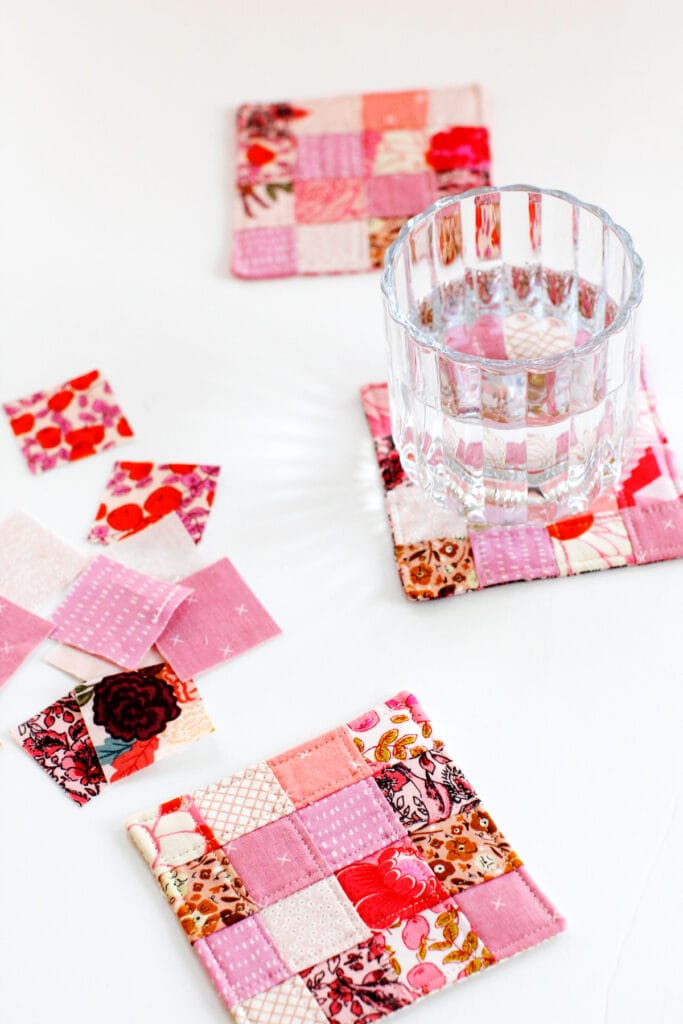
These patchwork coasters are easy to make – I’ll show you a super cool trick to sew it quickly!
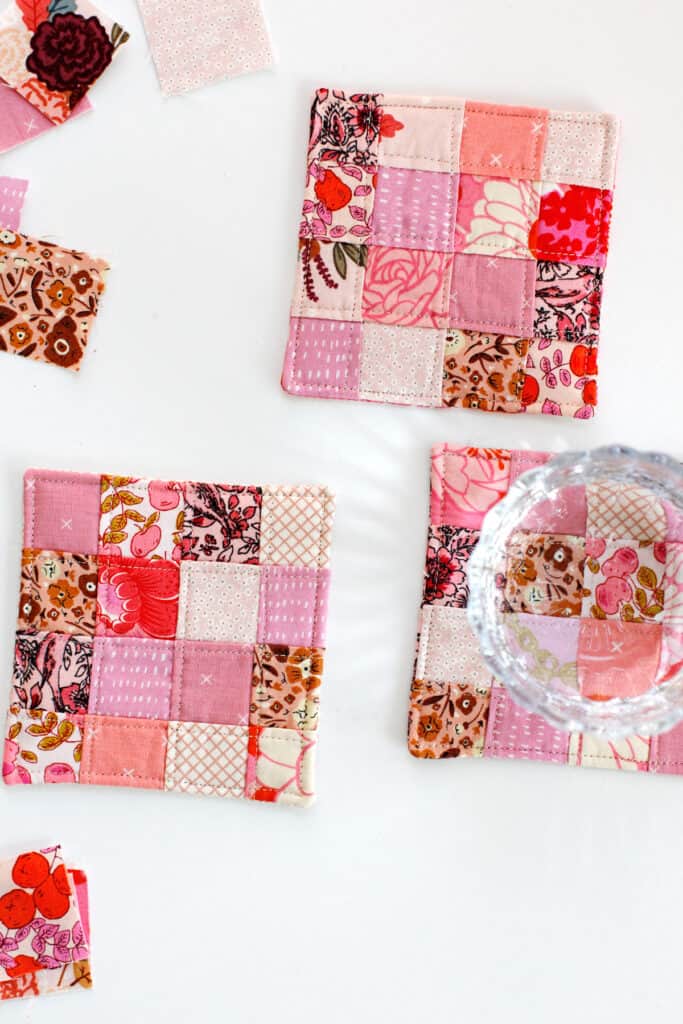
Plus you can use some of your favorite tiny scraps!
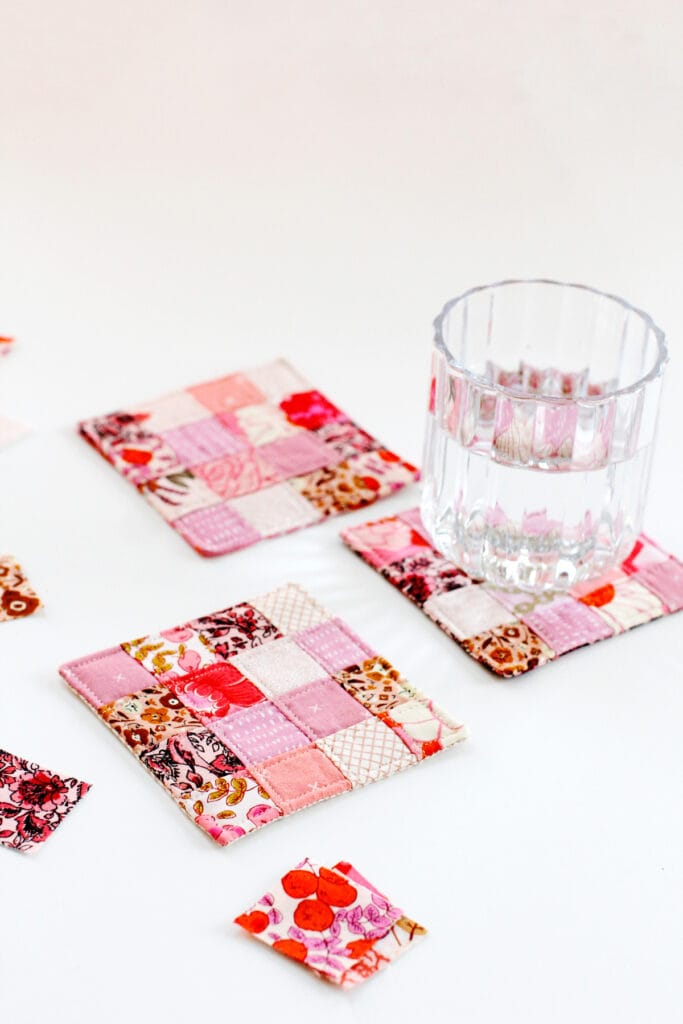
I hate throwing away good scraps so with this quilted coaster tutorial you can admire them on your coffee table instead!
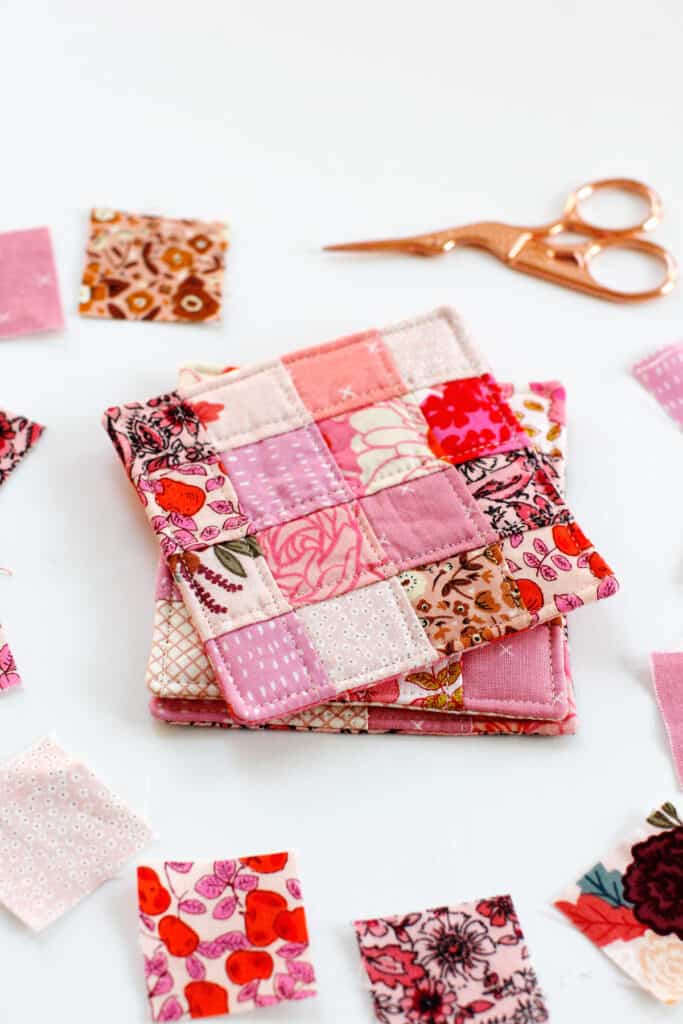
Fabric Scrap Coaster Materials
- Cotton fabric scraps
- Quilt batting scraps
- Spray baste
- Lightweight fusible interfacing
- Cutting mat, rotary cutter and ruler
- Sewing machine, pins, iron
- Point turner or chopstick
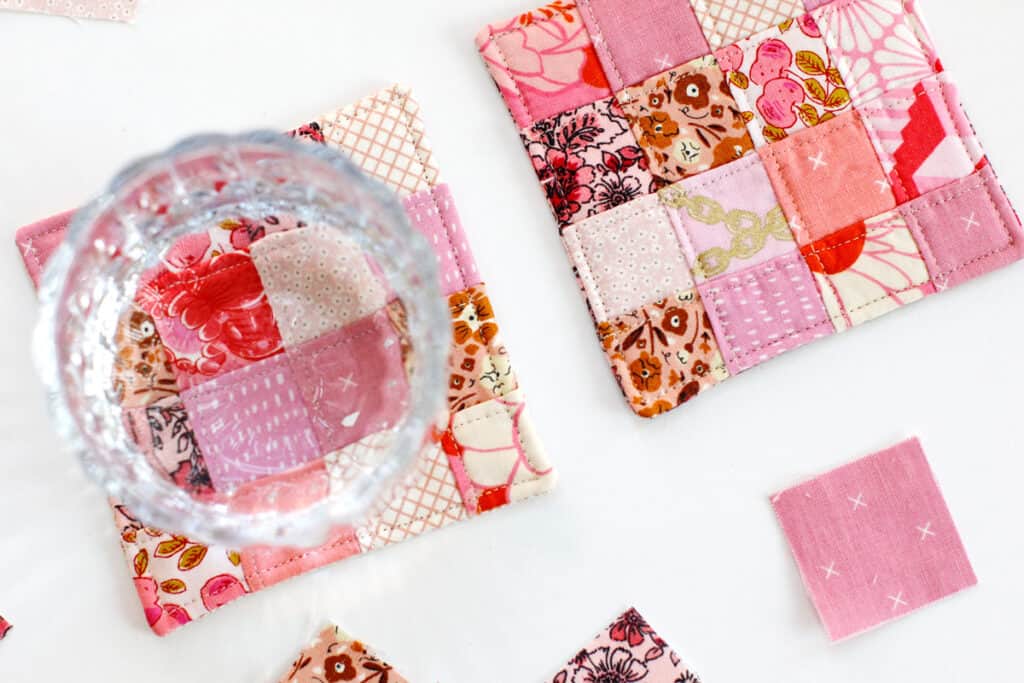
Scrappy Coasters Template Download
This is an easy project to sew without templates, just use the measurements in the instructions. If you prefer templates, click the button below to get the download. This is just the templates and does not include the instructions. Print at 100% or DO NOT SCALE. Want to print the instructions without ads? Download the full pattern here.

Scrappy Fabric Coasters Tutorial
Use a 1/4″ seam allowance.
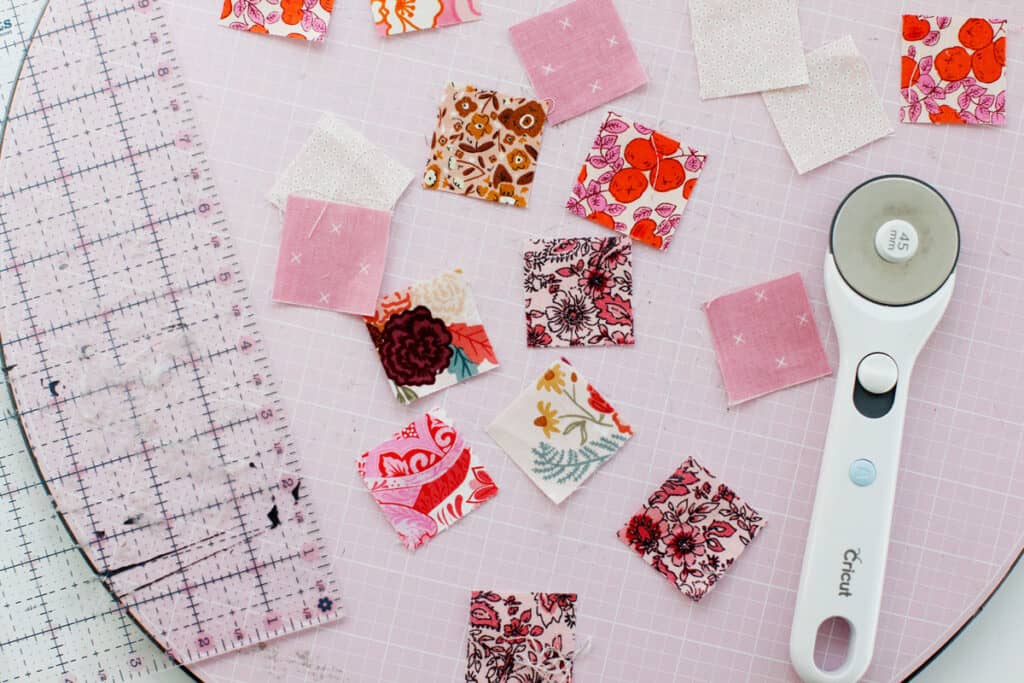
Start by cutting out 16 – 1.5″ squares from your fabrics. Use either a rotary cutter and ruler for this or print out the template and use the paper template to cut fabric squares.
For larger scraps, cut strips 1.5″ wide and then cut down to 1.5″ square.
Line up the squares on a piece of fusible interfacing in a 4 by 4 grid with edges touching. Press gently to attach fabric to interfacing keeping the square straight.
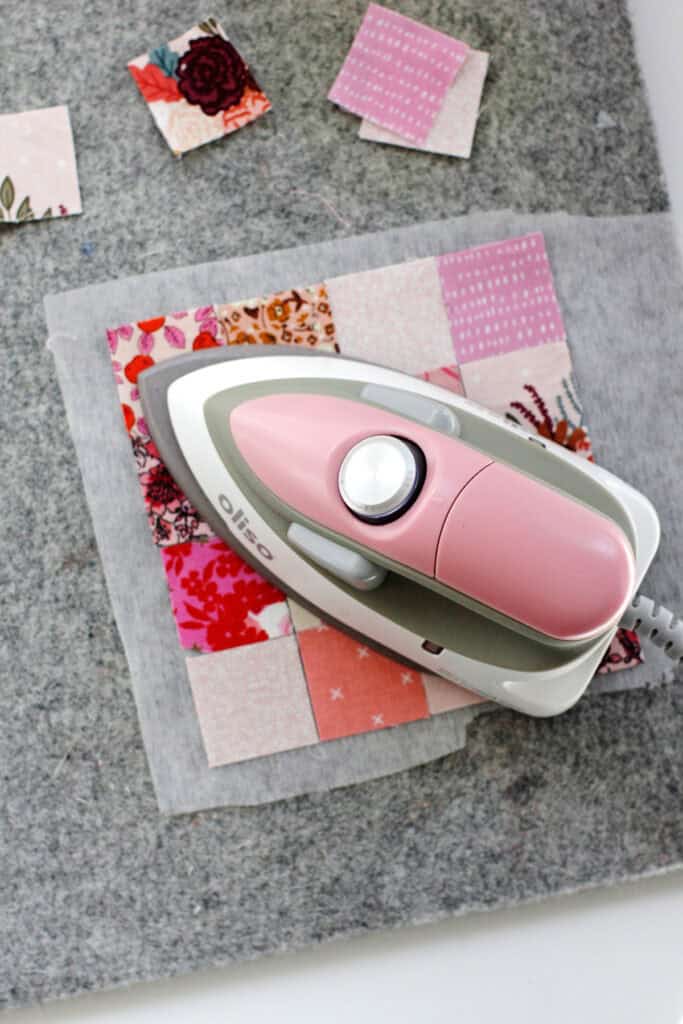
Trim off excess interfacing.
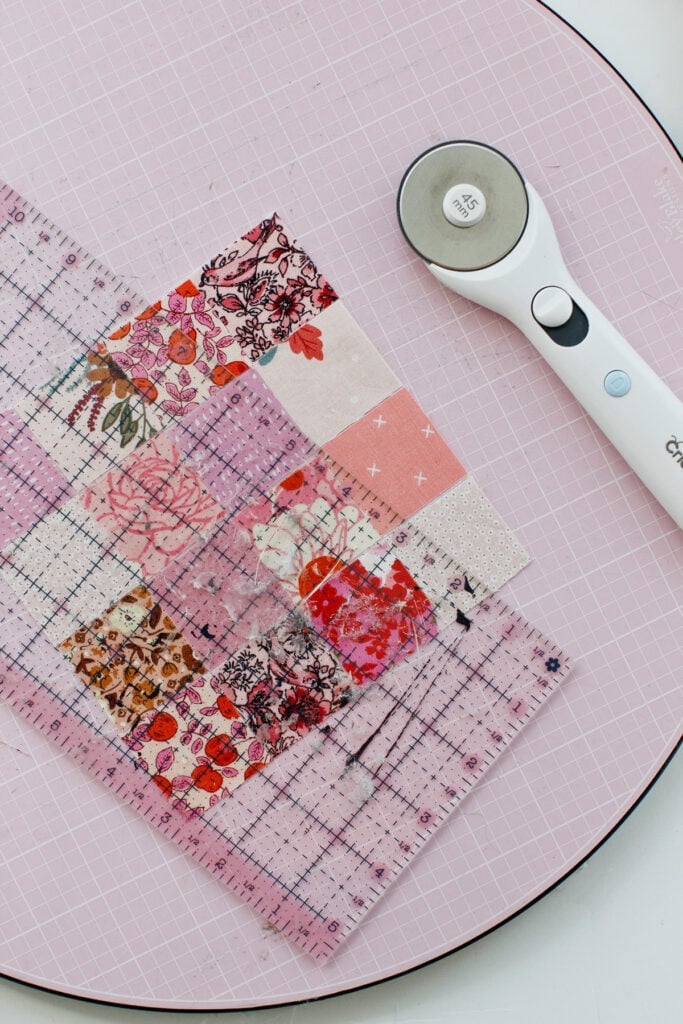
Fold down the first row and press with fabrics right sides together.
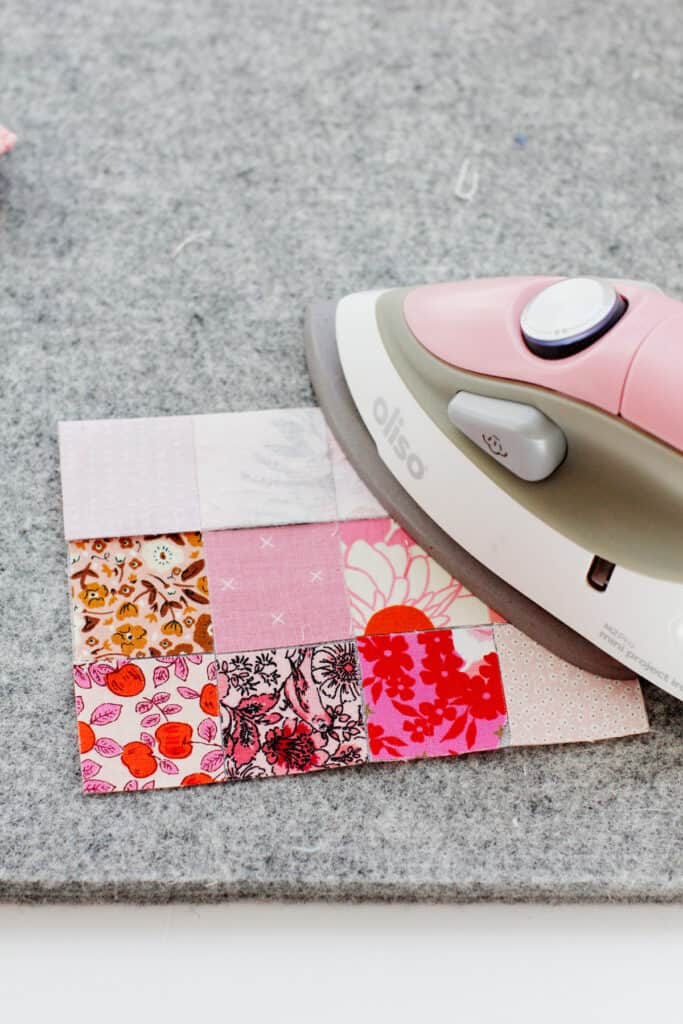
Then stitch the seam, 1/4″ from the seam.
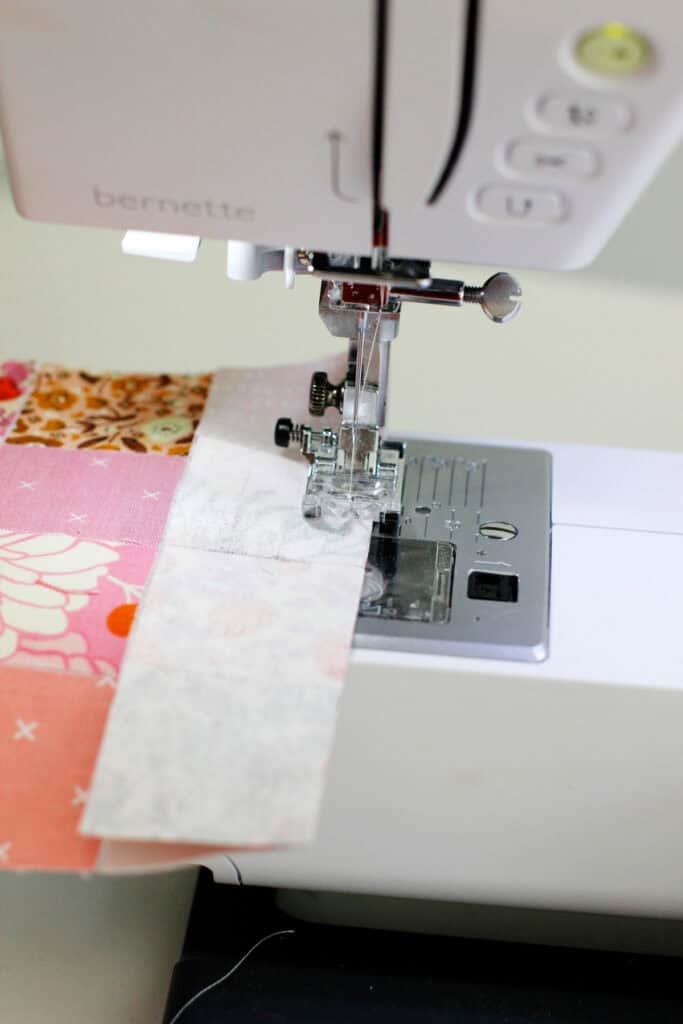
Open and repeat with the other horizontal lines.
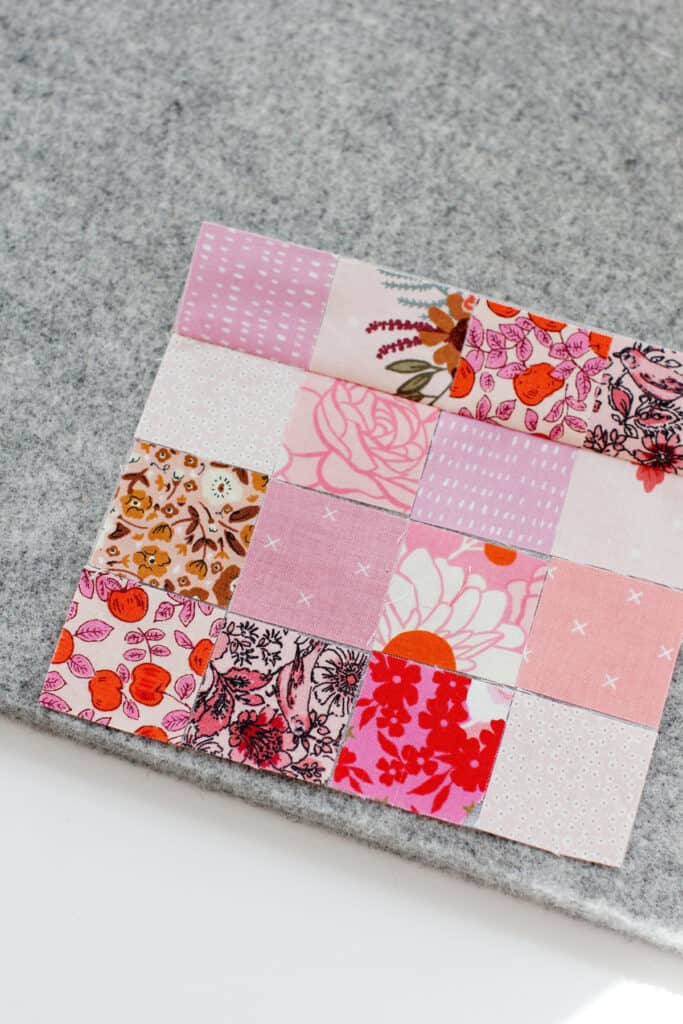
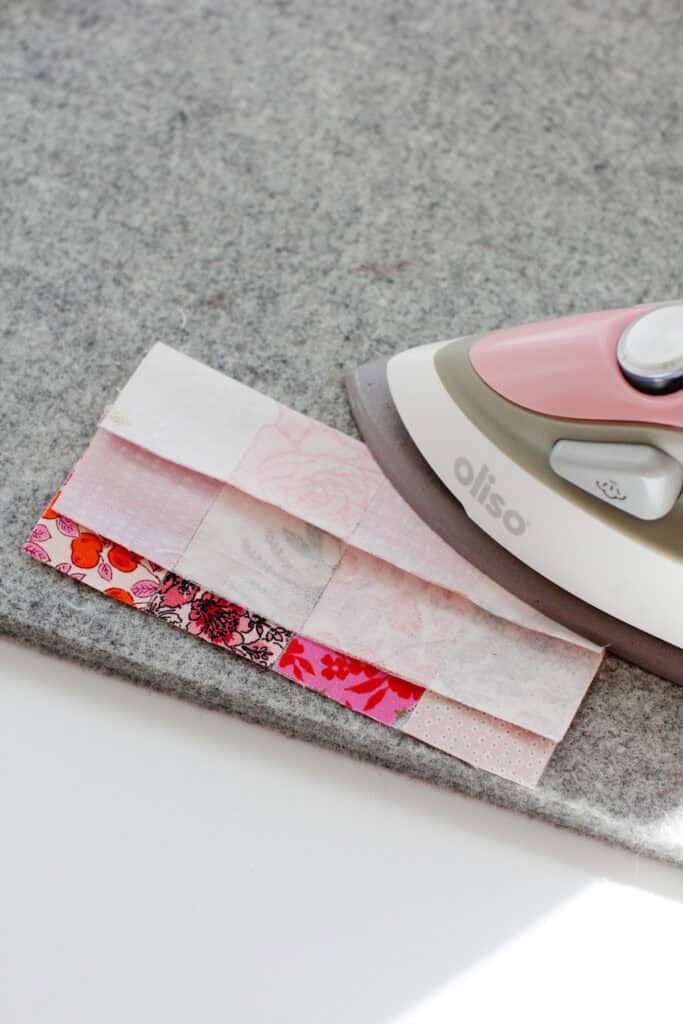
Press seam allowances to one direction.
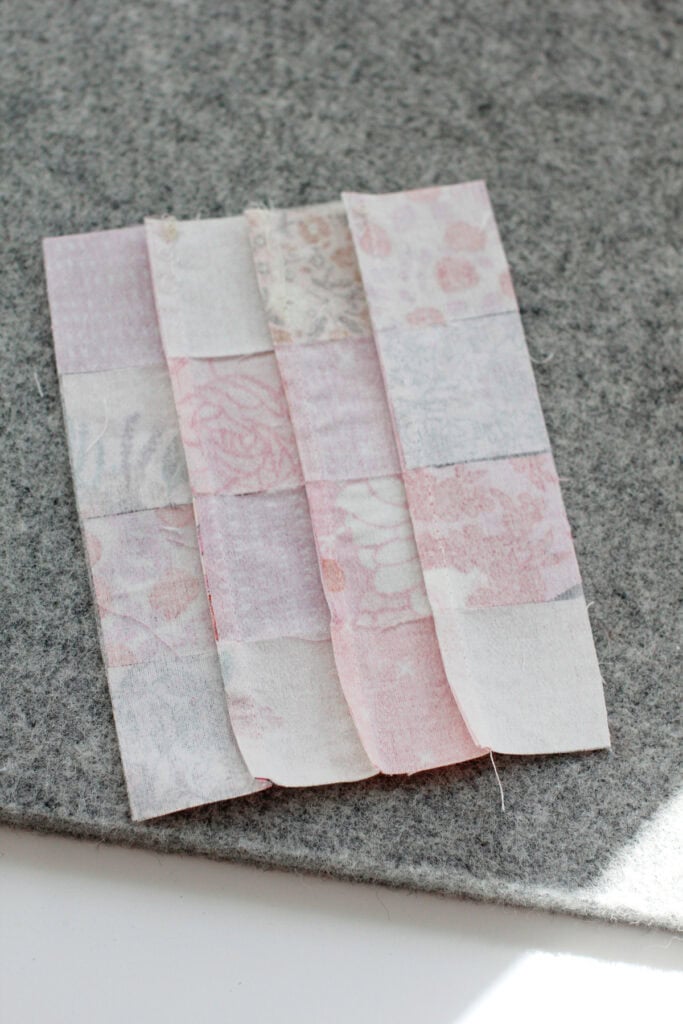
Then repeat with the vertical rows.
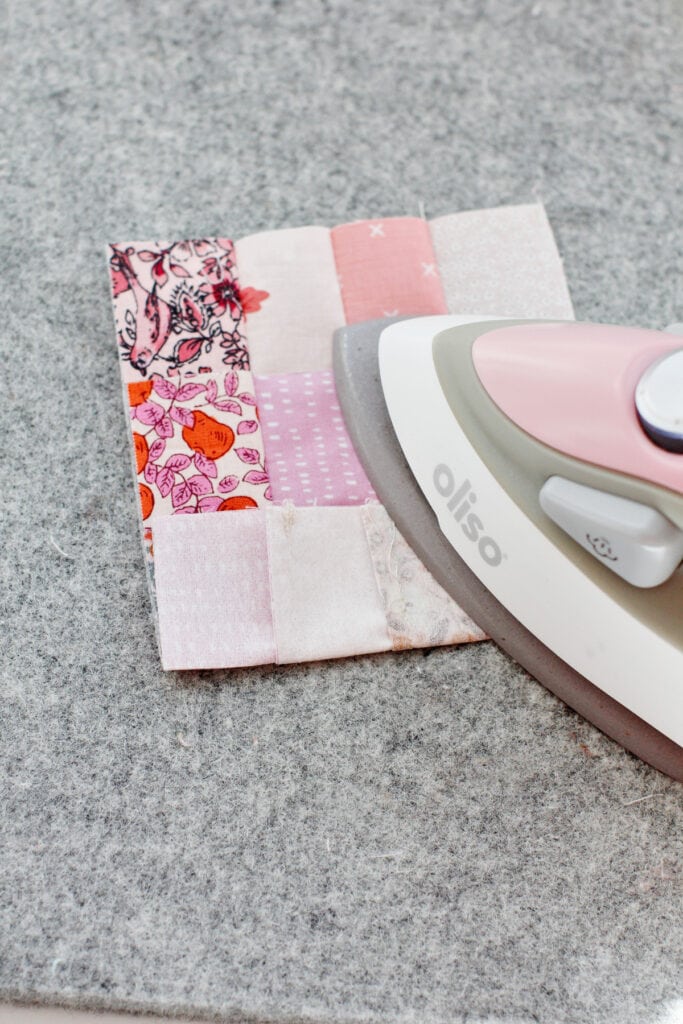
Press seam allowances down to one direction. The coaster top should be about 4.5″ by 4.5″. Trim up if needed.
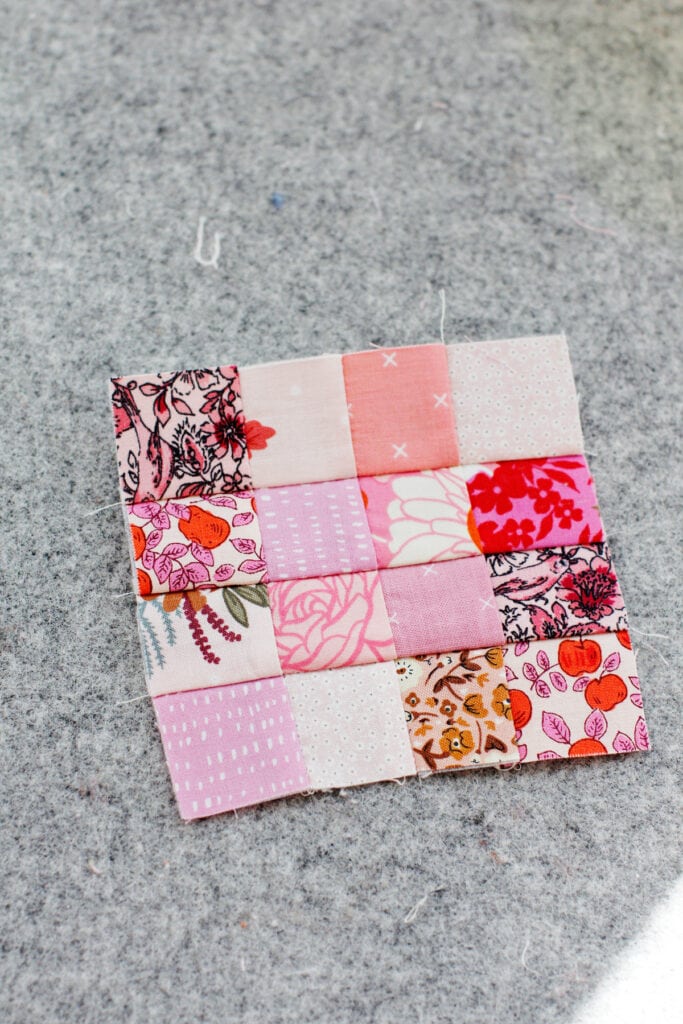
Use spray baste to attach the square to a piece of batting. Let the spray baste dry.
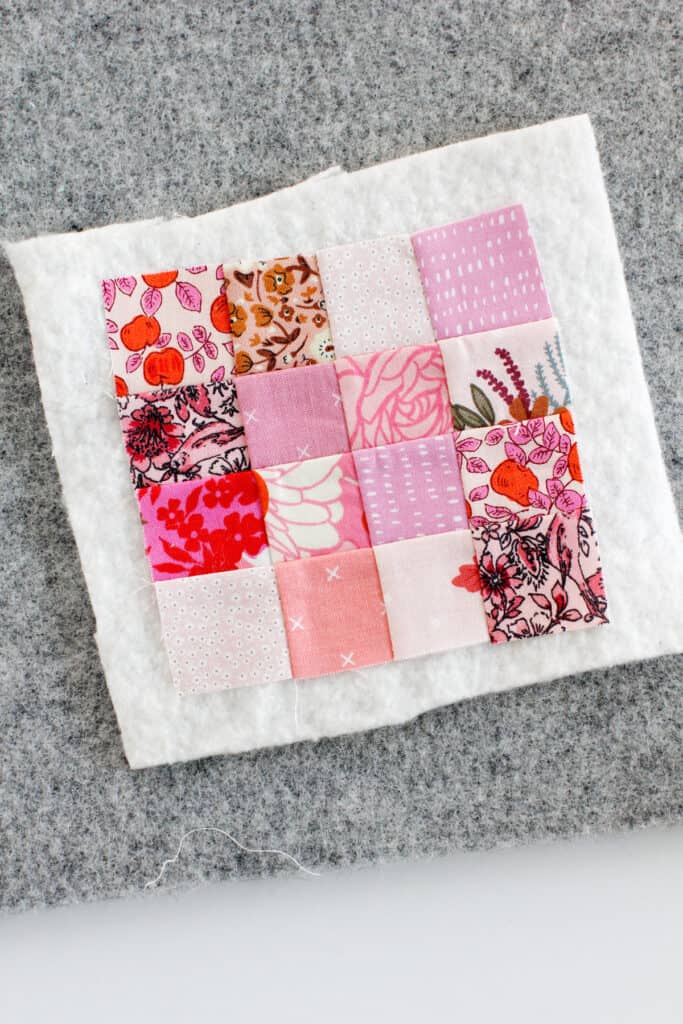
Sew topstitching
Then topstitch over the coaster with quilting lines. I like to sew on the side of the squares where the seam allowance is pressed, about 1/8″ from the seam.
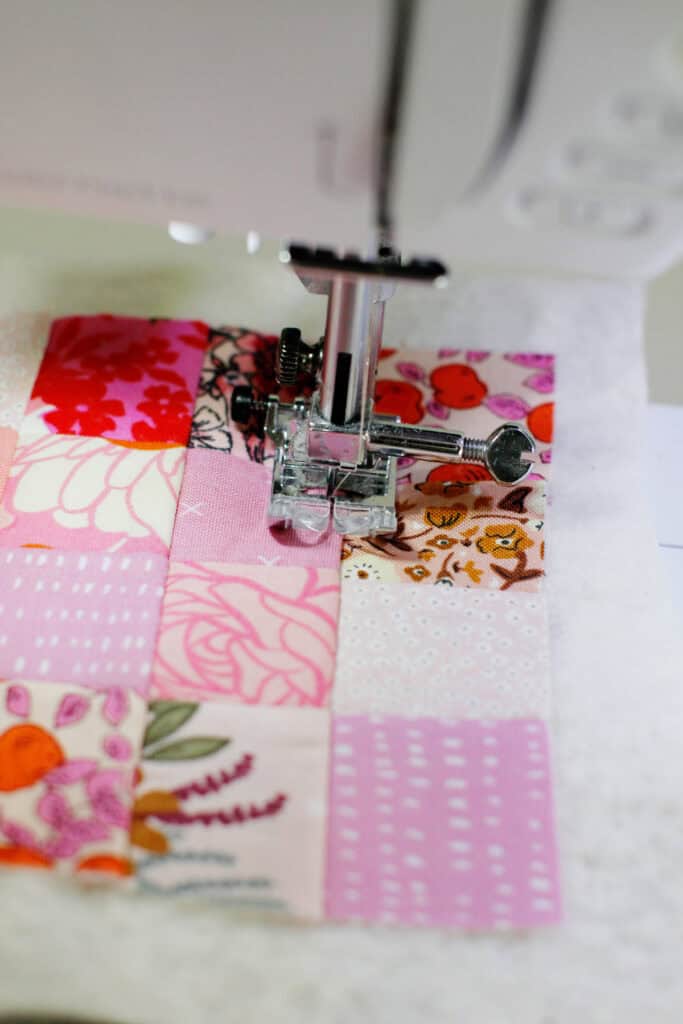
Sew as many topstitching lines as you want. This helps keep that bulky seam down a little bit more and gives it a quilty finish.
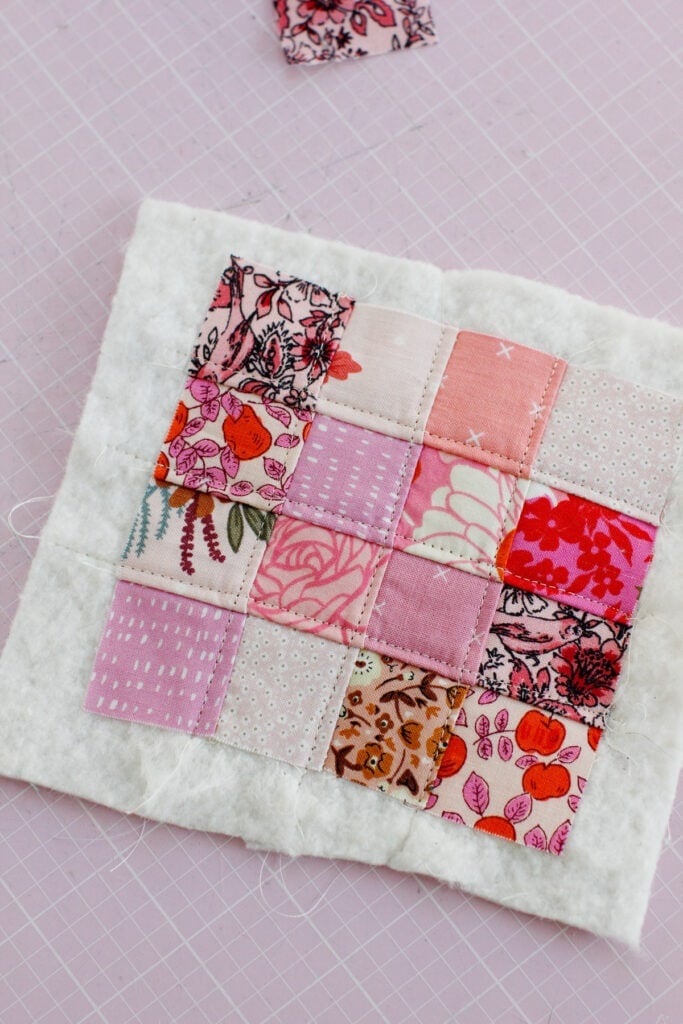
For the back of the coaster, cut a 4.5″ square of fabric from a larger scrap.
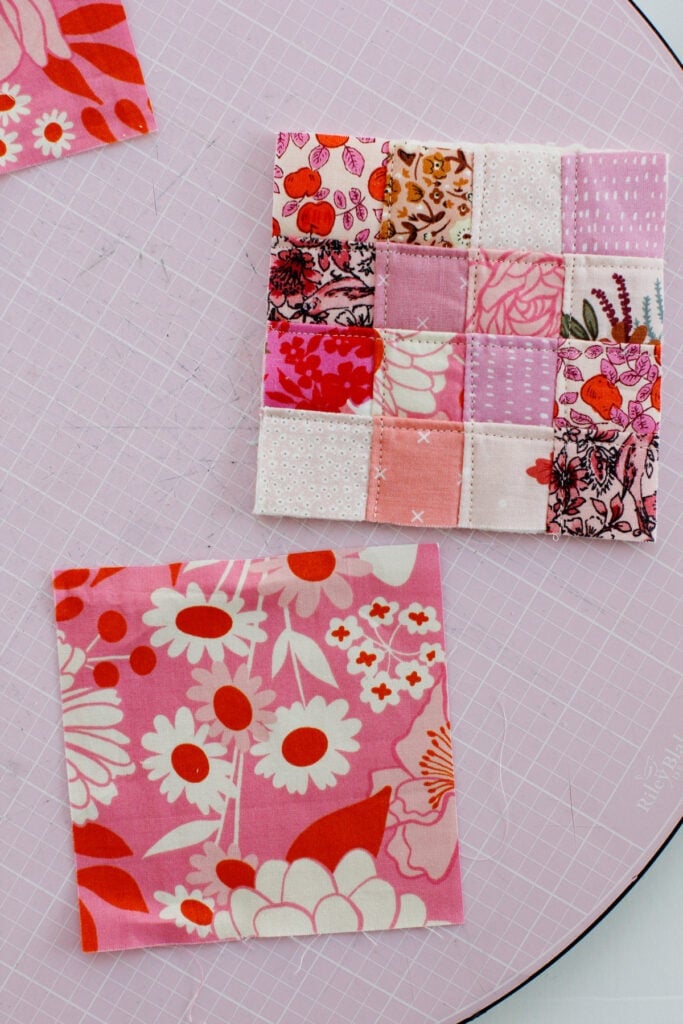
Sew a line of stay stitching 1/4″ from the raw edge along one side of the backing square and one side of the quilted top.
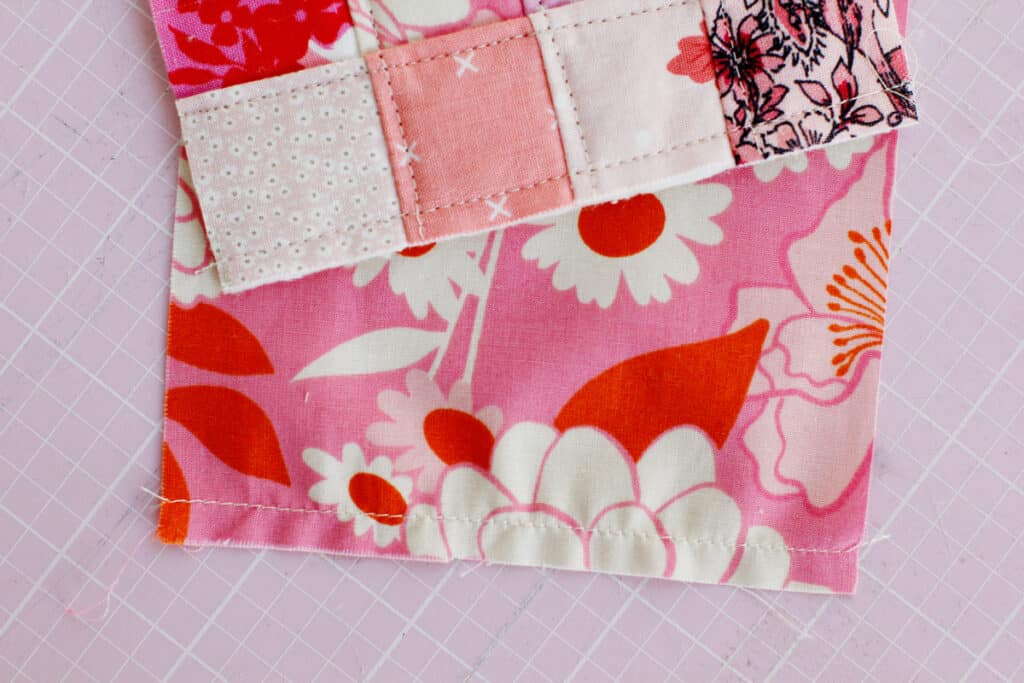
Place the 4.5″ square on top of the quilted piece with right sides together, matching up the two sides with the stay stitching.
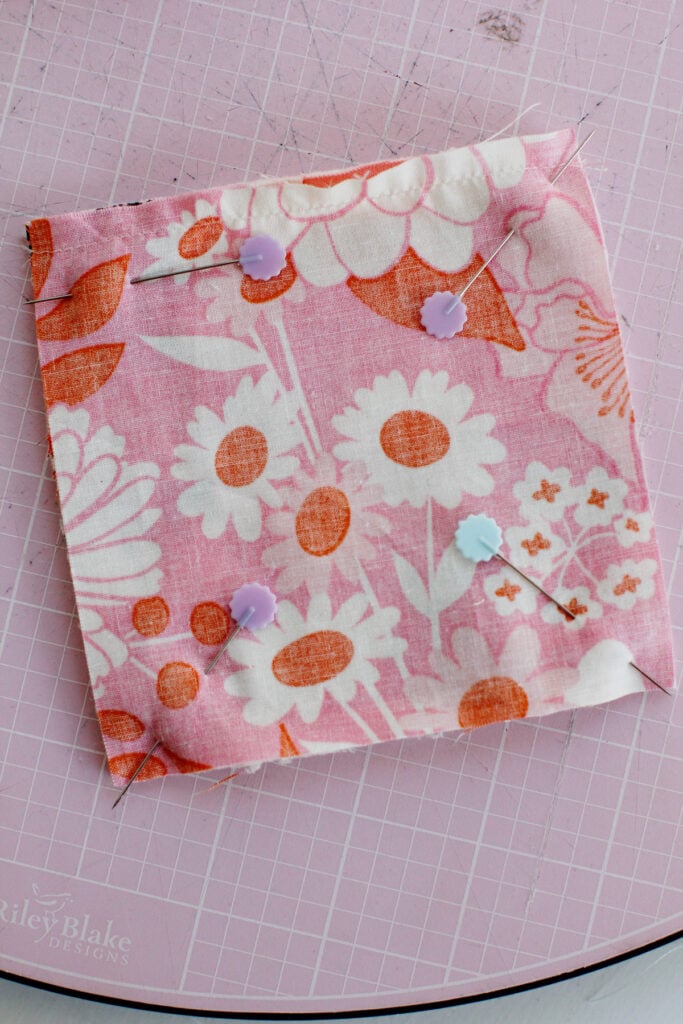
Sew around the edges at 1/4″ leaving a 1.5″ opening on the side where you put the stay stitching.
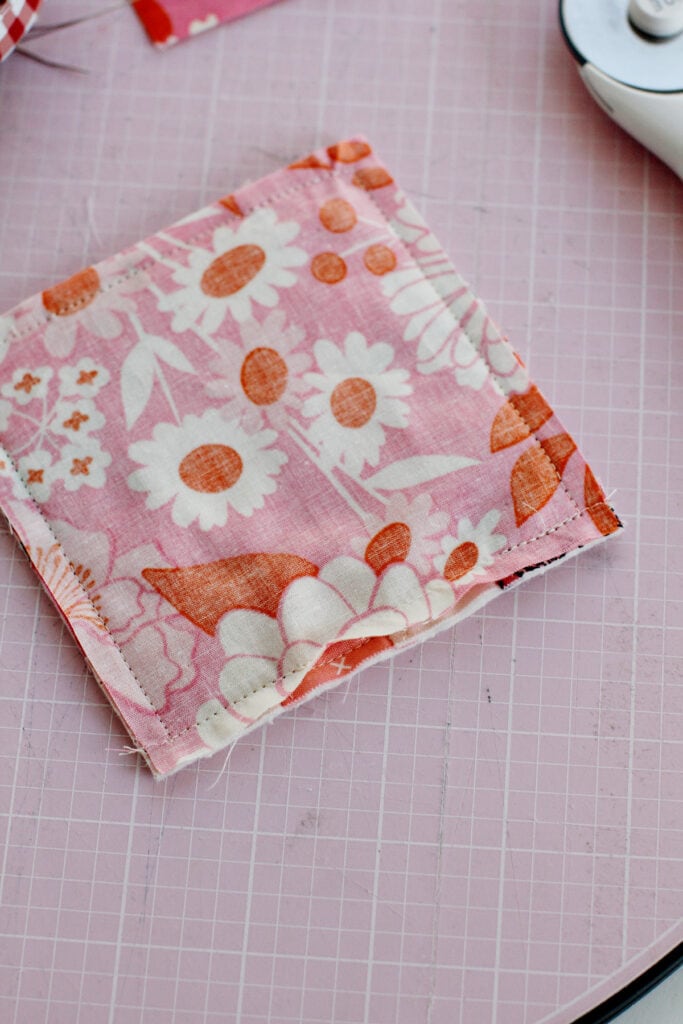
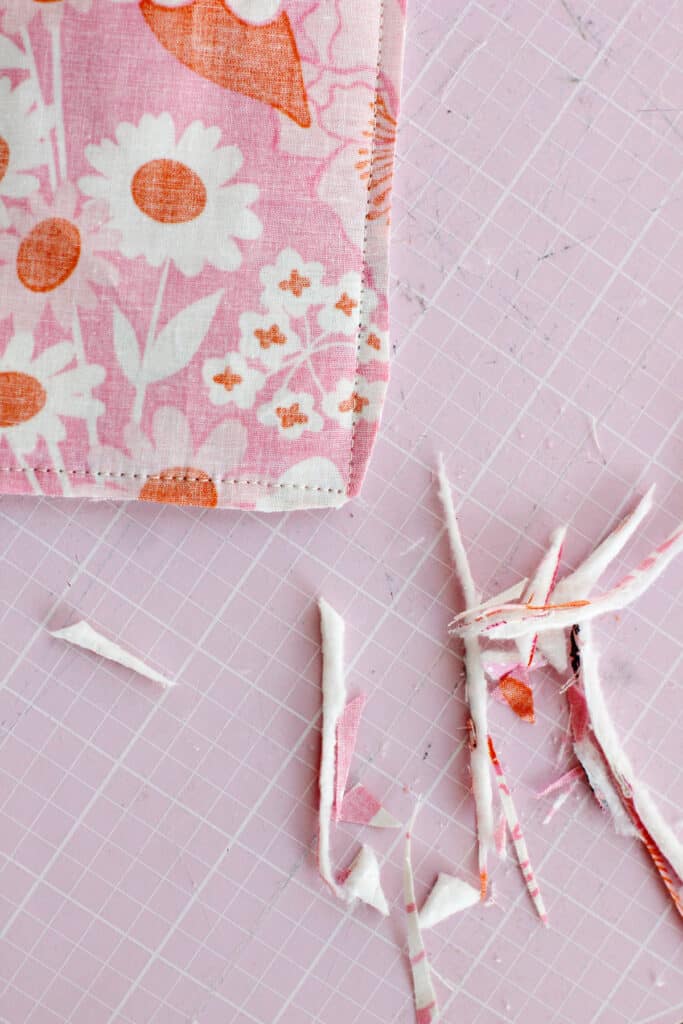
Clip the corners and trim the seam allowance before turning right side out.
Push out the corners with a point turner and press well. The stitching will help you press the opening over evenly.
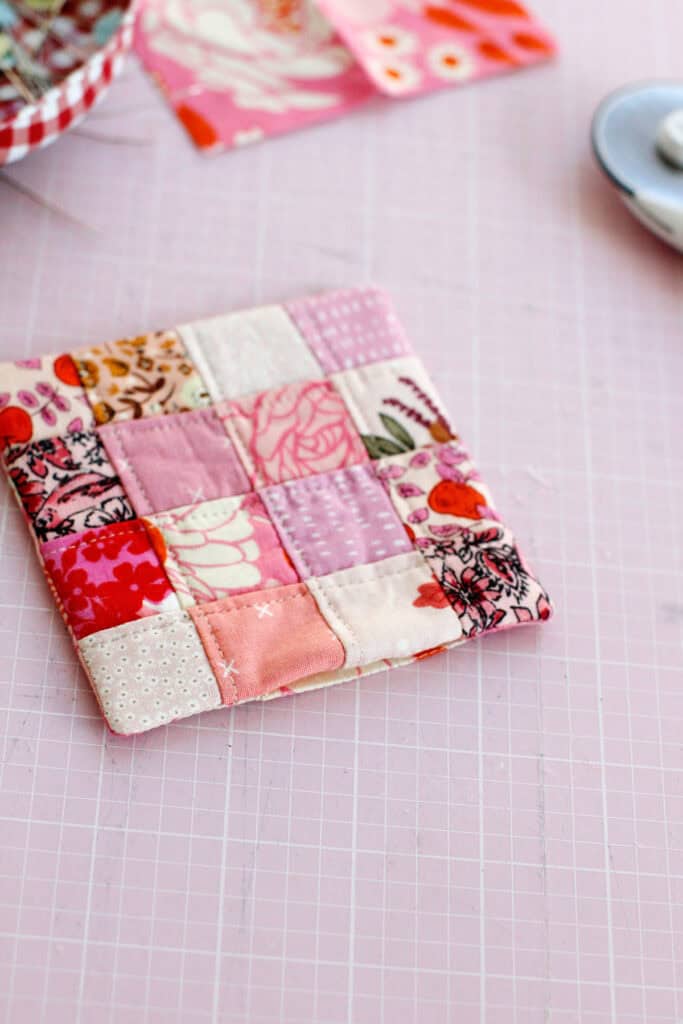
Topstitch around the coaster 1/8″ from the edges, pivoting at the corners. The finished coaster will be about 4″ by 4″.
Use a piece of ribbon to wrap 4 coasters together for an adorable housewarming gift!
