This is a sponsored conversation written by me on behalf of Cricut. The opinions and text are all mine.
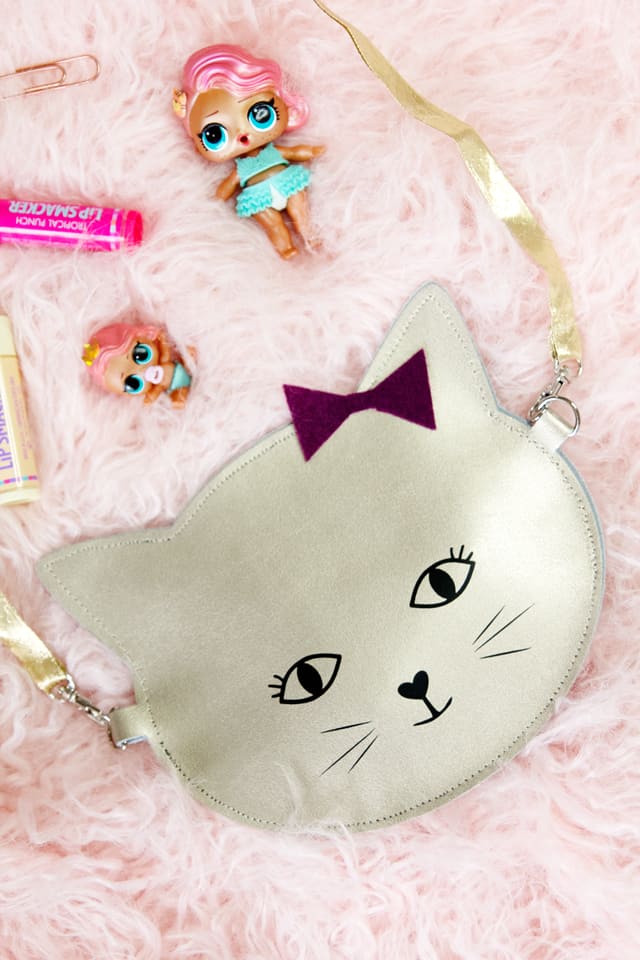
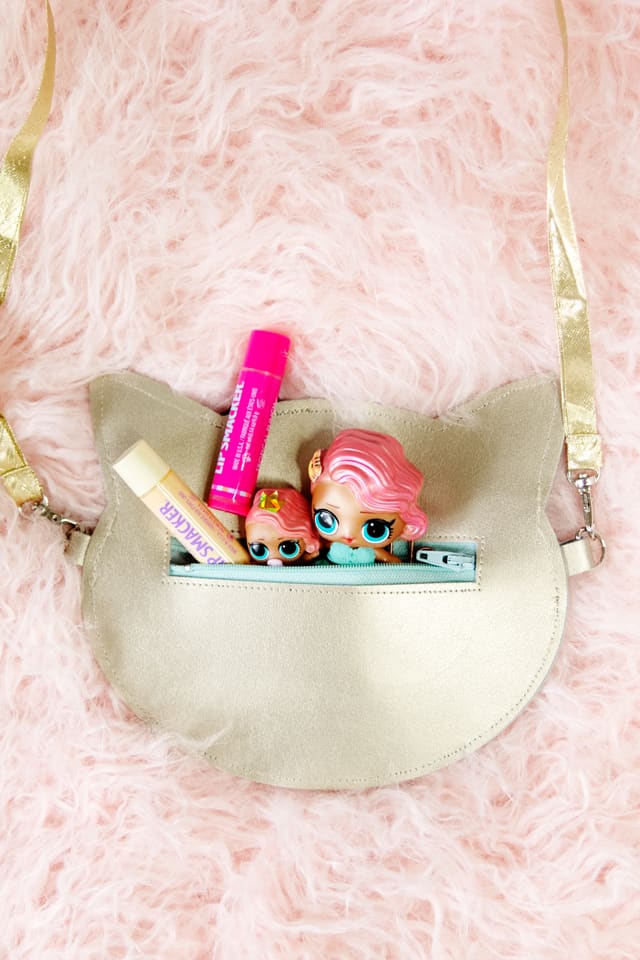
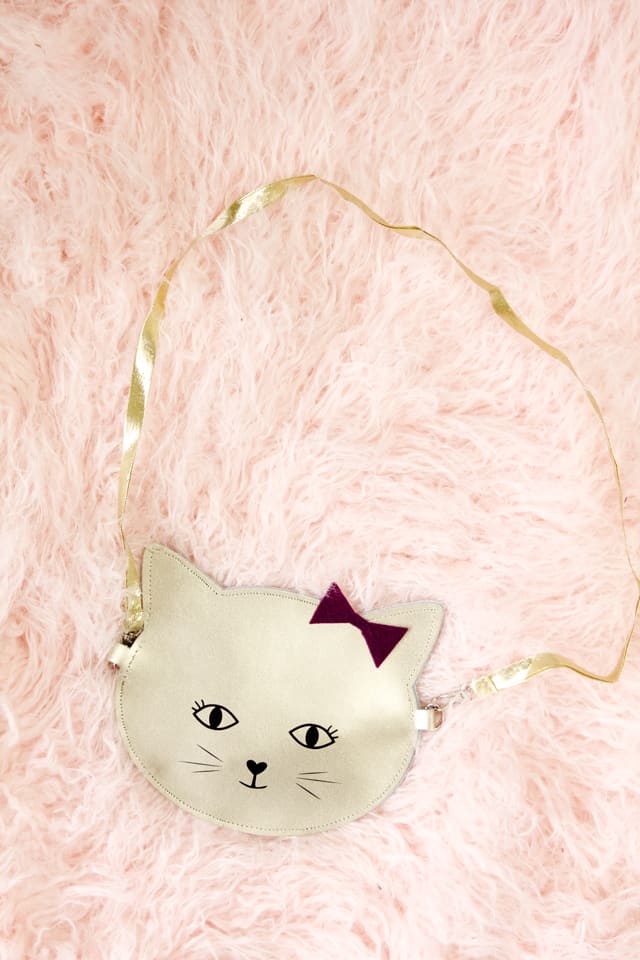
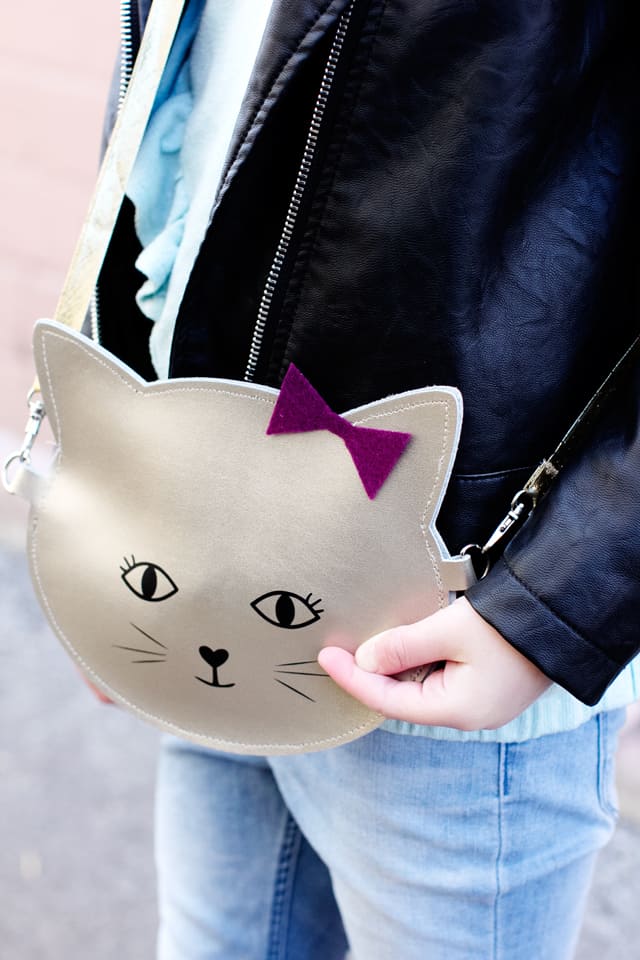
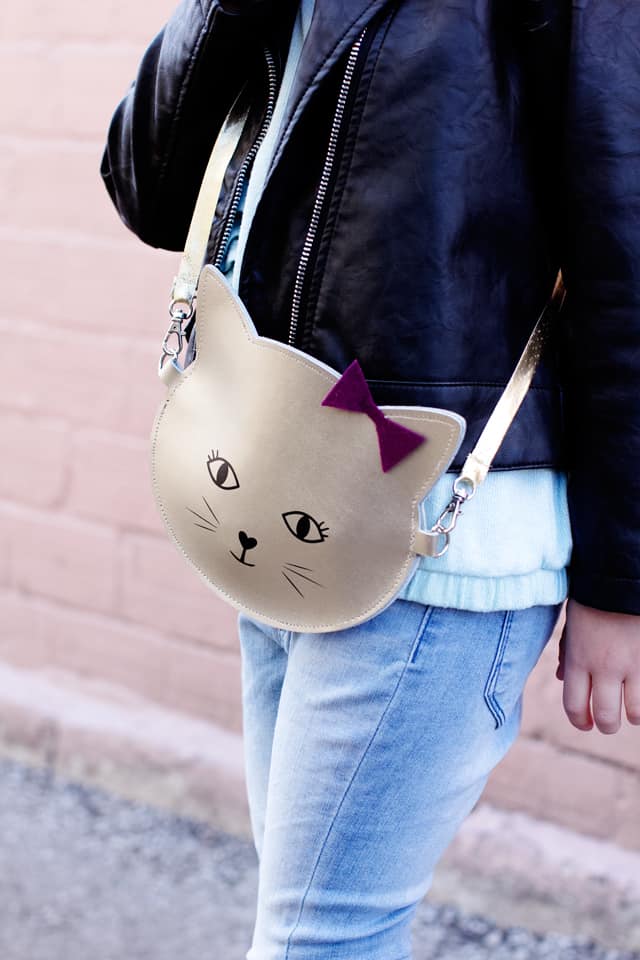
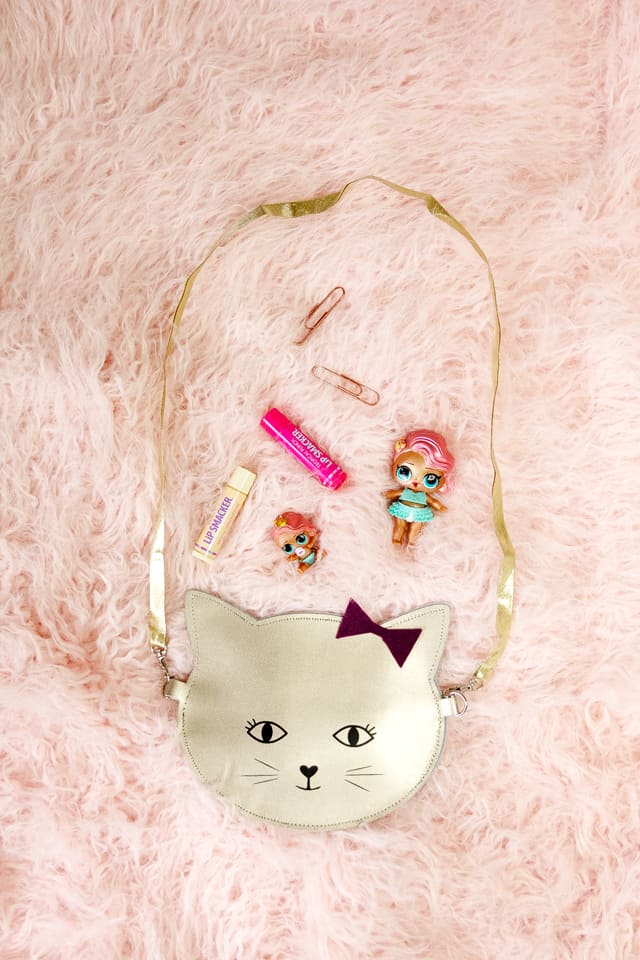
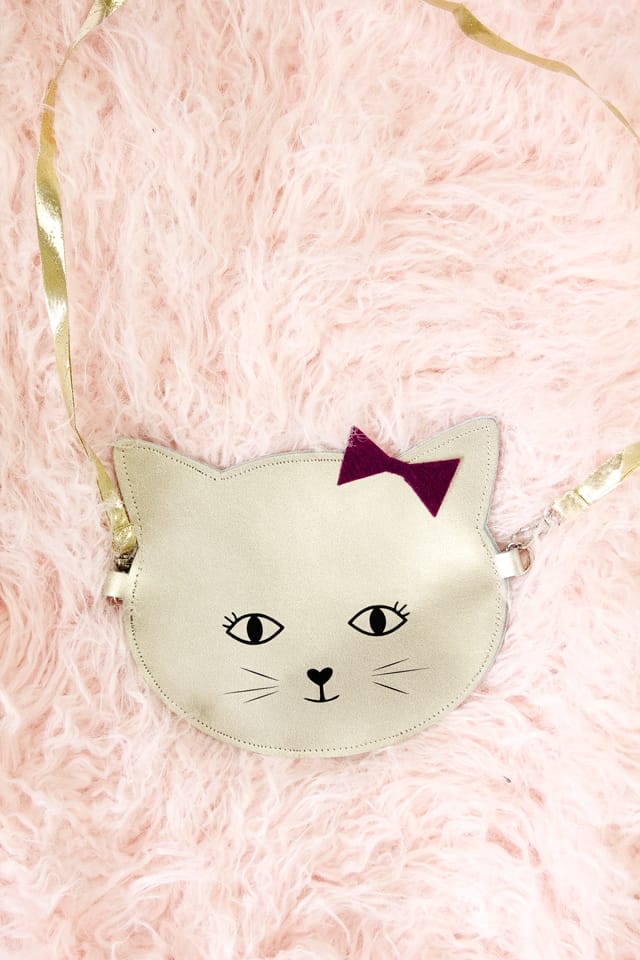
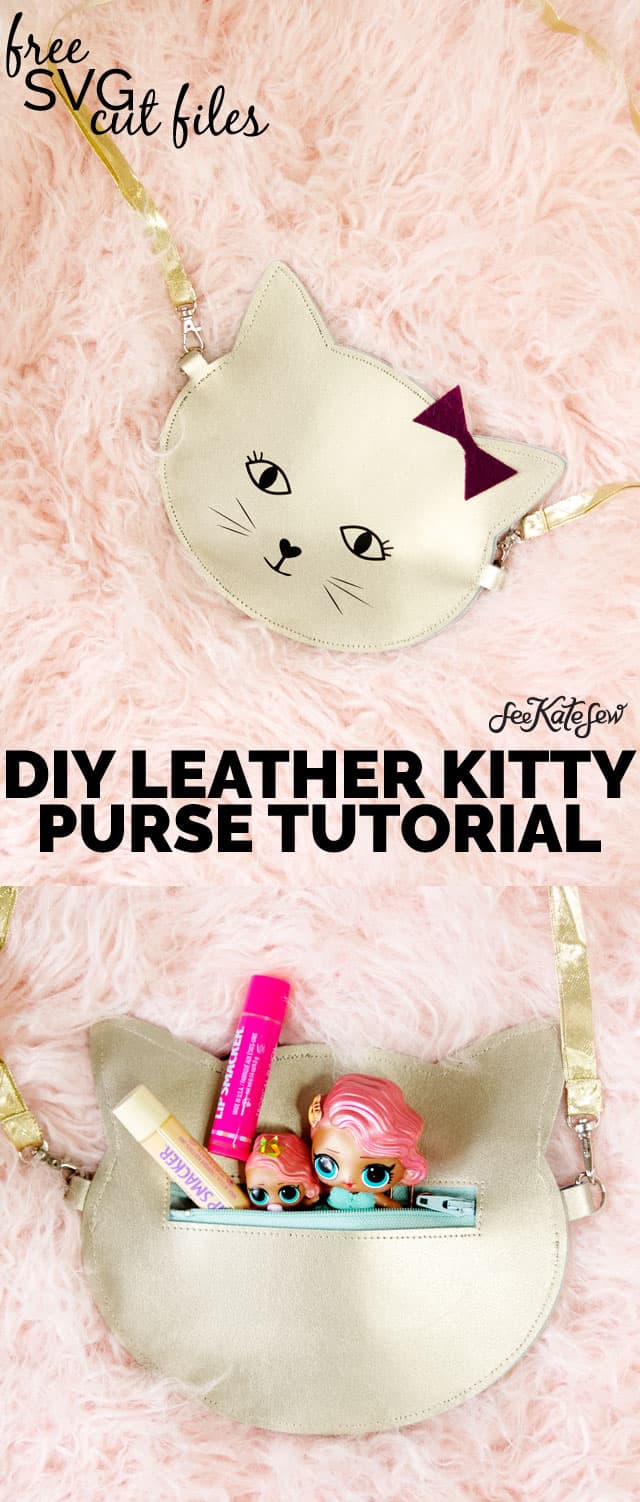
When your daughter requests a kitty purse, the Maker makes it happen! This project looks a bit intense, but don’t worry – it’s not! I love it because there are a few techniques all stacked together, but the project’s elements are all pretty easy! And you can involve your little kitty girl if she wants to help!
The Maker machine from Cricut cuts LEATHER and this is my second project with a material of the type. I used a bonded pleather for the Scallop Clutch Pattern. I used Cricut brand gold metallic leather, which is perfectly consistent in thickness and GORGEOUS!
I used the black Deep Cut Blade for this thicker material and it worked so well! I had to purchase this separate from the Maker, but it does come in some of the Maker bundles. It seriously cuts the leather like butter.
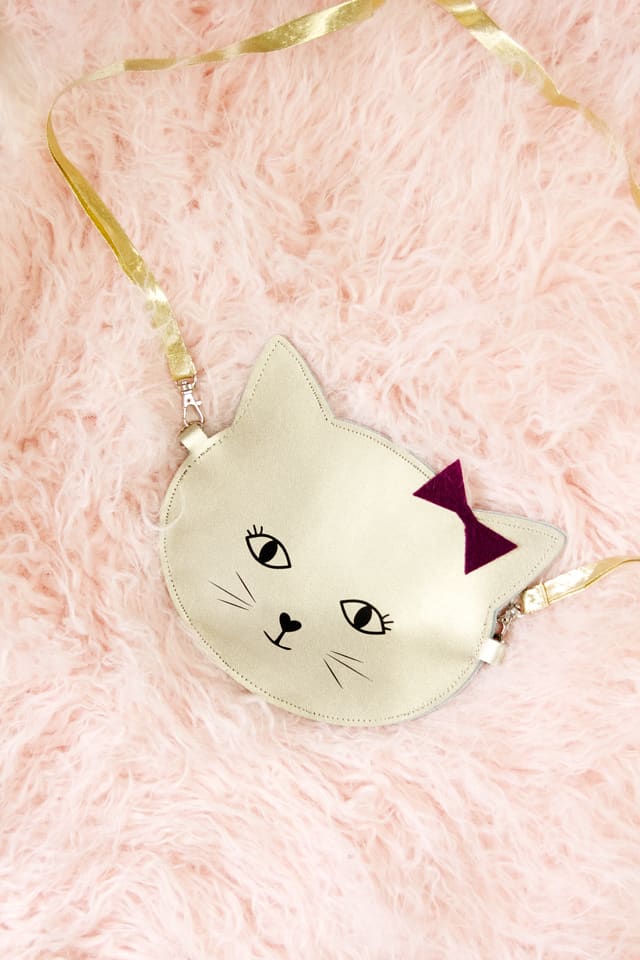
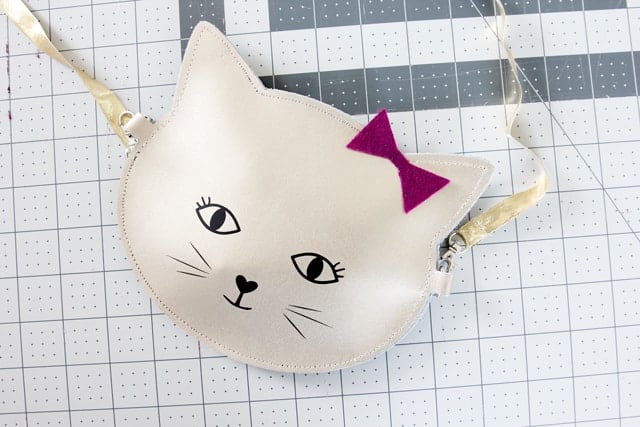
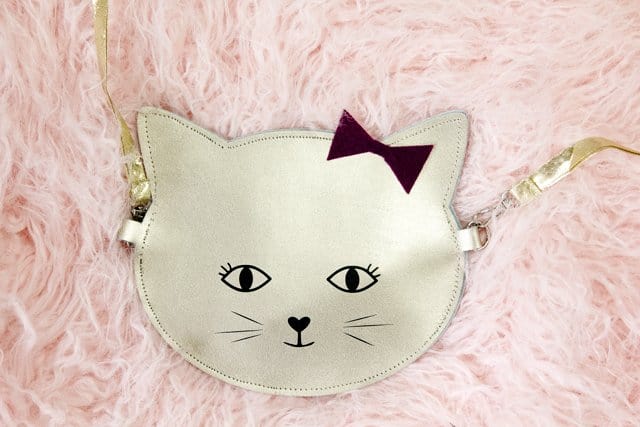
My daughter helped me design the face on this cute little kitty, she requested eyelashes (but only three) and 3 whiskers and a heart shaped nose. Hah! We had fun working on it together, and I love that she was able to be involved in the project. I think its so important for kids to take ownership for their creativity. I also love this purse because it only holds a few little toys. So your kid can’t stuff it full of ALL OF THE THINGS THEY OWN and try to carry them around with them. :)
The purse is unlined, which makes it a bit easier to sew. Since leather won’t fray a lining isn’t necessary and you also don’t have to finish any edges -it keeps the project simple.
Materials//
– Gold Metallic Leather – 2 sheets
–12″ or longer zipper
–Cricut Felt pack (using purple)
–Iron-on Lite Vinyl, black
–Key Rings + D Rings small
–bias tape for strap – 34″
–Scotch Tape
–WonderClips
-Files loaded to Design Space
–Fabric Fusion or similar glue
–leather machine needle
–Cricut Maker with Deep-Point Blade
–Cricut EasyPress (optional but recommended!)
Leather Kitty Purse SVG Files
Cut it out//
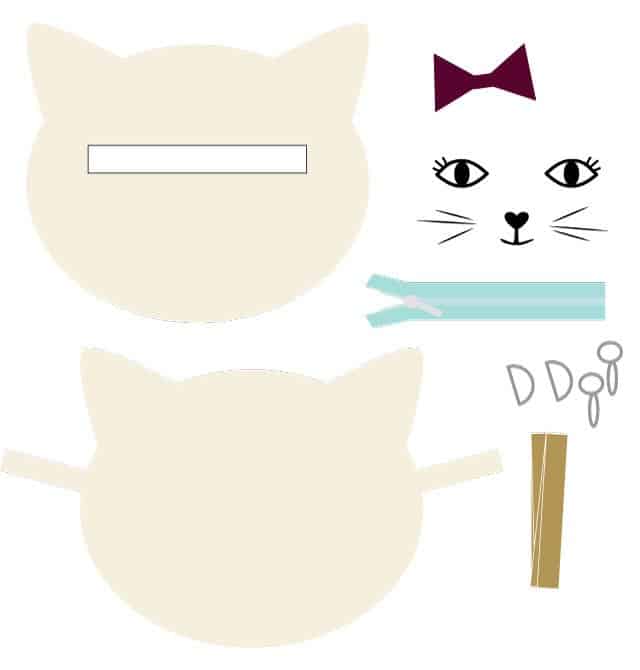
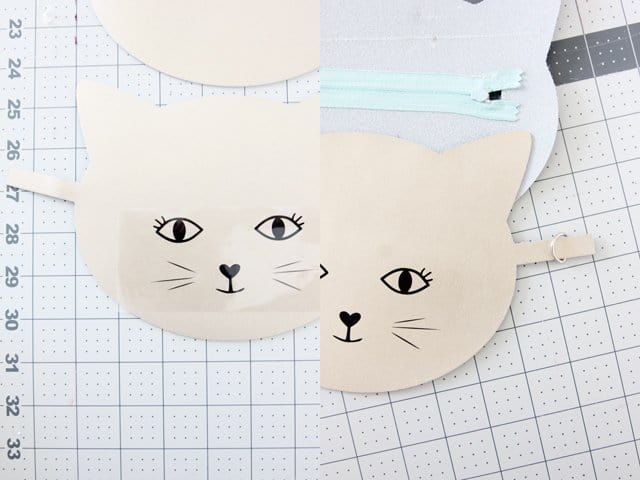
Cut the face design from iron-on vinyl.
Cut the main SVG files in leather. These are two separate files pieces (front and back). The back has a rectangle opening and the front has 2 tabs on the sides.
Cut the BOW.svg in felt. Be sure to WELD the bow before cutting.
Instructions//
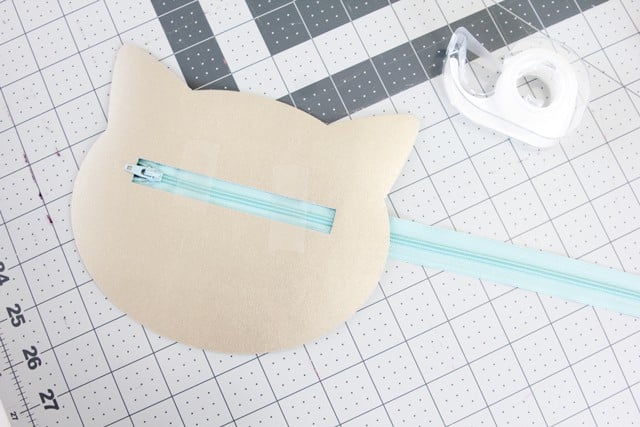
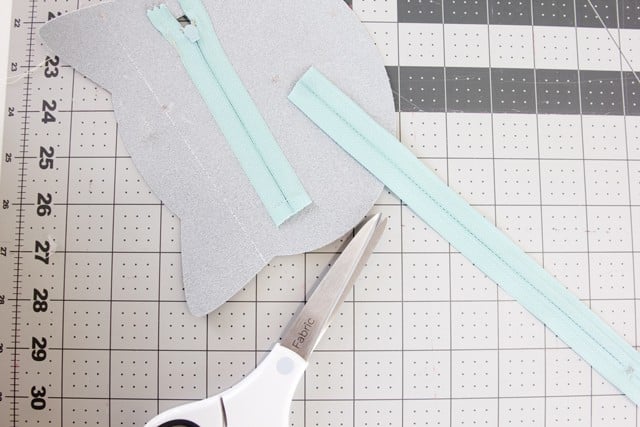
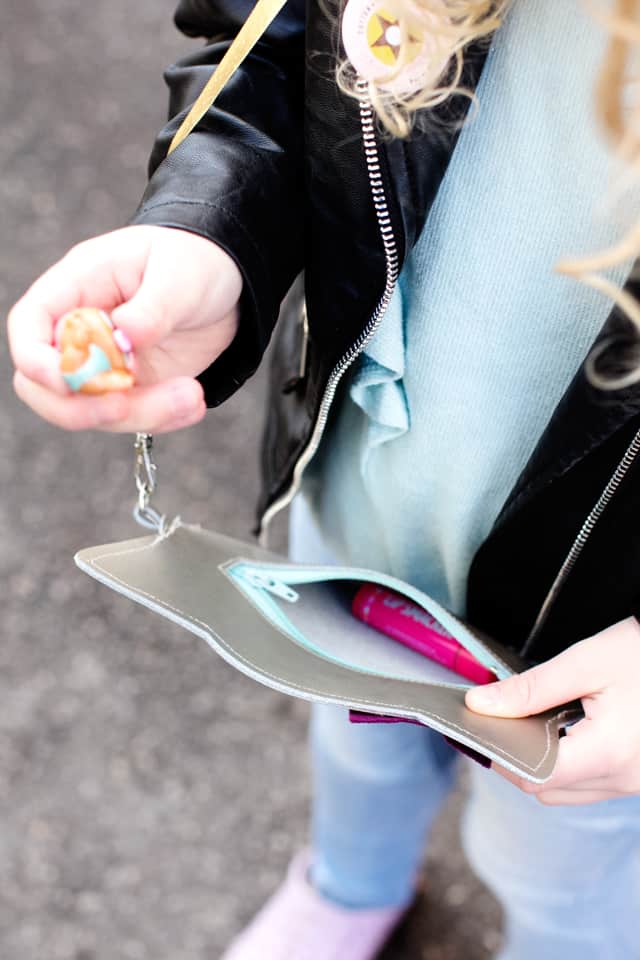
To inset the zipper, align it to the back cat face over the top of the zipper.
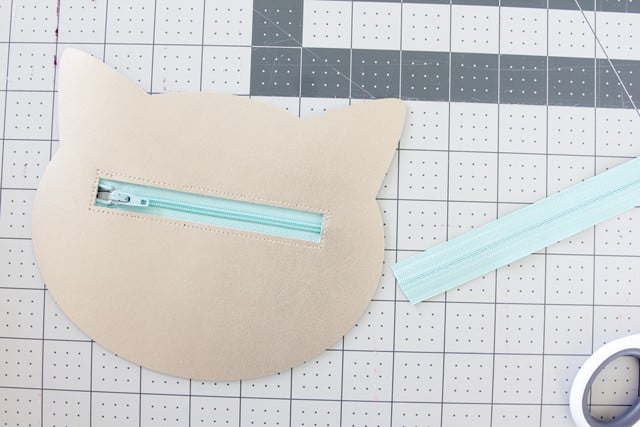
Tape it to the zipper and then sew around the leather along the rectangle. Tape is a fun zipper hack to use with fabrics that you don’t want to puncture with pins. And it totally makes me feel like a sewing rebel ;)
Trim the zipper.
Iron the face to the leather near the bottom of the purse. Use the wool setting for just 15 seconds. Peel off the clear sheet.
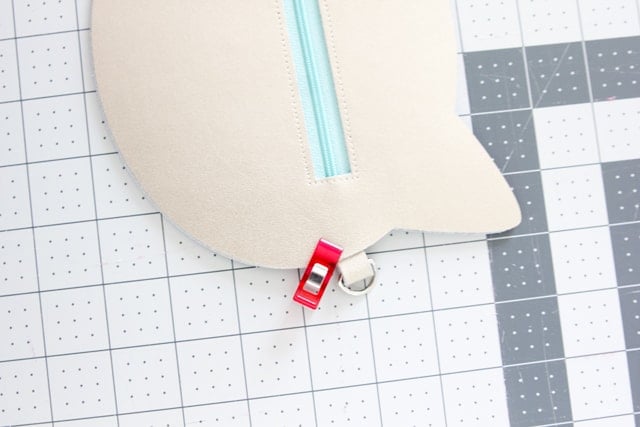
Fold the D ring holders over and tuck the edge under. Now we’ll sandwich the cat face front and back together.
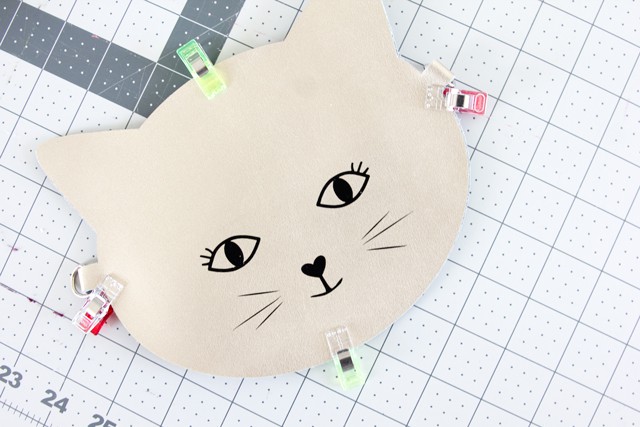
Use WonderClips to hold the pieces together and sew around the cat face about 1/8″ or 1/4″ from the edges. The part where you sew over 4 layers of fabric because of the little side tabs will be the hardest part for your sewing machine. If you have trouble, hand crank the machine at this part. I also like to double this part up, so backstitch over the stitching if you want it to be extra secure!
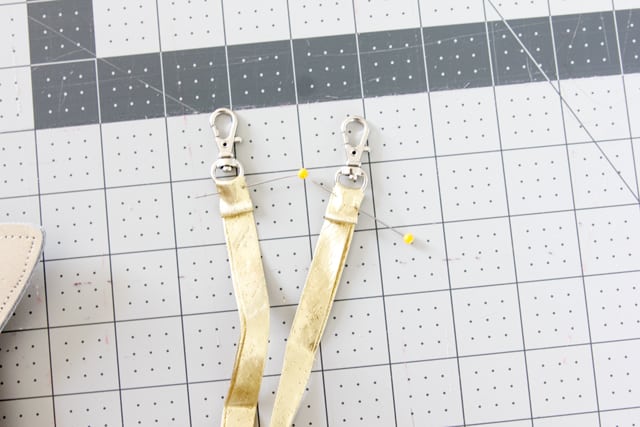
Thread one end of the gold bias tape through the clip and fold twice to hide the raw edge. Sew to secure and repeat on the other side.
Attach the felt bow to the cat face right below one of the ears using fabric glue.
Done!
If you liked this project, check out these Glitter Shake pouches and the Scallop Leather Clutch.
And if you’re in the market for a cutting machine, see my post comparing the Explore Air 2 and the Maker, here!

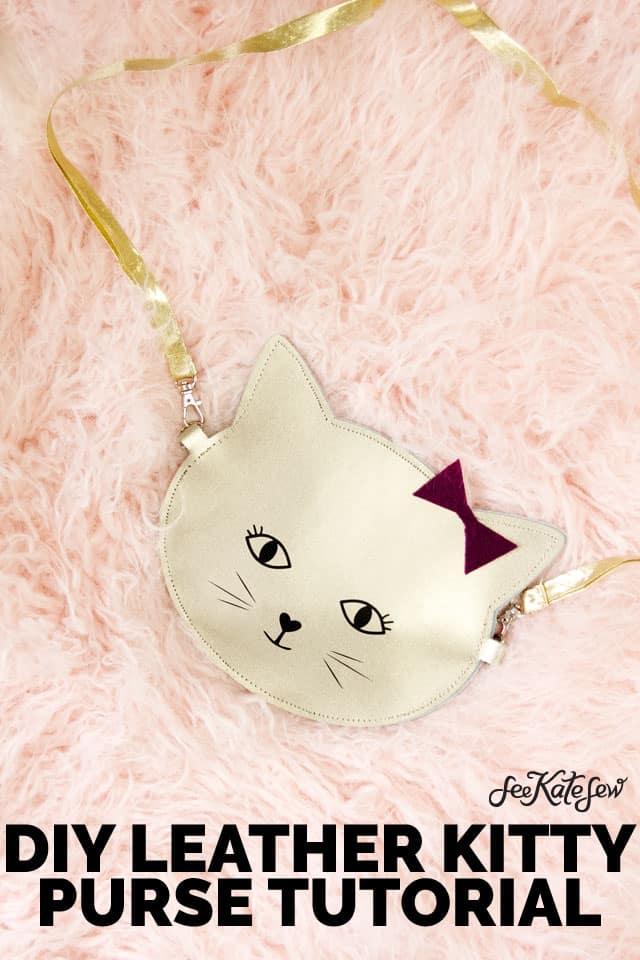
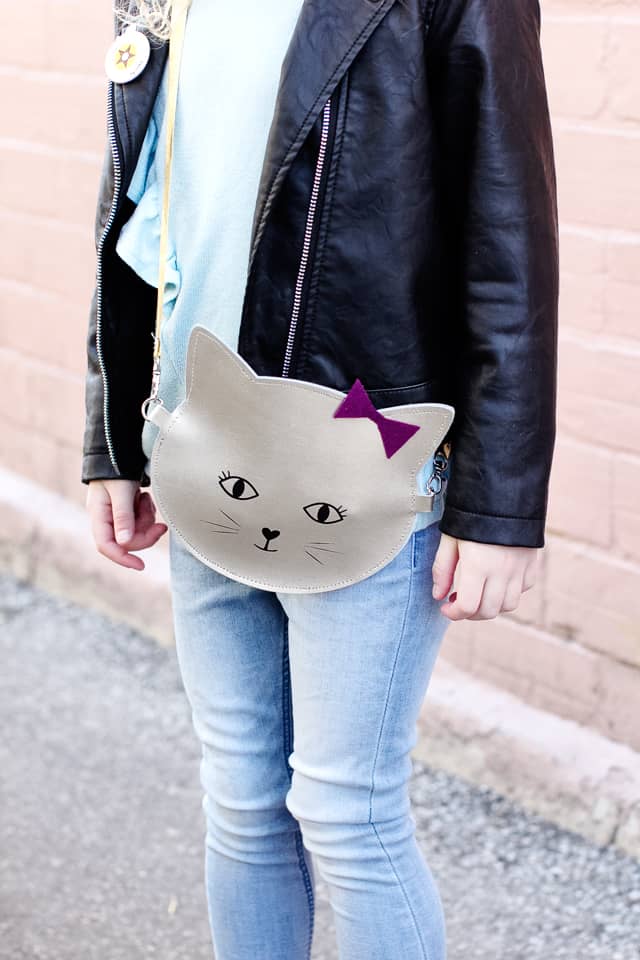




STOP IT Kate! This is quite possibly my favorite thing you’ve ever made!! Can you send me some of your amazing creative juices, please?? ????????????????
Do you have the pattern in a PDF? I do not have a CriCut and cannot afford one :'(