Never lose your page with this corner bookmark sewing pattern! These fabric bookmarks are super easy to sew and a great sewing project for beginners!
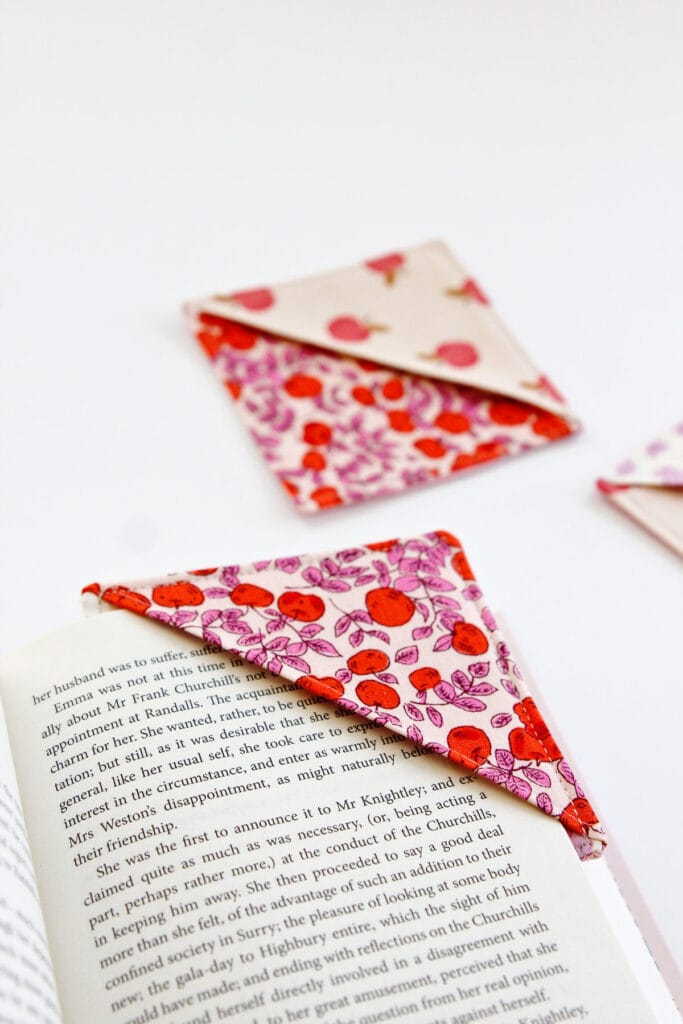
Not only are they easy, this bookmark pattern requires simple materials and is so fast to make! I love small sewing projects that are a good use of fabric scraps!
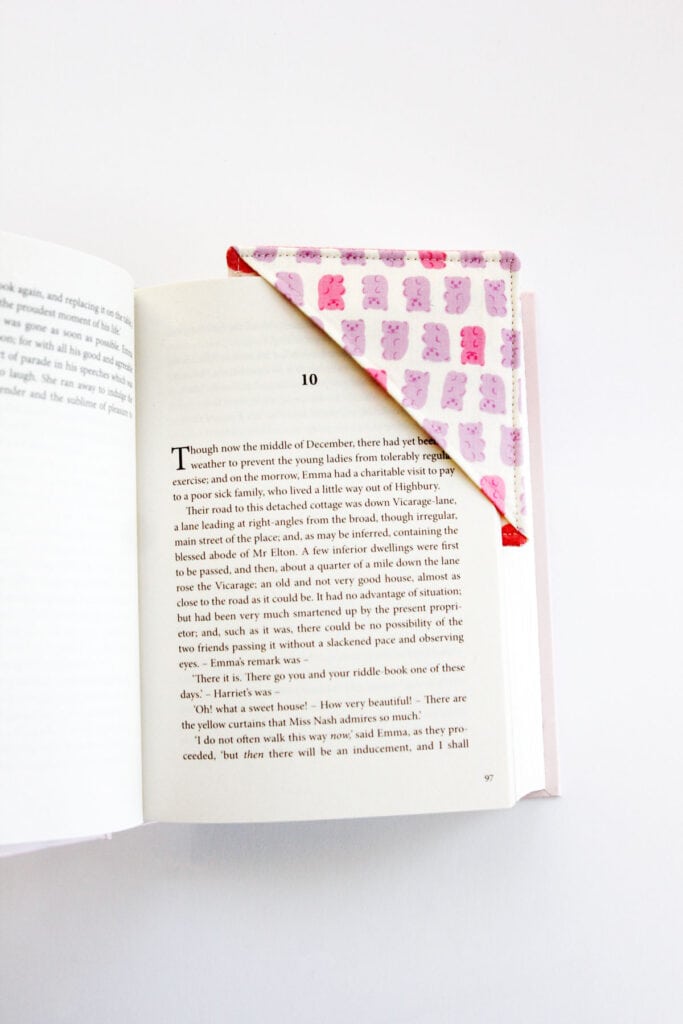
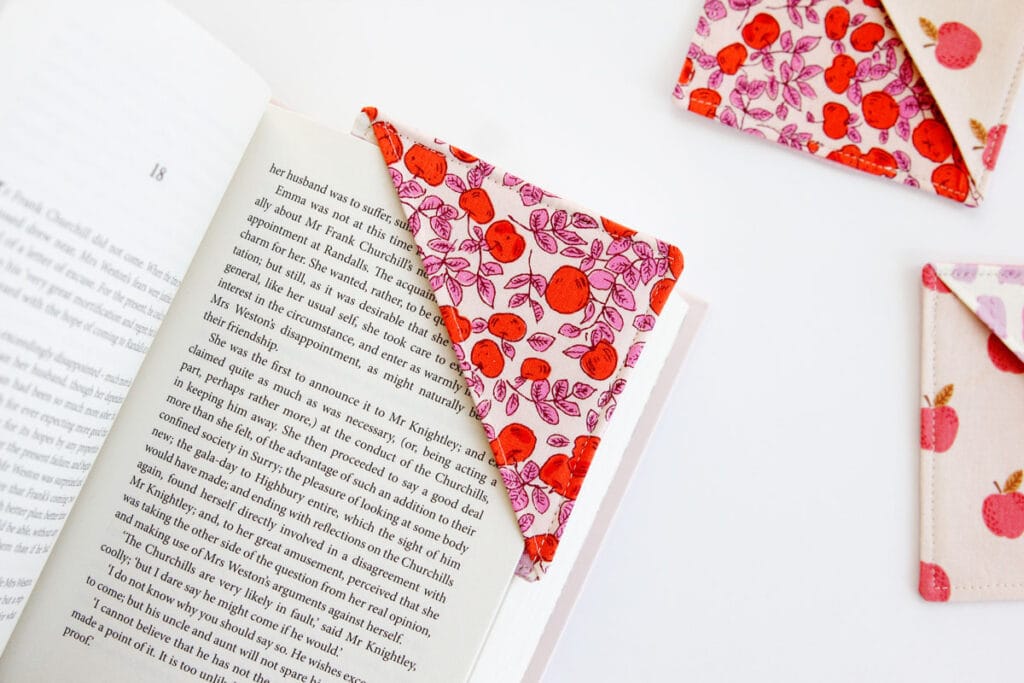
The triangle of fabric slips right over a few pages to hold your spot! These are perfect for bookworms and a nice gift for your book club or any reader!
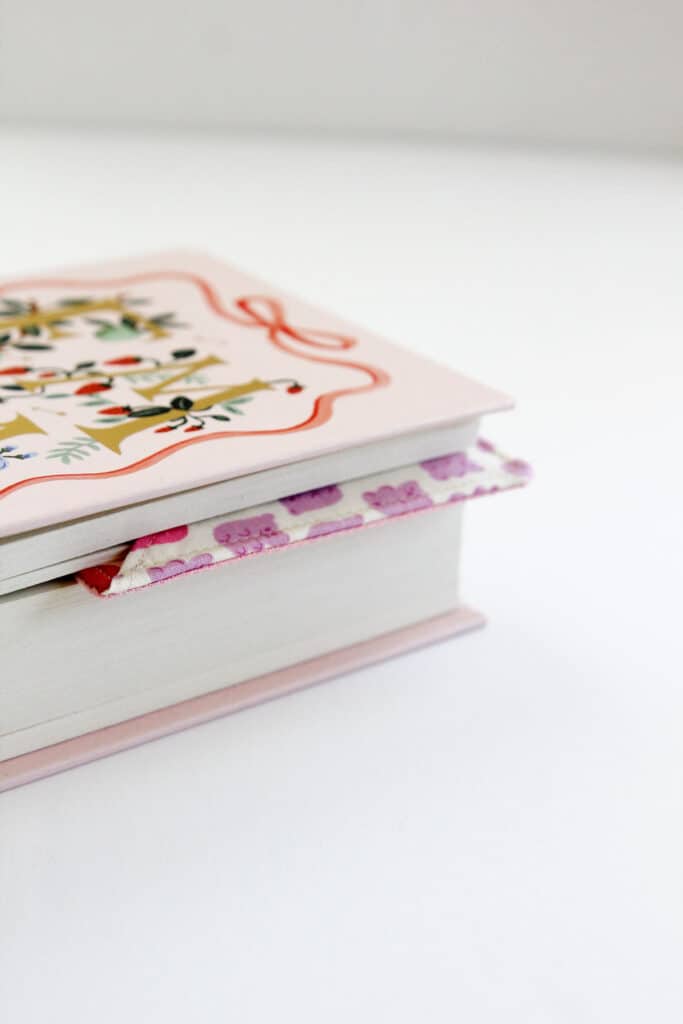
I love how soft and easy these are to use! They slide right onto your book’s pages to hold your place! You can whip up a whole stack of these corner bookmarks in no time!
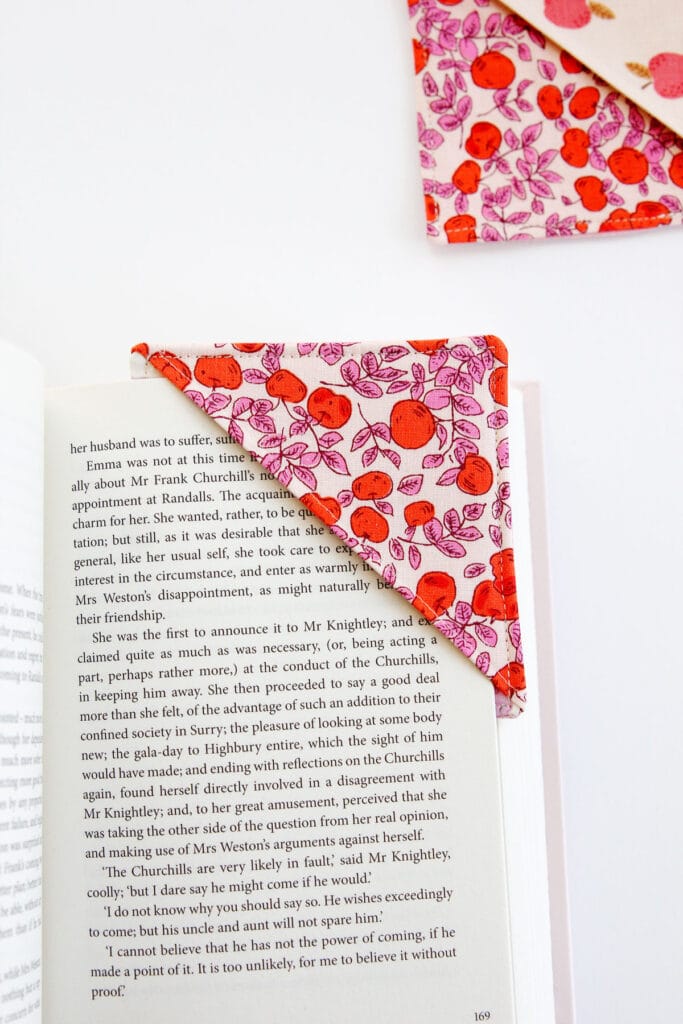
Need an easy bookworm gift? Wrap up a fabric bookmark with a book or a gift card to a book store! Gather your supplies and let’s sew!

Corner Bookmark Materials
- 100% cotton fabric scraps, up to 3 different prints
- Heat N Bond Fusible Interfacing, Craft Extra Firm (affiliate links)
- Rotary cutter and cutting mat or scissors
- Acrylic ruler
Optional (Helpful) Supplies
Corner Bookmark Sewing Pattern Download
Print off the pdf sewing pattern below or use the measurements listed in the instructions. To get access to the pattern pieces, click the button and enter your email address to be taken to the download page. Print at 100% or DO NOT SCALE to make sure you get the sizing right! These templates will print on 1 page.

How to sew a fabric corner bookmark
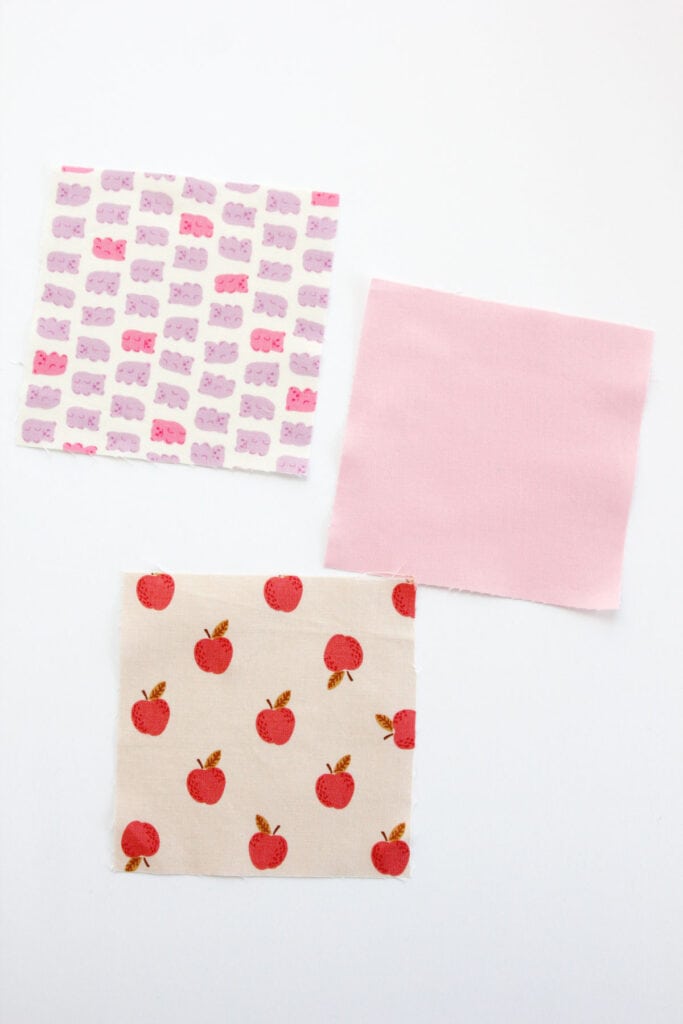
Cut 3 pieces of fabric into squares 4.5″ by 4.5″. You can choose up to 3 different prints for this project! One will be the triangle piece, one will be the main piece (the one right under the triangle) and the last will be the backing!
You’ll also need two 4.5″ squares from interfacing. Cut one of them in half diagonally to create a triangle. Fuse one to the back of one of the squares (the wrong sides) – this will be the main piece that will go on the front of the bookmark. Fuse the triangle to the back of the fabric that will make up the triangle on the bookmark. *Be sure to place the adhesive side of the interfacing DOWN on the back of your fabric. This is the side that feels a little bumpy or sticky.
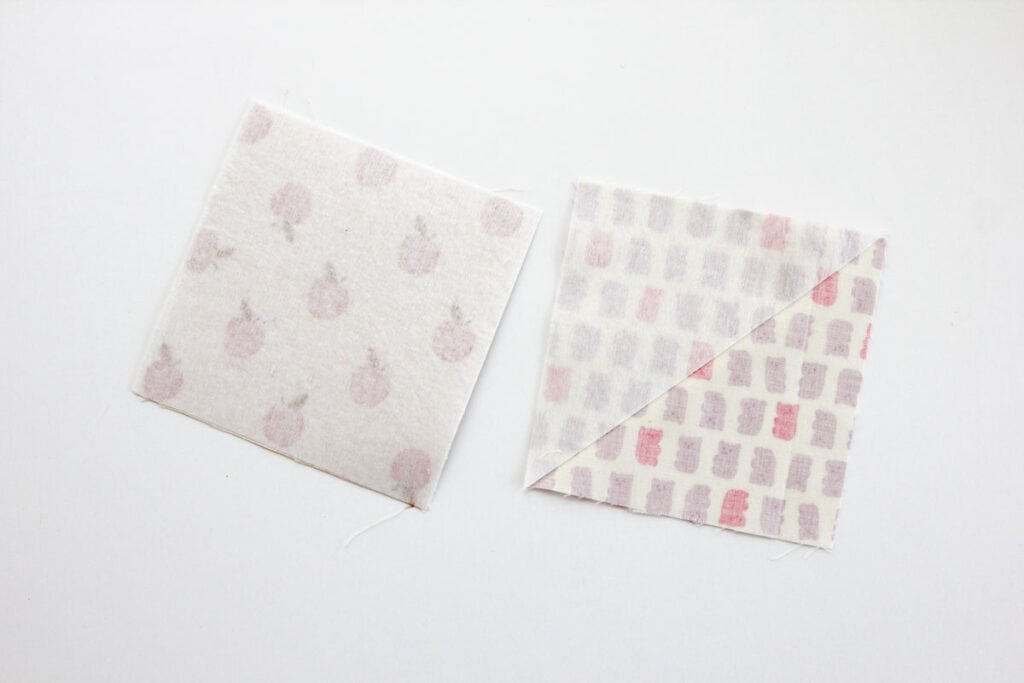
Fold the unfaced fabric of the triangle square over to cover the interfacing. Press well and then topstitch 1/8″ along the folded edge for a nice finish.
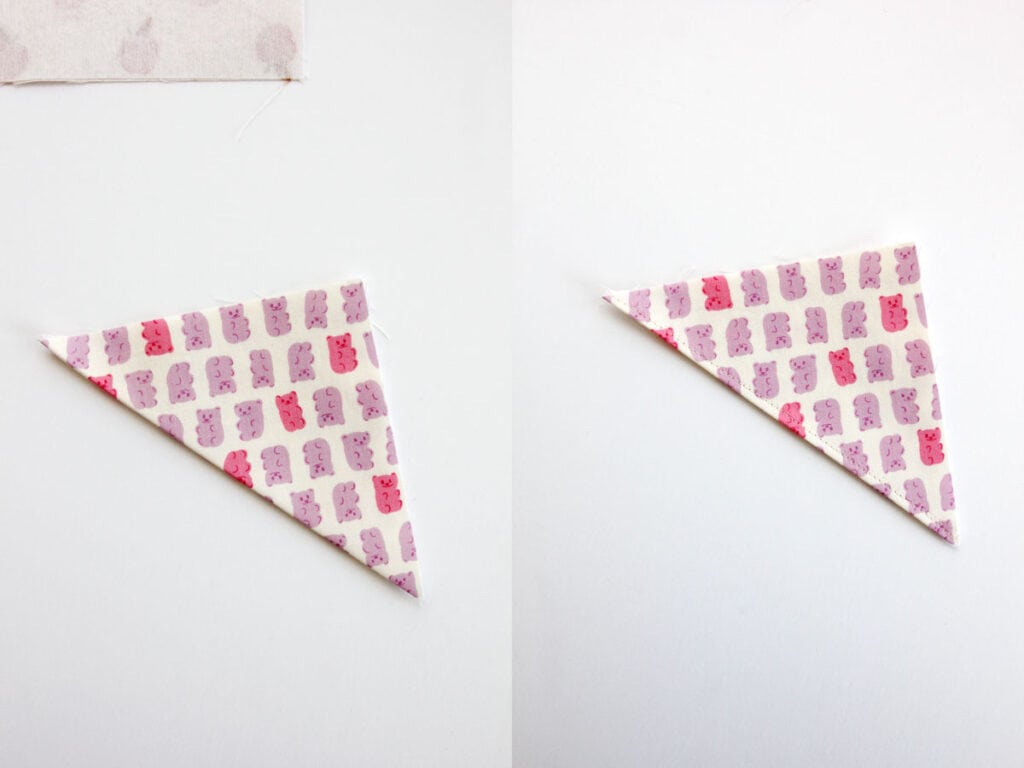
Place the triangle piece on your main fabric piece, lined up at one of the corners.
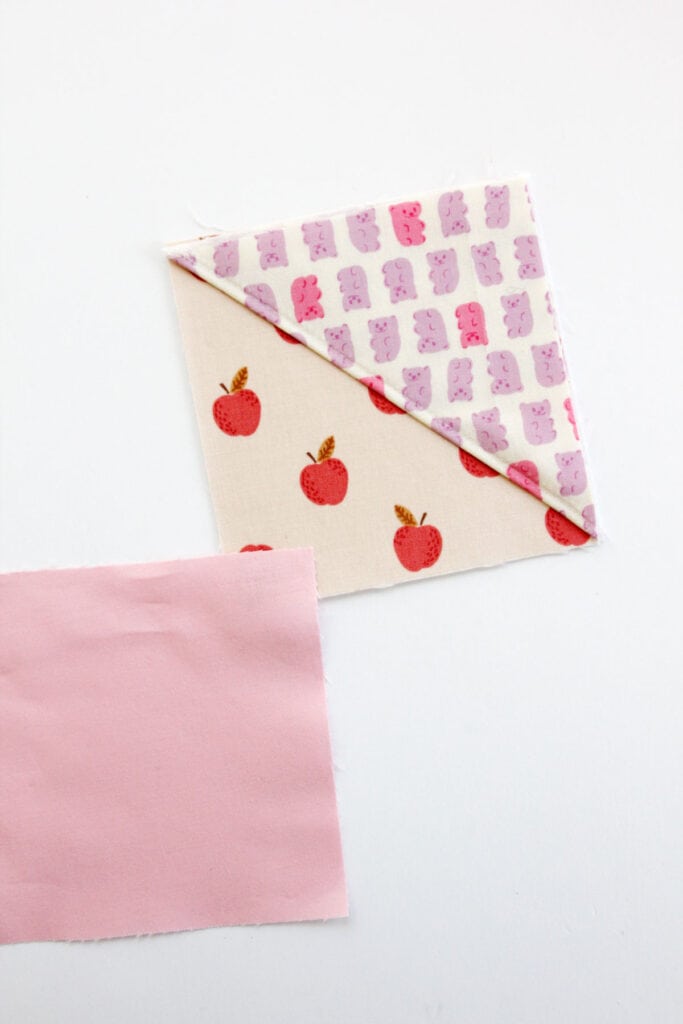
Finishing the corner bookmark
Pin the backing fabric on top of the other two with right sides down as shown. Pin and sew around the square 1/4″ from the edges. Leave an opening just over 1″ on one of the sides for turning. Make sure the side you leave the opening on doesn’t have the triangle piece in the seam.
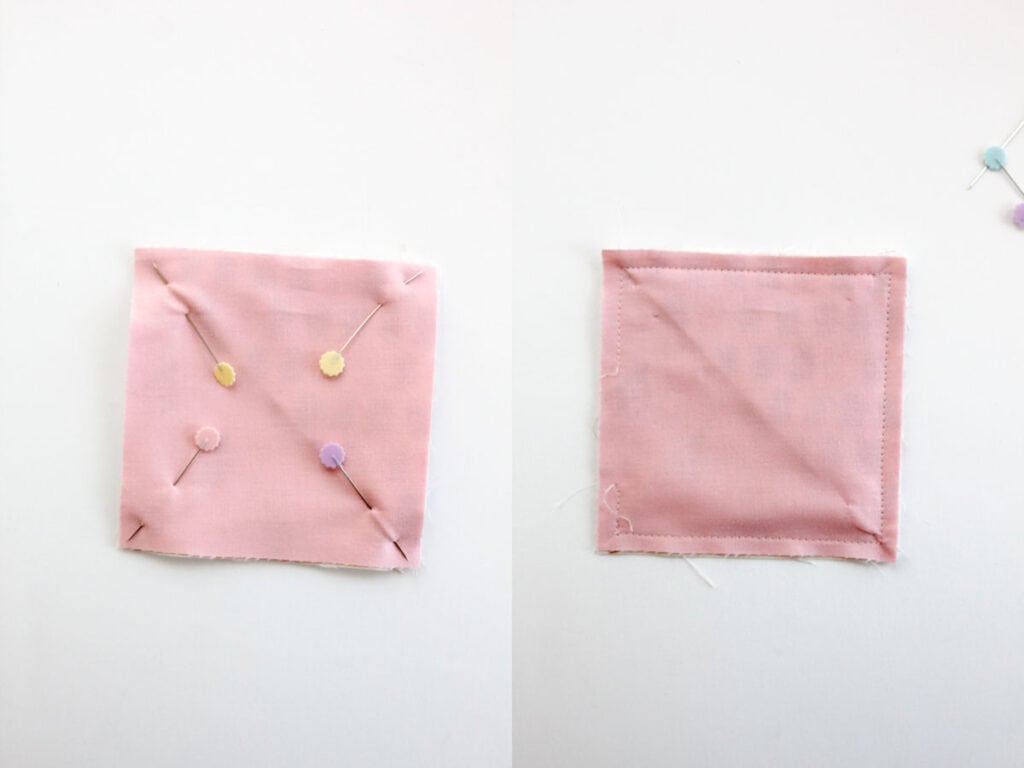
Clip the corners and trim the seam allowance, then turn right side out. Press out all the corners using a point turner or chopstick.
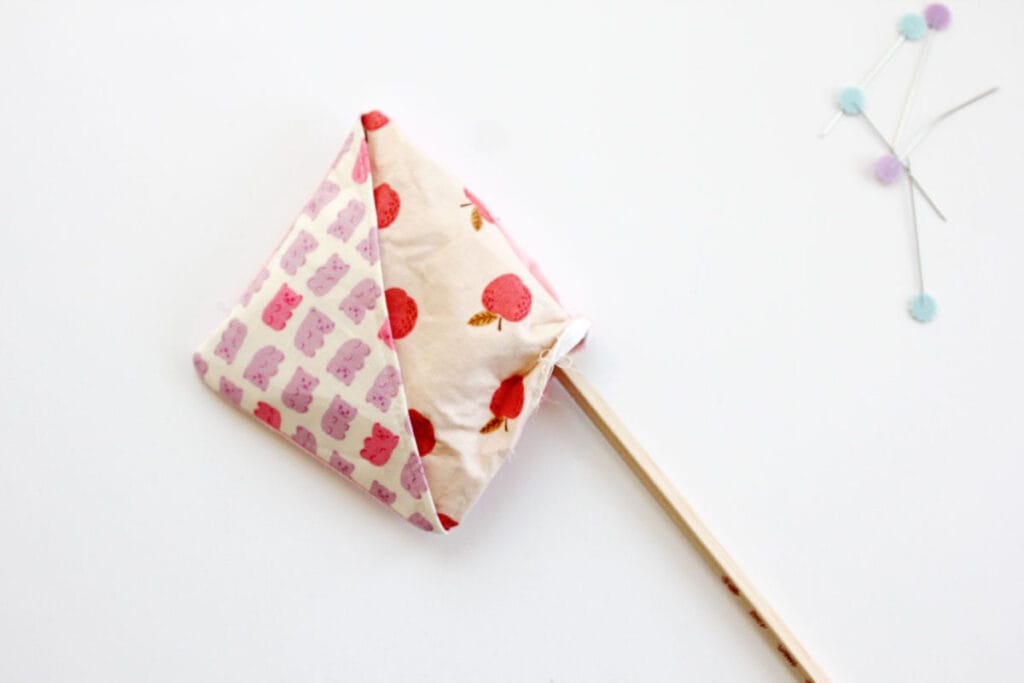
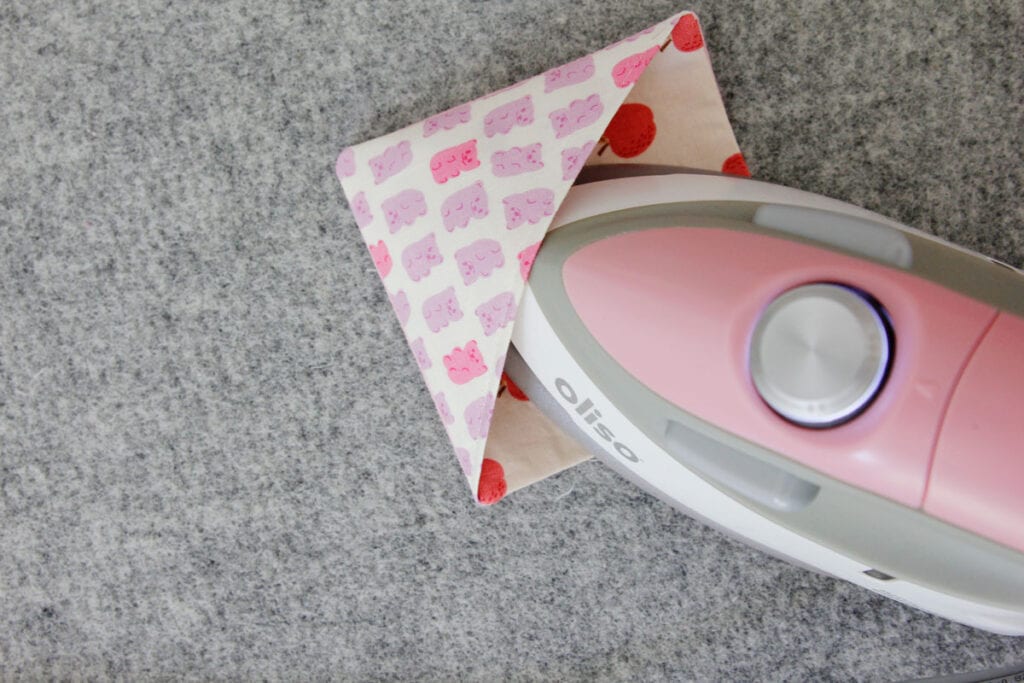
Press well, focusing on the opening and the corners. Make sure to align the fabric at the opening so the edges are nice and straight.
Topstitch around the whole square about 1/8″ from the edges to finish your corner bookmark!
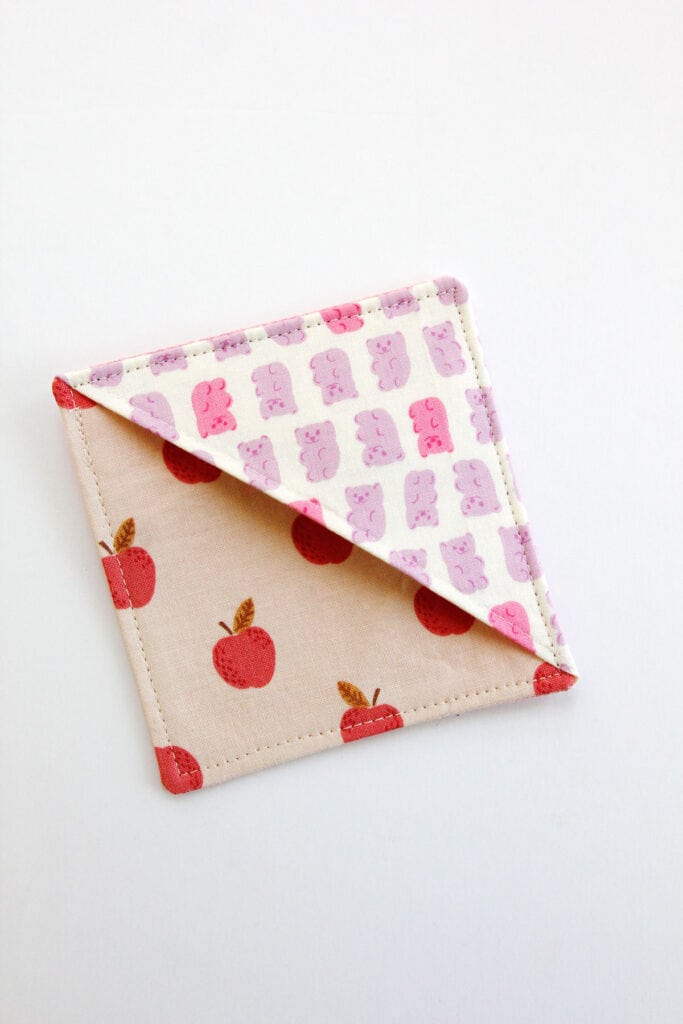

I hope you enjoyed this easy bookmark tutorial! For more great projects, click below!
More easy sewing projects and tutorials


