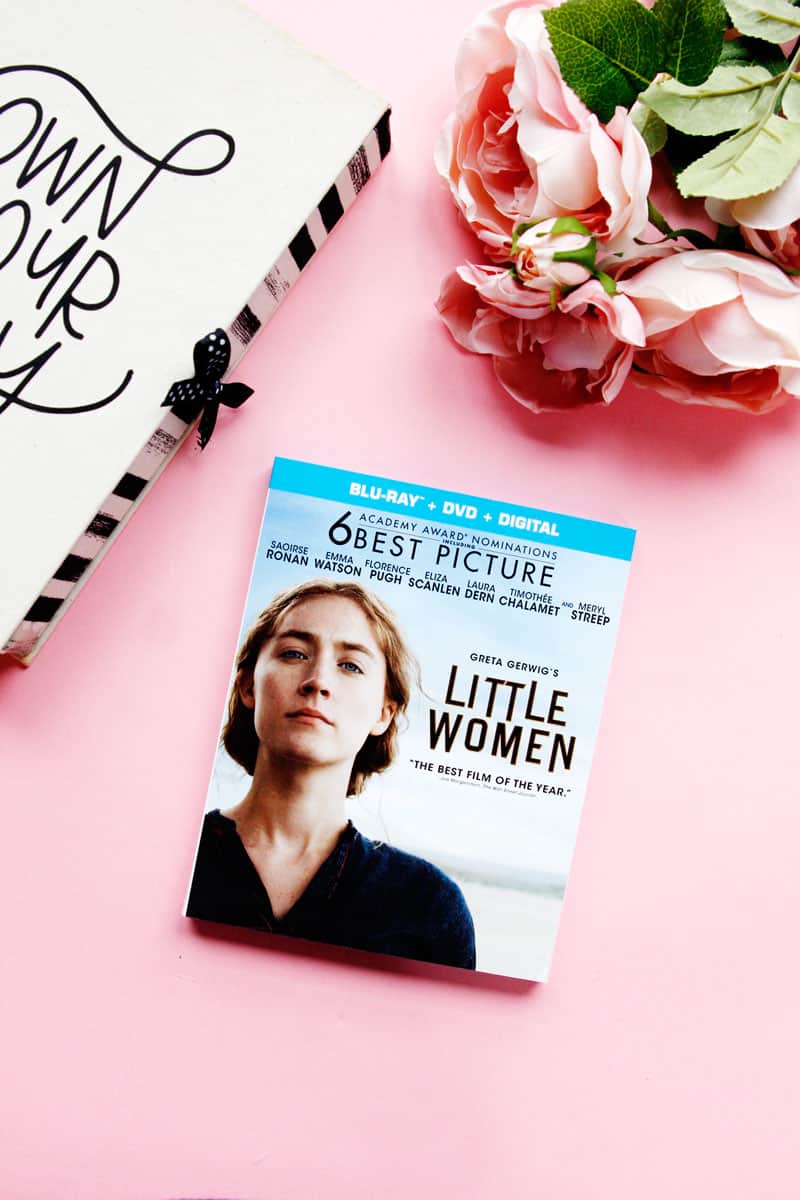
This post is sponsored by Little Women, now available on Blu-ray™ and Digital.
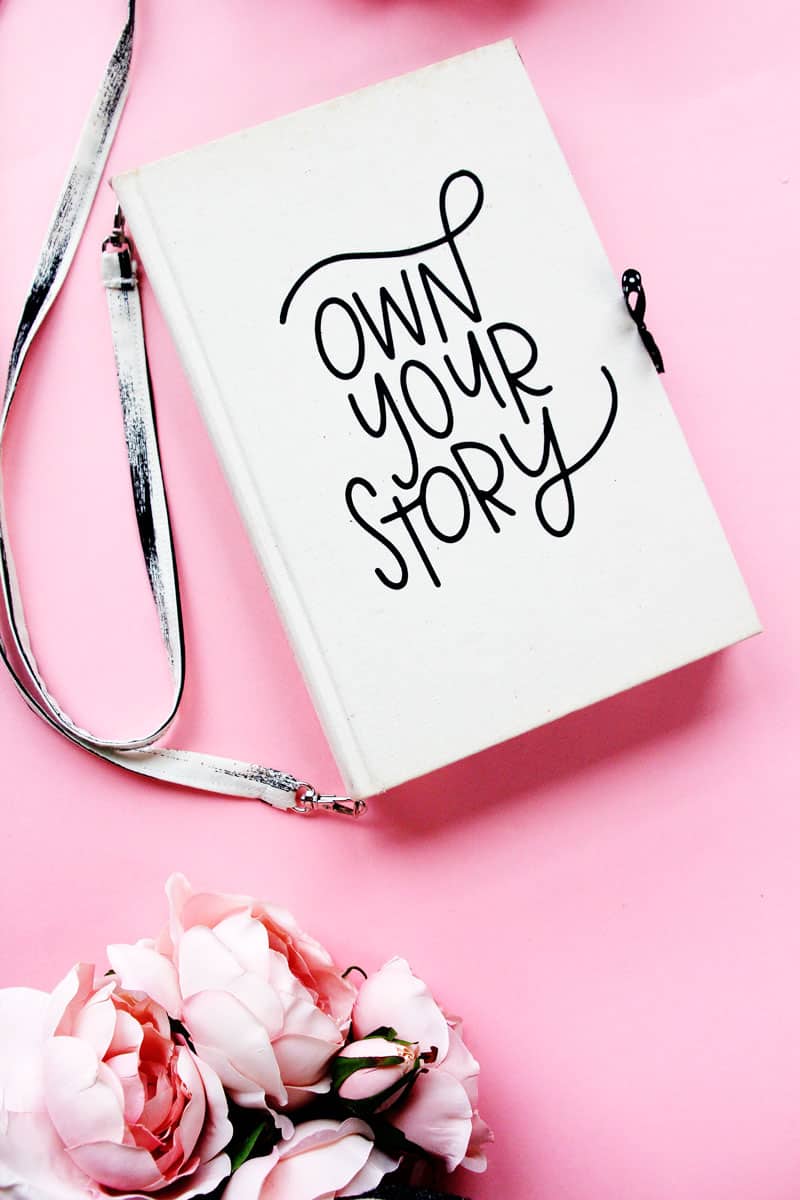
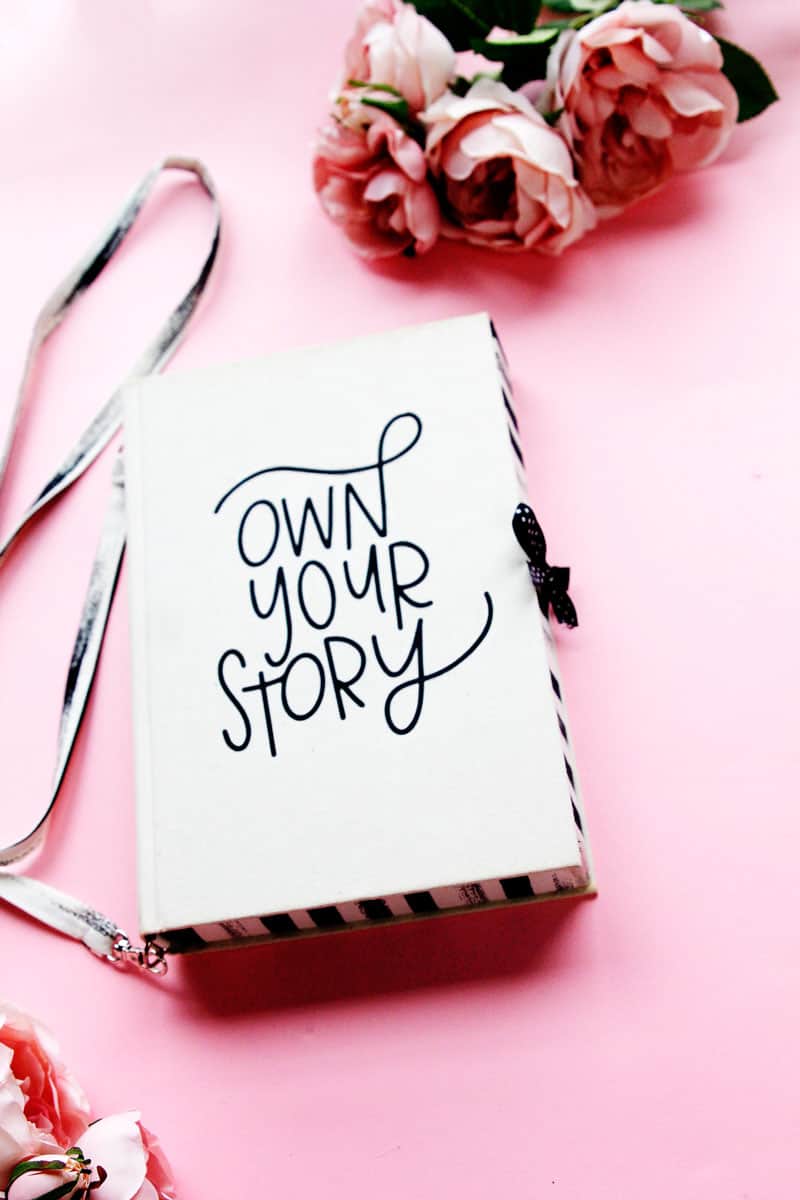
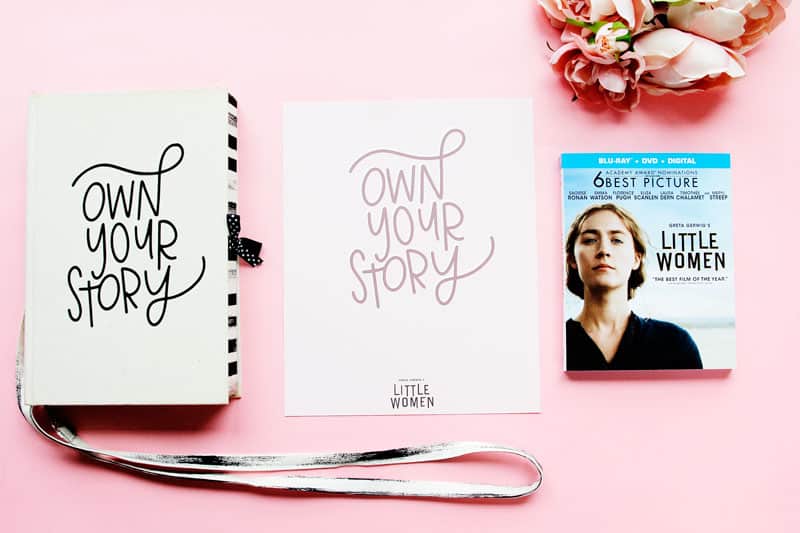
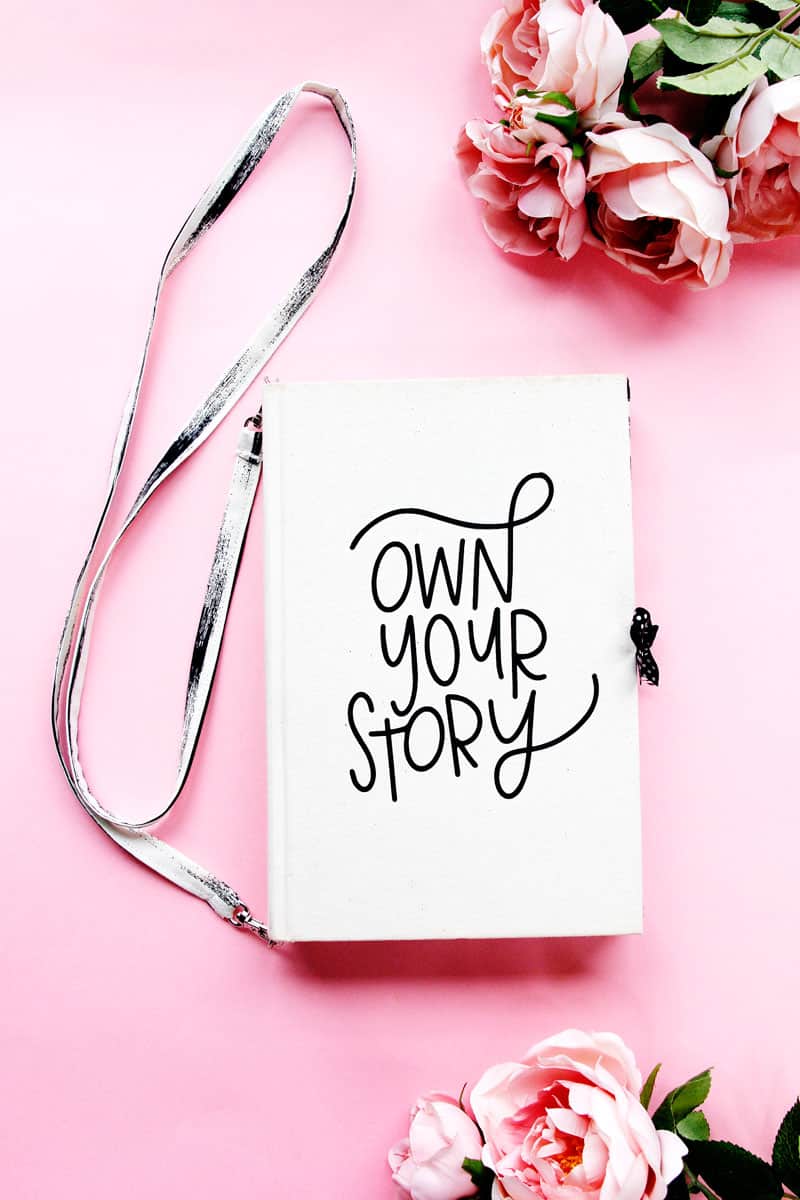
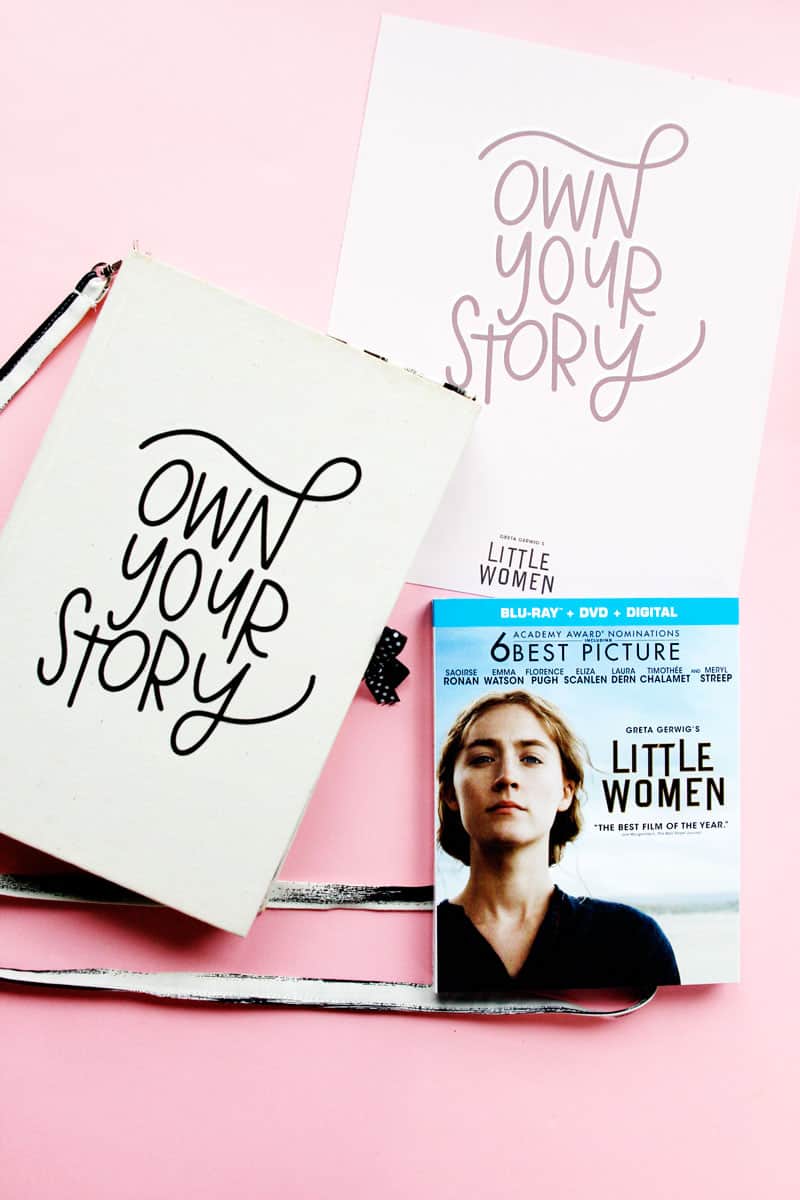
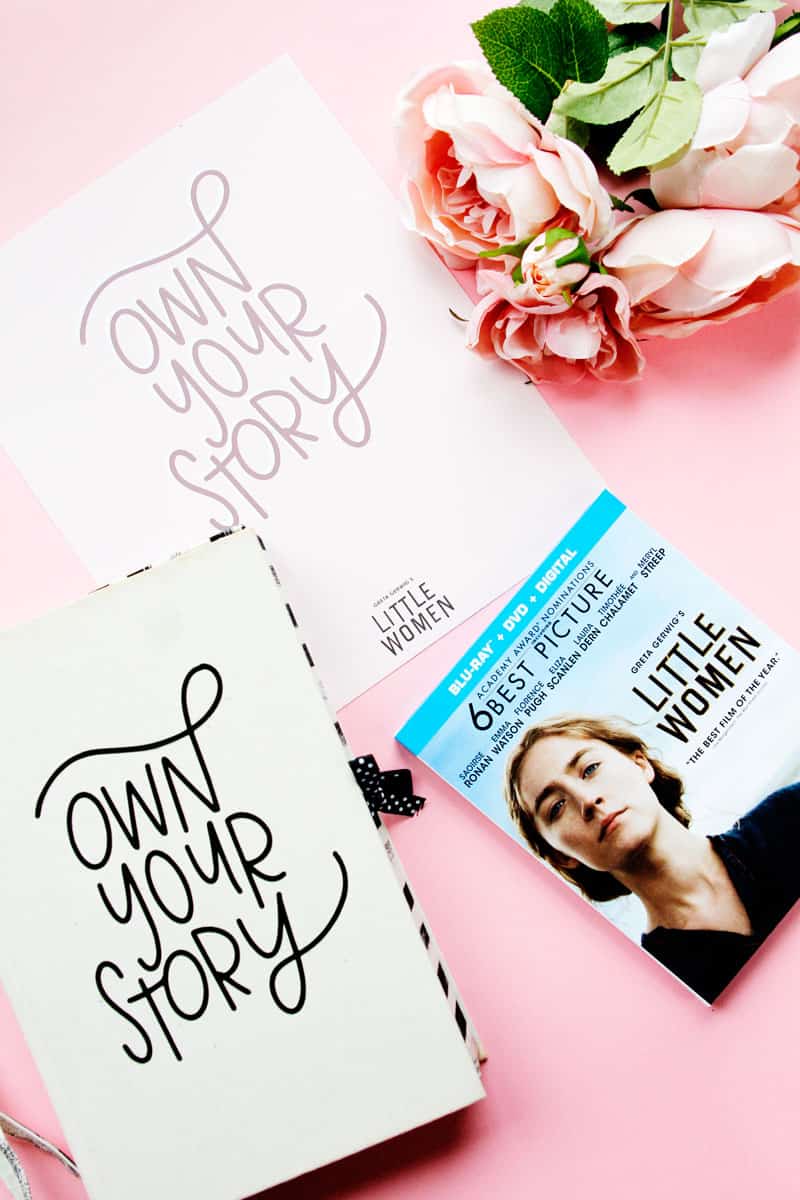
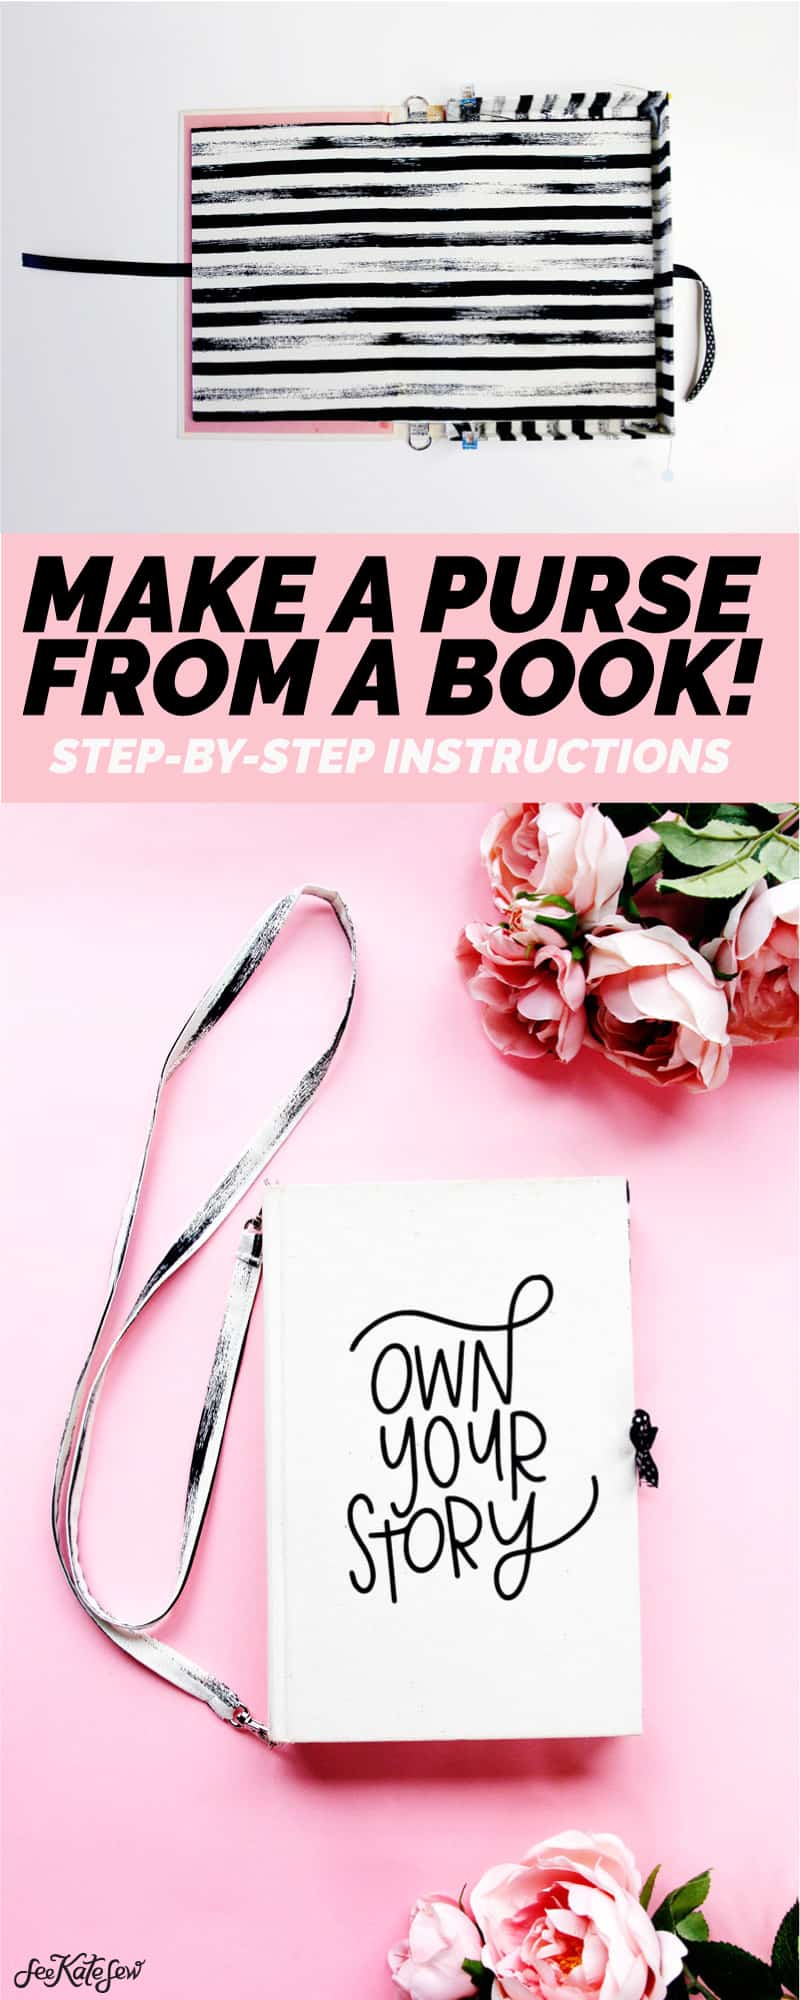
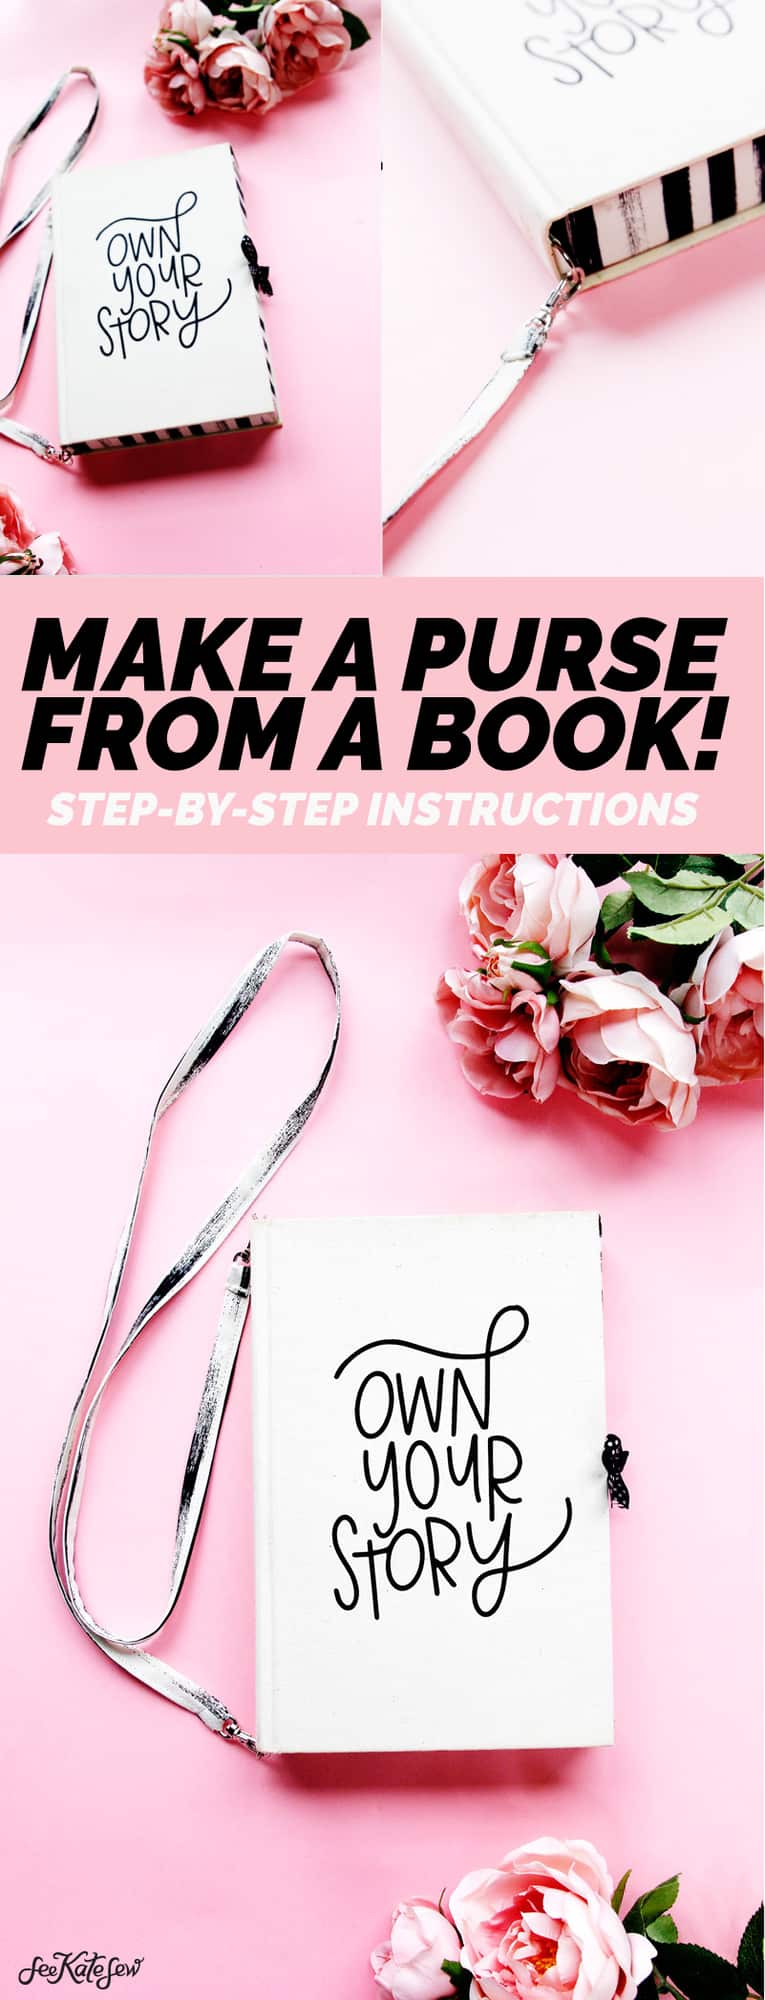
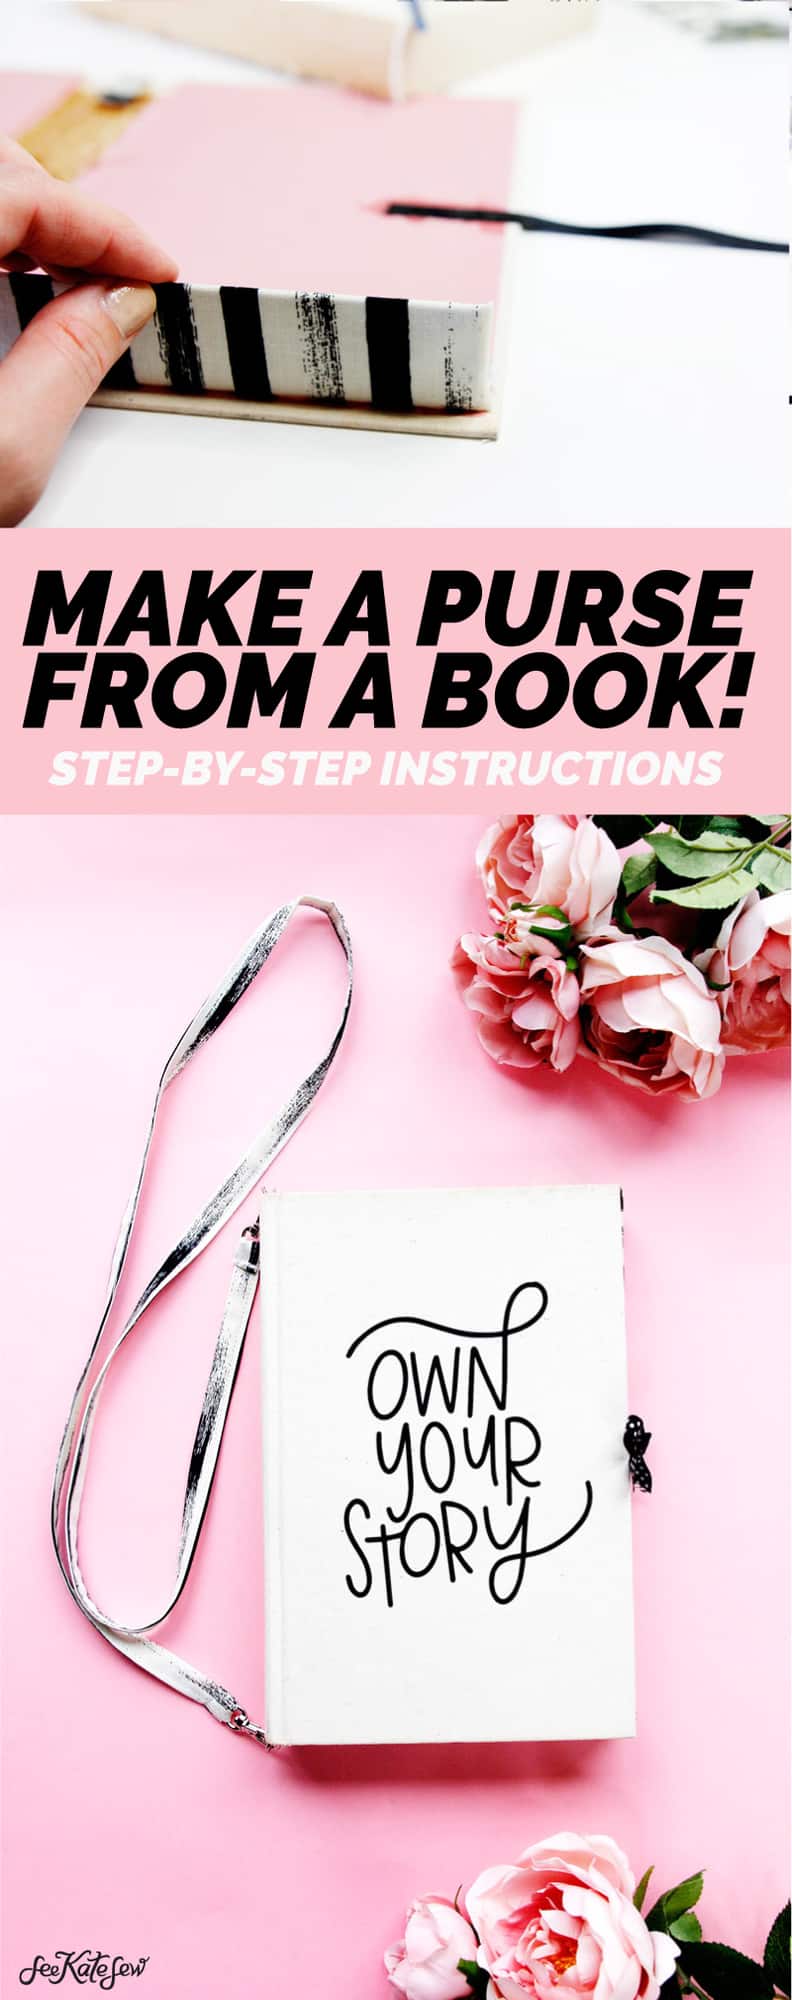
LITTLE WOMEN is available now on Blu-ray™ and Digital and I’m excited to celebrate the home release of Greta Gerwig’s take on the classic with a literary project! This zipper book purse is so cute and will promote a love of literacy to anyone who sees it!
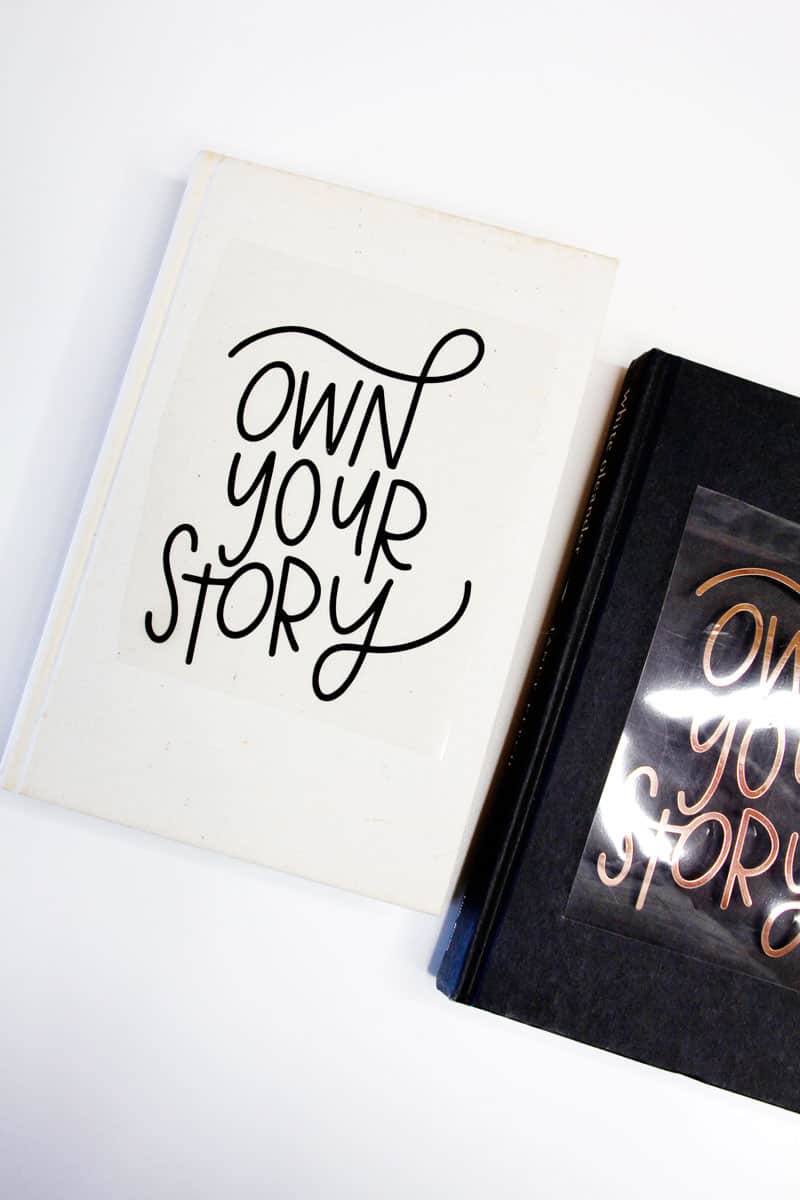
I used a custom “Own Your Story” design for the cover so it would be empowering and inspiring just like the movie! I always love watching movies for the costumes – and Little Women did not disappoint – but I also loved the messages of choosing your own path, empowering women and taking advantage of opportunities. I wanted this project to encapsulate those themes in a wearable, functional piece of art!
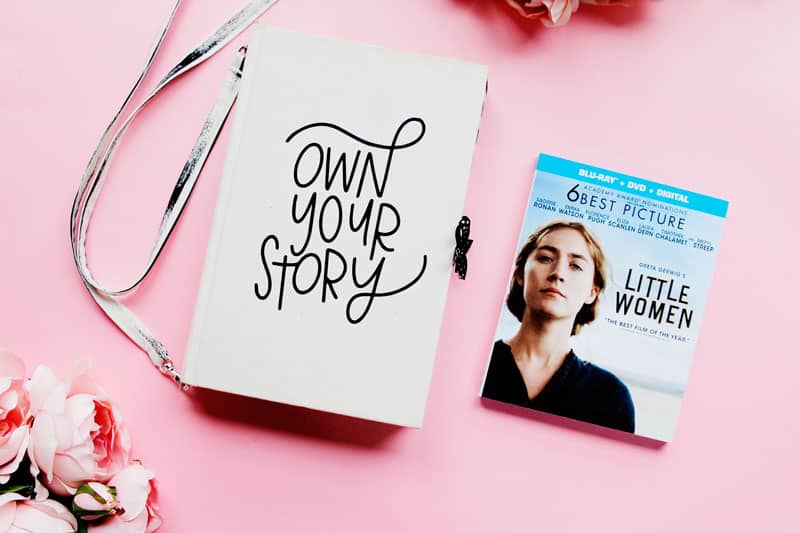
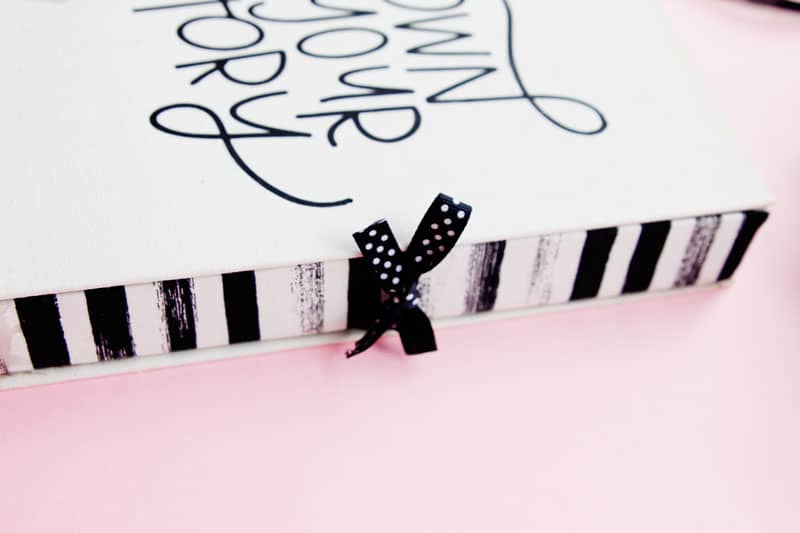
Little Women is such a classic and it was so cool to think about each of the March sisters as I was making this project! Who do you think would wear it best? It’s hard to not love Jo March in this movie, she is so bold with her opinions and choices! I like to think this purse would fit her personality and I hope wearing it gives me her confidence!
I’ve made a few book clutches over the years but this one is my favorite! It’s big enough to hold all the essentials for a date night or girls night and it is sure to be a conversation starter!
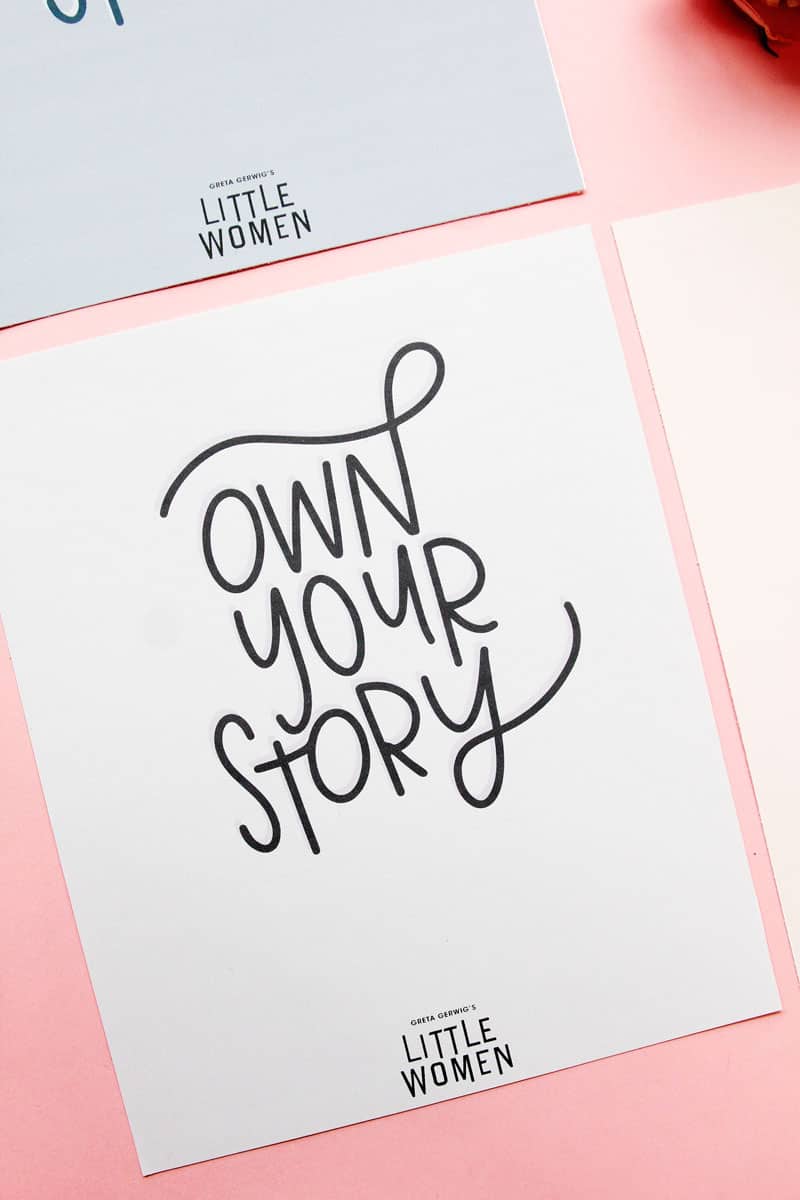
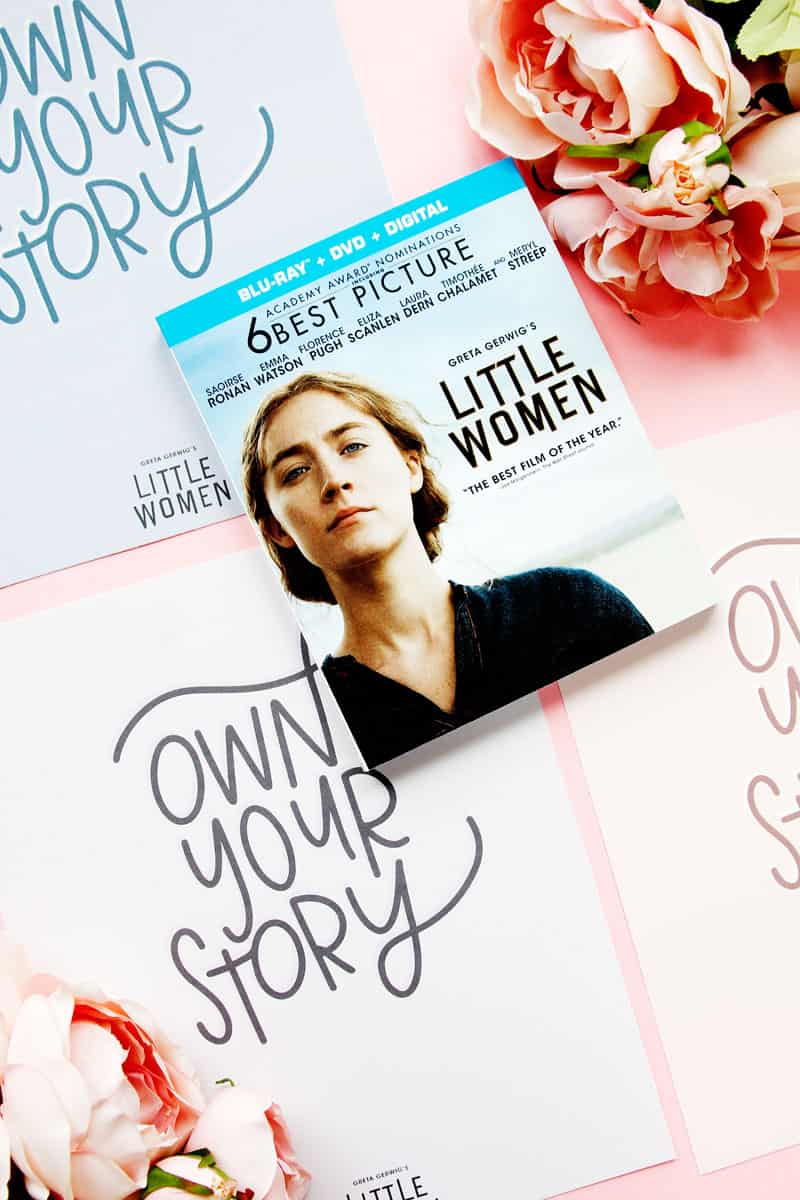
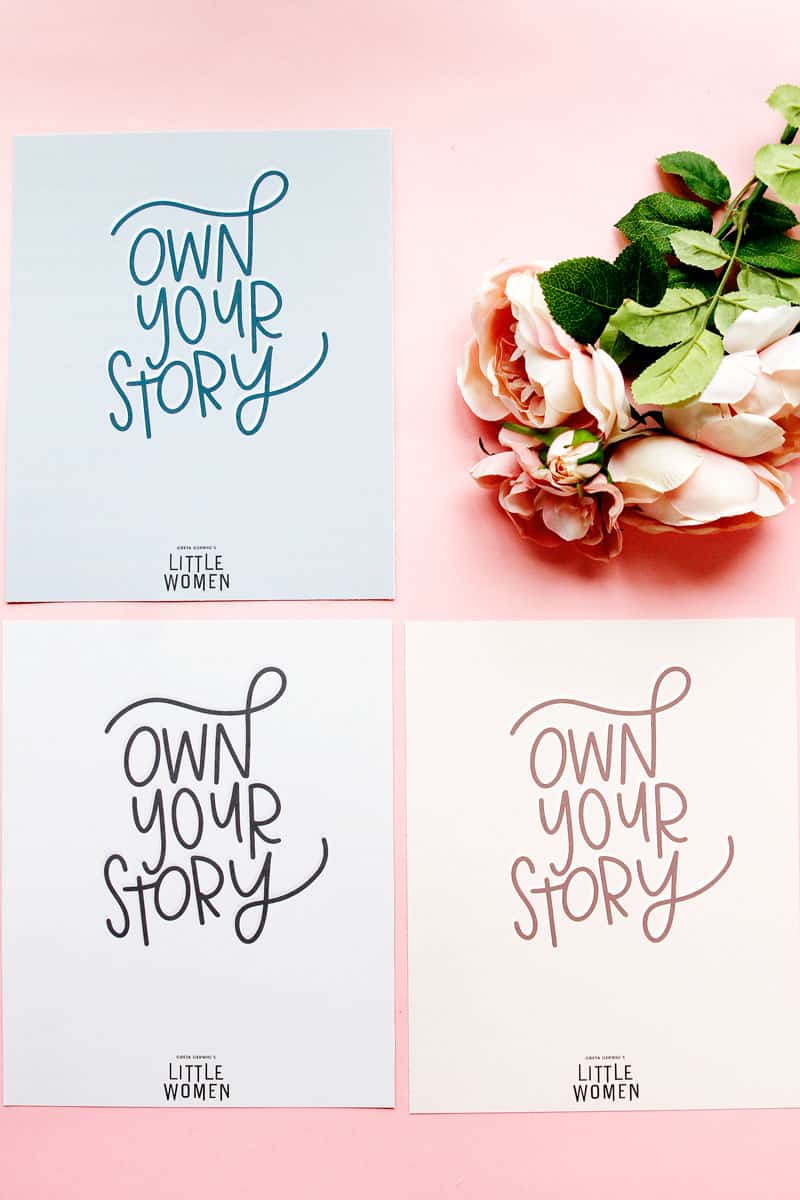
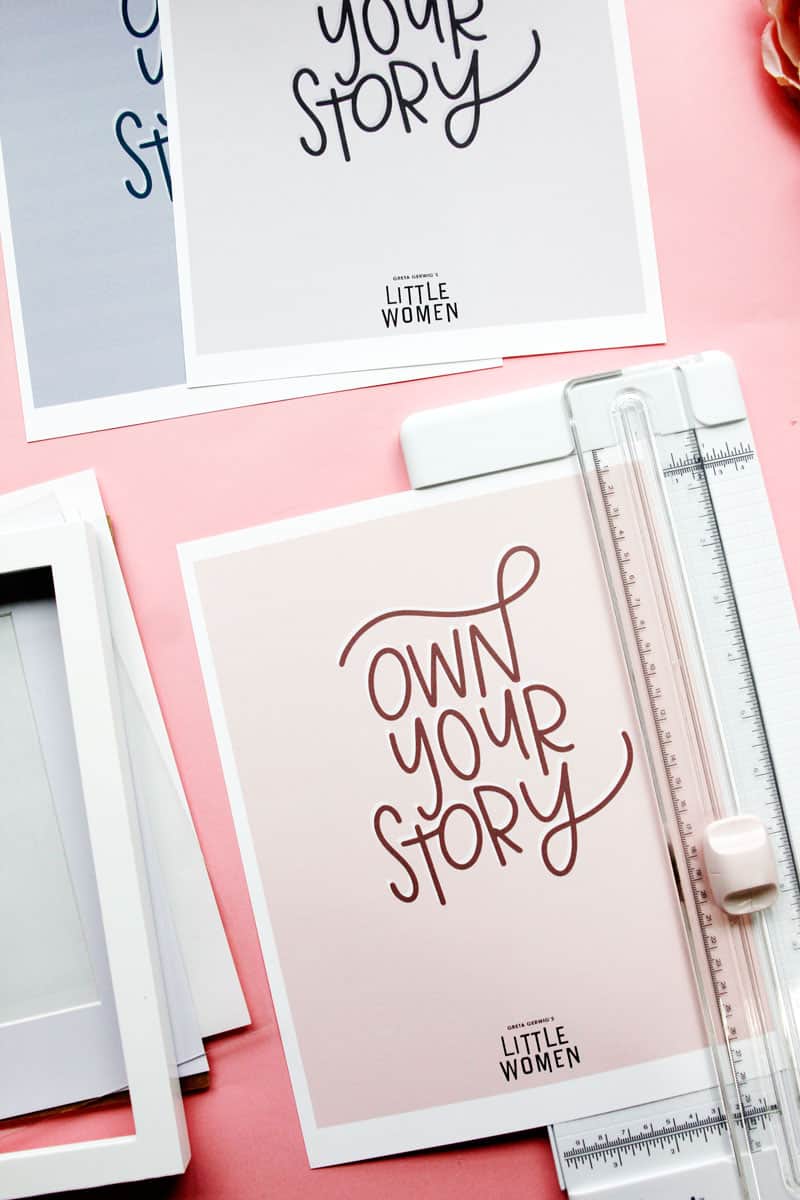
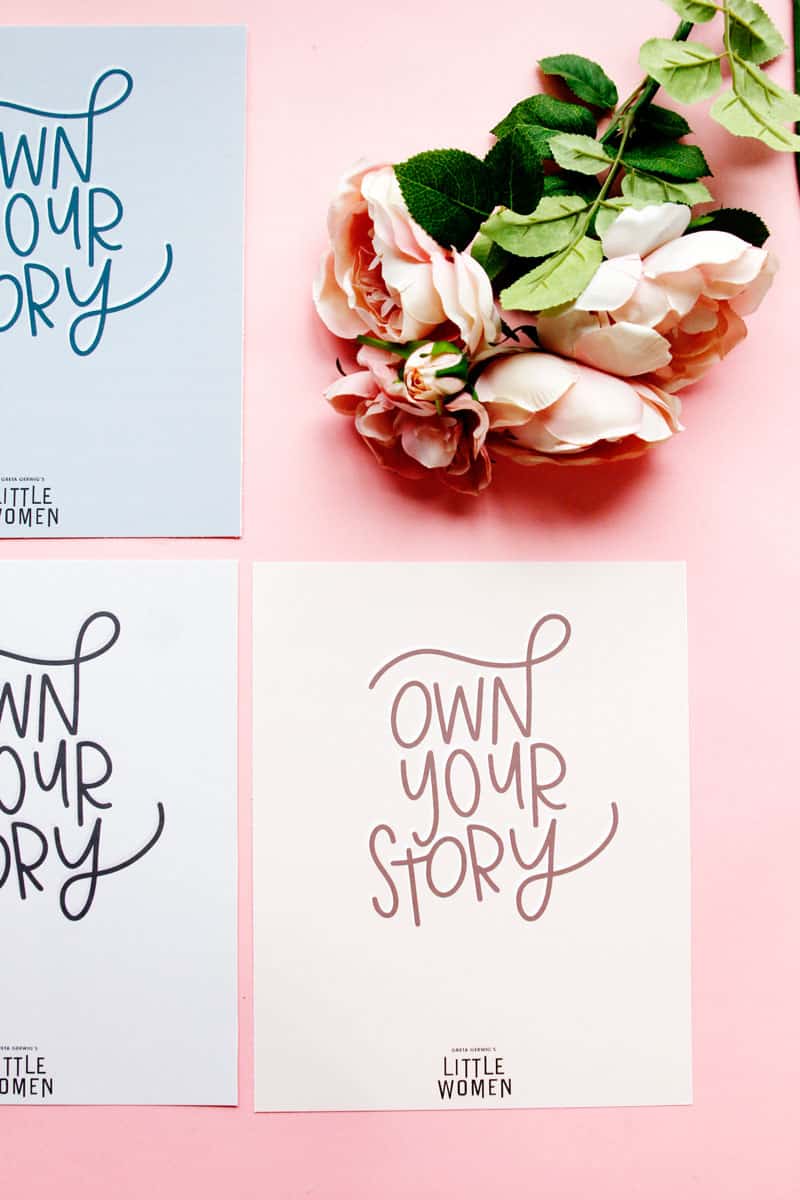
This post also includes a printable design of the same “Own Your Story” lettering in three color ways. I styled these in a reading nook but they would also be cute on a bookshelf!
Materials for a Zipper Book Clutch Purse
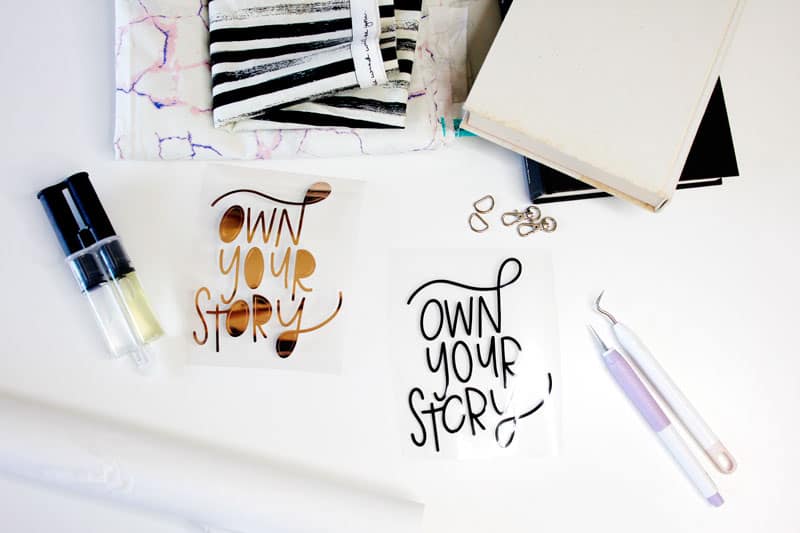
- Hardcover Book
- Craft Knife
- Epoxy Glue
- 1/3 yard cotton fabric
- Cardboard or kraftboard
- Roll of vinyl, either iron-on or regular adhesive vinyl
- Two 1/2″ D rings
- Two lobster clasps
- Ribbon*
- Double sided iron-on adhesive
- SVG Designs Download
Zipper Book Clutch Instructions
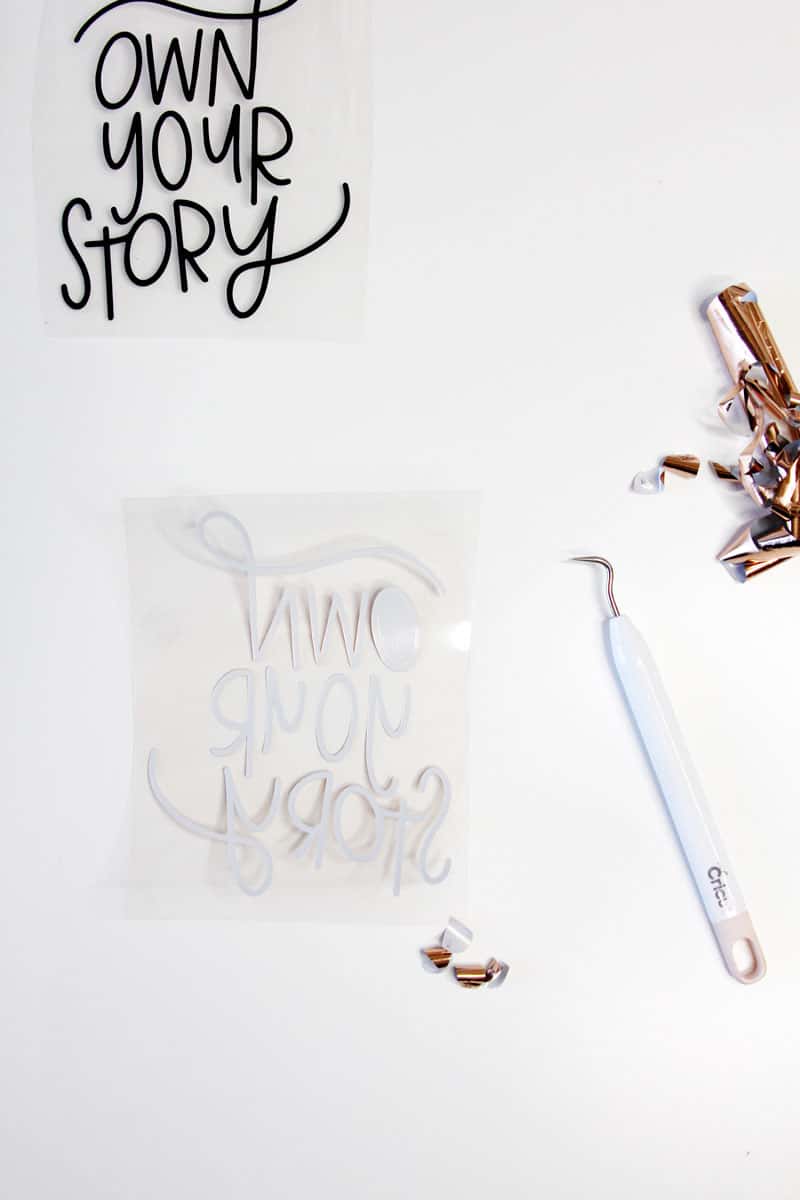
Cut out design from vinyl using craft knife or a cutting machine.
If using iron-on make sure you cut it out backwards (or mirror image). Weed it using a weeding tool.
Decide on the vinyl placement and press down.
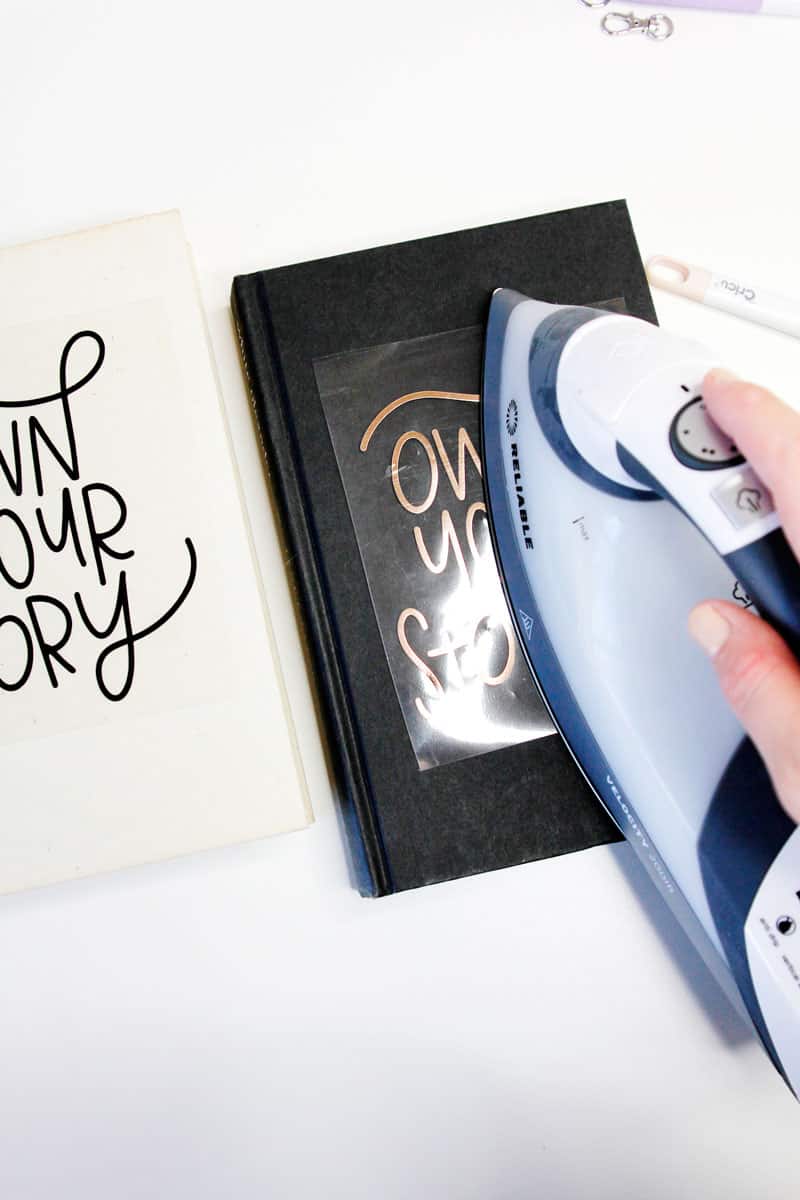
Use an iron for iron-on vinyl. Peel the clear layer up when the design has cooled.
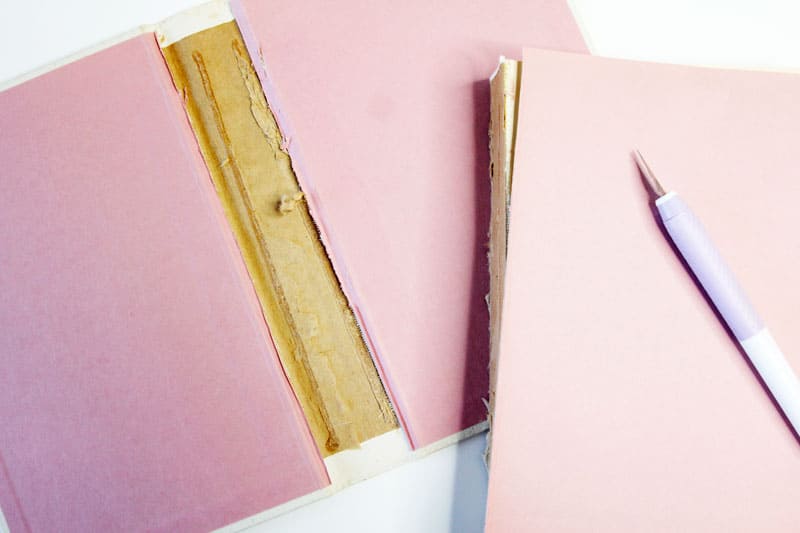
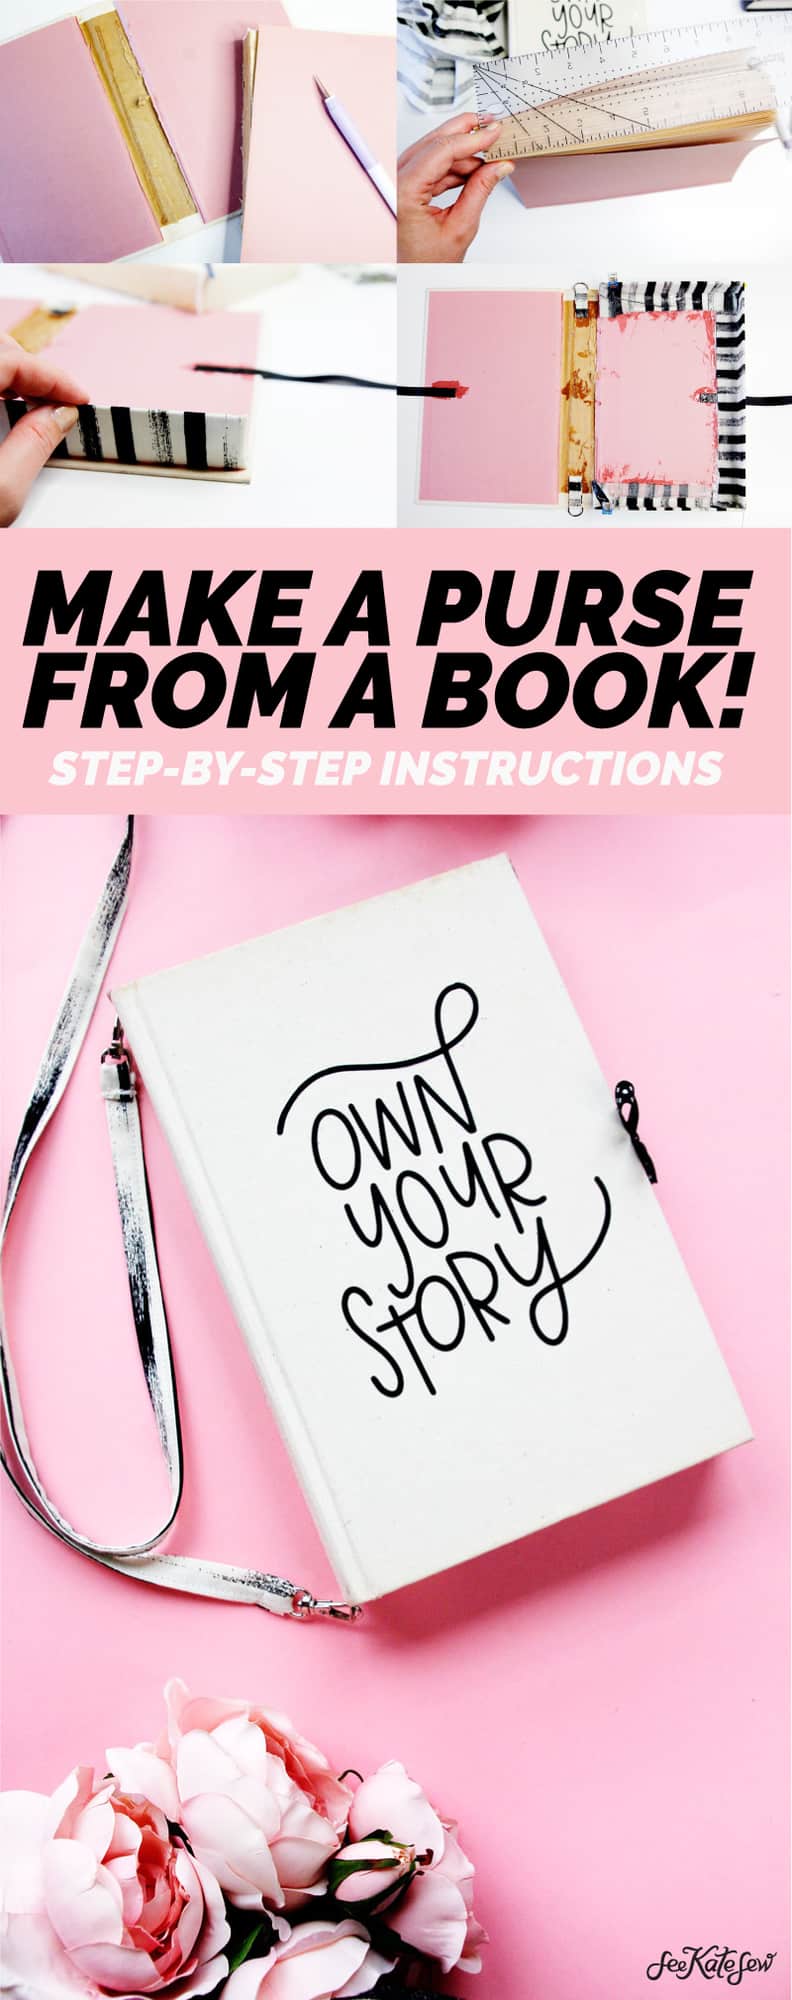
Gut your book by carefully cutting into the end pages. There may be glue you have to cut though in the binding. Be sure to not cut into the cover or spine.
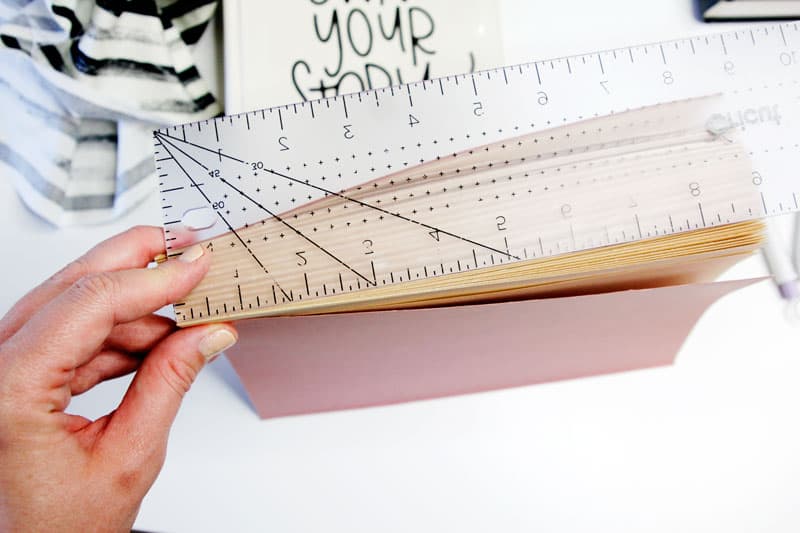
Measure the block of pages so you know what size to make the purse sides. Take off 1/4″ from the width and length of your measurements to account for fabric bulk.
Cut these pieces from cardboard, kraft board, chipboard or a similar material.
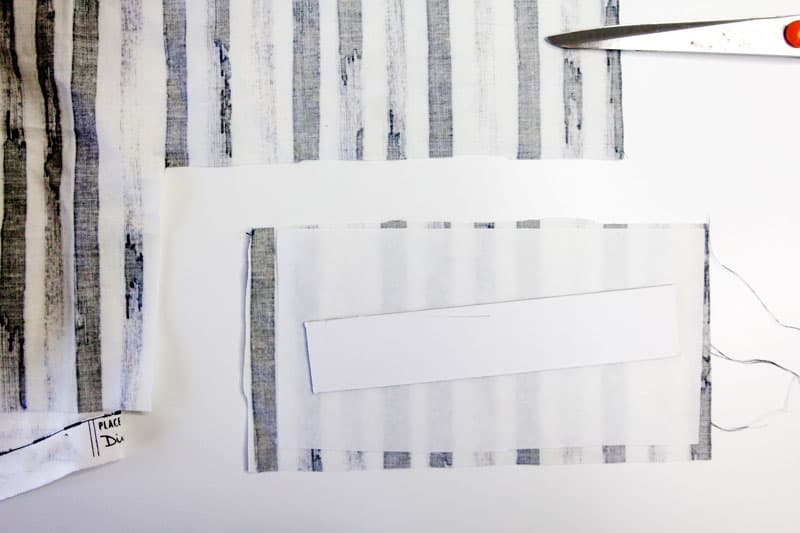
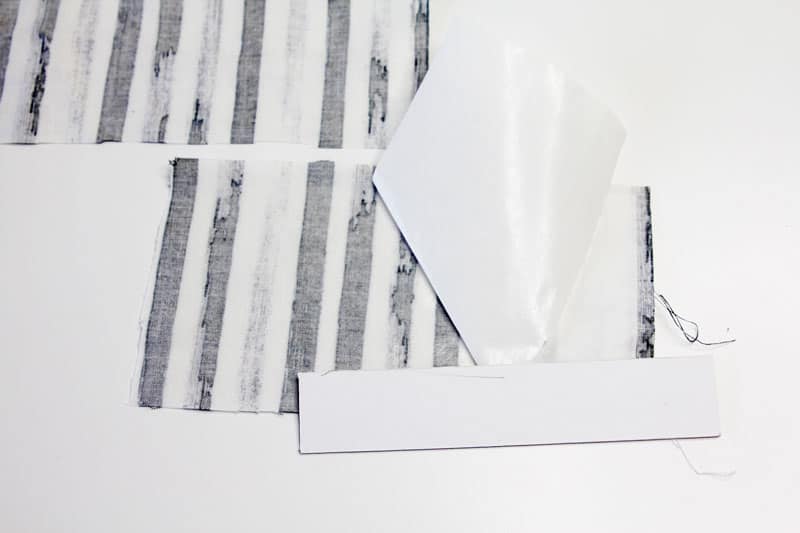
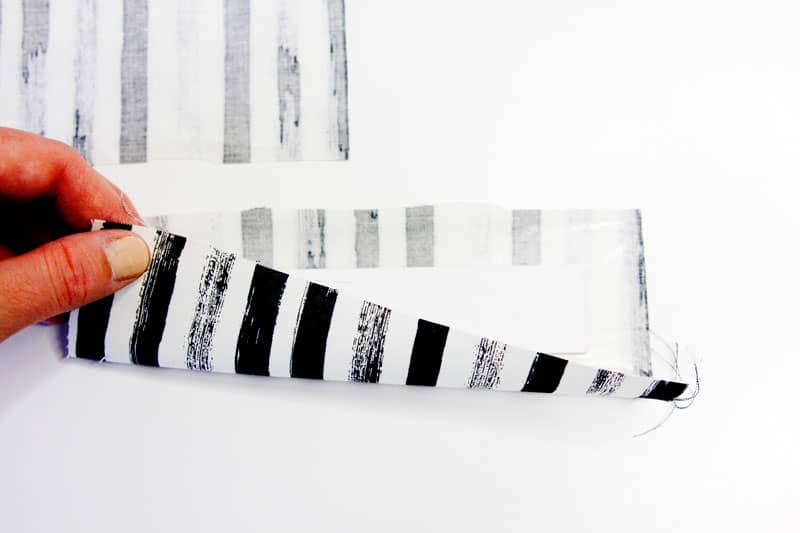
Cut enough fabric to cover both sides of the cardboard with about 1″ of extra overhang. Back with double sided fusible material.
Peel off the paper backing.
Put board inside and cover. Apply heat to both sides to adhere.
Repeat with all three sides.
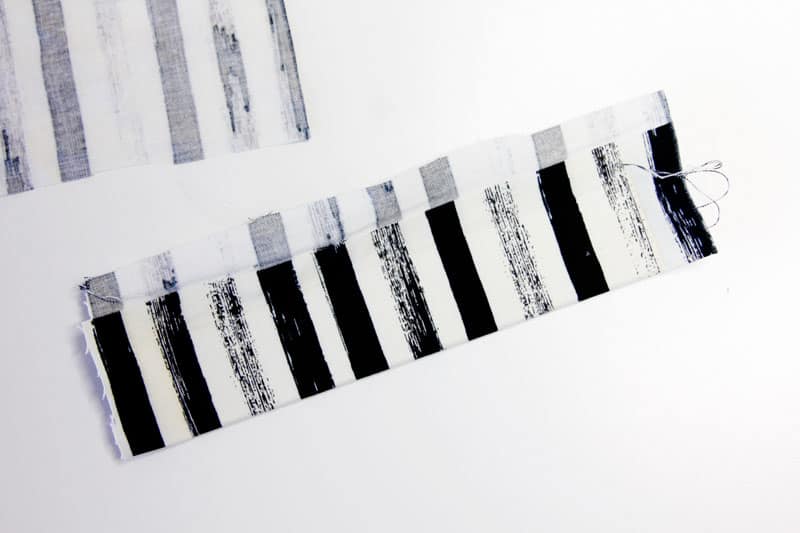
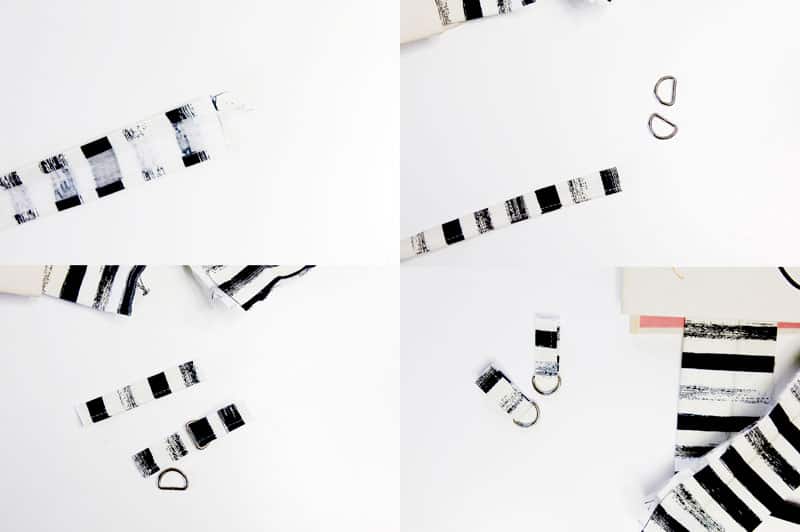
Cut a strip of fabric 1.5″ wide. Fold over the long edges a little less than 1/4″ and press. Then press in half and sew close to the folded edges. Cut strip down to two 3″ strips. Thread strip of fabric through d-ring and fold over. Sew as close to the d-ring as you can. Backstitch.
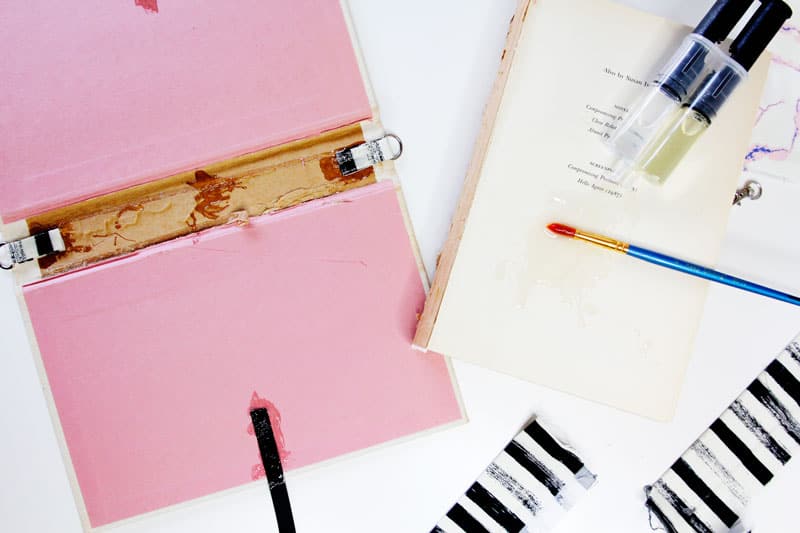
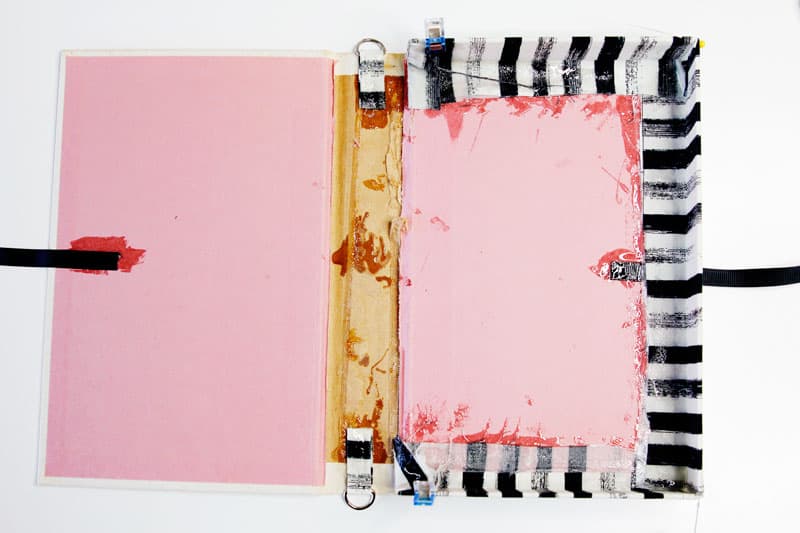
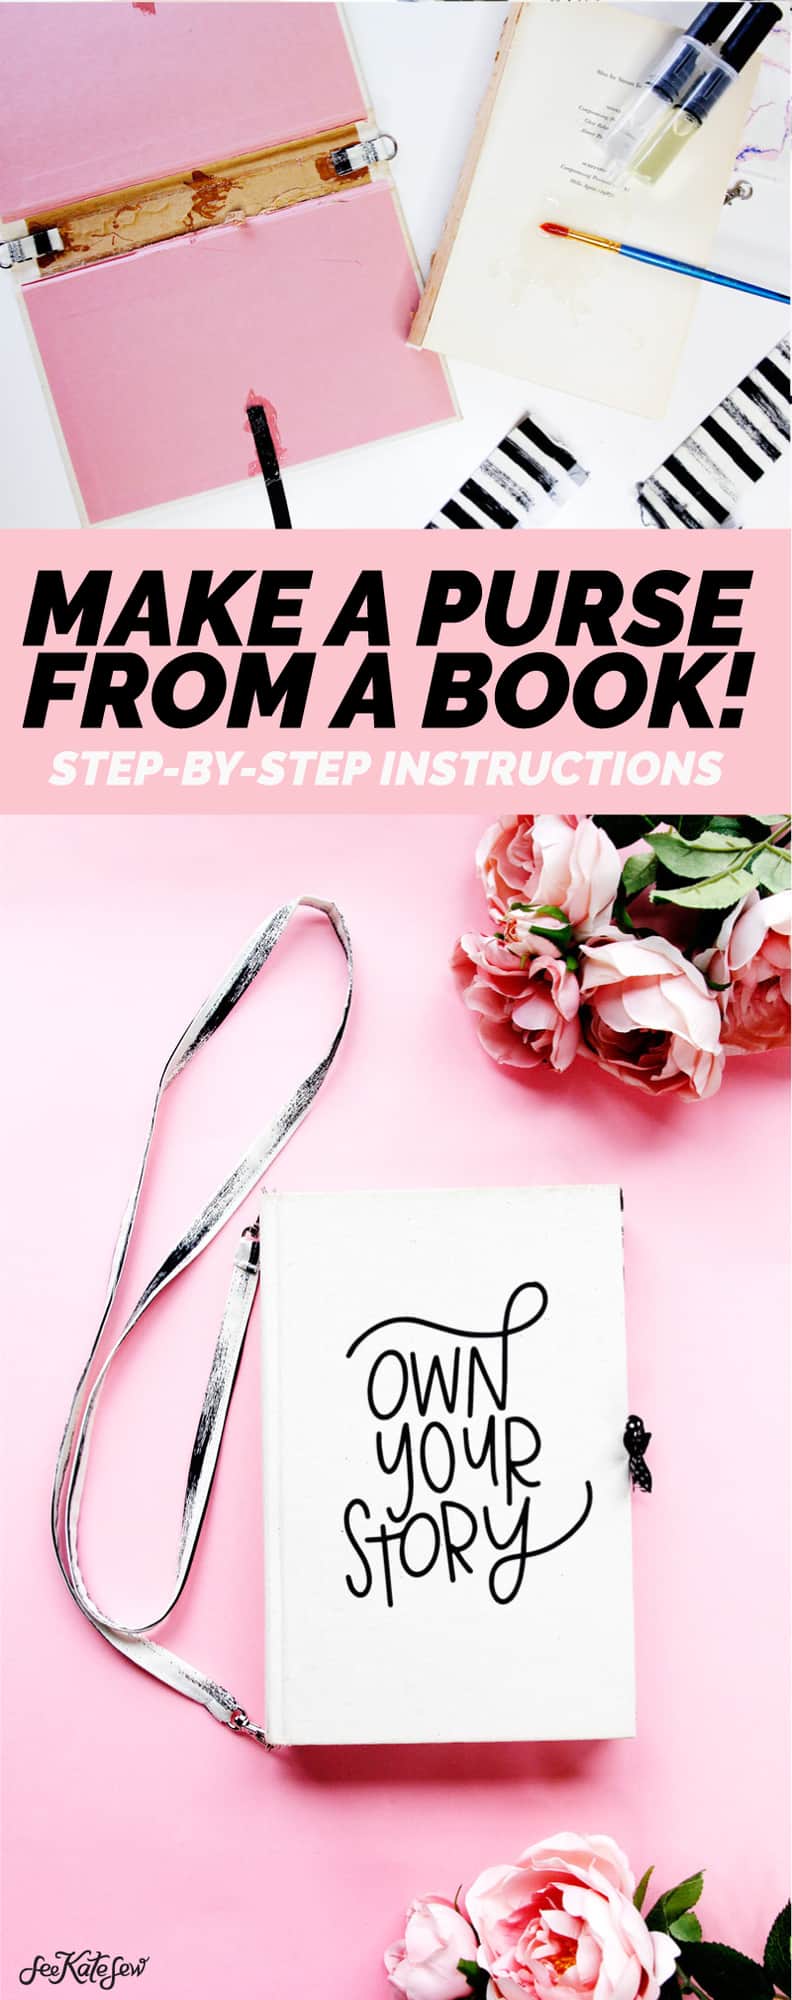
Mix epoxy and use a paintbrush to apply it to the d-ring fabric. Glue into back binding of book at the top and bottom. Also glue a 5″ strip of ribbon to each side of the cover.
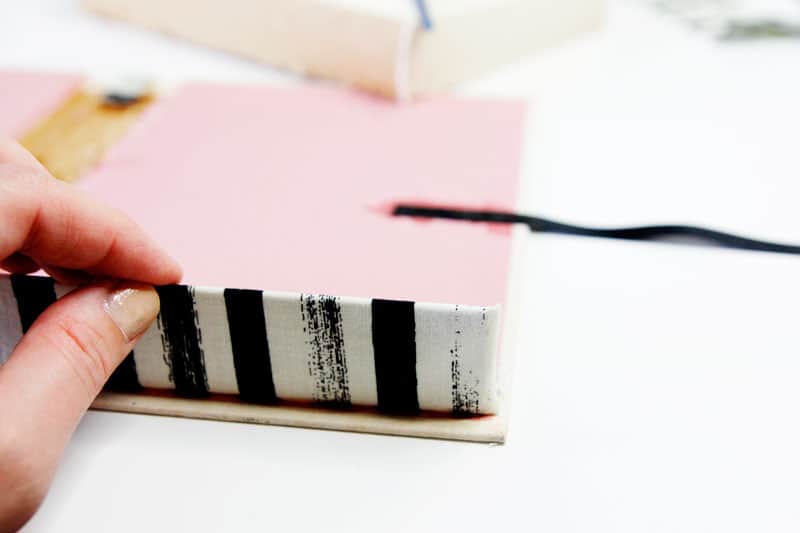
Glue fabric-covered cardboard to the bottom, side and top of the book cover. Apply glue to excess fabric and hold in place. Trim the fabric on the right of the bottom piece, but leave the left side fabric hanging over.
You’ll want to use a lot of glue for this. Fold the excess fabric at the back of the binding over and glue. Clip to hold while the glue dries. Use a sewing pin to hold corners together as they dry.
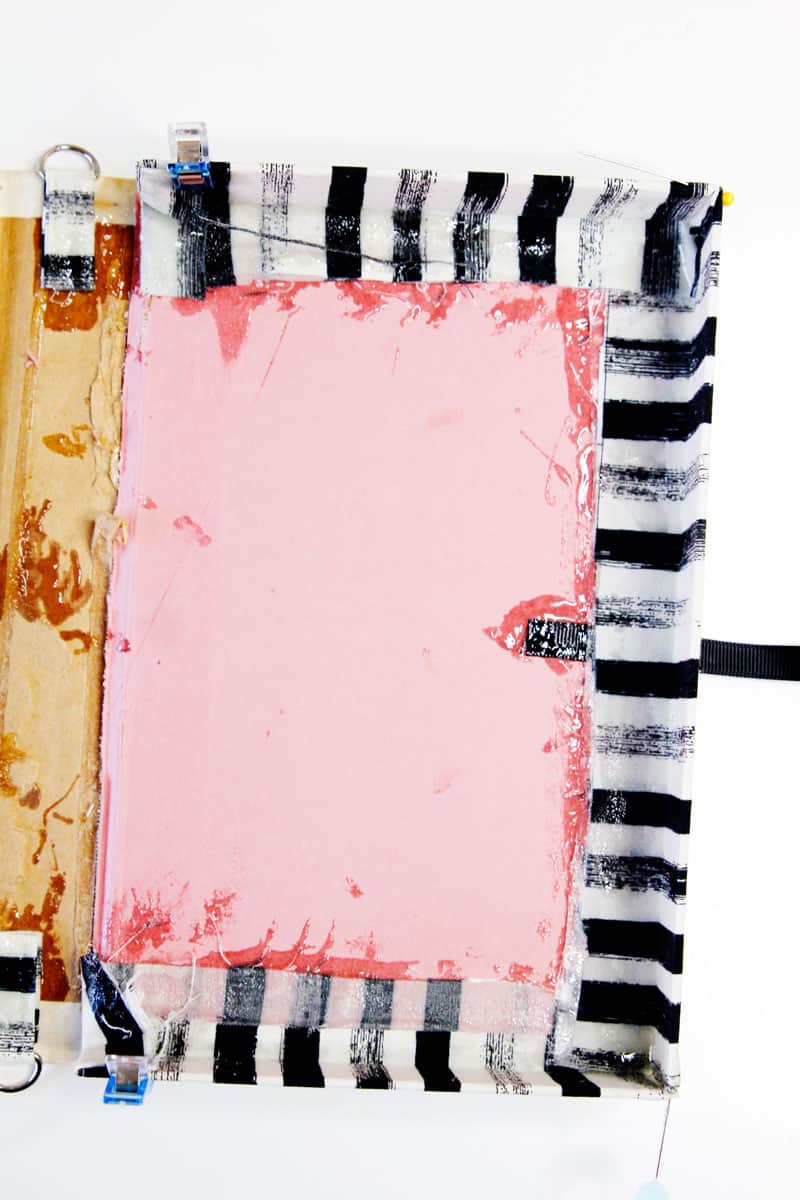
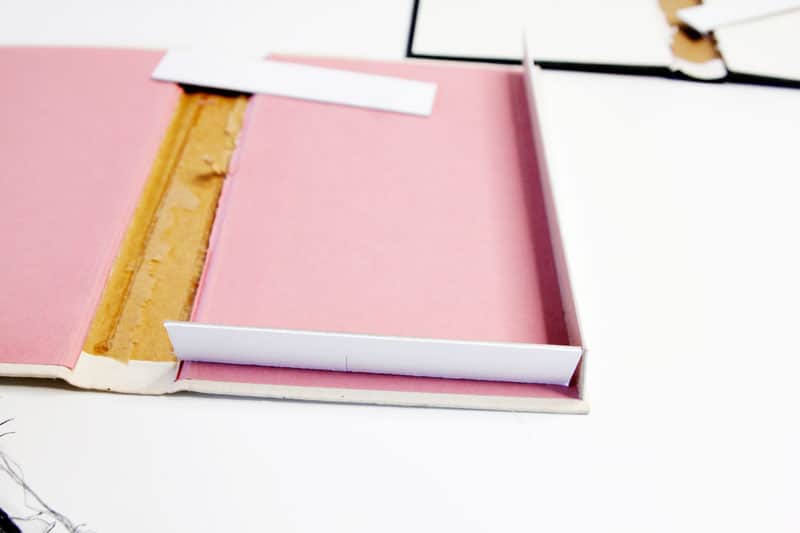
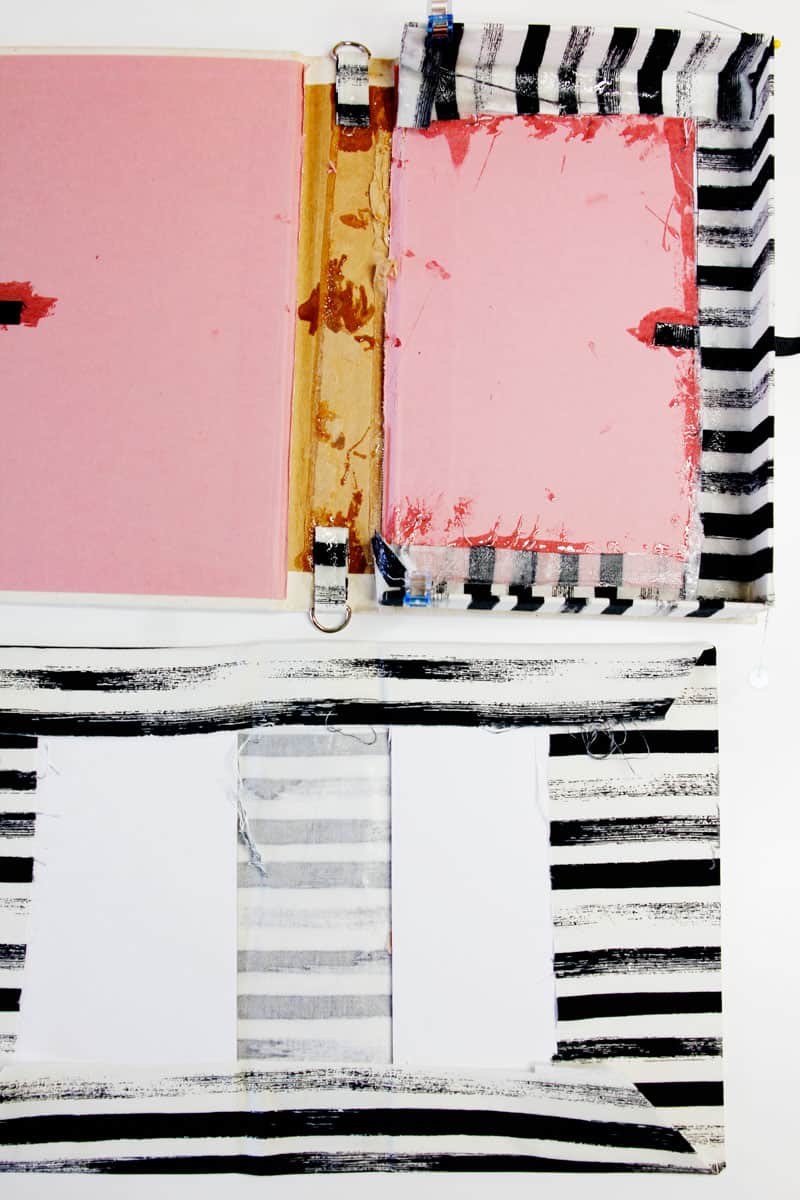
Cut out two more pieces of board about 1/2″ narrower than each cover and 1/2″ shorter. Cover these boards with a large piece of fabric backed with fusible Heat N Bond. Measure the width of the book’s empty spine and a space the same width between the kraft board pieces, about 1.5″-2.5″ for most hardcover books. Fold over extra fabric and glue.
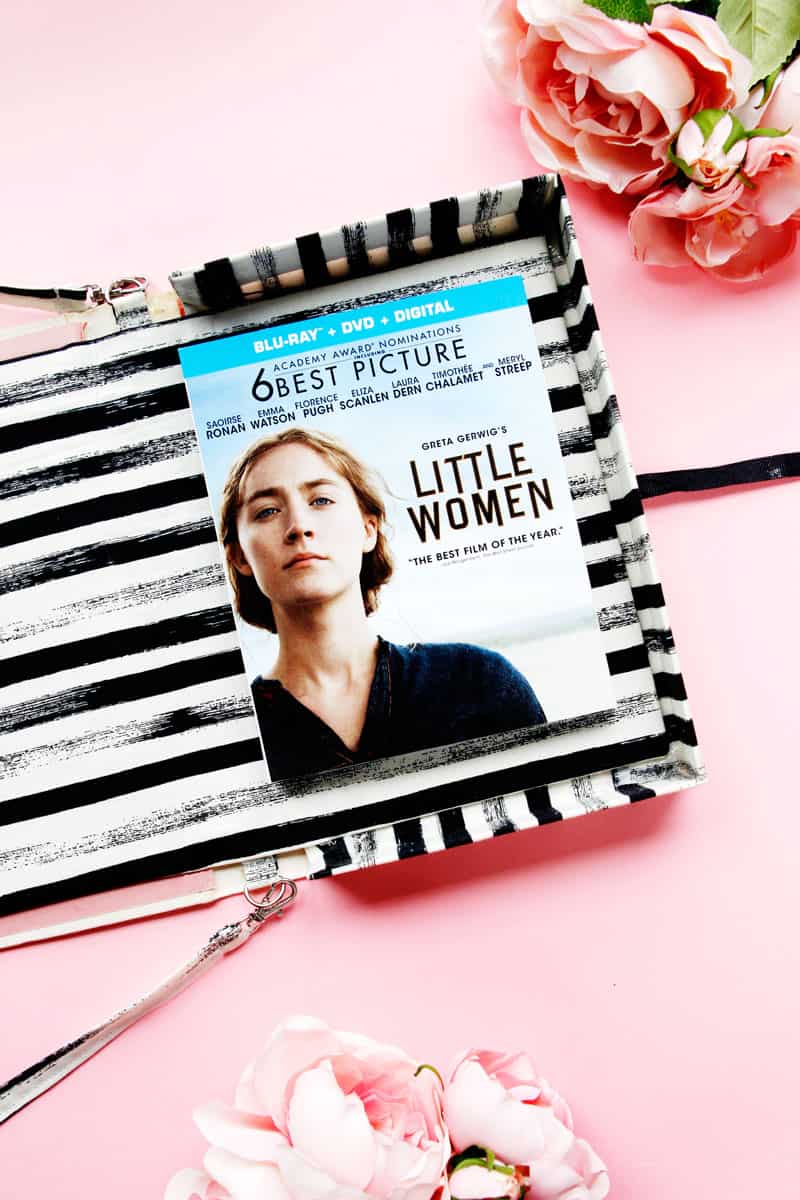
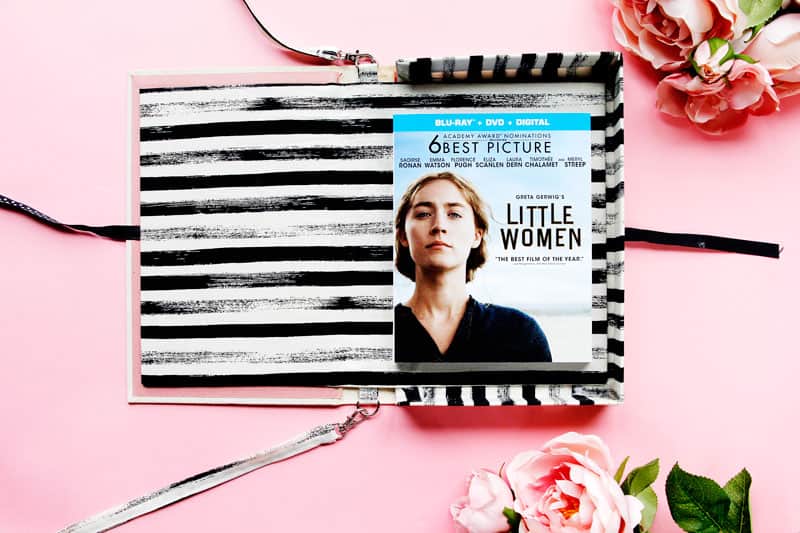
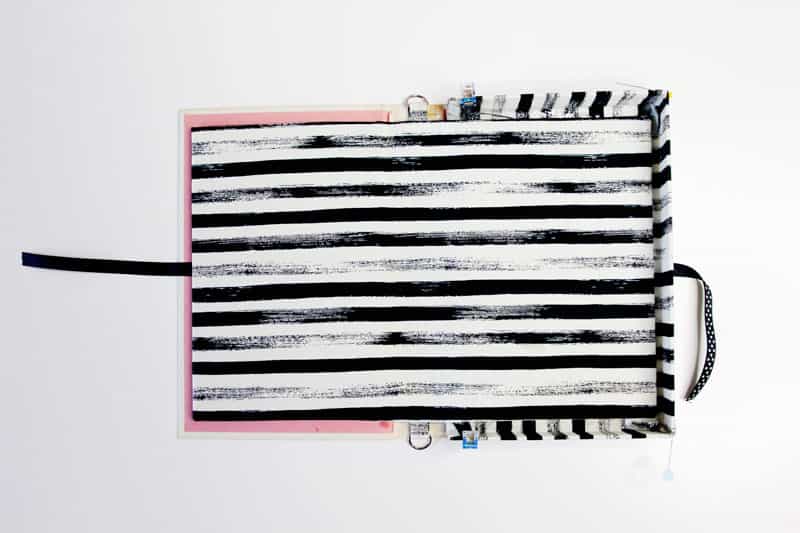
Place that large piece of fabric in the inside of the book as shown below.
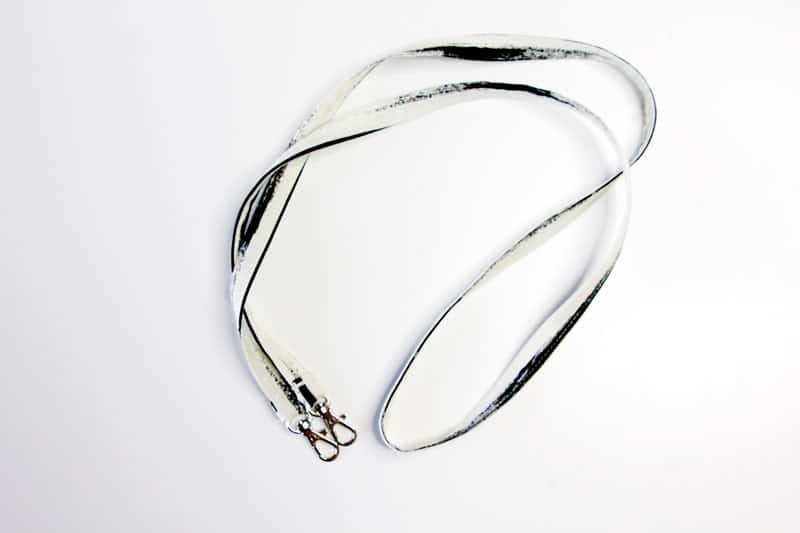
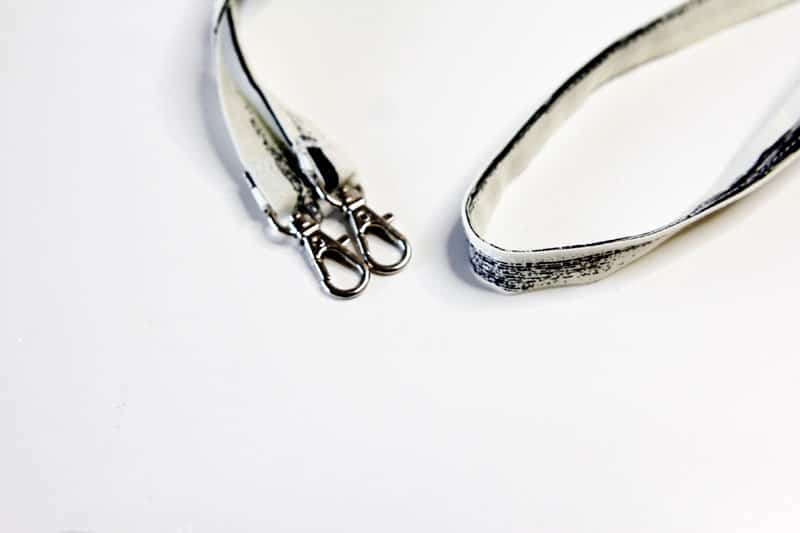
Create a strap the same way you did with the d-ring tabs, using a 44″ long by 1.5″ wide piece of fabric.
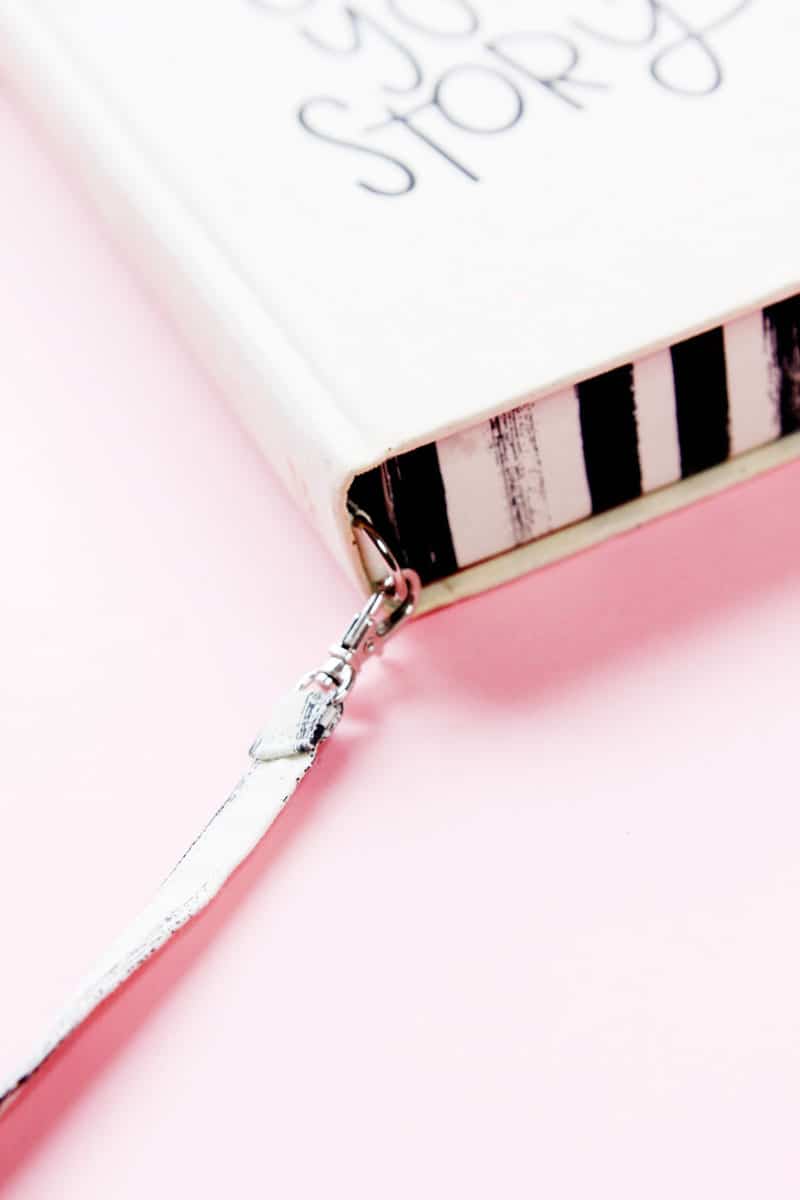
Attach lobster clips on the ends and sew in place by folding under 1/2″ twice.
Clip the lobster clasps onto the d-rings to complete your purse.
Book Nook Art
These Own Your Story printable are inspiring and perfect for a reading nook, library or near a bookshelf! Print them out from home or at a print shop and put them up to inspire everyone to make their own story. Click link below to download the PDF in 3 color ways!
Own Your Story Printable Download
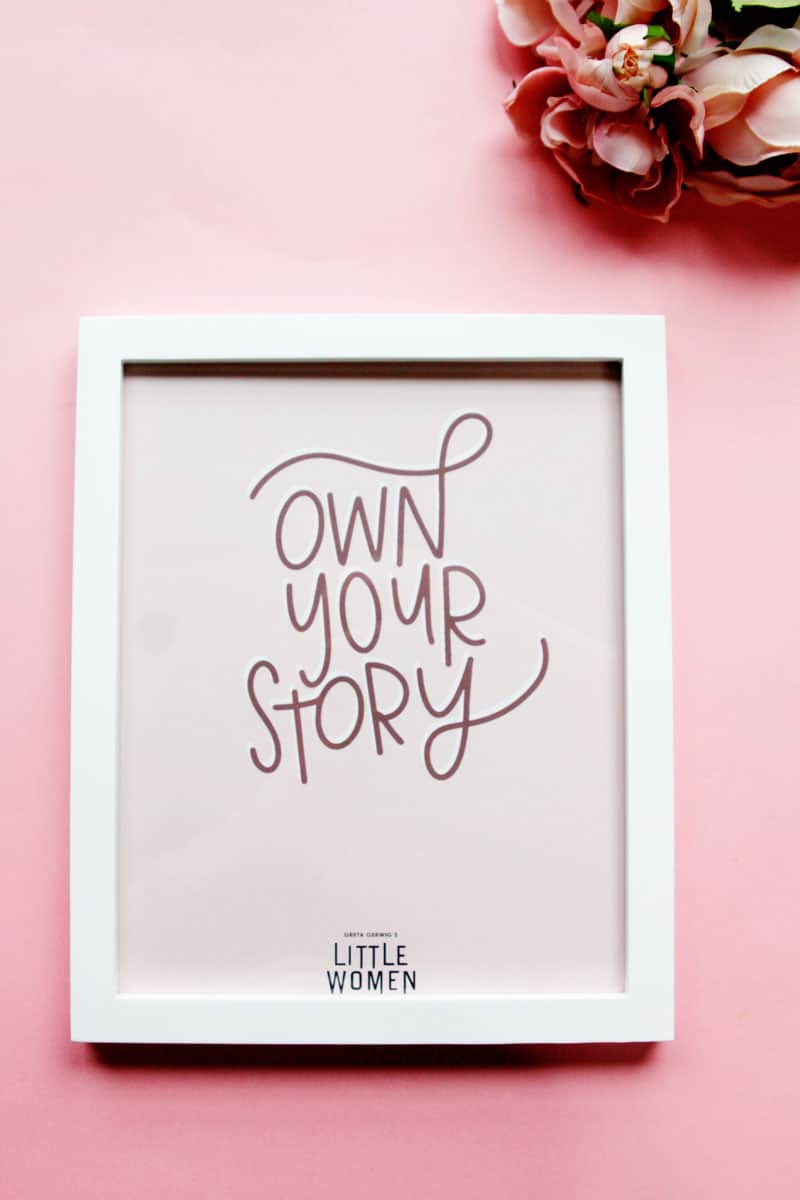
This design is 8″ by 10″ so you can print it out on a standard letter-size piece of cardstock. Trim off the edges and frame it!
Enjoy this project and grab your copy of Little Women, now available on Blu-ray™, DVD and Digital.



This lettering is DARLING. Is this a font or your own handwriting?