This post, Sewing Machine Ornament Tutorial, is sponsored by 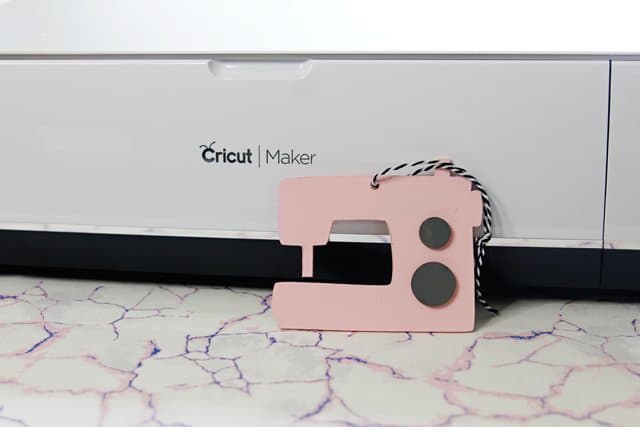
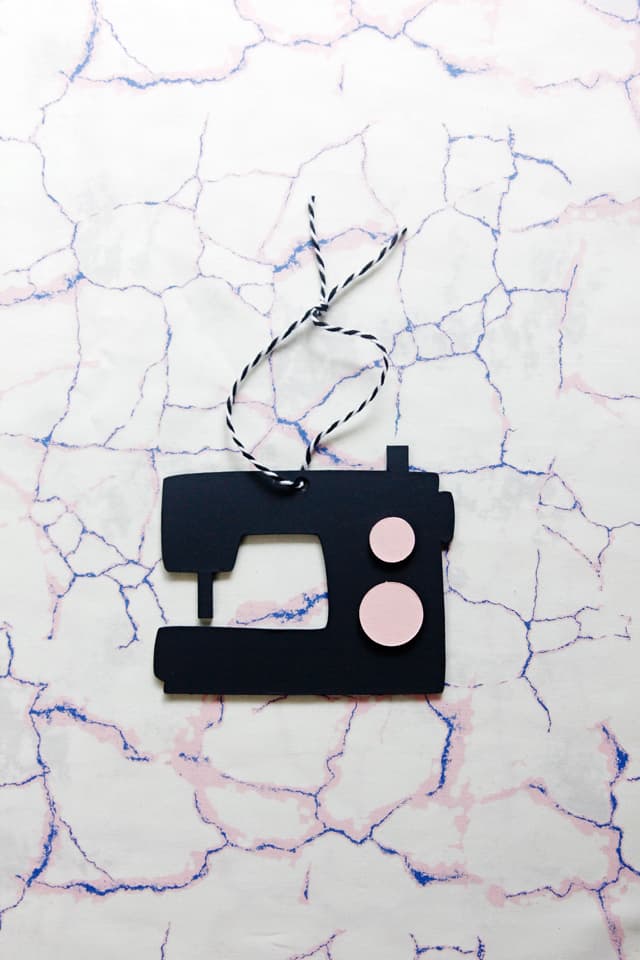
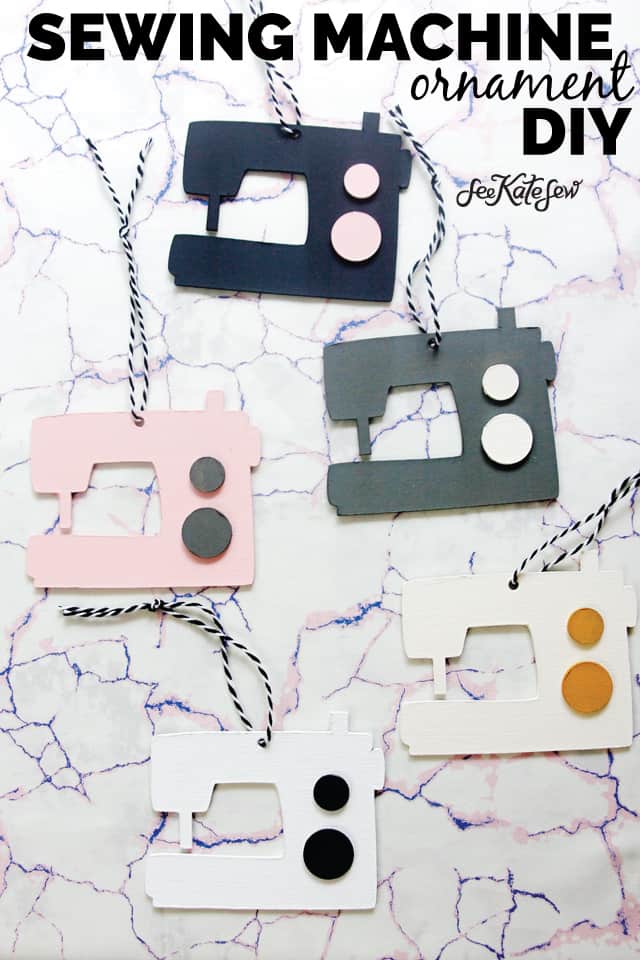
It’s Christmas in July! Or June, whatever! In this tutorial, I’ll show you how to make your own adorable sewing machine ornament! These cute DIY ornaments are made with painted chipboard cut with the Cricut Maker! You can cut these by hand with a handheld craft knife if you want, but it’s much easier to let the Maker cut them for you! A free template for these sewing machine ornaments is available below. We’ll glue the pieces together and then paint them with acrylic paint! You can even add a name or sewing machine brand to make it a custom project!
I love the idea of having a stash of things ready to go before the holiday season even starts, so this is my way of starting that stash! I have plenty of sewing friends to gift these to, but now I’m wanting more shapes! Maybe even some holiday themed ones like Christmas trees, snowflakes and deer to attach to the top of a plate of cookies. There are so many fun possibilities with this chipboard, it’s such a nice sturdy material and I love the sound of the knife blade cutting it!
Cricut just introduced the KNIFE BLADE to accompany the Cricut Maker! This blade is new to the Cricut blade family, joining my favorite – the Rotary Cutter, and it’s the most powerful blade yet! It can cut things like thick chipboard (which we are doing here), thick + uneven leather, and even balsa wood! The possibilities are endless with this blade. I’m excited to dive into some thick leathers, and even balsa wood to cut out quick wood shapes for my kids to paint. This project was my first project with the knife blade and it went flawlessly! The Knife blade, like the Rotary Cutter, only works with the Maker.
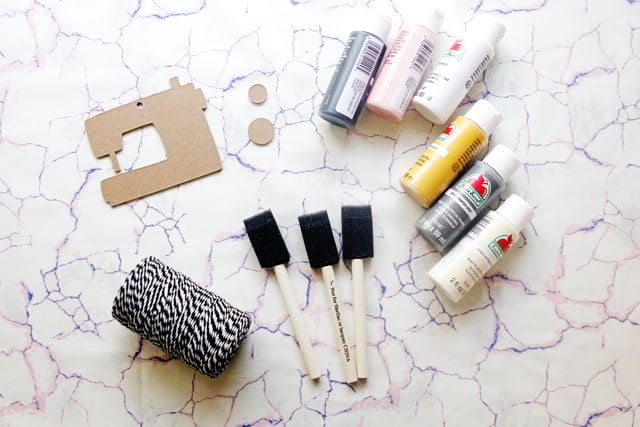
Materials//
–Cricut Maker
–Knife Blade
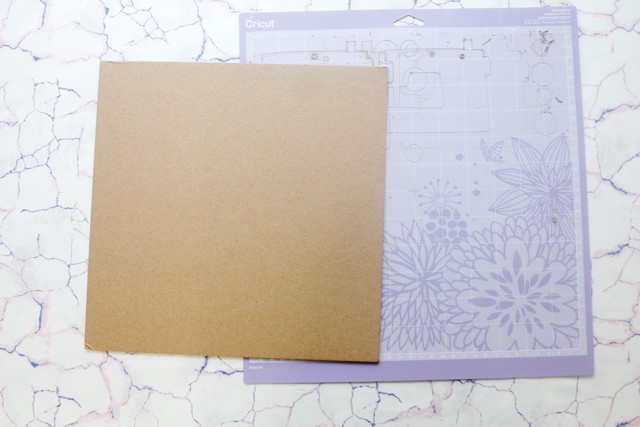
–StrongGrip Mat
–Heavy Chipboard 2mm
-Acrylic paint + paintbrushes
–baker’s twine for hanging
-glue gun
-Sewing Machine Template (SVG + PDF) Download, see below
Instructions //
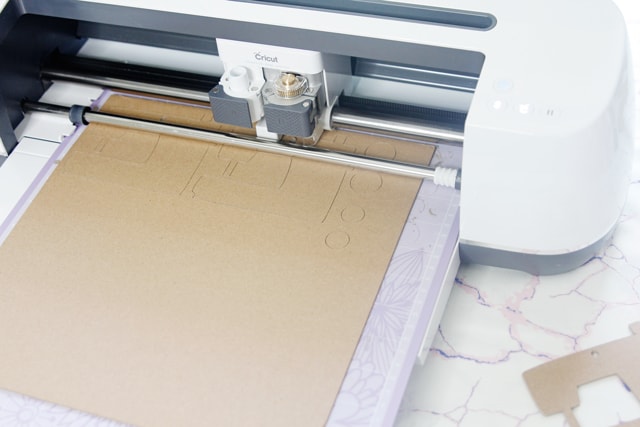
Before starting, load your knife blade and Calibrate the machine. This will help you get accurate cuts and only takes a minute or two.
You will also want to move the white “star wheels” all the way to the right. These are awesome for most materials, but leave marks in thicker materials.
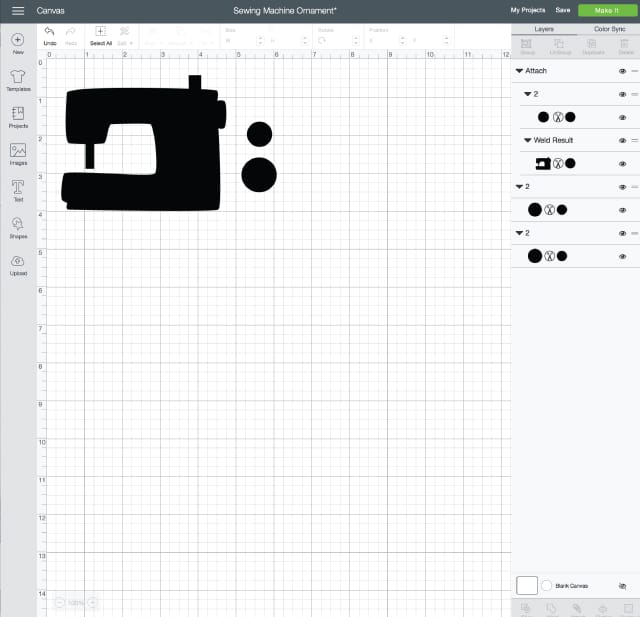
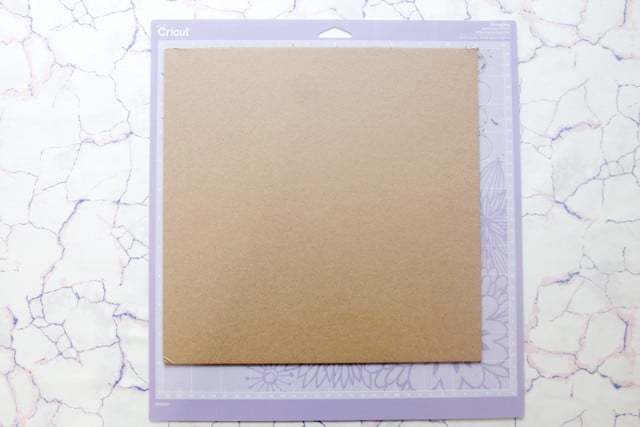
Upload the SVG file to Cricut Design Space. Drag the little circle (not shown) over the top of the sewing machine right at the top where you will hang it. Before hitting the green “Make It” button, Attach the image to the mat by hitting the little paperclip looking button at the bottom right of the screen.
You can cut up to 4 ornaments at a time, or save the chipboard for other projects! Be sure the design doesn’t extend past 11″ for this project. The chipboard is 11″ wide.
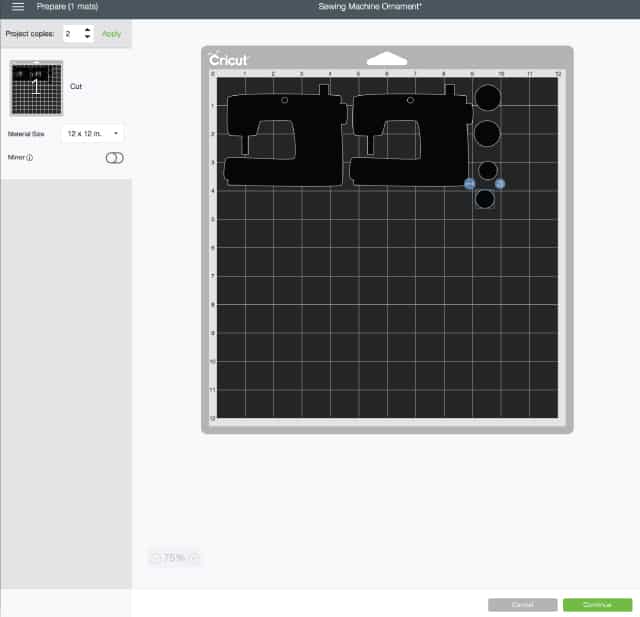
And start it up! The Cricut Maker will make 20 passes with the knife blade – so it will take longer than most cuts where it only makes 1 or 2 passes.
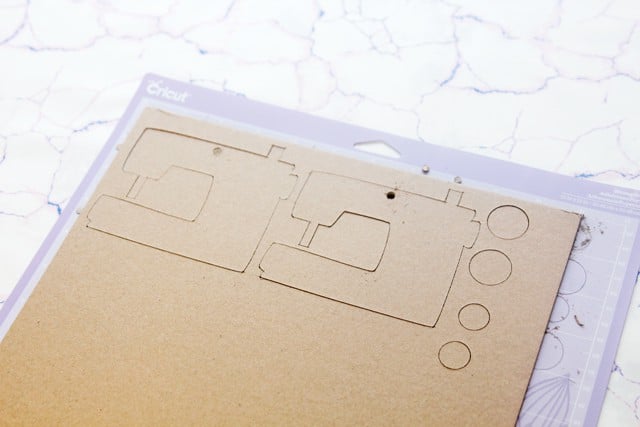
Ta-da! Look how crisp!
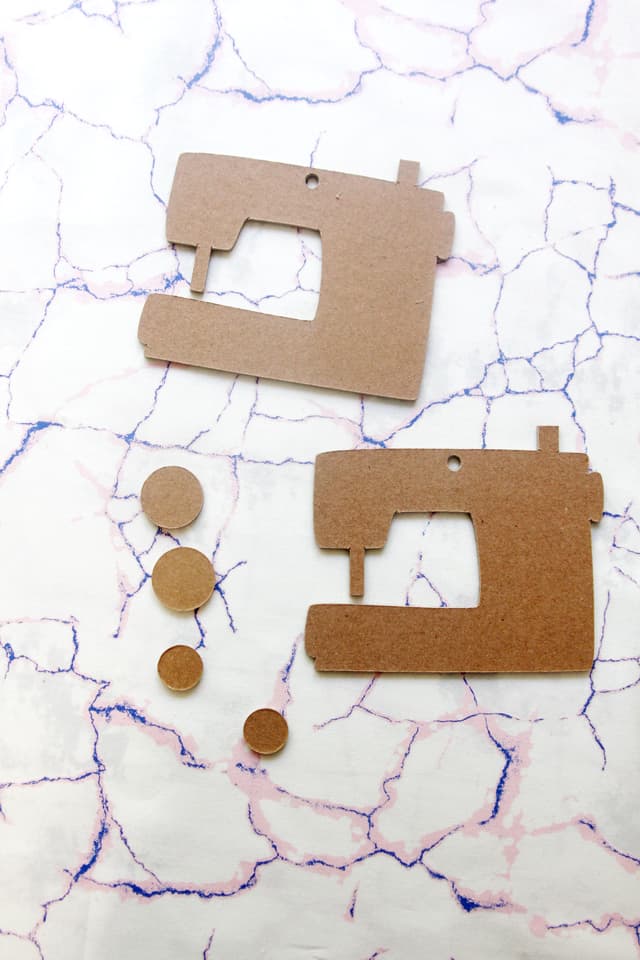
Remove all the pieces from the mat.
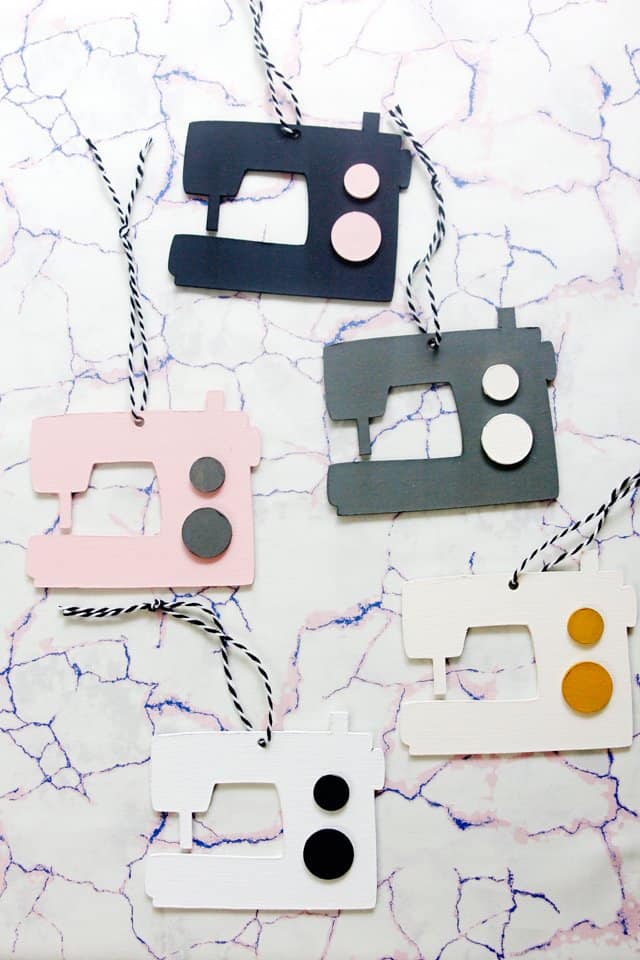
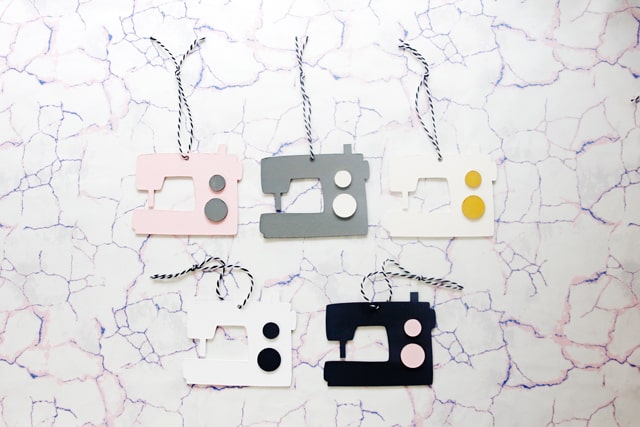
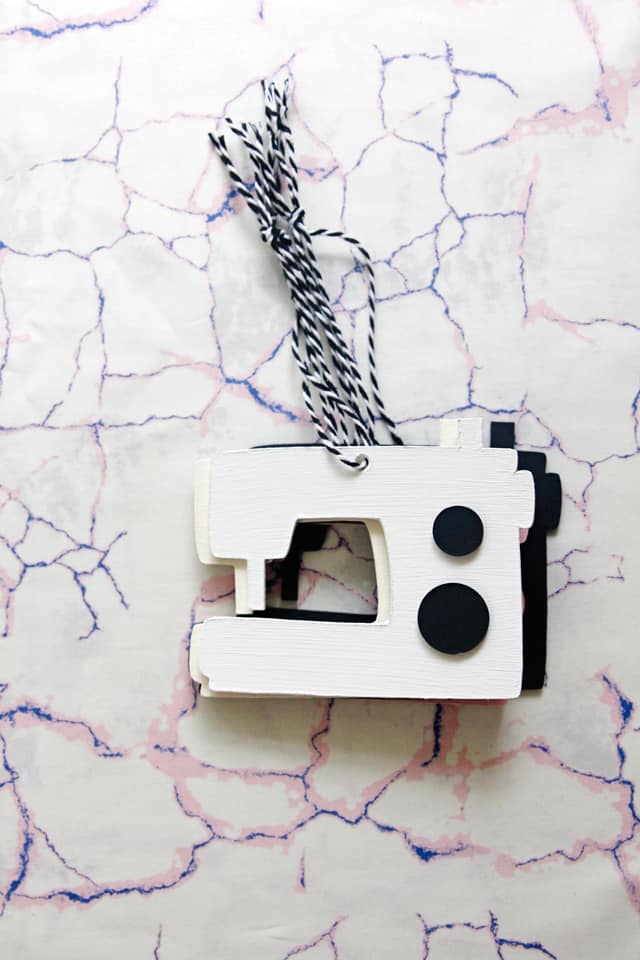
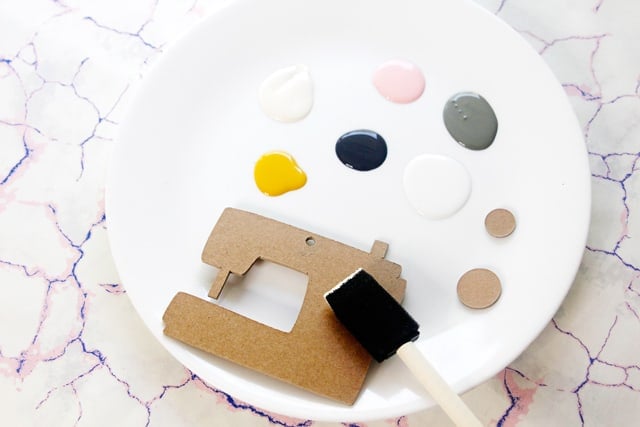
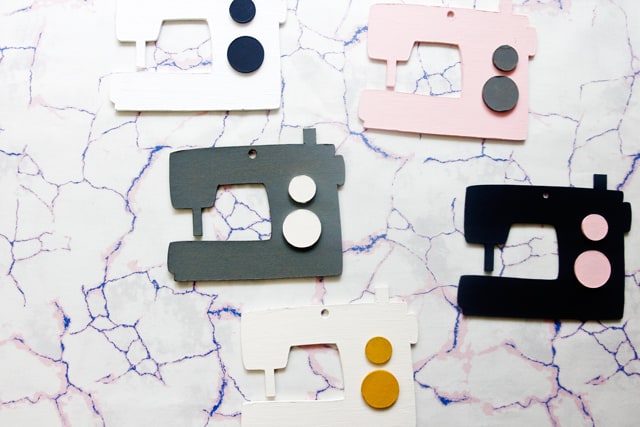
And then paint them! I used a few different colors and varied the colors of the buttons. It took me about 3 coats to get a nice cover.
Use a glue gun to attach the dials to the machine, with the smaller one at the top.
And you’re done!
This would be the perfect gift topper to go on (or in!) a sewing themed zipper pouch!
This is a sponsored conversation written by me on behalf of Cricut. The opinions and text are all mine.




This looks like fun! I have just ordered my Maker after months of study and research. Do you find the sticky mat loses its stickiness and frays fabric like some comments I have seen? I will be using my cricut maker mostly for sewing/quilting projects. Excited to get it and use it a lot.
Hi there I love the ornament but the link does not work
Thanks all the same
Blessings
I would so
Love to make these but I am unable to download after I receive the email the link to
Download does not work