I shared this post a few years ago but it seemed to be lost! So here it is again! These little bunny softies are the cutest little things to poke out of an Easter basket! And there’s a free stuffed bunny pattern included in this post! This bunny softie pattern is great for any skill level and add a little pop of cute to any Easter basket. While you’re at it, check out these bunny baskets with floppy ears!
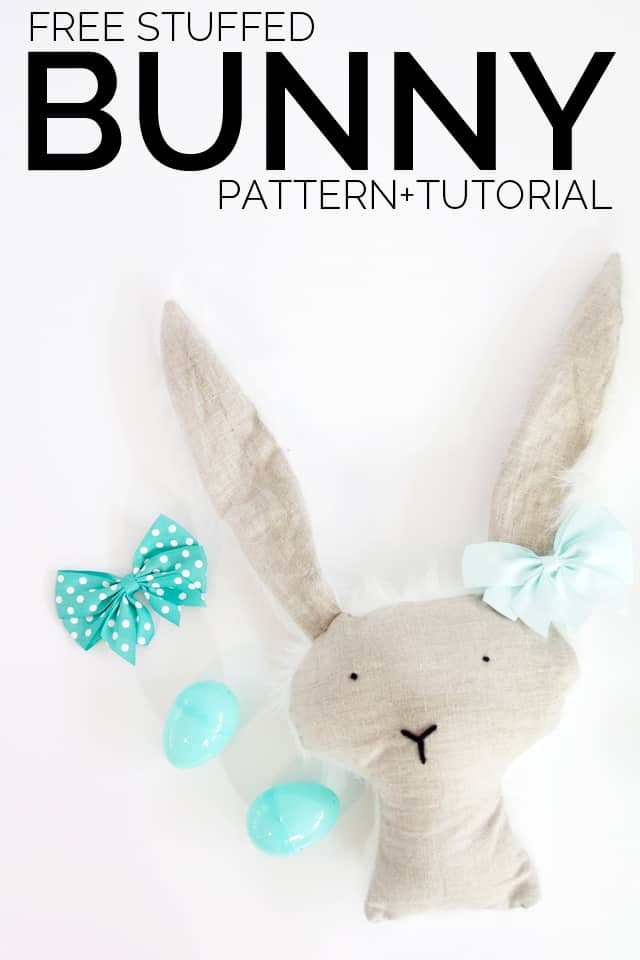
Updated: Now there is also a MINI version of the same adorable stuffed bunny pattern! Make a tiny stuffed bunny for your baskets or make a whole bunny family!
Easter is coming up fast this year! But what is Easter without cute little critters?! I think I love the stuffed bunnies and chicks the most this time of year. And of course Mini Cadbury eggs…
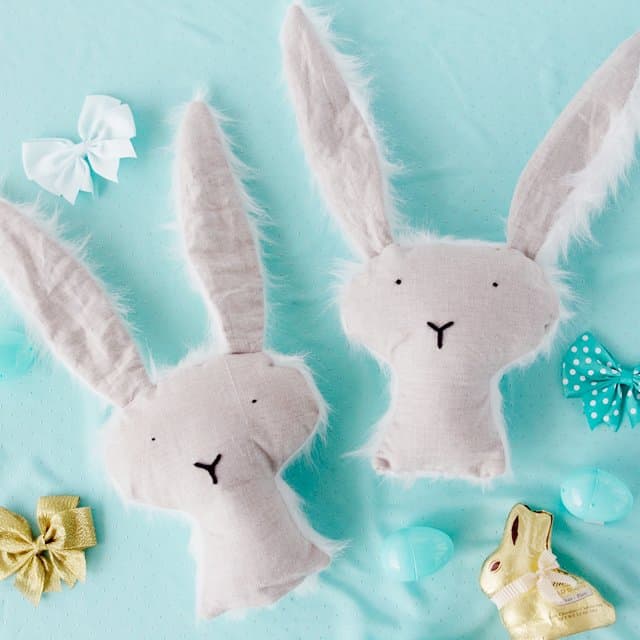
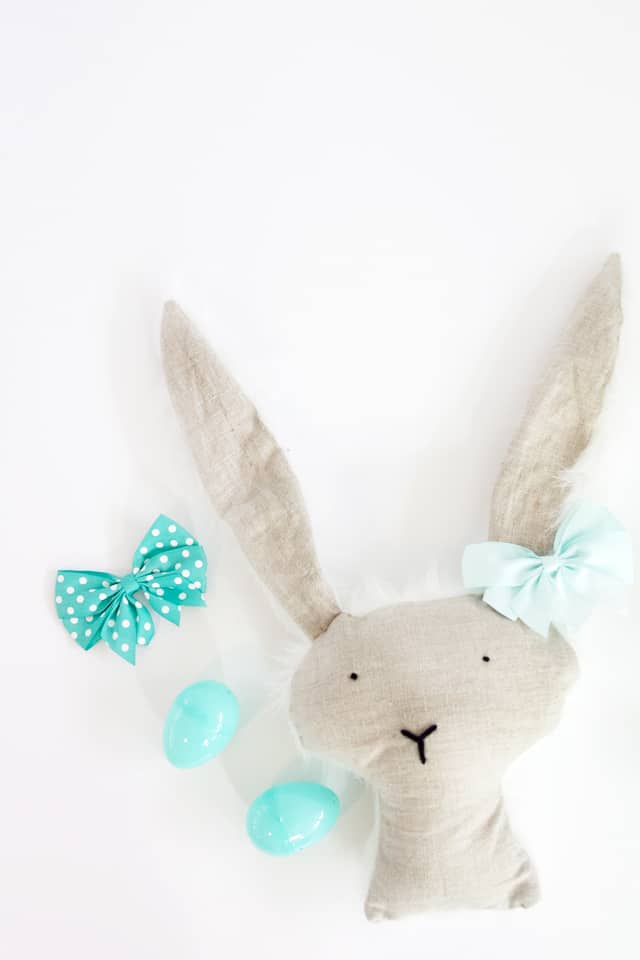
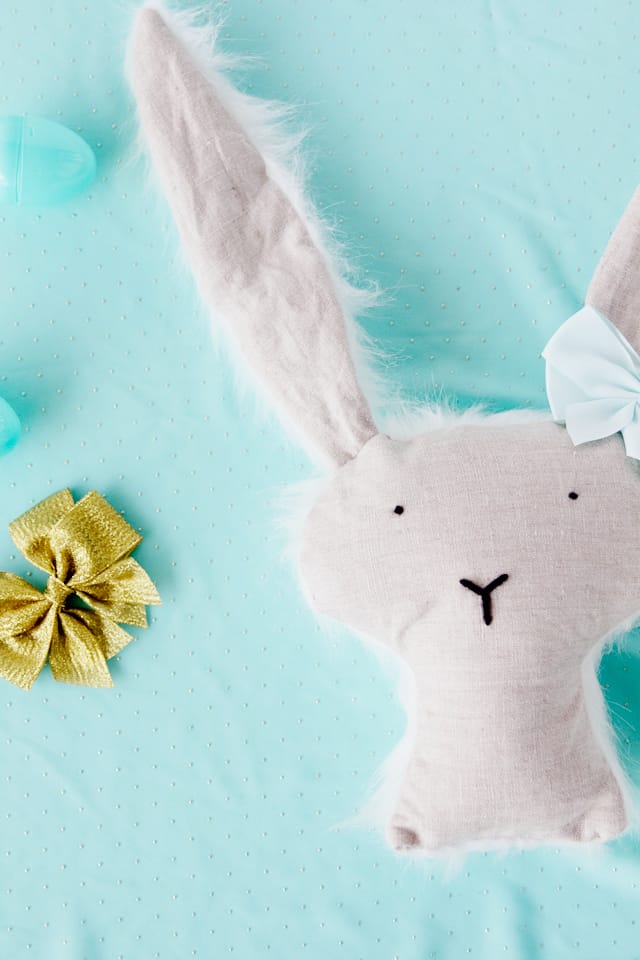
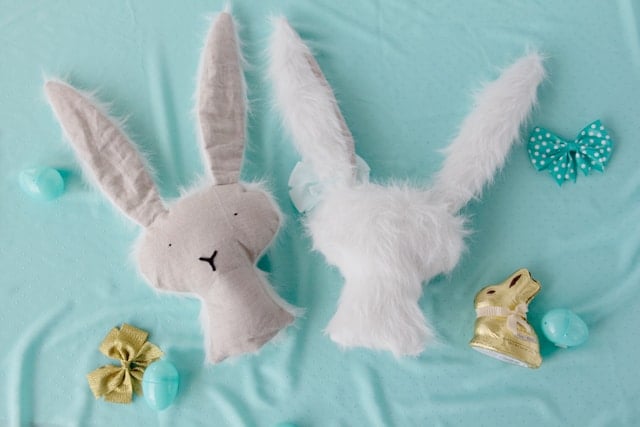
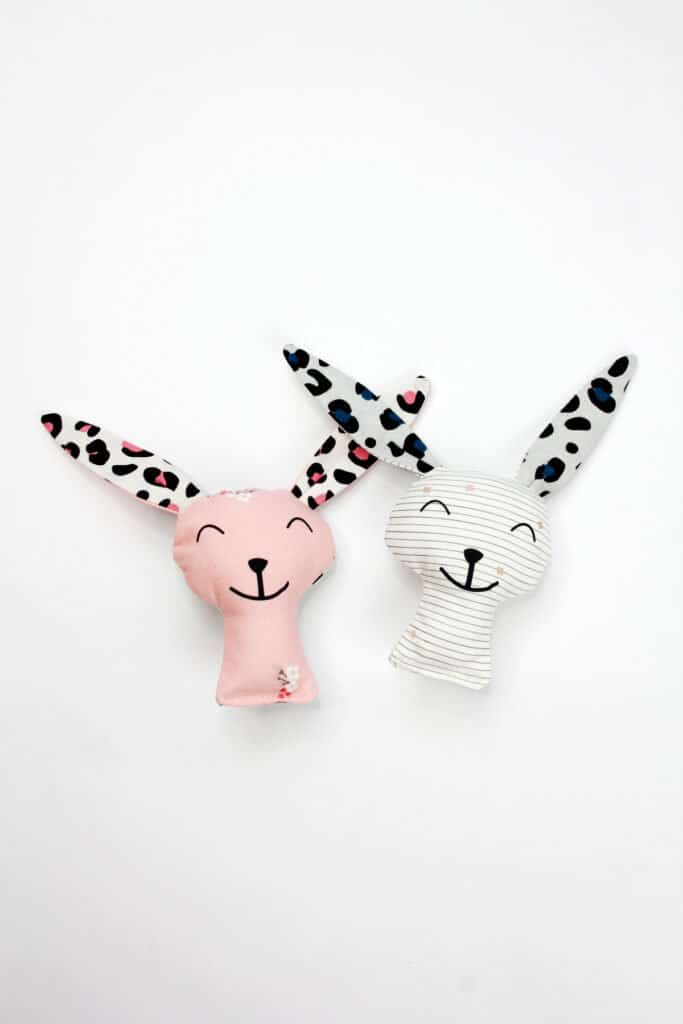
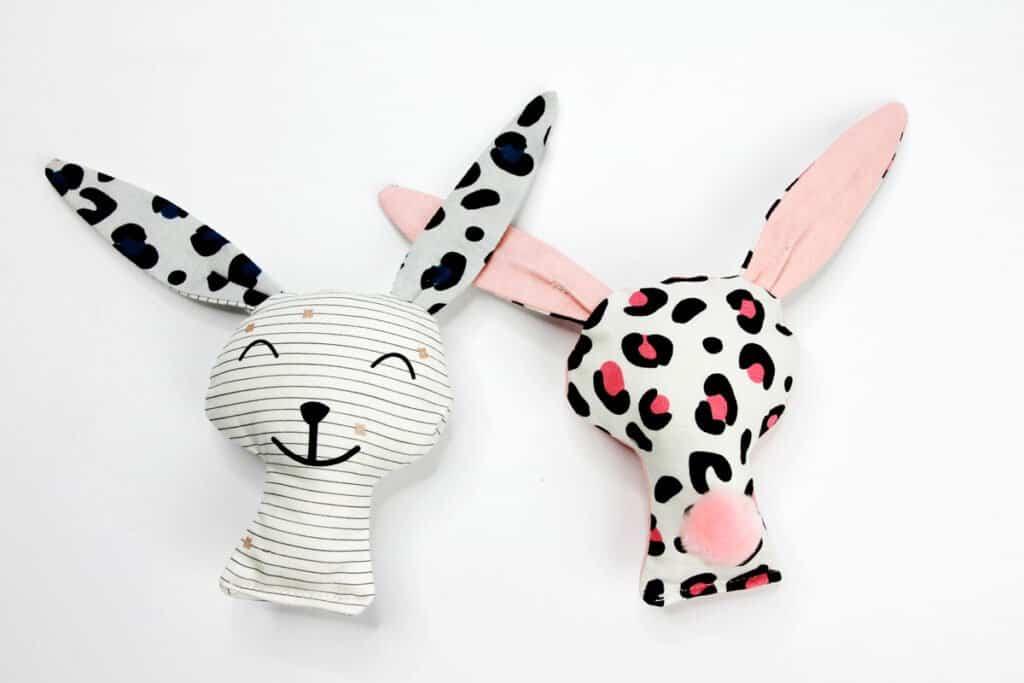
So today I am sharing a free bunny pattern that I used to make these two little bunnies for my kids. One has floppy ears and the second has wire in the ears so the stick straight up! The floppy eared one is the easier to make, but I think it is fun to have pose-able ears! This bunny pattern has a free pdf file and only includes a body and ears (no limbs) so it’s really easy to sew.
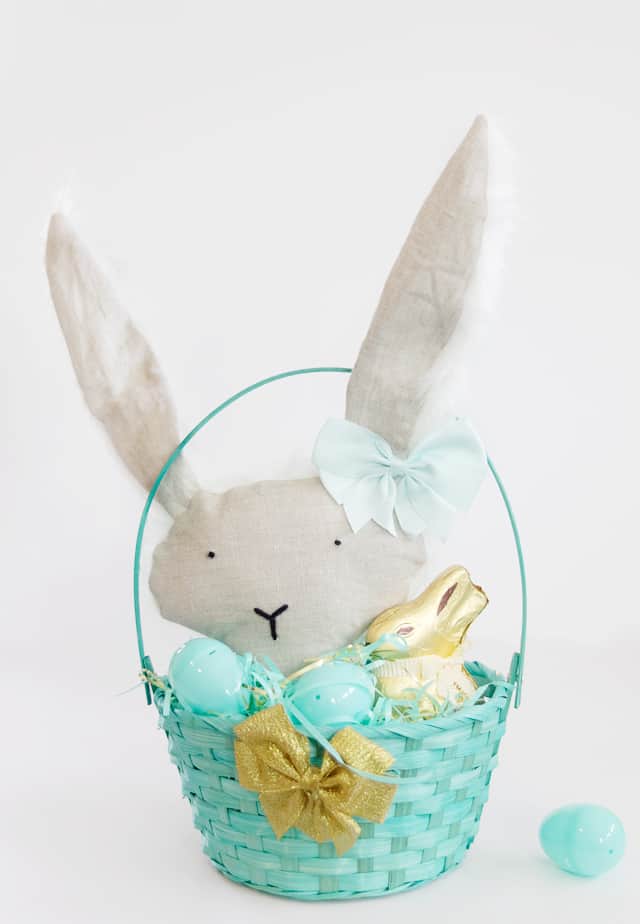
These are the perfect addition to any Easter basket! And they are super easy to make!
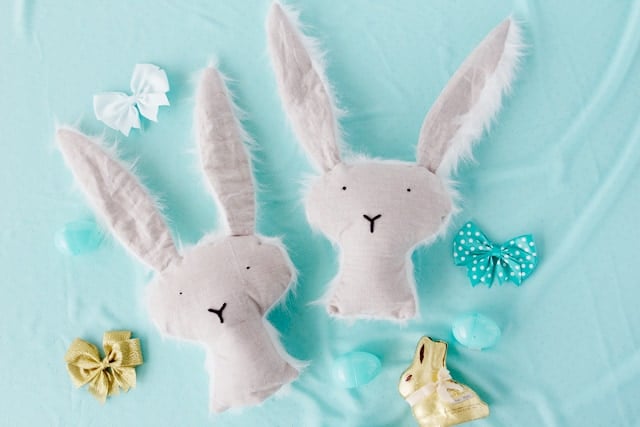
I used faux fur on the back with a linen front. You can use any fabrics really, plush fabrics work nice for a soft back.
Stuff Bunny Materials
- 1/2 yard* linen or cotton for front
- 1/2 yard* faux fur or coordinating fabric for back
- 1/2 yard* interfacing
- black yarn and yarn needle OR iron-on vinyl
- (optional) jewelry wire for ears
- fiberfill, I recommend cluster fill for more even stuffing
- Pom pom for tail
- SVG for bunny face, optional
*Smaller amounts needed for the mini version, use a fat quarter or fabric scraps
Free Bunny Softie Pattern
Download the pattern(s) below and print from your computer. Be sure to print the pattern download at 100% or DO NOT SCALE.
The large bunny pattern prints on 3 pages. Tape it together as shown.
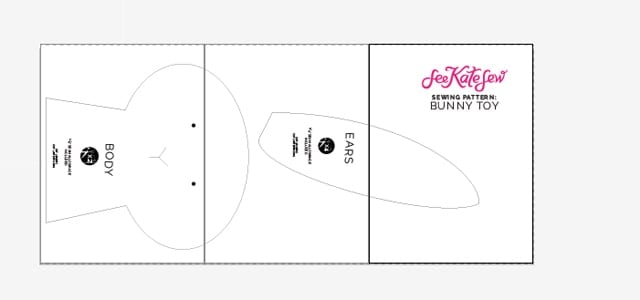
Mini Bunny Sewing Pattern
The mini version prints on one page.
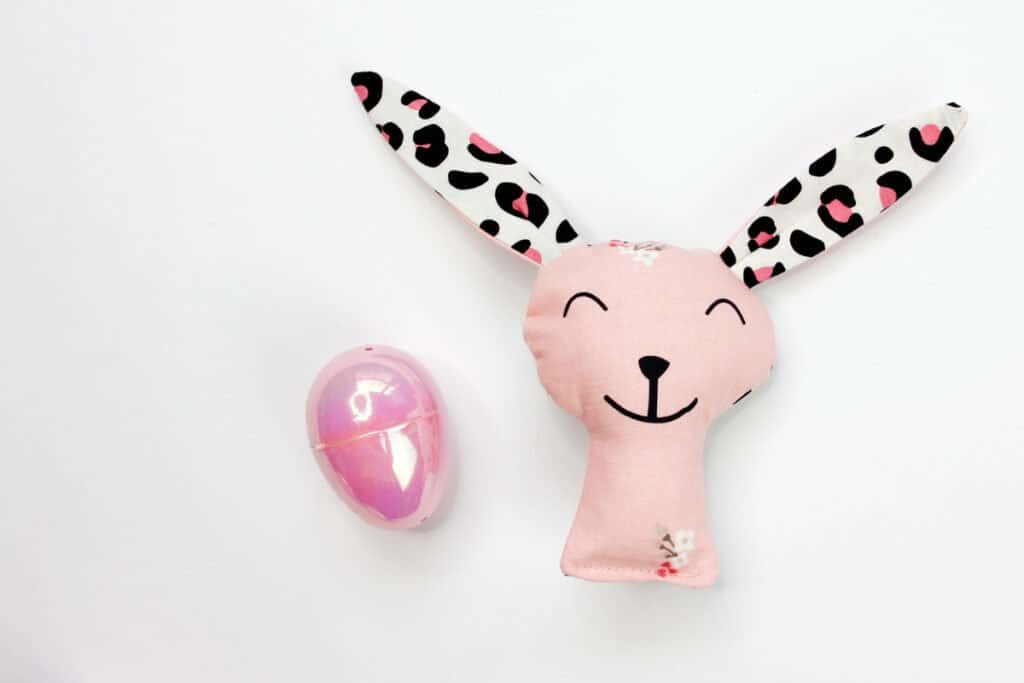
This mini bunny will give you a little taste of Easter plushies without a big space-taking toy! Here’s a standard plastic egg for size comparison!
Stuffed Easter Bunny Tutorial
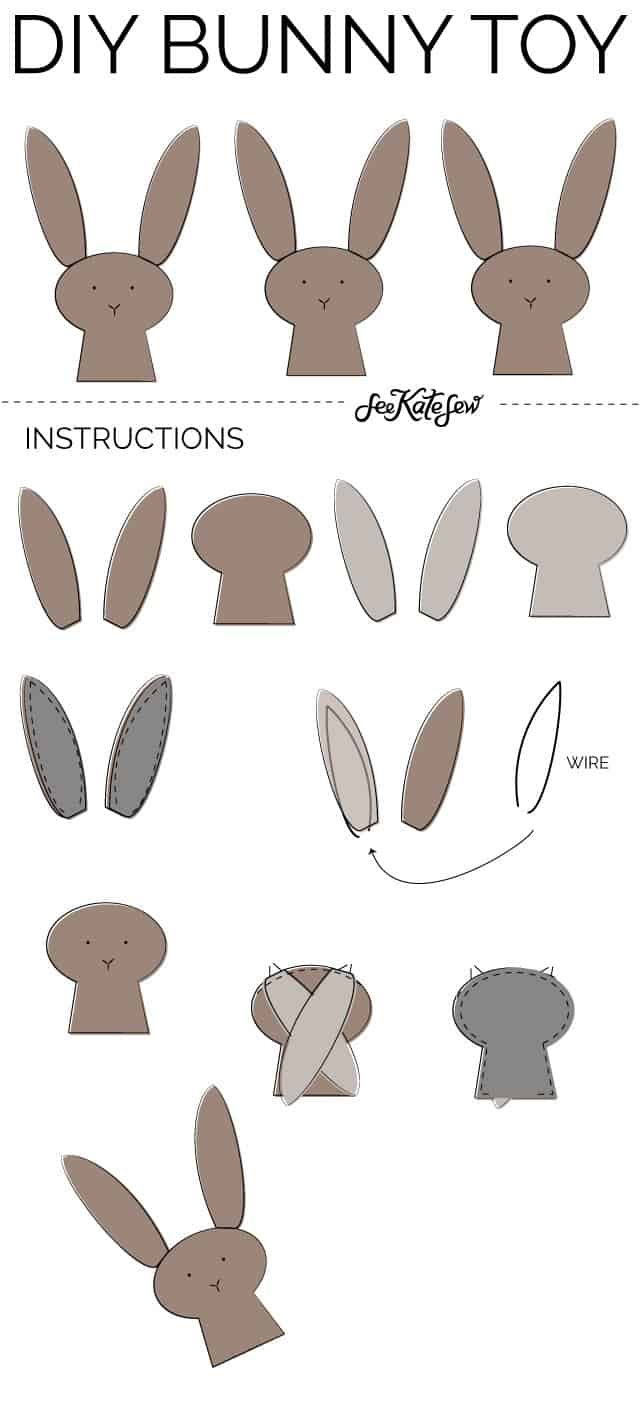
Free Bunny Softie Pattern Instructions
1. Print out the free pattern and tape together like so:
There will be about 1/2″ to trim on the edges of the paper.
Use 1/4″ seam allowance.
2. Cut out 1 main piece and 2 ear pieces from front fabric.
3. Cut out 1 main piece and 2 ear pieces from backing fabric.
4. Cut out 1 main piece and 2 bunny ear pieces from interfacing.
5. Fuse interfacing to back of front pieces.
6. Sew ears together with right sides together. Clip tips of ears.
7. Turn ears right side out and press lightly (if you are using faux fur, be careful not to melt it!)
8. Bend wire and stick it inside the ear. The wire ends should stick out about 1/2″-1″ after the bottom of the ear.
9. Use yarn and yarn needle to create the bunny face on the front fabric piece.
10. Pin bottom of ears to the top of the bunny’s head with right sides together. Wire will still be sticking out. Baste, being careful to not hit the wire with your needle.
11. Put backing on top of bunny front. Right sides will be together. Sew around the bunny, leaving a small opening at the bottom. Clip corners and curves.
12. Turn bunny, stuff and sew the bottom closed by hand using a slip stitch.
Mini Stuffed Bunny Toy Pattern Instructions
The mini bunny pattern is sewn pretty much the same way. It’s much smaller so you can add it to the top of your basket or make a mama and babies.
Here are a few little adjustments:
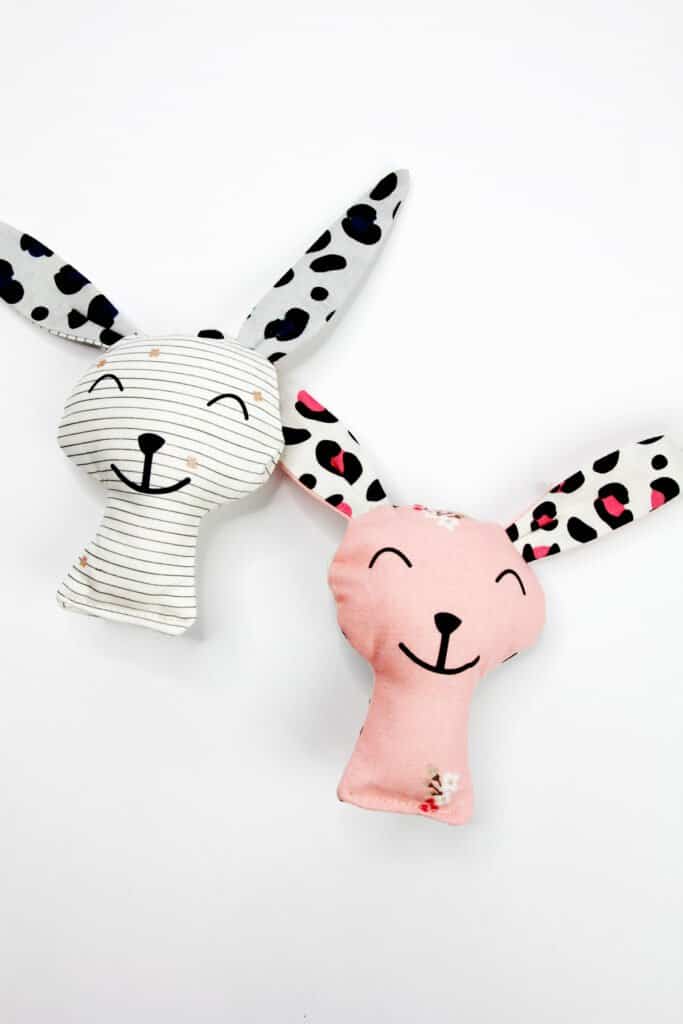
Interface the back of the ears and the main body pieces. Apply face to front body before sewing. I used Cricut Design space and searched for “bunny face” to get this one.
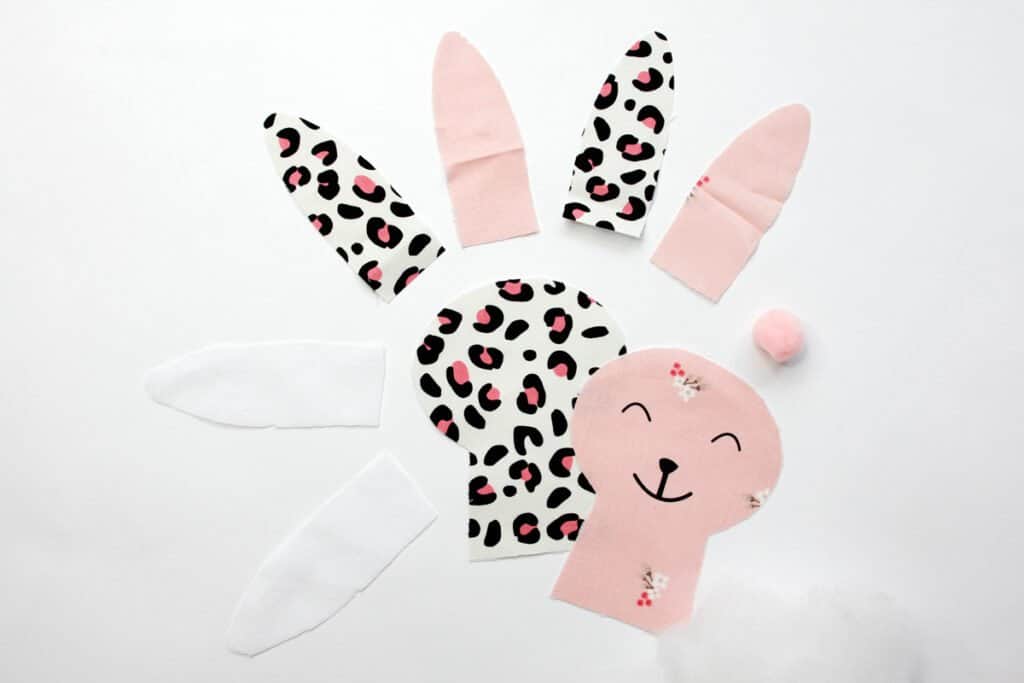
Sew ears, leaving the bottoms open. Then fold and press ear in half with inner ear pinched in the middle. Sew a little dart 1/2″ up from the bottom of the ear, about 1/4″ from the folded edges.
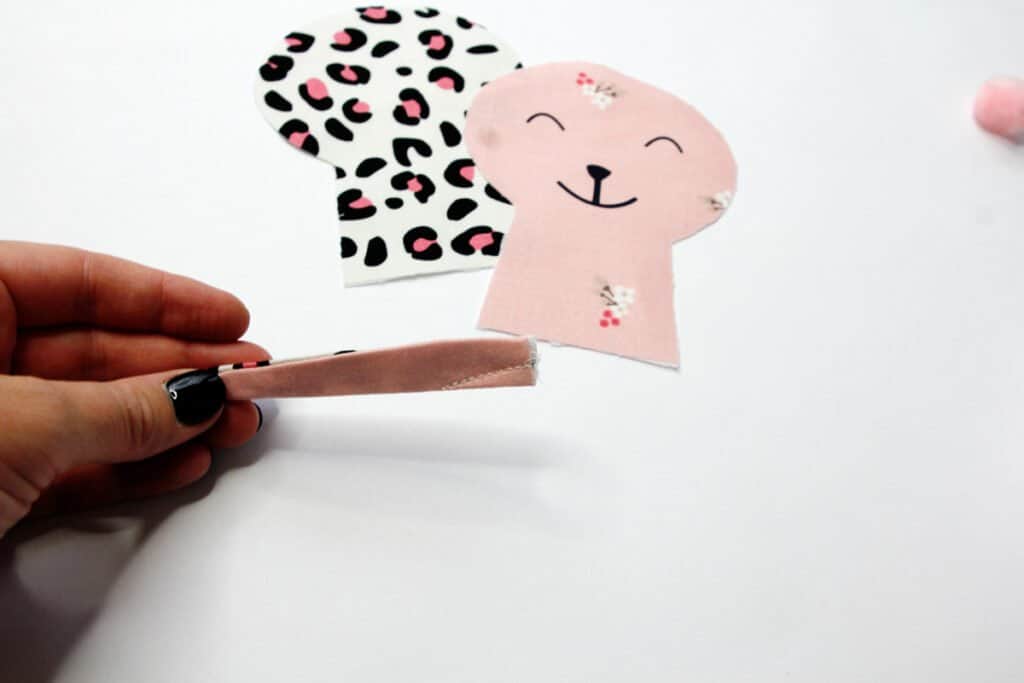
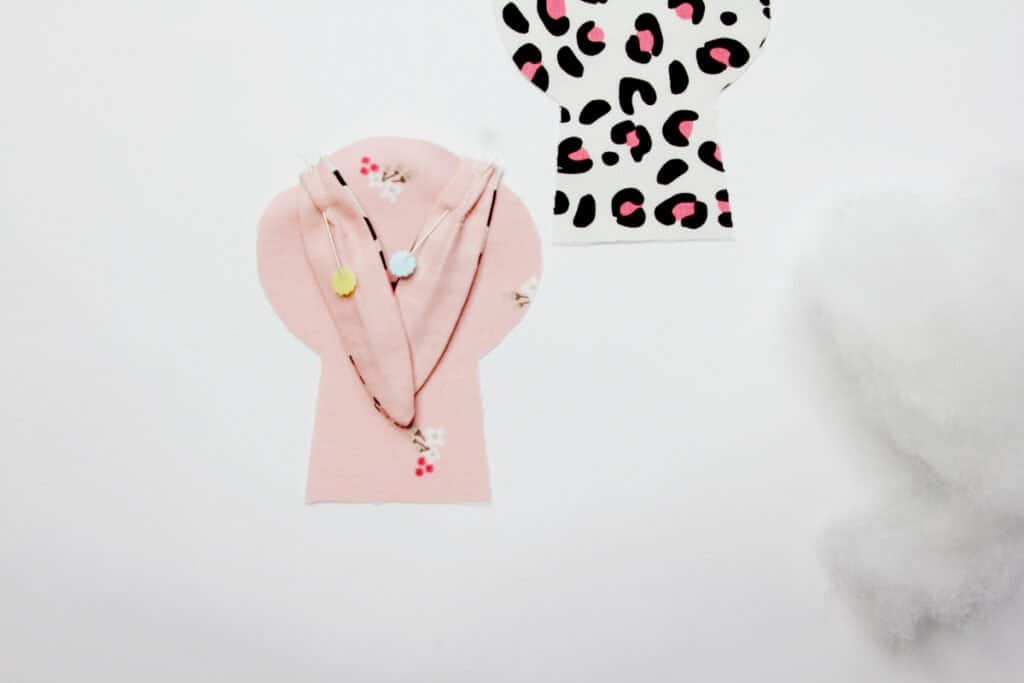
Pin the ears face down with the dart folded to one side.
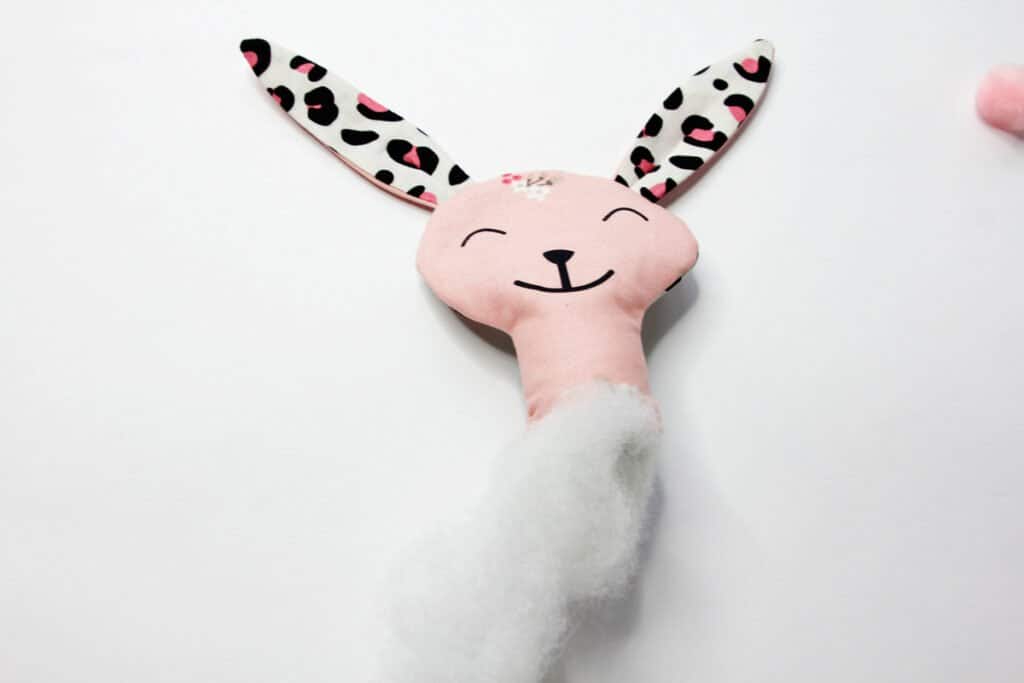
Assemble and stuff.
Instead of hand sewing the bunny bottom, pin the bottom edges together and topstitch shut.
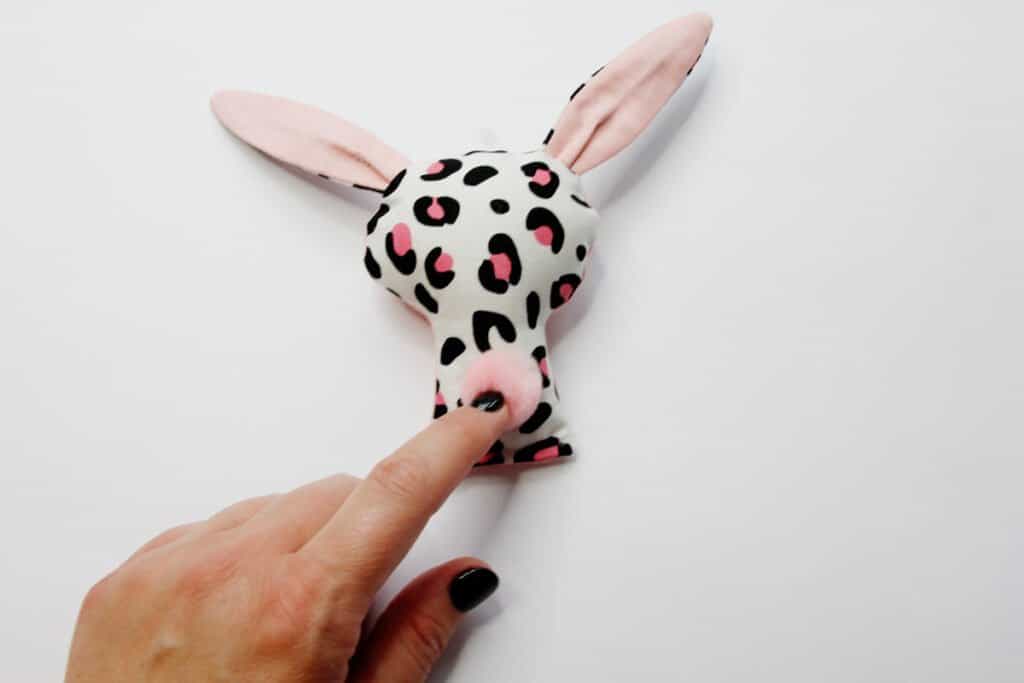
Glue a pom pom on the back for a tail.



Bunny is so cute, thank you.
So adorable ????
Adorable! Thank you!!!