
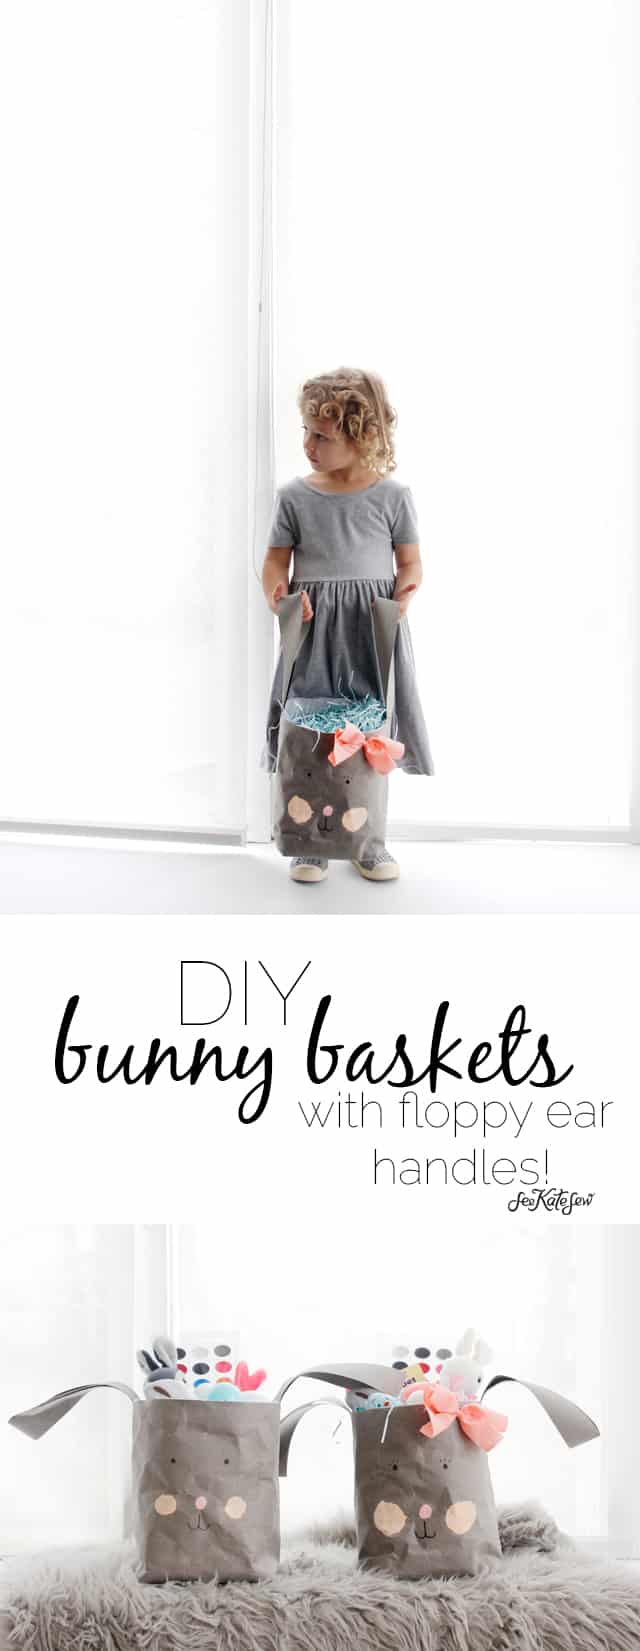
When you hold the handles, the ears stick straight up!
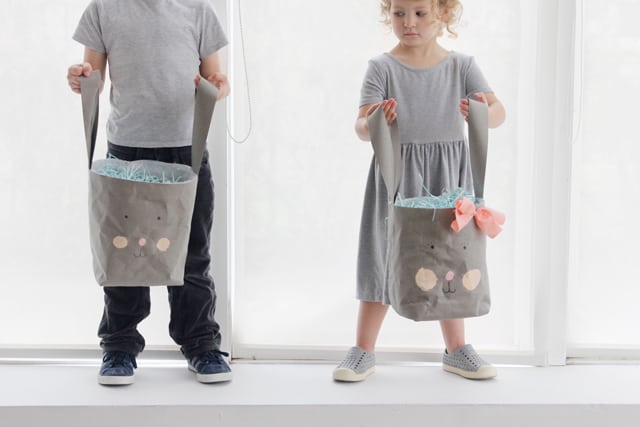
And set them down, the ears will flop out. Adorable!
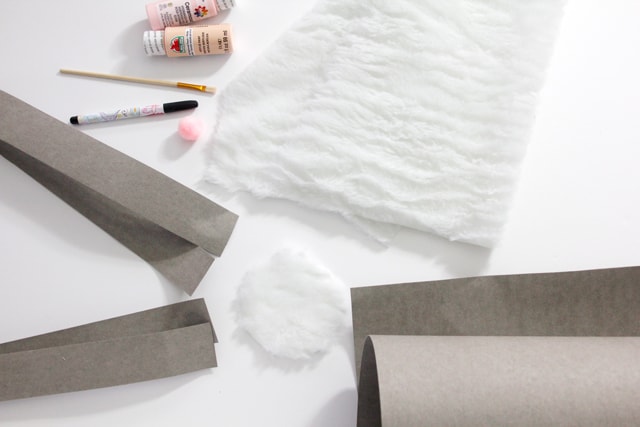
Materials:
-Grey (or white) Kraft Tex*, buy it straight from C+T Publishing, or on Amazon
-1 yard faux fur for lining + tail –Mini Glue Gun with sticks -Acyrlic Paint for cheeks and nose (I’m using Plaid Sunkissed Peach and Ceramcoat Hydrangea Pink)
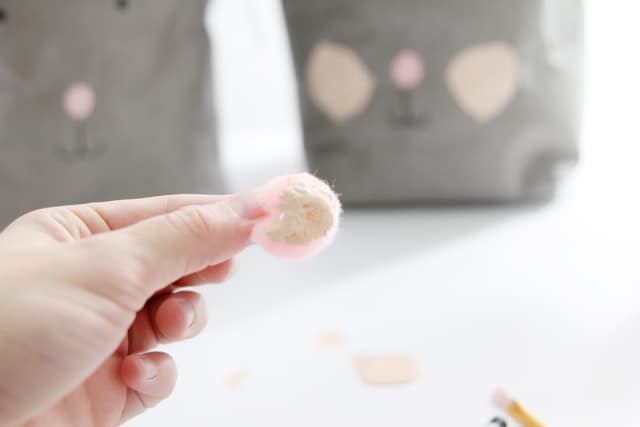
–1″ pink pom poms (I originally bought these for noses, but decided to paint it on instead. I used the pom pom to paint the cheeks.)
–Bunny Tail Template
-scrap fabric for optional bow
*1 roll will make ONE bunny basket at this size, with extra scraps. Adjust the dimensions slighlty (27″ by 13″) and you’ll be able to get 2 baskets from 1 roll. I figured this out after I made mine ;)
Kraft-tex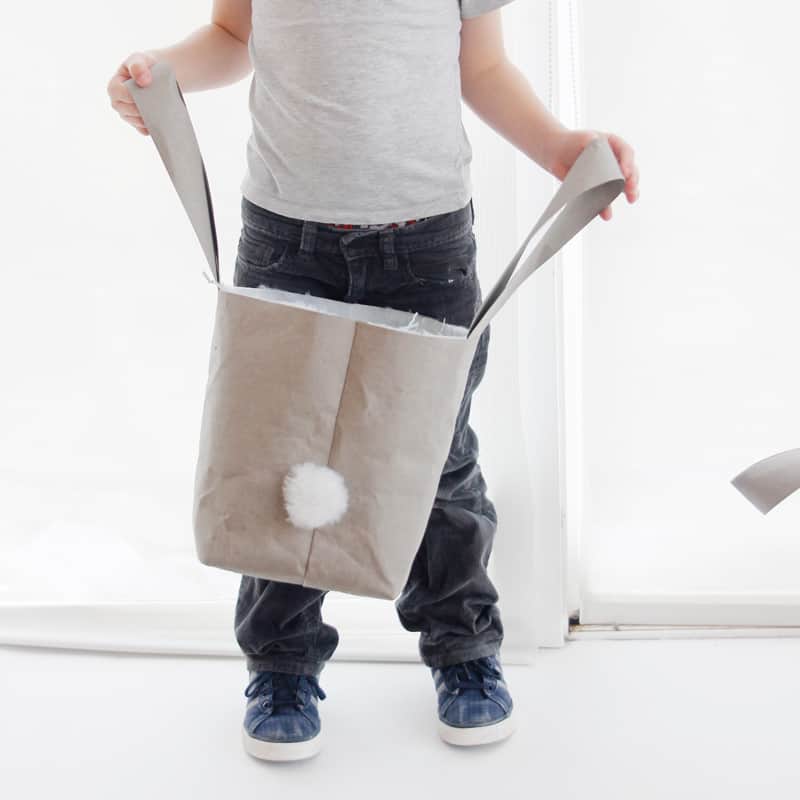
Cutting Instructions: Cut 1 each: Kraft-tex + Faux Fur 29″ by 14″ Cut 2 Handles: from Kraft-Tex 22″ by 2″ Cut 1 tail from Faux Fur using template Bow: 7.5″ by 6″ with scrap fabric 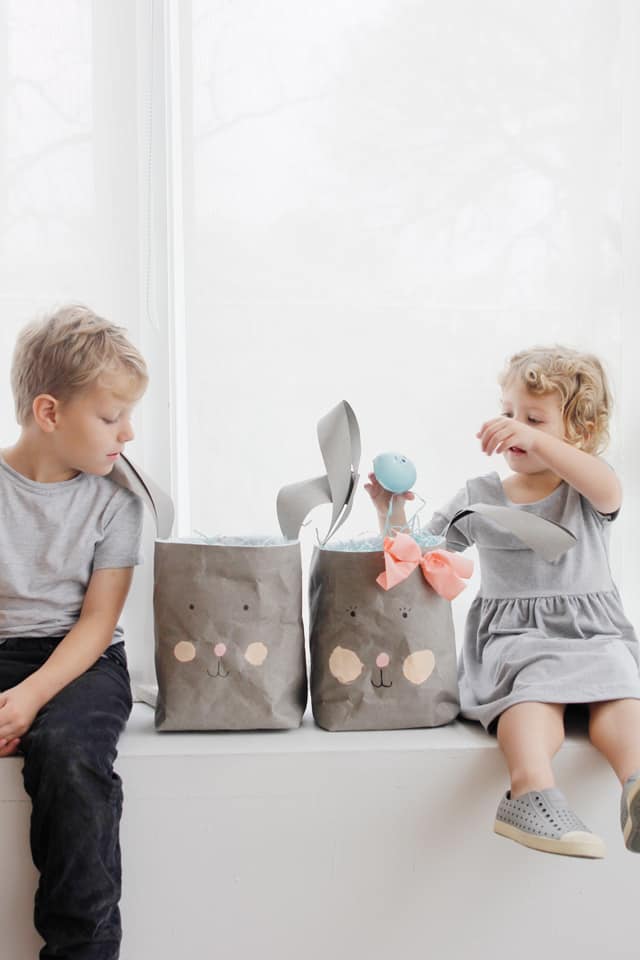
Instructions:
Start with the main basket pieces, you’ll have one from kraft-tex and one from faux fur. Fold piece in half with right sides together and sew short edge. Flatten the pouch so the seam you just sewed runs down the middle of the pouch. Then sew the bottom edge.
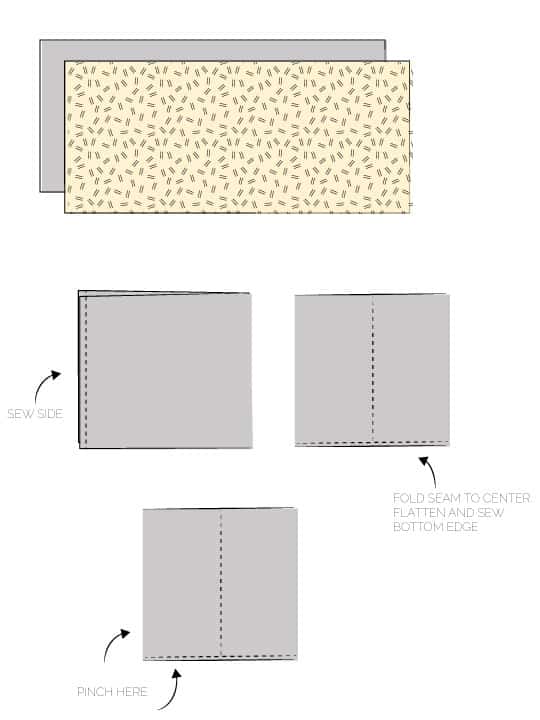
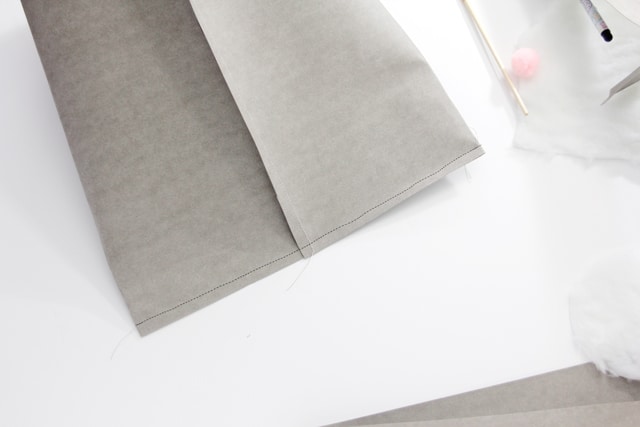
Pinch the sides perpendicular to the flat seam so you have a dimensional box.
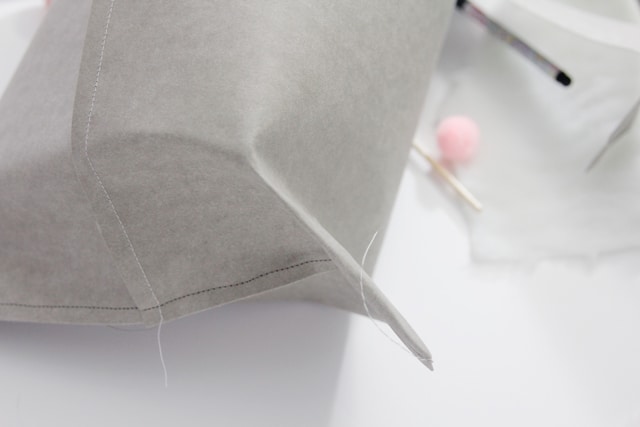
Measure 3″ from the point and mark a line with a pencil.
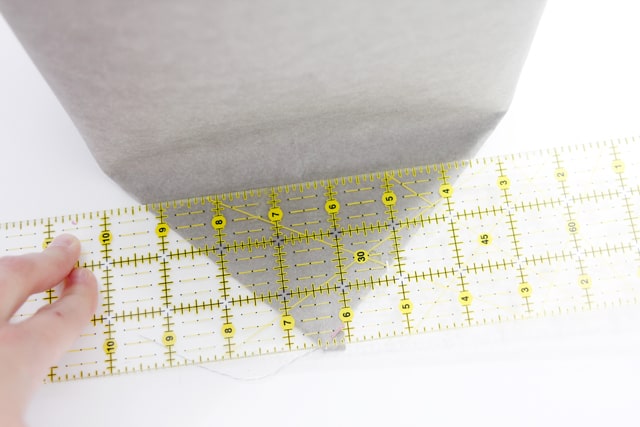
Sew over the line and trim off the excess.
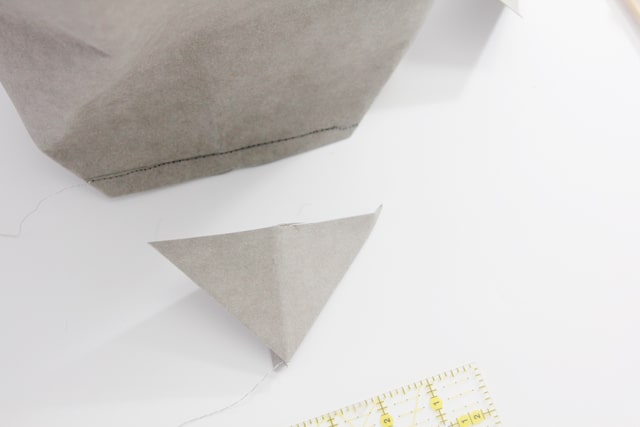
Repeat on the other side. Then repeat all steps above with faux fur.
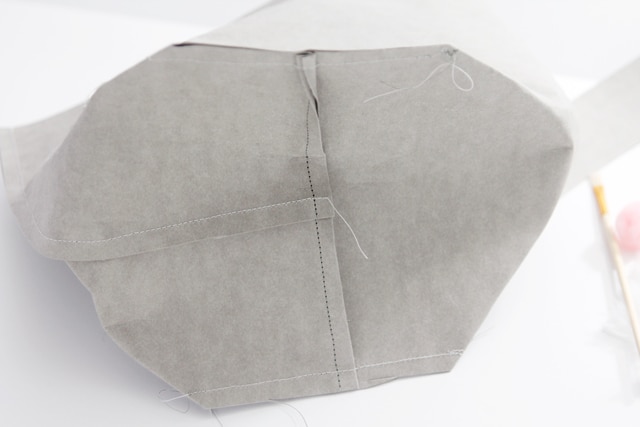
Turn right side out. (Leave faux fur wrong sides out.) Turning Kraft-tex is a little tricky, since it’s so stiff and durable. That’s why we love it, though. Don’t worry about breaking it, it’s tough. So push it right side out and flatten out the crinkles a little.
Fold Handles in half and match bottom edges. Clip together then clip to inside of basket. Place faux fur basket inside and clip together with handles in between. 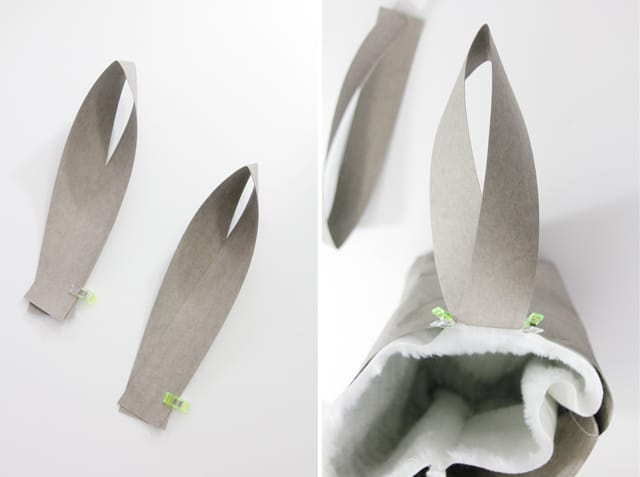
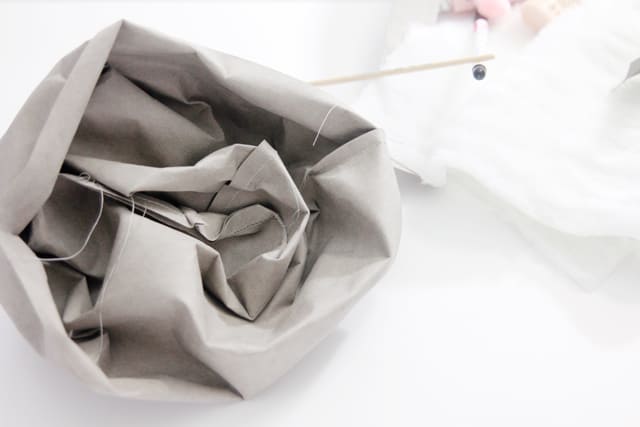
Sew a rectangle around the bottom of the handles to attach to outer and lining. The bottom edges of the handles will be about 1-1.5″ below top edge. 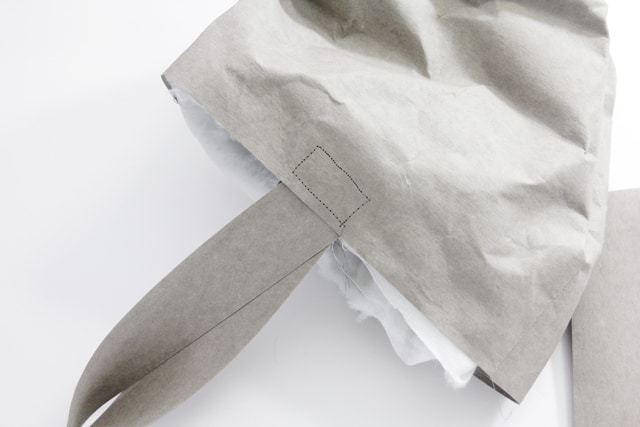
Repeat with the second handle. Then glue the faux fur to the kraft tex with glue gun, all the way around the top. 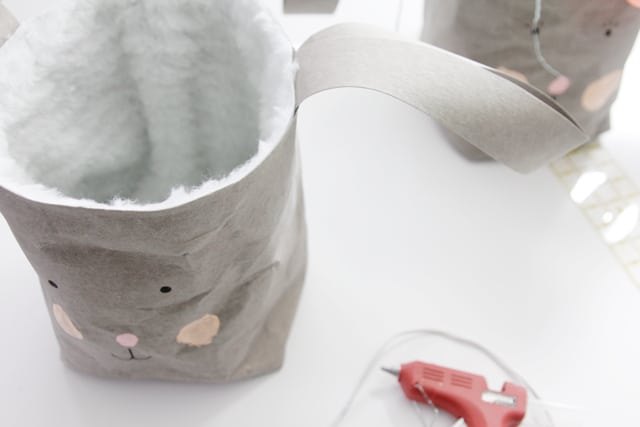
Paint nose with a paintbrush, then draw in a mouth and eyes. (And eyelashes if you want!)
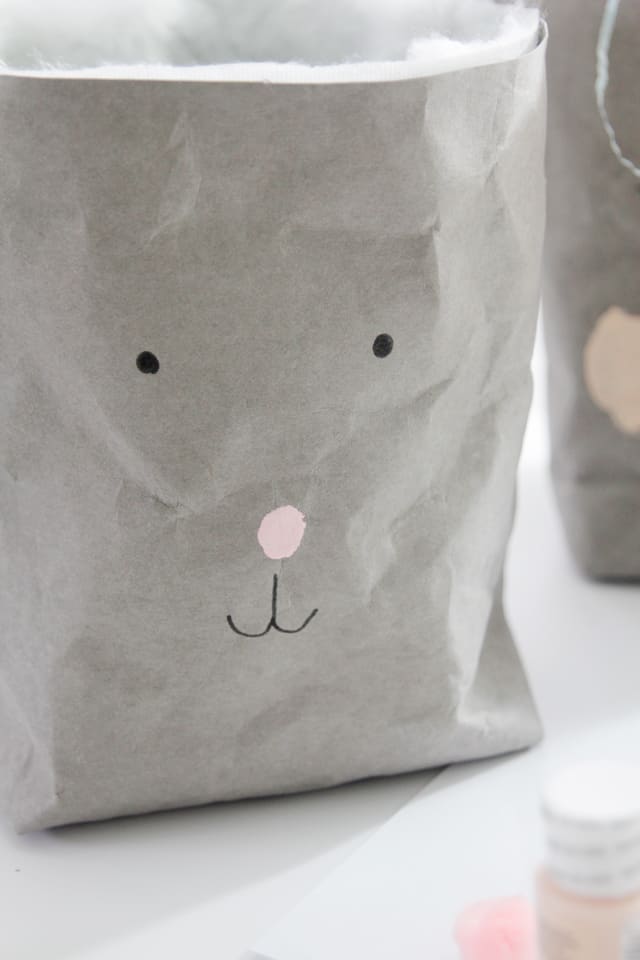
Use a pom pom to paint on cheeks.
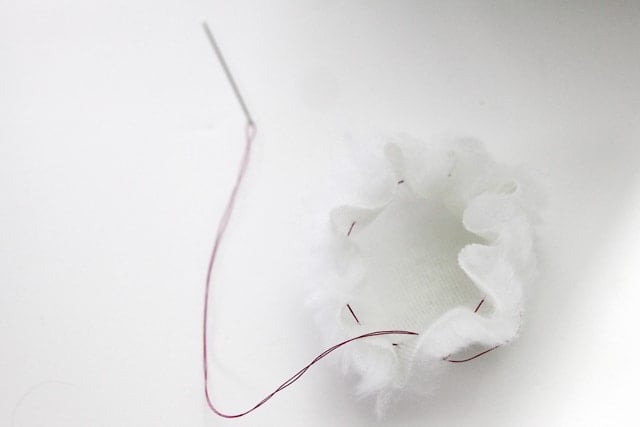
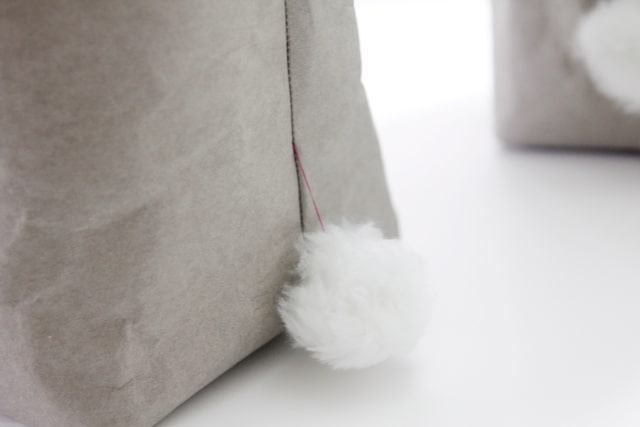
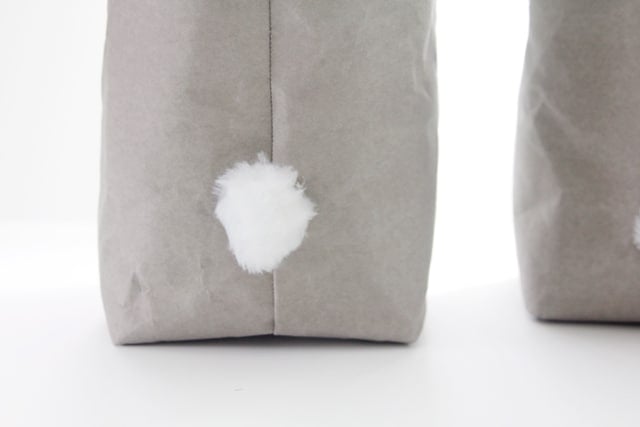
For the tail, use a needle and thread to create large basting stitches around circle.
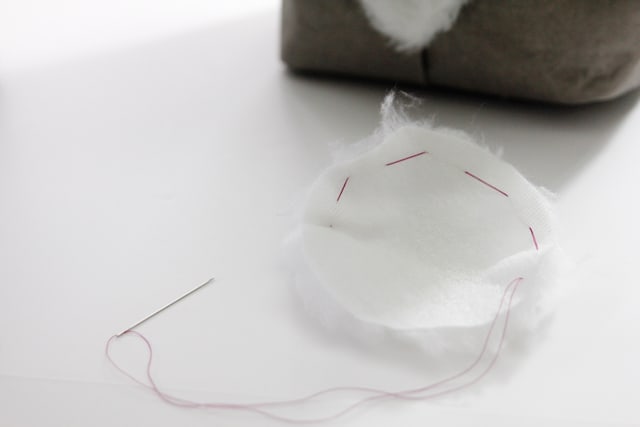
Pull baste stitching to form a little pom pom.
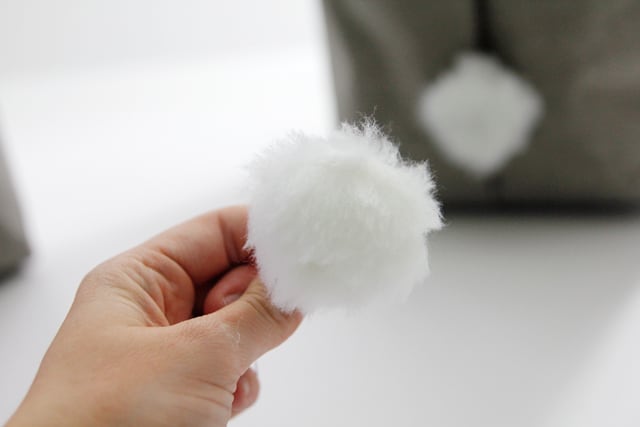
Sew to the back of the basket and then reinforce with glue gun.
To make the bow: treat edges with 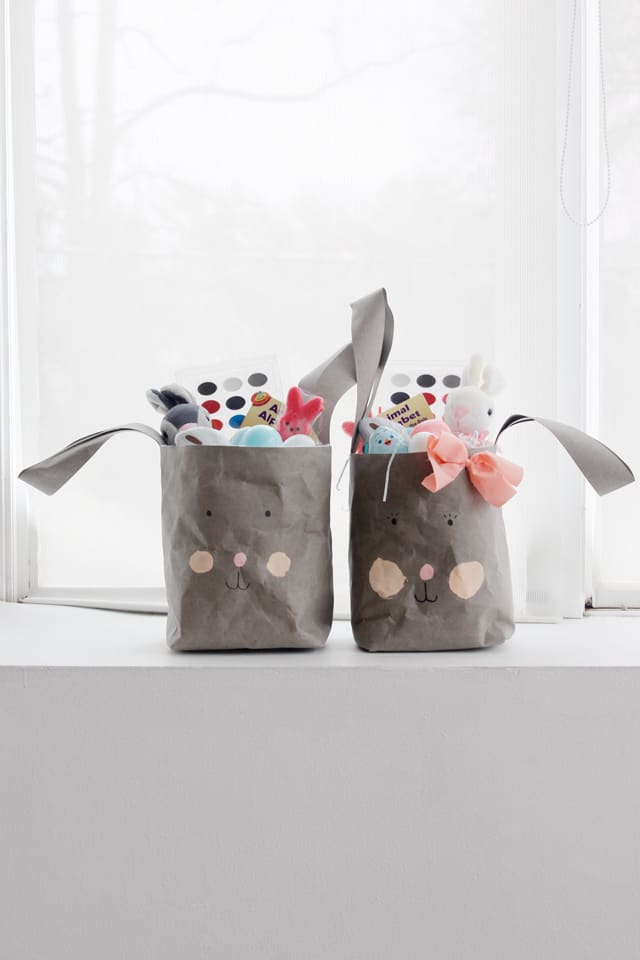
For more Kraft Tex projects, check out my printed zipper pouches and the book Kraft-Tex Style! Stay tuned for a fun giveaway, too!
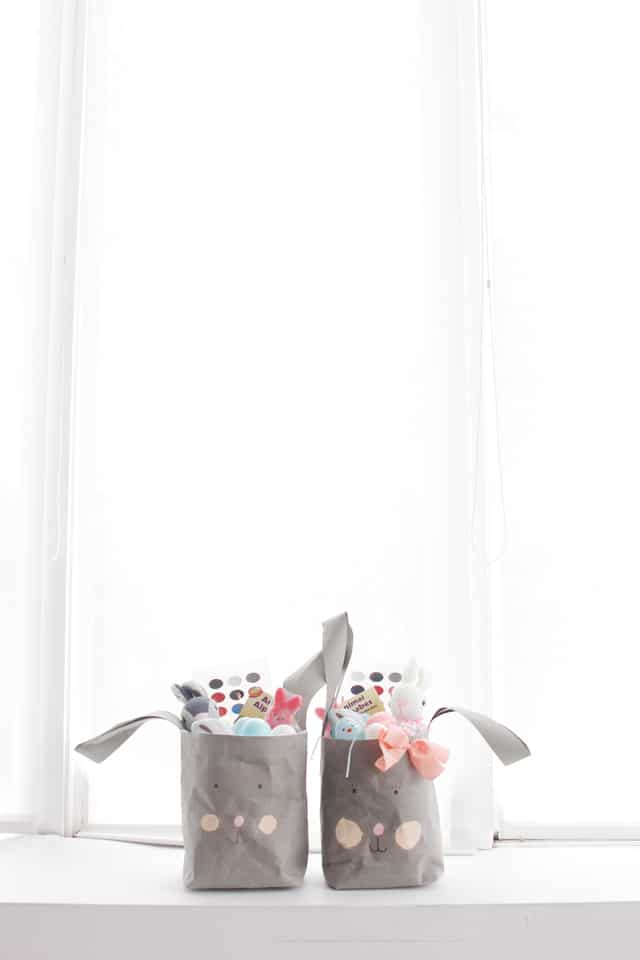
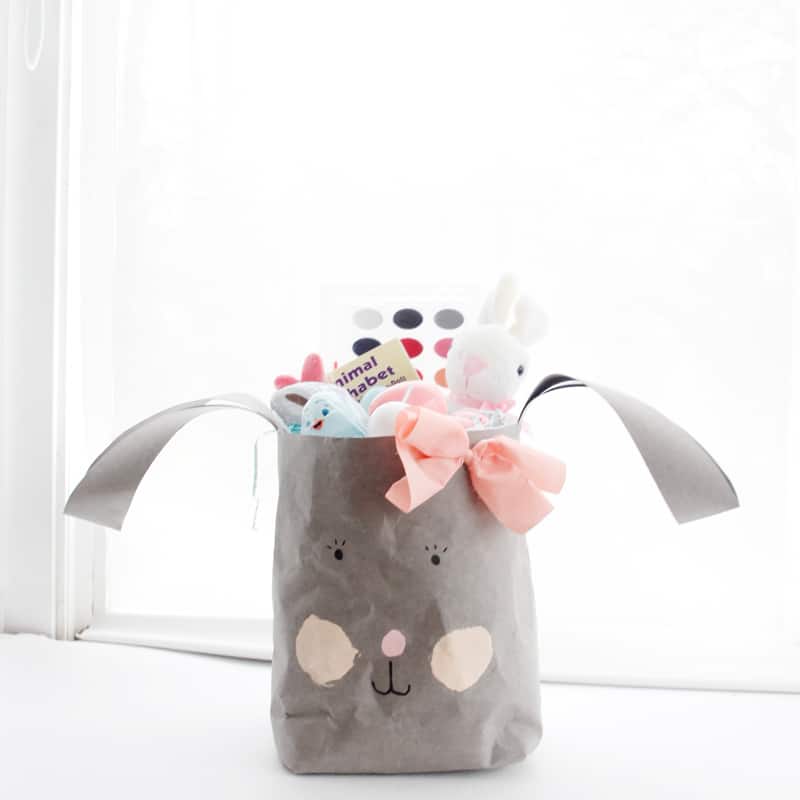
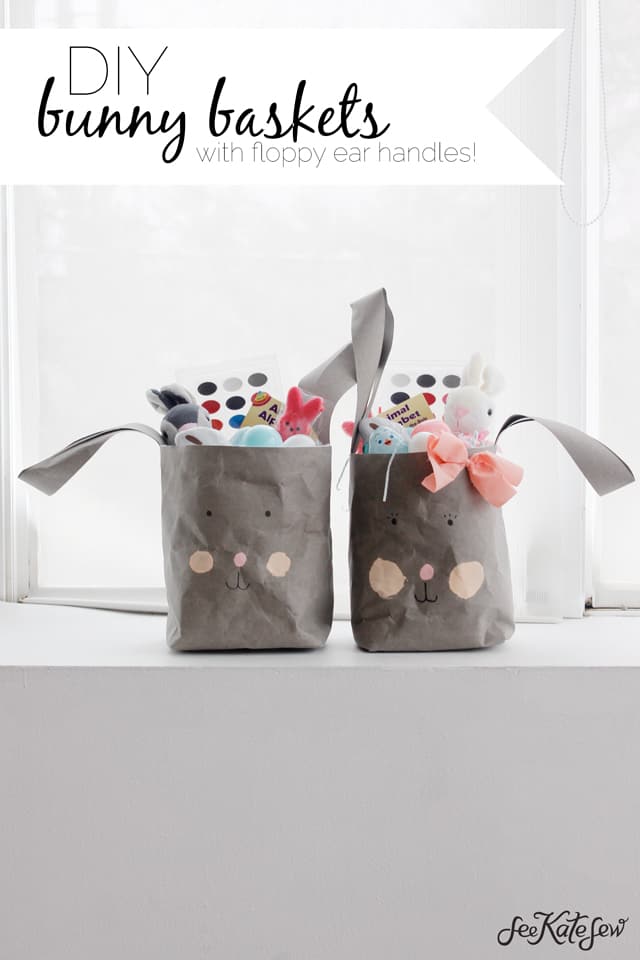
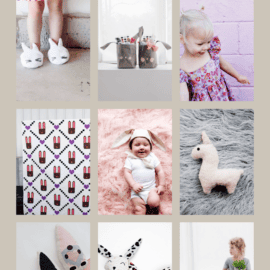
I tried to find some non-junky, non-candy basket fillers and ended up with a deluxe watercolor set (for less than $4), connect the dot ABC book, a bunny plush, and socks and sticker for egg fillers!


These are so cute!
Ohhh, those are cute!! I’ve featured your bunny bags on Craft Gossip: http://sewing.craftgossip.com/tutorial-easter-bunny-basket-bags/2016/03/18/ –Anne