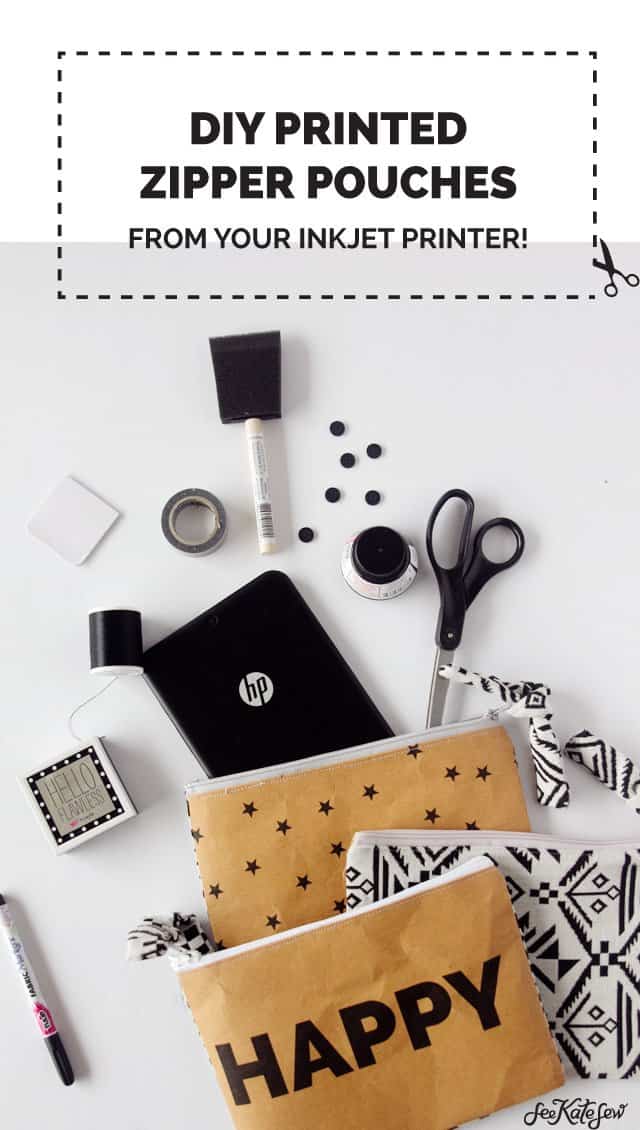
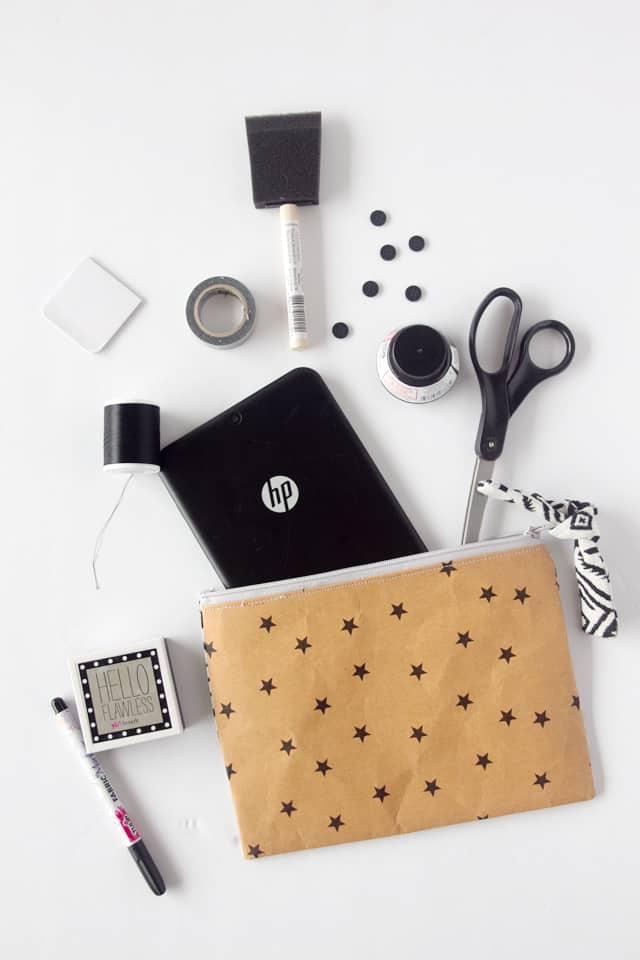
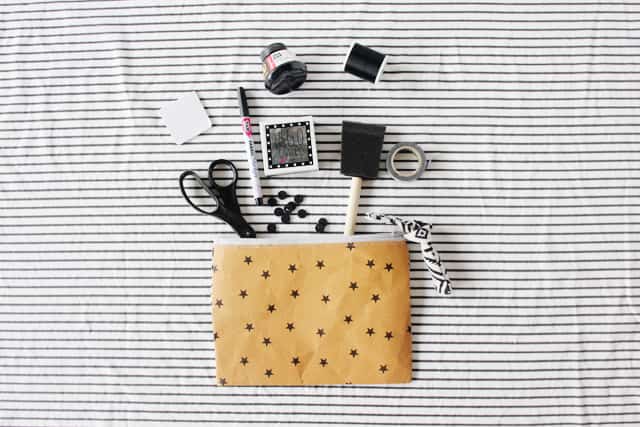
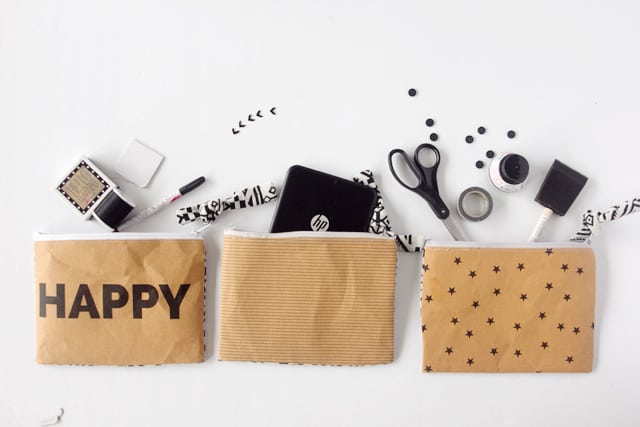
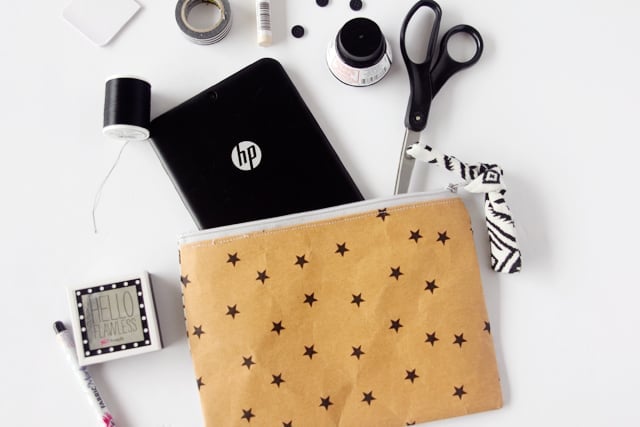
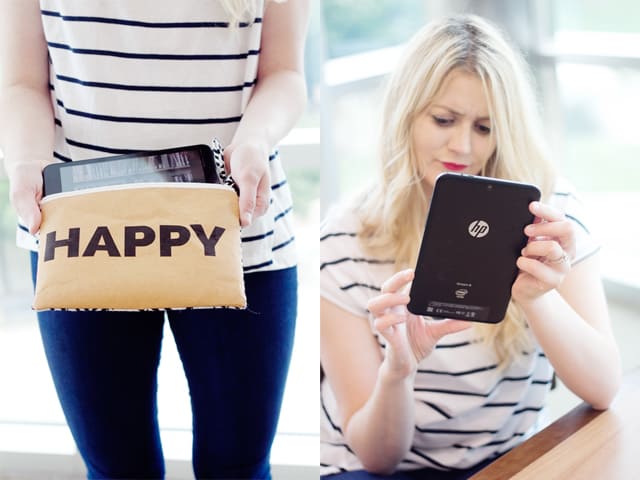
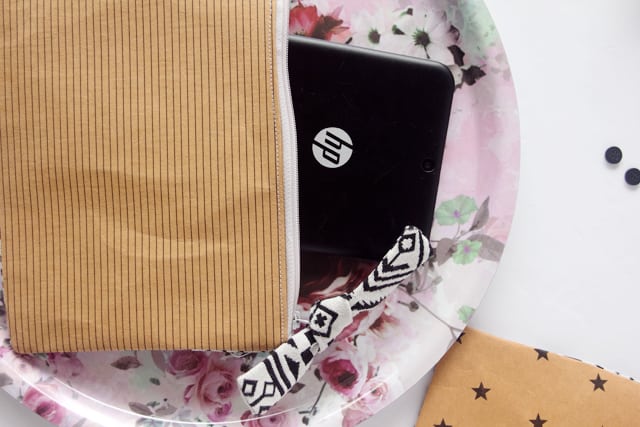
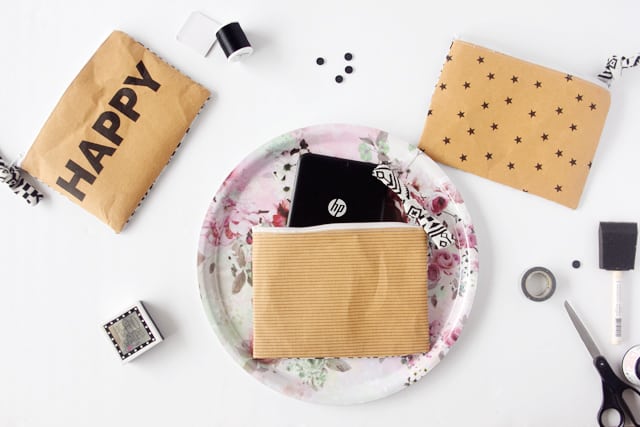
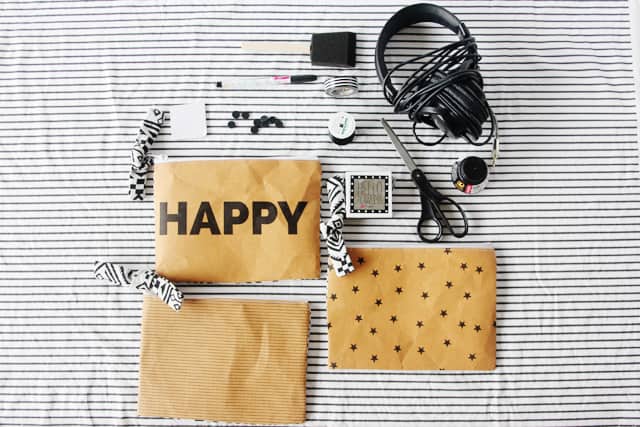
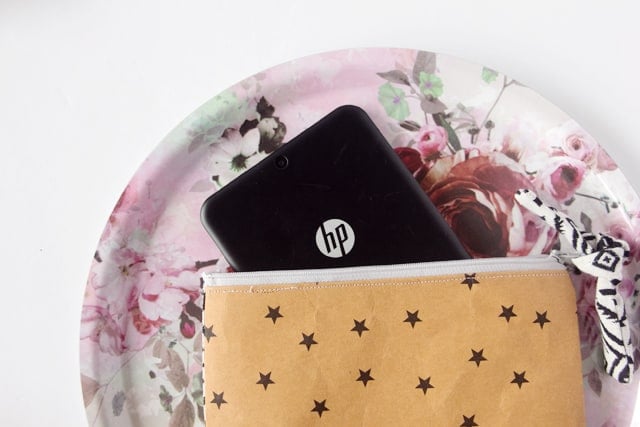
Yesterday I posted about 5 secrets to doing it all, including sneaking away to my “happy place.” I made these printed pouches to go along with that post! I made the HAPPY pouch to hold my tablet but it was so fun I made a few more. Today I’m sharing the tutorial for these pouches!
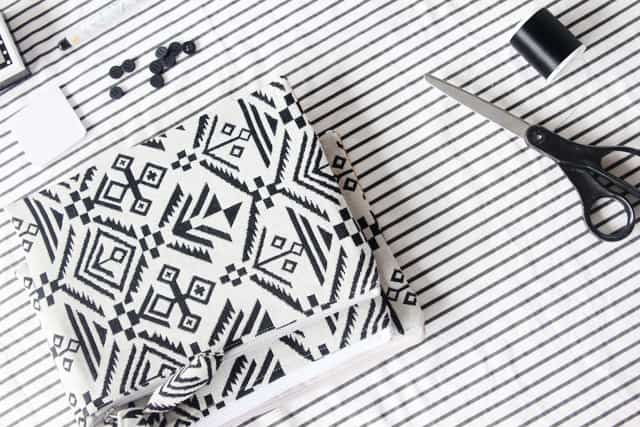
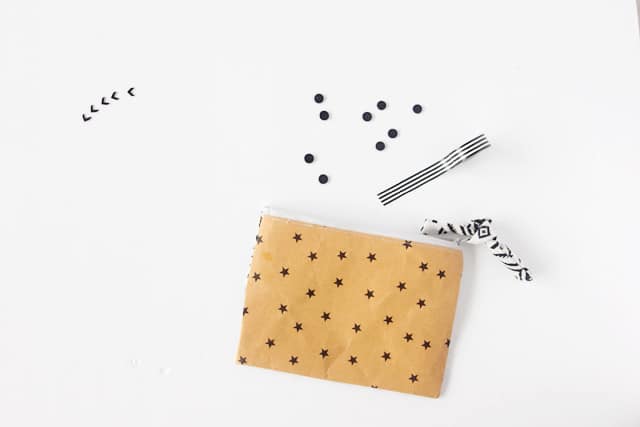
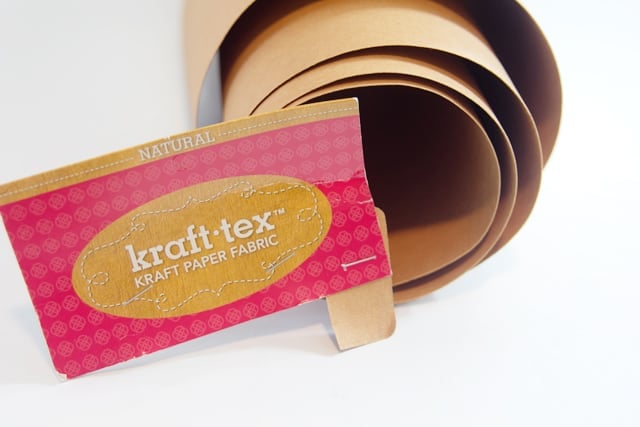
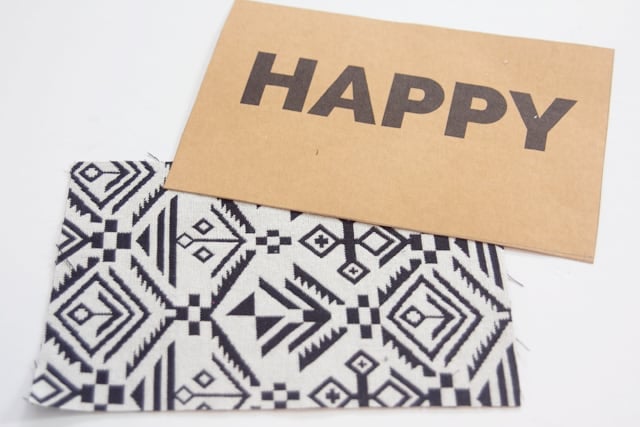
I recently found out about this cool product called Kraft Tex, that is just like Kraft paper but it is actually a durable FABRIC! As soon as I saw it I thought it would be fun to put it through my printer! This is a true mixed media project and I love how fun they are. There are SO many possibilities with this, because you can design anything you want on your computer and print it out. You can even do colors! And custom pouches for specific events! So fun! I started out with these modern black and white pouches, backed with a black and white twill from Joann.
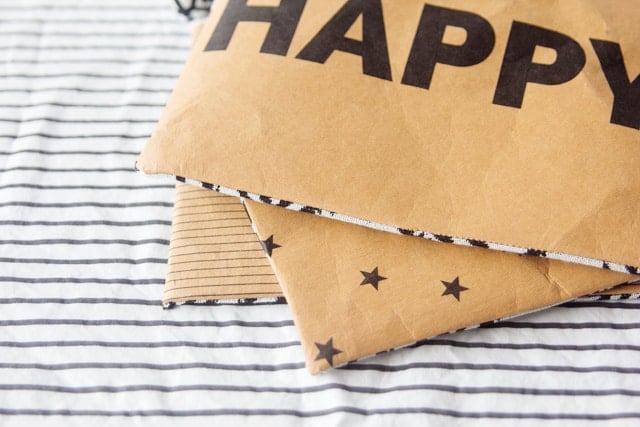
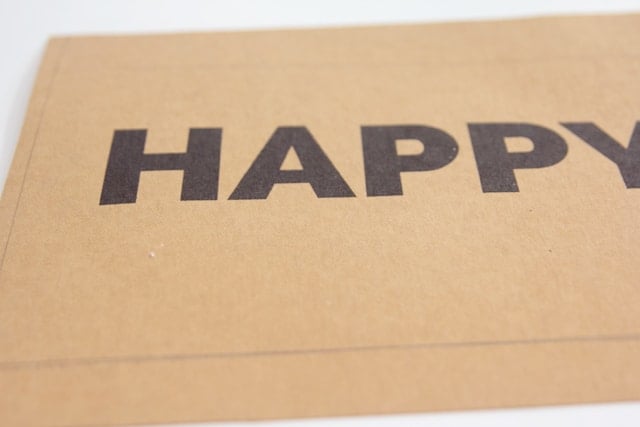
I printed stars, lines and HAPPY on sheets of Kraft-tex that I trimmed down to 8.5″ by 11″ so it would fit in my printer. My old printer had a little trouble figuring out how to get the thick paper through. I ironed the paper on low to flatten it out. Since it comes on a roll, it was a little curved at first. My newer printer had no problem with it, though! It’s probably a little thicker than cardstock.
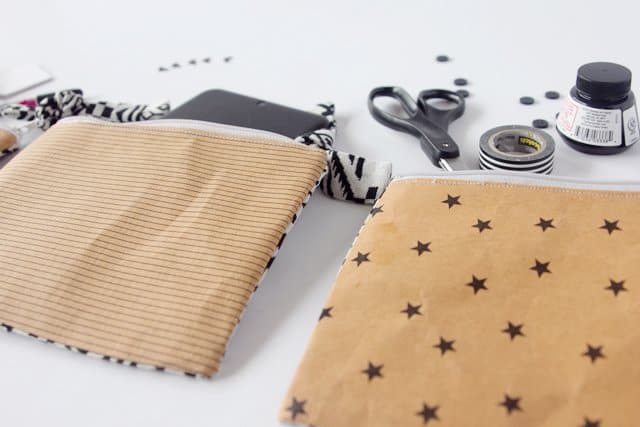
I love the crinkled look of the Kraft-tex! It’s also very durable.

DIY Printed Zipper Pouch///
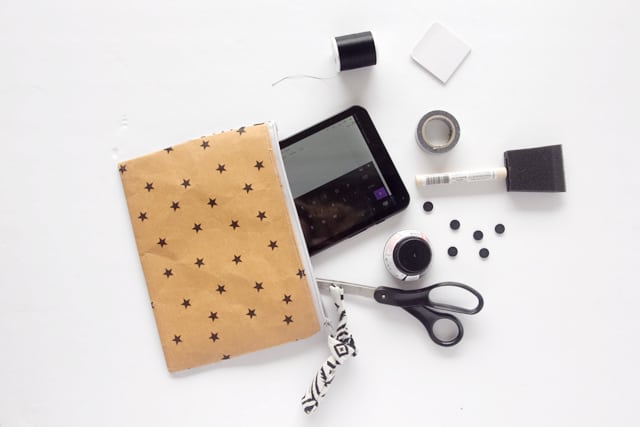
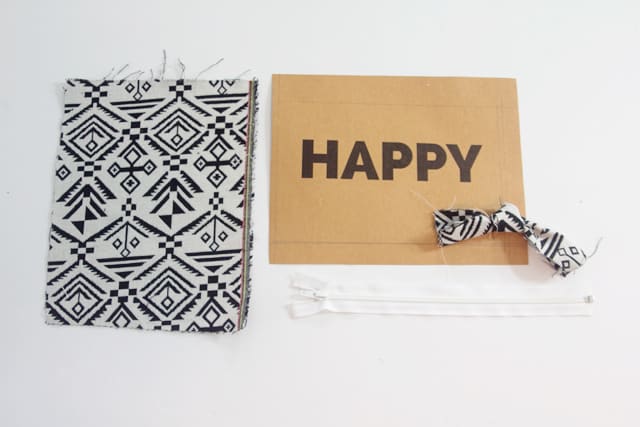
Materials:
–Kraft-Tex
-Backing Fabric
-14″ Zipper
–Printables for HAPPY, stripes and stars (or print your own design!)
Let’s get started!
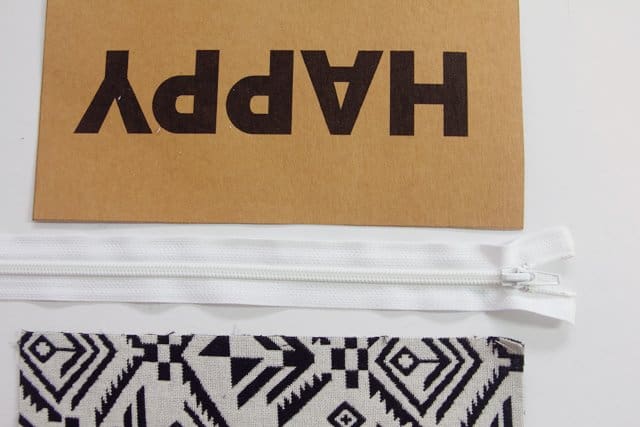
Print off your design on the paper.
Cut two rectangles: 7.5″ by 10.5″, one with the backing fabric and one from the Kraft-tex
Cut one rectangle 3″ by 9-10″ for a zipper tie.
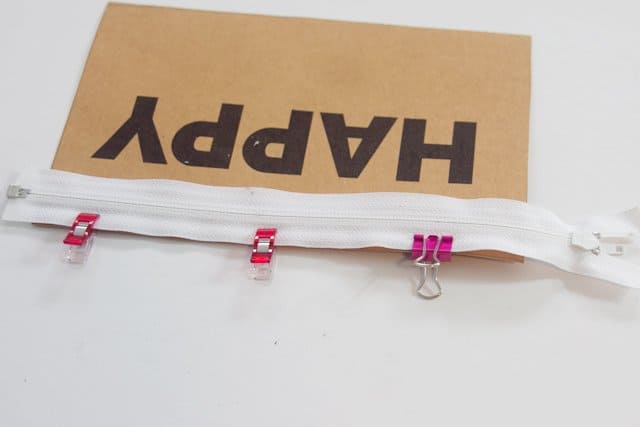
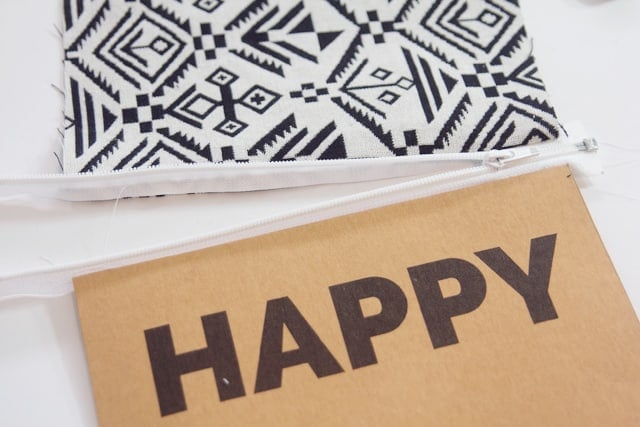
Clip the the zipper face down on the Kraft-tex. You don’t want to pin this paper/fabric because the pins will leave holes.
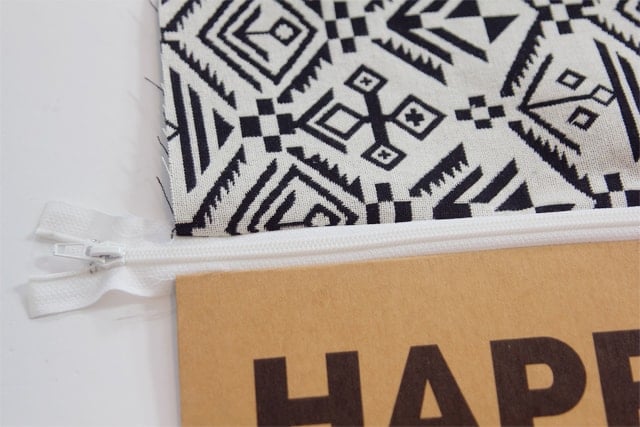
Sew and then fold the seam allowance down.

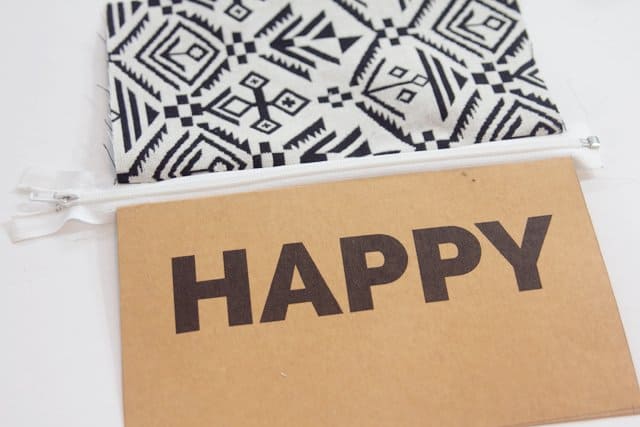
Optional: Topstitch along zipper to secure seam allowance.
Repeat on the other side of the pouch with the fabric. Make sure to line up the fabrics at the same point on the zipper, so they match up. Then, open the zipper most of the way.
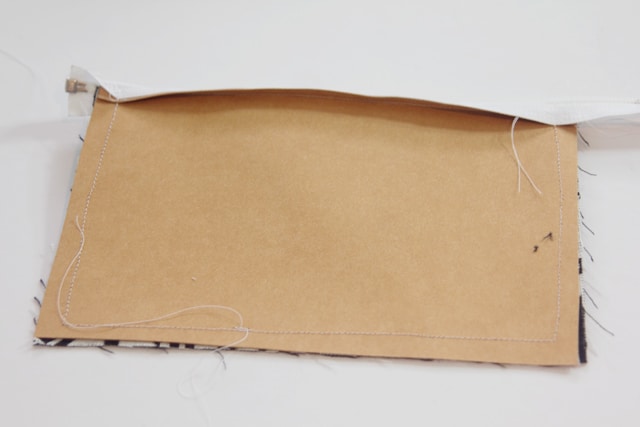
Match the front and back of the pouch, and clip together. Sew around the pouch, sewing the zipper pieces towards the bottom of the pouch. Pivot at the corners.
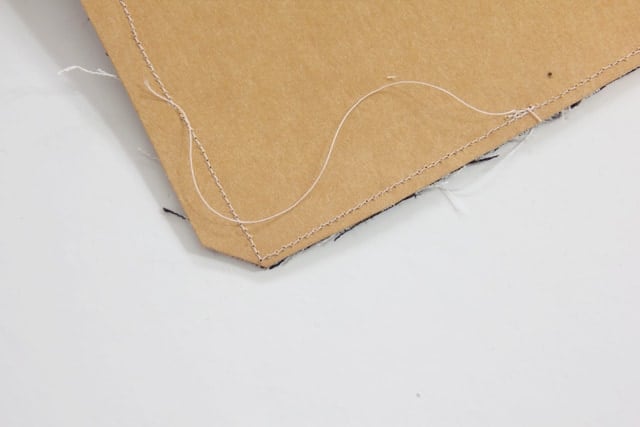
Clip the corners and trim the seam allowances a little bit.
Turn your pouch! It is a little tricky to turn the Kraft-tex, since it has a thick paper consistency, but just crinkle it up a bit and push it through the zipper. I used the ends of my scissors to get the corners sharp.
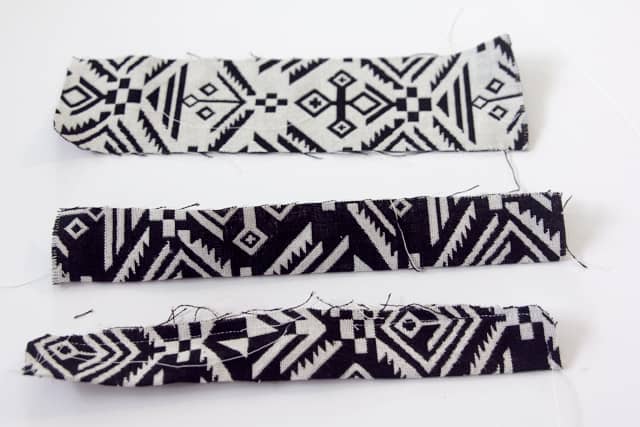
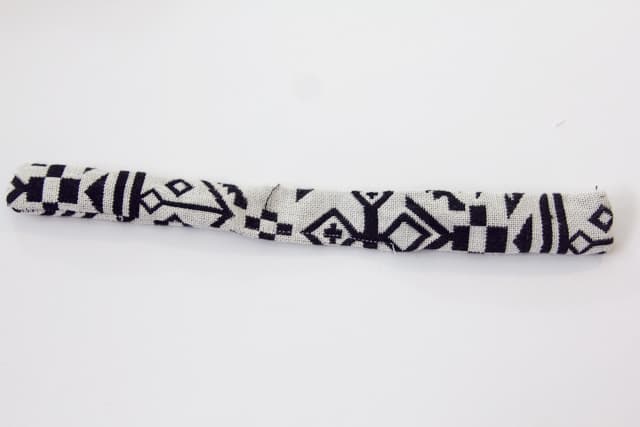
For the tie, press the strip in half and sew around the edges and corners, leaving a 2″ opening in the middle of the strip.
Turn and topstitch over the opening that you left.
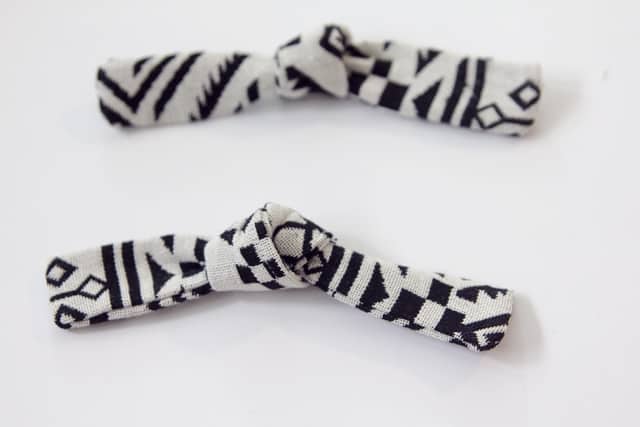
When you tie it in a knot, the stitching will be hidden, so don’t worry about that.
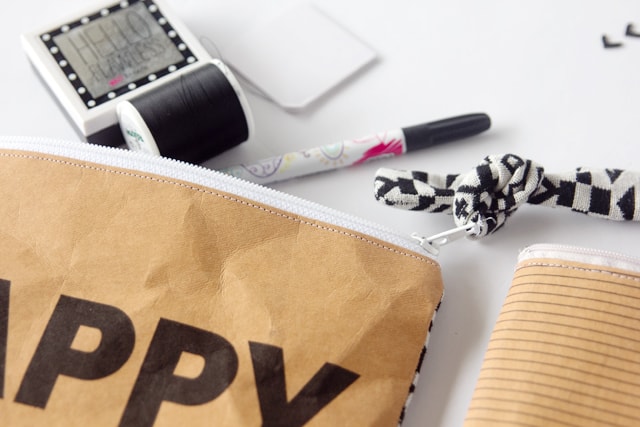
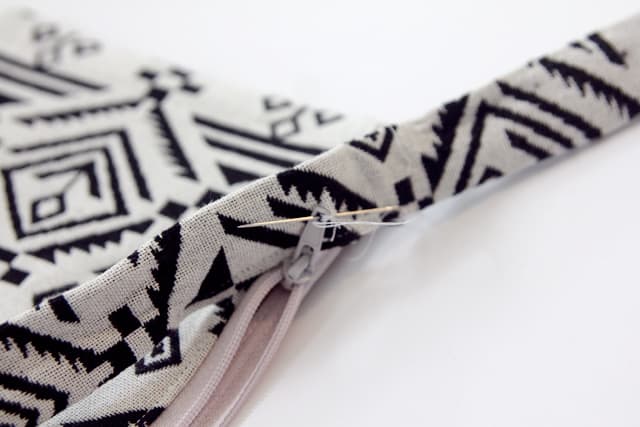
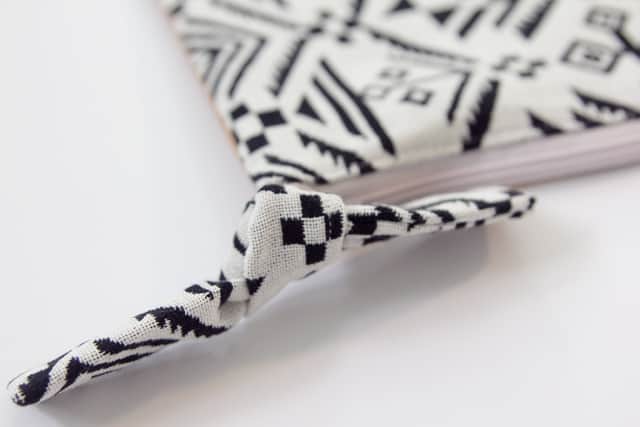
Now, use a hand needle and thread to stitch the center of the strip to the zipper pull. Don’t worry about what your stitching looks like, it will be hidden also. Tie off and then tie your strip into a knot.
Now you have a cute little zipper pull!
That’s it! Now fill it up with whatever you please!
This post contains affiliate links!







Amazing!!! :)
So cute!! Did you have to trim the zipper at all?
Oh these are super cute! Thinking of ways to incorporate this. Hmmm. Thanks for sharing :)
Wow! I might have to try making one for my tablet.