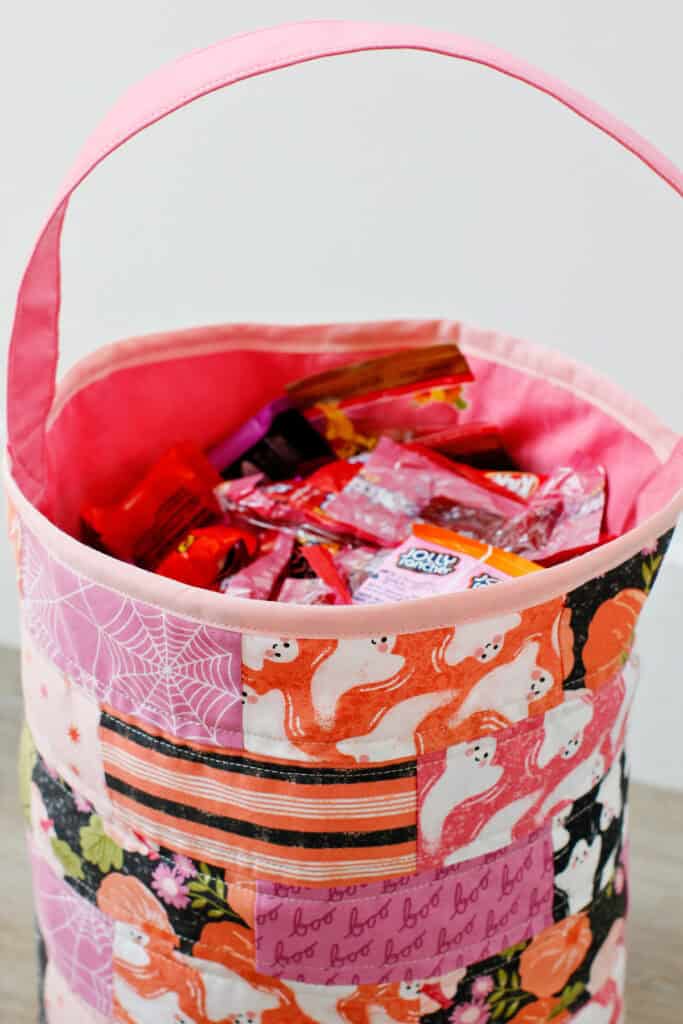
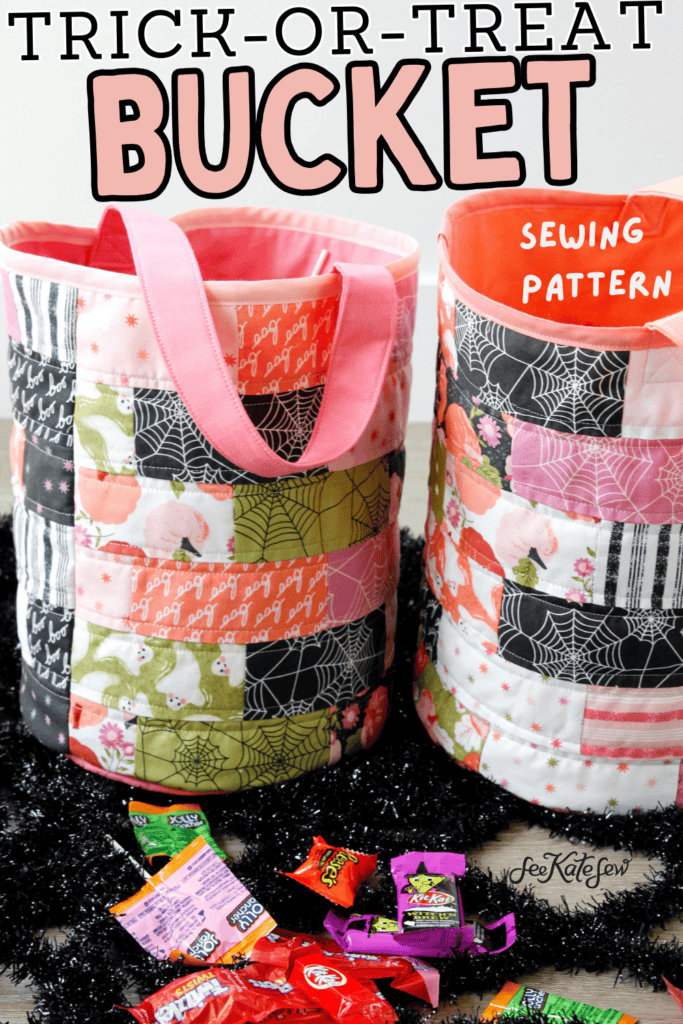
Make a patchwork fabric Halloween bucket for trick or treating this year! This adorable bucket is made from charm squares and is so fun to make!
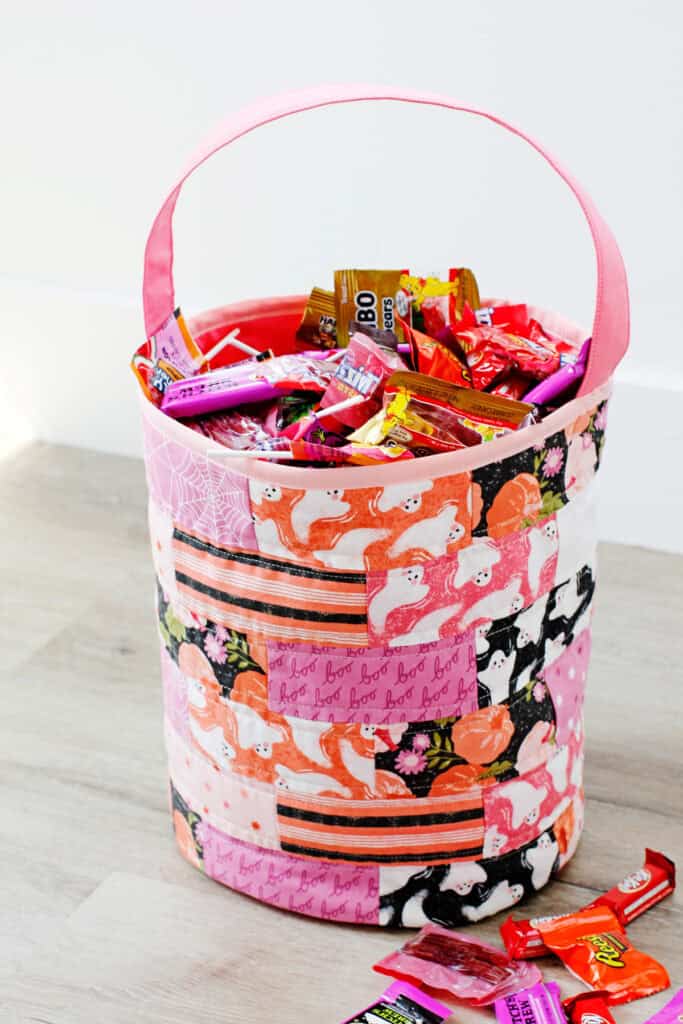
A trick or treat bag should hold lots of candy and this free sewing pattern makes a nice big Halloween bucket for all the treats!
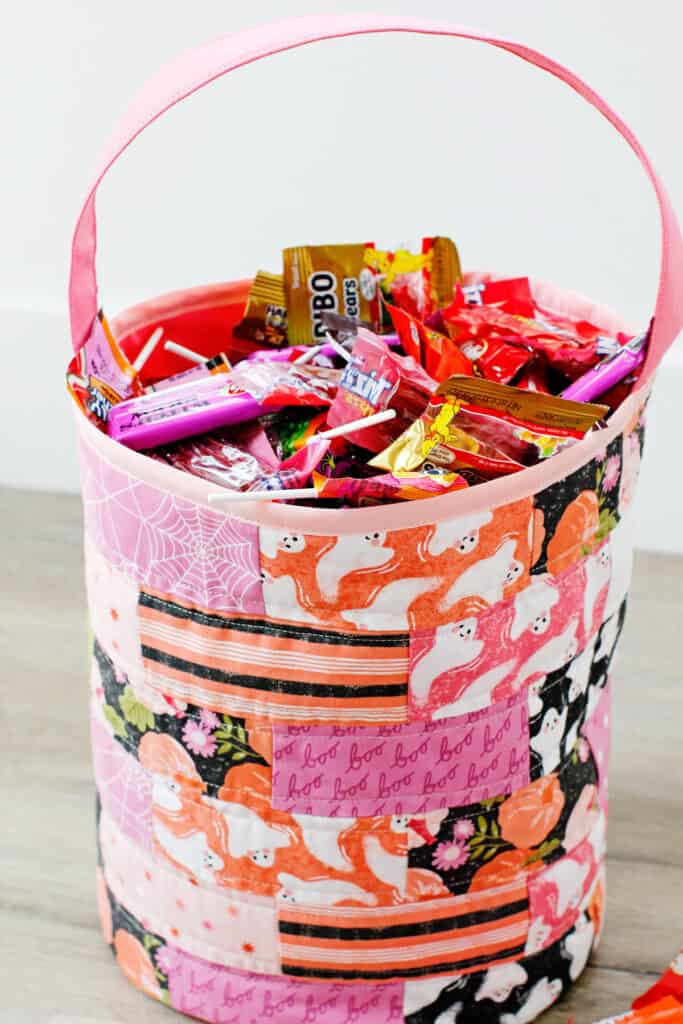
The charm squares make it easy to get started and we’ll use a really fun piecing method – you’ll be obsessed with making these treat bags!
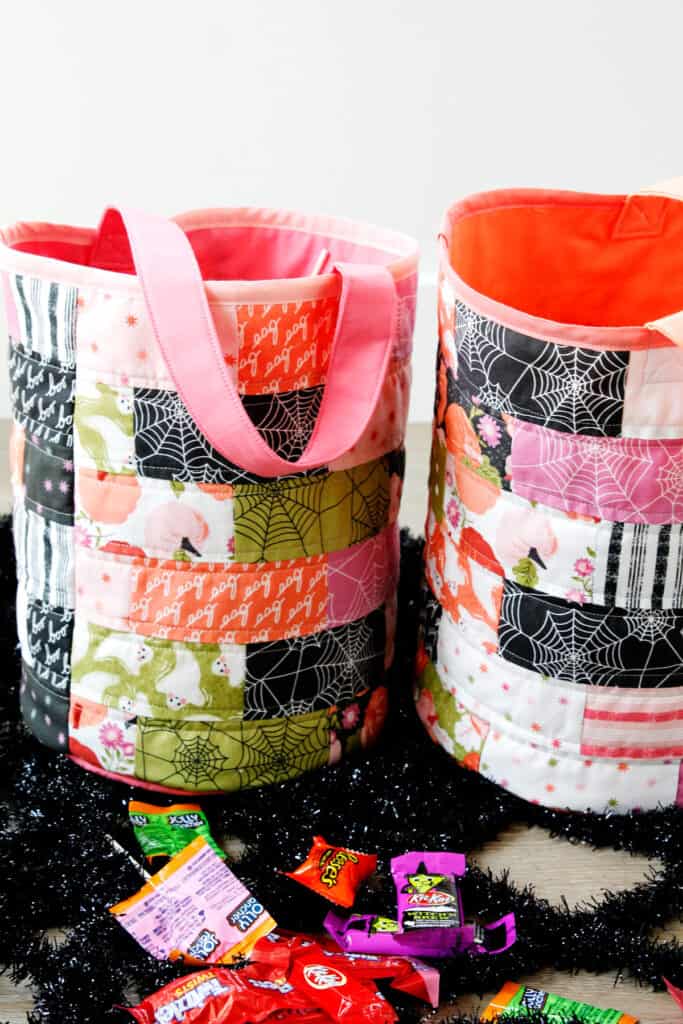
This is such a fun sewing project for October. You can even use these fabric buckets as Halloween home decor!
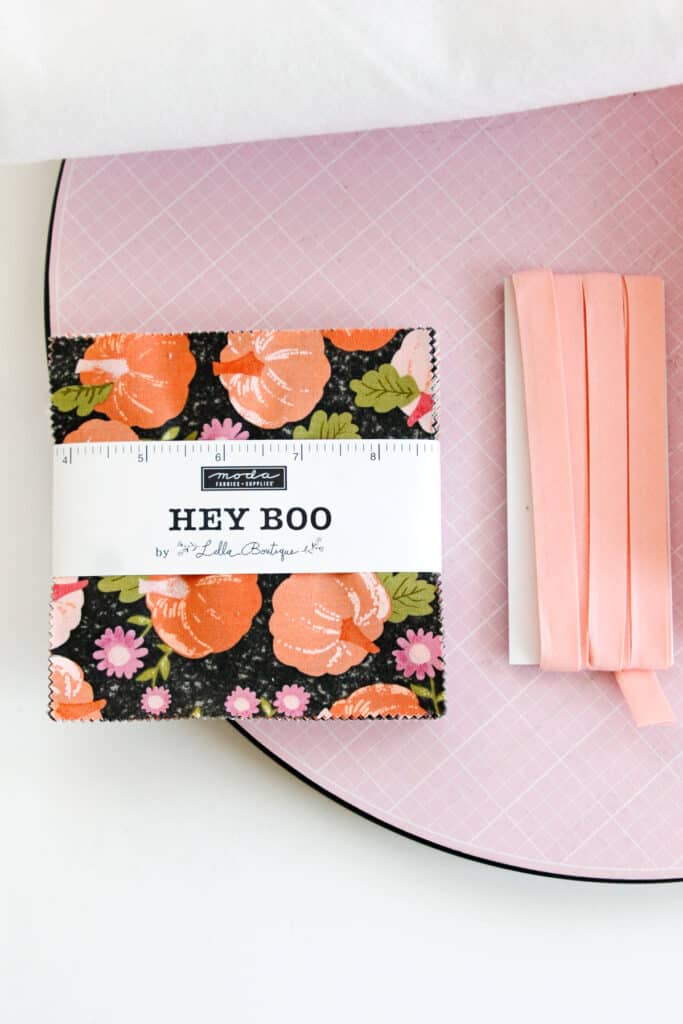
Fabric Halloween Trick or Treat Bag Materials
You just need 1 charm pack for this project! Pick a fun Halloween fabric line or use another color scheme for another holiday! These will also work great as an Easter basket or use a neutral fabric palette for everyday gift baskets or home decor.
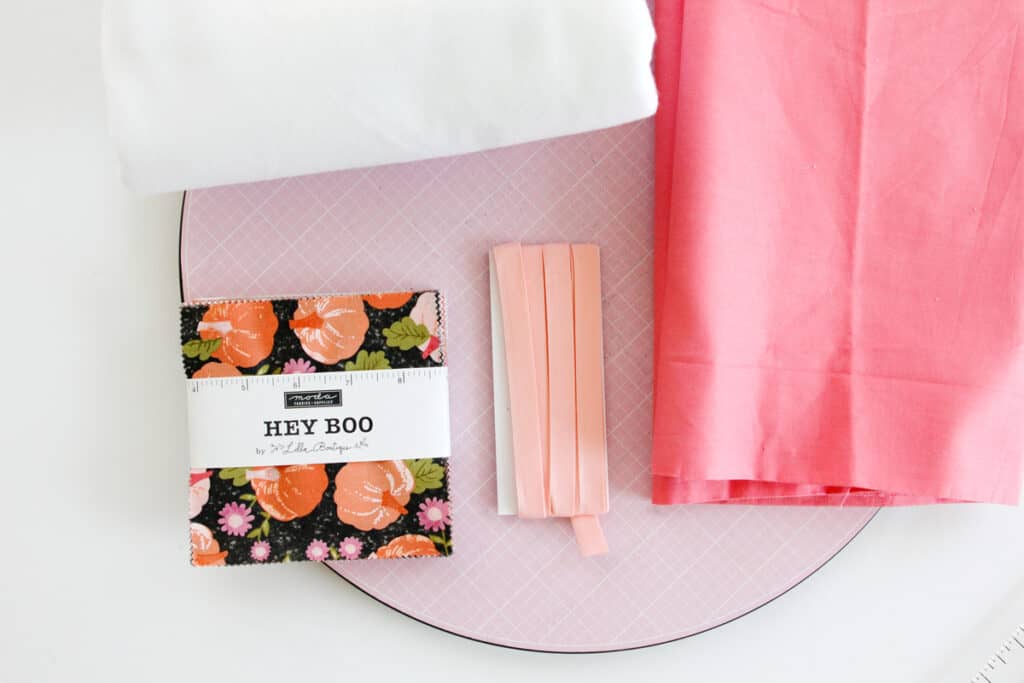
- 28 – 5″ charm squares
- I’m using a HEY BOO charm pack (affiliate links)
- Another great one is Sophisticated Halloween
- 1/2 yard contrast/lining fabric
- This will also be used for the bottom of the bucket and the handle
- 1/2 yard fusible fleece interfacing
- Lightweight fusible interfacing
- 1/2″ double fold bias tape
- 24″ acrylic ruler, recommended

Trick or Treat Bucket Pattern Download
Click on the link below to download the Halloween treat bucket pattern. The templates will print on 2 pages. Print at 100% or DO NOT SCALE then tape together along the dashed lines. This file includes the TEMPLATES ONLY. Want to print the instructions and templates without ads? Click here to purchase the printable PDF pattern.

Make the patchwork
Use a 1/4″ seam allowance to sew the charm squares together.
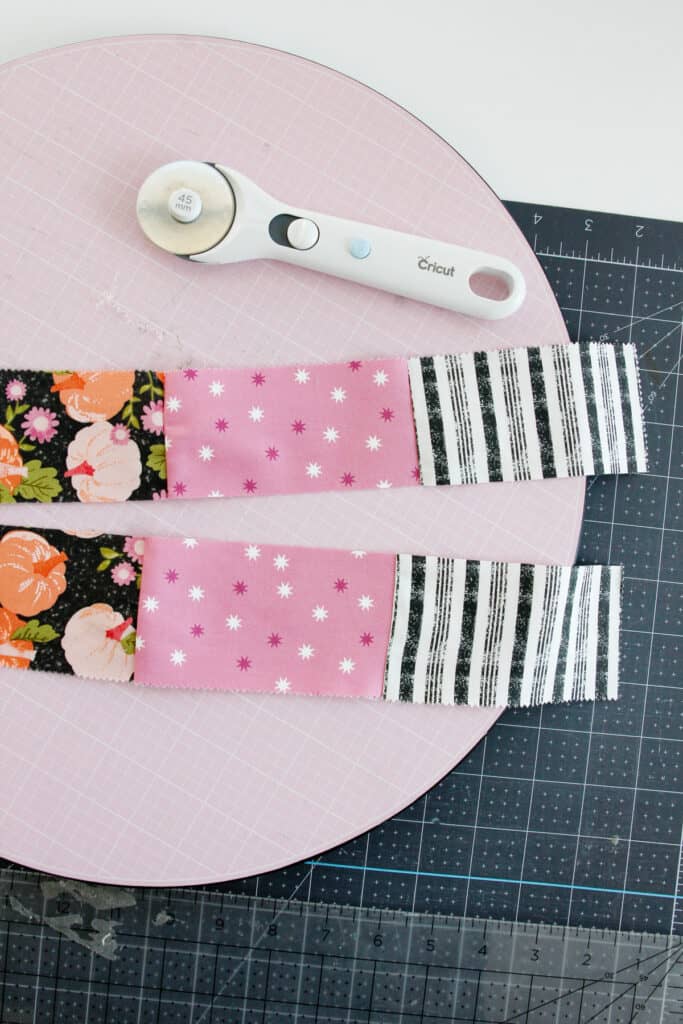
Sew 7 charm squares together in a row. Press seam allowances in one direction. Repeat so you have 3 rows.
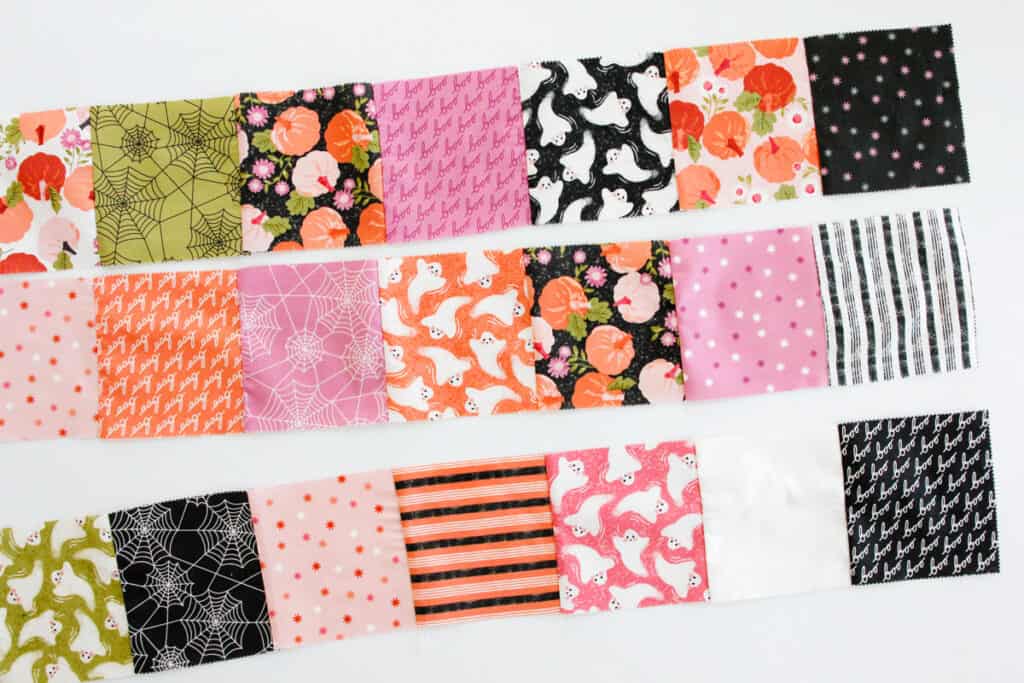
Then cut the row in half lengthwise to create 2 strips. Cut all 3 rows so you have 6 strips.
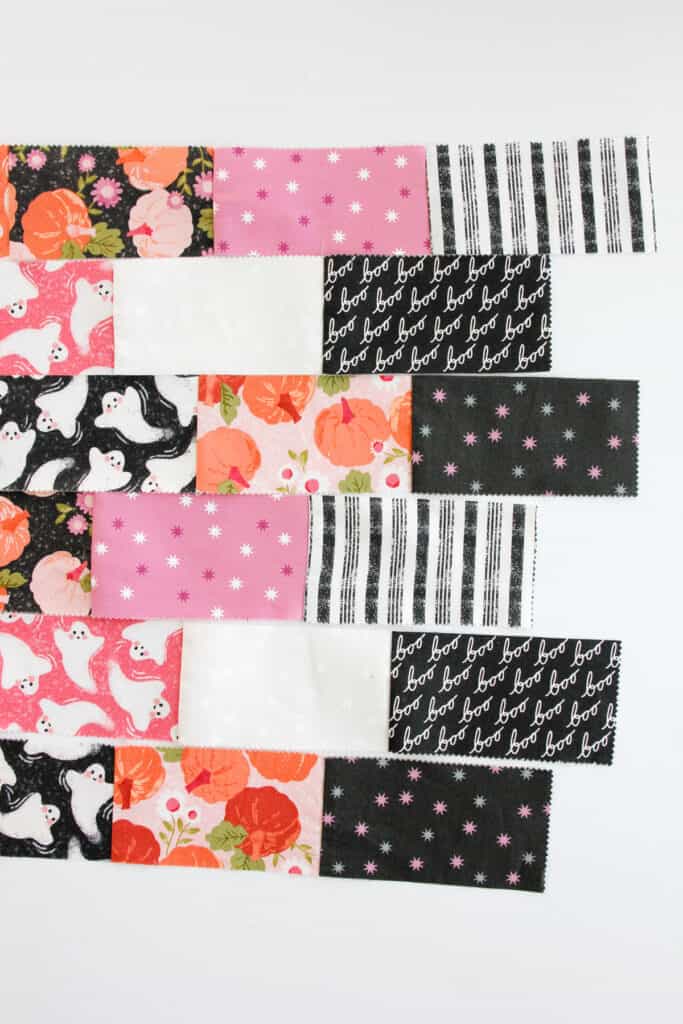
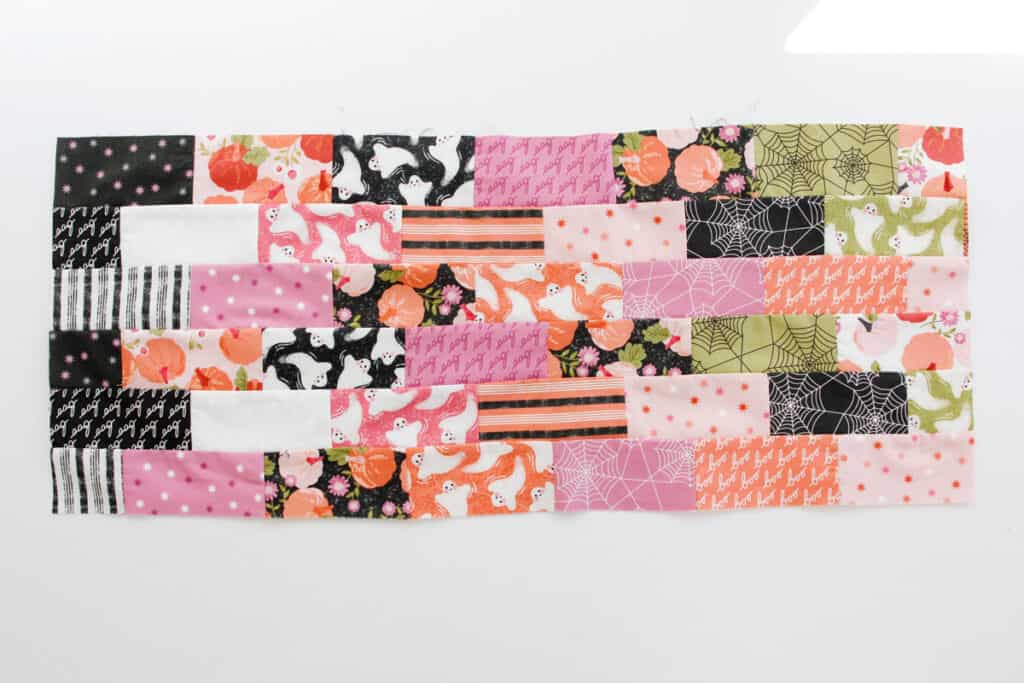
Lay the fabric strips out in a half-brick pattern.
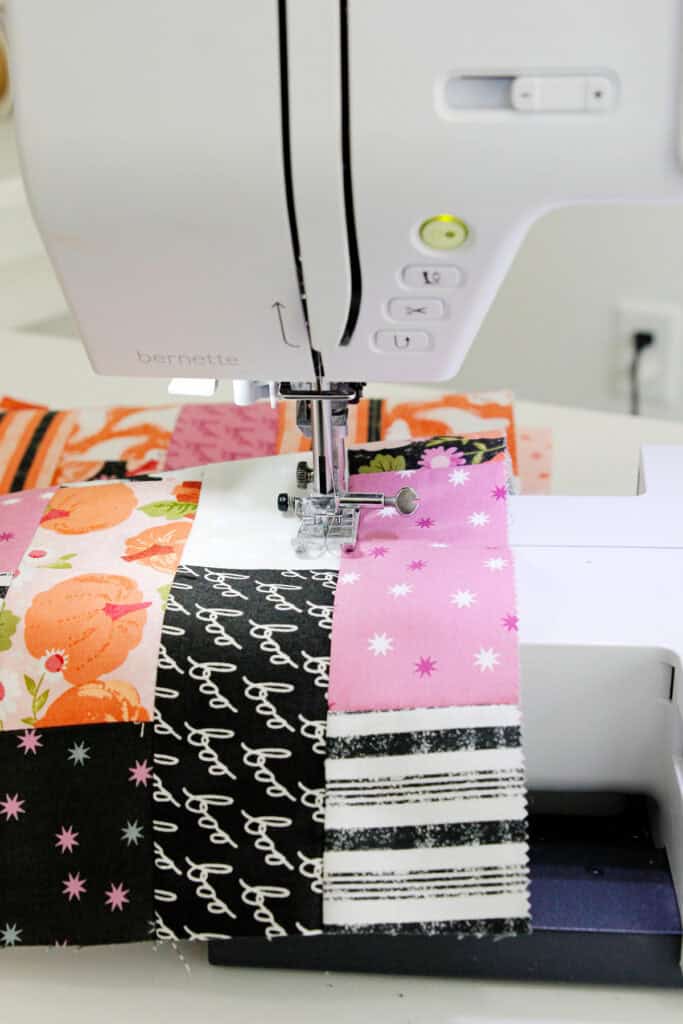
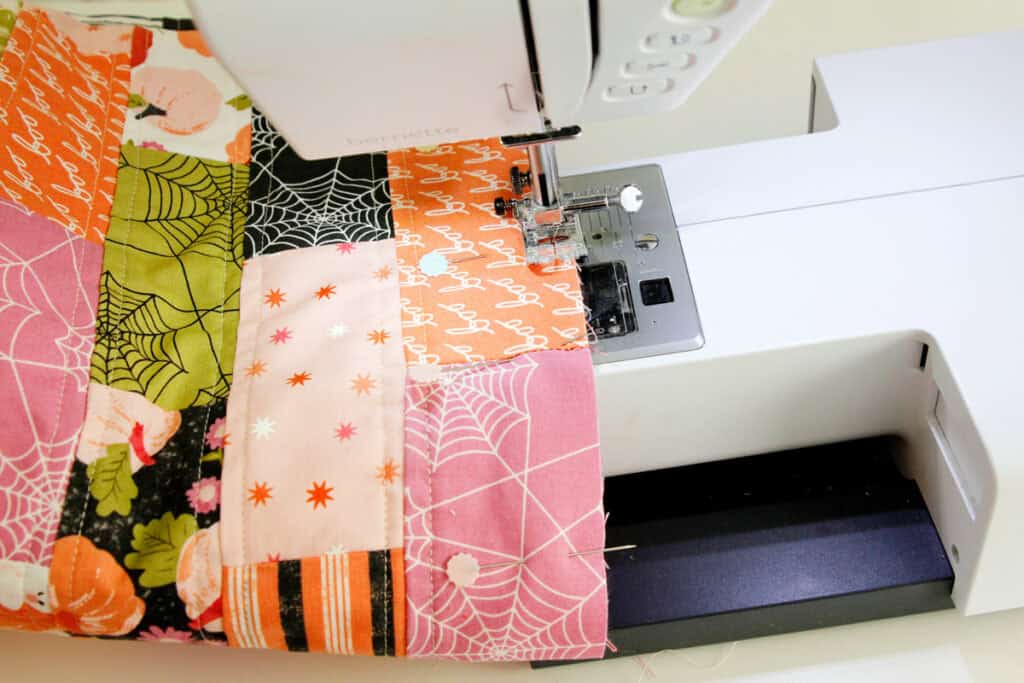
Pin the top two rows together and sew.
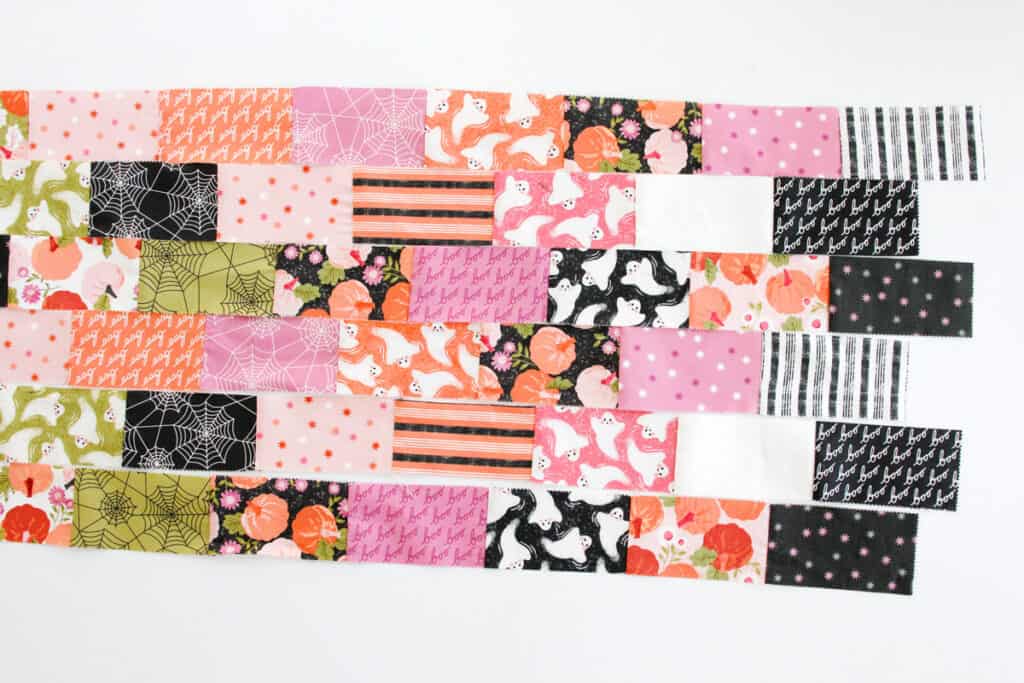
Sew all 6 rows together.
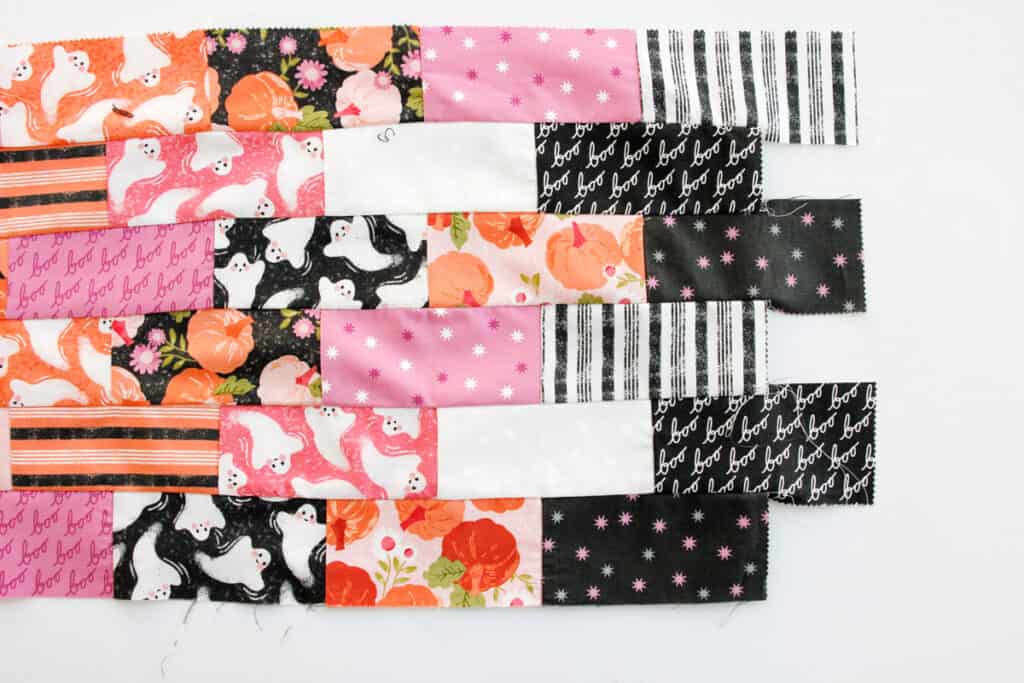
Trim the patchwork to 29″ wide, cutting off the overhanging pieces on both sides. The panel will be approximately 12-12.5″ tall. If you want to trim down the height of the bag, now is the time to do it. As is, the bucket is nice and tall and will hold a TON of candy. But it will also look good an inch or so smaller.
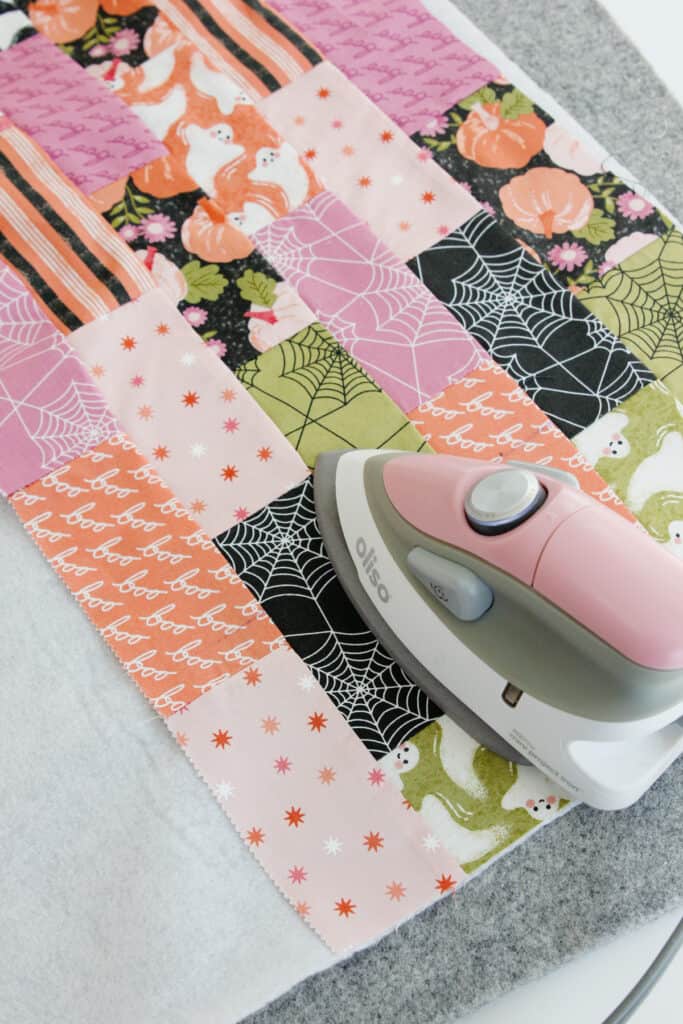
Back the patchwork panel with fusible fleece. Lay the fusible fleece with the adhesive side up (the scratchy side), then put the patchwork panel down face up. Press.
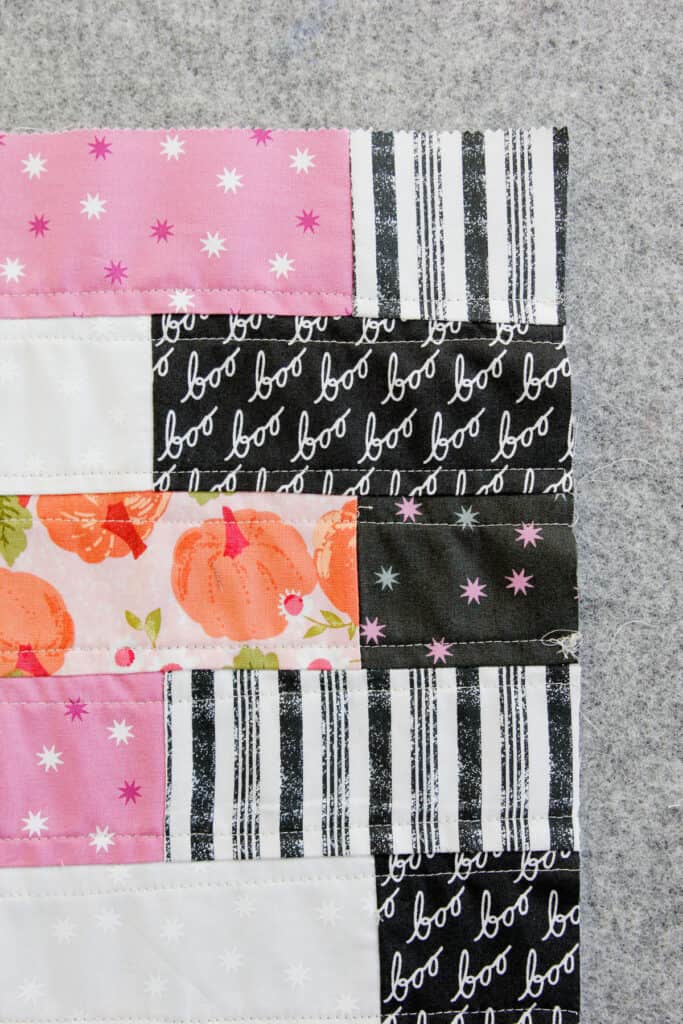
Trim off the excess fleece interfacing. Then topstitch the panel with a quilting pattern of your choice!
I like to do straight lines across the panel, about 1/4″ from the horizontal strip seams.
Fabric Halloween Bucket Instructions
Use a 3/8″ seam allowance.
Use the circle pattern piece to cut out the bottom (or base) of the bucket. Cut 2 from contrast fabric. Back 1 with fusible fleece.
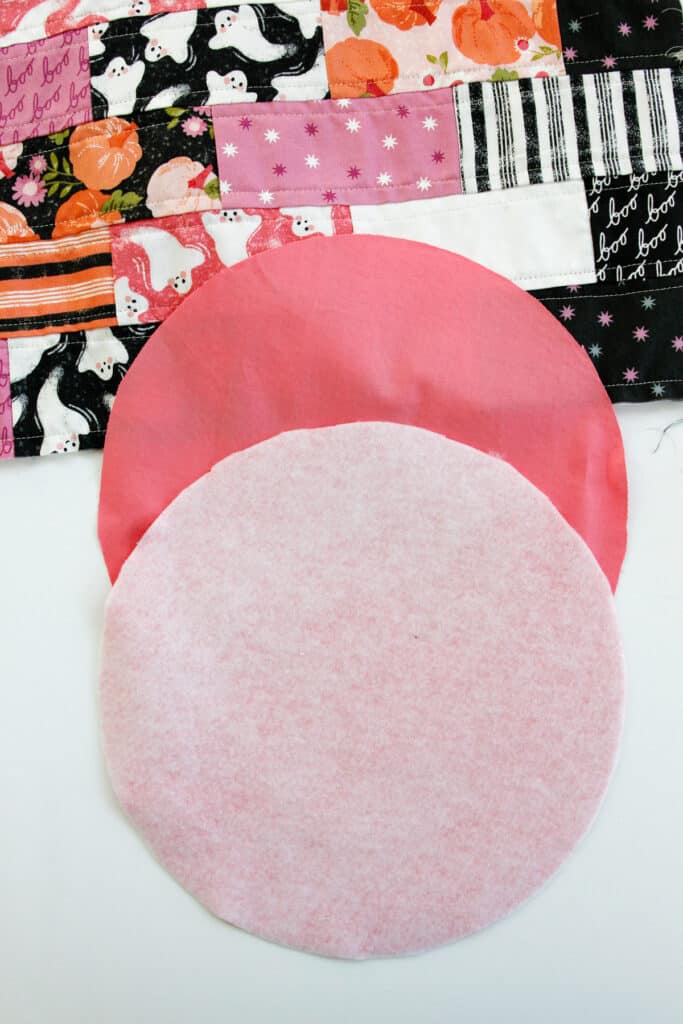
Cut out another bucket panel piece measuring 29″ by 12.5″ for the lining. You can use your patchwork panel as the pattern piece to cut out the lining piece.

Fabric Halloween Bucket Assembly
We’ll assemble the outer fabric and the lining separately and then put them together.
First, run a line of stay stitching (regular length stitching 3/8″ from raw edges) across the bottom of the main bucket panel. Repeat with the lining.
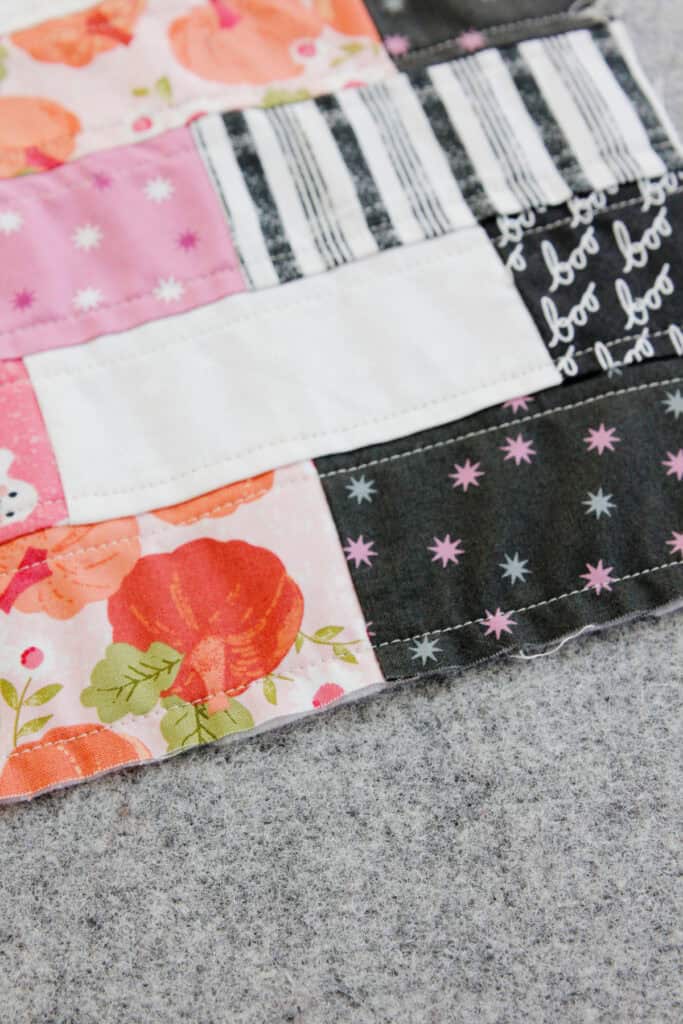
Also stay stitch the bucket base pieces. This stay stitching will help you match the curved circular base to the main bucket without puckering. Don’t skip this step – it helps so much when fitting these two pieces together!
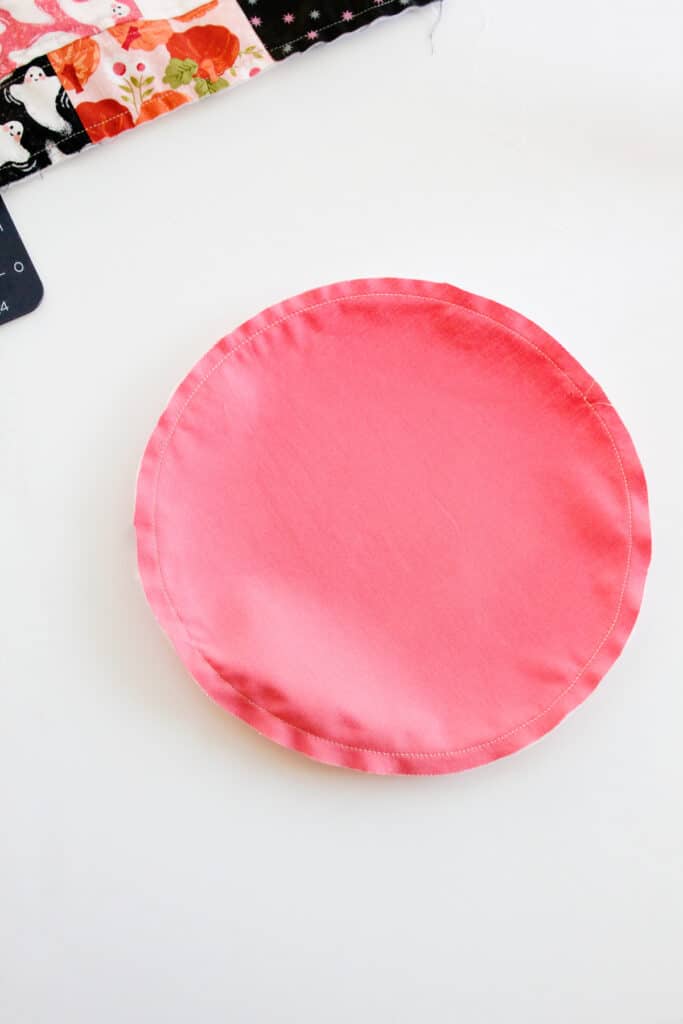
Now sew the panel into a cylinder by sewing right sides together along the short edges.
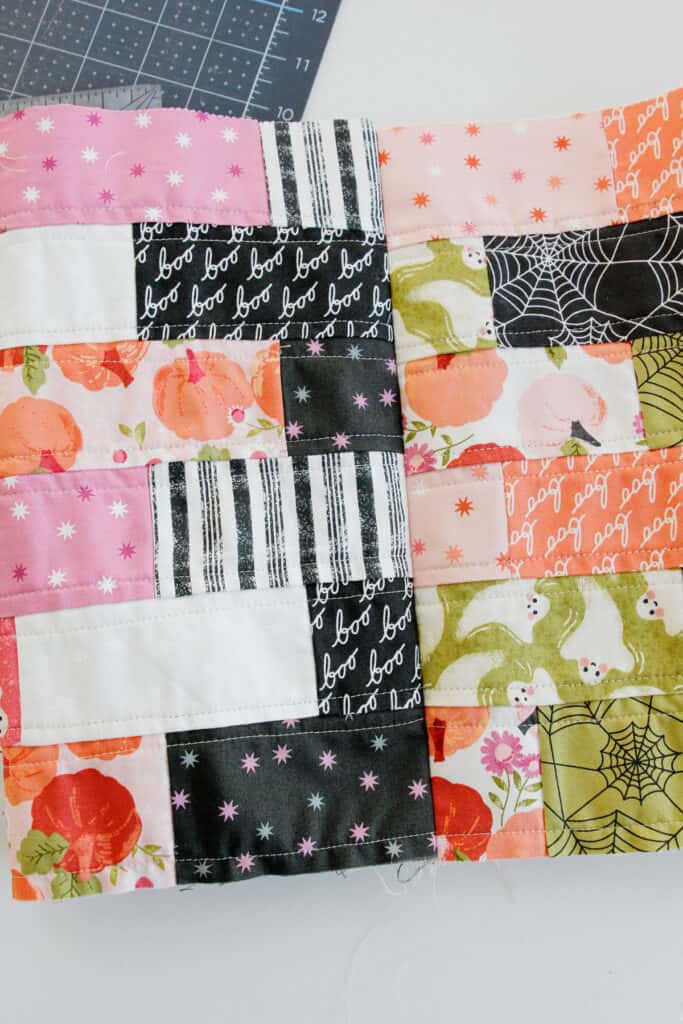
Pin the base of the bucket into the cylinder with right sides together. Start by folding the circle in half and marking the half point. Fold in half the other way and mark the quarter points. Then do the same with the cylinder to help you space it evenly.
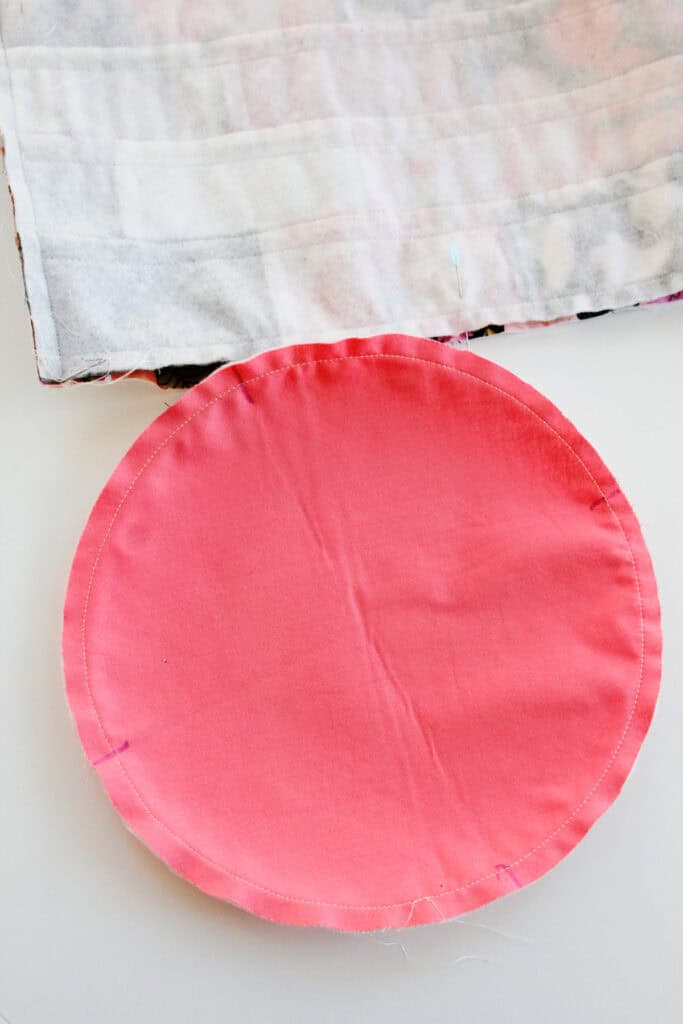
The stay stitching will help the two pieces come together without tucks. Pin the base to the main panel. Sew. Repeat with lining pieces.
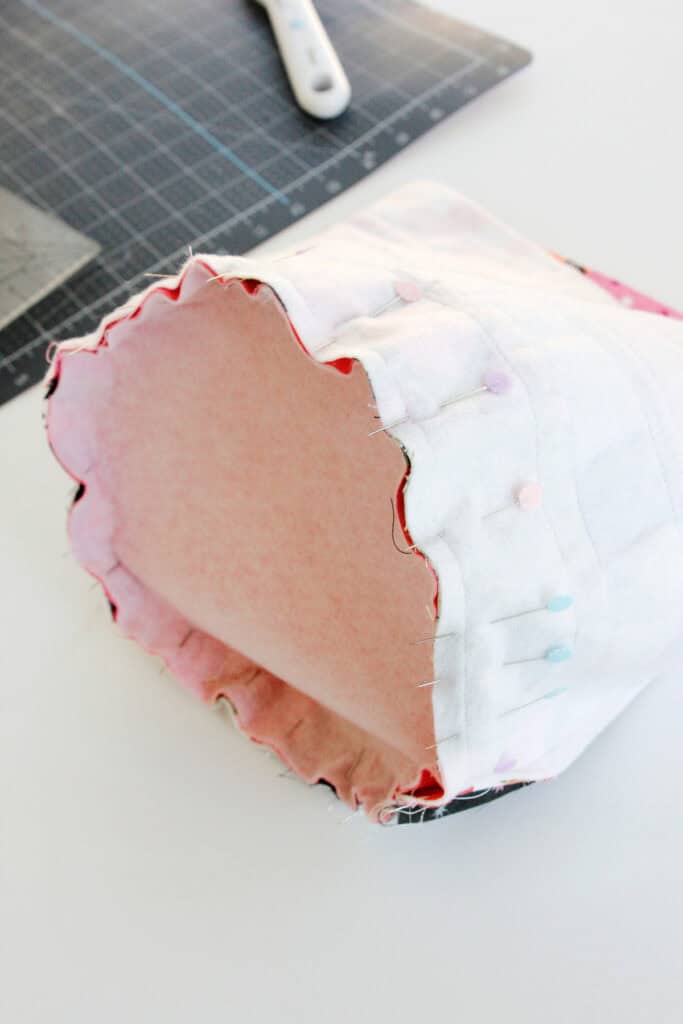
Clip the seam allowance.
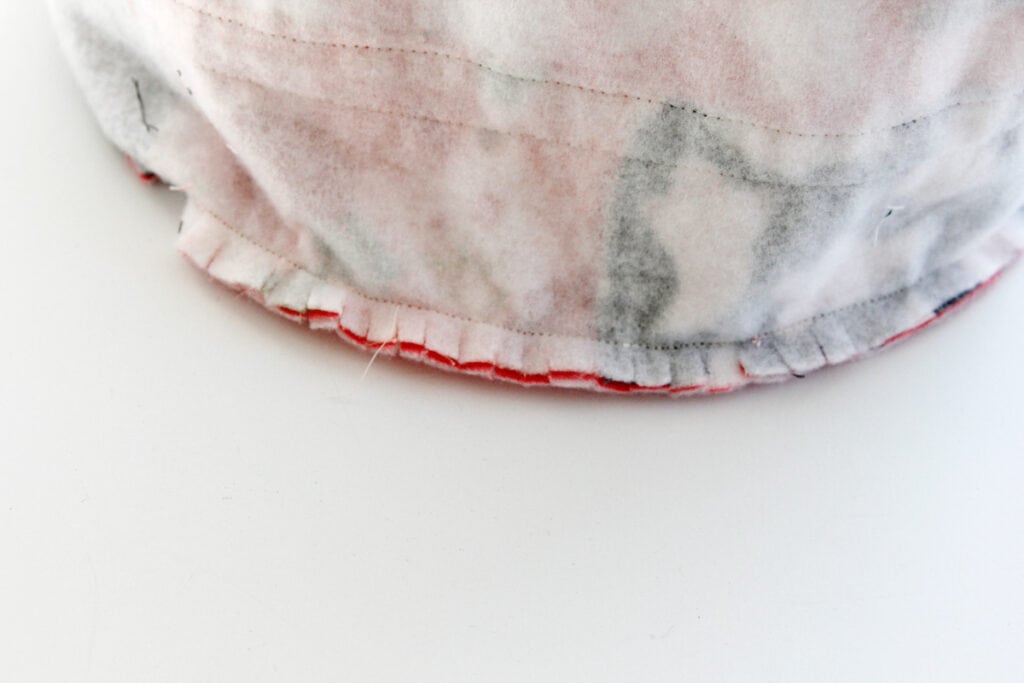
Put the lining bucket inside the main with the main bucket right side out and lining inside out.
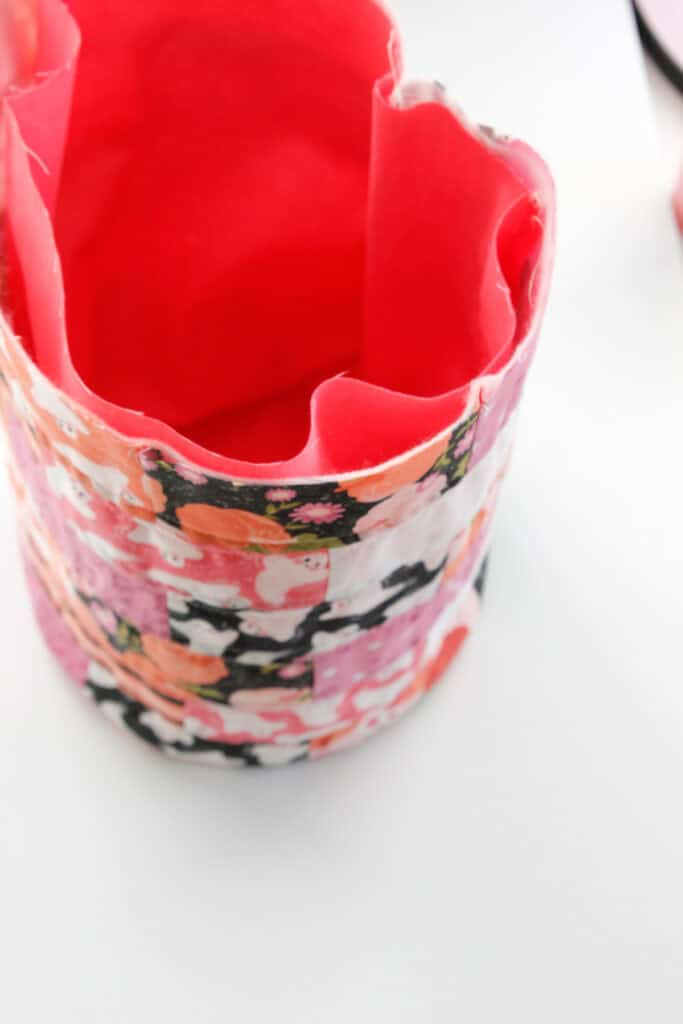
Finish the top
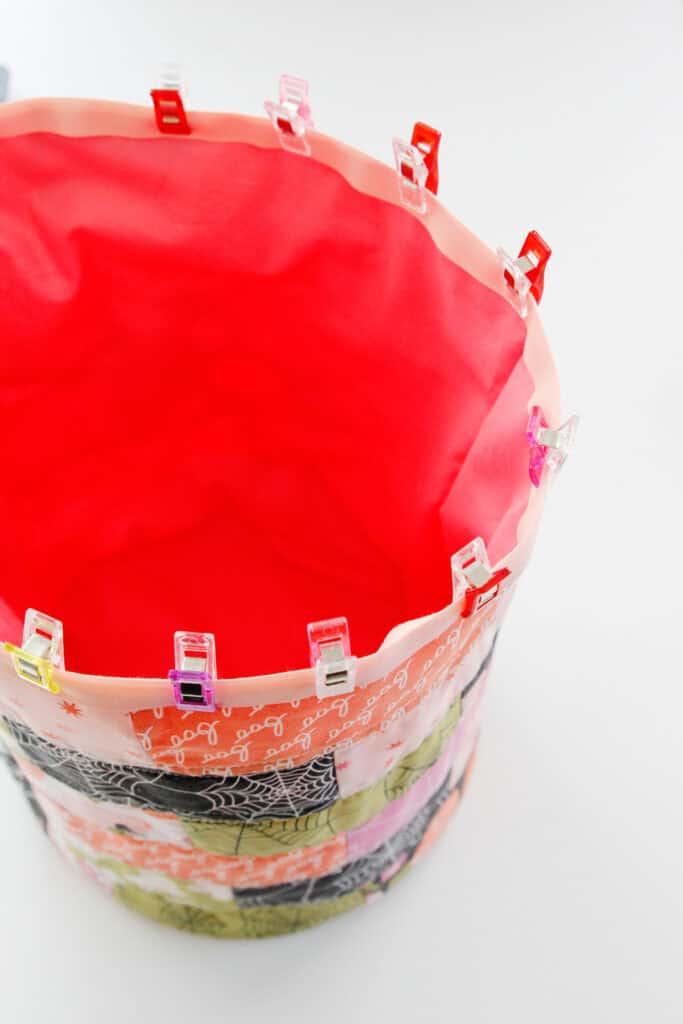
Match the top edges and pin. Baste around the top to hold the two layers together.
Clip bias tape sandwiched over the top edge of the bucket.
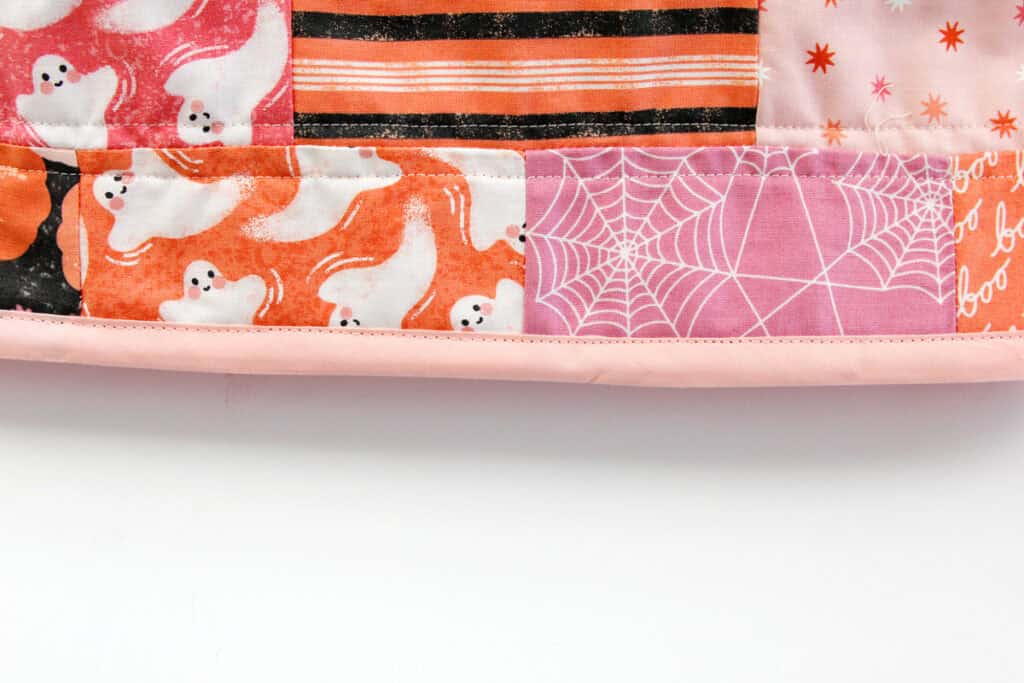
Topstitch near the edge of the bias tape all the way around. When you get back to where you started, just press under about 1/4″ and overlap the bias tape.
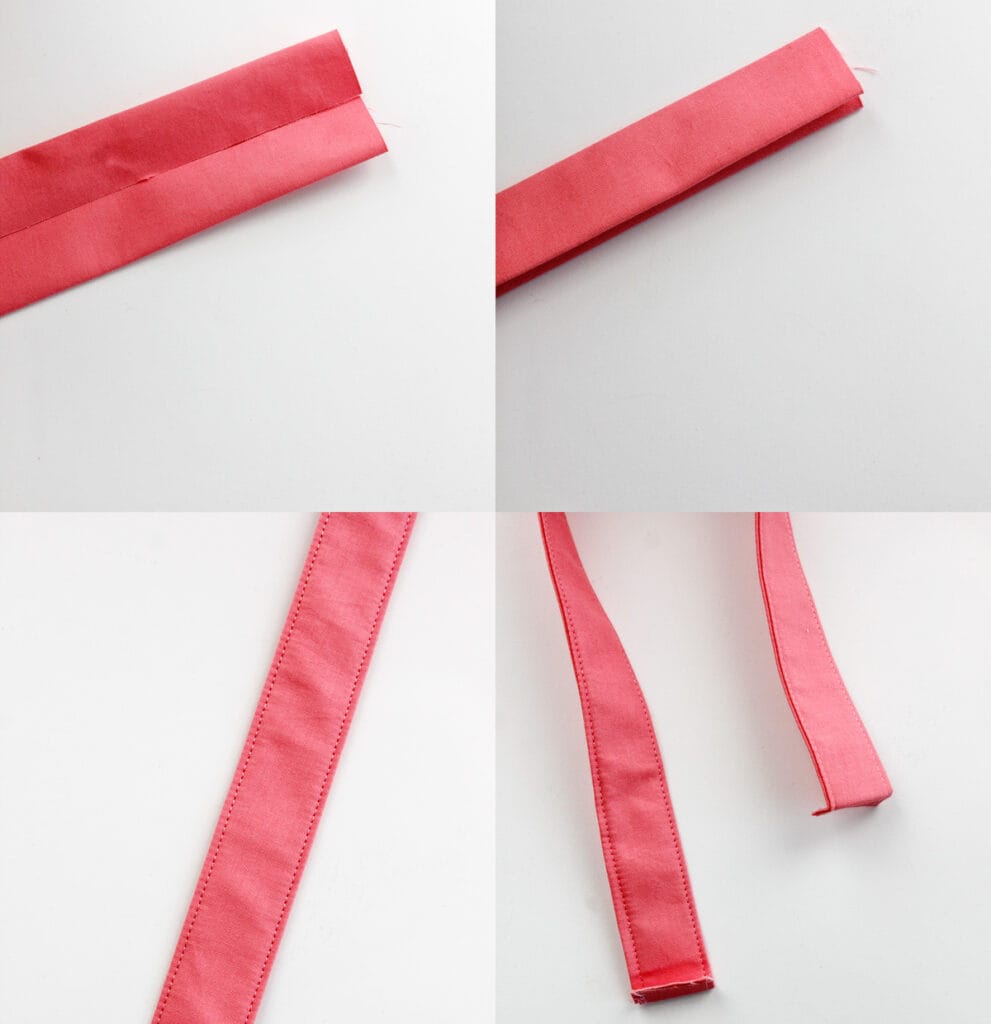
Cut out 1 handle piece. The pattern includes a pattern piece for the handle or you can cut a piece of fabric 5″ by 21″. Back with lightweight interfacing. Press in half and then press the long edges into the middle to meet. Press over again. Topstitch both sides of the handle. Then press under 1/4″ on both of the short edges.
Pin the strap into the inside of the bucket about 1.25″ below the rim.
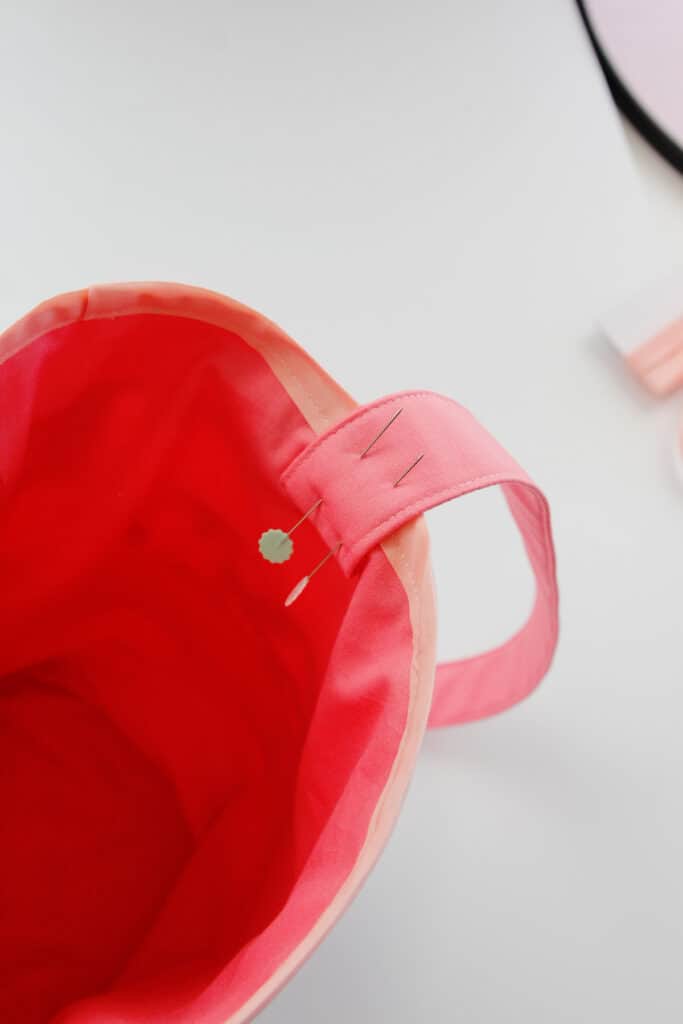
Pin and sew in a square with an X through the middle. Sew over the lines 2 or more times to give the handle a good hold.
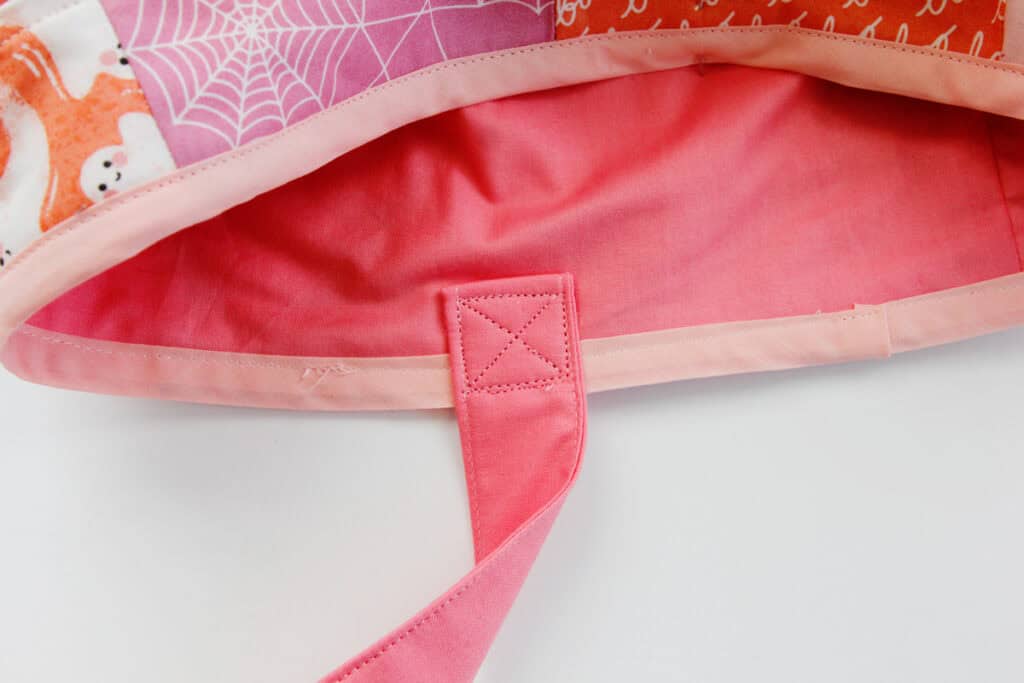
Repeat on the other side and you’re done!
More Halloween Sewing Projects
- Boo Applique Pillow Tutorial
- The CORA quilt pattern
- Fabric Pumpkins Tutorial – great for Halloween decor!
- Kitty Committee Quilt
- 30+ Costume Tutorials


