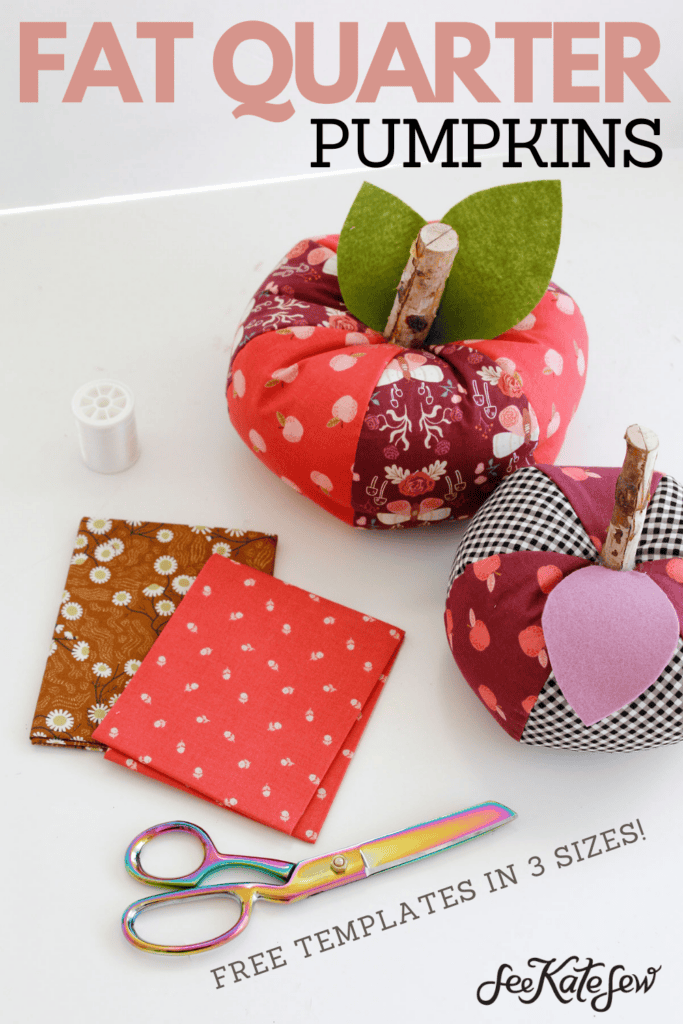
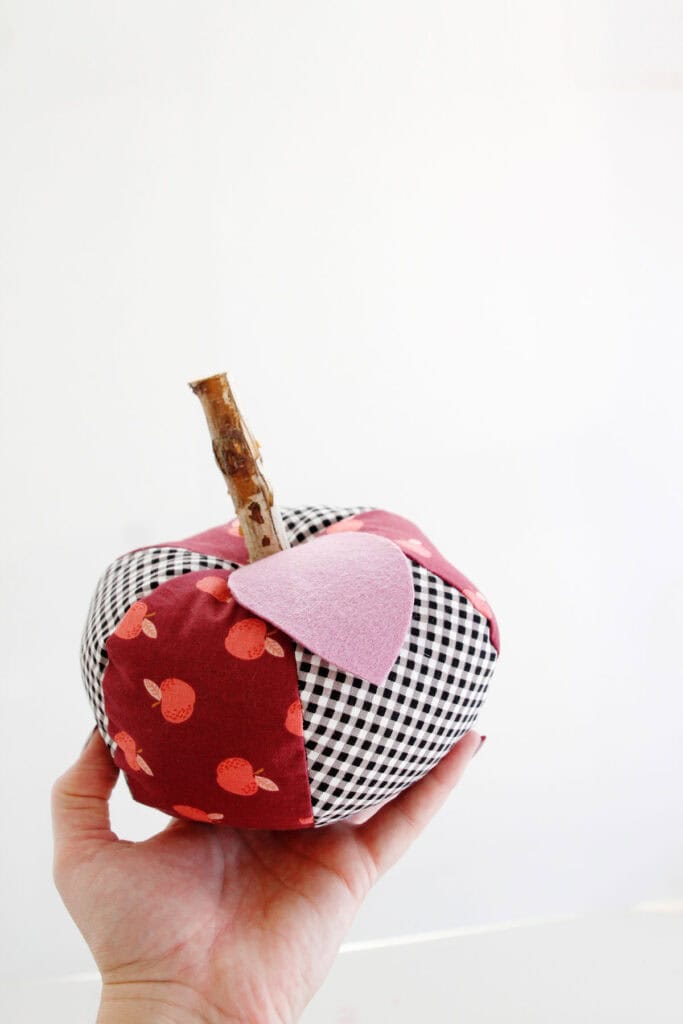
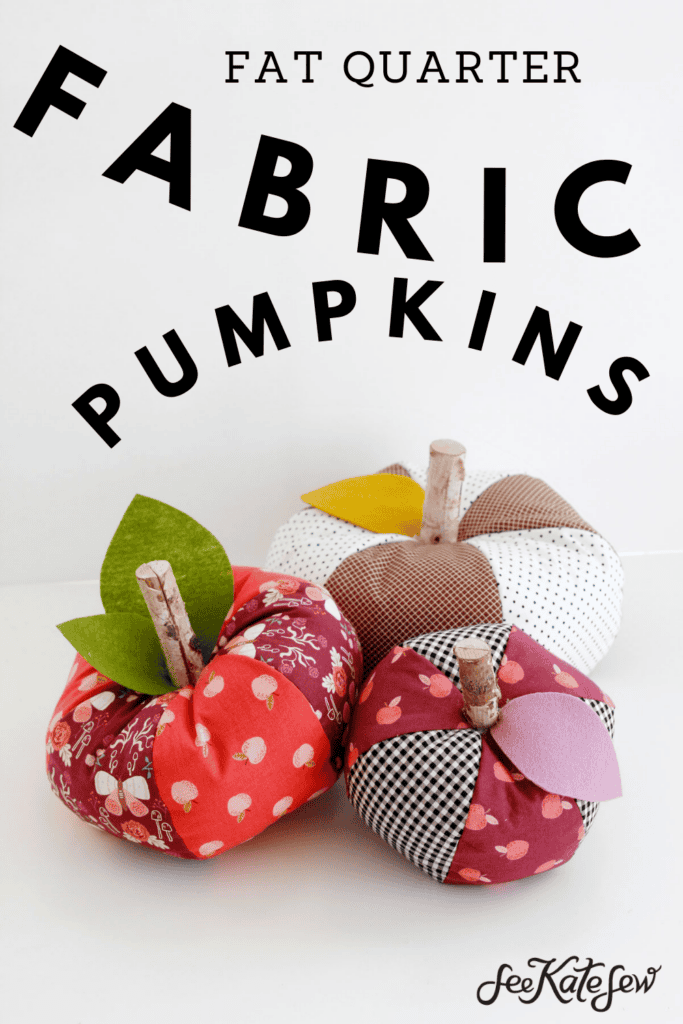
Sew an EASY fabric pumpkin with this simple sewing tutorial! These step-by-step instructions are super simple and you’ll love making loads of pumpkins to decorate your home!
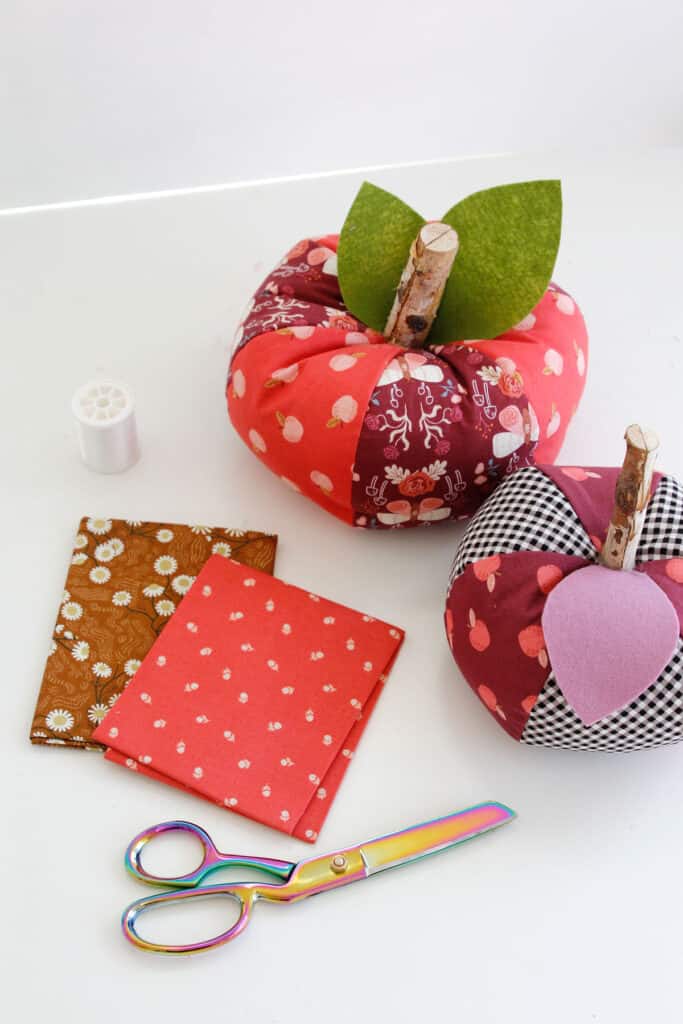
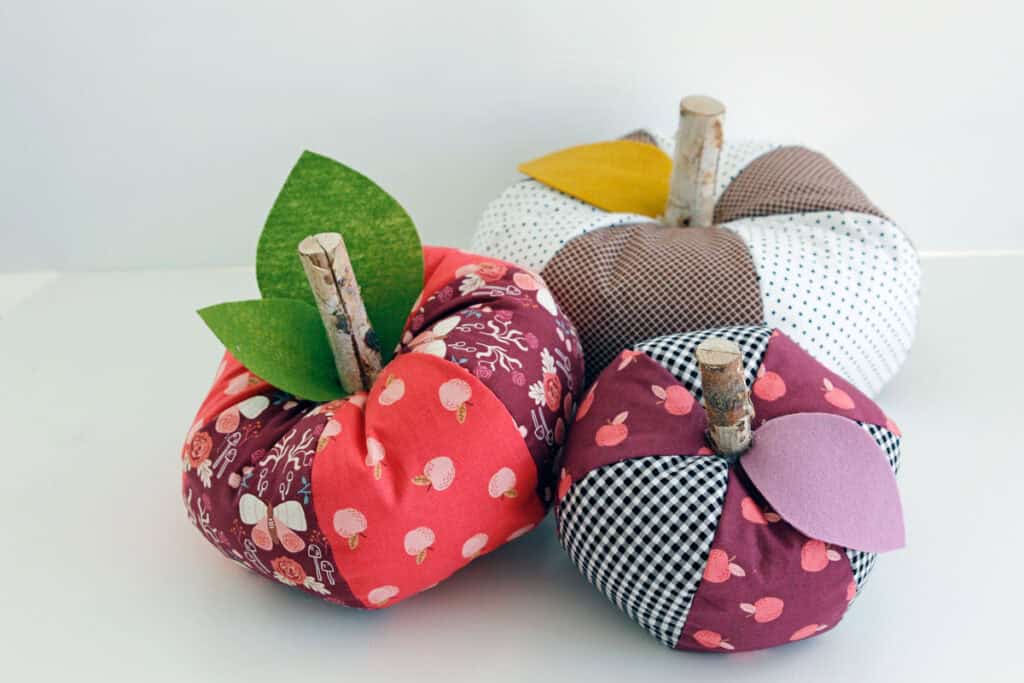
These easy fabric pumpkins are pieced together which means you can use lots of fabrics to make each one!
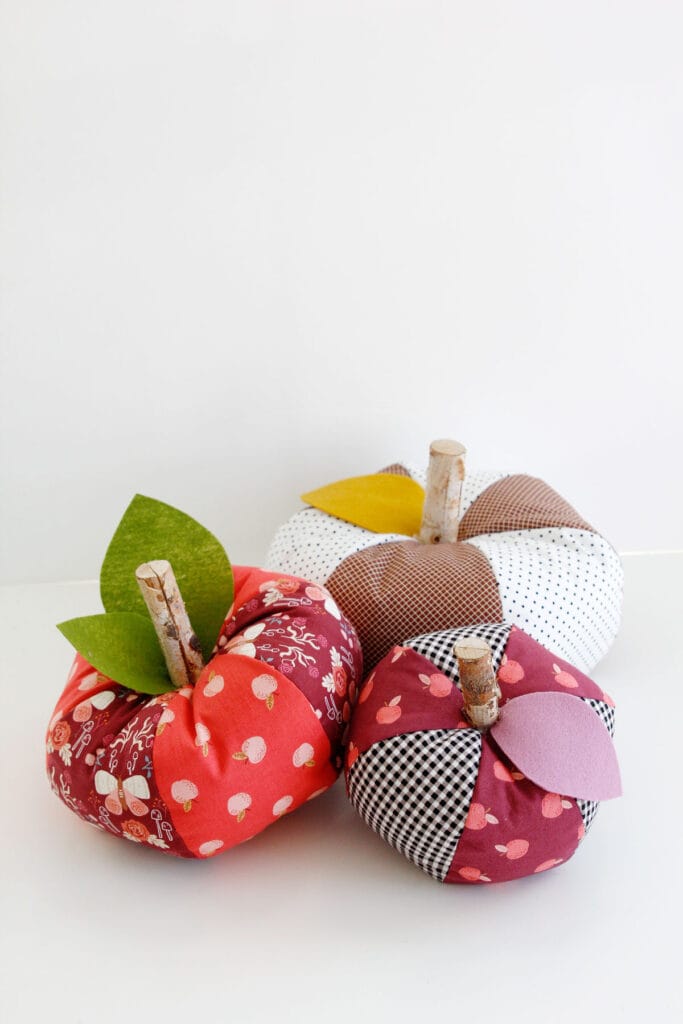
These adorable fabric pumpkins will spice up your home for fall, Halloween and even Thanksgiving!
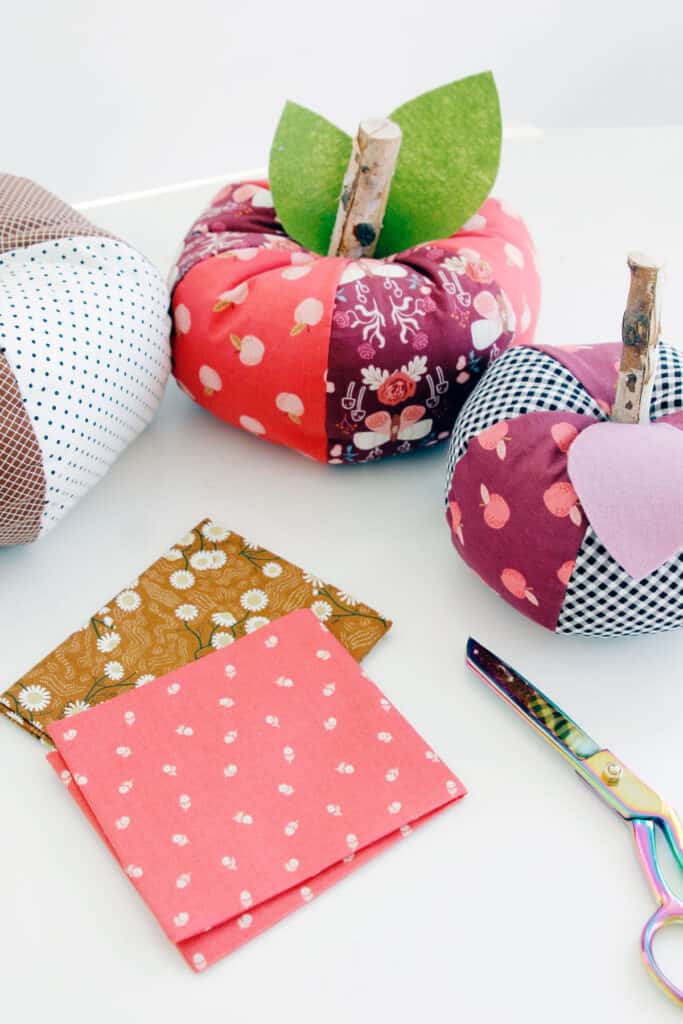
Each fabric pumpkin only requires to 2 fat quarters, so raid your stash for the cutest fall fabrics and let’s get started!
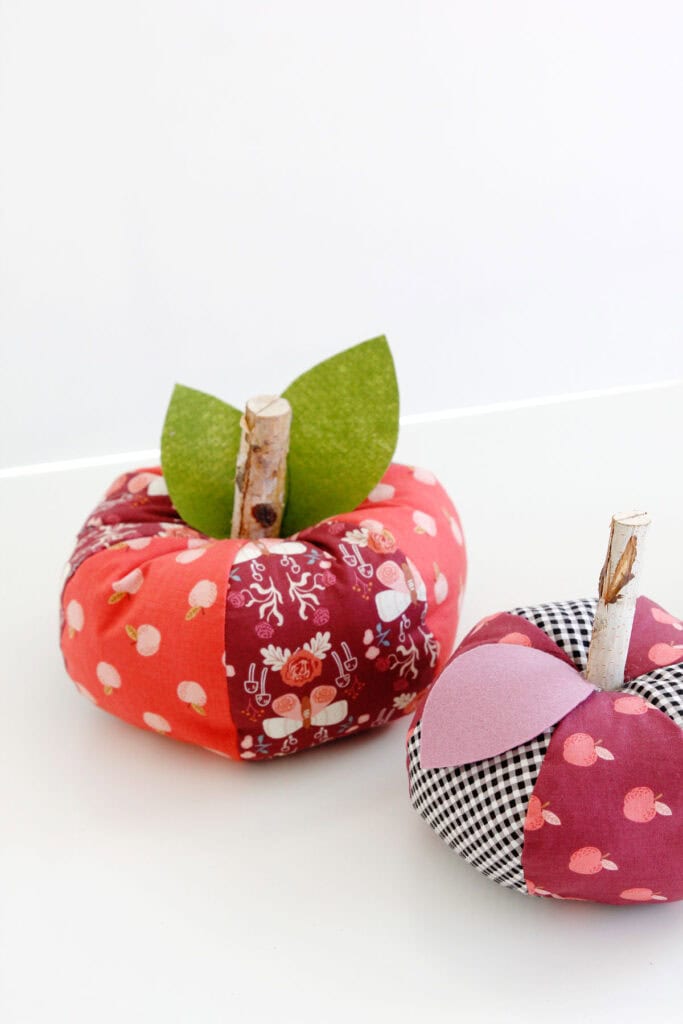
Materials for making Fabric Pumpkins
- Fabric
- I’m using quilting cotton fat quarters but you can also use flannel, velvet or assorted scraps
- I used fabrics from the Sweetbriar Fat Quarter Bundle, Quaint Cottage FQ Bundle, Swiss Dots Black, and Small Cotton Gingham (affiliate links)
- Felt scraps for leaves
- 1/2 yard lightweight fusible interfacing
- Fiberfill stuffing
- Wood sticks for pumpkin stem
- Embroidery floss and embroidery needle
- Standard hand needle and thread
- Hot glue gun
- Basic sewing supplies: sewing machine, scissors or rotary cutter, pins, etc
Fabric pumpkin yardage requirements
- Small: 1/2 fat quarter of each color
- Medium: 1 fat quarter of each color
- Large: 1 fat quarter of each color

Fabric pumpkin pattern download – 3 sizes
Download the free pattern pieces below by clicking on the pink button. Enter your email to join the newsletter and you’ll be taken the to the download page. Want to print the pattern without ads? Get the easy to print pattern here!
Print the patten pieces at 100% or DO NOT SCALE. Trim the pages at the dashed lines
DIY Fabric pumpkin sizes
This pattern includes 3 different sizes for the pumpkins and 3 sizes of leaves. These pumpkins look so cute in clusters of different sizes and patterns! The leaves can be mixed and matched on any size pumpkin.
- Small pumpkin: measures approximately 20″ around and 6″ wide
- Medium pumpkin: measures approximately 26″ around and 8″ wide
- Large pumpkin: measures approximately 31″ around and 10″ wide
How to sew a fabric pumpkin with fat quarters
Use a 3/8 inch seam allowance.
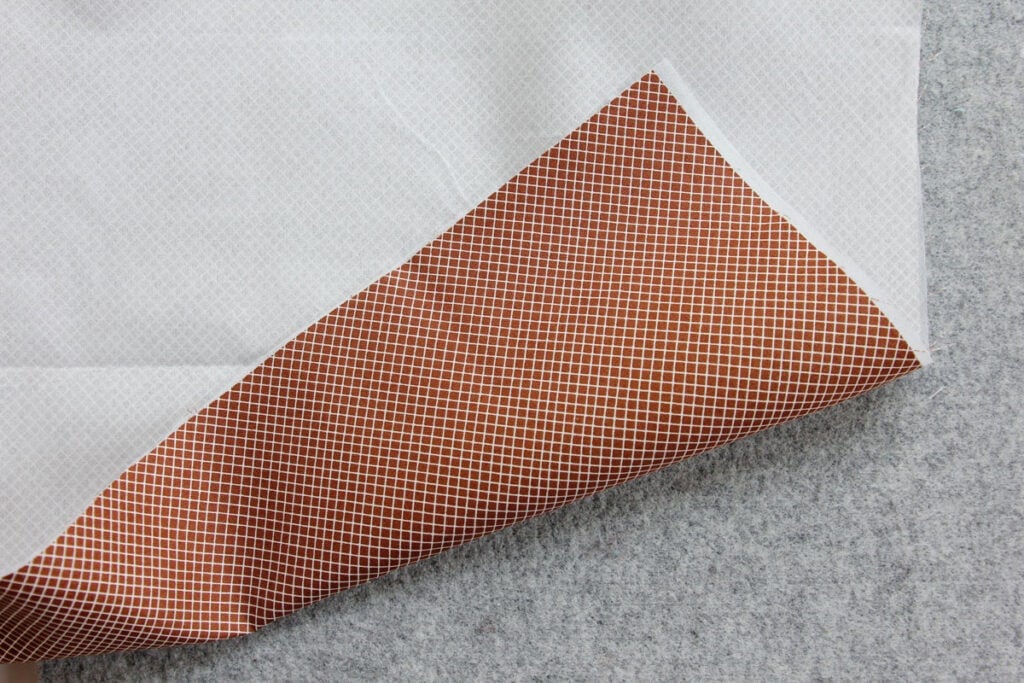
Back fabric with interfacing.
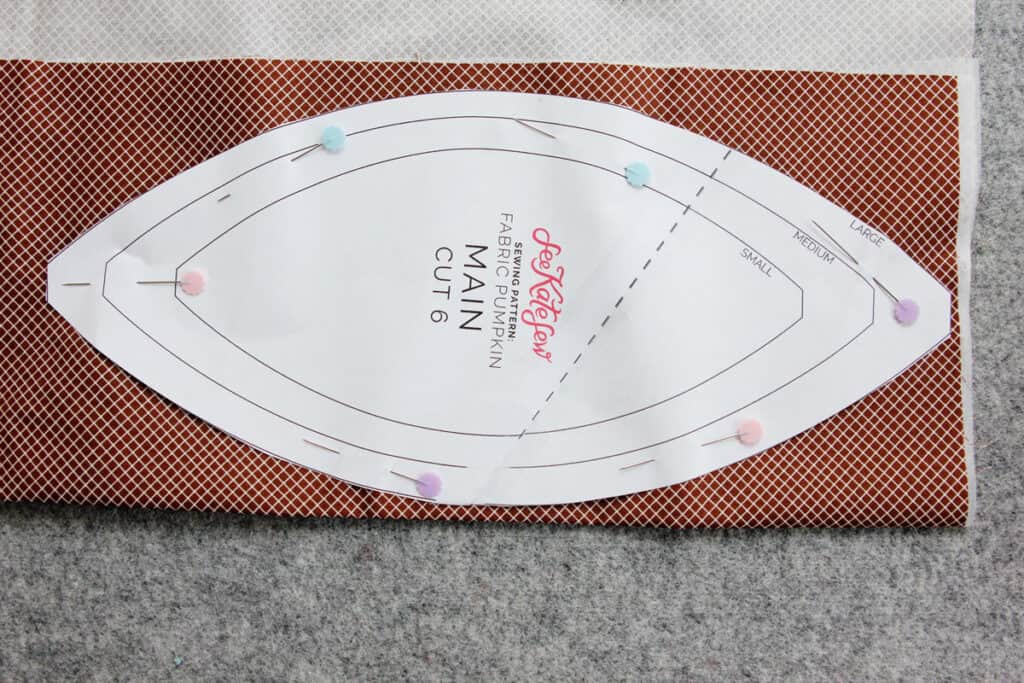
Use the template to cut out 6 pumpkin sections – 3 of each color.
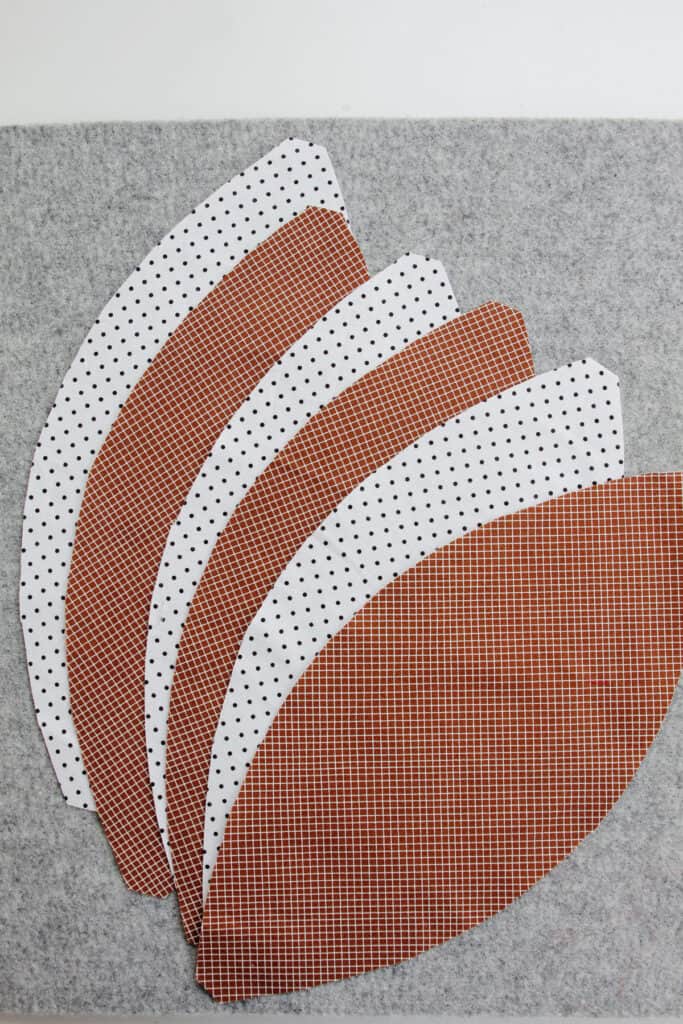
Pin one of each color section together and sew along the curved edge, 3/8″ from the raw edges.
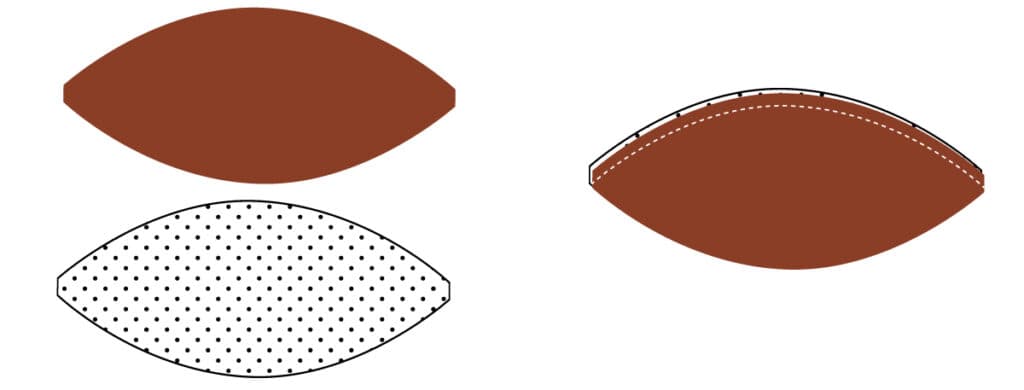
Sew 3 sections together alternating fabrics.
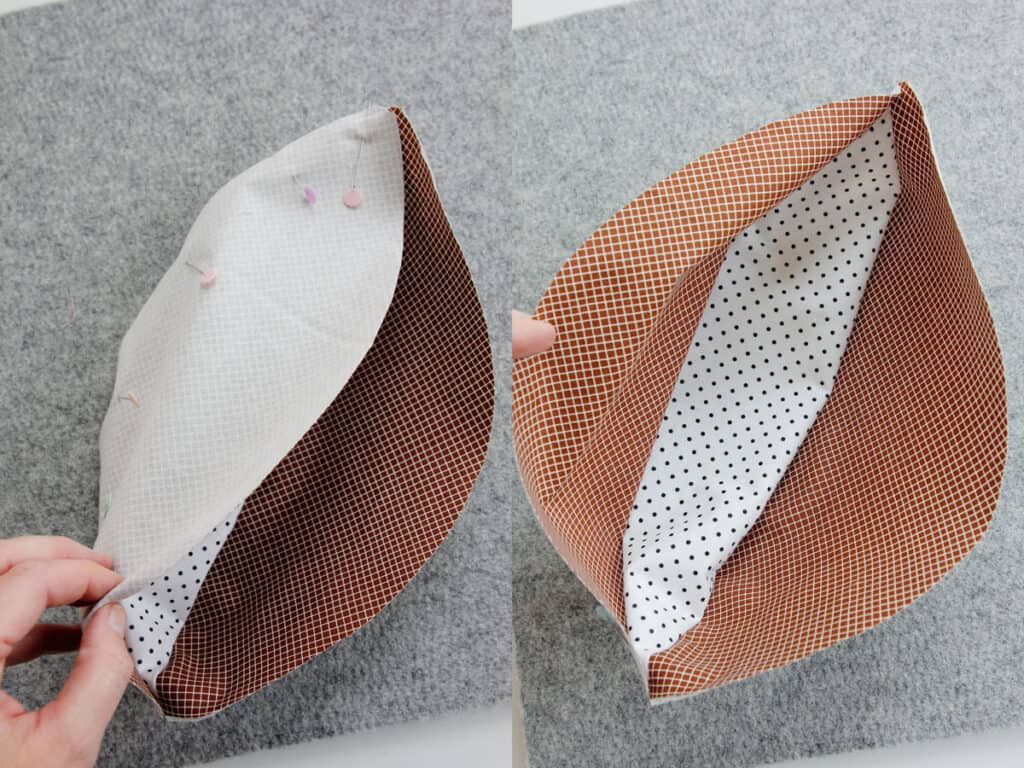
Repeat with the other 3 sections.
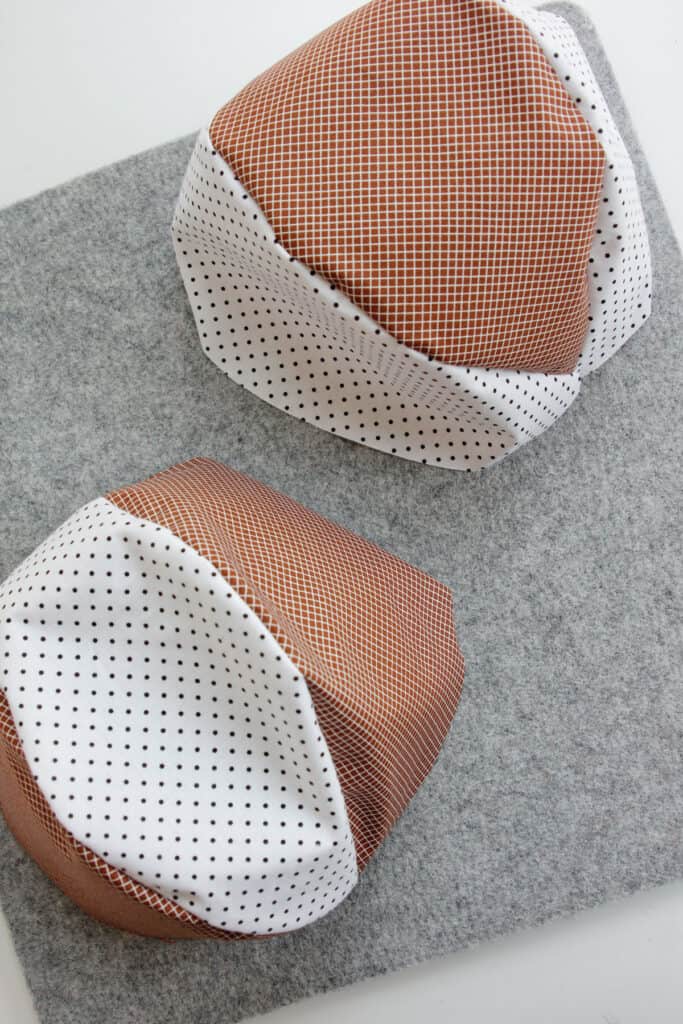
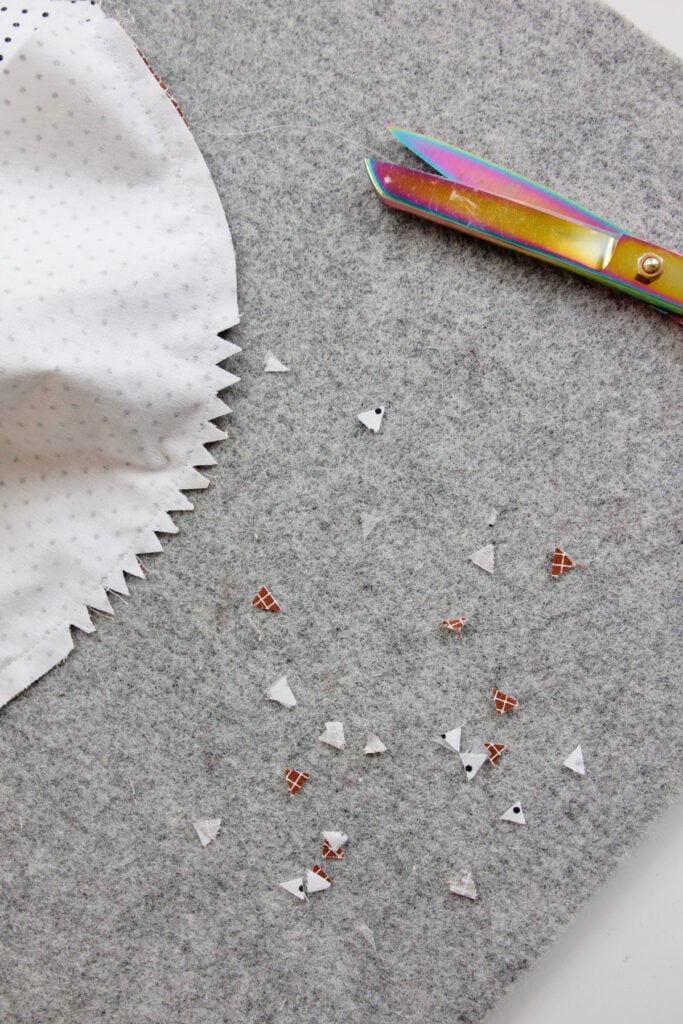
Clip and notch the seam allowances on the curves.
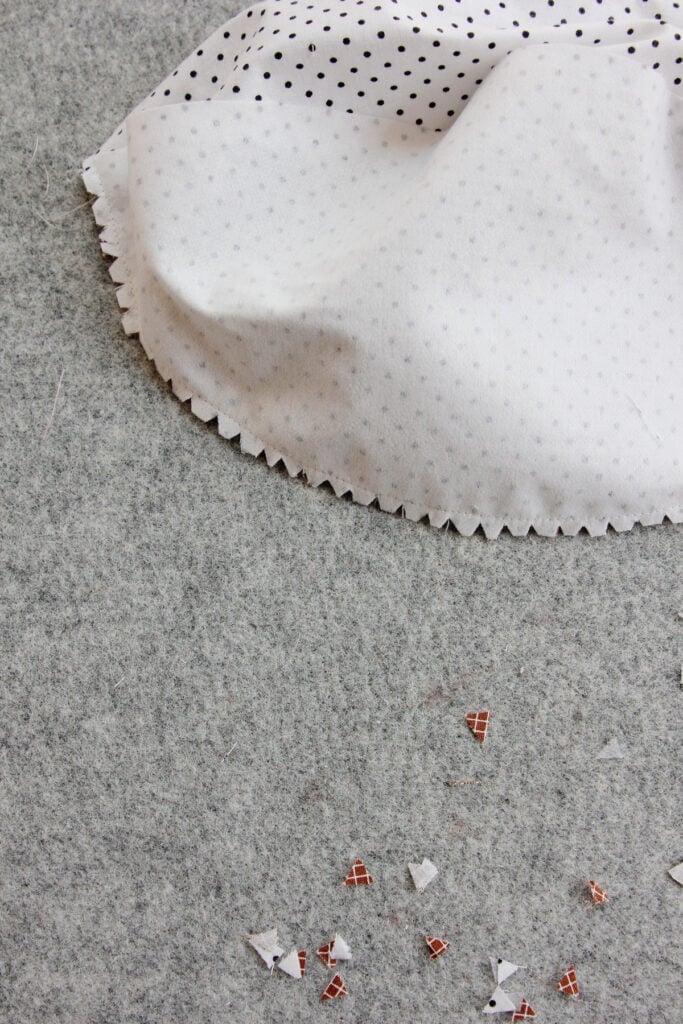
Then trim the seam allowance down a little bit.
Leave one pumpkin half right side out and turn one inside out then stack them together with right sides together.
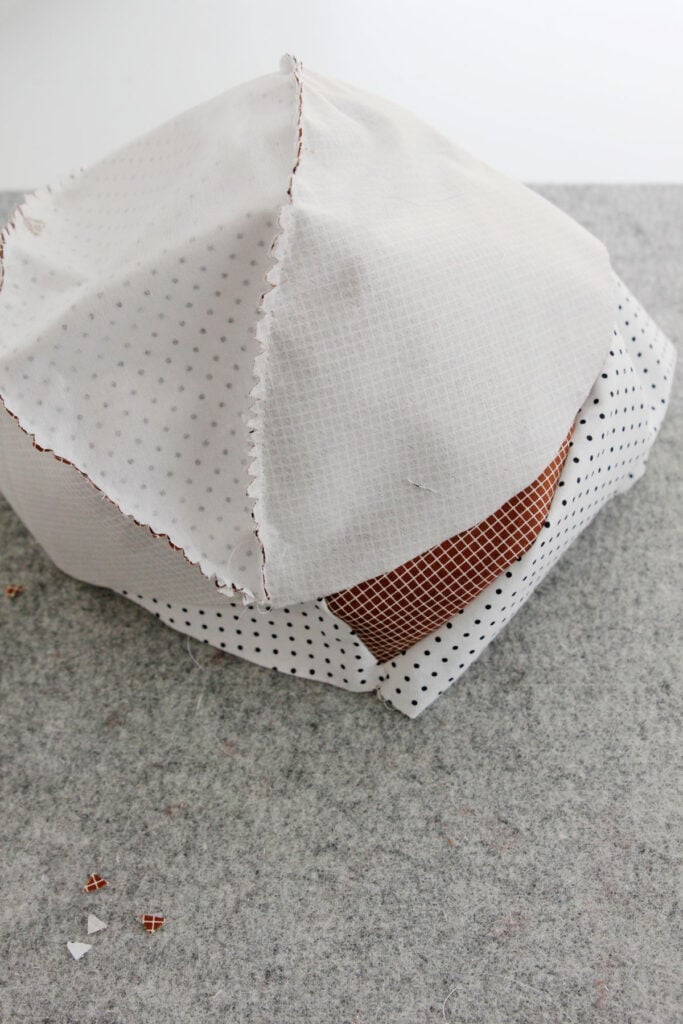
Pin.
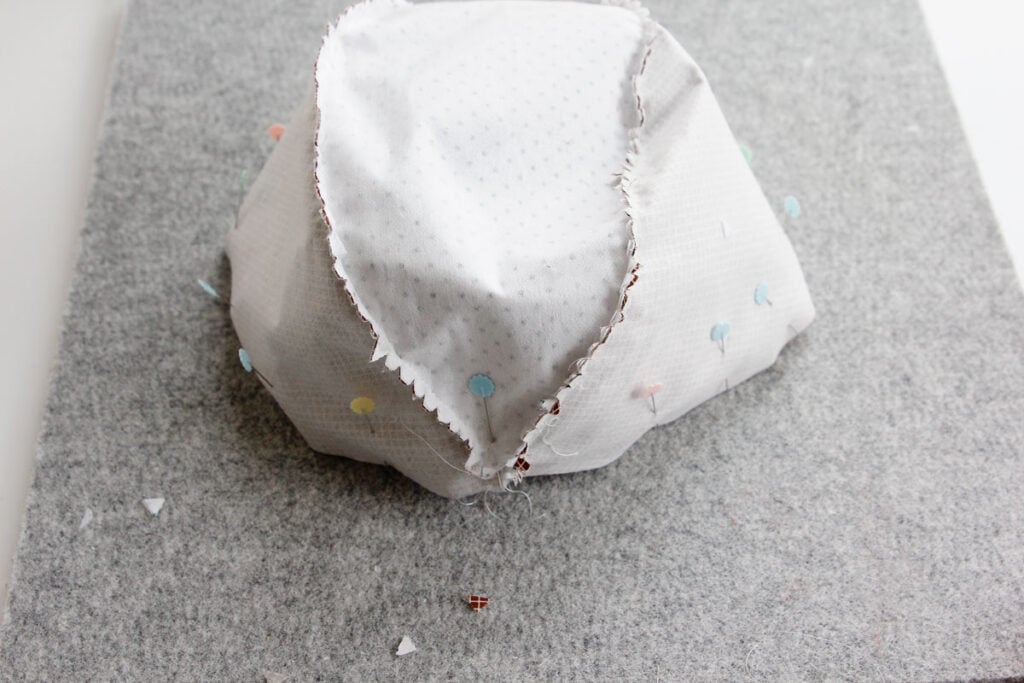
Sew together around the pinned edges, leaving a 2″ opening.
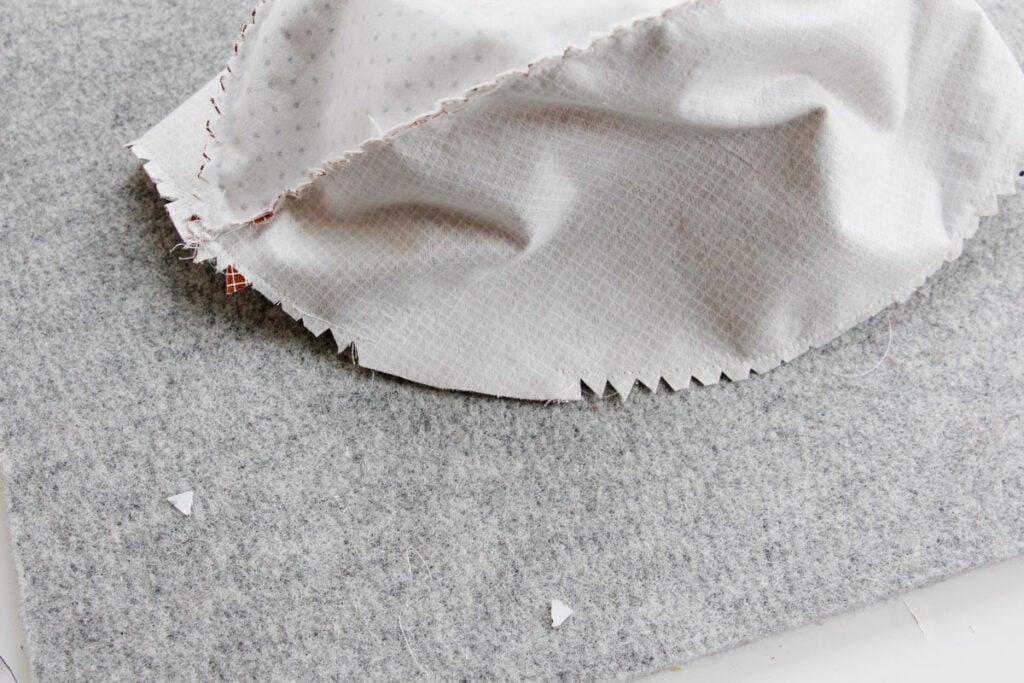
Notch the seam allowances that you just sewed and turn pumpkin right side out through the opening.
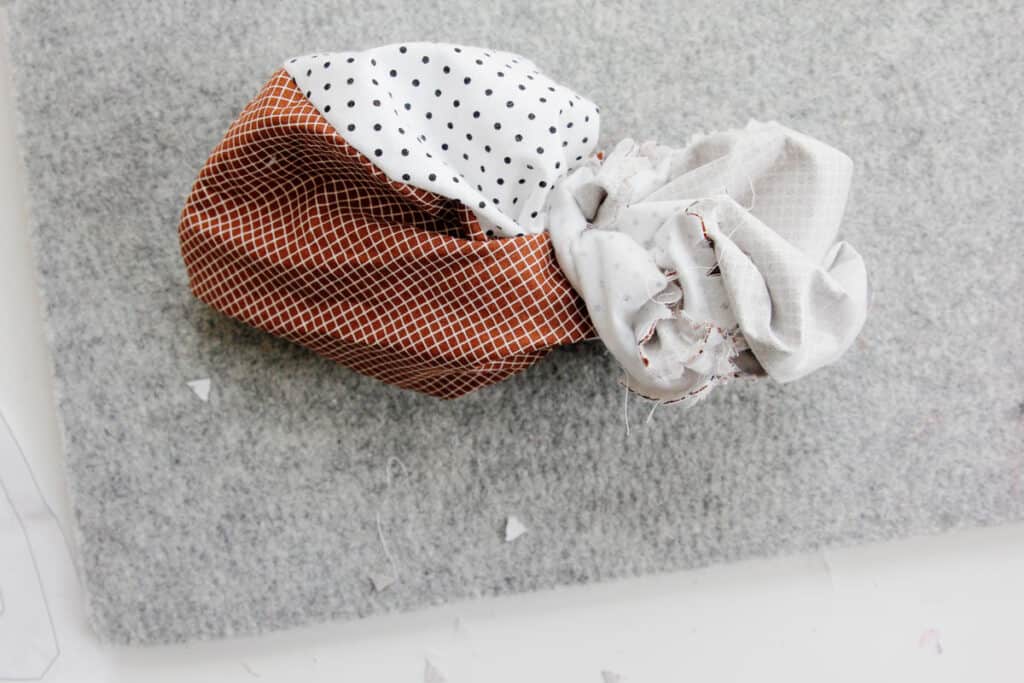
Stuff the inside full of fiberfill stuffing. Fill it up but don’t overfill it, we’ll be cinching it in with thread just a little so leave some give for that.
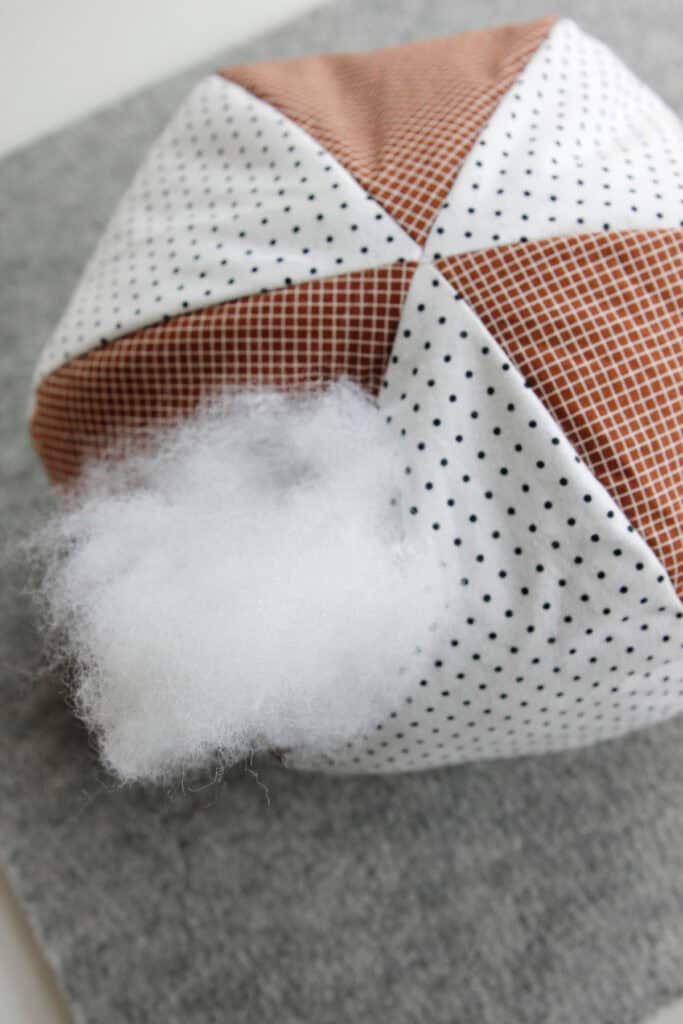
Use a hand needle to sew the opening closed along the folds with a ladder stitch.
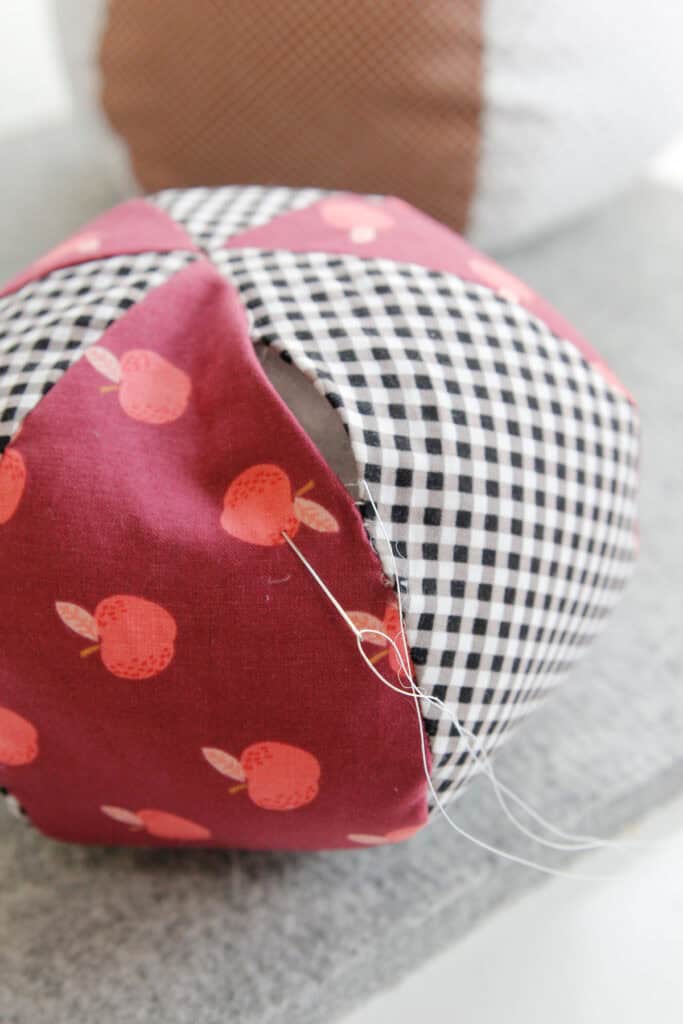
Thread your embroidery floss on a needle and tie a knot at the end.
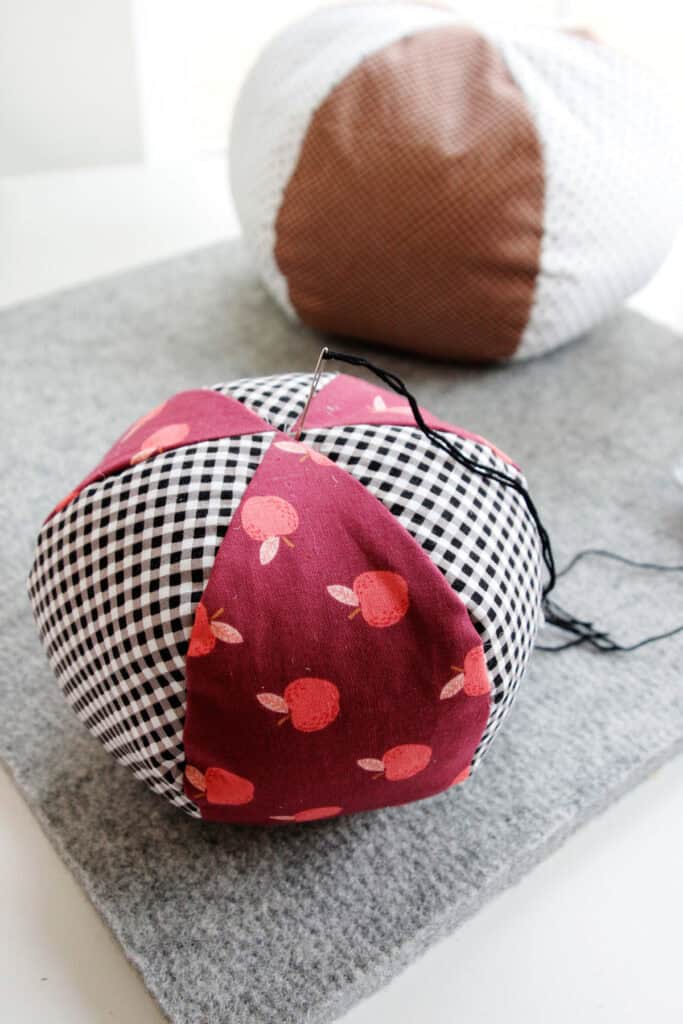
Thread the needle through the top of the pumpkin down to the bottom of the pumpkin and back up.
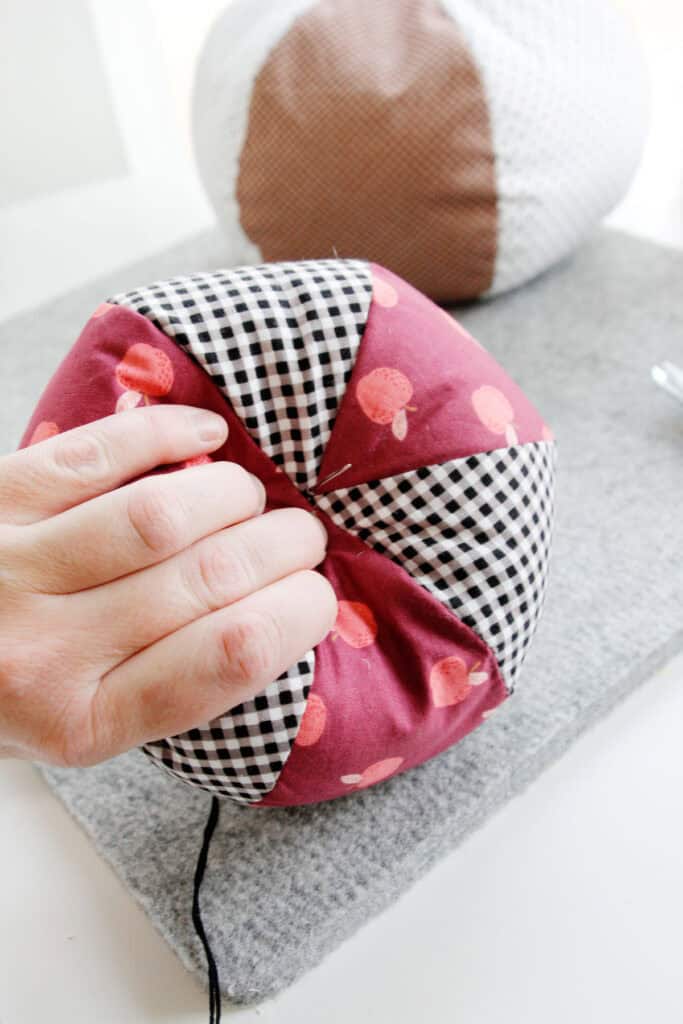
Tie the threads at the top to give the pumpkin an indented shape.
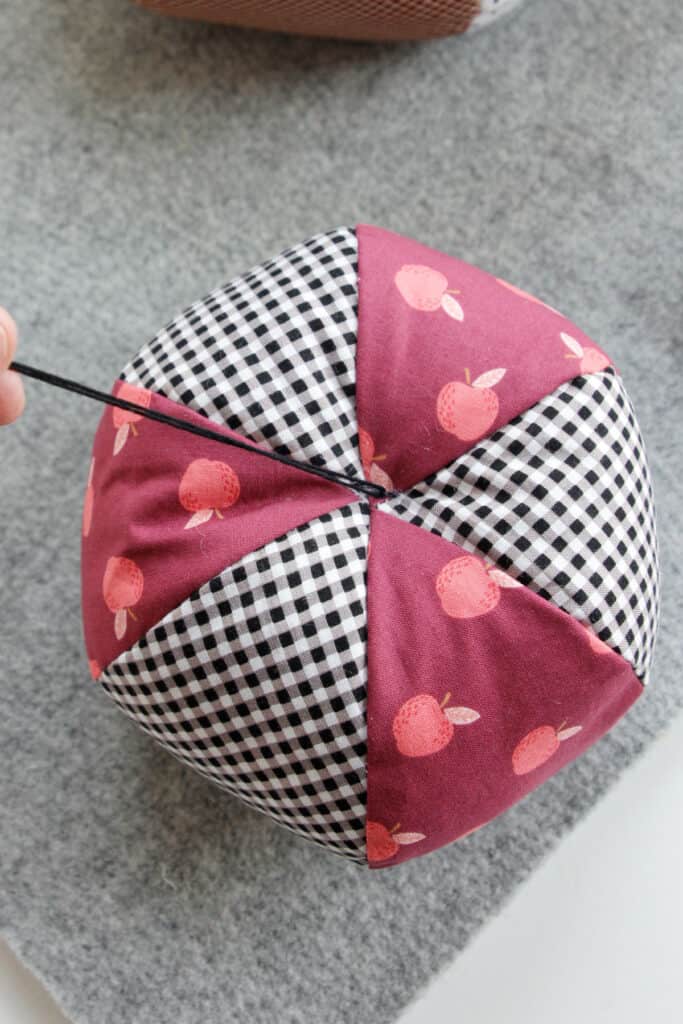
You can play with how tight you make this knot, giving your pumpkins more variety!
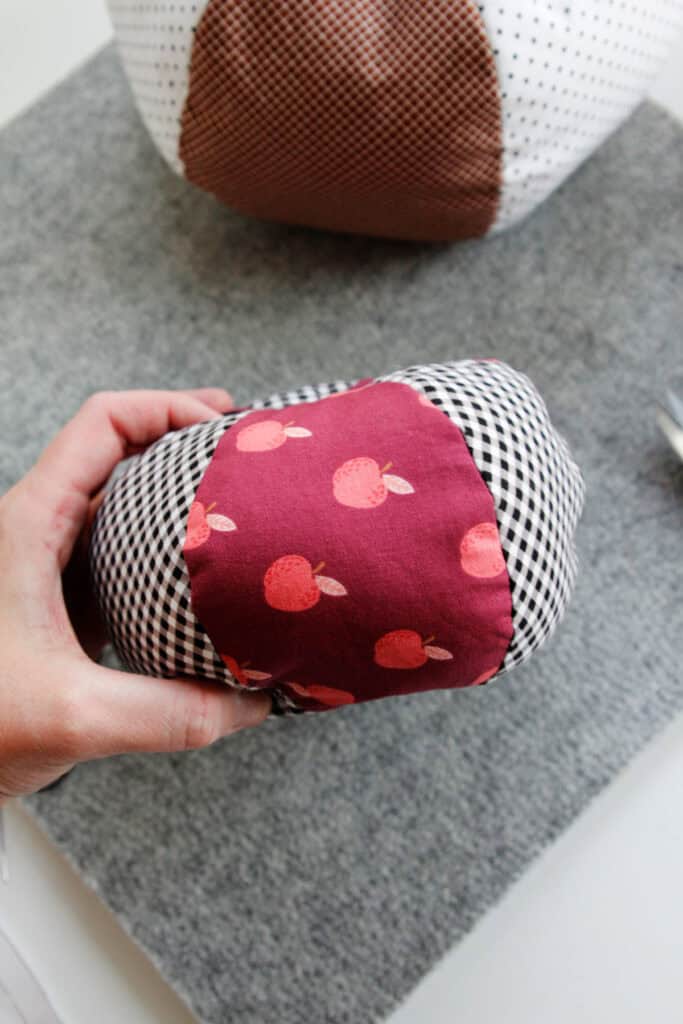
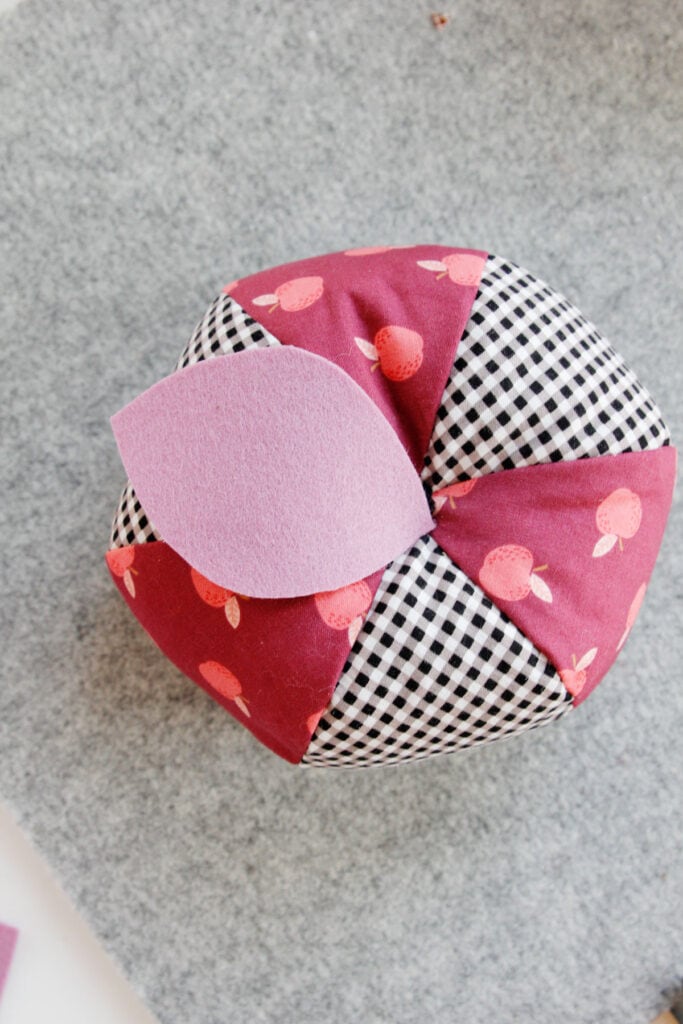
Attach the leaf and stem
Use your glue gun to glue the leaf or leaves to the top of your pumpkin.
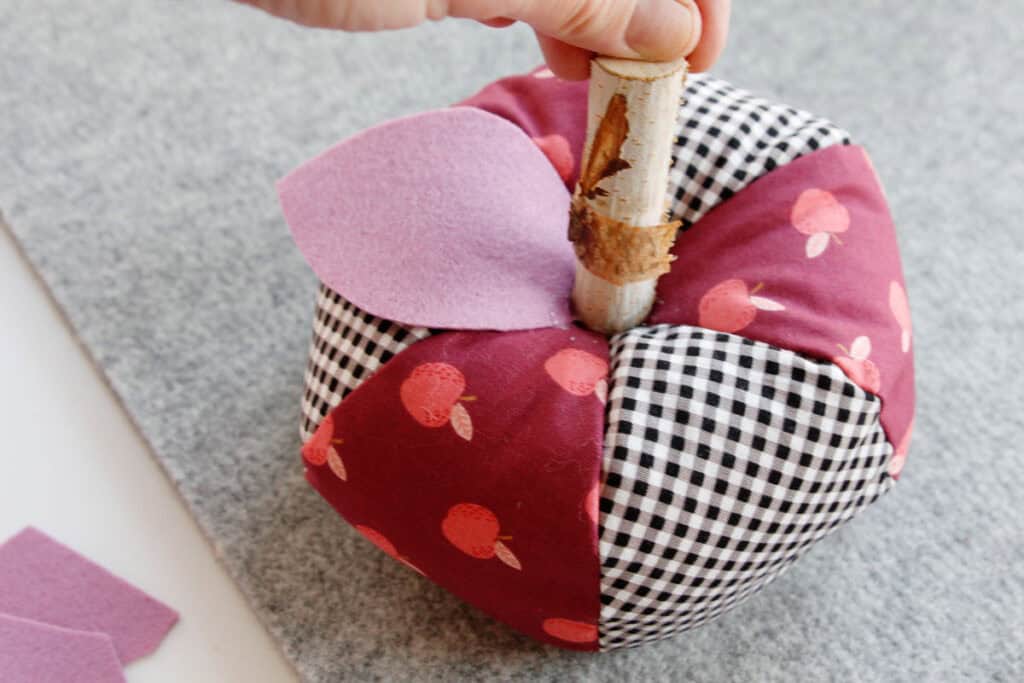
Use lots of glue on the end of your stem and push it into the middle. Hold until it dries and your pumpkin in ready to display!
Pumpkin Variation Ideas
- Upcycle old sweaters or flannel shirts for this project – just be sure to stabilize with a good interfacing
- Use hand stitches to decorate your pumpkins
- Find 6 great fabrics and use one for each section
- Wrap a cork with twine in place of a wooden stem
- Tie a ribbon around the stem for a cute bow accent
- Use felt for quick leaves and more texture
- Tie yarn or jute twine, embroidery thread around the pumpkin for more pumpkin lines
Join the Facebook group to share your projects!
