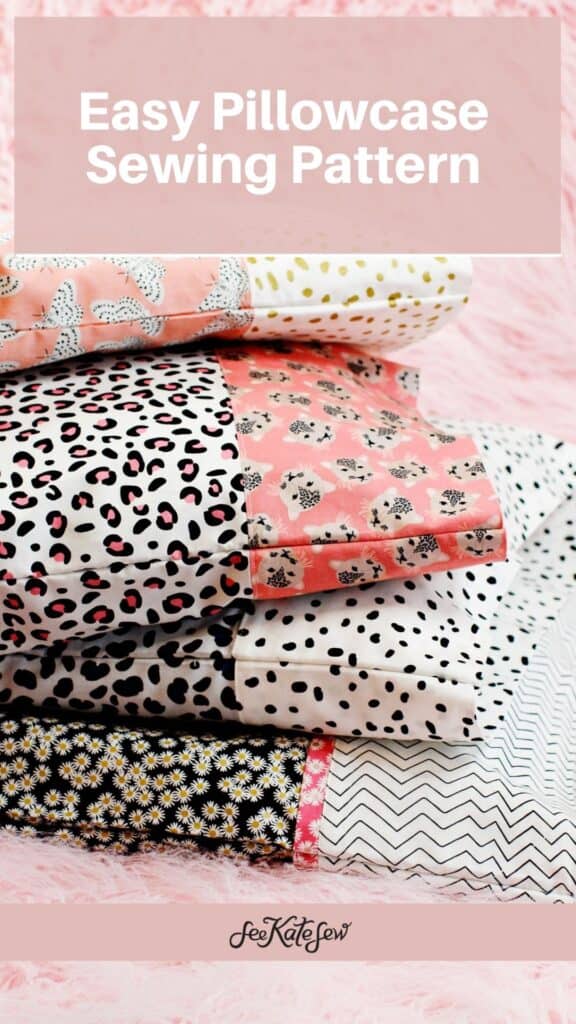
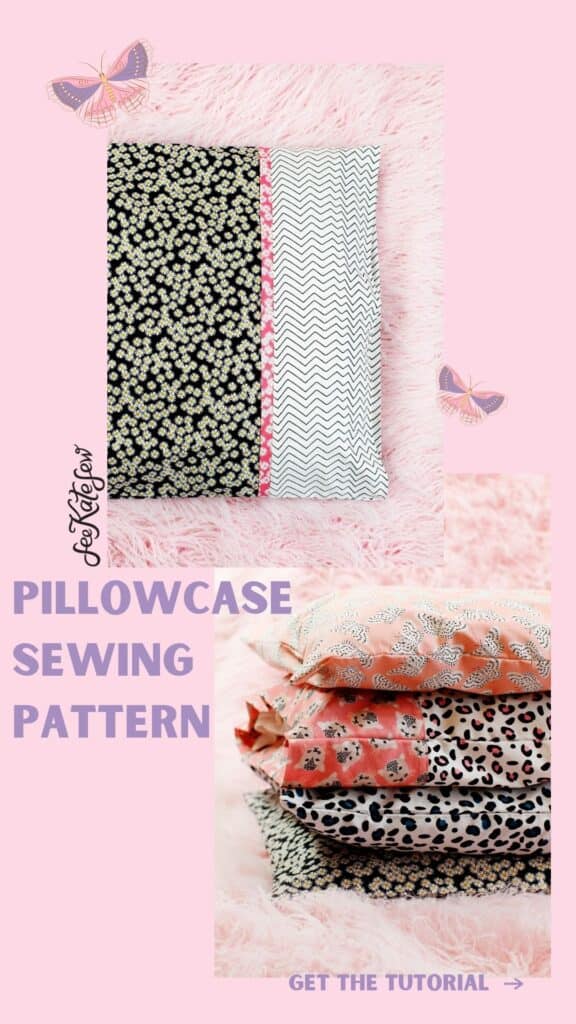
You can never have enough pillowcases laying around! This easy pillowcase sewing pattern is perfect for sprucing up your bed!
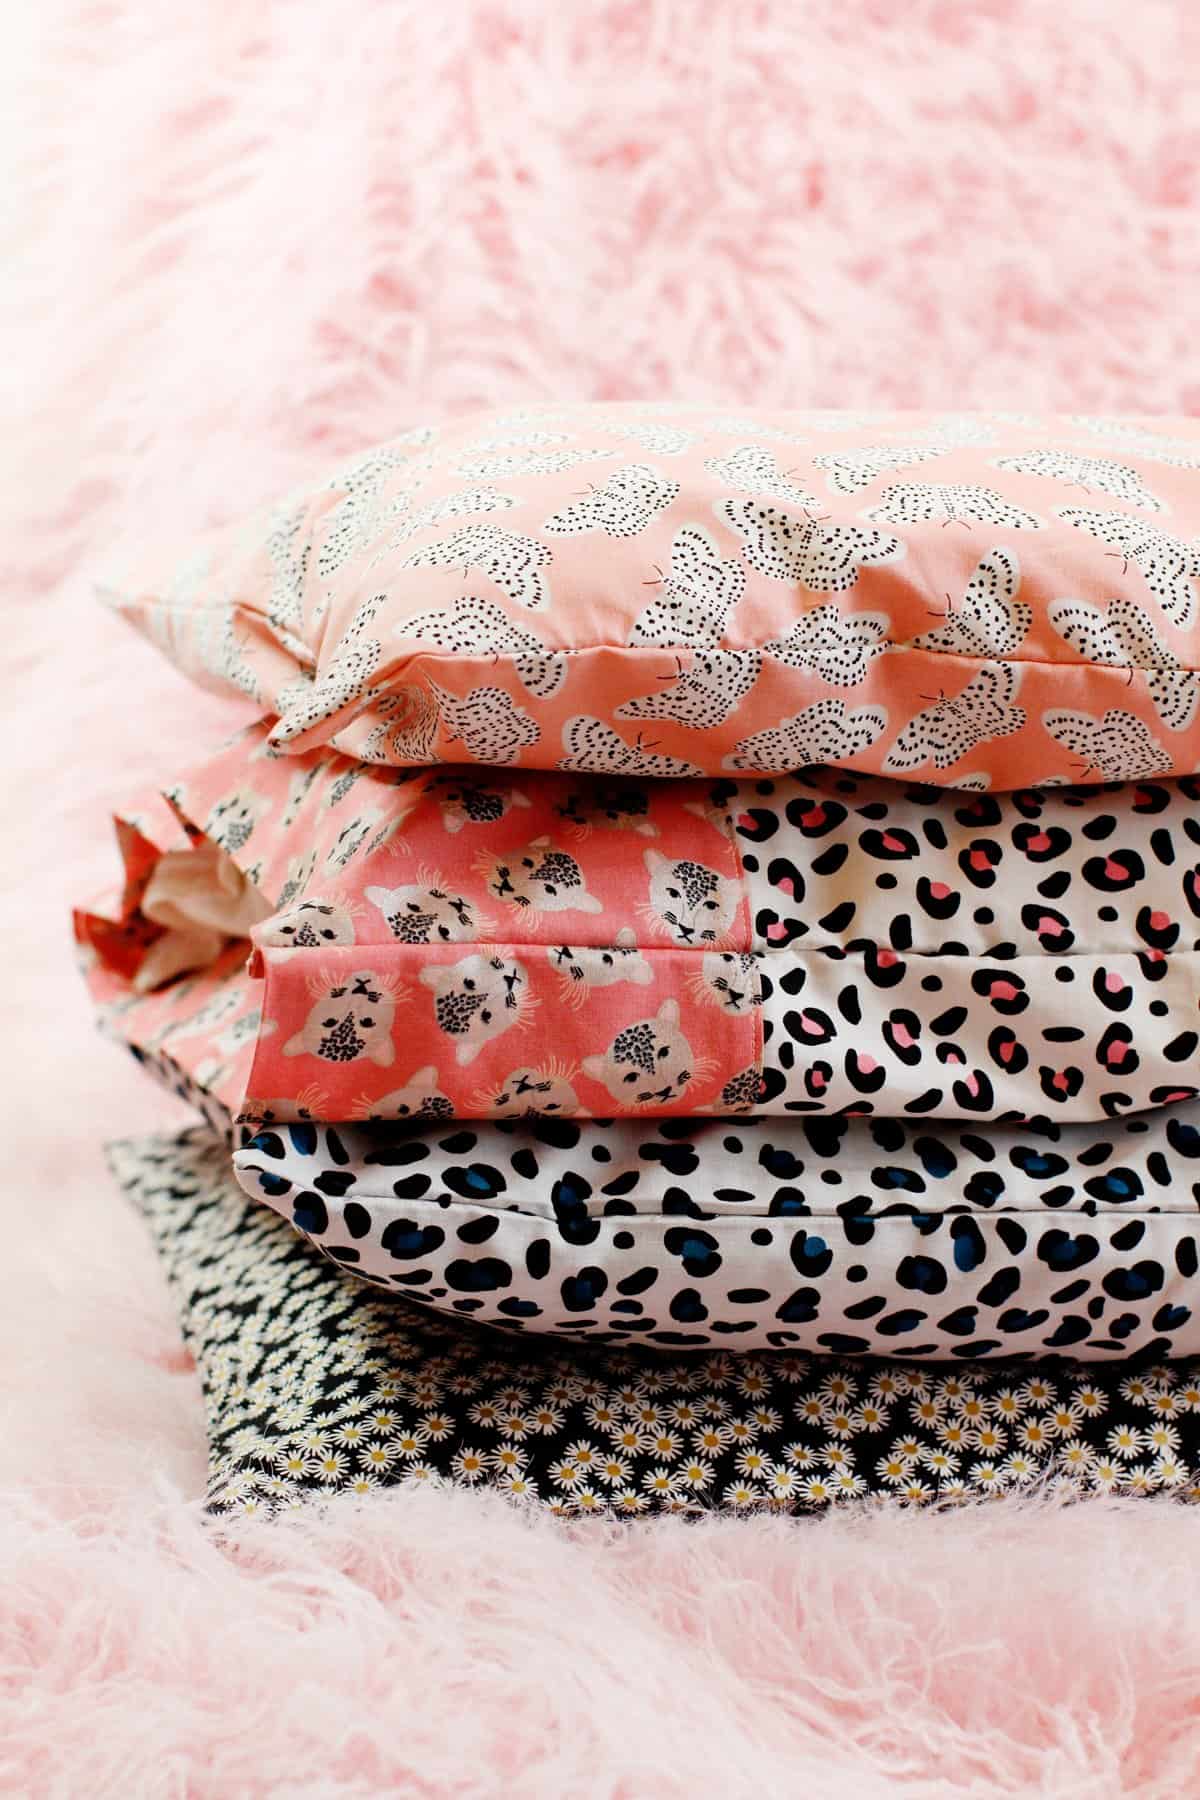
Make a few pillowcases for everyone on your list! I love letting my kids pick a fabric at the store for their own pillowcases. This simple pillowcase also makes a great gift and can even be used as a gift bag – just put a gift inside and tie it with a ribbon!
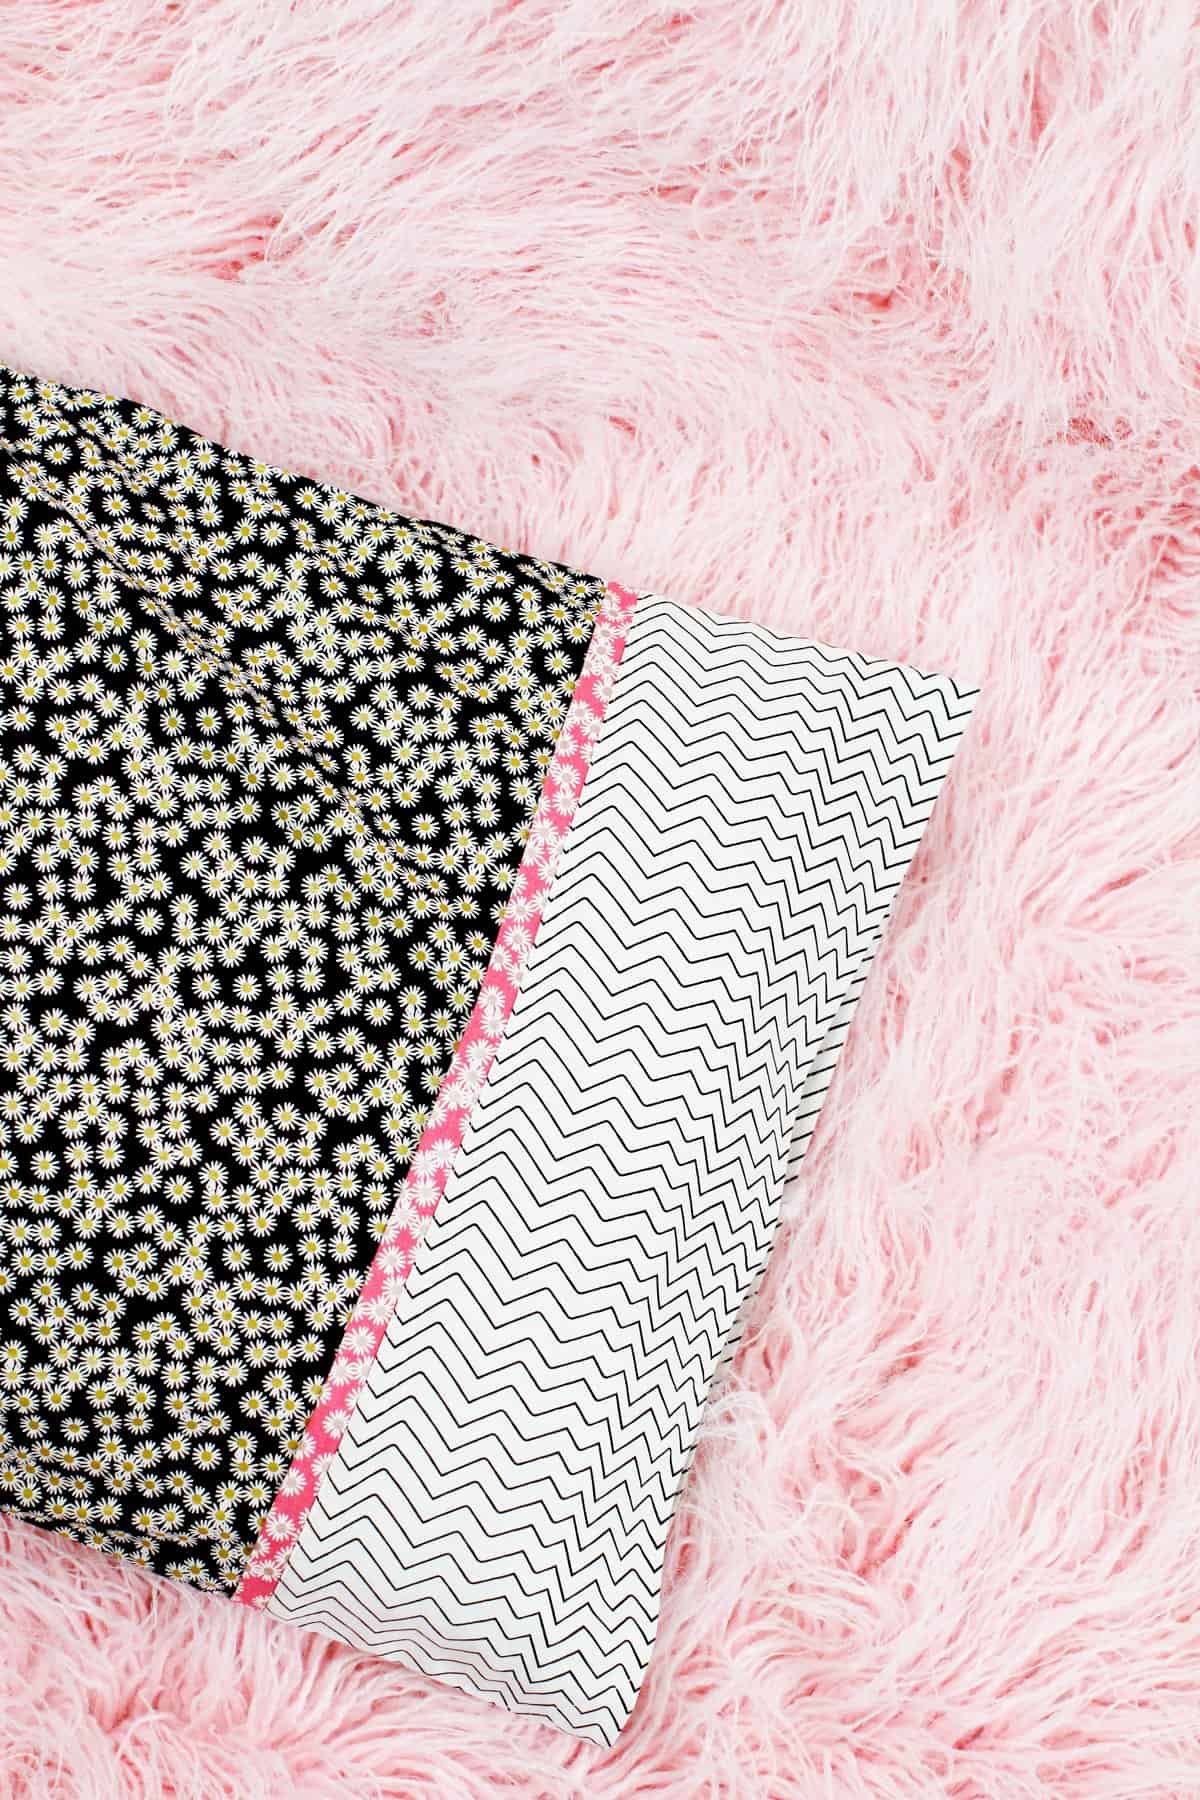
This tutorial makes a standard size pillowcase that you can switch out whenever you want. It only takes a few stitches on your sewing machine to whip one of these out. This project is great because it can be sewn in less than 30 minutes!
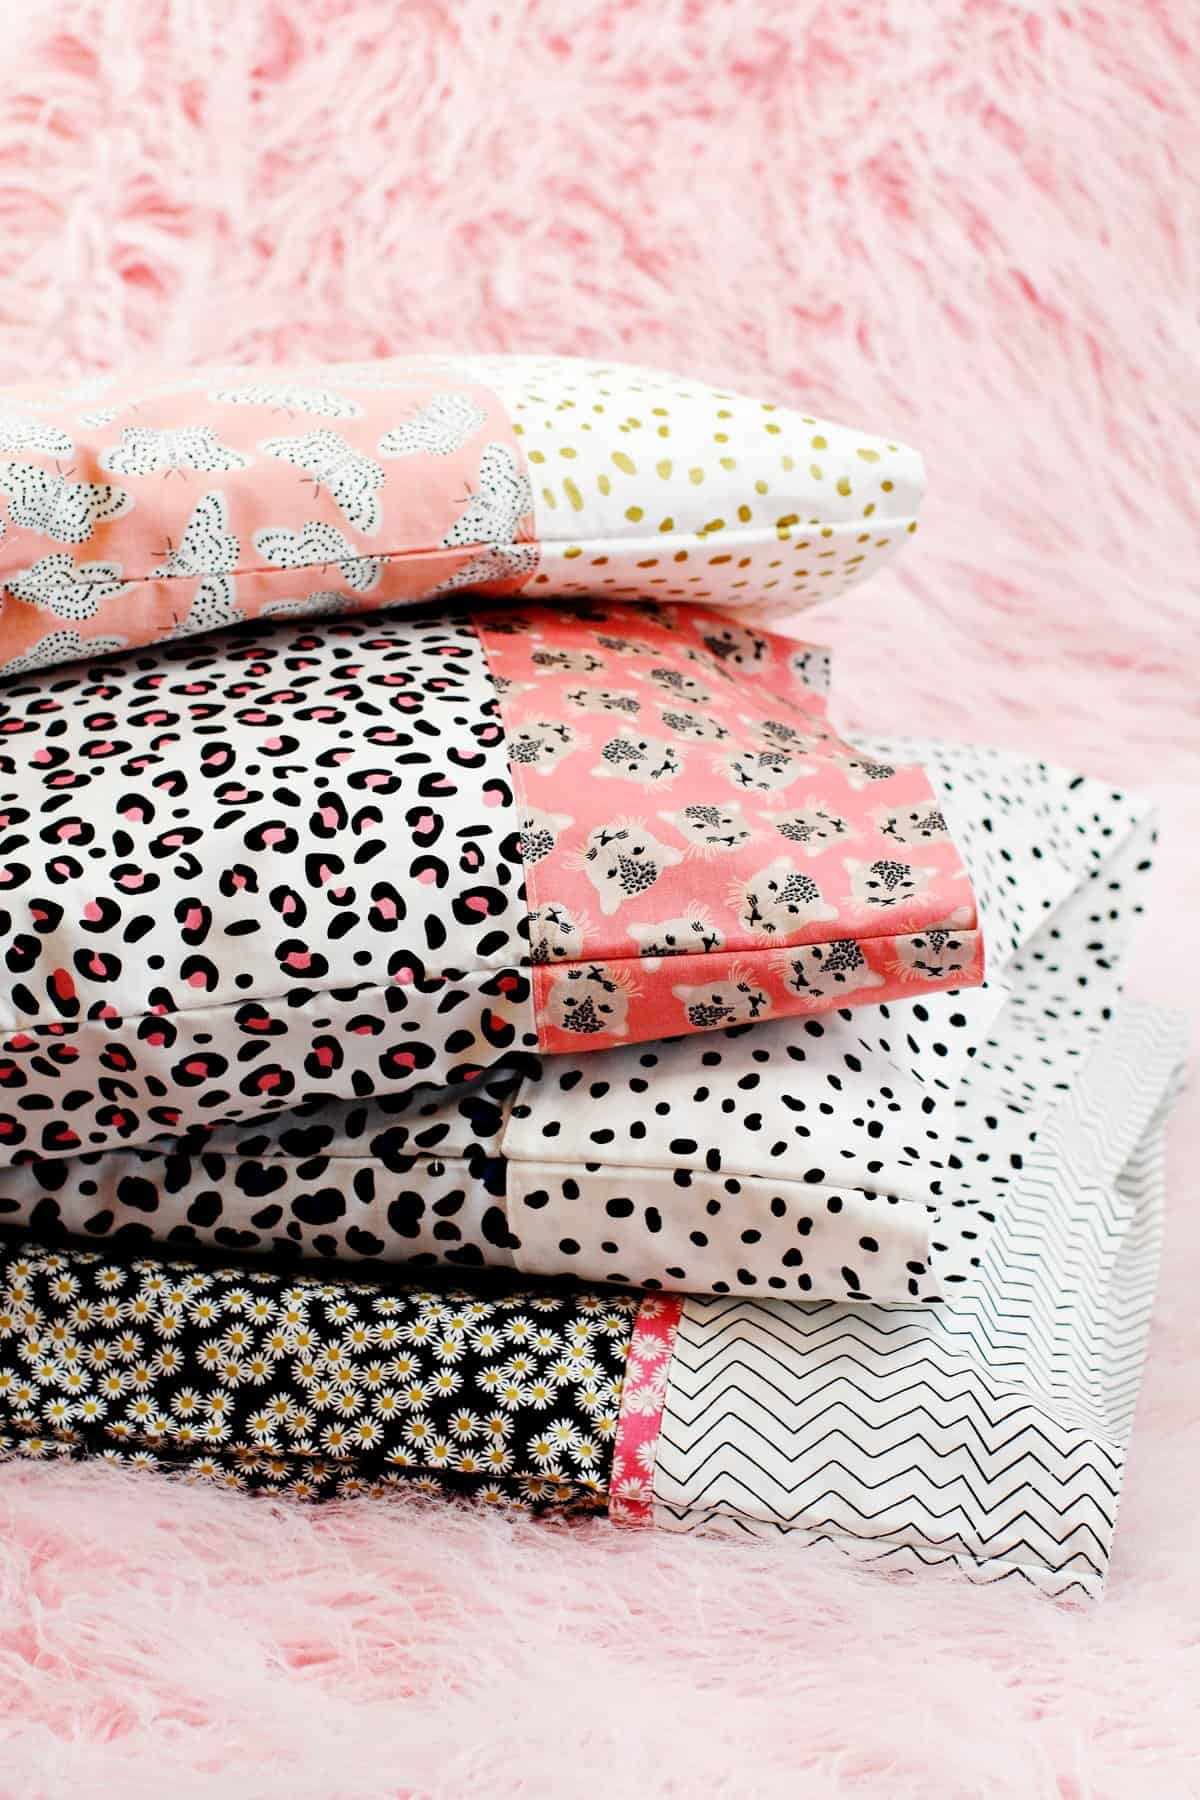
A new pillowcase is a simple way to revamp a bedroom without buying a whole sheet set! You only need about a yard of fabric for this easy project! The body of the pillowcase requires 2/3 yard and the cuff requires 1/2 yard.
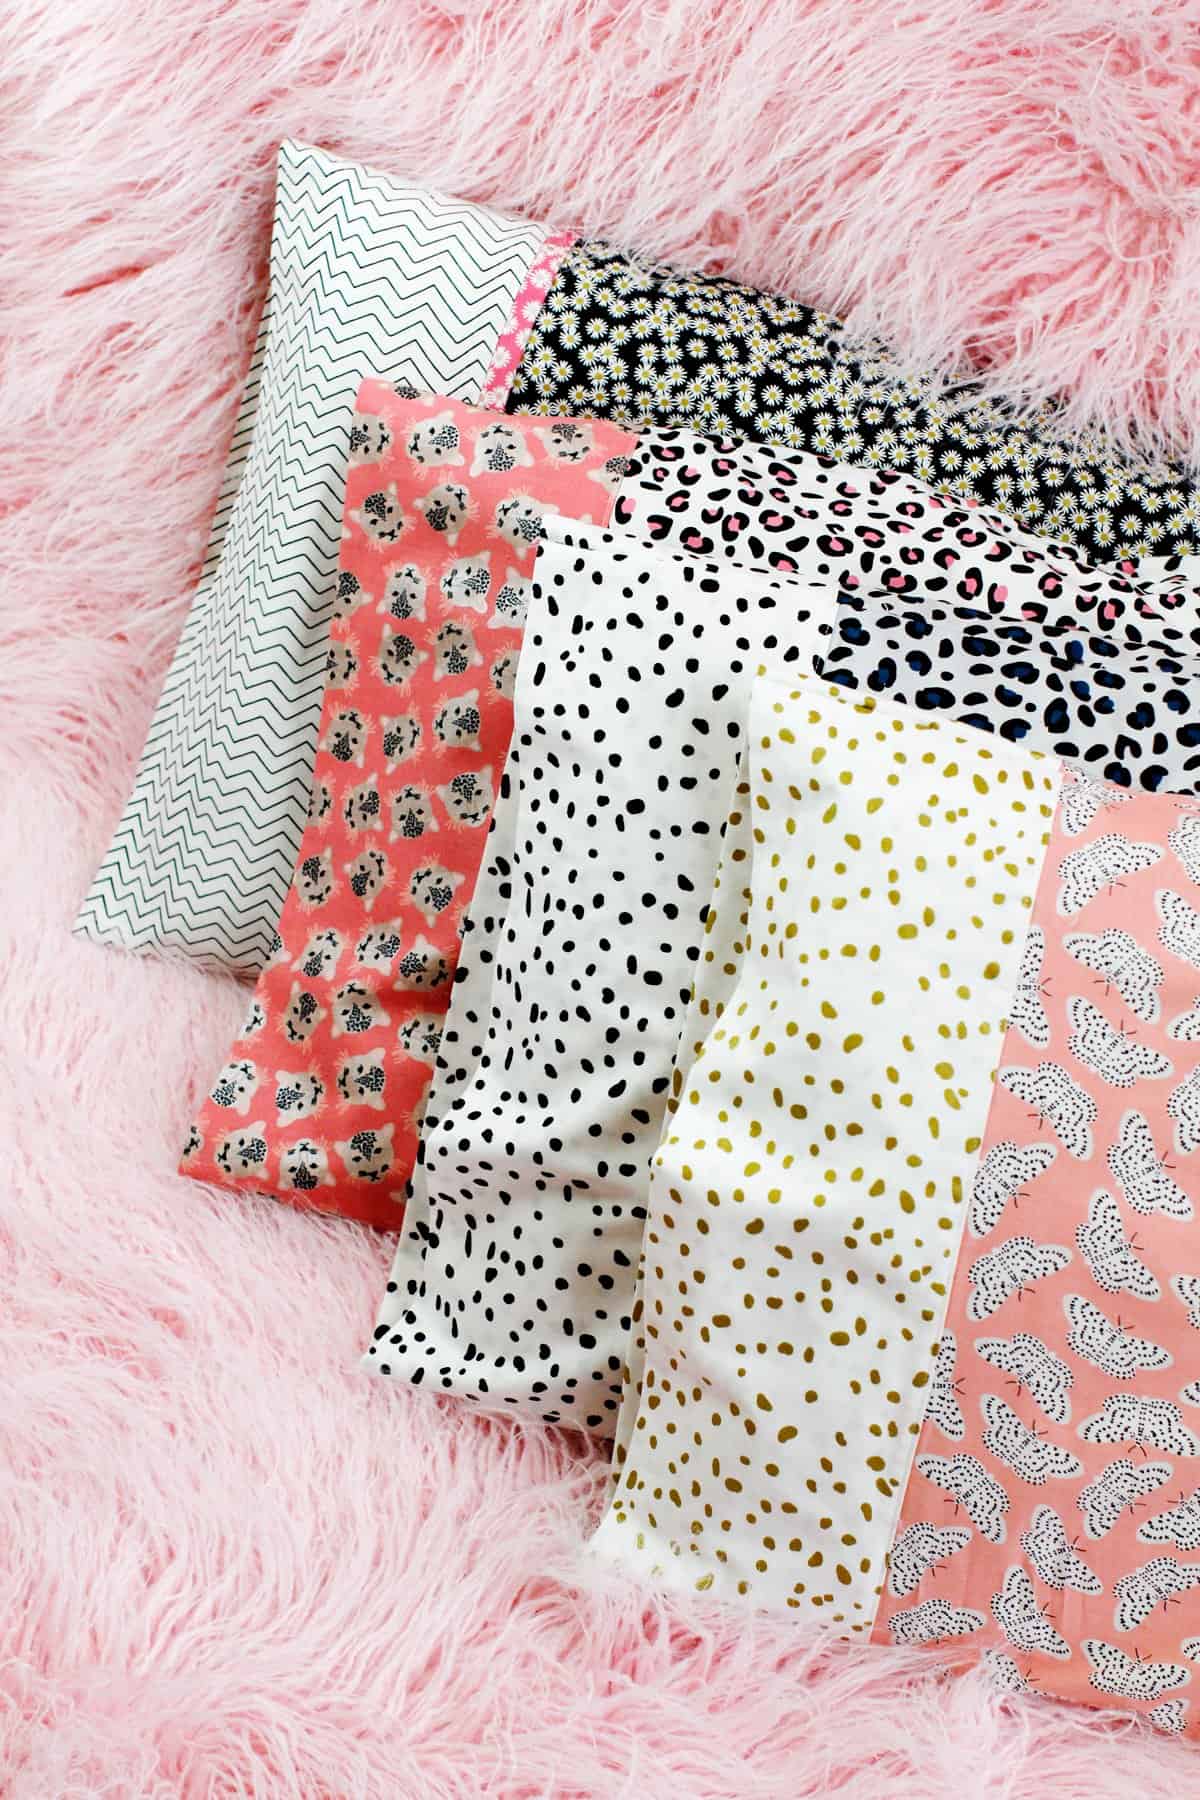
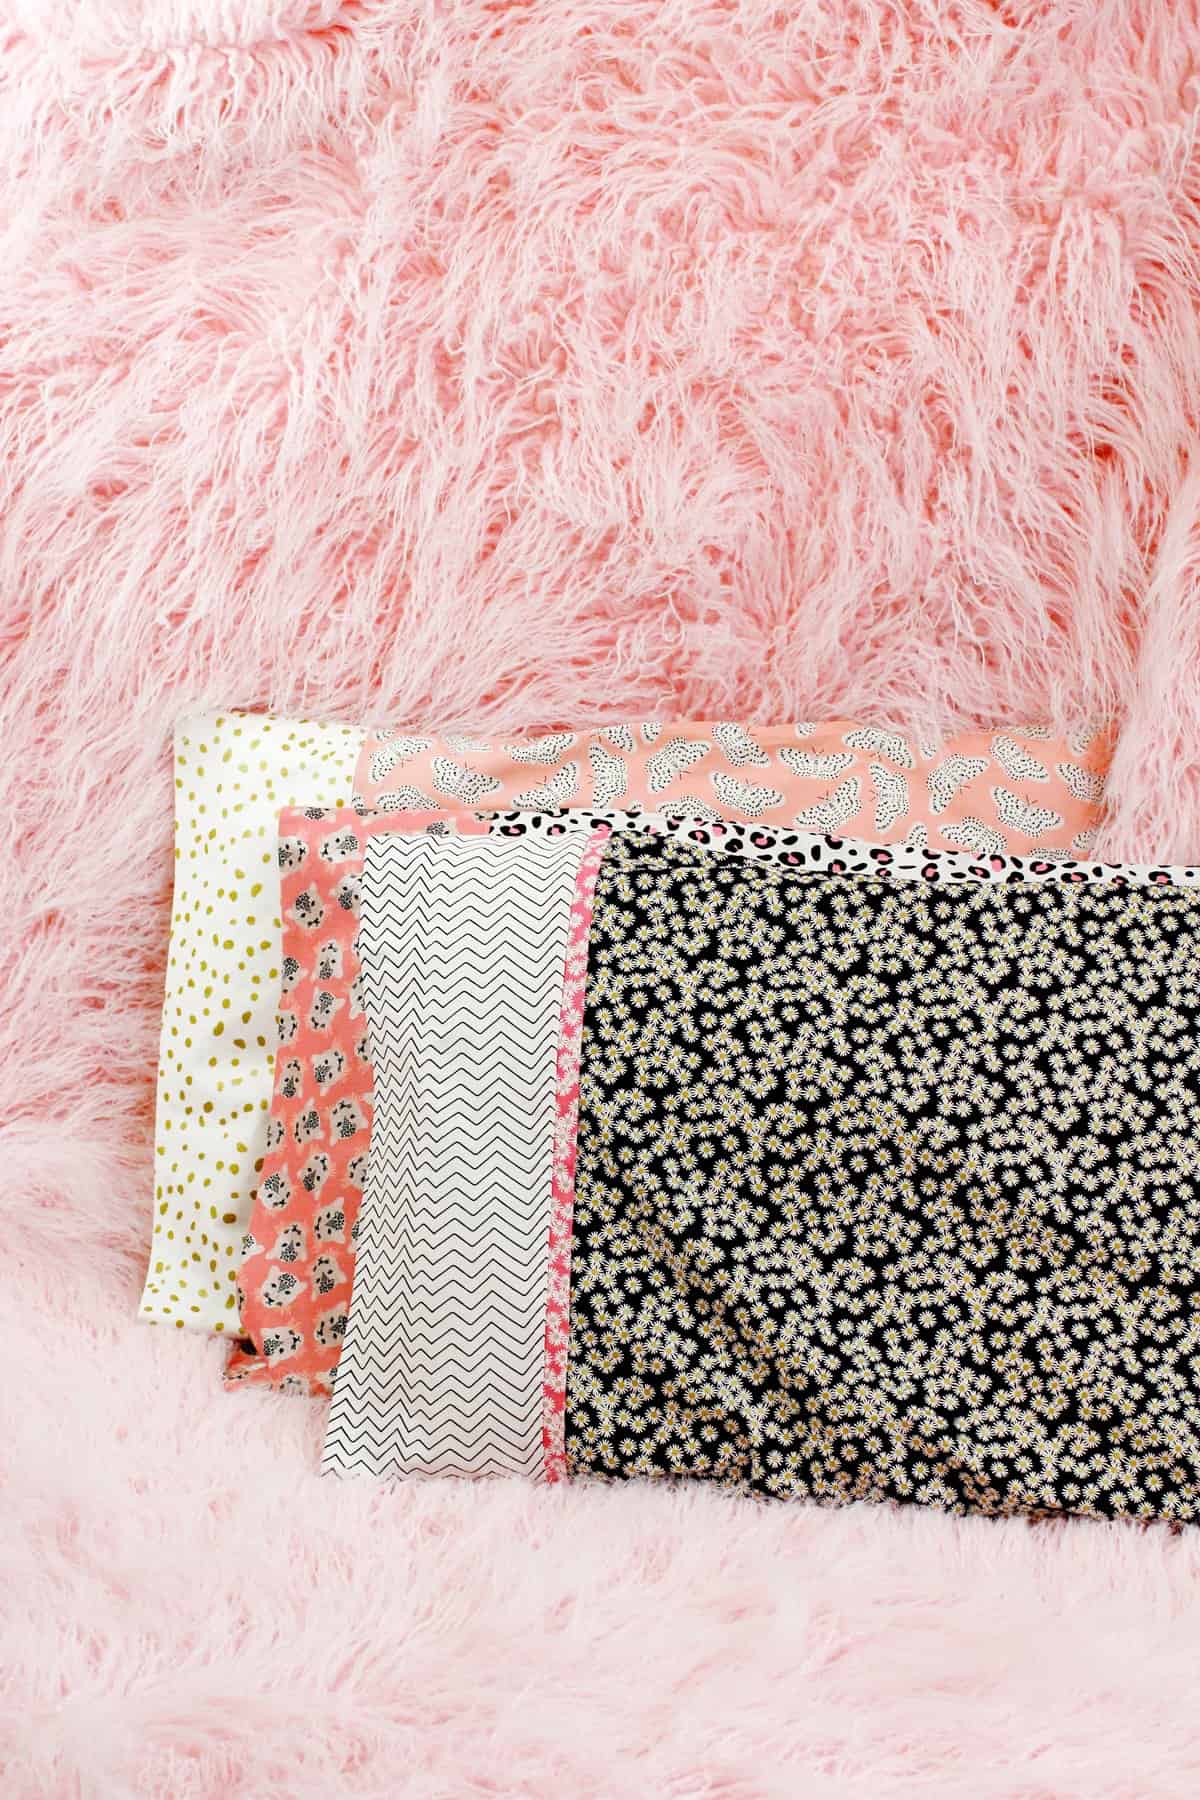
Fun fabrics make this project extra cute! Because who doesn’t need a sparkly leopard pillowcase?!
Pillowcase Sewing Pattern Tutorial
Standard pillowcases are easy to sew with this simple tutorial!
Easy Pillowcase Pattern Materials
This tutorial is so simple – all you need is fabric!
- 2/3 yard main pillowcase fabric
- 1/2 yard coordinating fabric for cuff or trim piece
- 1/4 yard accent fabric, optional
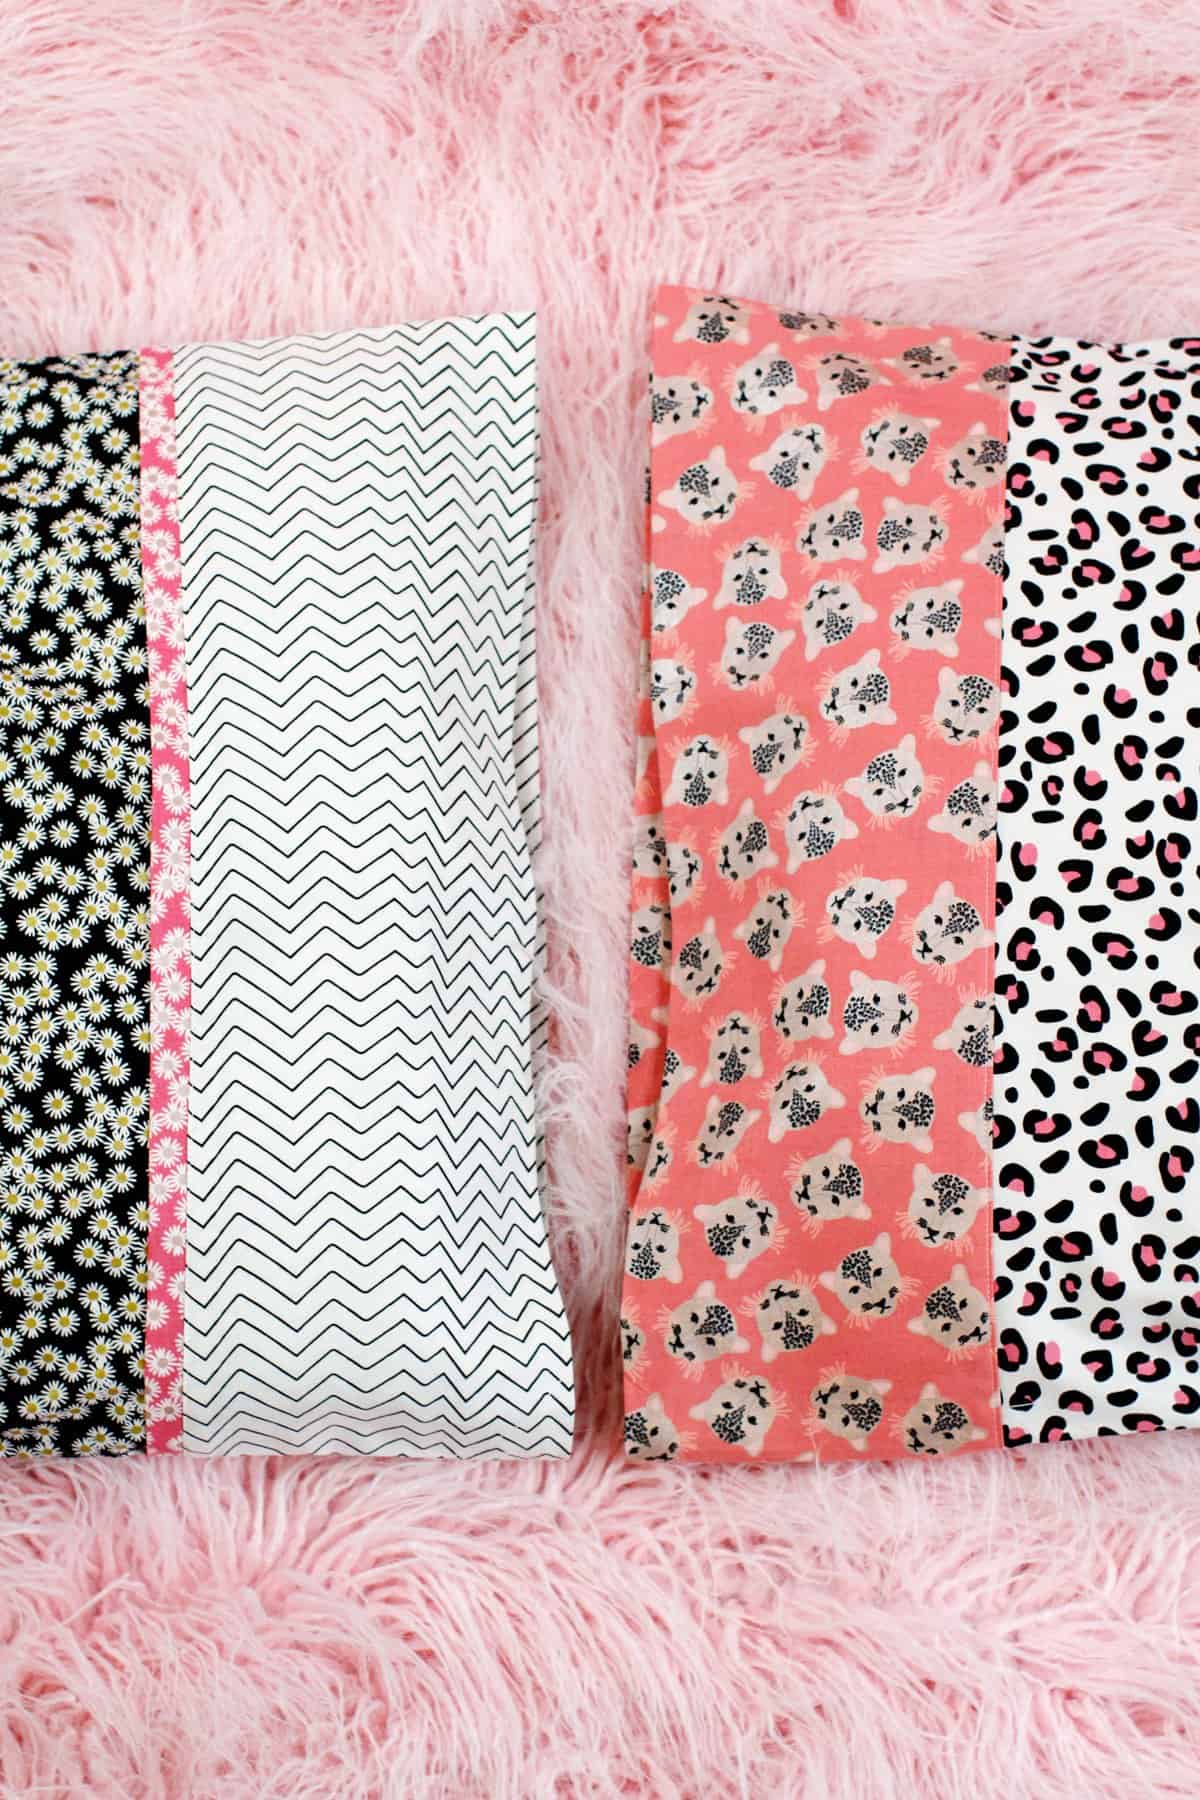
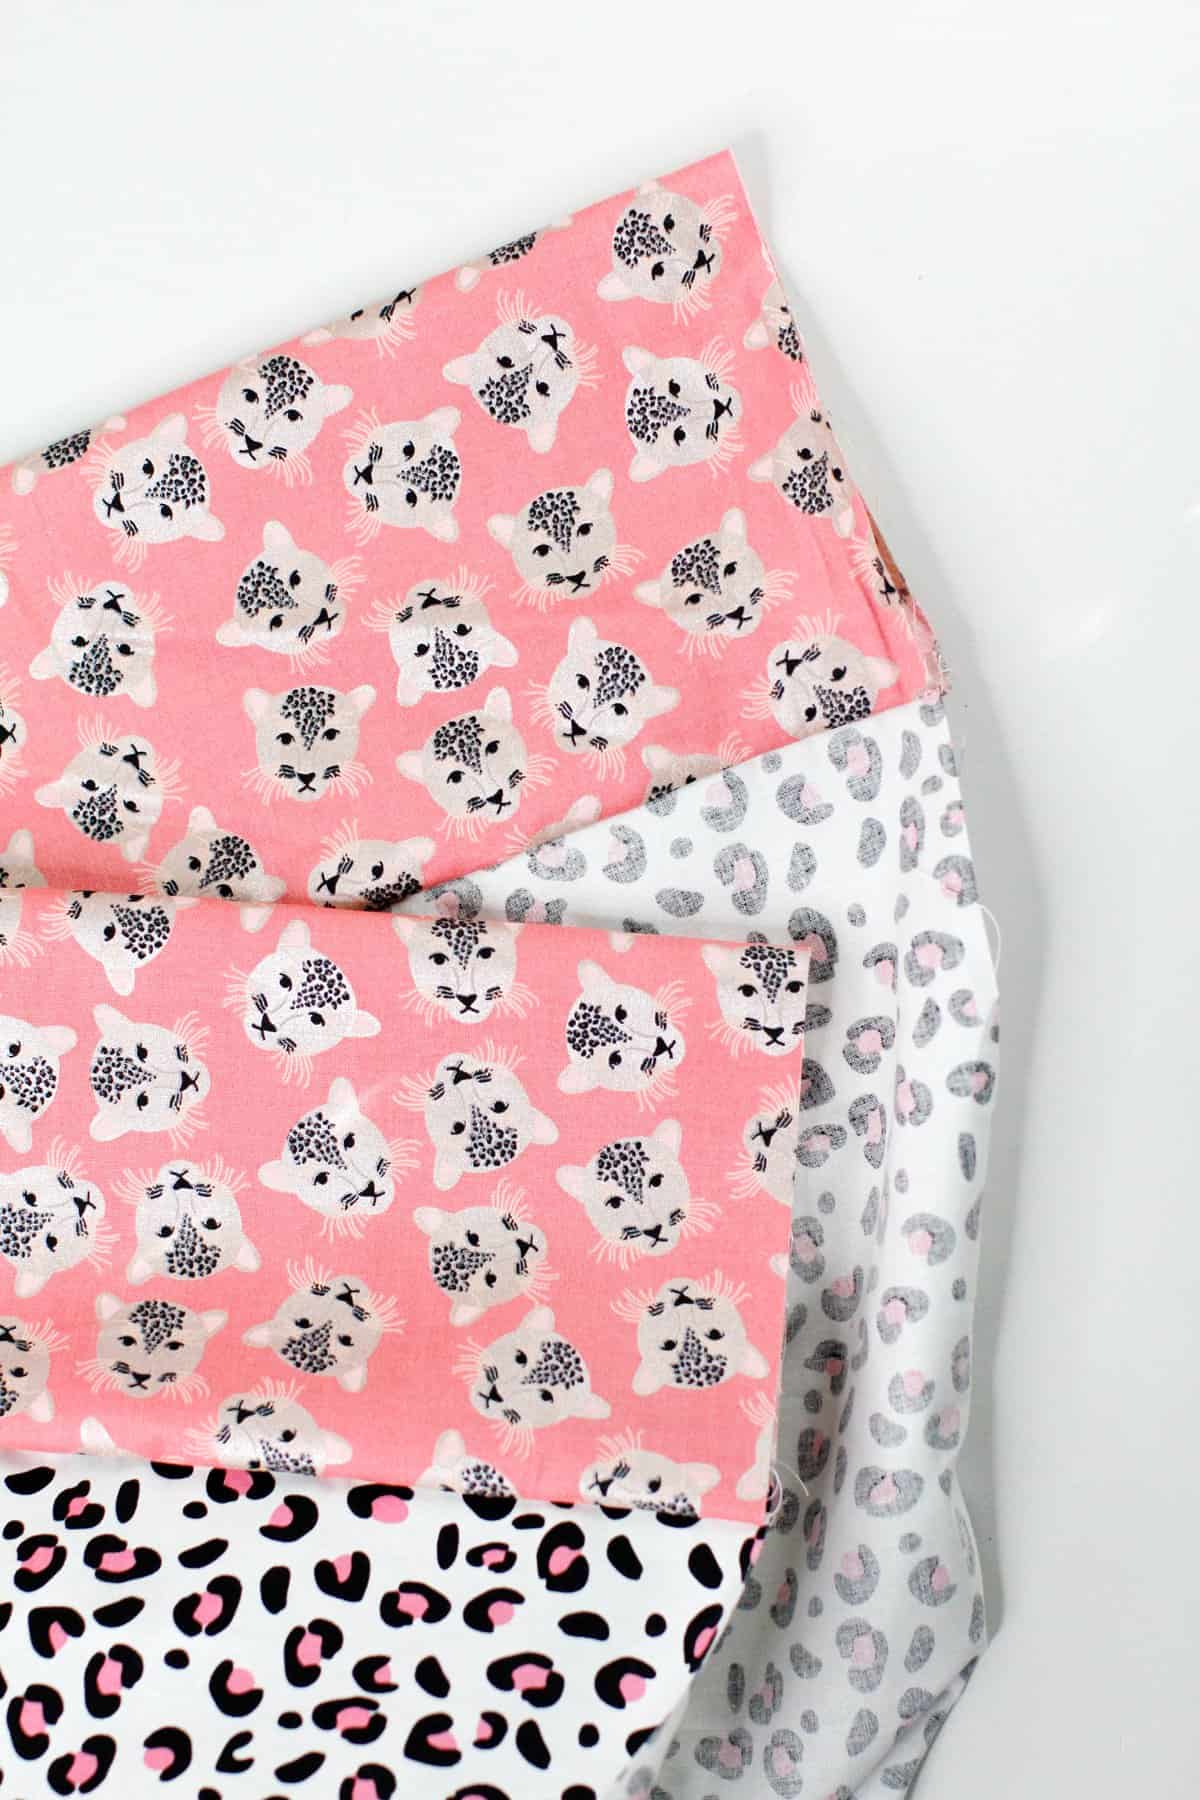
Use high quality quilting cotton, or 100% cotton fabrics for pillowcases! I sewed these pillowcases with my fabric line Spotted. The fabrics I used are listed below (affiliate links):
- Leopard Spots Pink
- Spotted Zigzag Black/White
- Stripes Gold Sparkle
- Spotted Main Rose Gold Sparkle
- Leopard Spots Teal
- Butterfly Salmon
- Spots White Black
- Gold Spots
- Pink Daisy Fields
- Daisy Fields Sparkle Black White Gold
Use a scrap from your stash or a coordinating print for the trim fabric. This pillowcase sewing pattern allows for up to 3 different fabrics!
Sewing Supplies for Pillowcases Pattern
- Sewing machine
- Matching thread
- Rotary cutter
- Cutting mat
- Acrylic ruler (affiliate links), my favorite ruler for projects like this is a 12″ by 24″ ruler, but you can also use any long ruler such as 3″ by 18″
- Iron and ironing board
- Sewing scissors (these are my favorite!)
You don’t need a serger for this project, but you can use one if you want! I’ll show you two ways to finish the pillowcase seams with or without a serger.
Pillowcase cutting dimensions
Use 3/8″ seam allowance.
The final pillowcase dimensions are about 28″ long by 20″ wide, which will fit a standard pillow. A queen size pillow can also fit (snugly) in this pillowcase.
Cut your fabric in the following pieces:
- Main fabric: 42″ by 23″
- Cuff fabric: 42″ by 13″
- Accent, optional: 42″ by 2″
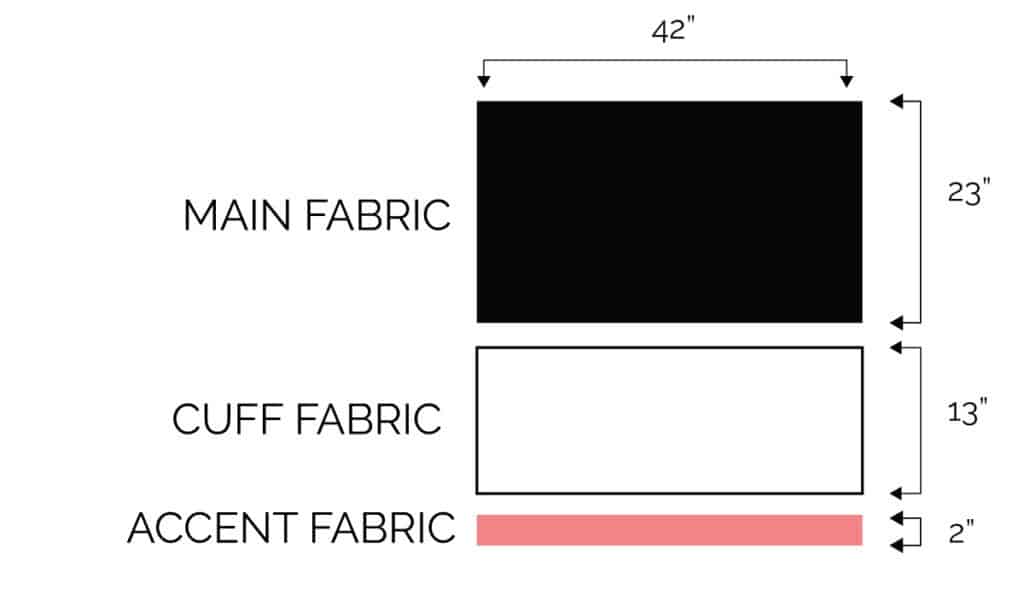
Easily adjust the width and length of your pillow case by altering the measurements.
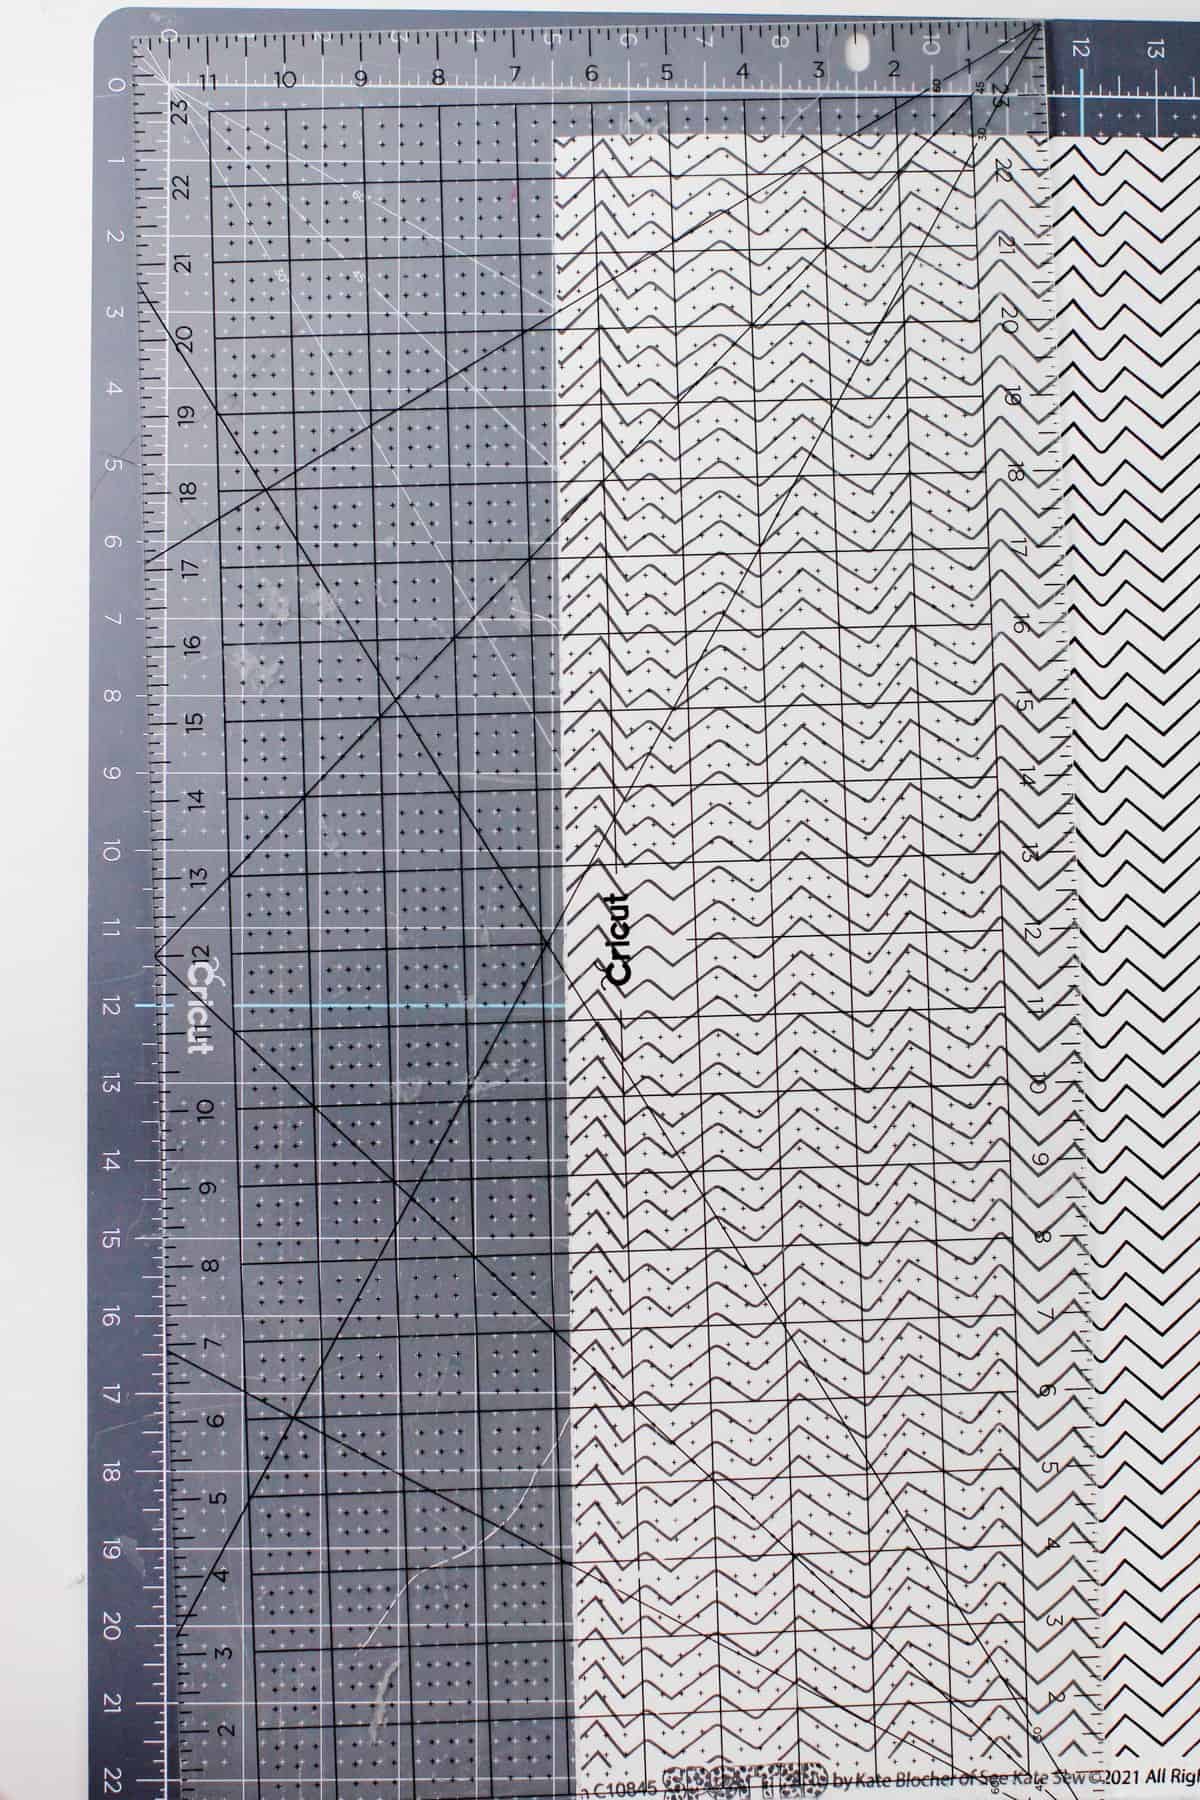
Most quilting cotton is about 42-44″ when it comes off the bolt – which is perfect since we need a 42″ cut. To make cutting super easy, match selvedge edges (leave fabric folded how it comes off the bolt) and slice it folded, as shown above. Then adjust the length if needed.
How to Sew a Pillowcase using the burrito method
The burrito method gives you a clean finish on the inside of your pillowcase. It’s also really fun to sew it this way!
Lay the cuff fabric out and line up the main fabric at the top with right sides together. Pin along the edge.
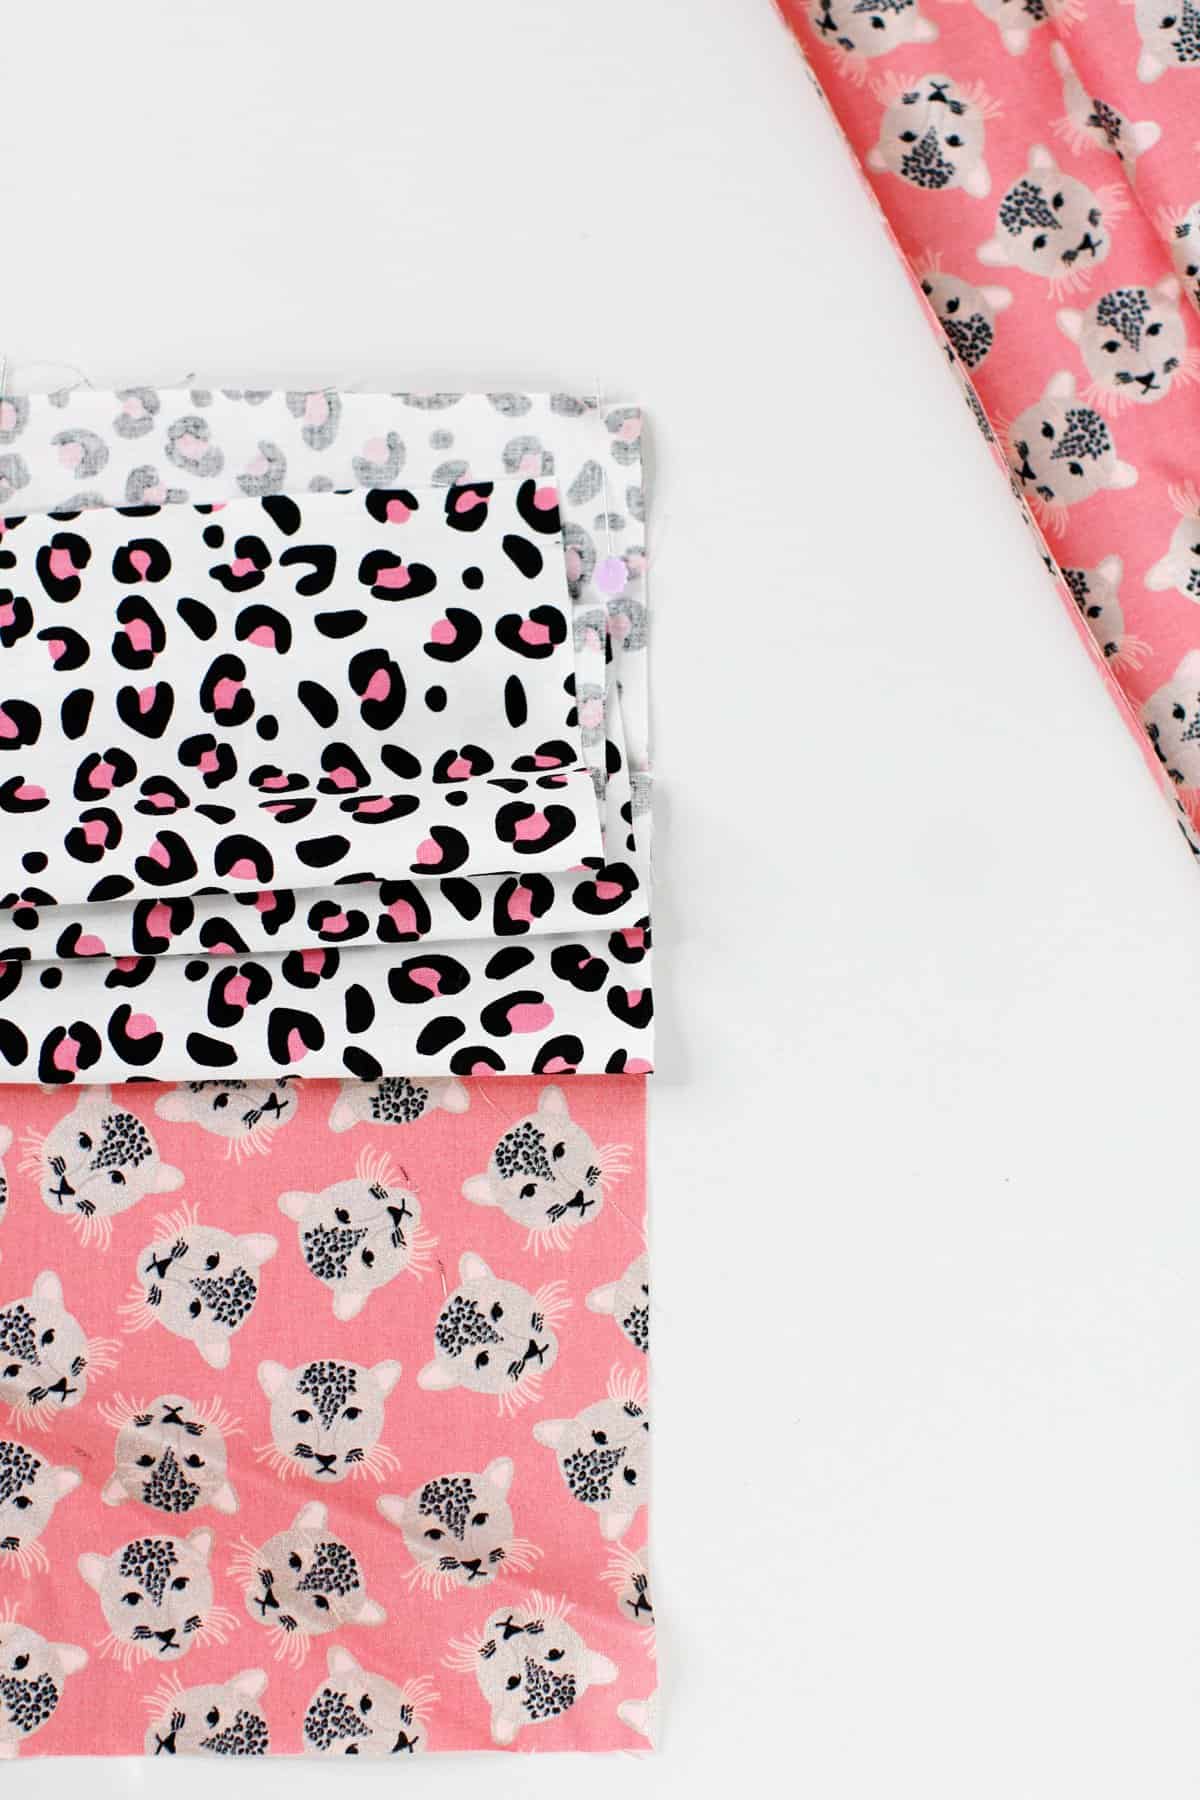
Lay the cuff fabric out and line up the main fabric at the top with right sides together. Pin along the edge. The 42″ sides are the ones that we are pinning together right now so it will be a long strip. Create folds in the main fabric to gather it inside the cuff fabric.
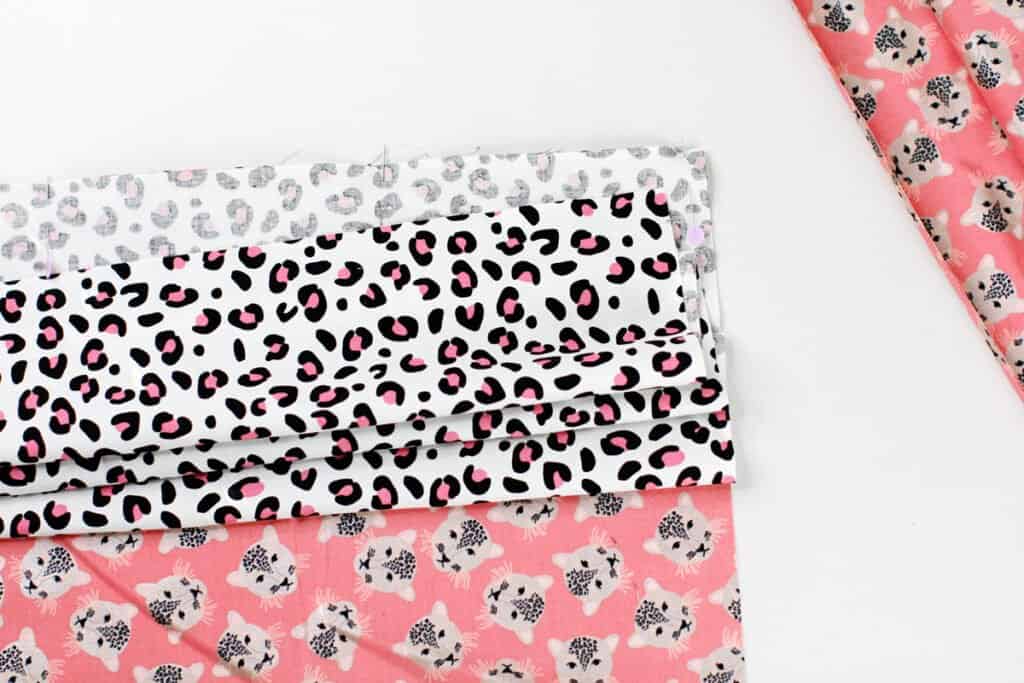
Fold the bottom edge of the cuff fabric up to meet at the top and repin, adding it to the two layers you already pinned.
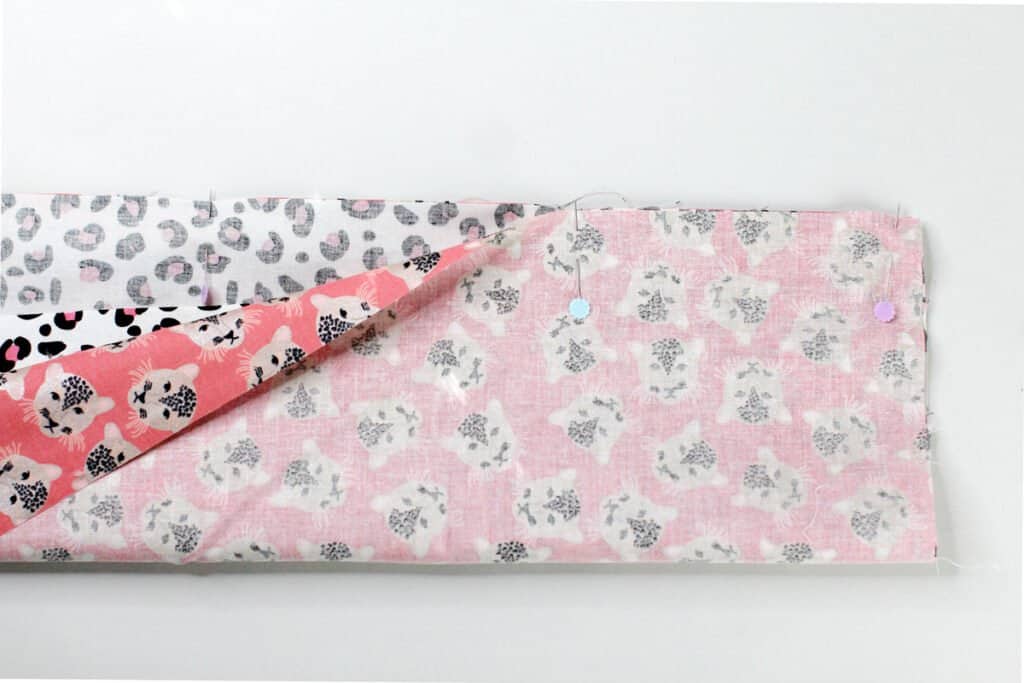
Now you will have a long sandwich (or burrito!) with the main fabric enclosed in the cuff fabric.
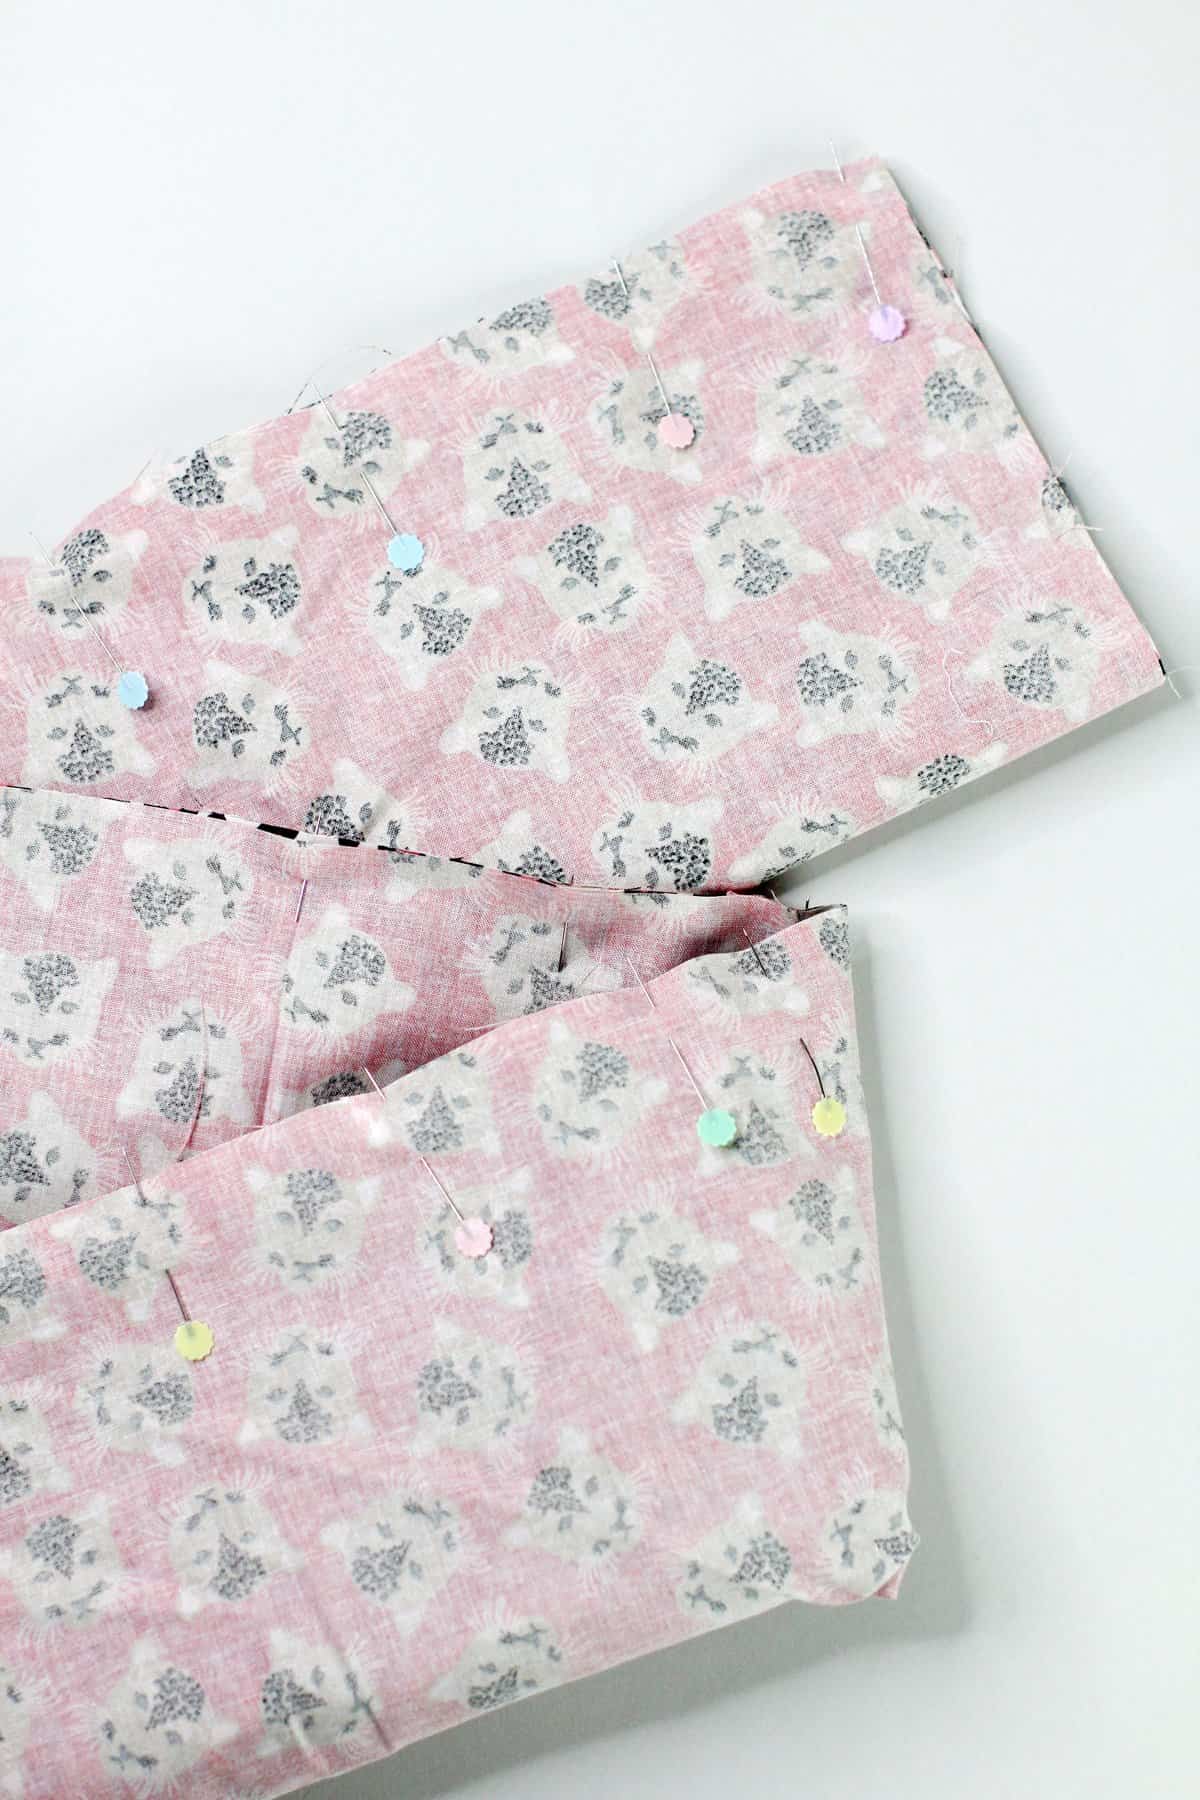
Pin all the way down and sew 3/8″ from the raw edges.
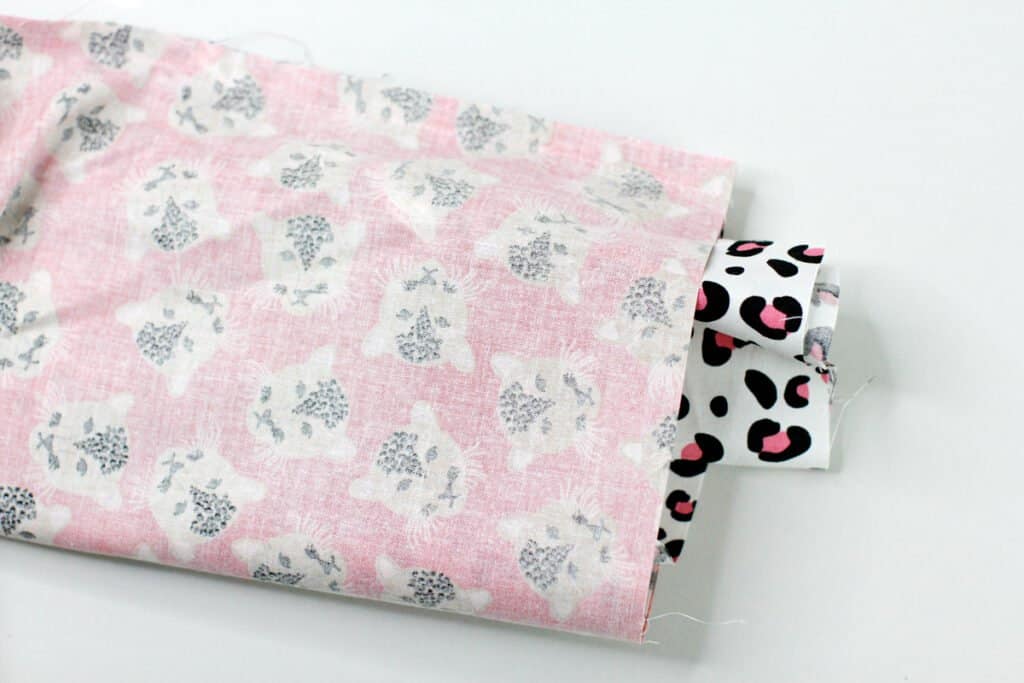
When you’re done, pull the main fabric out through the edge of the burrito to turn right side out.
This method encloses all the seam allowances from the cuff fabric – it’s so pretty! Give the cuff a good pressing.
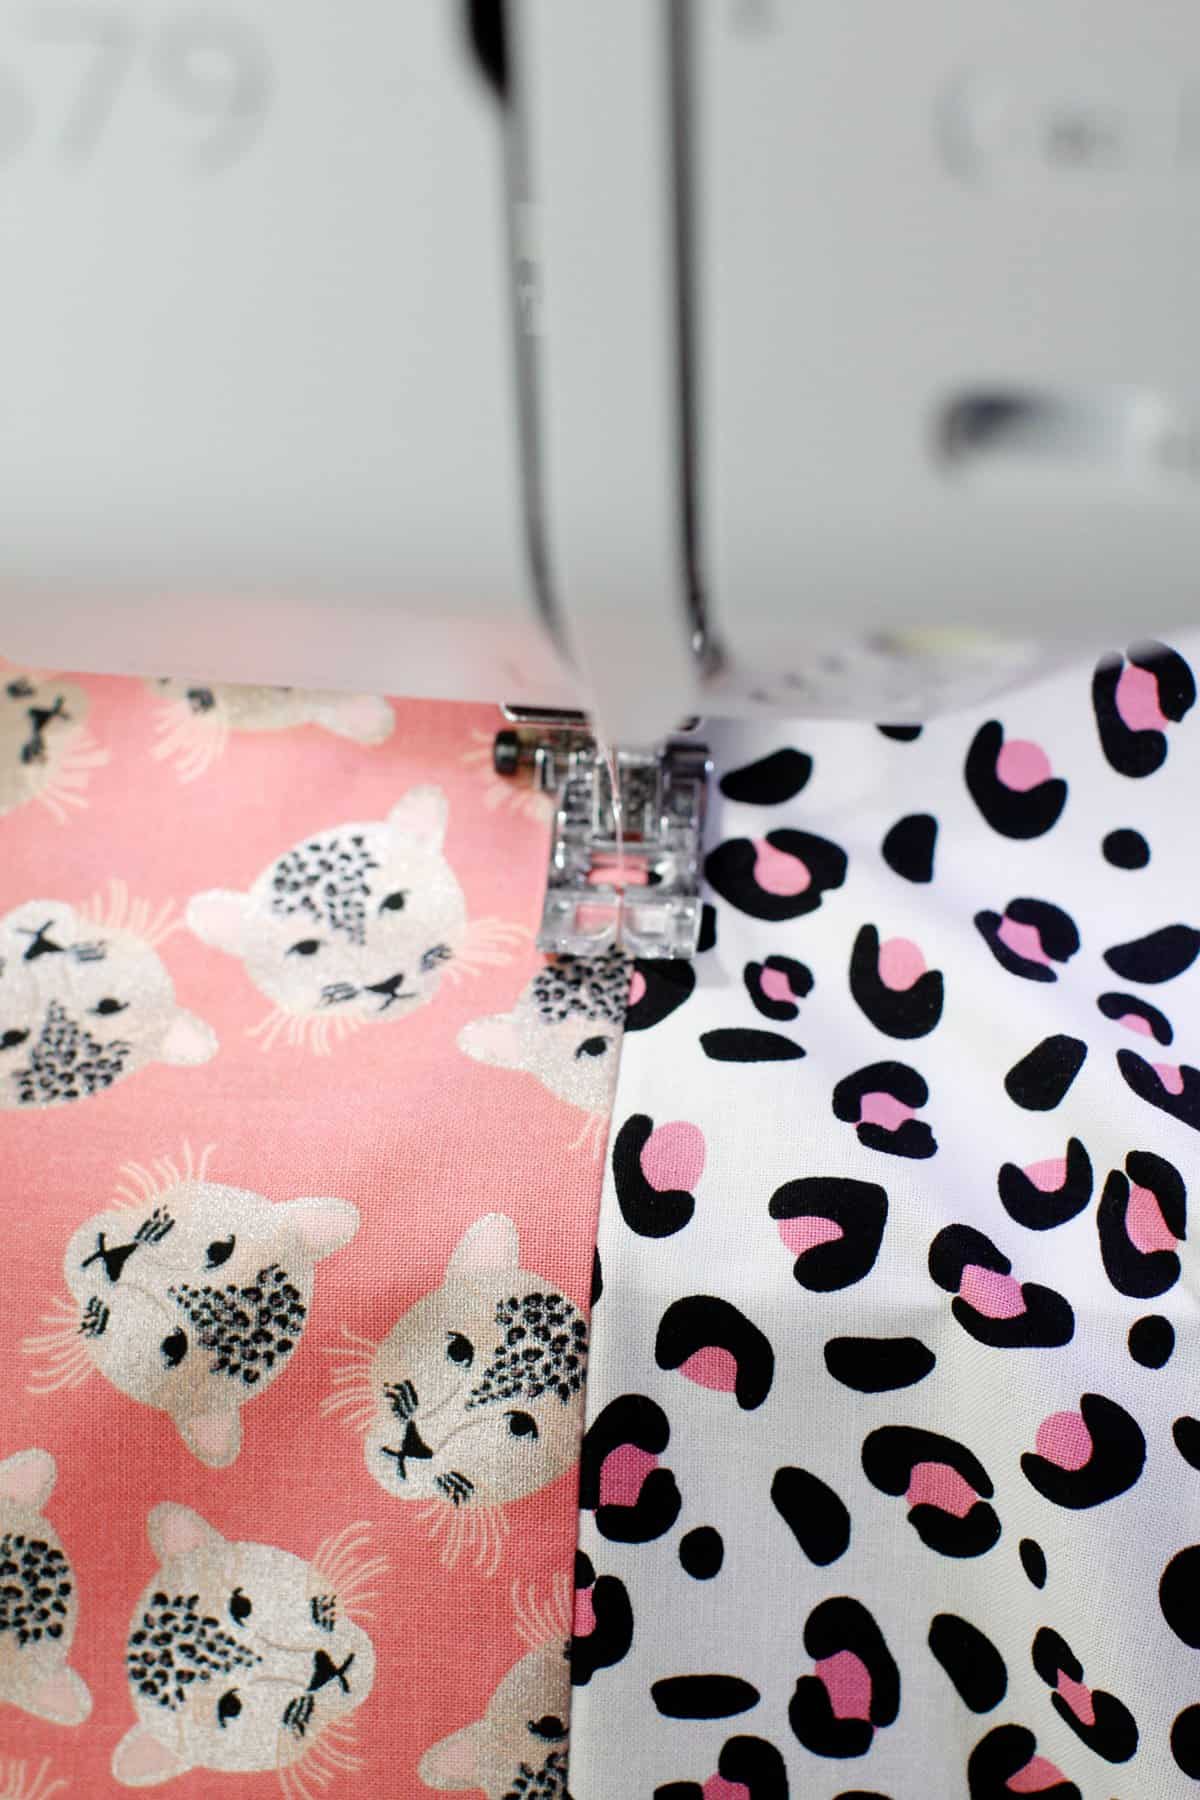
Topstitch along the cuff fabric with the needle on the left side of the cuff fabric, about 1/8″ from seam.
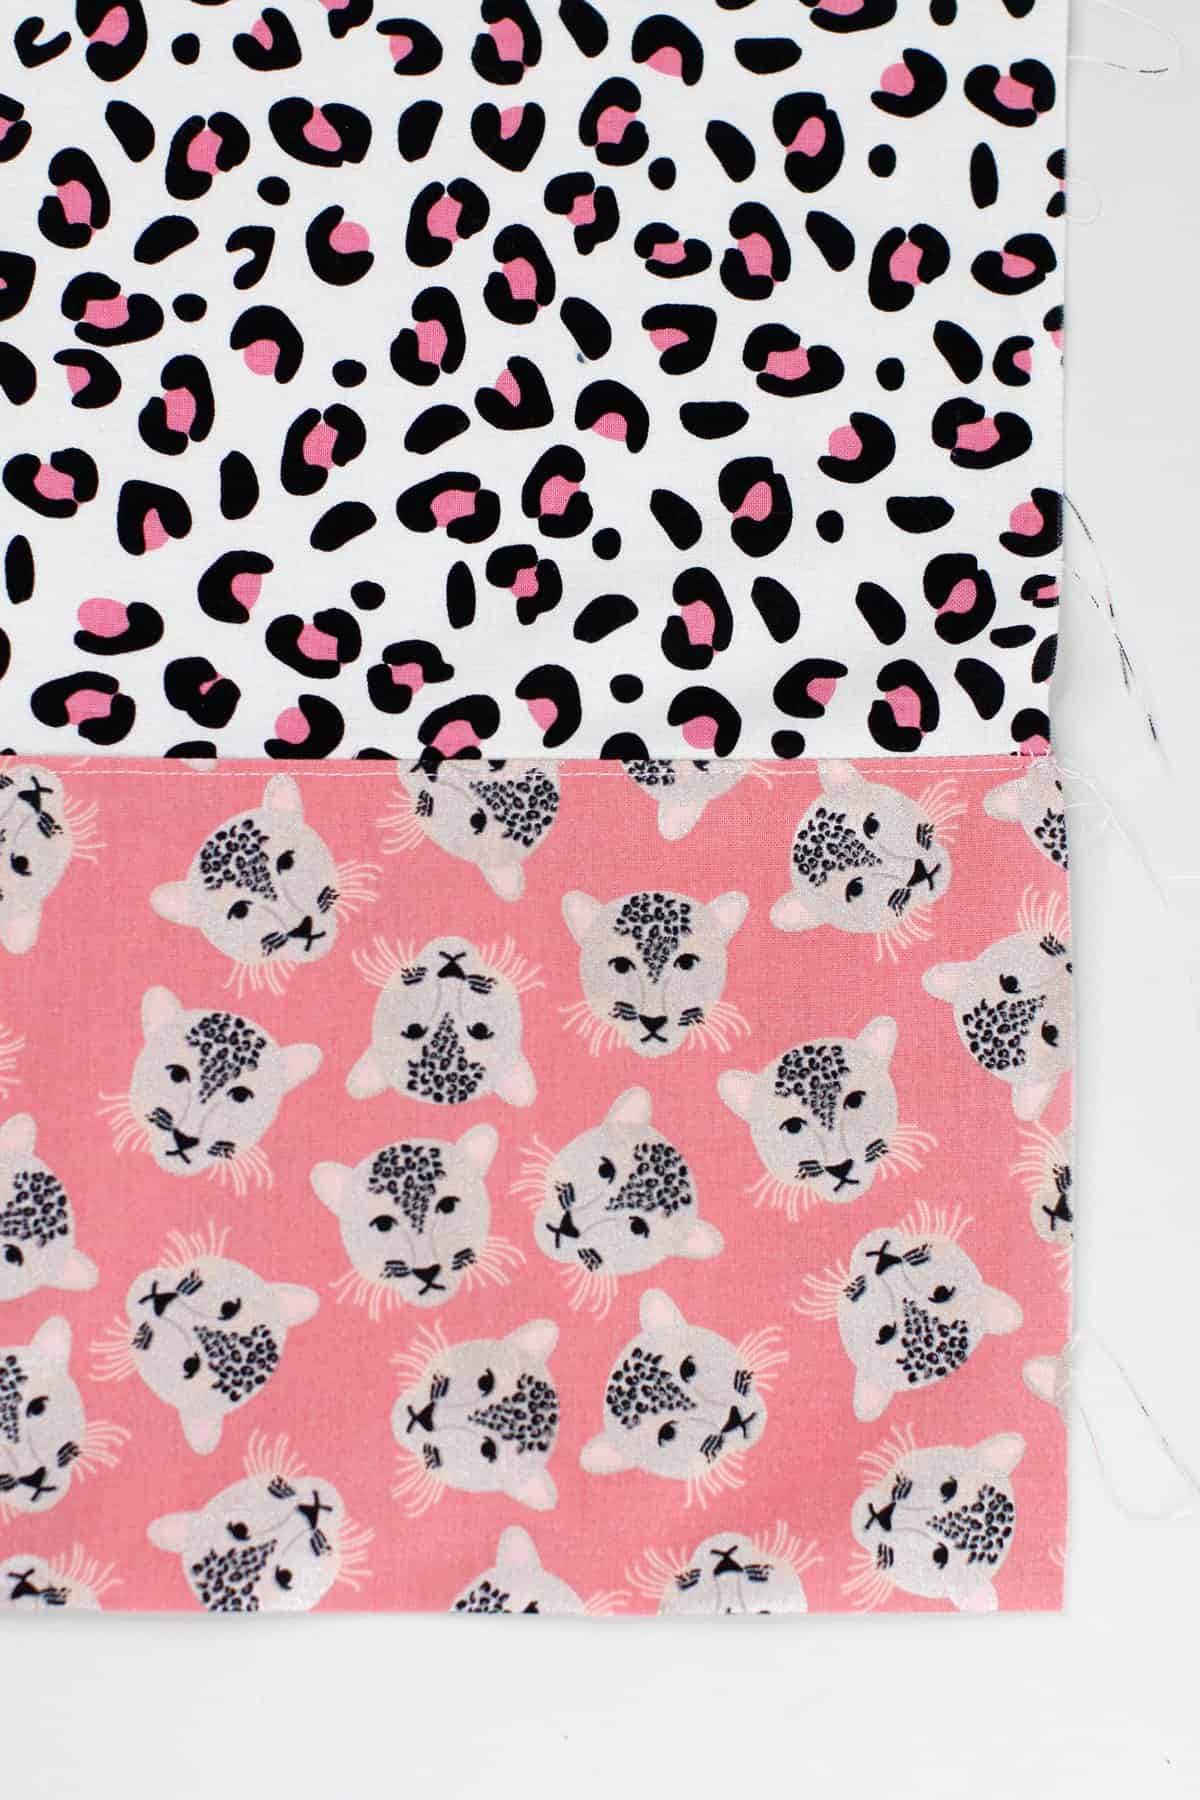
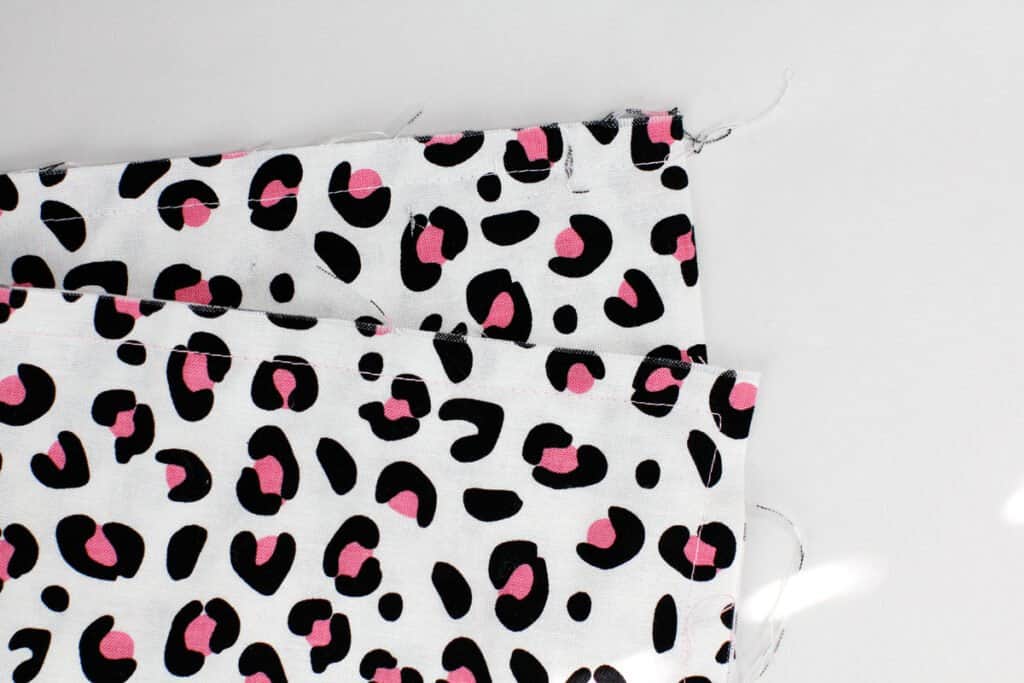
How to sew french seams
French seams enclose the seam allowances so there is no need for a serger. The edges won’t fray because they’ll be protected in a seam and the inside of your pillowcase will be clean and nice! This method will extend the life of your pillowcase and screams high quality!
To finish your pillowcase with french seams, fold the pillowcase in half with WRONG SIDES together, matching the cuff fabric and lining up the main fabric. This will look wrong, because it’s the opposite of what we usually do, but don’t worry, it will work out!
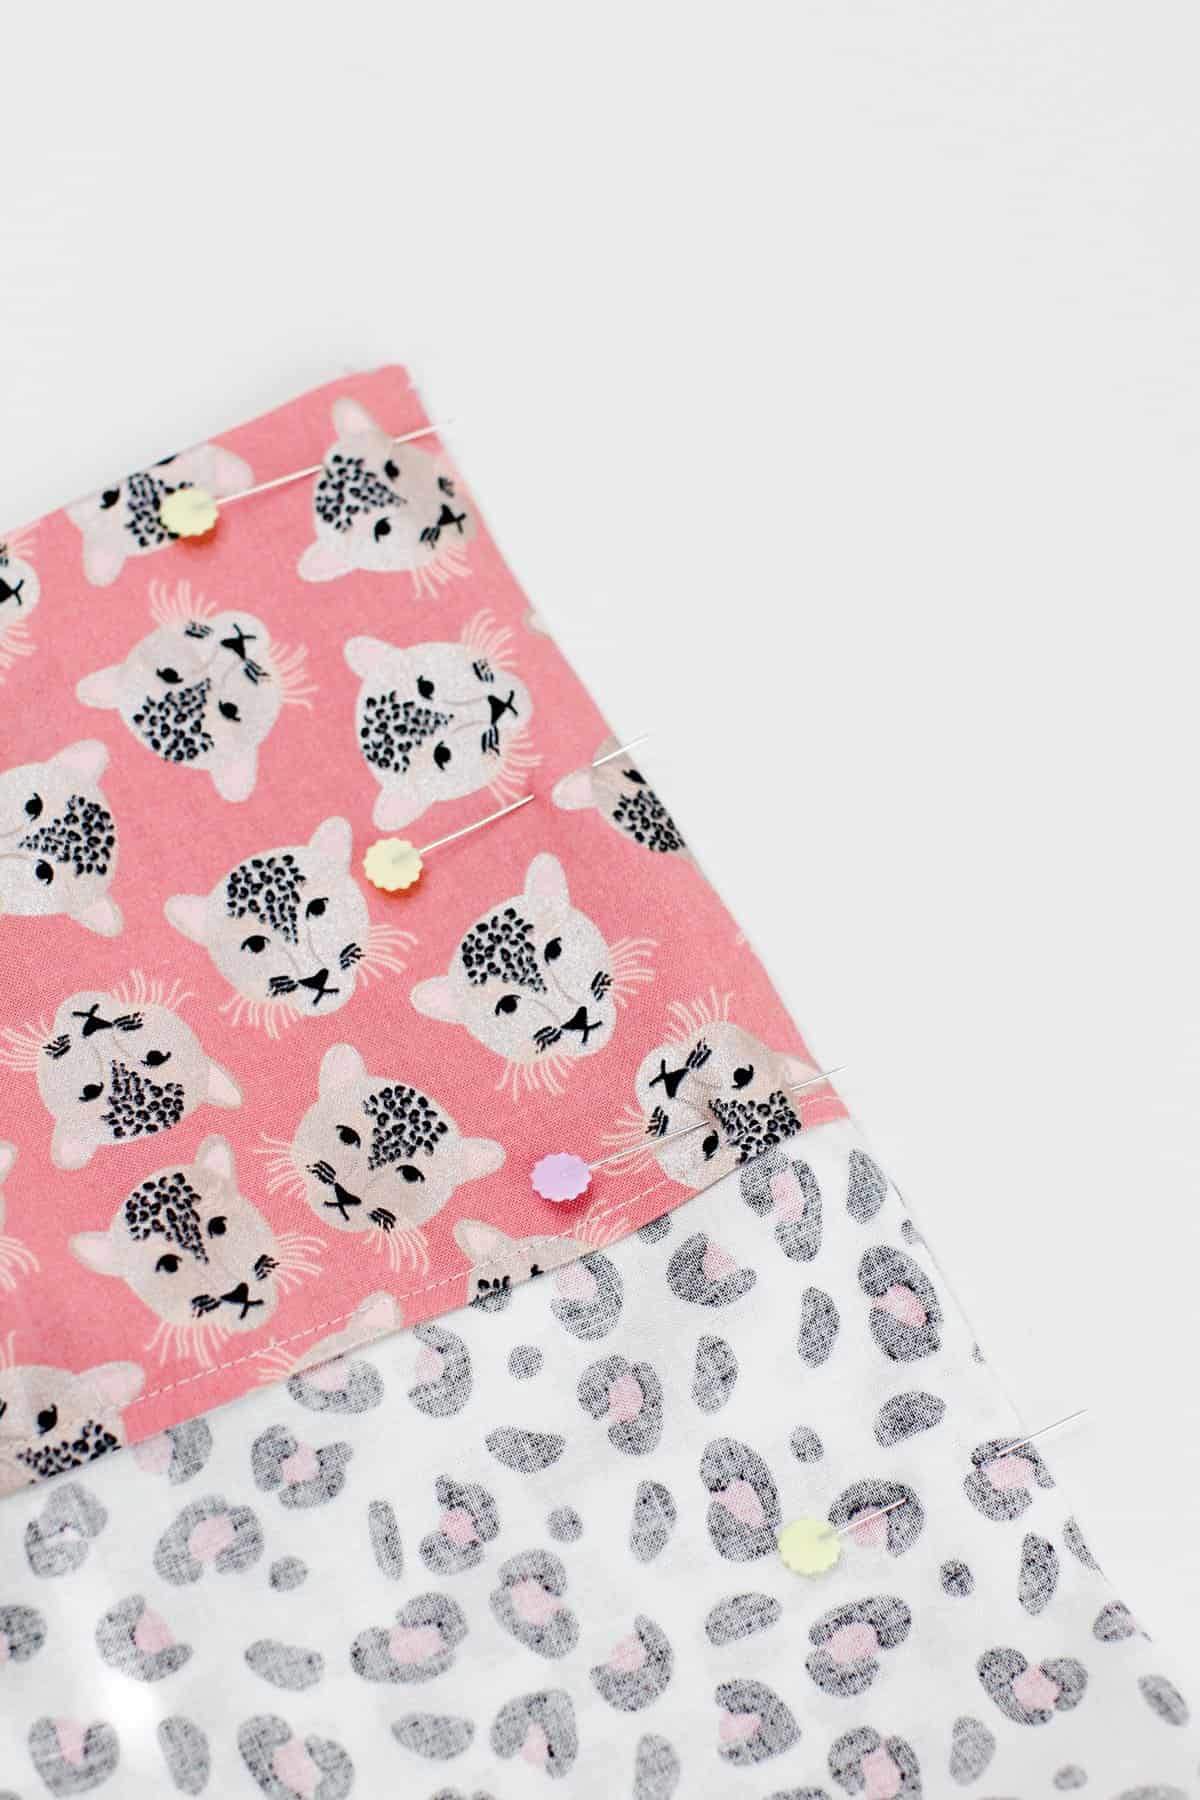
Pin fabric. Then sew along the two open edges 3/8″ from the raw edges. Trim seam allowance down to 1/4″. Clip the seam allowance at the corner.
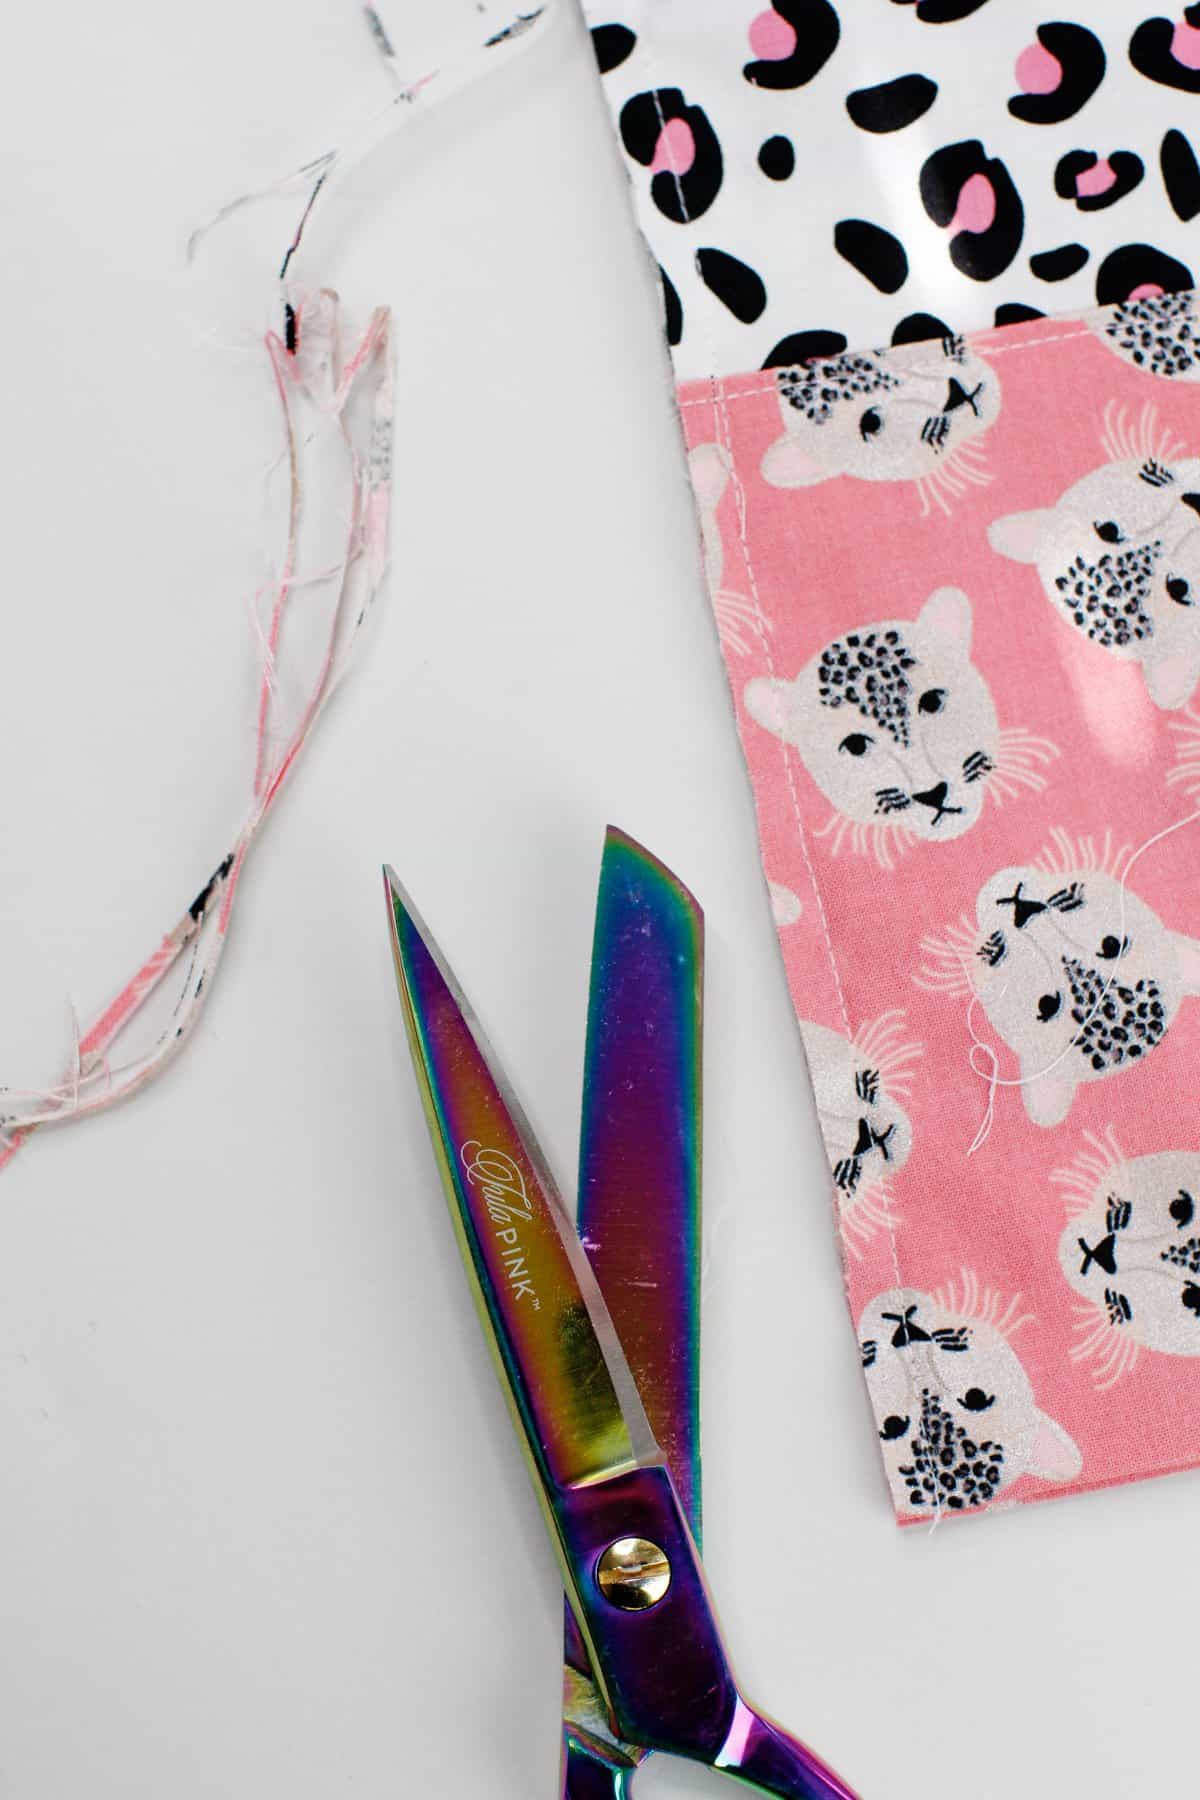
Fold pillowcase inside out and press edges well. Pin the edges of the pillowcase that you’ve just sewn. We are going to sew over the edges again, enclosing the seam allowance that you just trimmed.
After you have pinned the two edges, sew along the edges at 3/8″, backstitching at the beginning and end of your stitching lines. See the photo below to see how the inside of the pillowcase looks with a French seam:
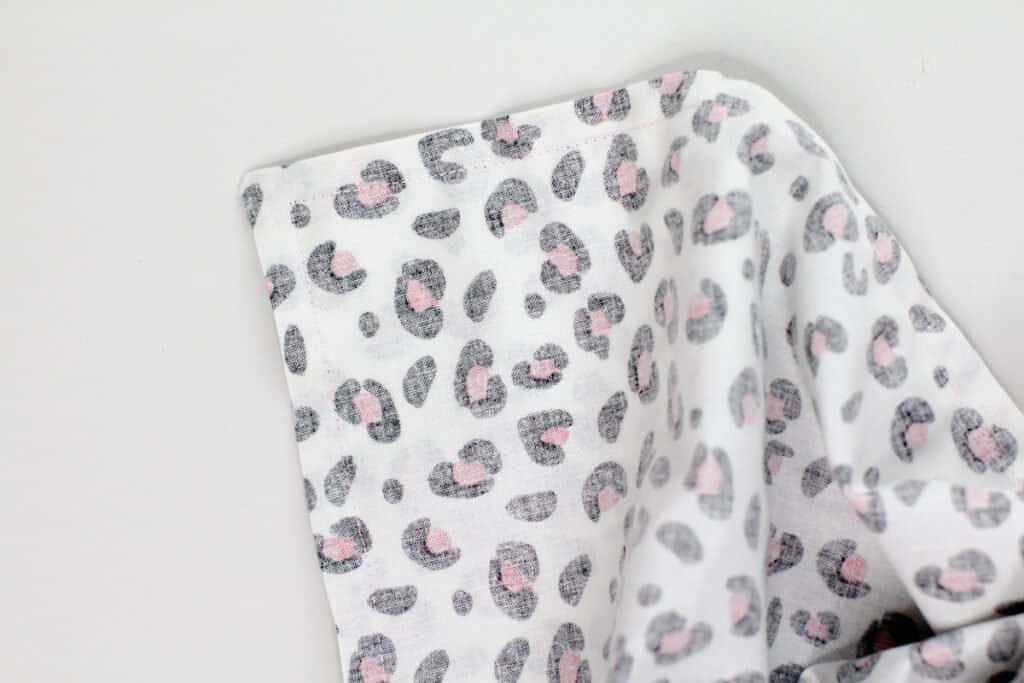
Turn your pillowcase right side out and admire your professional work! The French seams make this pillow clean inside and out, it’s such a beautiful finish and prevents fraying.
Use a serger instead
This pillowcase sewing pattern is also easy to finish with a serger. If you want to, use a serger to finish the seam allowances quickly.
Because the pattern is written for a 3/8 inch seam allowance, when using a serger change the seam allowance to 3/4″. Then trim down and serge the edges. Alternatively, you can use a zig zag stitch to finish the seam allowances.
Add an accent!
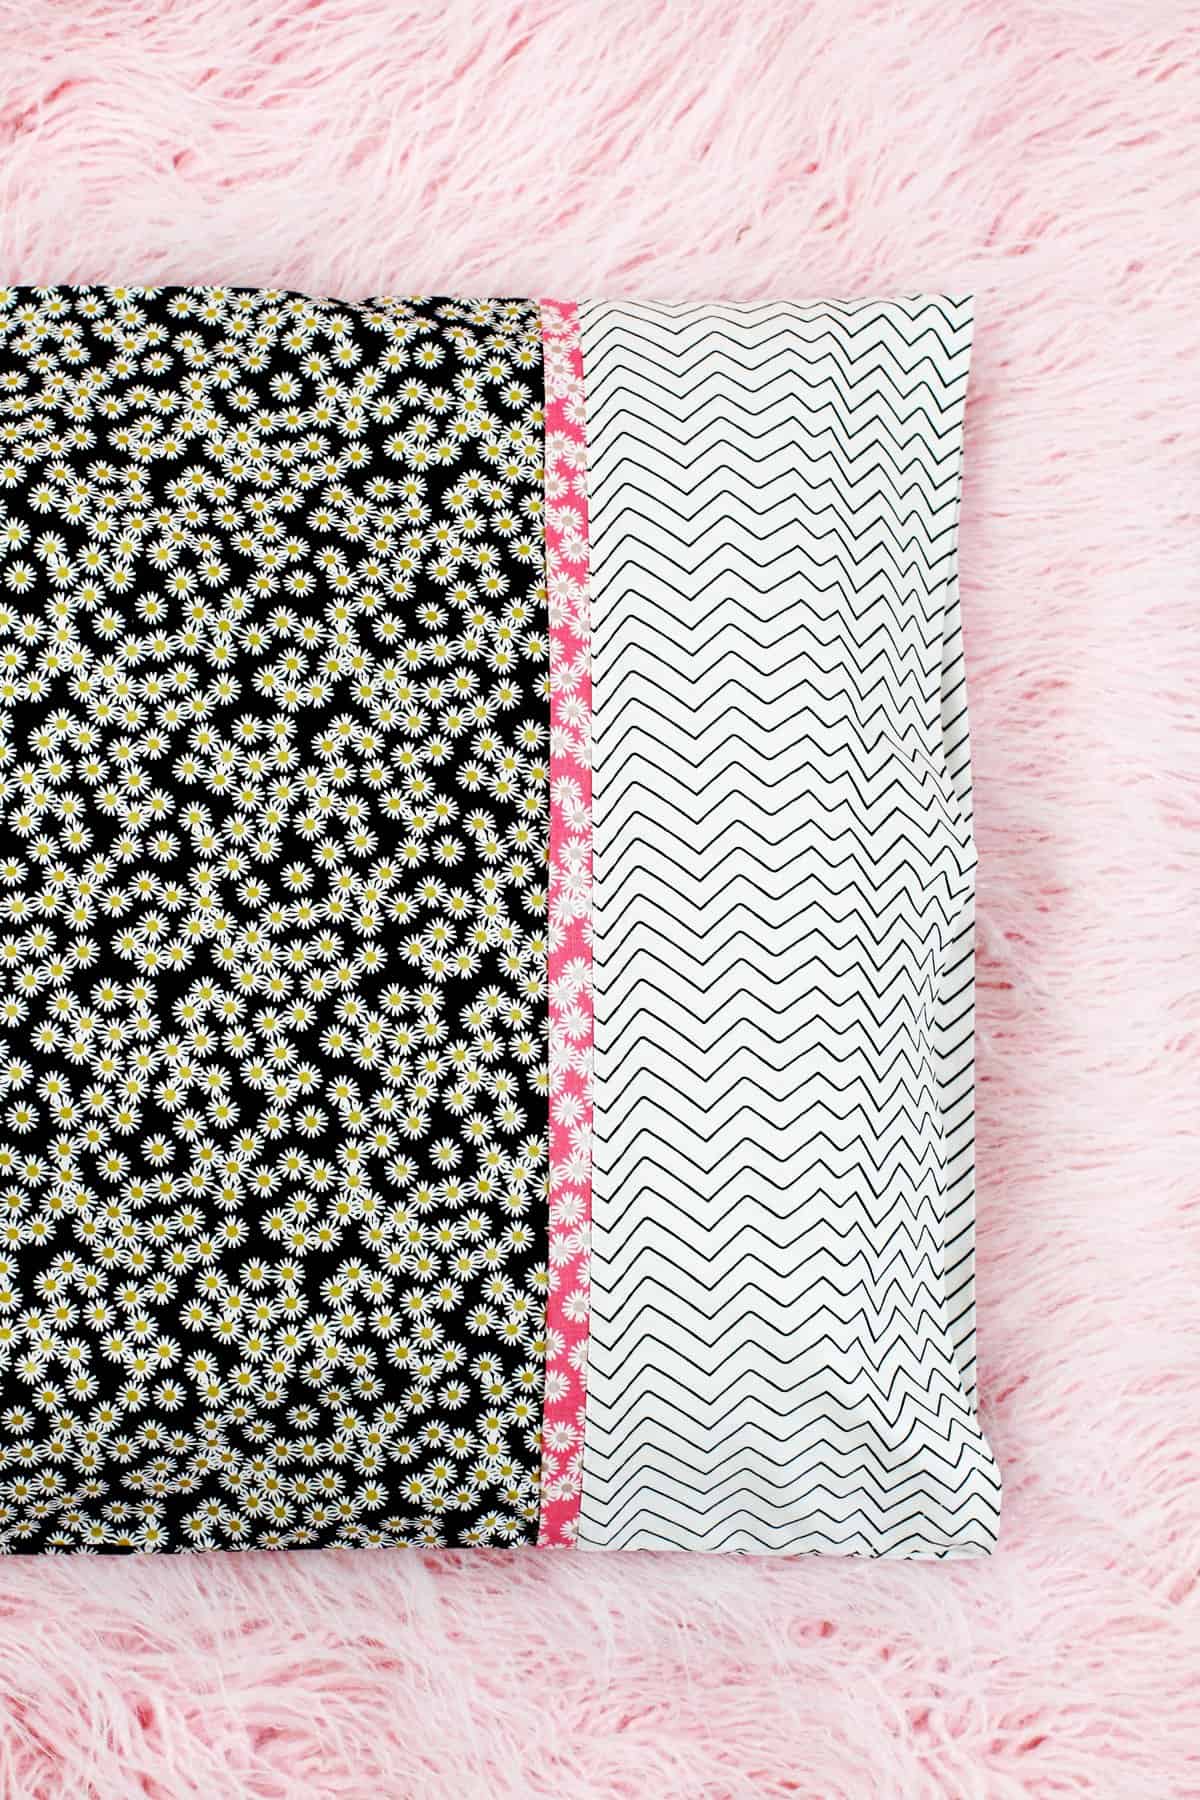
To add a little strip of another color fabric, cut a strip 42″ by 2″.
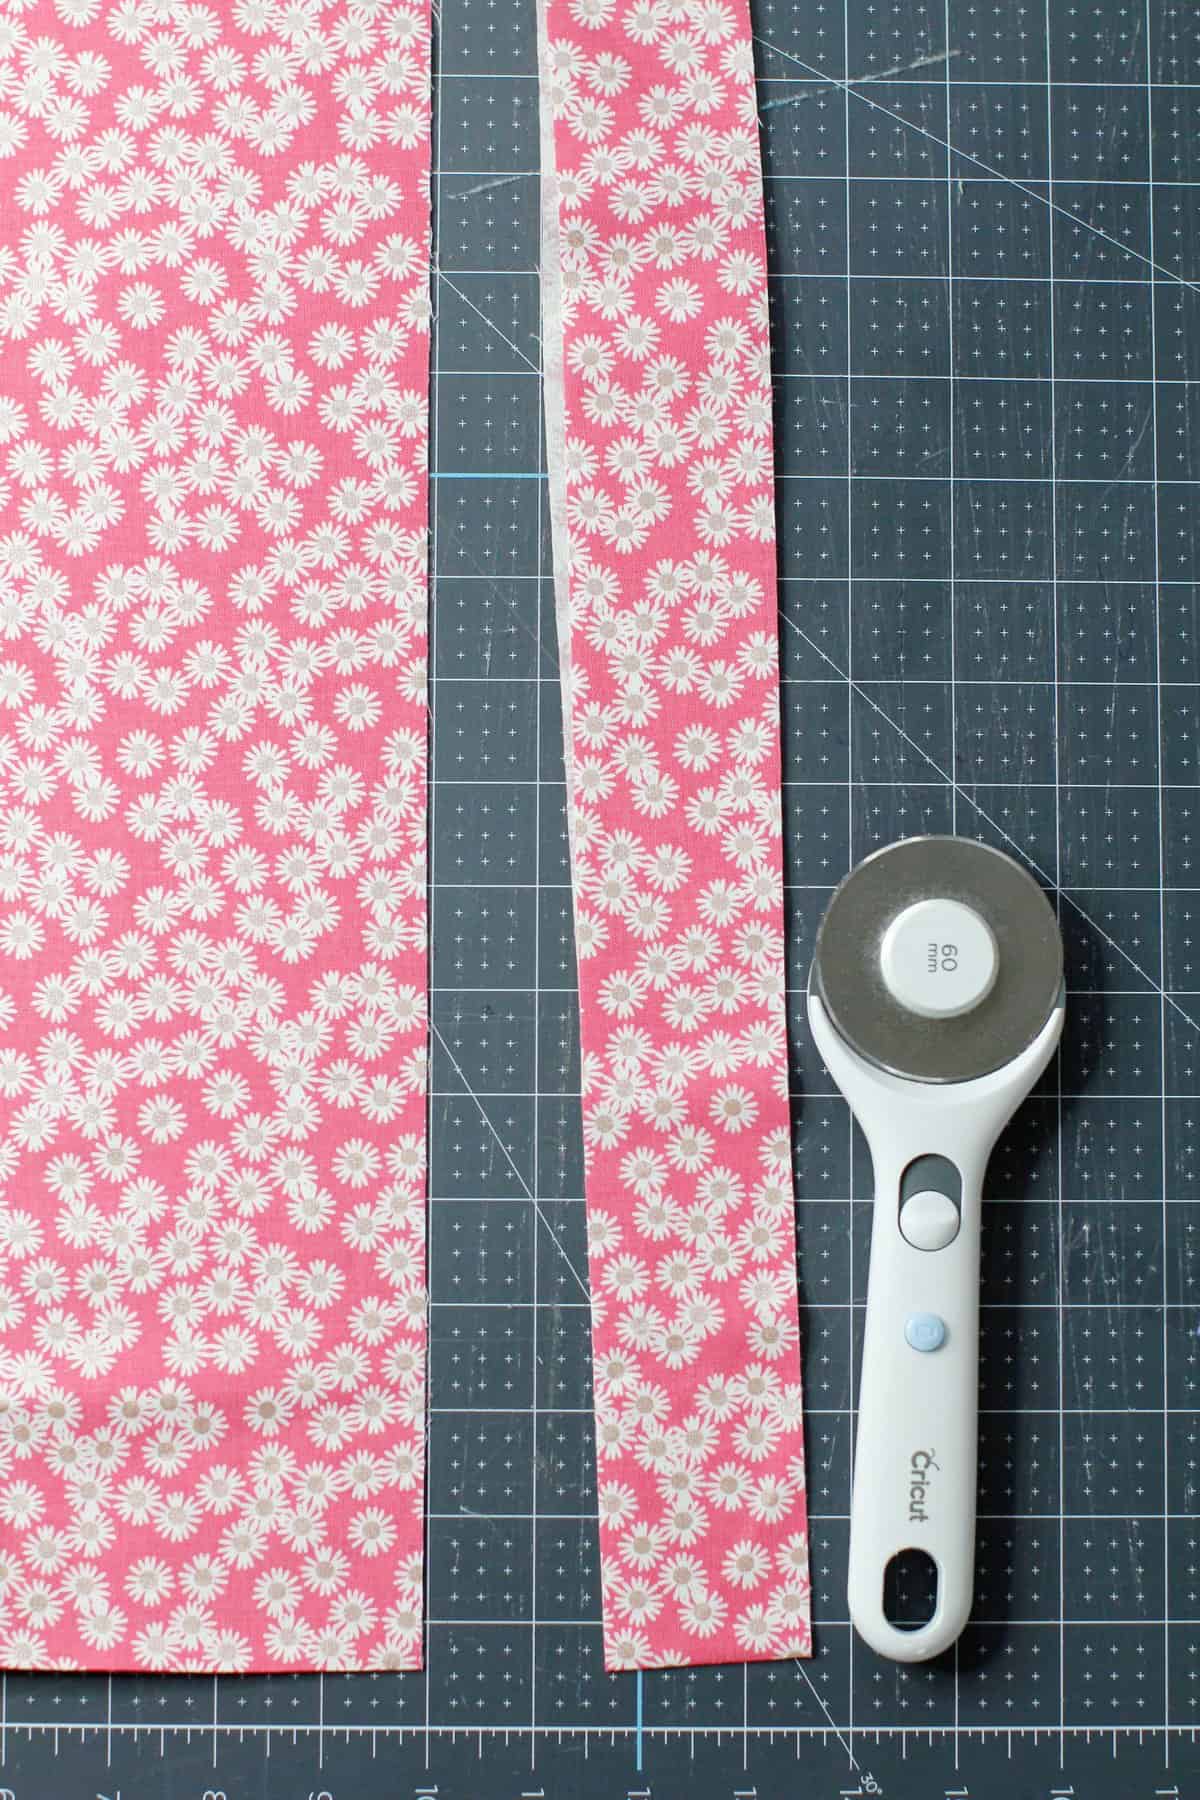
Use any fabric you want for this. I chose another coordinate from the same fabric line to pull in the same colors and patterns as the main fabrics.
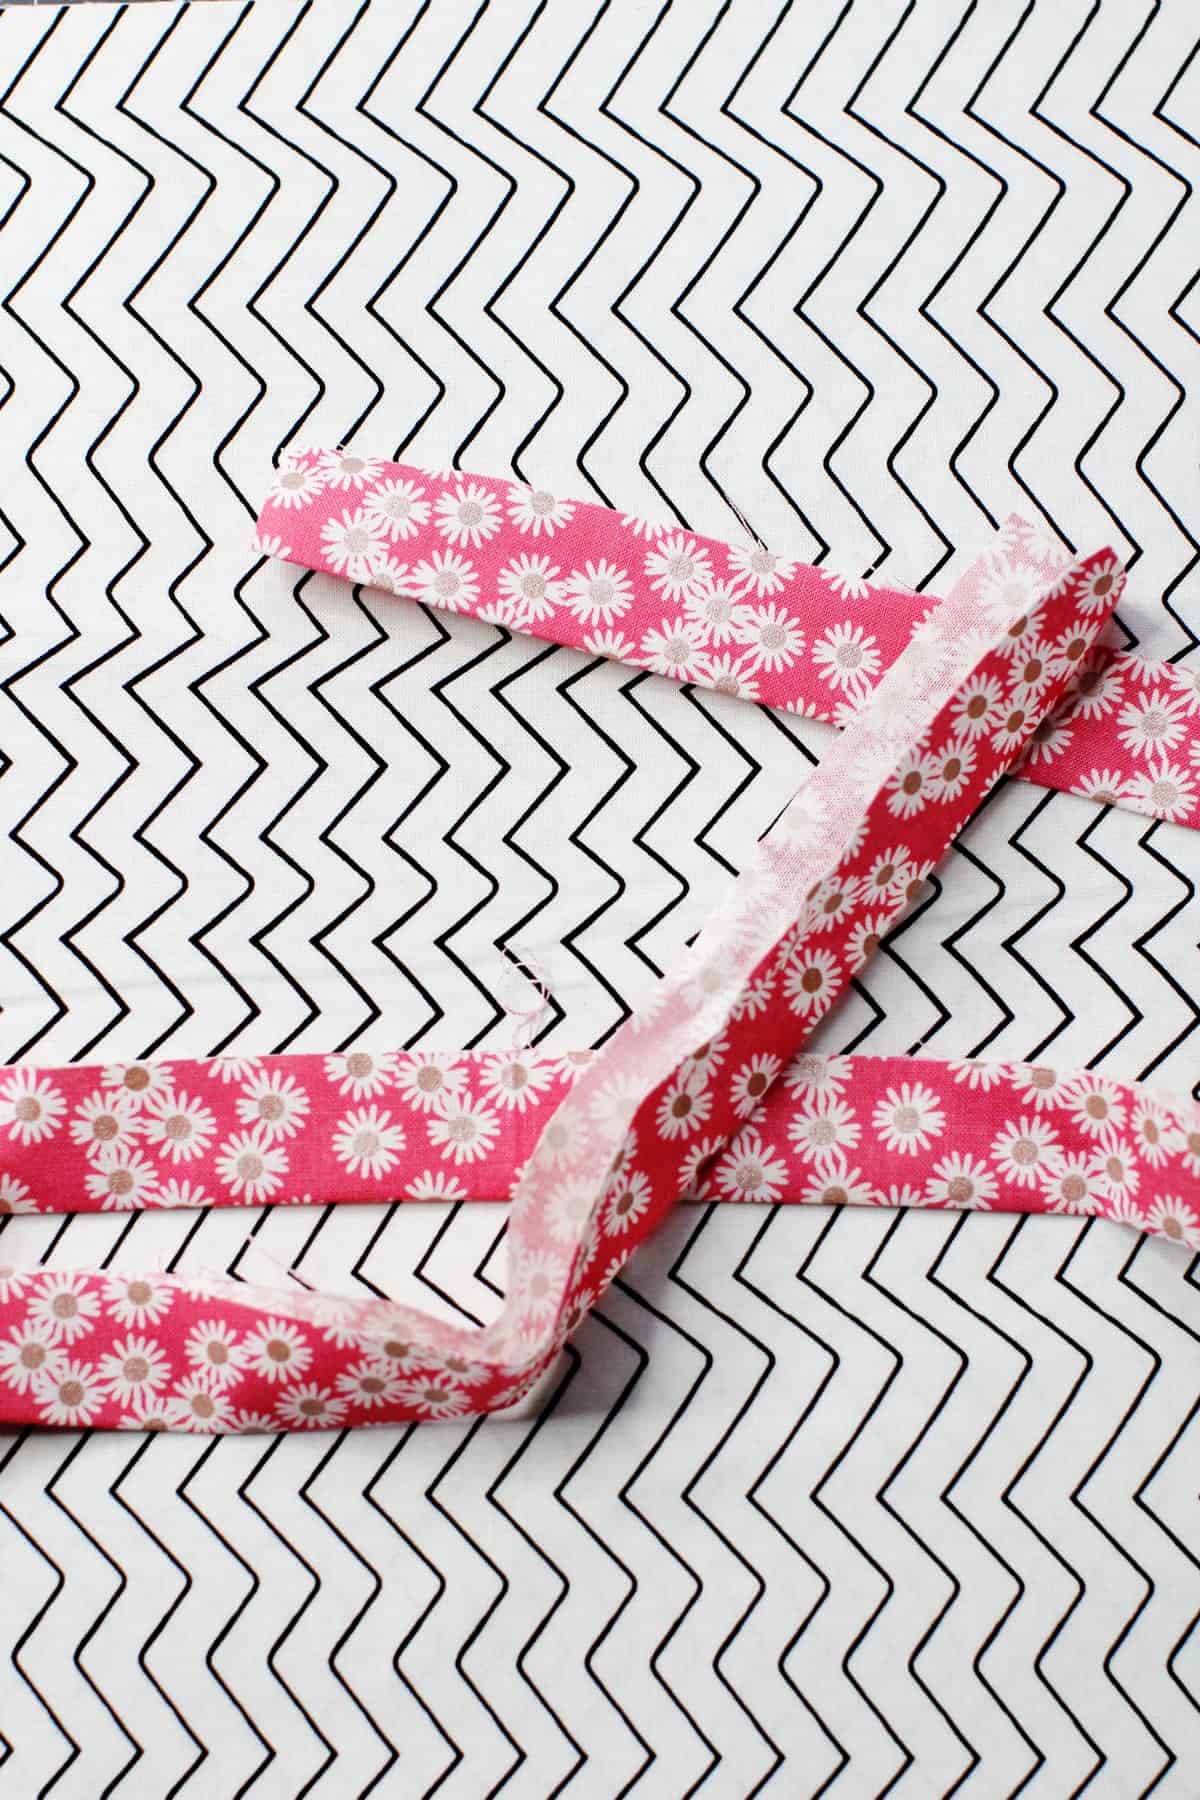
Press the strip of fabric in half lengthwise.
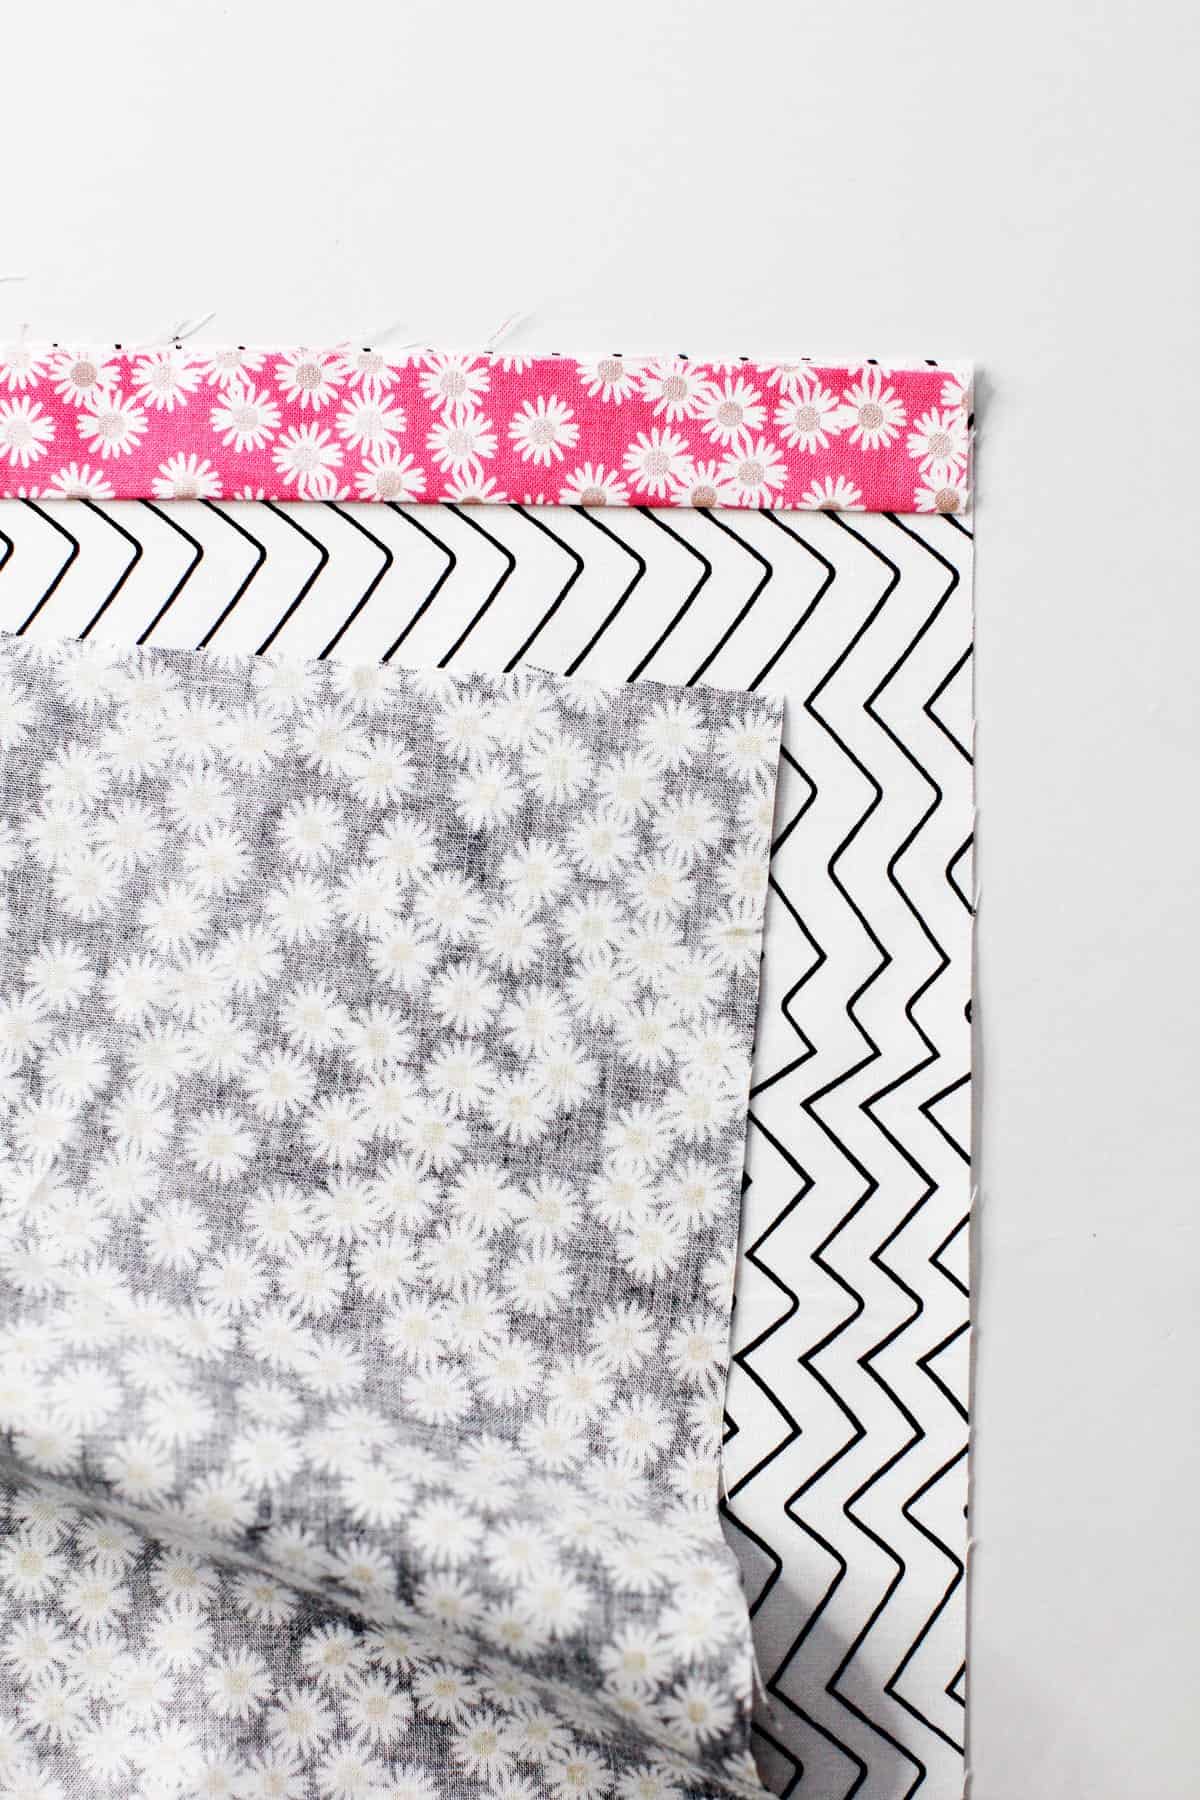
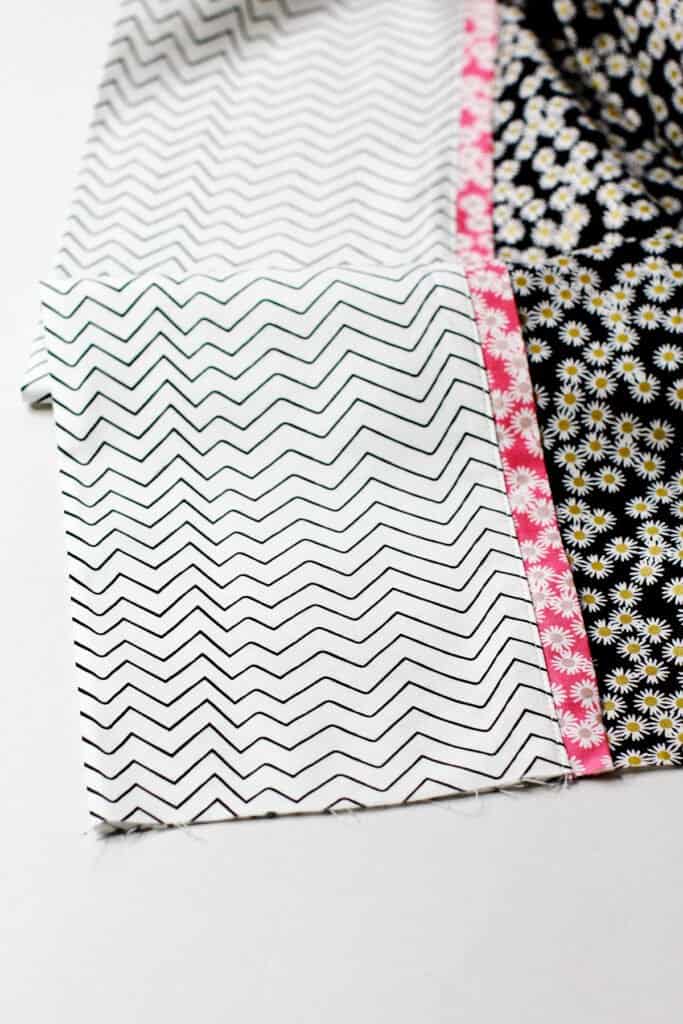
When assembling the pillowcase, lay your accent fabric lined up to the top edge of the cuff before pinning the main fabric to it.
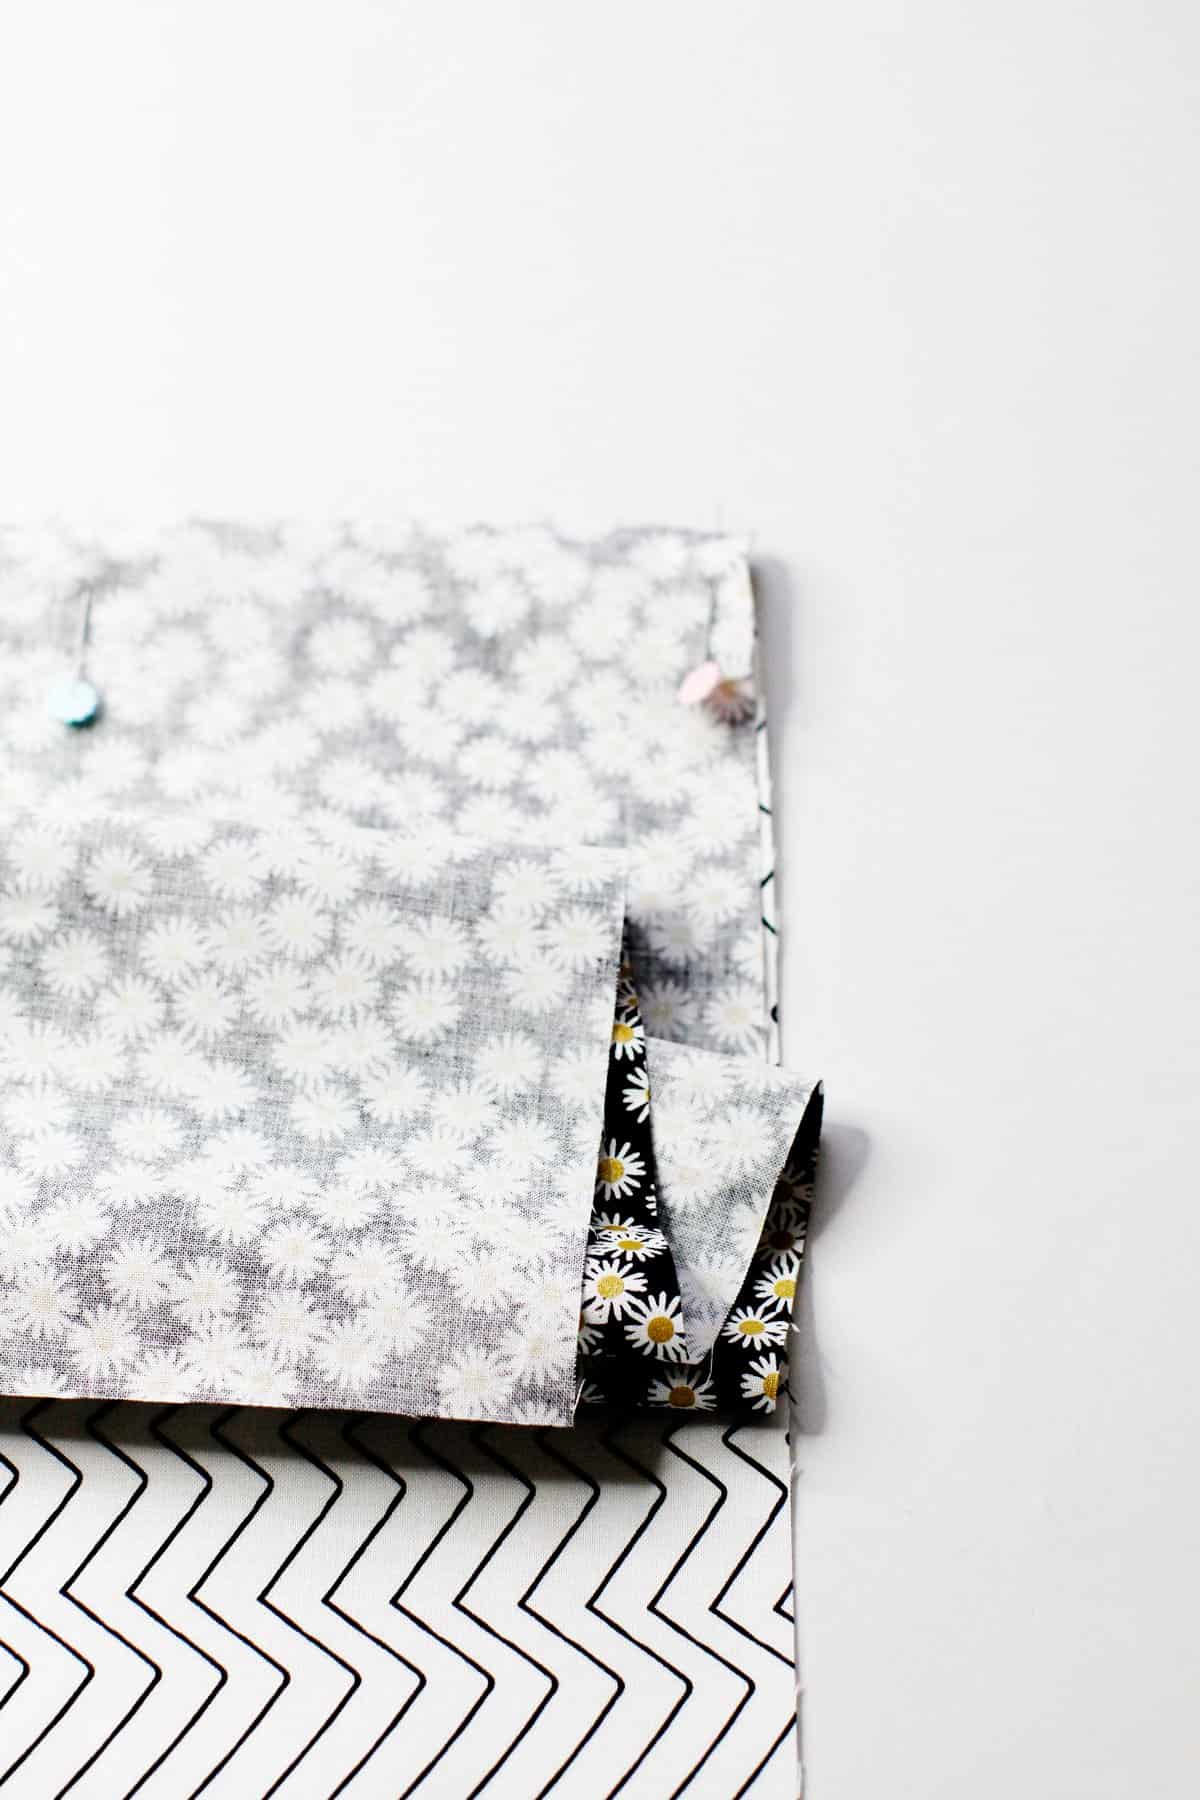
The accent will get wrapped up in the burrito stack and when you turn it right side out, the accent will stick out right between the main and cuff fabric.
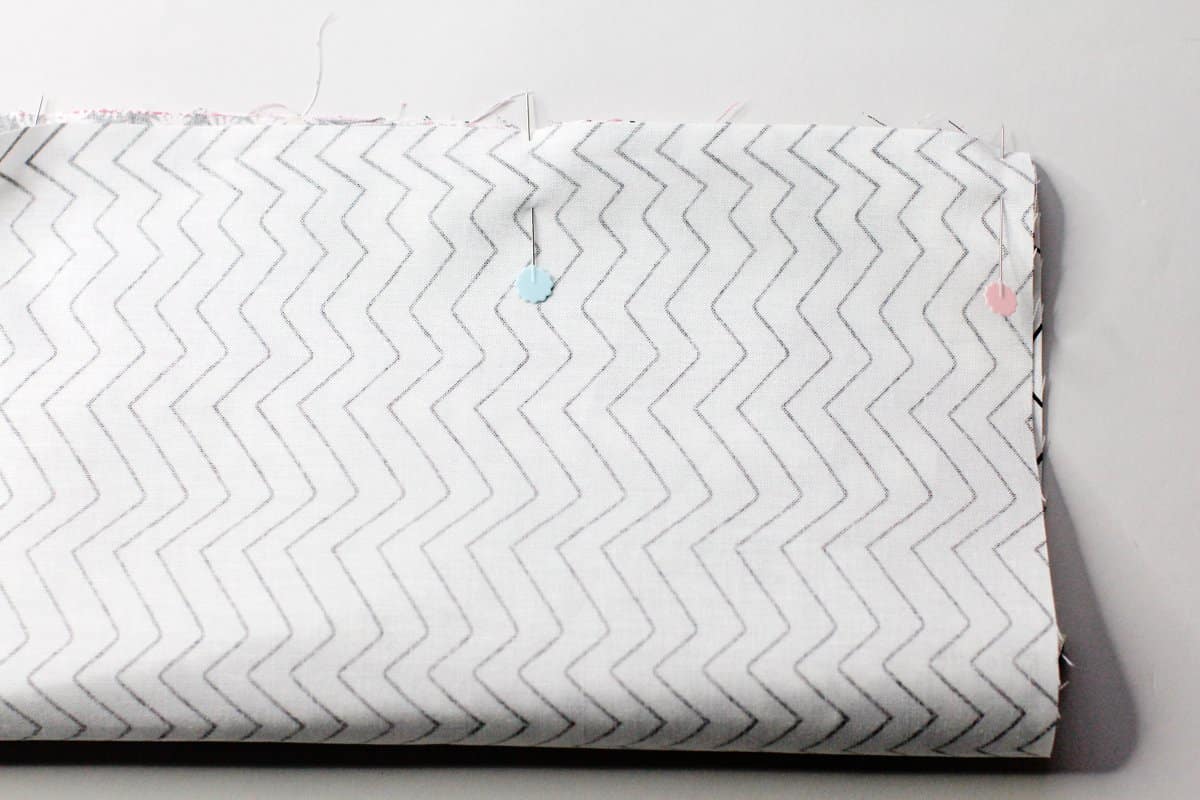
Press and topstitch along the cuff edge.
I hope you enjoyed this pillowcase tutorial! Here are a few more home projects that are great for beginners:
More Home Projects
- Floor Cushion Tutorial
- The Happy Patch Quilt
- Heart Pillows Tutorial
- Ironing Board Cover Pattern
- Easy Crib Sheet Tutorial
- Easy Fleece Blanket Tutorial
- Jelly Roll Strip Quilt
- Simple Reversible Placemats
- The Kitty Committee Cat Quilt
