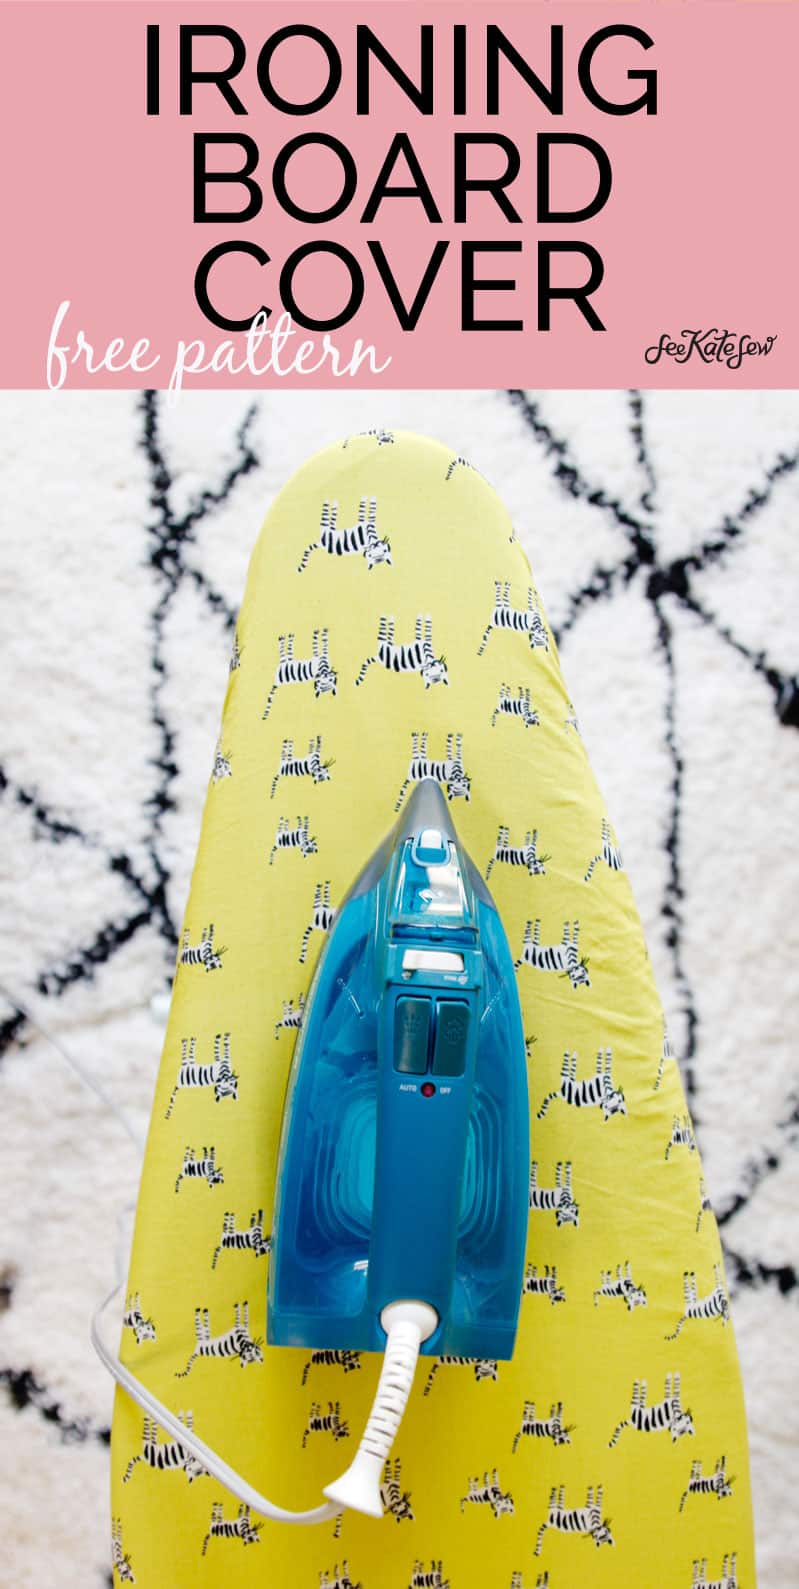
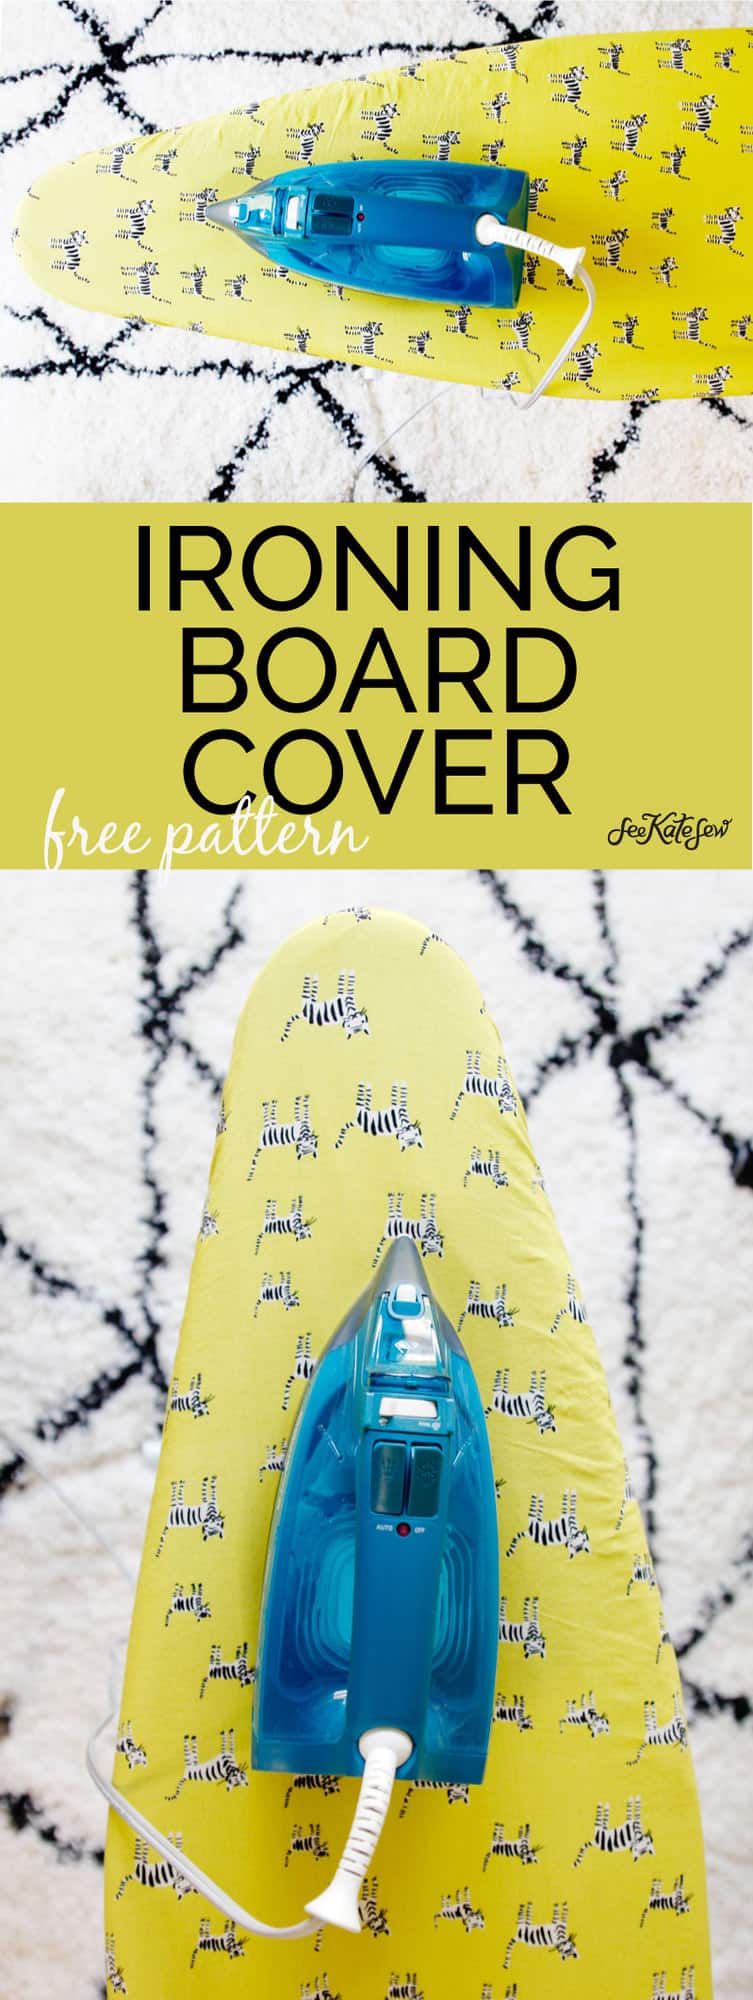
Learn how to make an ironing board cover with this free tutorial and pattern! The DIY ironing board cover is so easy to sew and so cute – use your favorite fabric to spruce up your sewing room! Get the template below and let’s sew!
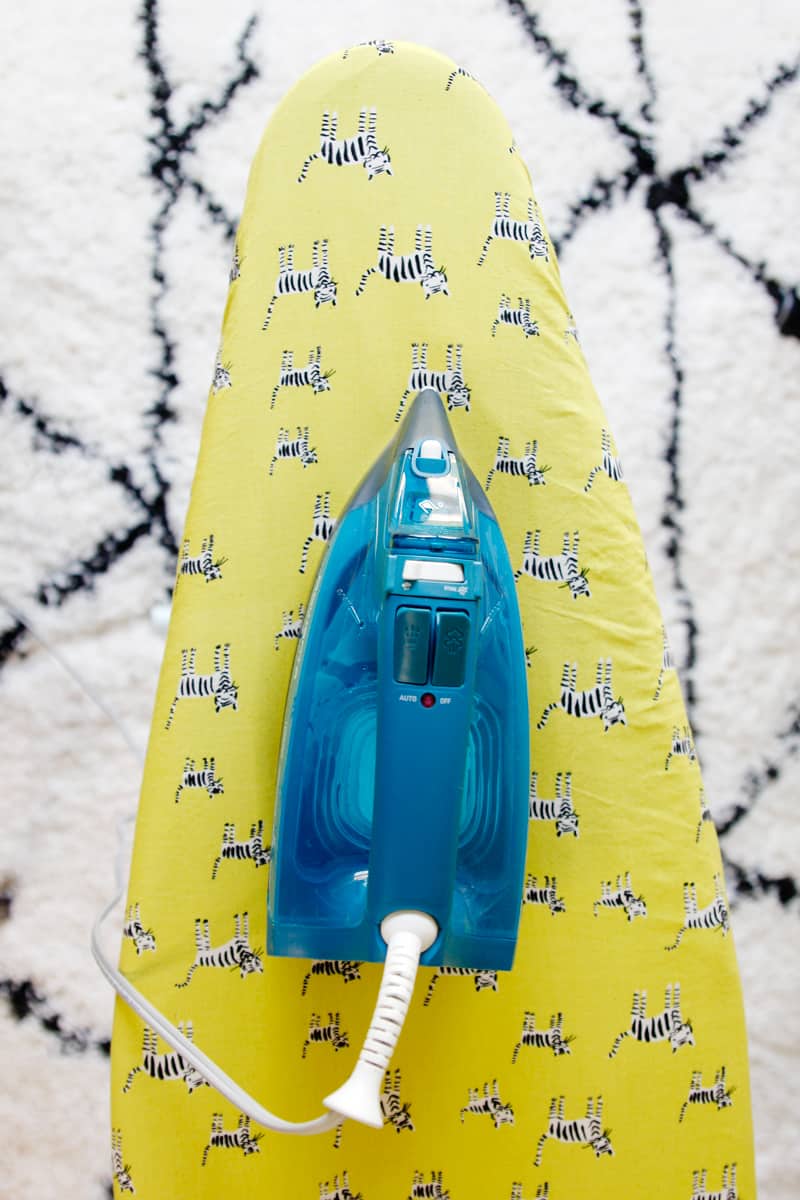
Since I use my ironing board so much, a new cover is a nice way to refresh the experience. I always end up with a few burn marks after a while so getting rid of those is a plus!
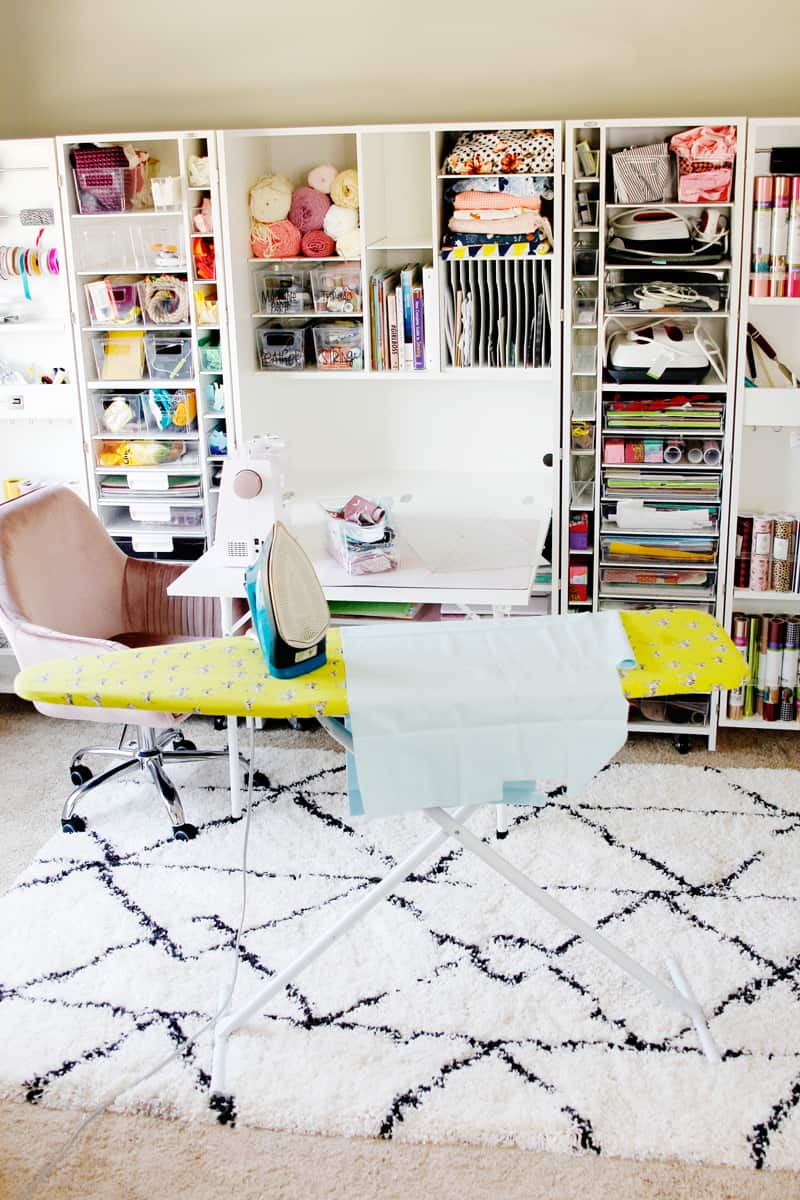
This ironing board cover is removable and washable – and it uses the pad from your previous cover. This pattern is for a standard 54″ ironing board.
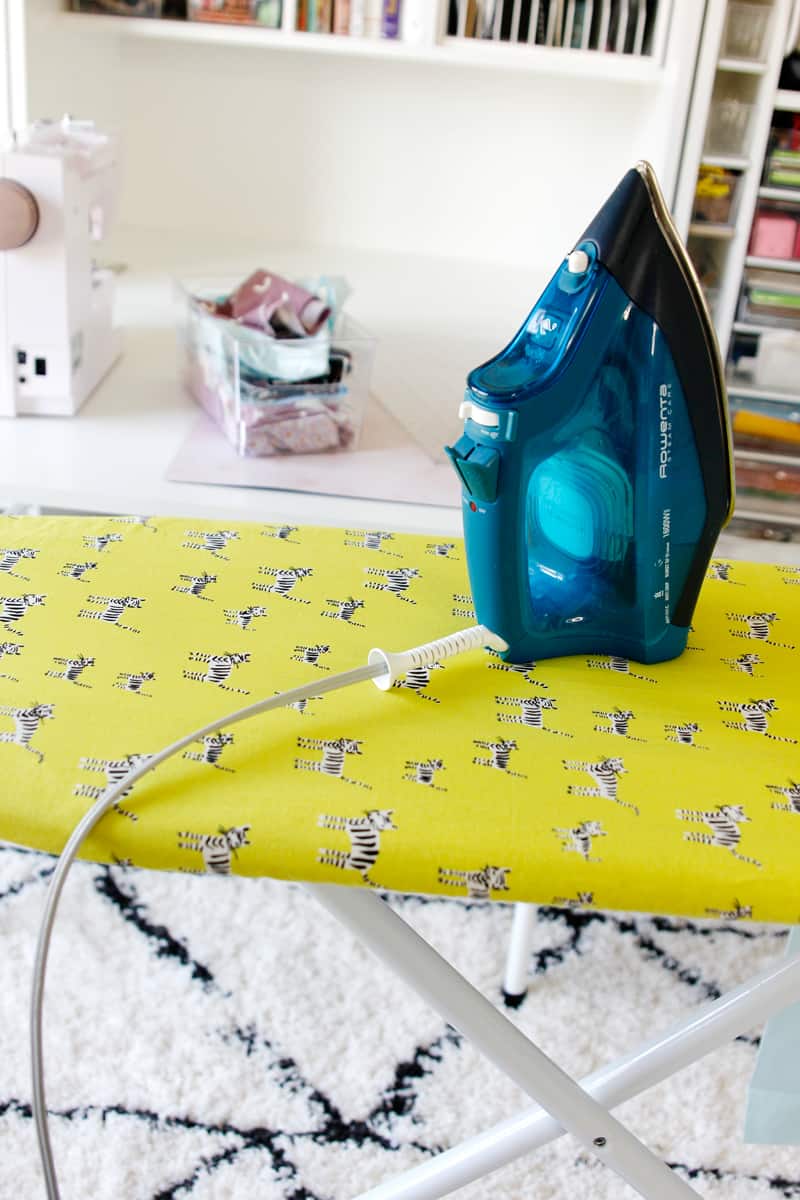
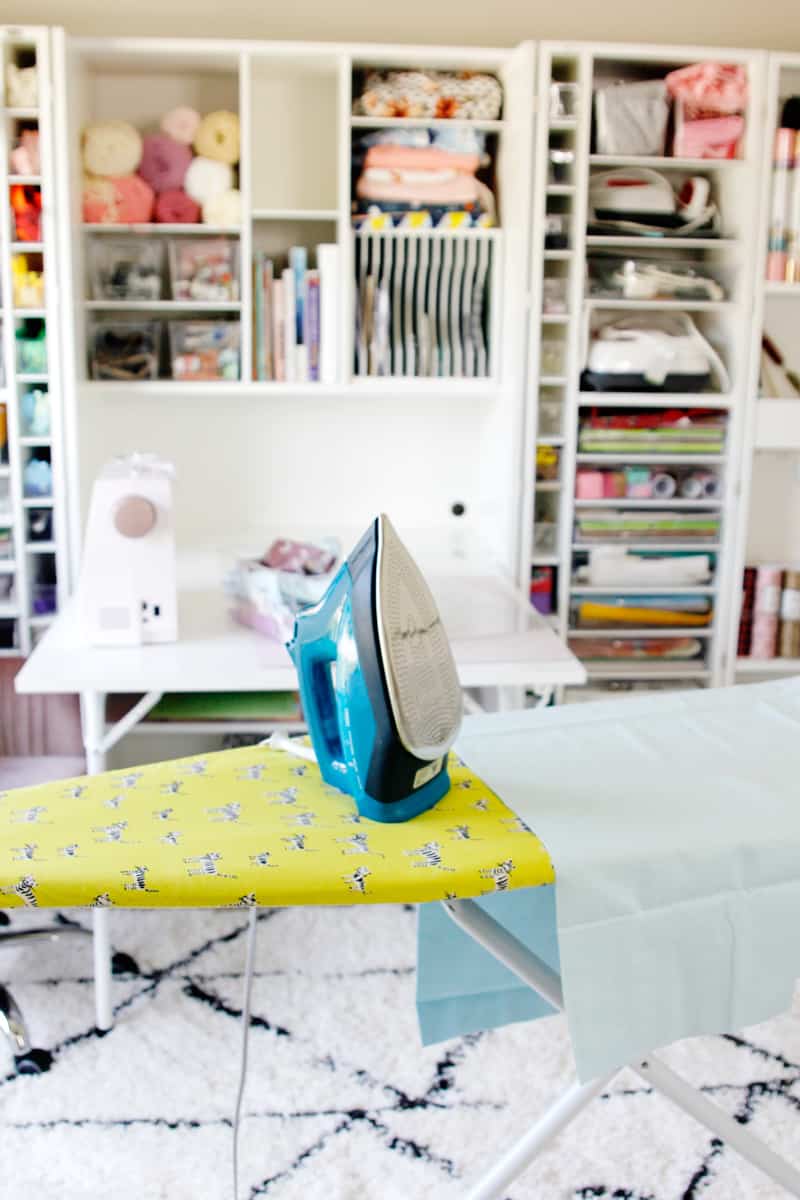
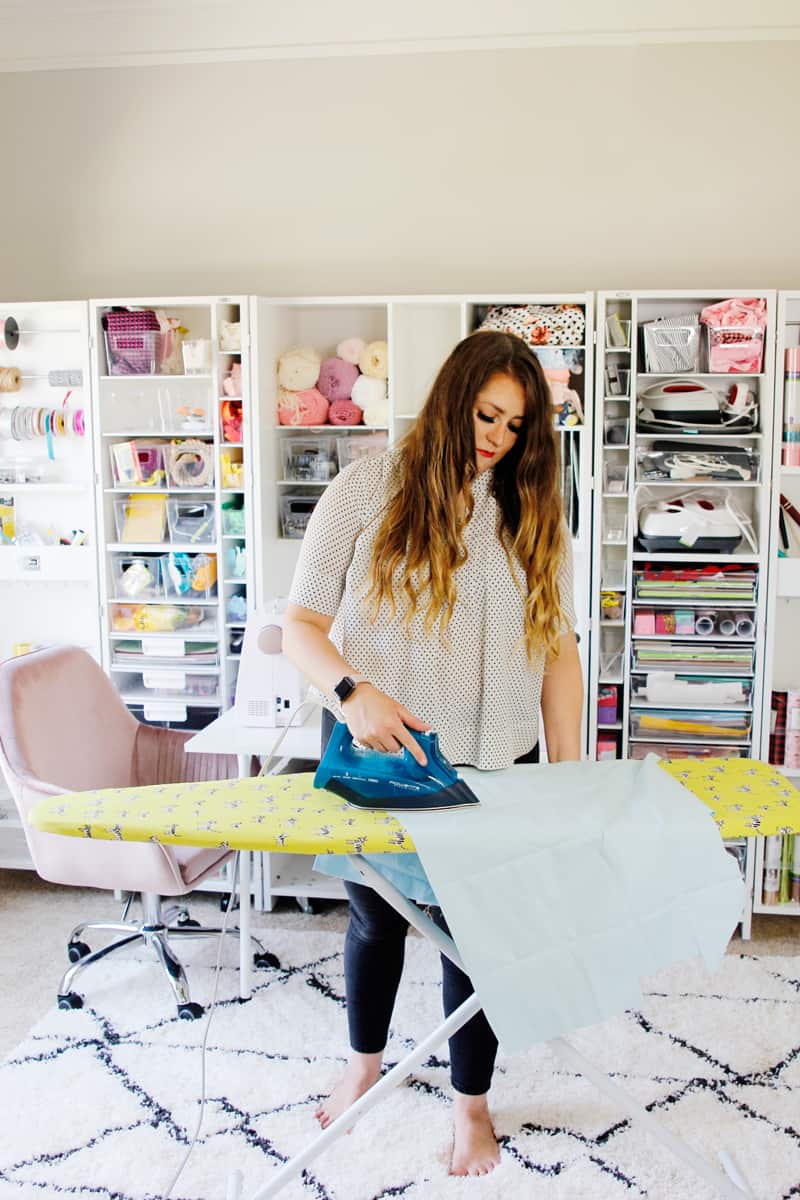
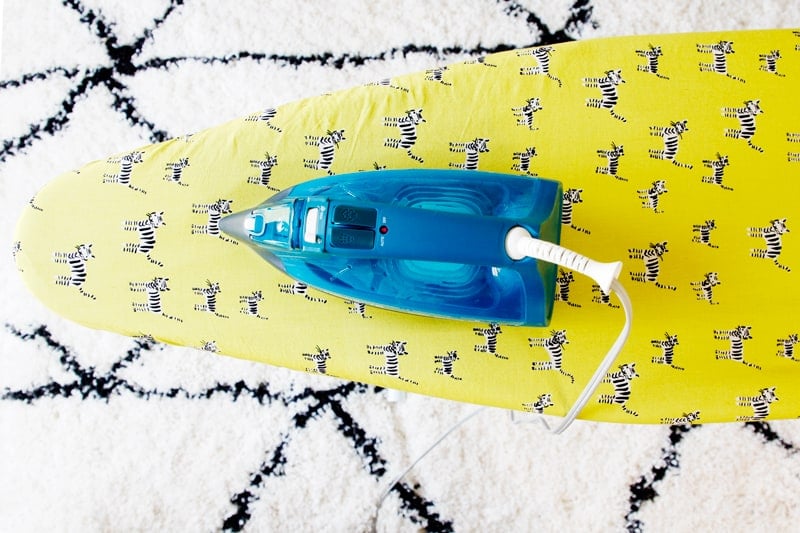
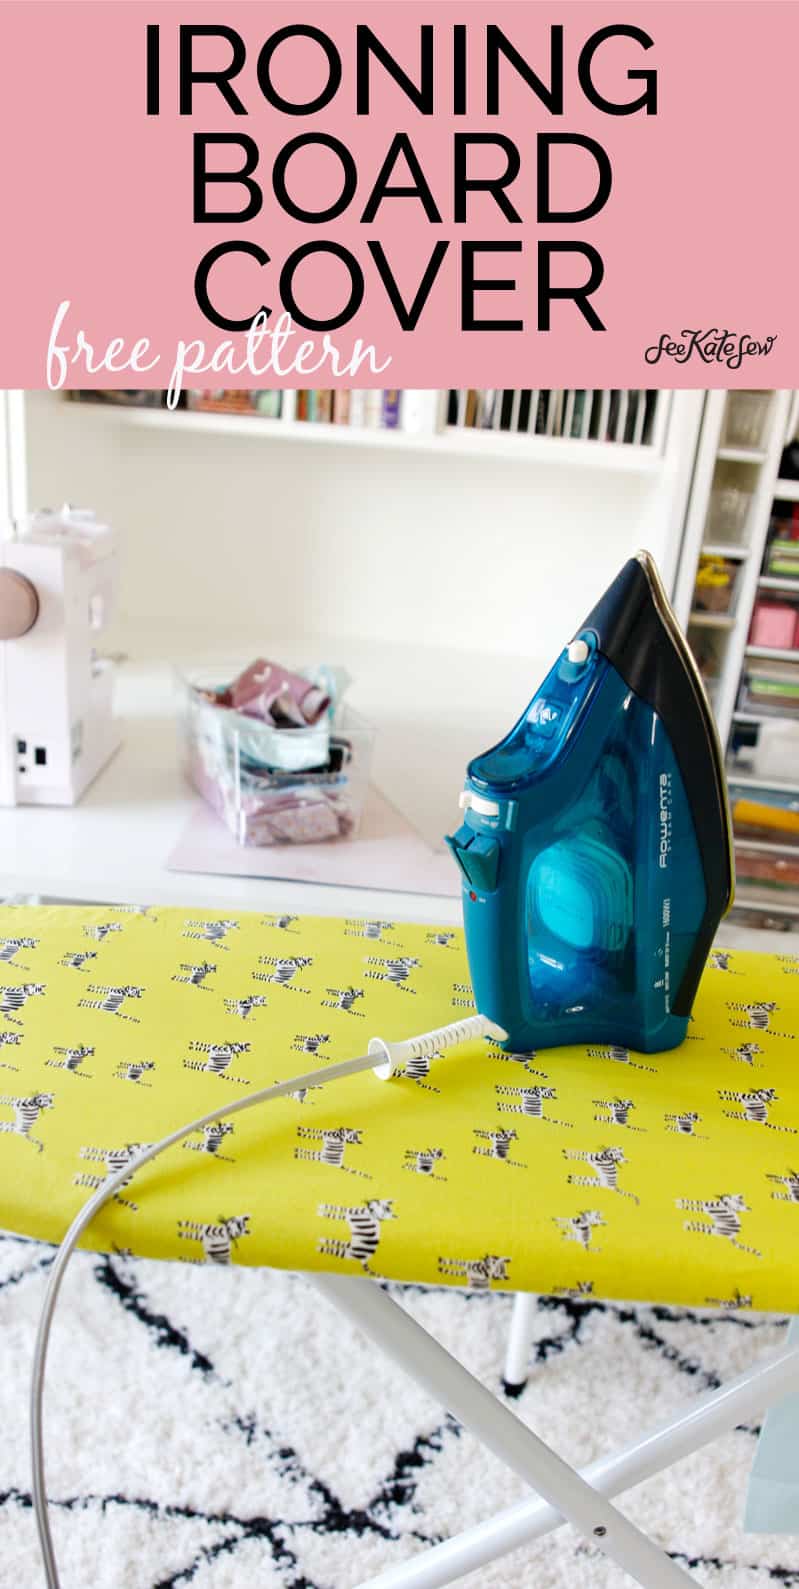
I chose a really bright pattern for the cover. I just love this bright yellow color and the tiger print.
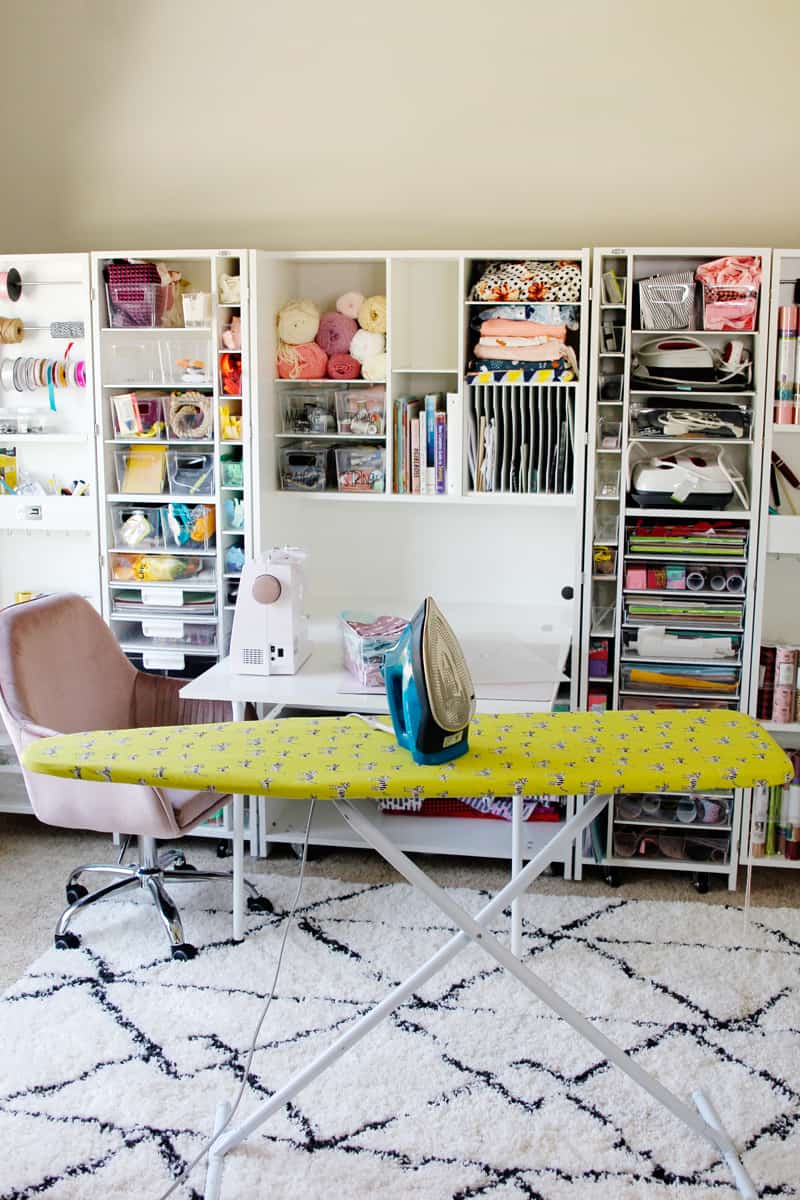
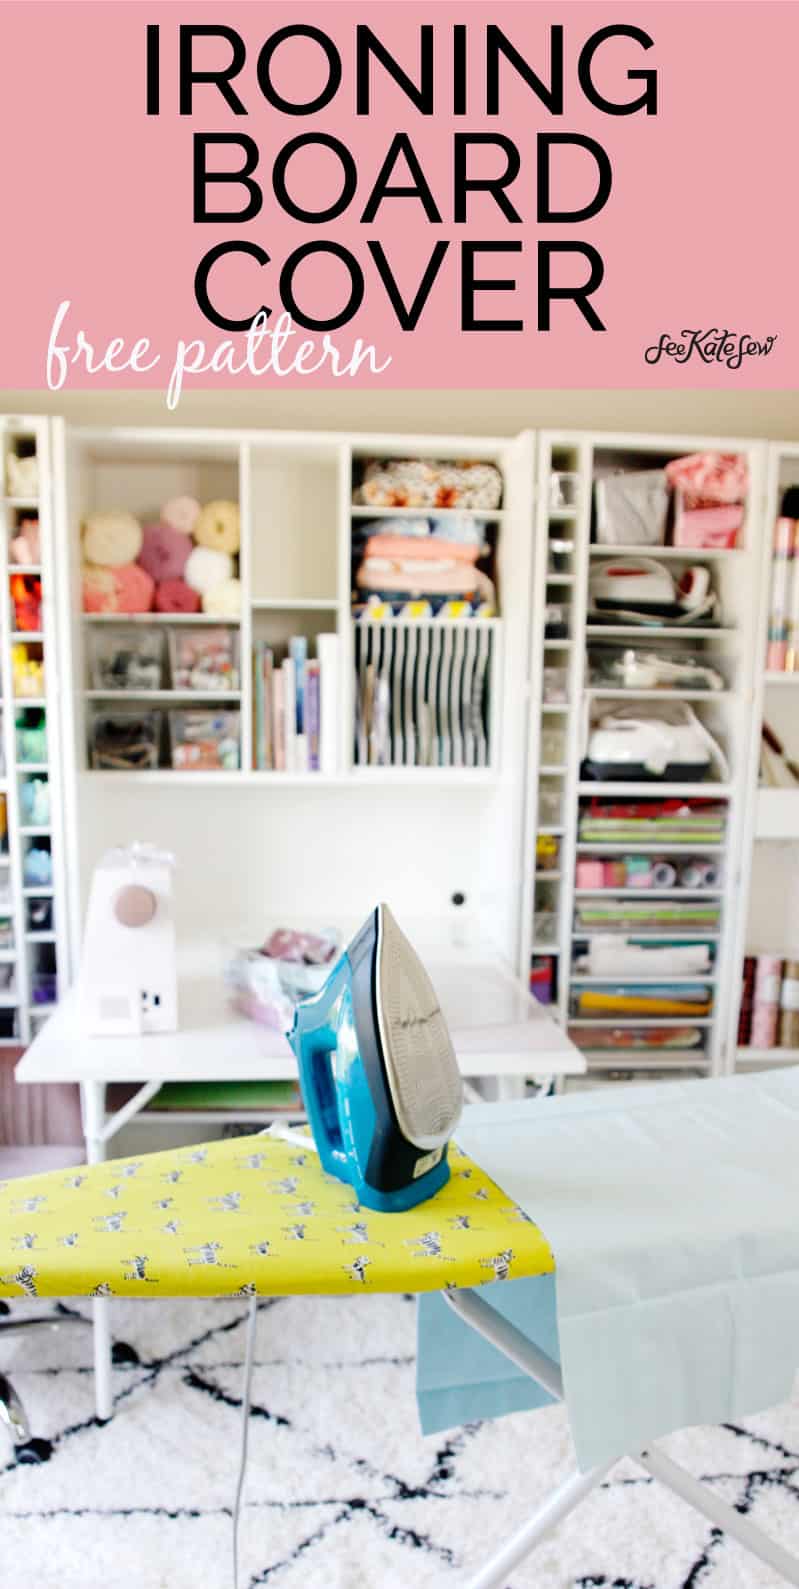
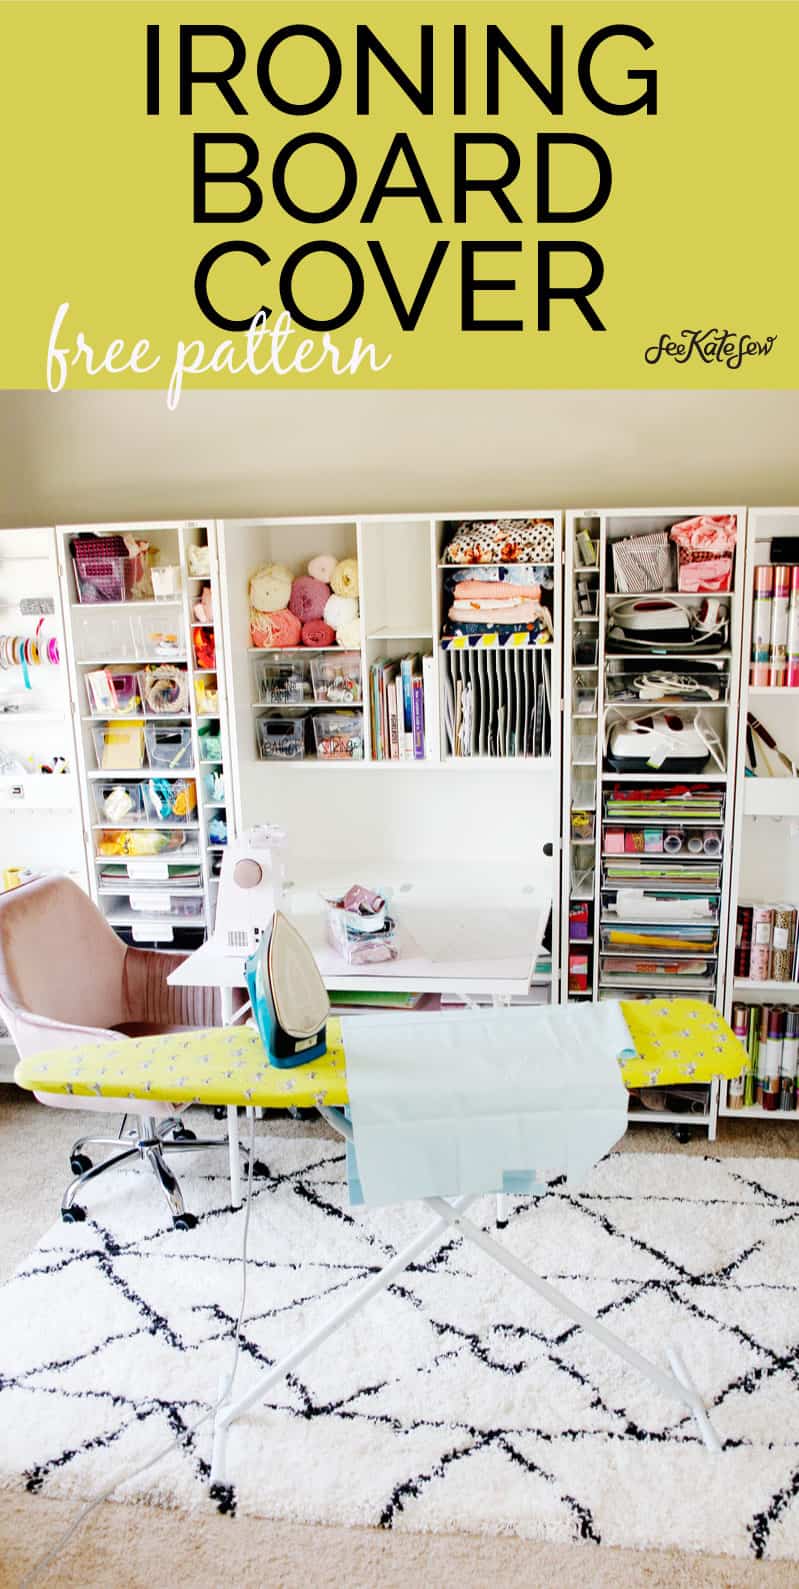
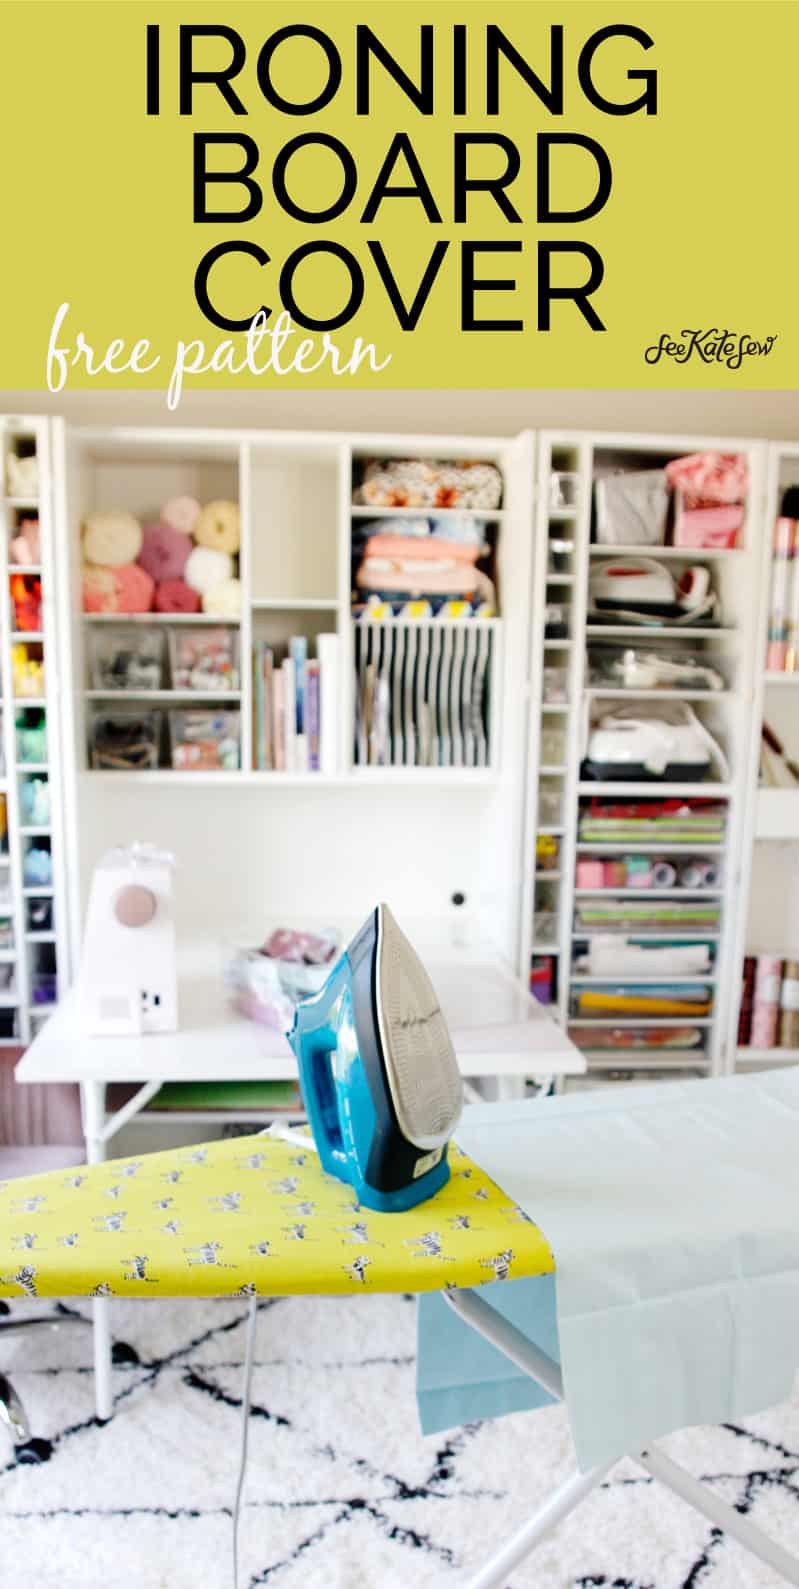
This homemade replacement cover adds a nice pop of yellow to my DreamBox setup. The DreamBox is a really great craft storage solution – use code SEEKATESEW for $100 off (affiliate). Build your box here, or see the bottom of the post for links to more info about the DreamBox!
Ironing Board Pattern Materials
- 2 yards 100% cotton
- 100% cotton batting OR premade pad
- 70 inches of 1/4″ elastic
- small safety pin
- pattern download, below
Ironing Board Template Download Instructions
Click on the pink button below to download the free pattern – available to email subscribers! You can sign up to be on the list. If you are already signed up, just re-enter your email address and you will be taken to the download page!
Open the file and print it out. This pattern will print on 8 pages, 8.5″ by 11″ or A4. Print the pattern at 100% or DO NOT SCALE.
Trim the edges along one side, cutting along the dotted lines.

Overlap the pages and tape together in order. Then cut out the pattern.
Standard Ironing Board Cover Instructions
Pin pattern to fabric on the fold. Cut out 1 piece from fabric. If you are using batting as a pad, cut out 1 layer of batting along the dotted line.
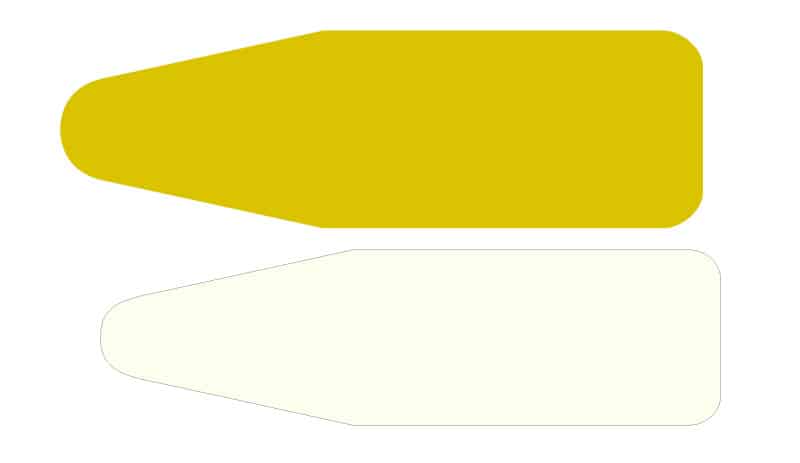
Center batting on backside of fabric and baste around the edges of the batting to secure.
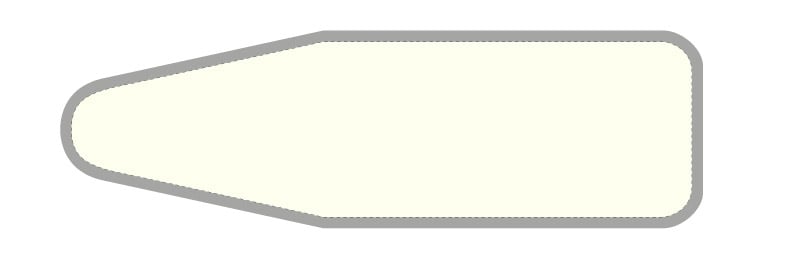
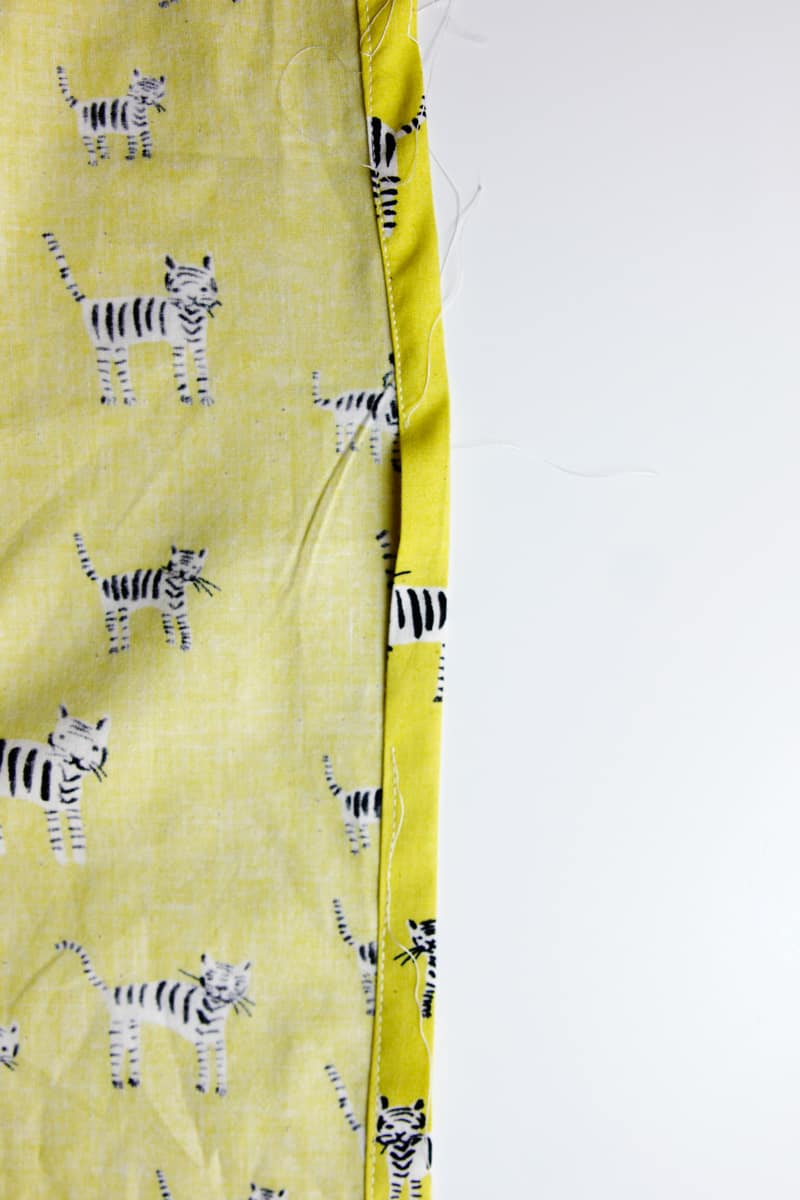
Using a baste stitch, sew around the curved outside edges of the fabric 1/4″ from the raw edges. Sew again 3/4″ from the outside edge.
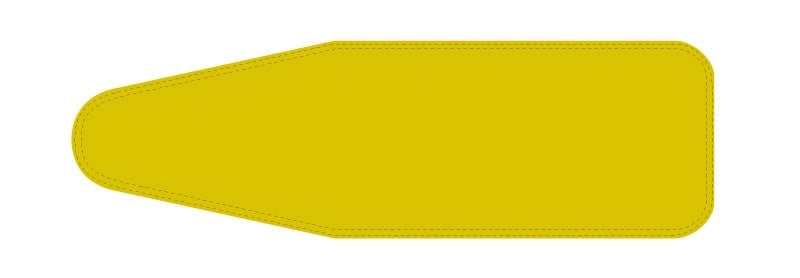
Use the line of stitching (1/4″ from raw edge) to ease over the fabric as you fold it under and press.
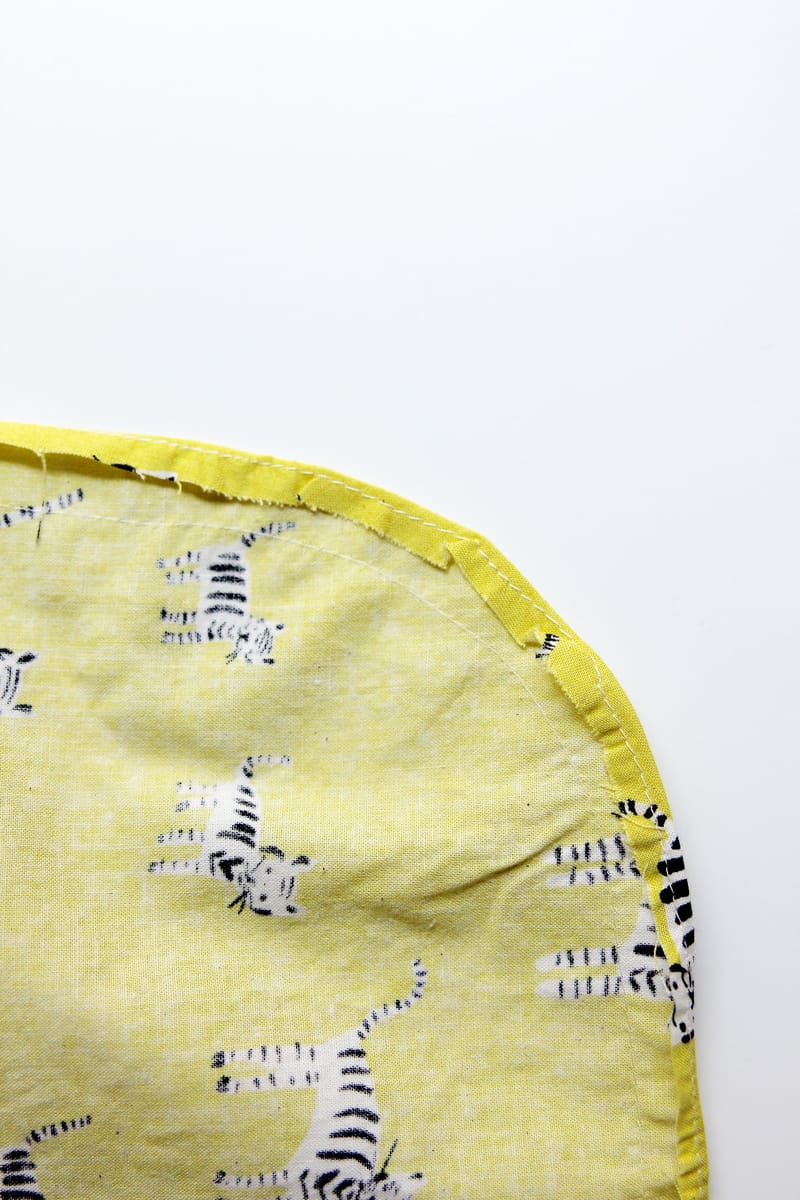
Fold under again at the 3/4″ line (it will be about a 1/2″ now) and press.
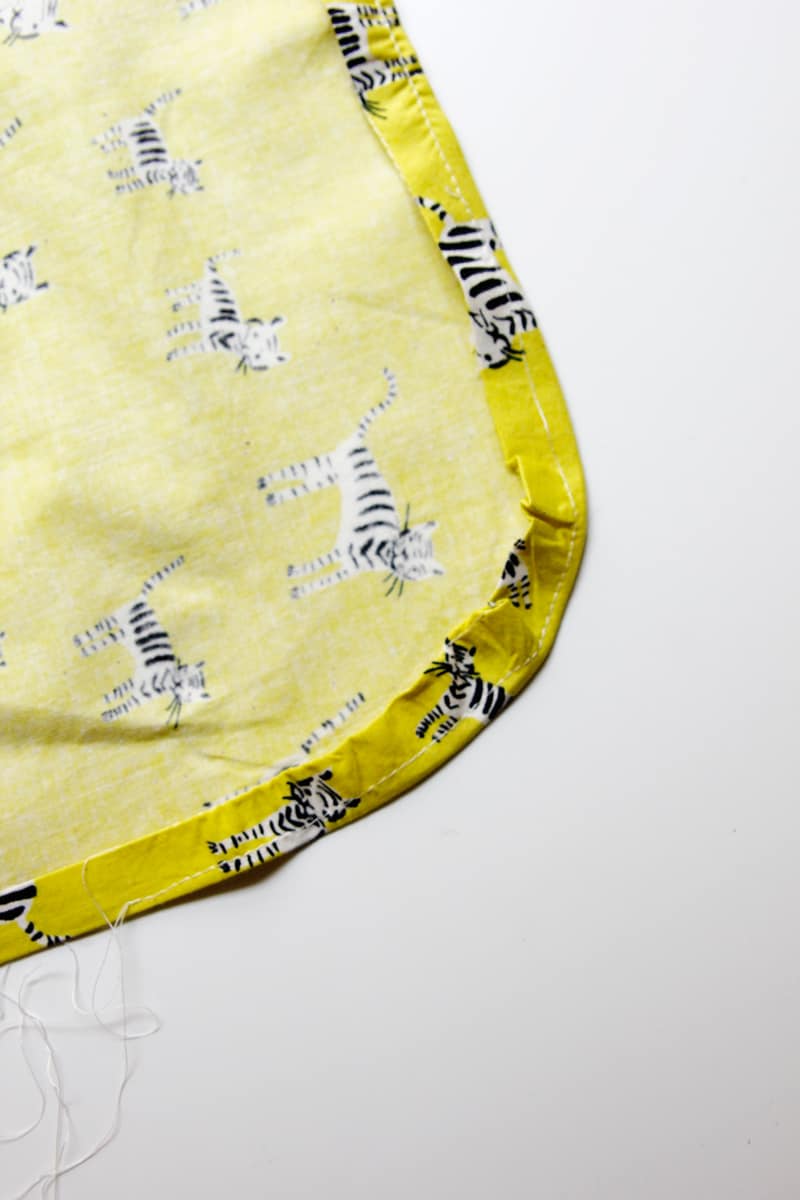
Pin this fold over – this will create a casing for your elastic. As you pin, pull the 3/4″ baste threads if necessary to fit. It’s okay if you have a few tucks or little pleats around your curve.
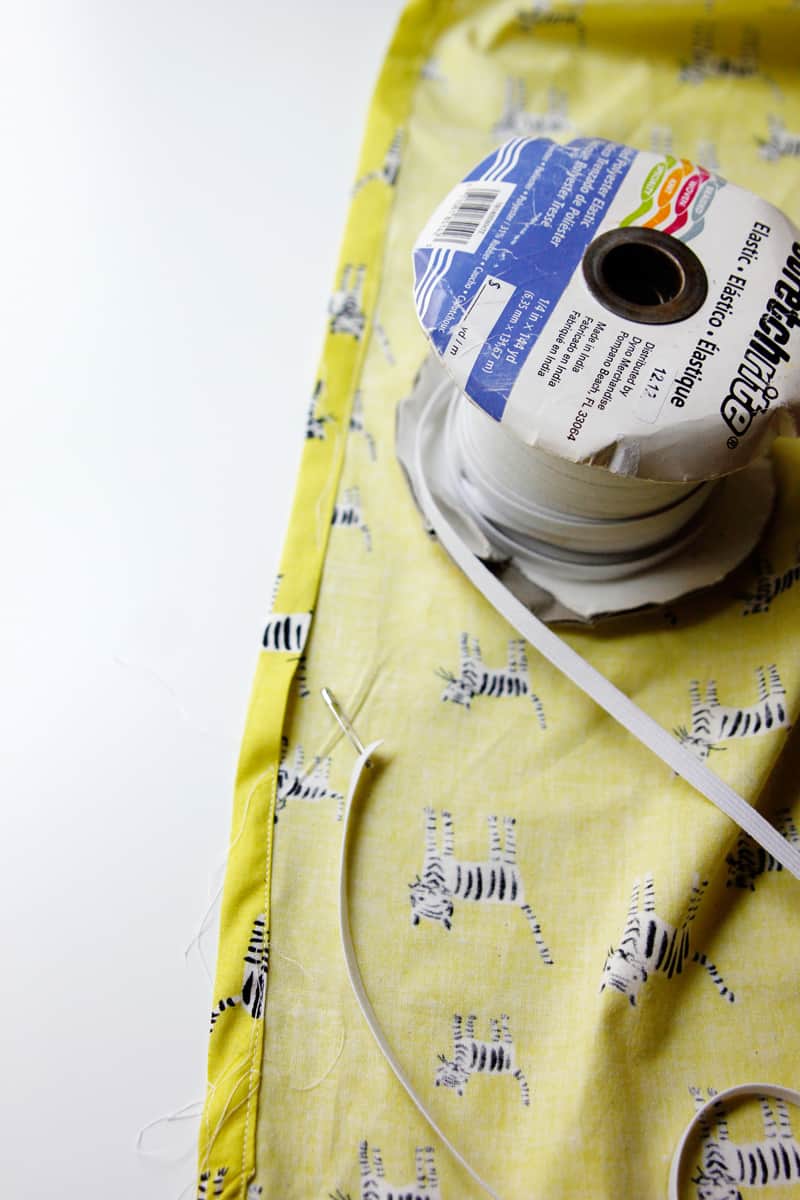
Attach a safety pin to 70″ of 1/4″ elastic. Thread it through the casing. Sew elastic ends together and finish sewing casing.








Been wanting to make an ironing board cover. My board is larger than 54″, so I am going to add a center panel
This is great and now I will make a new cover instead of buying one❗️Thanks❤️
I have a very large piece of wool felt. Can I use that for batting?
I can’t get the ironing board pattern to download.
You could put your fabric on the floor. Then flip your ironing board upside down on it and draw around it, adding about 3″-4″ to each side, (to accommodate the thickness of your board and for making the casing for the elastic). Custom fit!
Elastic is great, but I have also made one with a draw string (I used some left over cord from some blinds I made). Basically the same, with an opening at the wide end of the cover to accommodate the cord to ‘cinch it up’.