This sewing machine mat tutorial is a sponsored conversation written by me on behalf of Cricut. The opinions and text are all mine.
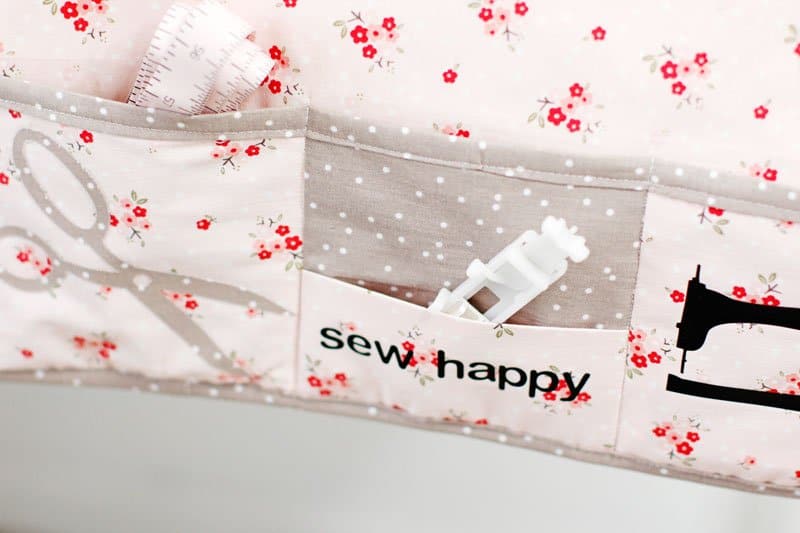
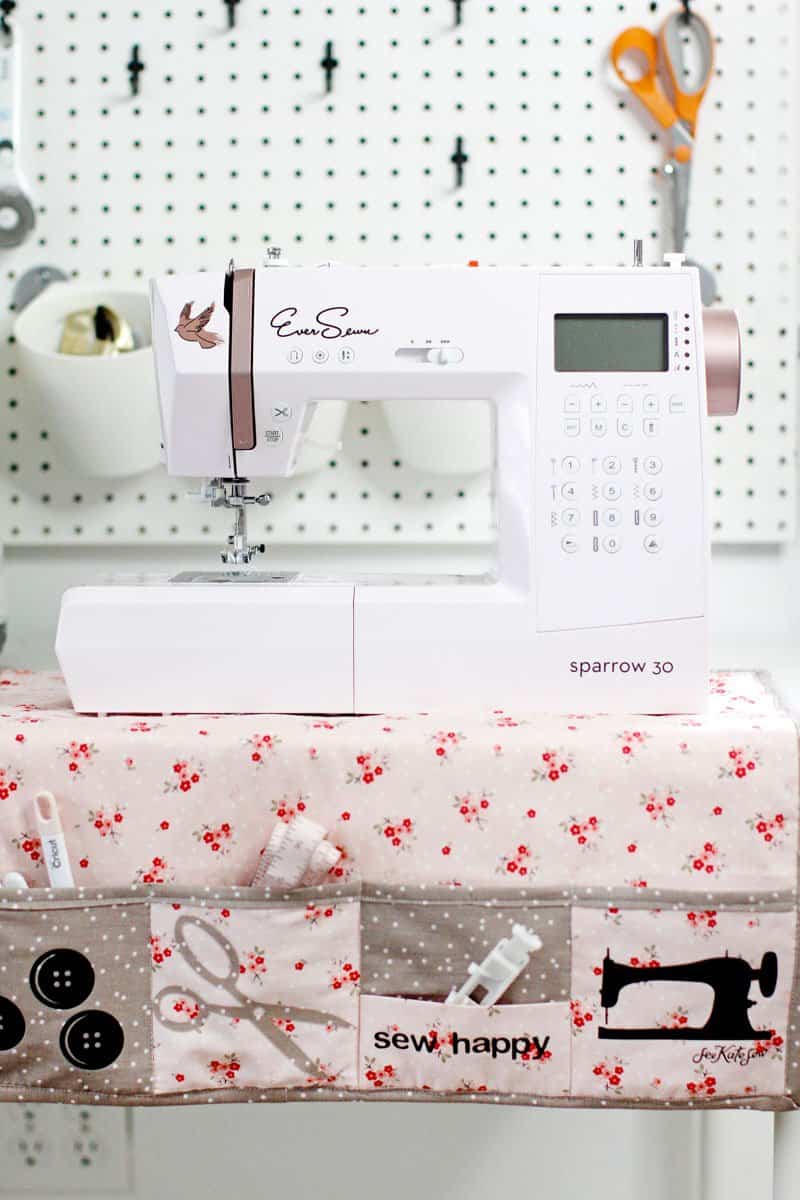
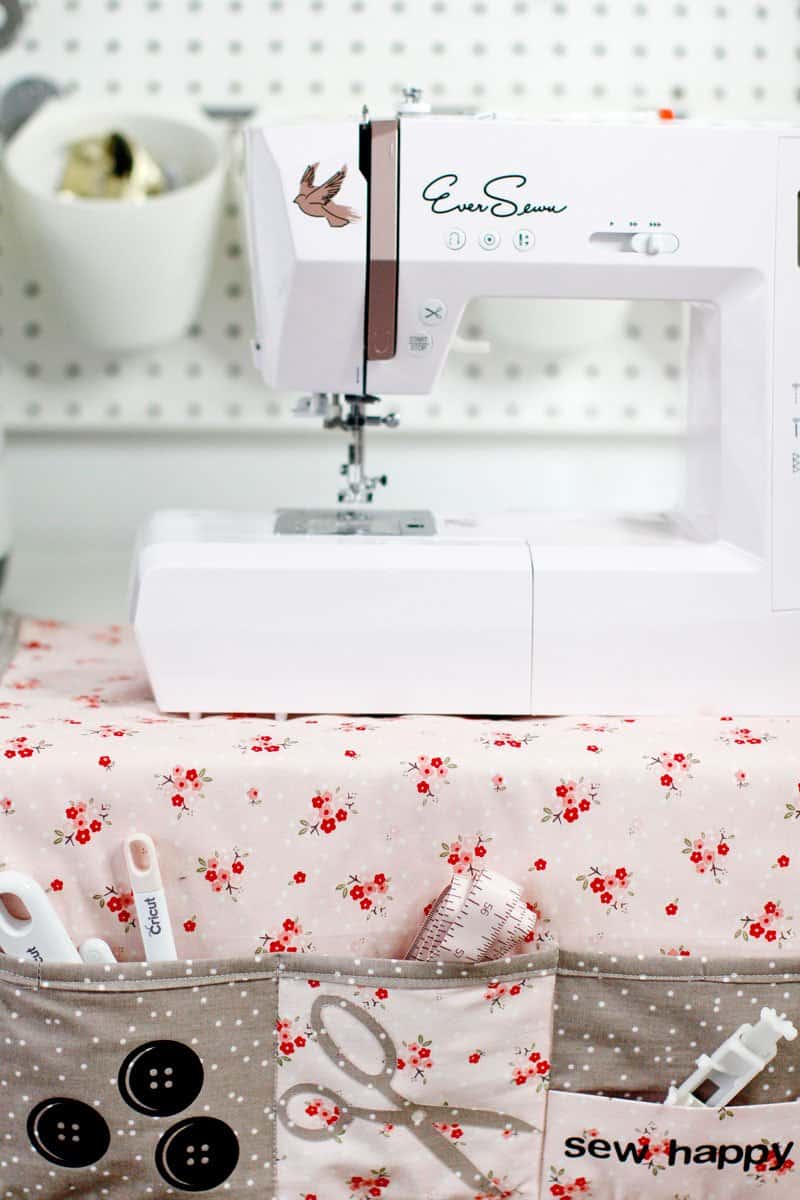
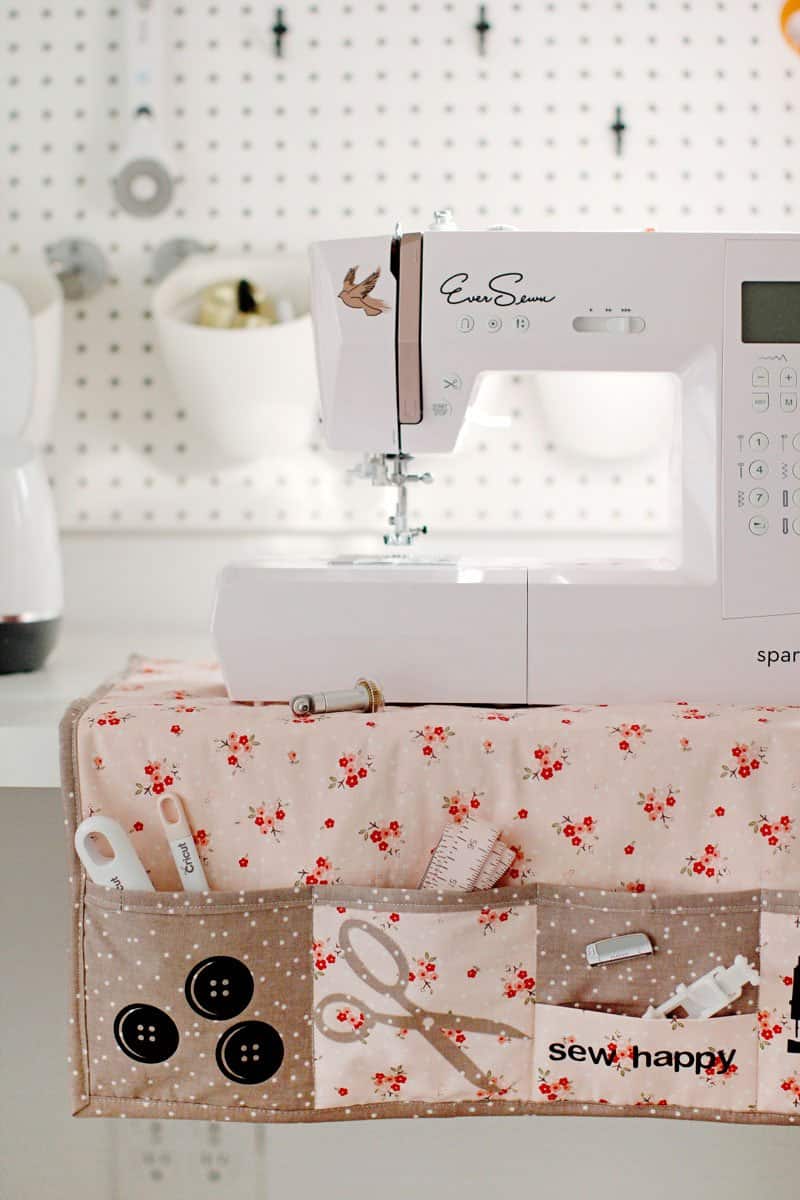
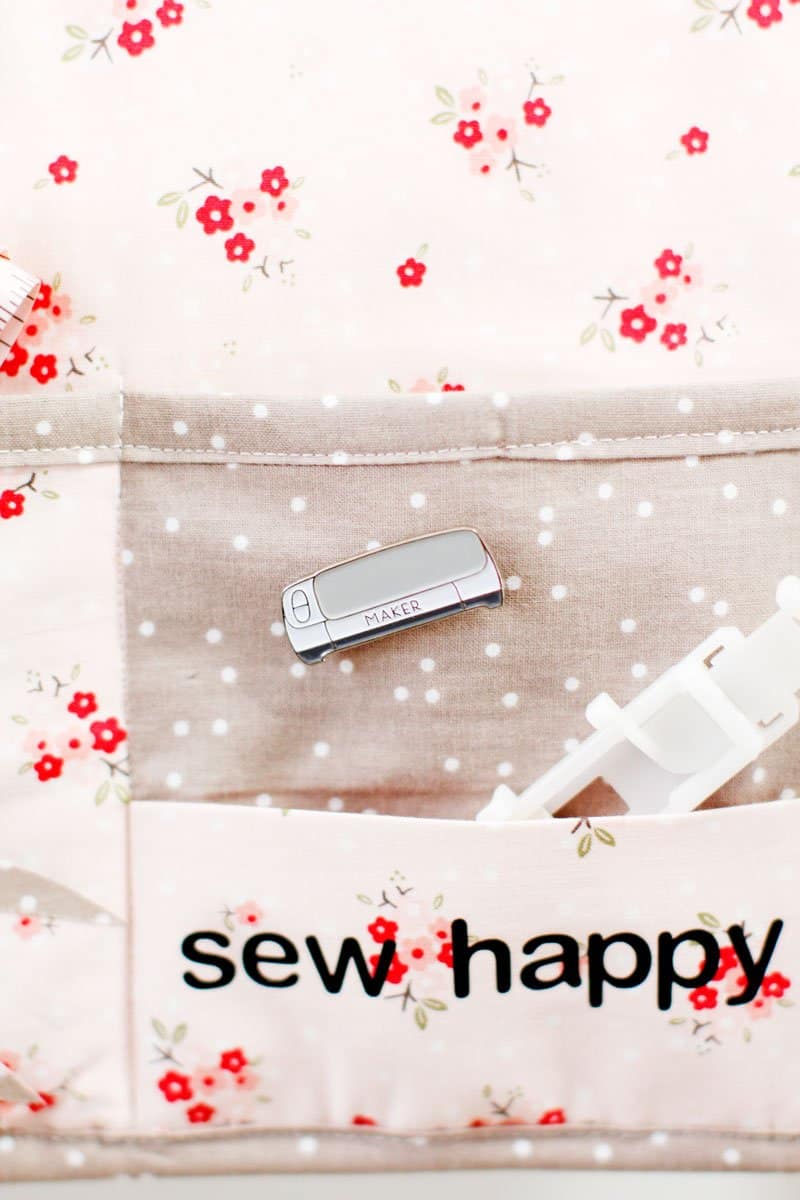
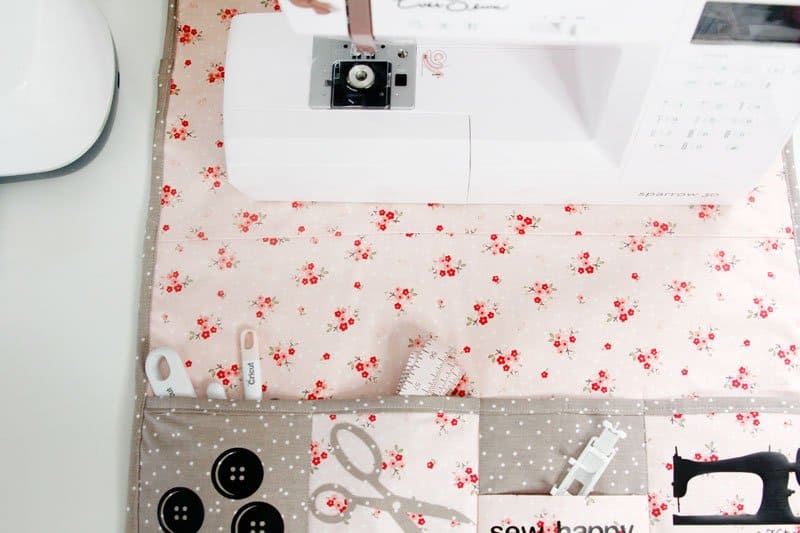
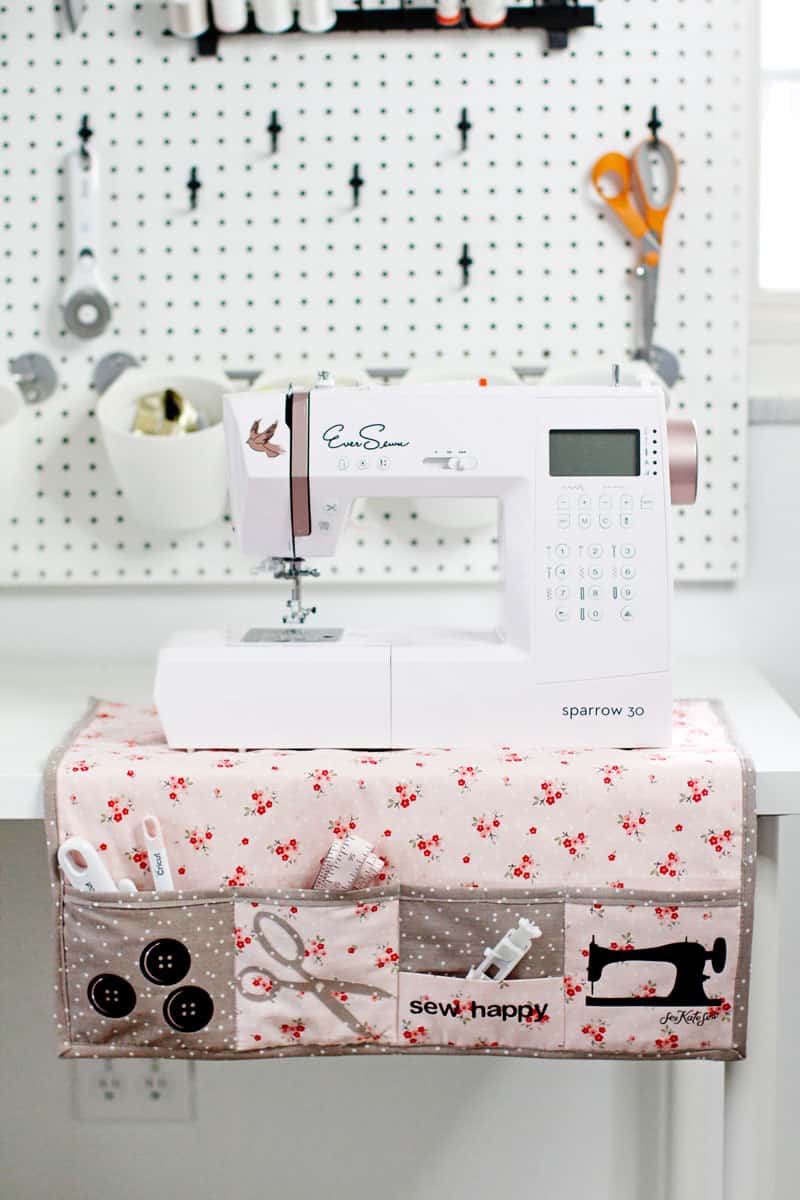
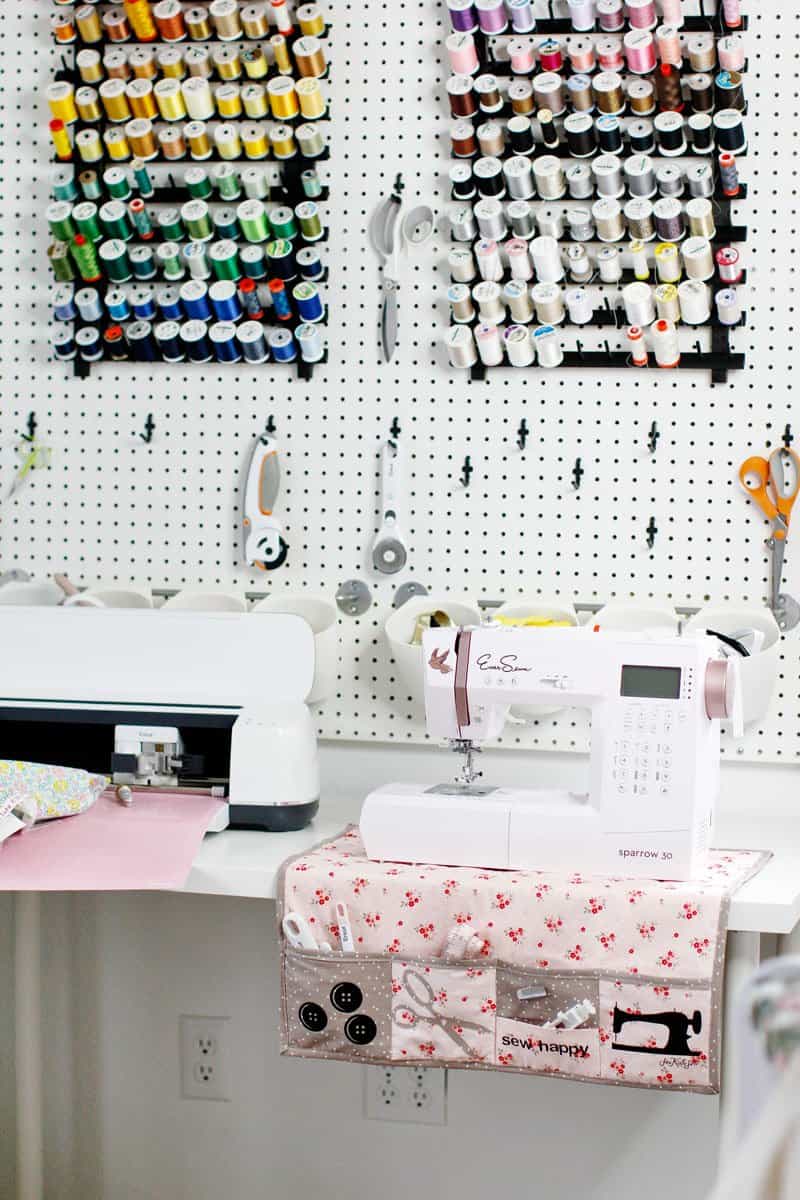
It’s time to get organized! I’ve been meaning to make a little mat for my sewing machine for a long time, mostly to keep my sewing desk area clean! This sewing machine mat has 5 pockets that hang over the desk to hold all that stuff you are always reaching for while you sew – seam rippers, thread clippers, needles, pins and clips!
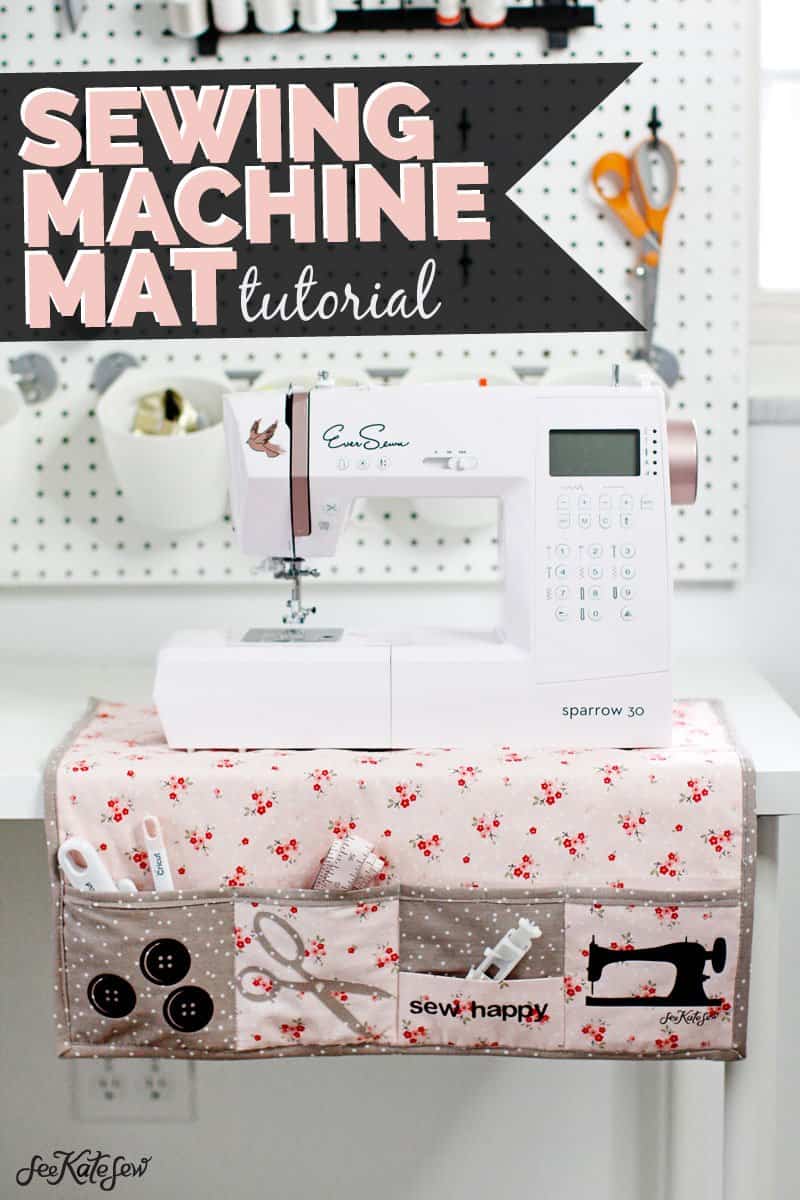
You can even stash a snack in here to hide it from your kids, or use one of the pockets for extra threads.
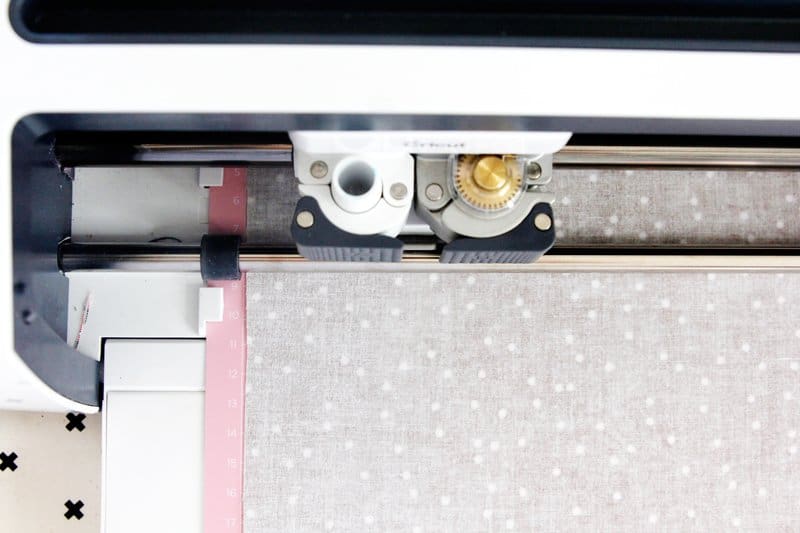
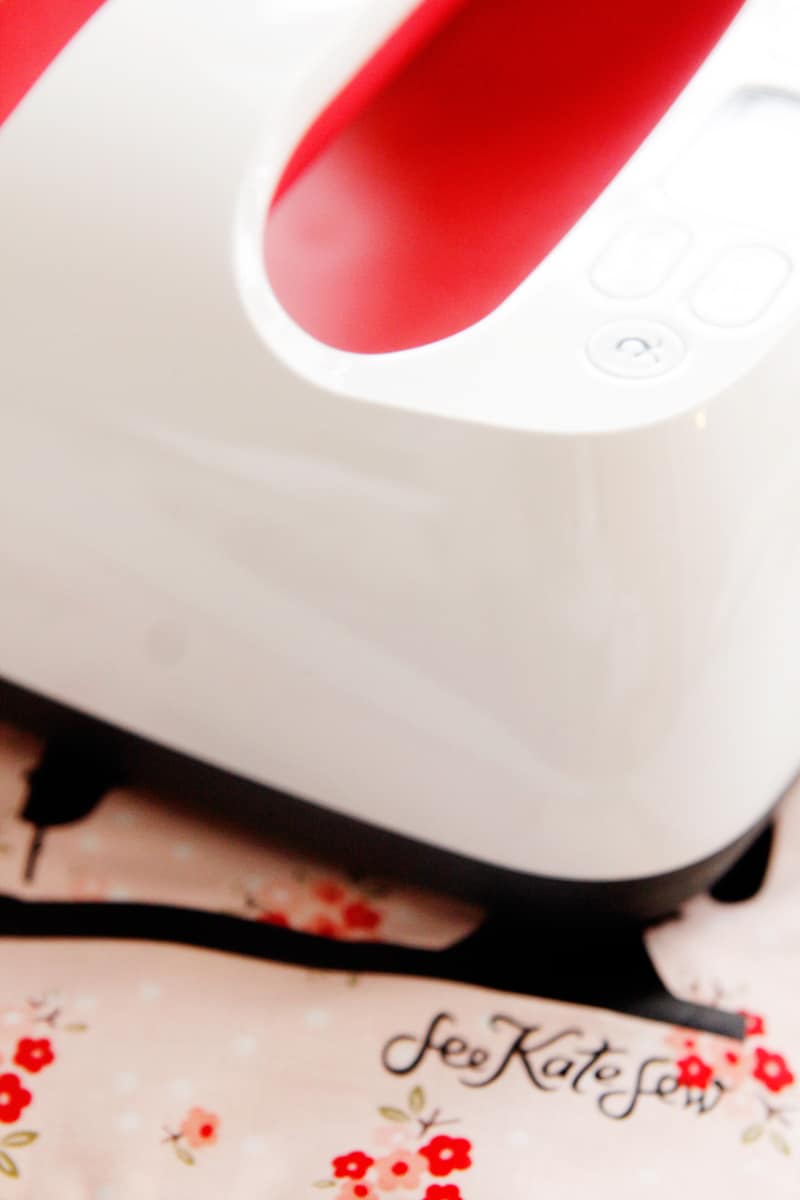
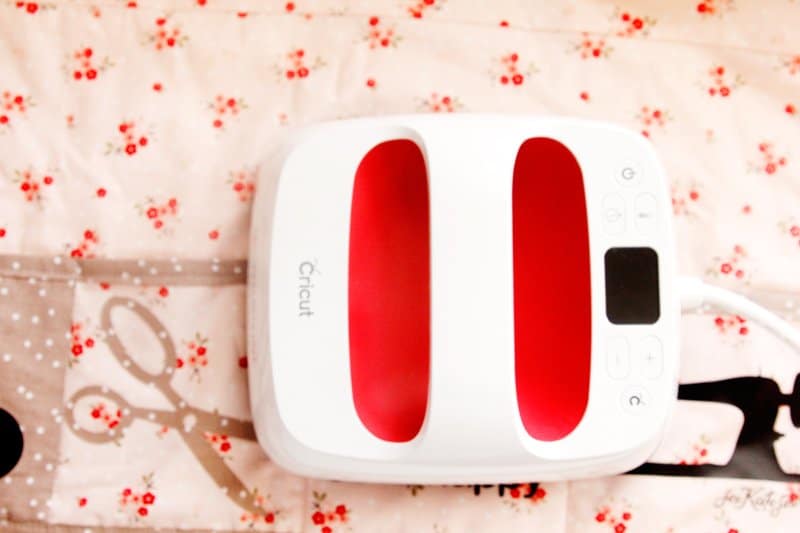
This post has full instructions on making this sewing machine mat with the Cricut Maker. The Maker is equipped with a tiny rotary blade, which means I used it to cut EVERYTHING I used in this project – the fabric, vinyl and appliqué! It is way more precise than I could ever do by hand and it’s so much faster, too! Read my post ALL ABOUT THE ROTARY BLADE HERE!
If you’re ready to get yourself a Maker, the essentials bundle is what I recommend for sewing. It comes with a bunch of materials you’ll end of using!

The MAKER comes with the Rotary Blade right in the box, but the essentials bundle has extra blades like the Deep Point Blade which I also use frequently!
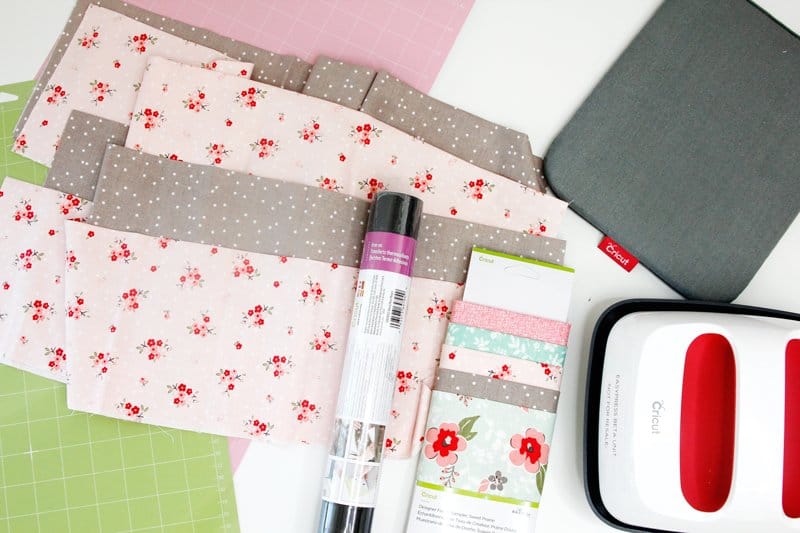
Machine Mat Materials
- 3 packs of Cricut Fabric, I’m using Sweet Prairie – This fabric is precut to fit the mats perfectly!
- Cricut Maker
- 12″ by 24″ FabricGrip Mat
- Iron-on Vinyl, Black
- EasyPress 2 – 6″ by 7″ & Mat
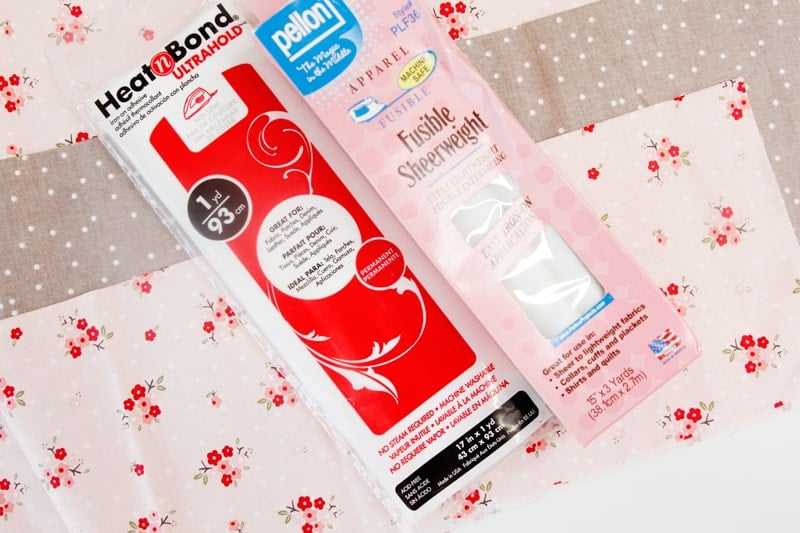
- batting
- heat n bond
- fusible interfacing, lightweight
- Pattern, download PDF below
Sewing Machine Mat Video
Sewing Machine Mat Instructions
Click on this link to take you to the Design Space link where I’ve saved the pattern to this project!
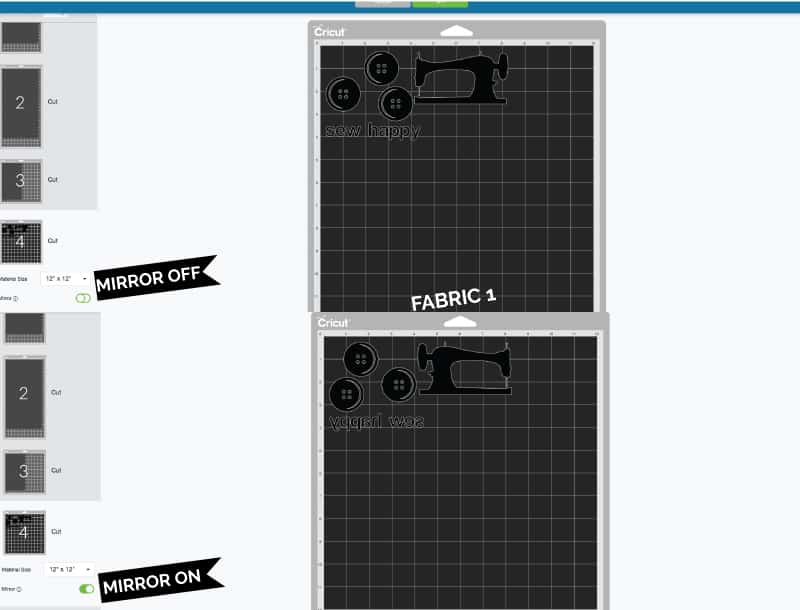
You’ll be taken to this screen:
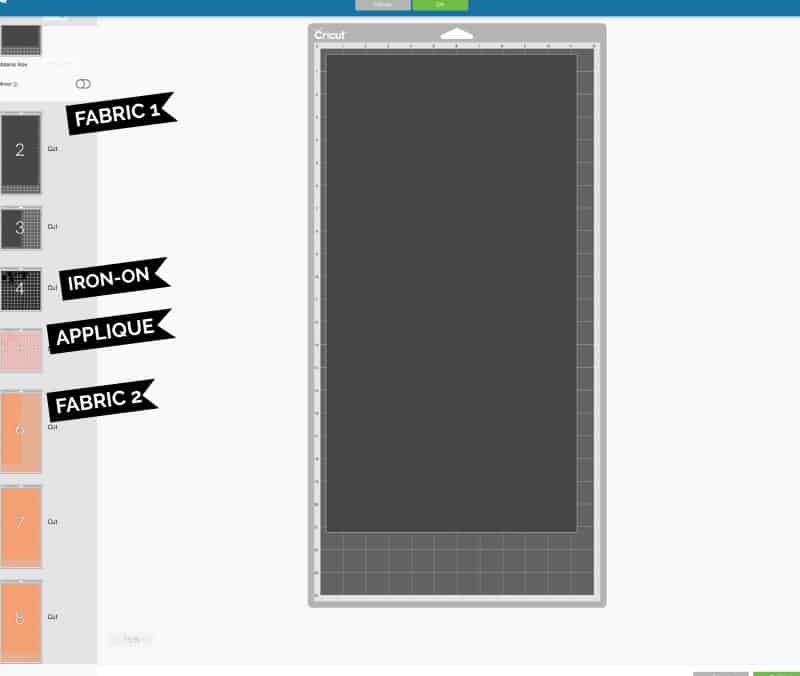
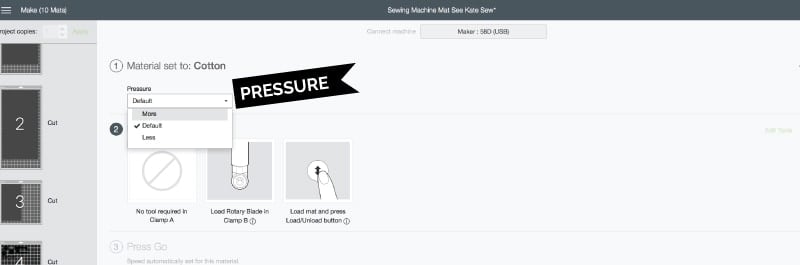
The grey and orange mats are fabric. The black mat is the iron-on designs. And the pink mat is the appliqué fabric. You can click on the left hand icons to pick the order the machine cuts the mats. Make sure you use the correct blade – Rotary blade for all fabrics, including appliqué || Fine Point Blade (the standard blade) for iron-on vinyl. Also remember to turn the MIRROR image ON when cutting out the vinyl.
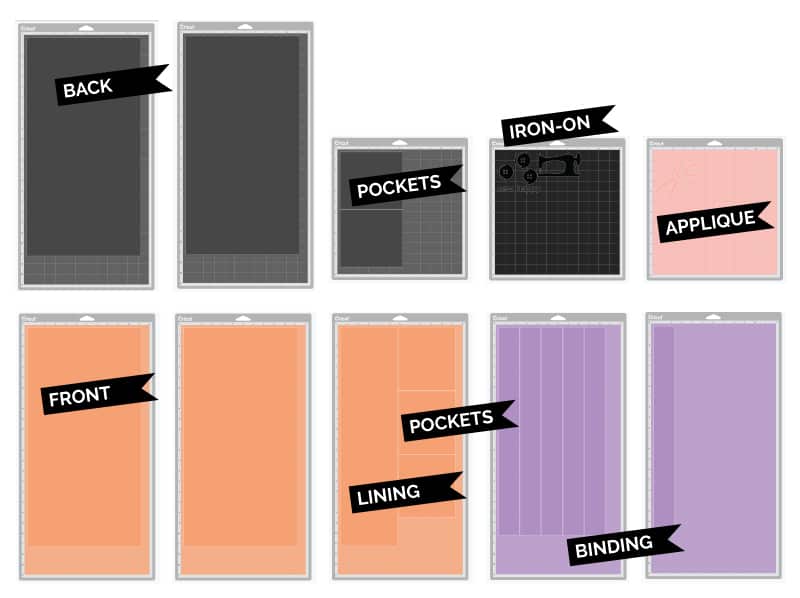
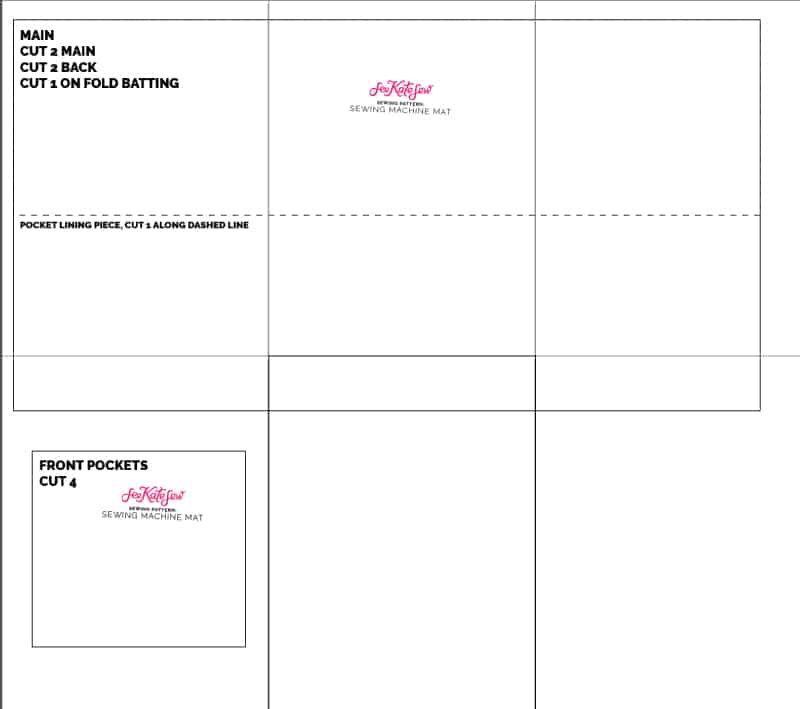
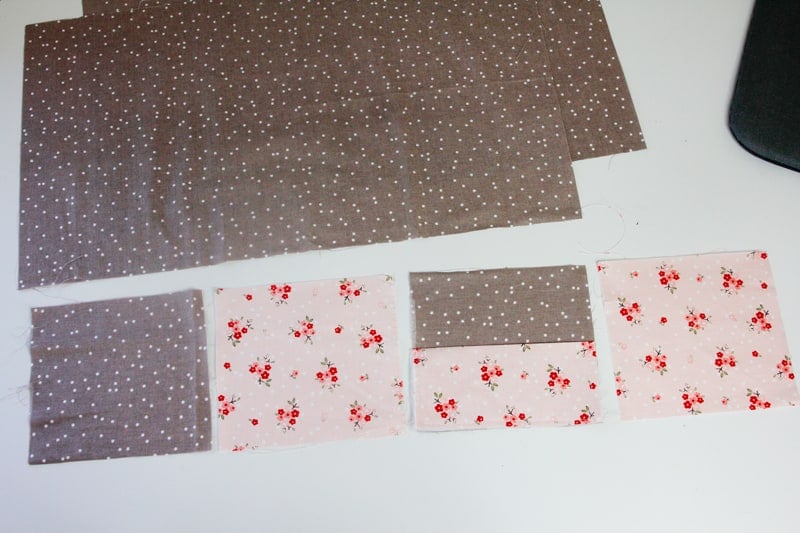
Above are all the mats that you’ll cut. If you are cutting by hand, reference this to make sure you have all the pattern pieces you need.
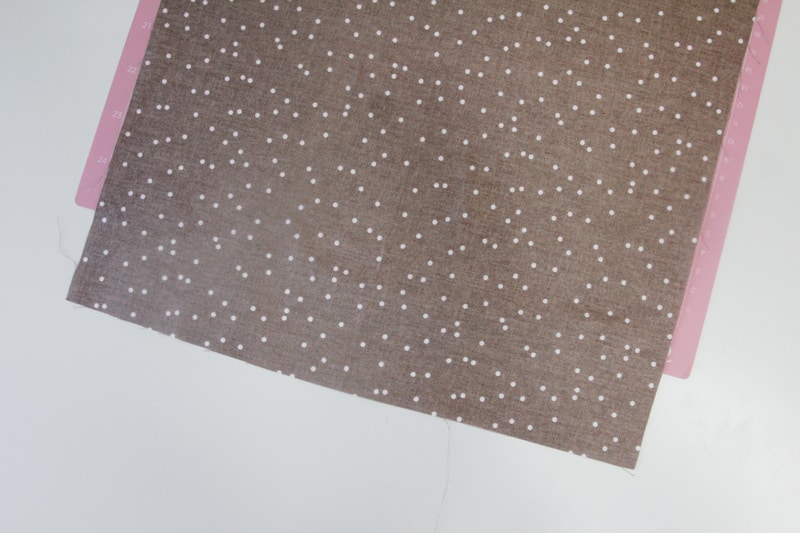
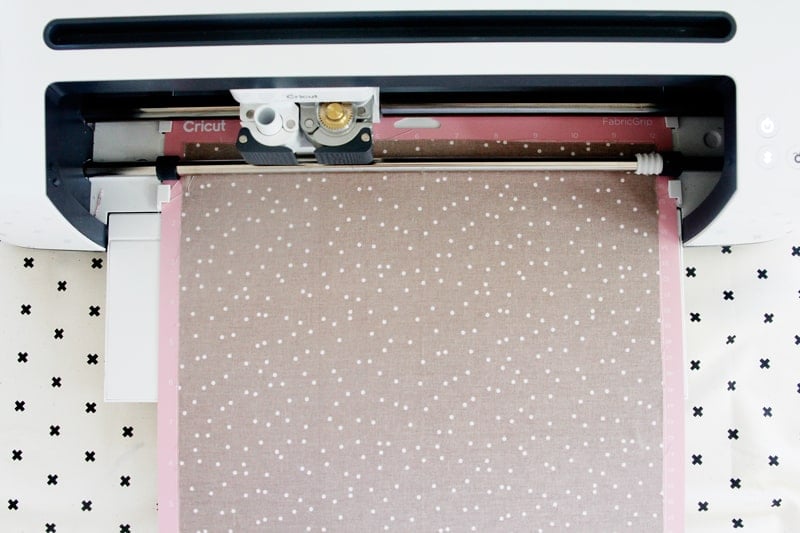
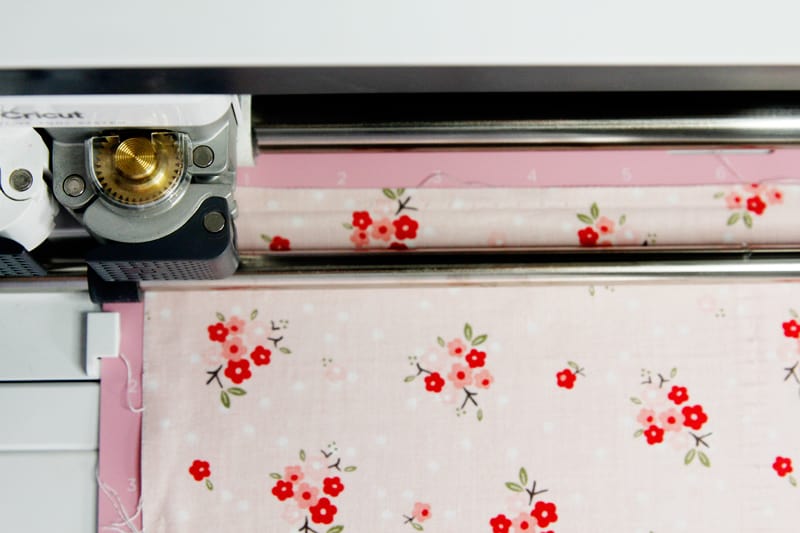
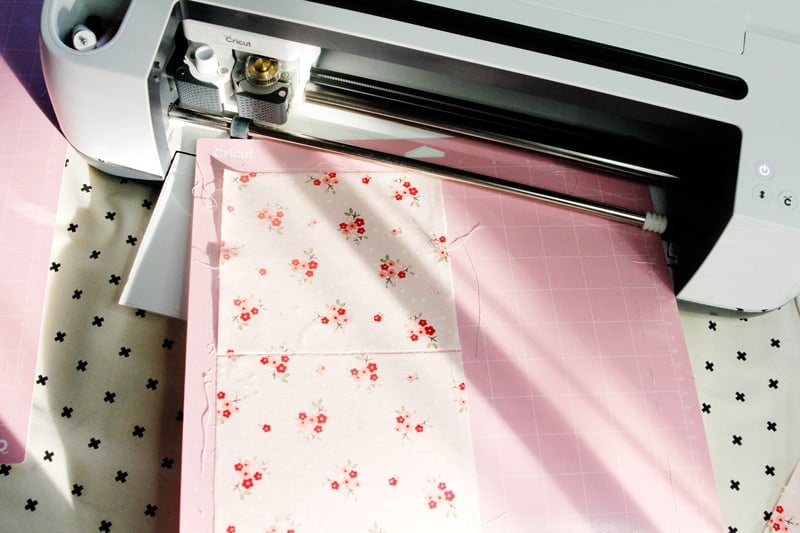
Cut the Fabric//
If cutting by hand, piece the PDF pattern pages together like so:
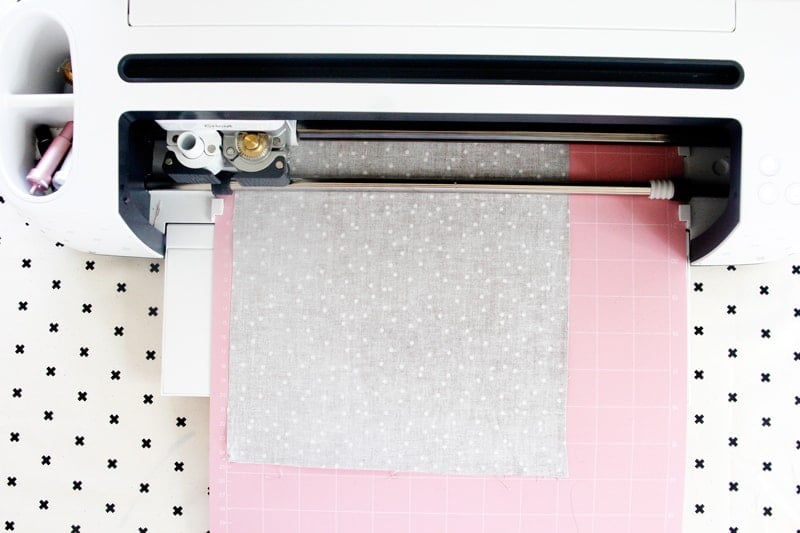
Use FabricGrip Mats and press the fabric down. Let the fabric hang over the end of the mat, it won’t be affected. This way you will have bigger scraps for more projects!
Load it to your machine and press the Cricut button!
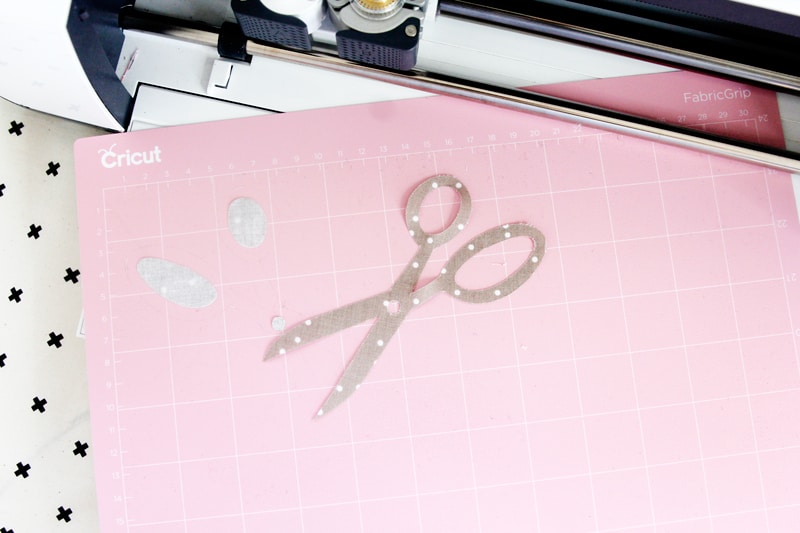
When it’s done, peel off the extra fabric. Perfect rectangles!
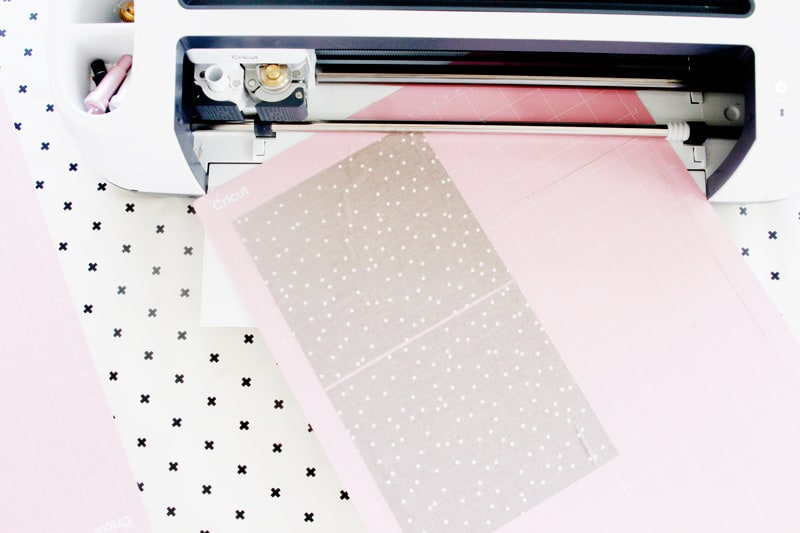
Repeat with all fabrics.
Cut the binding
The Design Space project has binding strips built into it.
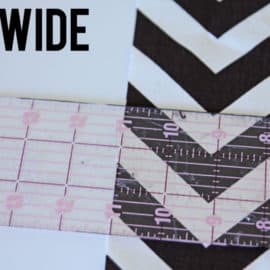
If you’re cutting by hand, cut strips for the binding 2″ wide. You’ll need about 110″ inches total.
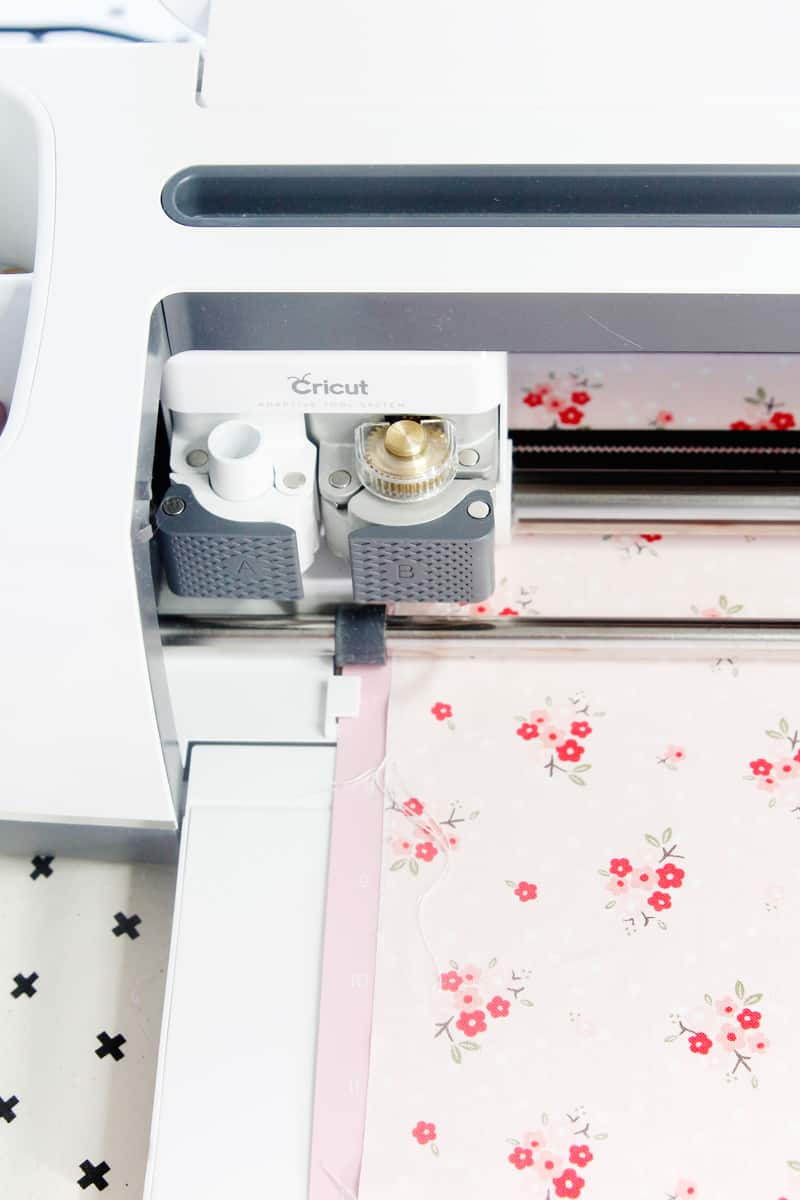
Cut the Iron-on Vinyl
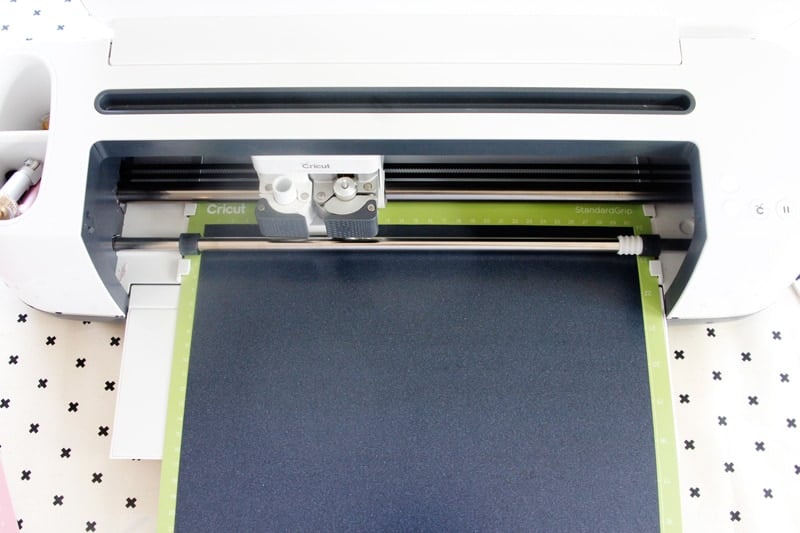
Cut all the iron-on pieces out. Be sure the set it up with MIRROR IMAGE ON.
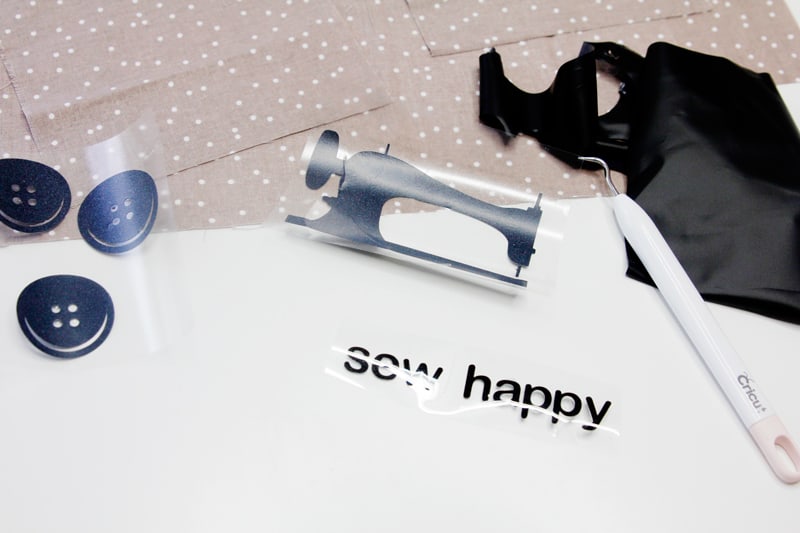
Weed all the pieces using the essential tool kit. *Weeding is removing all the excess vinyl.
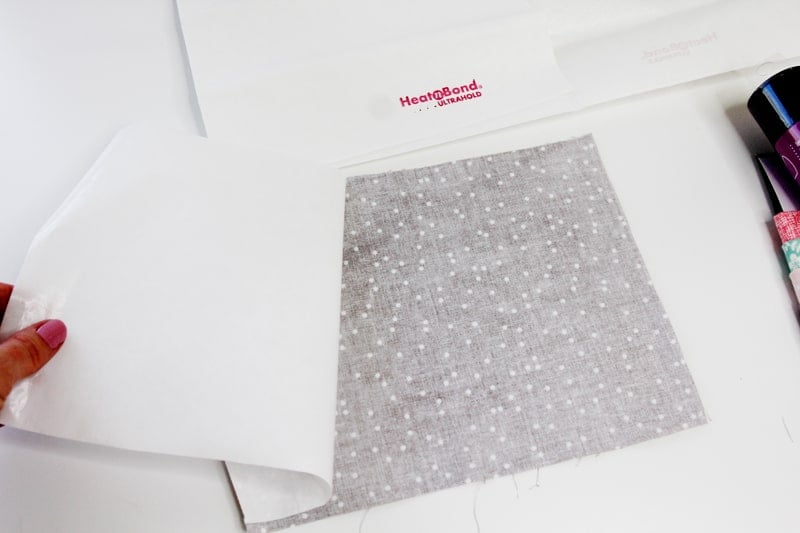
Applique Settings: Cotton with MORE pressure to account for the heat n bond.
Sewing Machine Mat Instructions
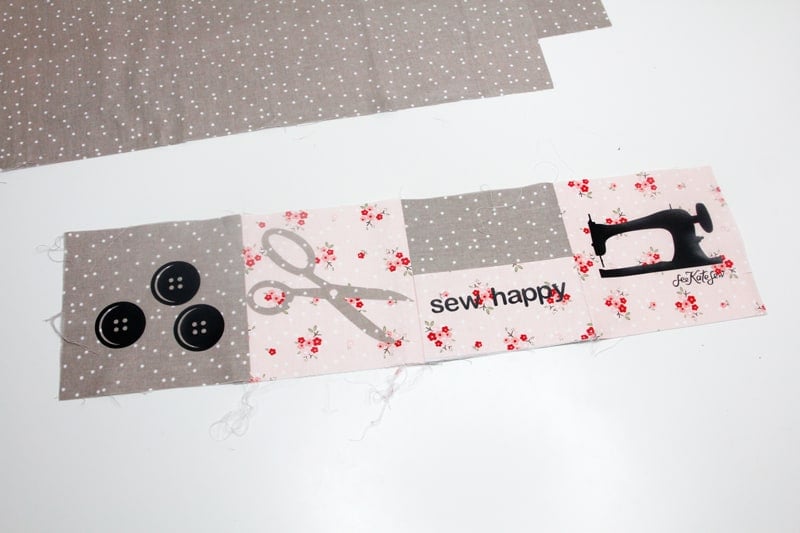
Fuse interfacing to the back of one of the pocket pieces. Fold it in half and press well. Then baste it to the bottom of a contrasting pocket piece.
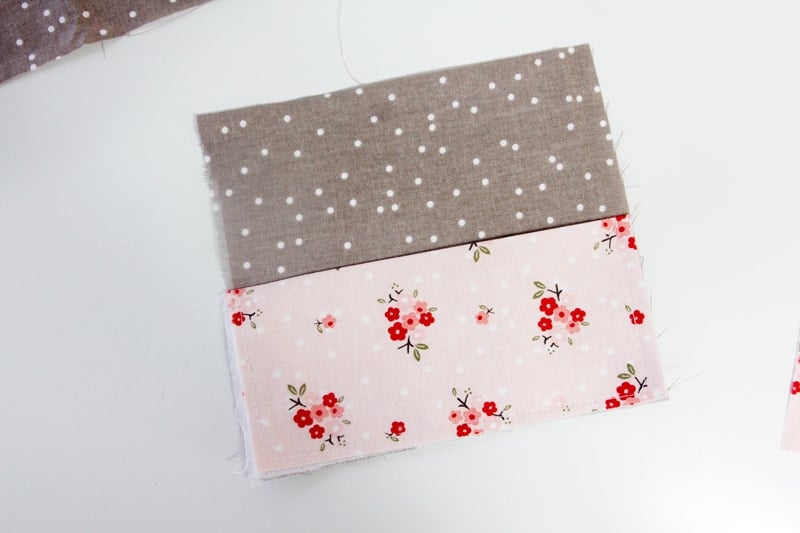
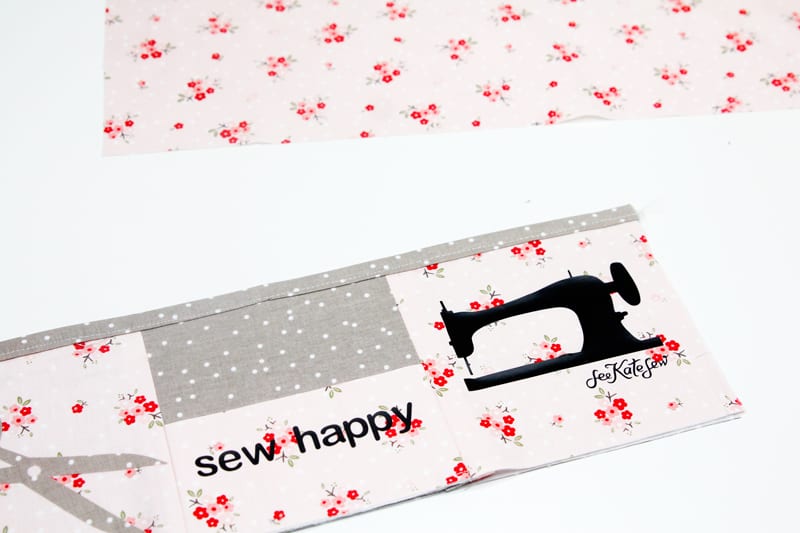
Line up all the pockets, alternating fabric.
Sew them together. 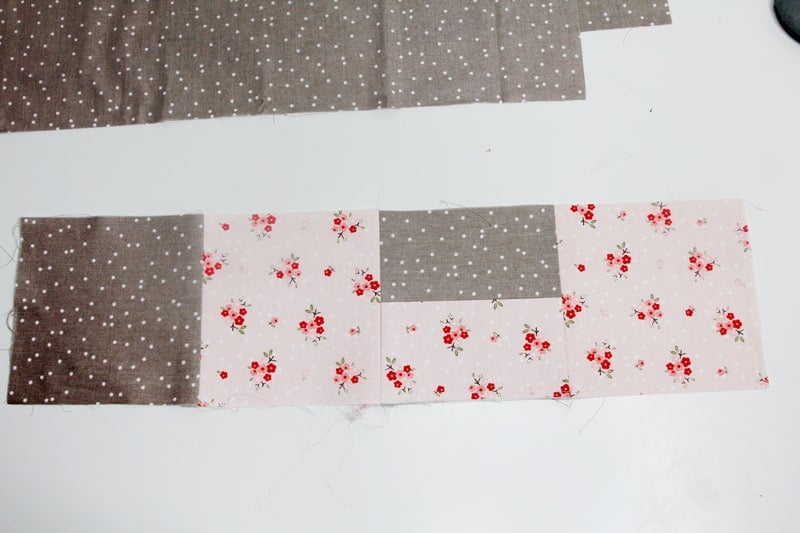
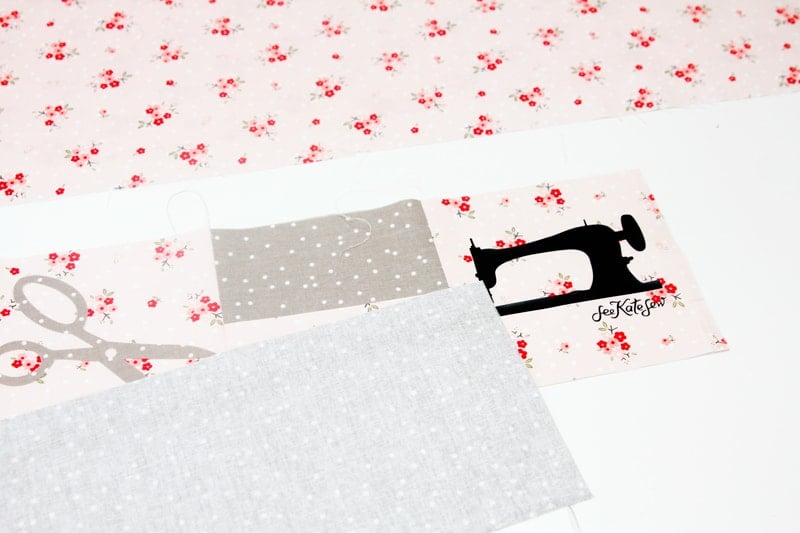
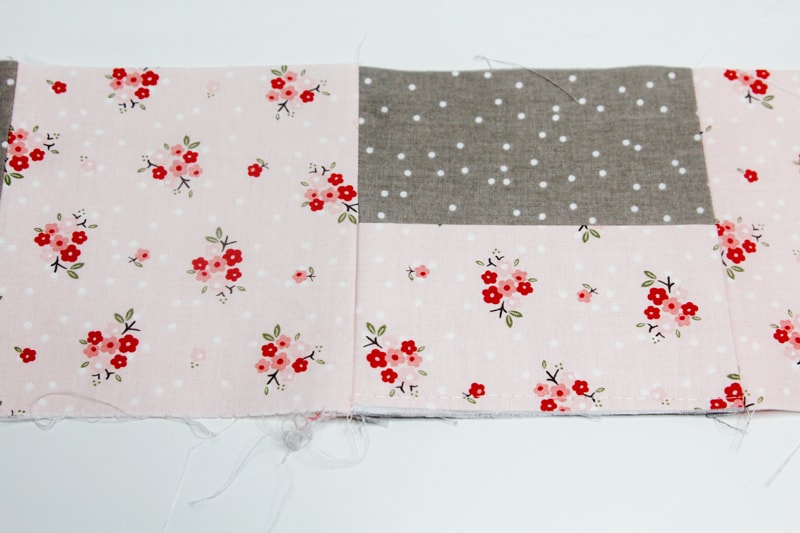 Press seams open.
Iron-on the vinyl and appliqué using the EasyPress 2.
Fuse interfacing to the back of the lining piece. Baste pockets and lining together along the top with WRONG sides together.
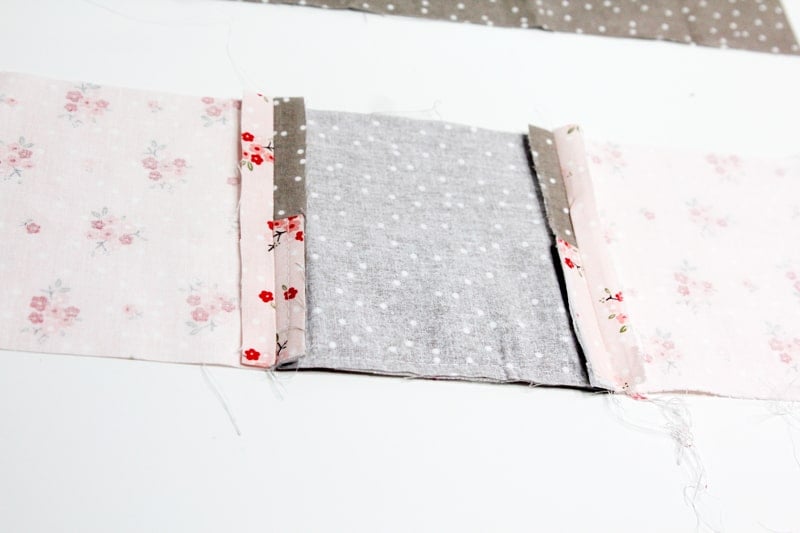
 Sew binding along the top.
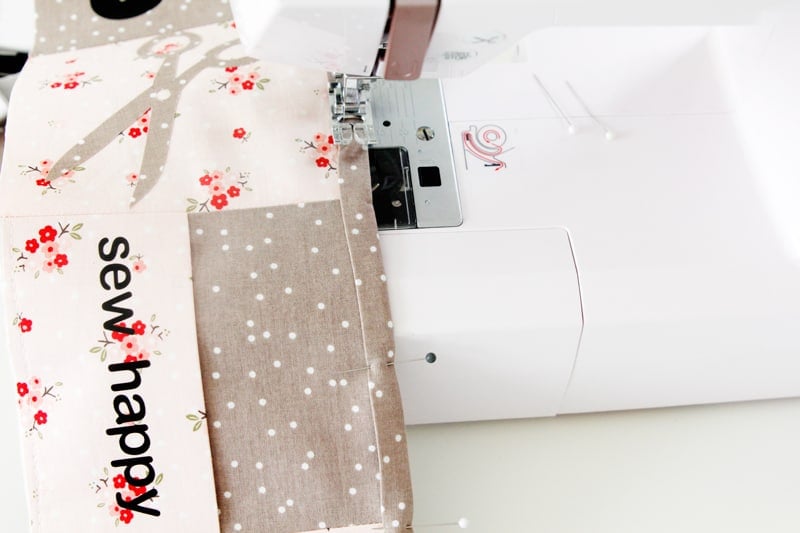
Sew both main pieces together and baste the pocket piece to the bottom of the mat. Topstich in between each pocket piece in the seam (stitch in the ditch) , starting at the binding and working down to the bottom. Backstitch at each end. 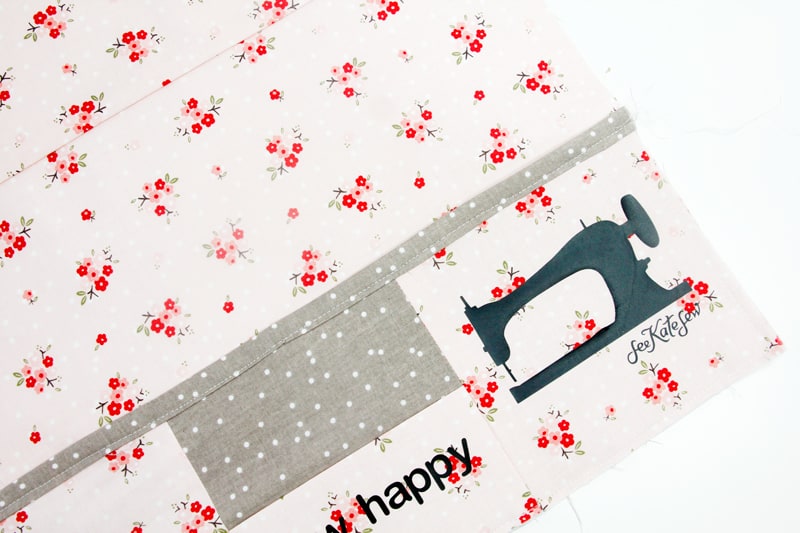
Stick a layer of batting underneath and the back piece behind that. Wrong sides of front and back will be facing. Trim any excess batting. 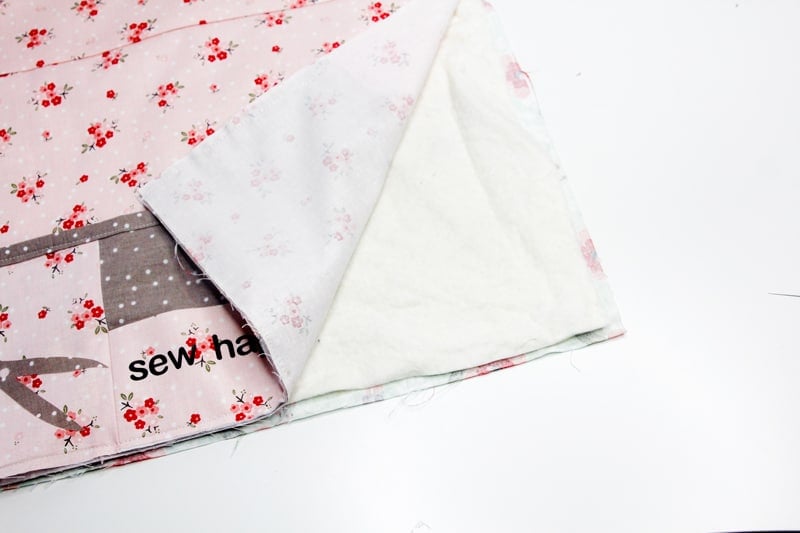
Baste all layers together.

Sew binding all the way around, mitering the corners. 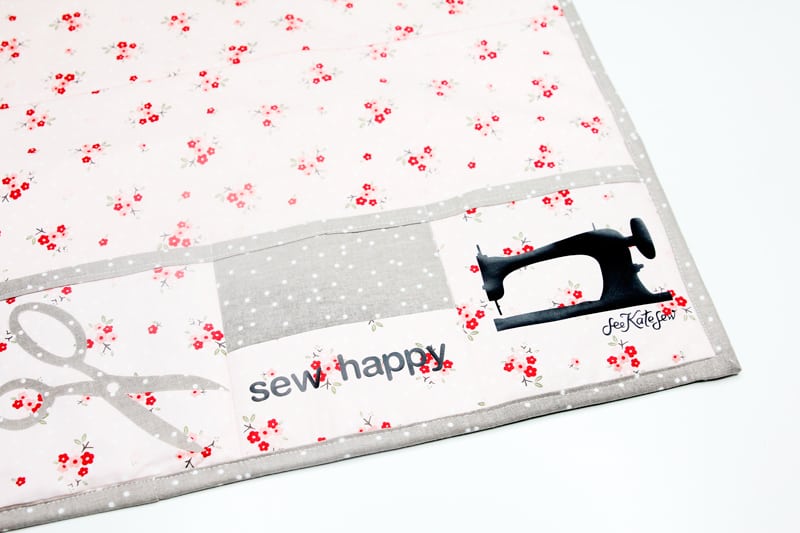
Trim threads and put it your supplies inside!
Comments submitted may be displayed on other websites owned by the sponsoring brand.


My sewing machine is flush with the table thanks to a cut-out, so this idea wouldn’t work for me. Plus, I wonder what this project ended up costing considering all the purchased notions?
Just the cost of fabric and iron-on vinyl!