This post and car seat cover tutorial is sponsored by one of my favorite online fabric stores, Fabric.com!
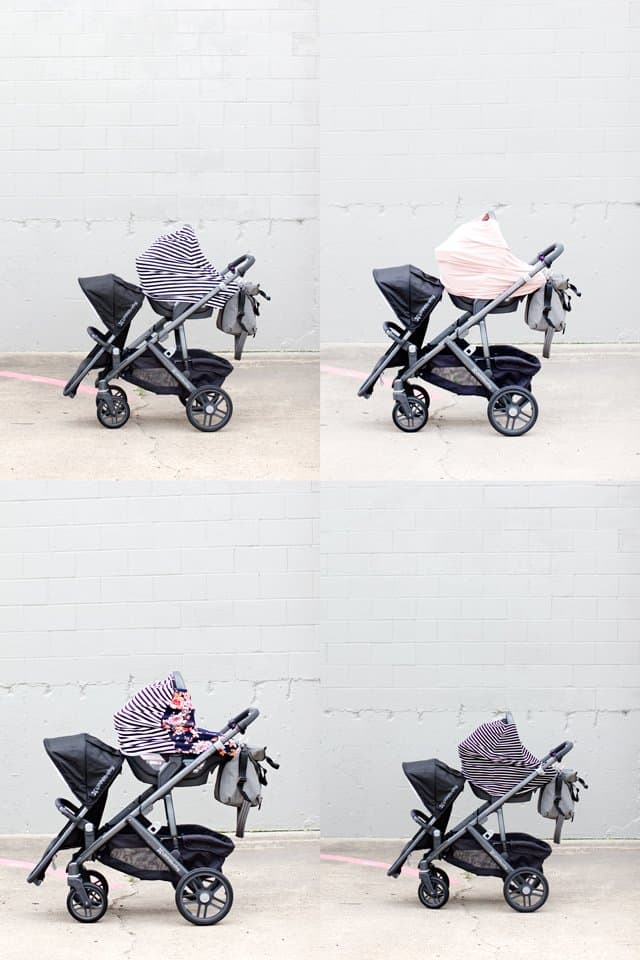
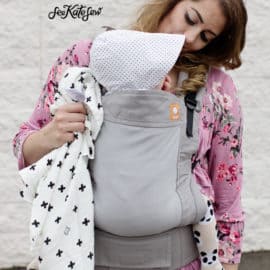
I’m so excited to share this post with you today! I’ve been using these nonstop for the past few days with our new baby girl.
Most of these photos were taken when she was still in my belly! After we took them my husband decided it was starting to feel real, and we were really excited! I think that is the best part of sewing for a new baby, all the anticipation and love that goes into each project.

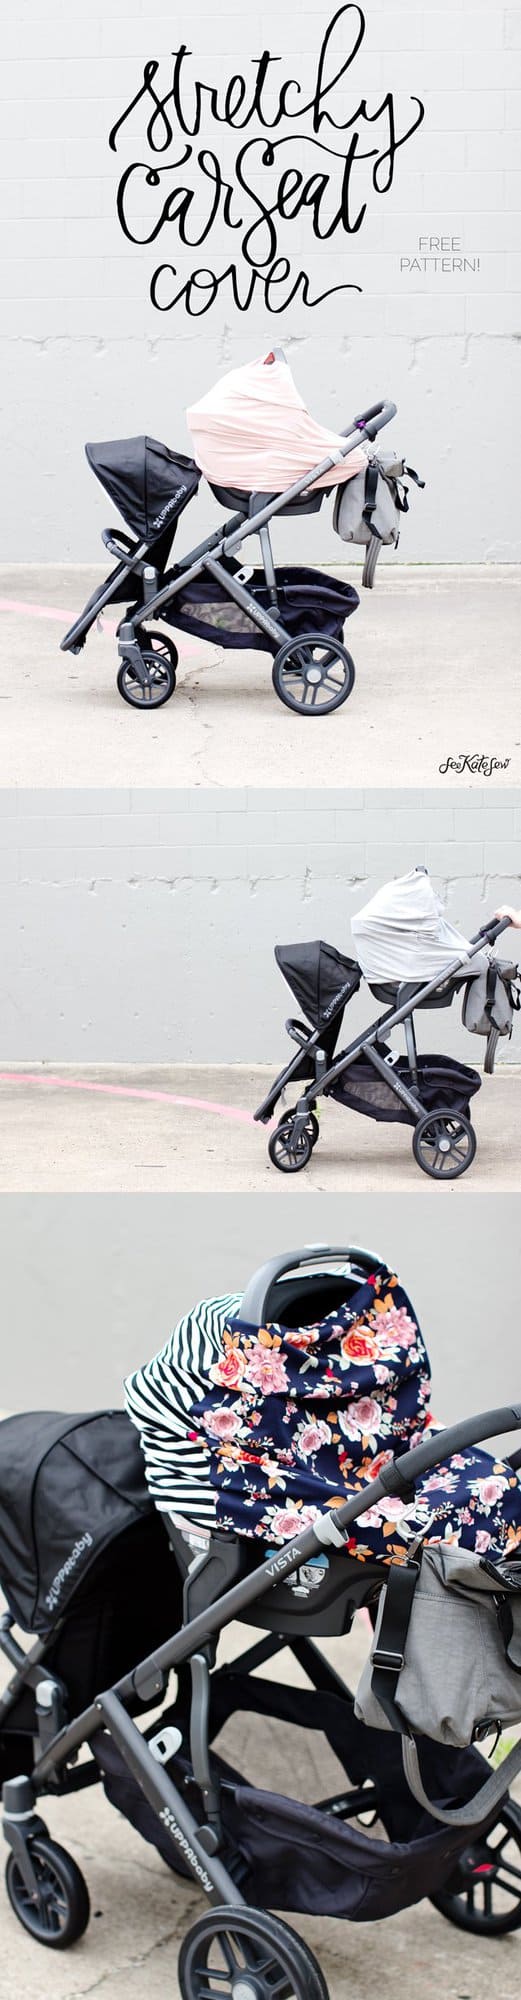
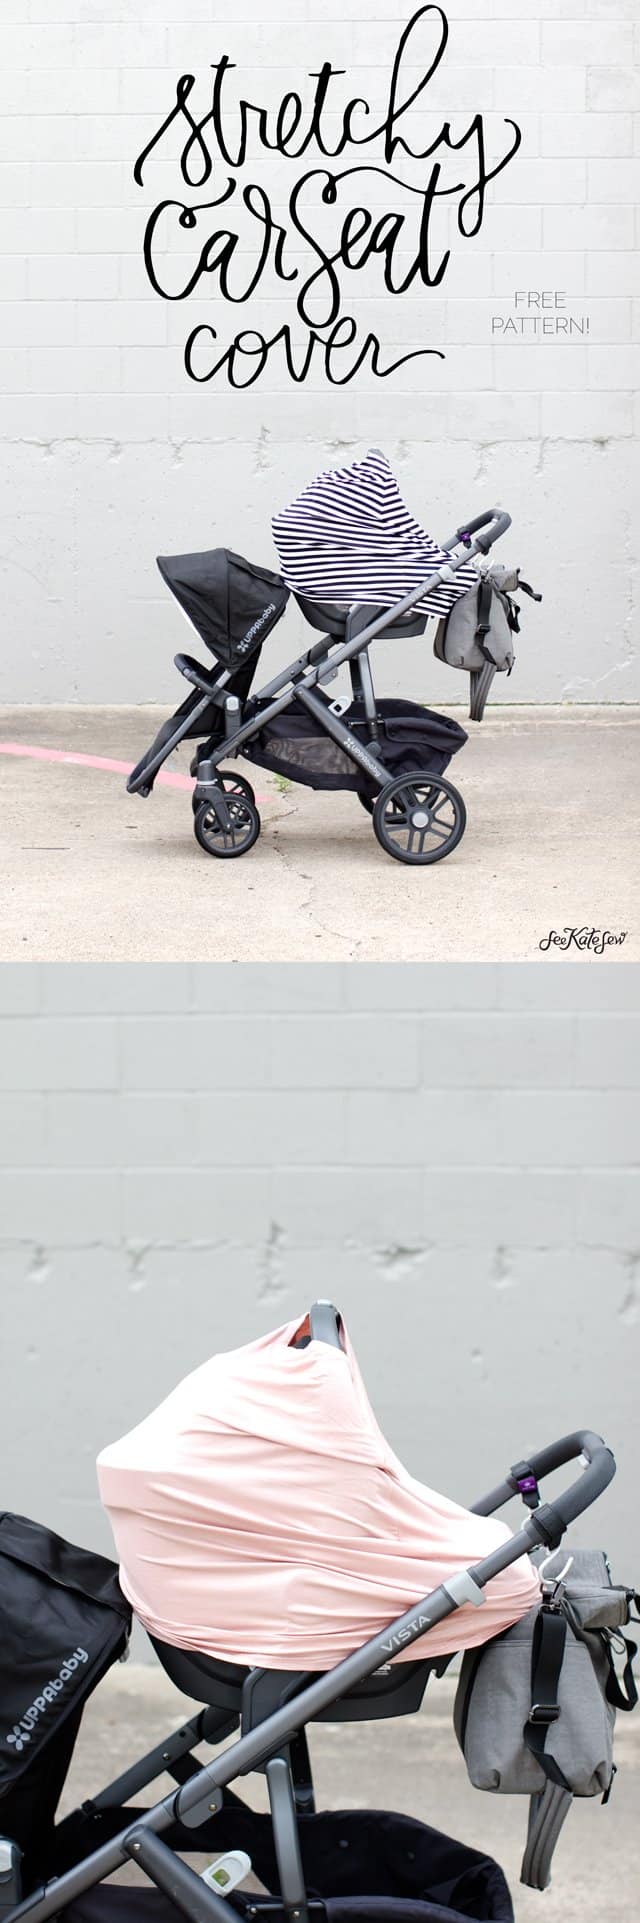
I made 5 for this post (FIVE!) and I can’t stop making them! Each cover only takes 1 yard of fabric and less than 30 minutes to make from start to finish! This stretchy cover is also useful as a nursing cover for mom or shopping cart cover for older babies. It’s easy to wash and easy to use.
This post includes a free pattern with tutorial for whipping one up yourself! You might get addicted!
I partnered with Fabric.com for this post, which is a super fun partnership because I’ve been ordering from Fabric.com for years. The selection is incredible and the site itself is super easy to navigate so you can find just what you need. You can also score free shipping with any order over $35, which is a great low threshold with already low priced fabric! Since this post requires knit fabric, I’m going to chat about their knit selection a bunch (though I have ordered everything from faux fur to cotton to spandex from Fabric.com).
Stretchy Car Seat Cover Tutorial
- 1 yard light- to mid-weight 58″ wide knit fabric
- topstitching thread
- pattern download, see below
Other supplies
- Serger, optional
- Coverstitch machine, also optional (I made all of these without a cover stitch!)
- Iron
Before we get started, let’s talk fabric!
Fabric Selection:
- If your fabric is less than 58″ wide, you’ll need 2 yards
- For 2-tone carseat cover, you’ll need 1 yard of 2 different fabrics (not two 1/2 yards!)
- Choose a stretchy fabric with at least 50% stretch*. See below for stretch guide.
- Since you’ll be wrapping up your baby in this fabric, it’s best to choose a natural fabric with breathability.
- Iron the edges of your fabric if it tends to curl. Some knit fabric curls up on the edges, which is normal and fine, it’s just easier to cut when it’s nice and flat.
Fabric.com‘s knit selection is great! And it’s also easy to narrow down to what you need. Since this project is meant to STRETCH over your car seat (or yourself for nursing, or your shopping cart) you’ll need a knit fabric, which is woven in such a way that the fabric has give.
*What does “at least 50%” stretch mean? That means you can stretch your fabric to at least half as wide as it is. The easiest way to check the stretch of a fabric is to grab 4″ of fabric and try to stretch it to 6″. If it works, you’re good to go! If you can’t quite get it to 6″ then the stretch percentage is less than 50%. When ordering fabric online, most listings will tell you how stretchy the fabric is, which Fabric.com is really good about.
Some knits are stretchier one way than the other, which is fine. As long as one way is 50% or more, you can use it.
I used five fabrics in this post and they all worked really well! One is only 40% stretch, but the rest are 50%. I rounded up a bunch more fabrics that have similar stretch and fiber properties underneath each so you can make a wise choice (or five) when ordering. I ordered 1 yard of each of these and was able to get a car seat cover out of each, so it works out to between $6 and $10 per cover!
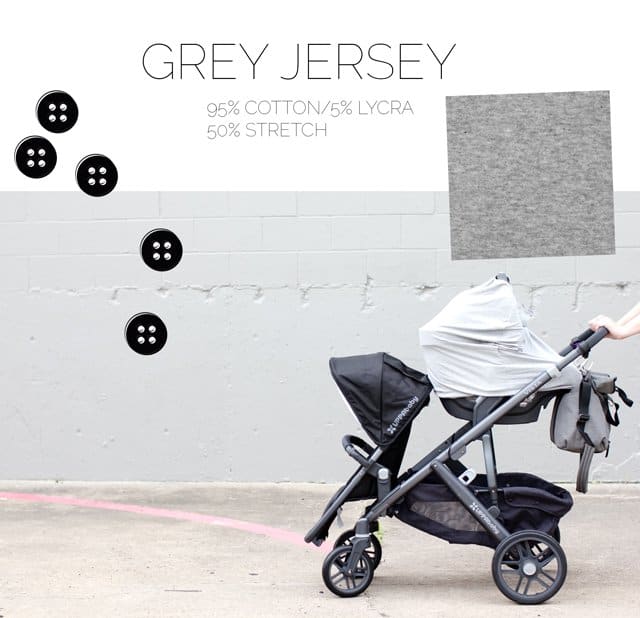
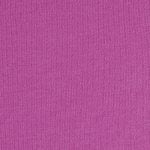
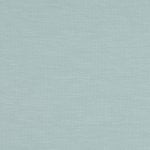
This grey jersey fabric is nice and basic. A good basic jersey is perfect for this project!
A few similar solids:

Heathered Cloudy Jersey | Charcoal Grey | Citrus Solid | Orchid Solid
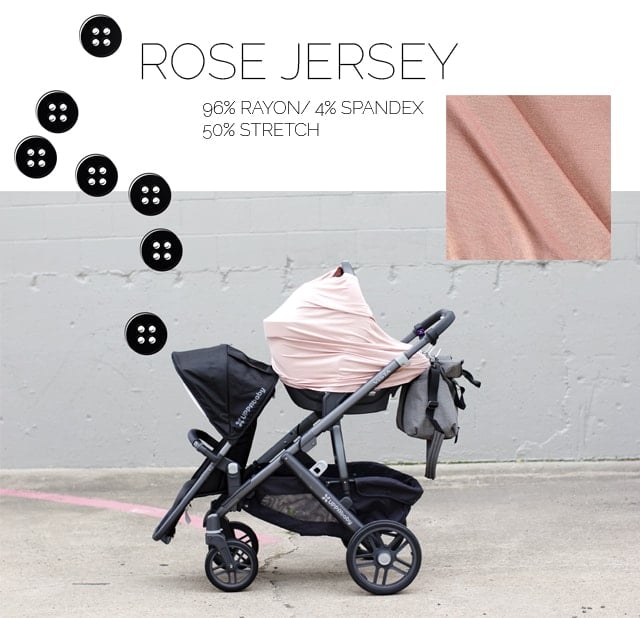
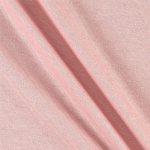
This blush pink is a rayon blend and it so gorgeous! It has a little sheen to it and is super soft, super stretchy and might be my favorite! The same fabric is available in a few other colors, too! I am a sucker for pastels, especially when it comes to baby, so here are a few more!
A few similar fabrics (click the photo or the link below it):


Solid Blush Jersey | Light Green Bamboo Rayon | Knit Jersey Pale Peach | Peach Jersey
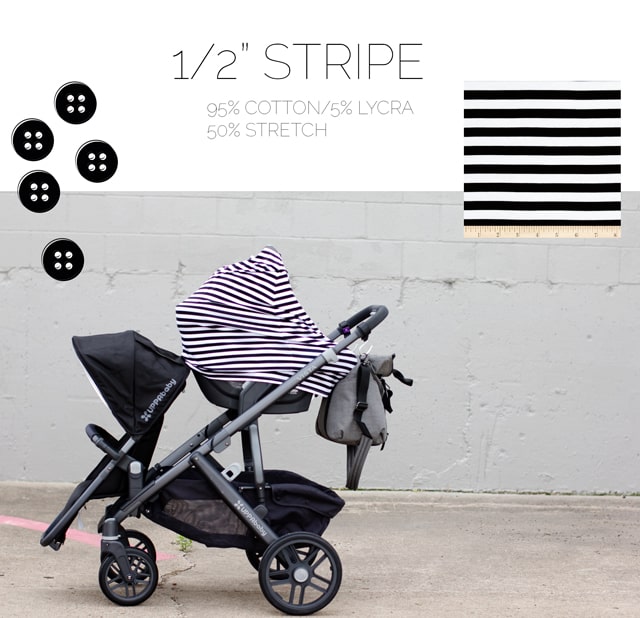
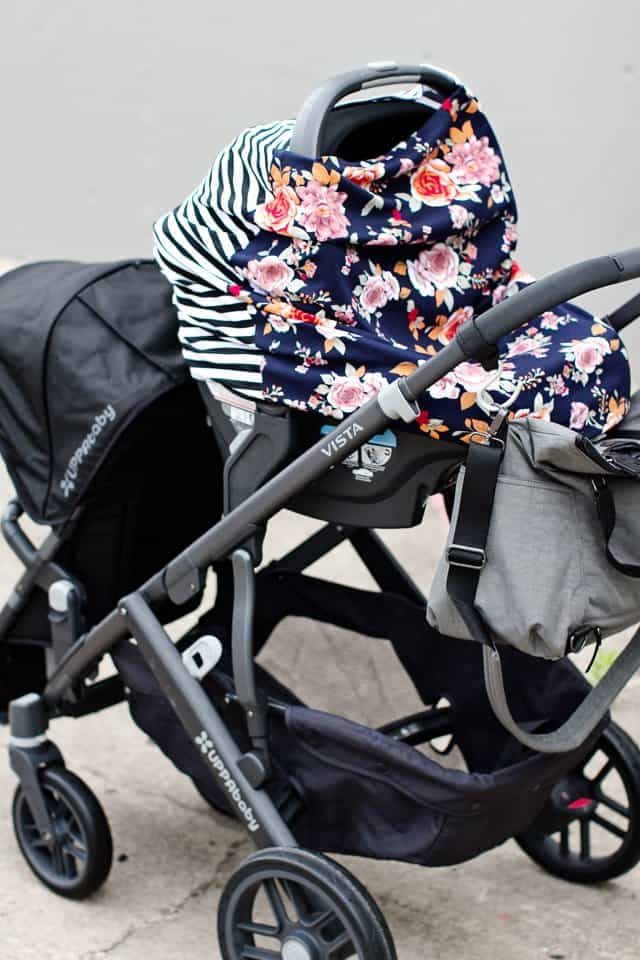
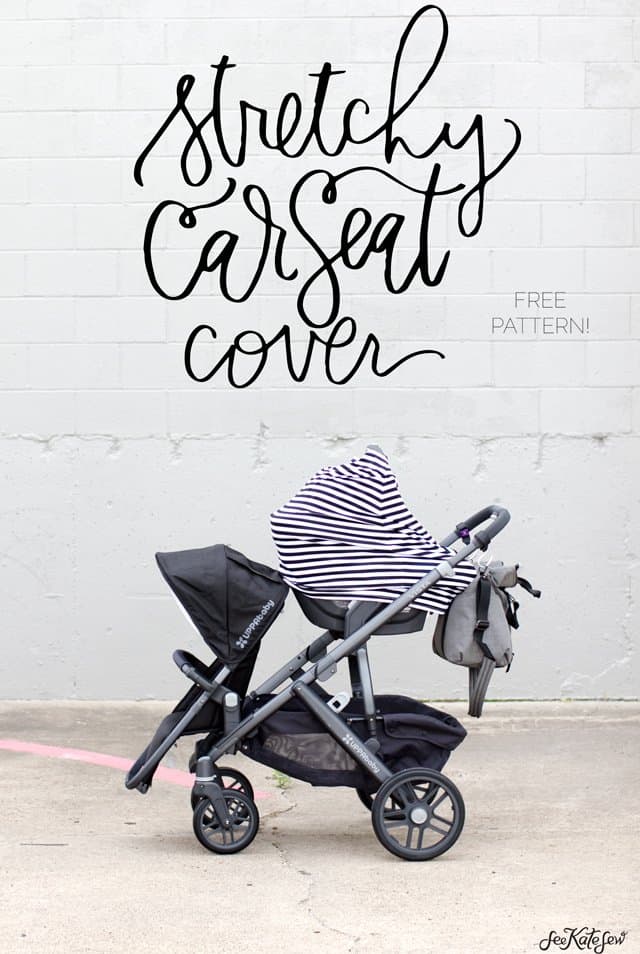
I love a good contrasty black and white and this one hits the spot for that! I also enjoy the challenge of matching stripes. This is a Riley Blake Knit and here are a few other bold prints with the same fiber and stretch properties:
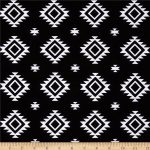
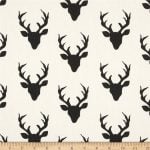

Aztec Black | Buck Forest Night | Hot Pink Ikat | Flowered Engrams
Small Stripe //
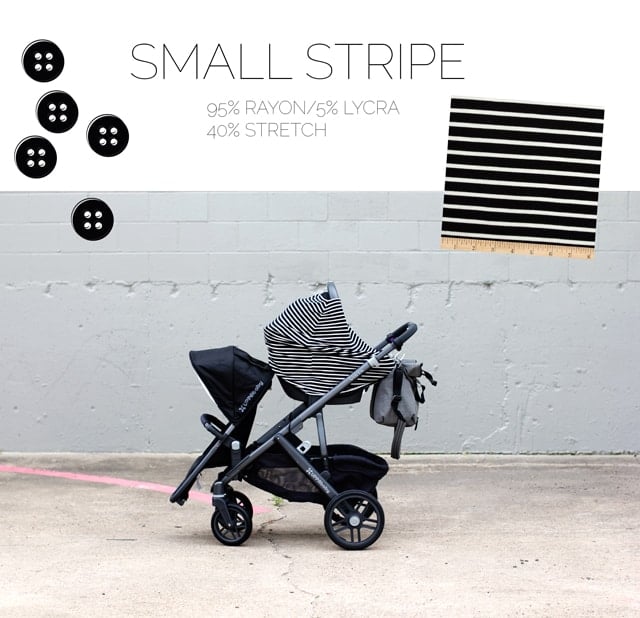
This one is subtly different than the 1/2″ stripe, but these stripes are thinner and the fabric is another rayon so it’s a bit stretchier than the 1/2″ stripe. But if you can’t decide, just get both like I did, hah!
A few more with a narrow stripe:
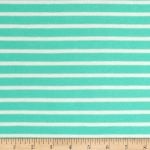
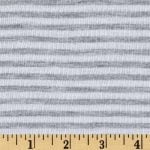
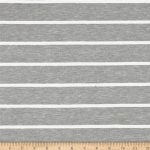
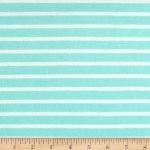
Seafoam + Off-White | Grey + White Stripes | Grey + White 2 | Aqua Off-White
1/2″ Stripe + Floral Ponte //

This ponte de roma is not quite as stretchy as I recommend for this cover, but it’s so pretty! I need a floral one and I wanted it to do a two-tone cover anyways! Since I paired it with the same 1/2″ stripe as the one above, overall it is stretchy enough and it’s super cute, too! I love the pattern mixing, the floral is super pretty on it’s own, but when you pair it with a black and white stripe, I’m all heart eyes!
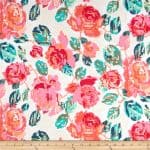
More Florals:
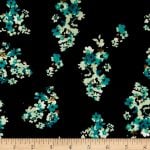
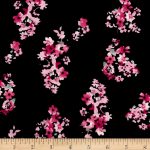
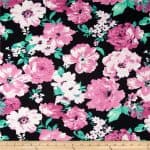
Black/Jade | Pink Fuchsia | Black Mauve | Black Fuchsia
If you’ve never sewn with knit fabrics before, check out this post:
–The Very First Post You Should Ever Read About Knit Fabric
Before you start:
- Use a 1/2″ seam allowance
- Use a stretch stitch OR zig zag stitch, not a straight stitch. (Straight stitches will break when stretched.)
Instructions:
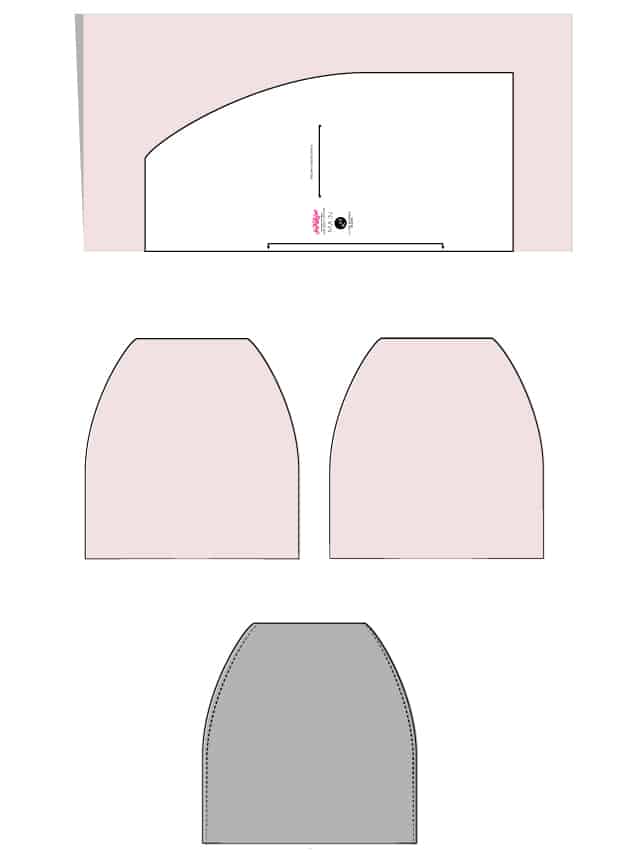
Print out the pattern piece and tape all the pages together, according to this layout:
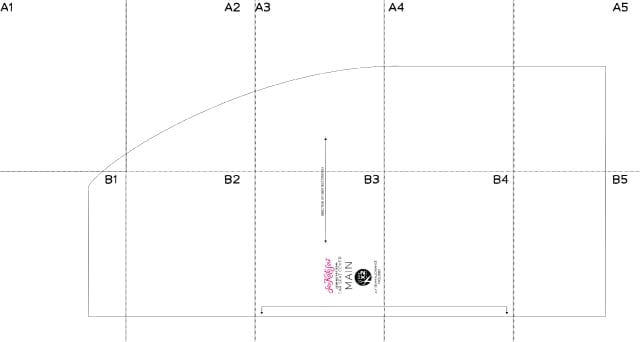
There will be about 1/2″ excess on each page of the pattern, so trim that off to match dotted lines.
Start by cutting out 2 pieces from fabric with your main pattern piece, each on the fold. Make sure the stretch direction matches the arrow on the pattern piece.
Sew the two pieces together along both side edges, right sides of the fabric facing each other. (Grey indicates WRONG side of fabric)
Finish the seam allowances if desired. You can do this with a zig zag stitch or a serger.
Finish the raw edges on the top and bottom with serger or zig zag.
Next, fold over 1/2″ on the top and bottom edges of the car seat cover. Topstitch around the top opening and the bottom opening with your zig zag stitch.
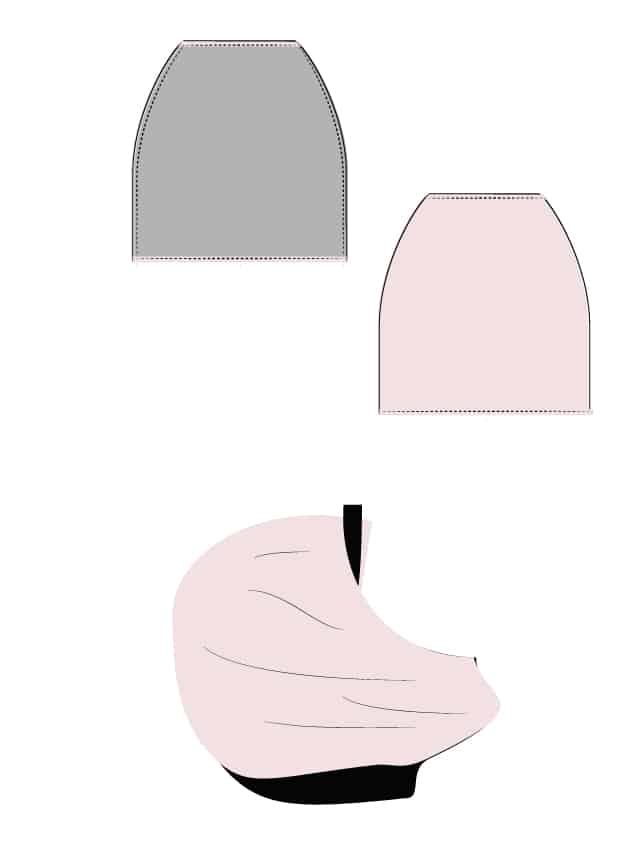
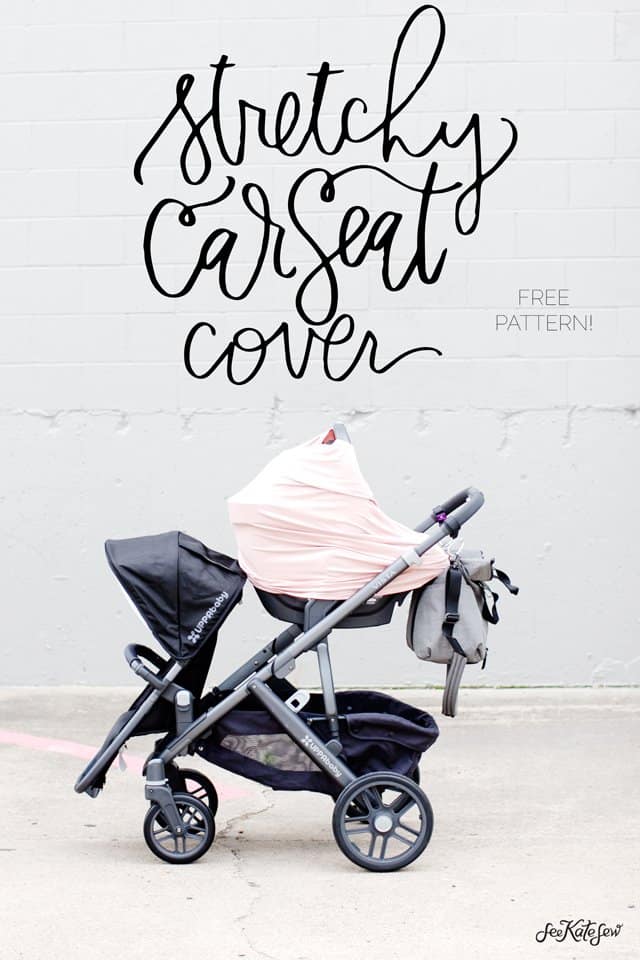
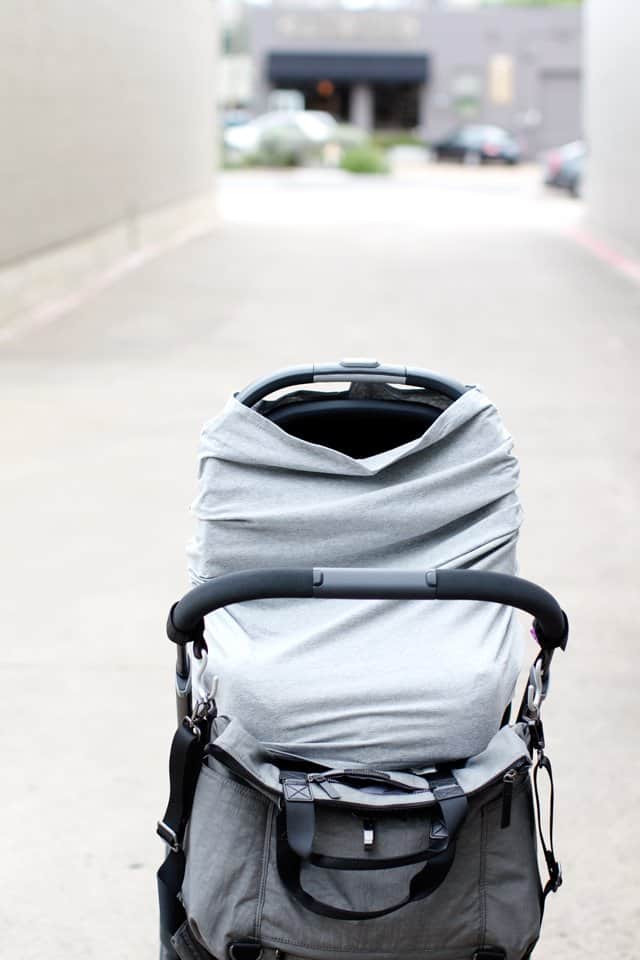
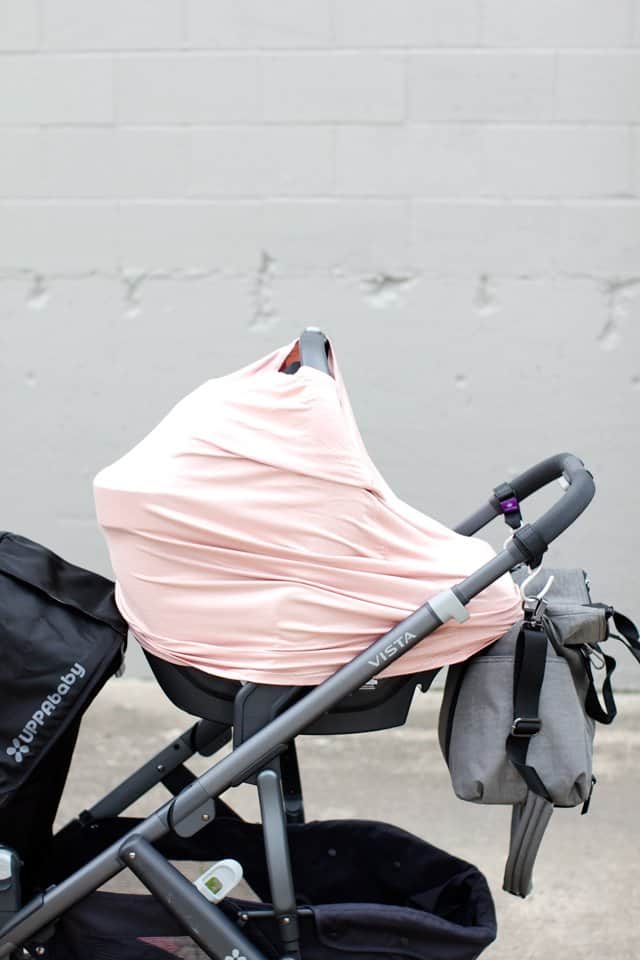
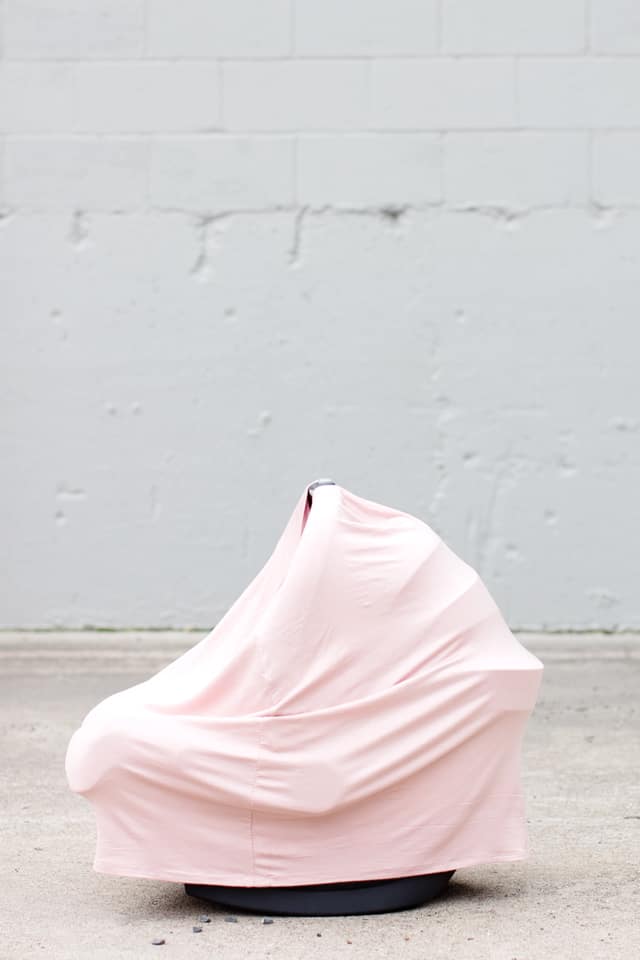
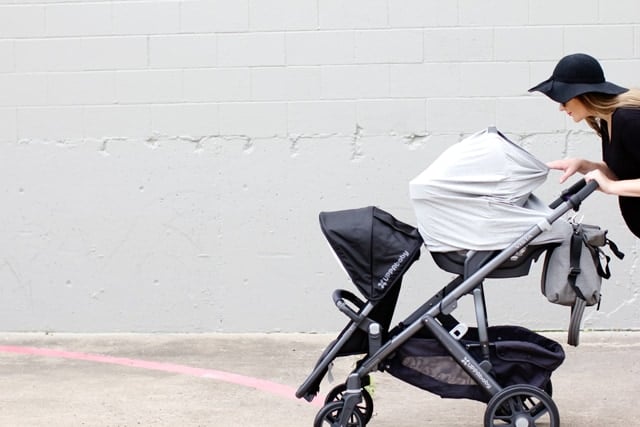
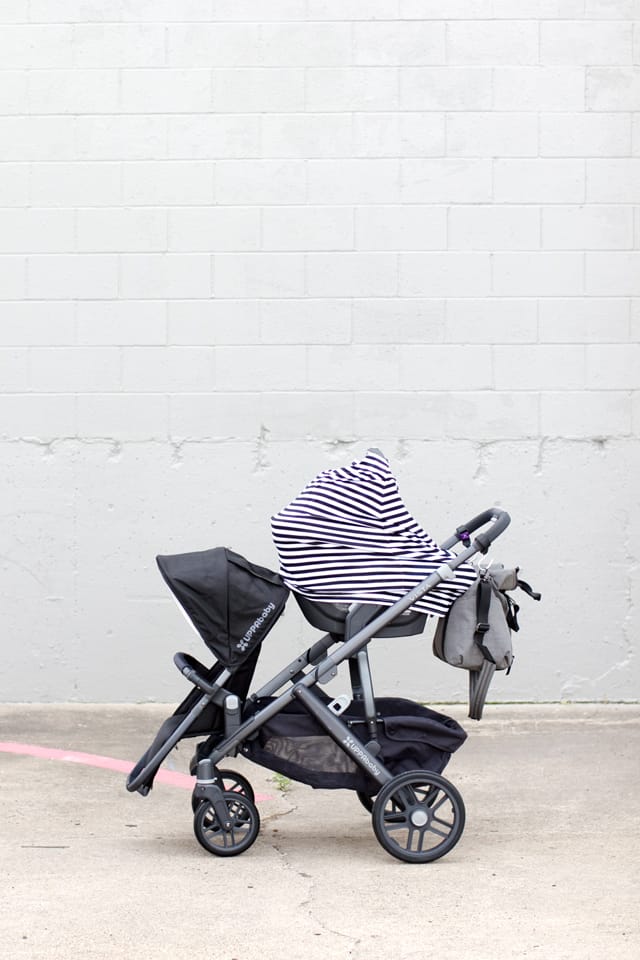
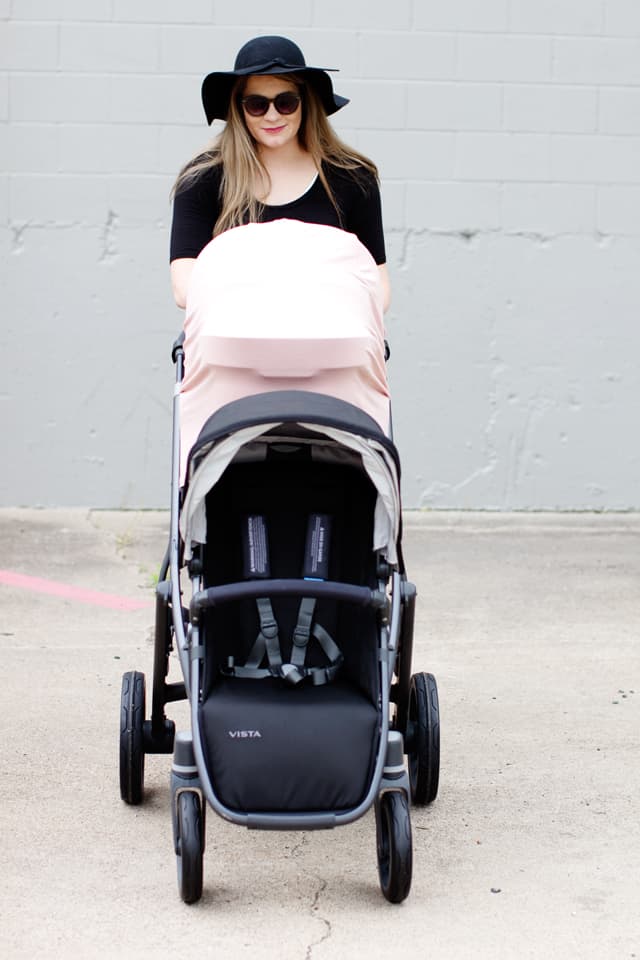
That’s it! Stretch it over your car seat and you’re ready to go!
Be smart! Always supervise your child when using this project! The great thing about the stretch is you can stretch it down a bit on the car seat handle to make sure there is good airflow. Never leave a child unattended with cover.
Other Sources:
Diaper Bag c/o Twelve Little
Vista Stroller in Jake & Mesa Car Seat c/o UPPAbaby
Stroller Diaper Bag Clips


Oh wow, this is such a great idea!! I’ve got a Craft Gossip post scheduled for later this morning that features your free pattern: http://sewing.craftgossip.com/?p=88376 –Anne
First of all: congratulations with your new baby girl!!! How wonderfull new life is!! I wish you and your family all the luck in the world!! En then: thanks for this supernice idea!! I love it! If we ever get a third baby, I will definitely try it :-) and thank you so much for the explanation of the fabrics! I just moved from Belgium to Washington DC and am still trying to find out how everything works, and on my to do list is to find translations/explanations for all the names of apparel Fabrics :-) I did already find fabric.com though :-) light just place an order soon :-)
Have you used it as a nursing cover? Do you like it?? I would’ve interested to see a picture or two of it in that capacity! They all look beautiful! Well done!! I hope you and baby girl are doing well:)
Perfect timing! I’m 27 weeks. I’ve been looking all week for a good pattern for this. Do you have a pic for what it looks like as a nursing cover? I’d love to see one posted here or on Instagram. Thanks for sharing!
This is such perfect timing! I was just thinking today, there must be a tutorial out there for these cute stretchy car seat covers that I am seeing everywhere. And here it is! Expecting baby girl number three in September and so glad I can make one of these now instead of buying it. Thanks!
I love this idea!! Thanks for the tutorial!
So excited to make a couple of these for our twins (which are due ANY DAY!!). I picked up a yard of two different jersey’s that are 58″ across and printed out and assembled the pattern. The pattern width when assembled it 15.5″ across, which would make the cut piece 31″ across, so I can’t fit two on the fabric? Is my pattern too big? Am I missing something?
Just made this yesterday as a simple and easy intro level project for my new machine and working with jersey knits for the first time! Came out wonderful and already used it today! Thank you! :D
I’ve been looking for a pattern like this! I am having a little problem though, I bought one yard of 58″ fabric and can’t figure out how to cut it so that I have enough for the project. Am I missing something about orienting the fabric in a special way? Thanks for the help
It should just fit. Check to see that you printed it at 100% (not to scale) and trimmed the edges of the paper correctly. Good luck!
So awesome! I love the knit selection! I don’t have a tiny babe anymore, but I have some other ideas for that fabric!