This post is a sponsored conversation written by me on behalf of Cricut. The opinions and text are all mine.
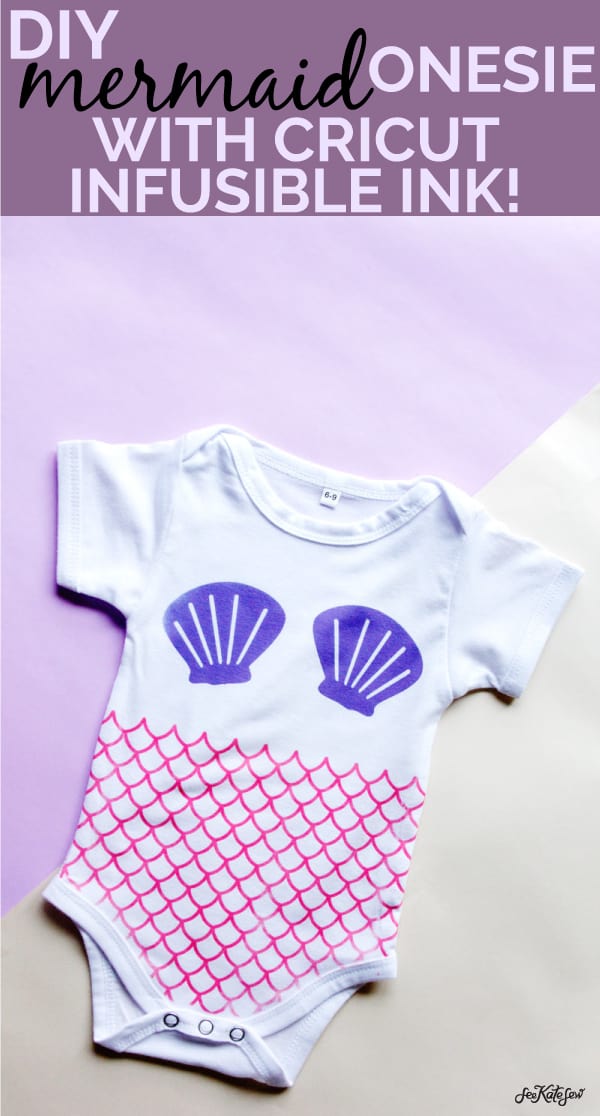
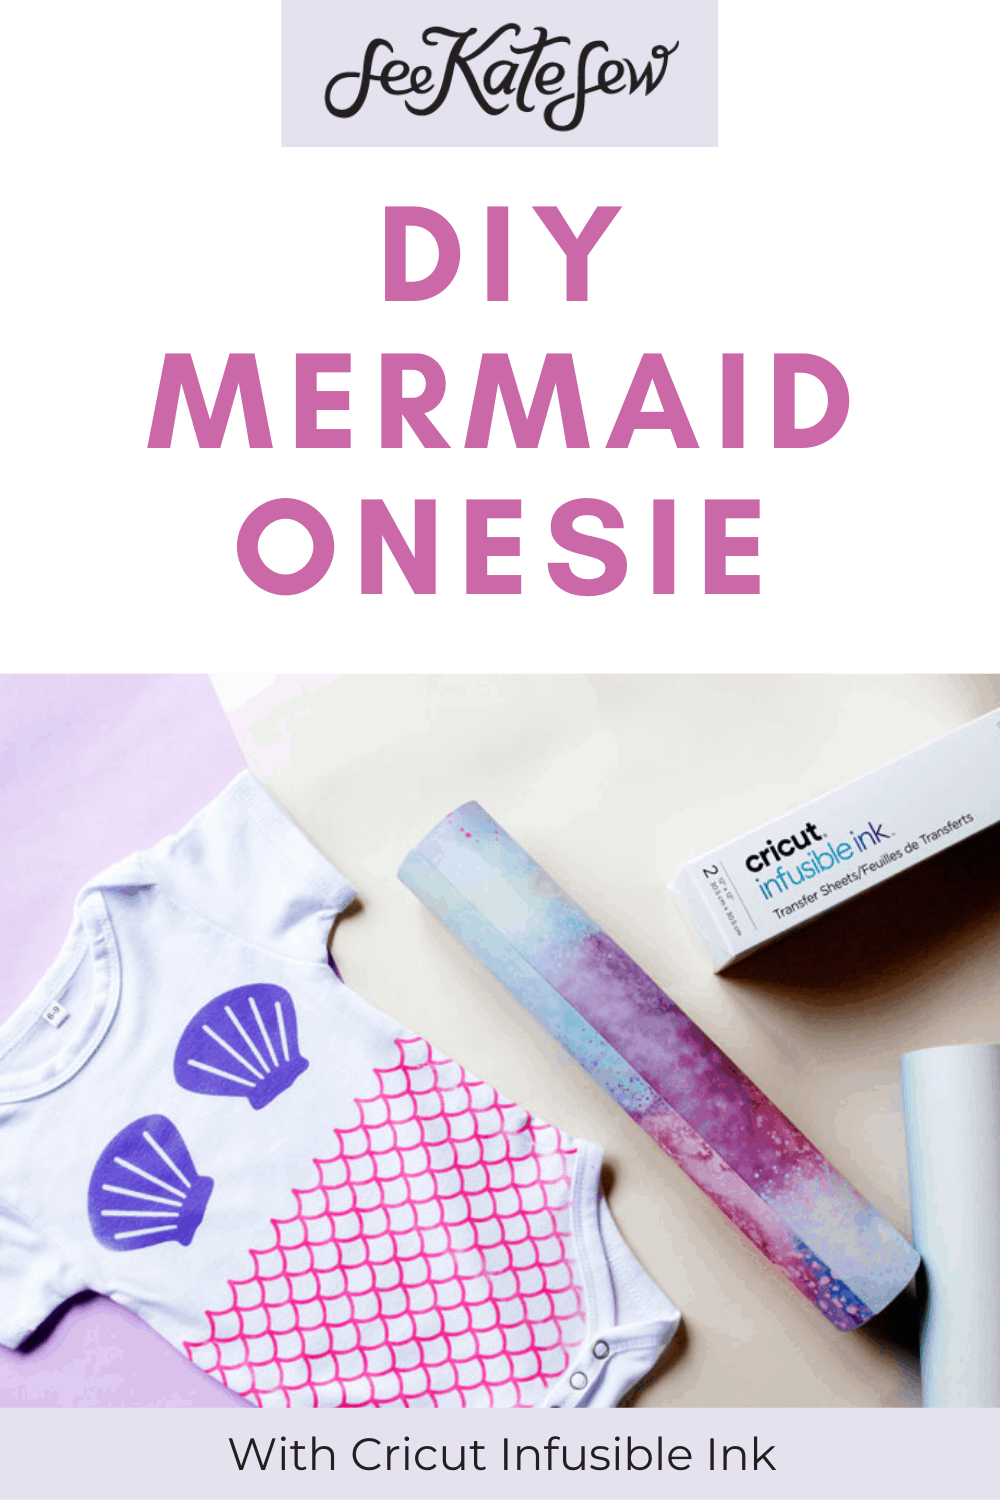
If there has been any theme to my projects this summer, it is definitely mermaids! This Mermaid Onesie DIY is a Cricut project with their brand new product – Infusible Ink! Infusible Ink is as cool as it sounds – it is INK that comes in sheets for the Cricut Maker to cut! After you cut your design, you infuse the ink permanently to a surface of choice such as a t-shirt, onesie, or coasters! Cricut has a bunch of blanks as options that will take the ink. The ink infuses into the fabric so it isn’t like iron-on vinyl that sits on the fabric, it becomes the fabric! Infusible Ink is available exclusively at Michaels and Michaels.com until October.
The Infusible ink looks super professional and is permanent – it will keep it’s vibrancy and color after washing! This is a really exciting product and it comes in lots of patterns and colors! I’ll show you how to use it in this post! I still love my iron-on vinyl and won’t ever give that up – but the versatility of the Infusible Ink is great for so many projects!
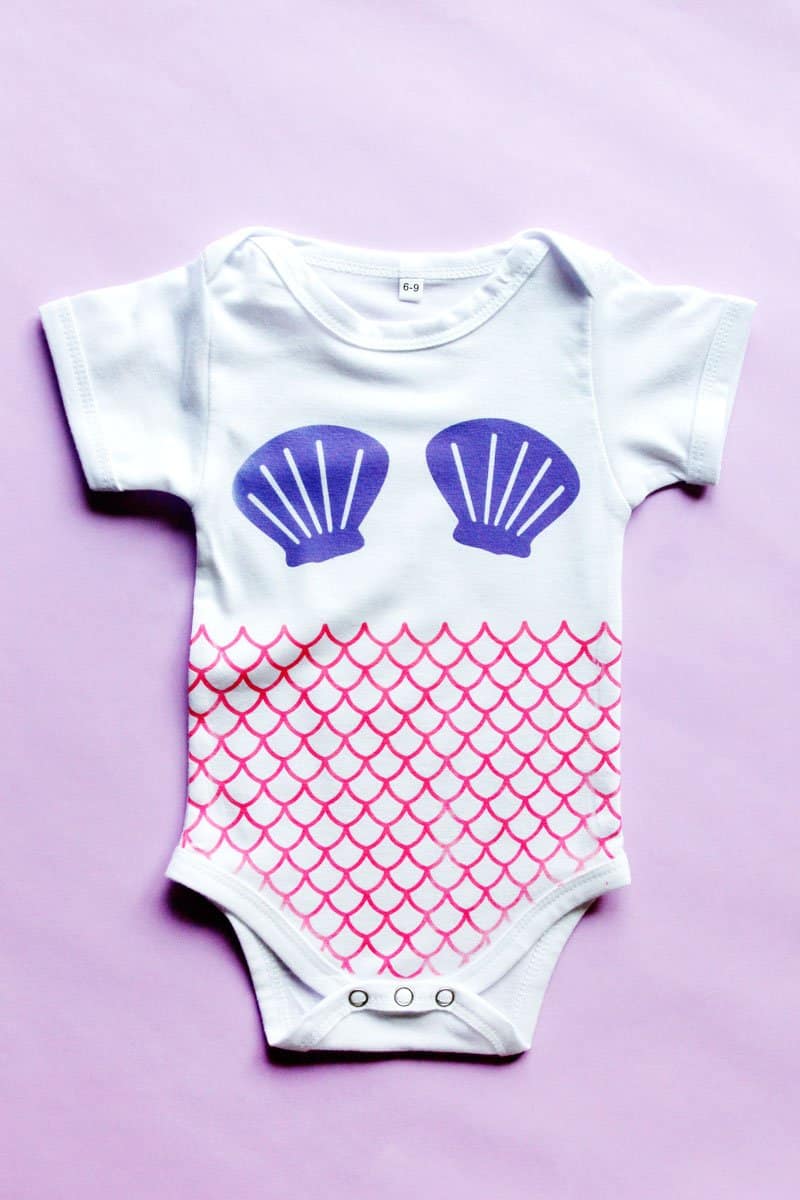
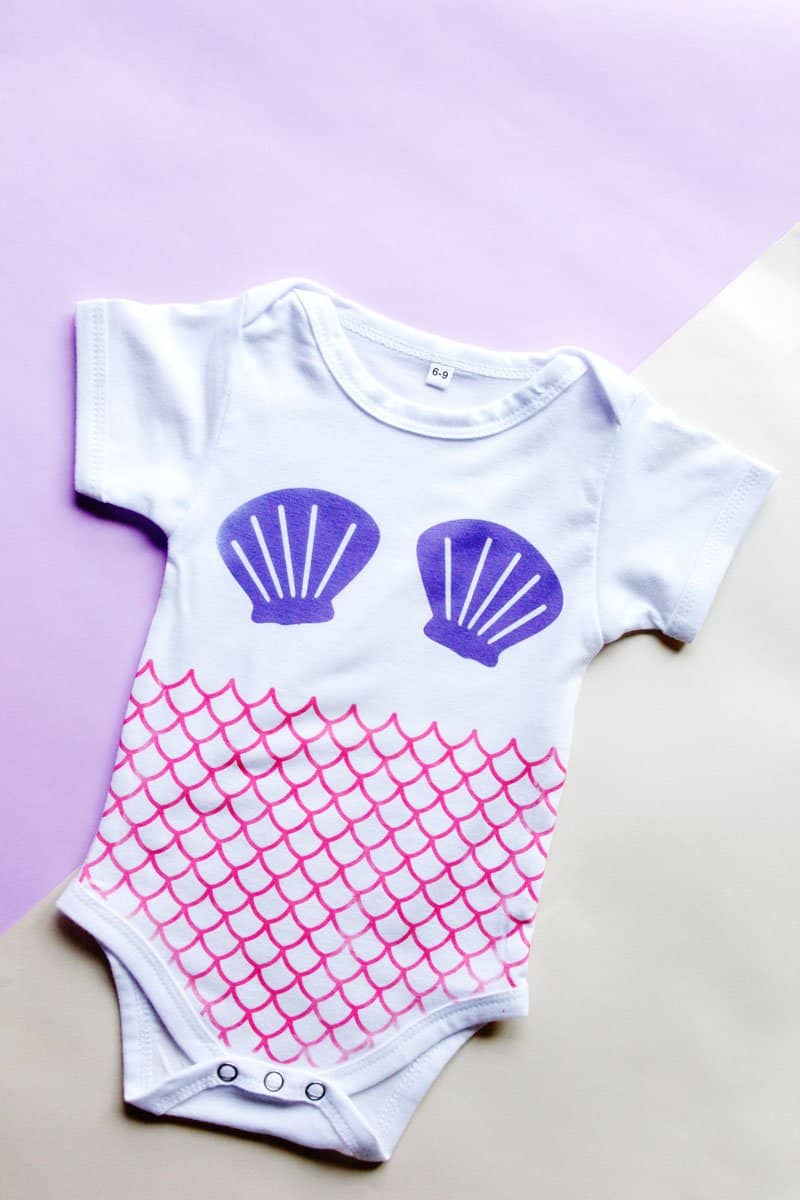
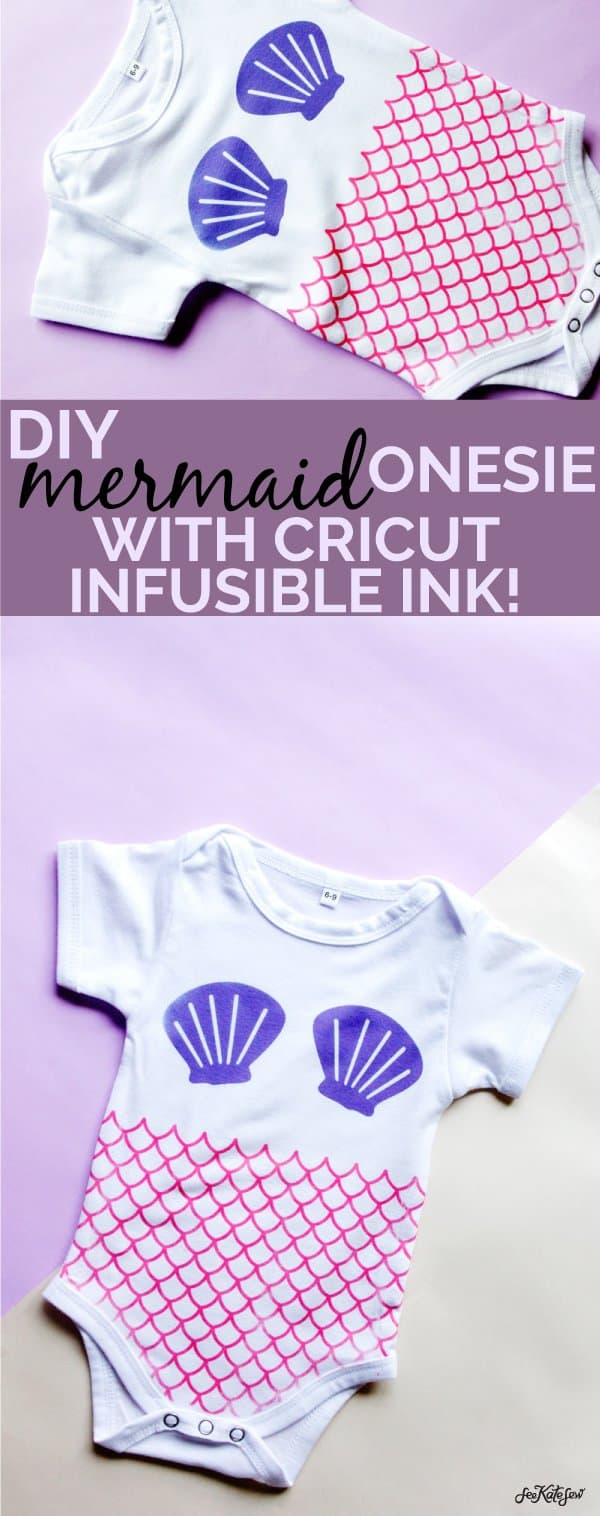
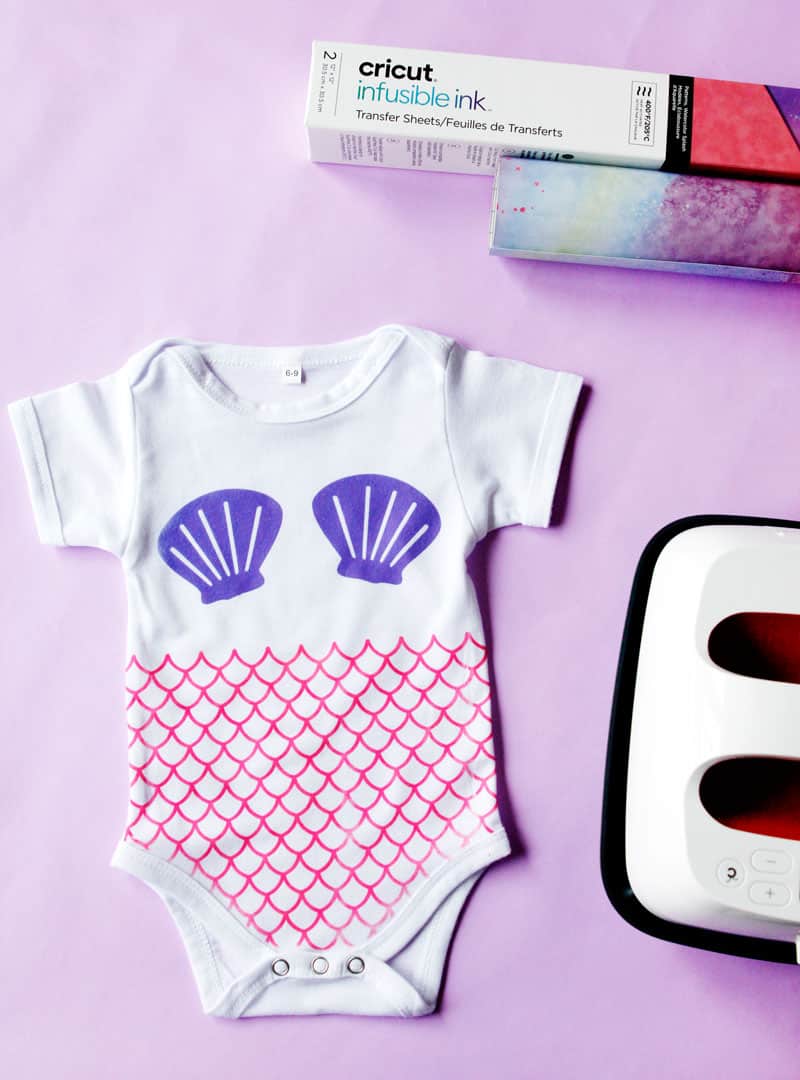
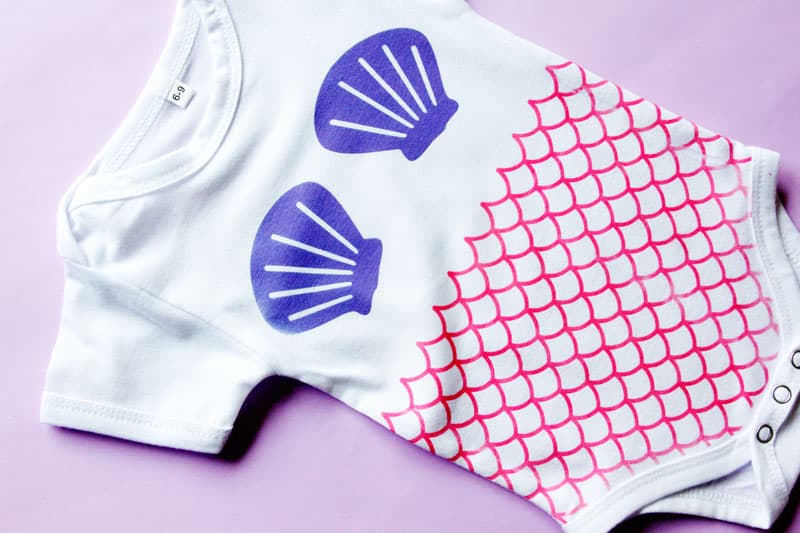
This mermaid onesie project has free designs in Cricut Design Space. You can customize by choosing different colors or patterns of Infusible Ink! I made two different onesies with different Infusible Ink designs and different backs. One onesie has a mermaid tail on the back and the other has scales like the front! I have had this onesie in my mind for a long time now but wasn’t quite sure how iron-on vinyl would be in this mermaid design. So when Cricut Infusible Ink was released, I knew it was time! The ink is super soft so I don’t feel bad putting it on a baby!
I am really excited to try some mixed media projects with Infusible Ink and a few of the other things the Cricut Maker cuts like fabric and leather! Can you even imagine – my mind is going crazy thinking of fun ideas! I’m really excited about making these quilt labels with infusible ink, too!
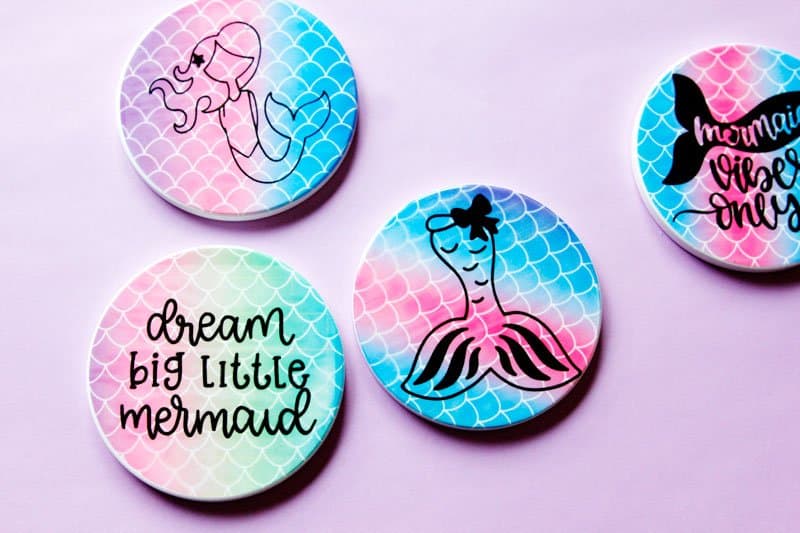
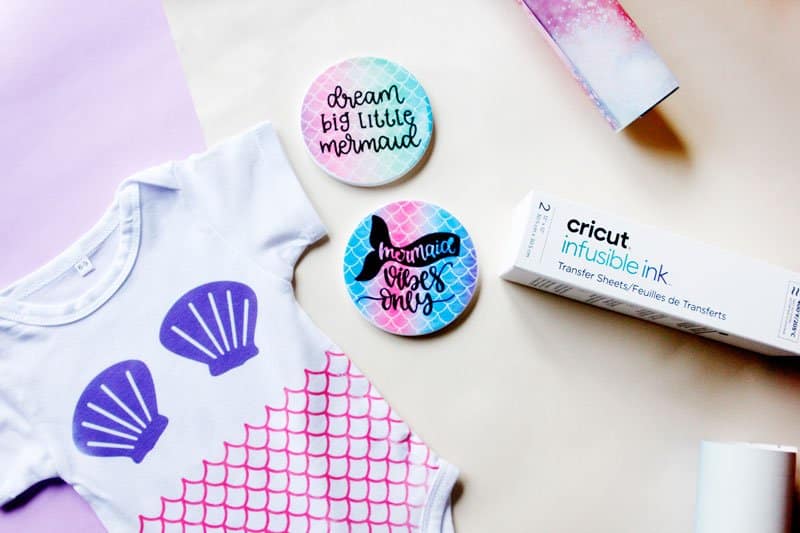
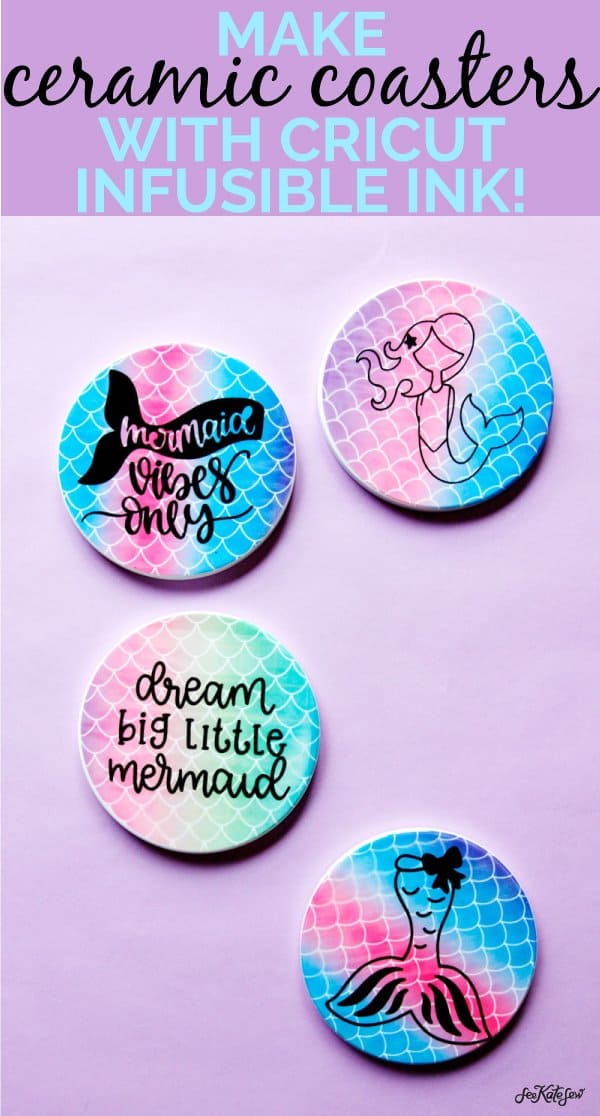
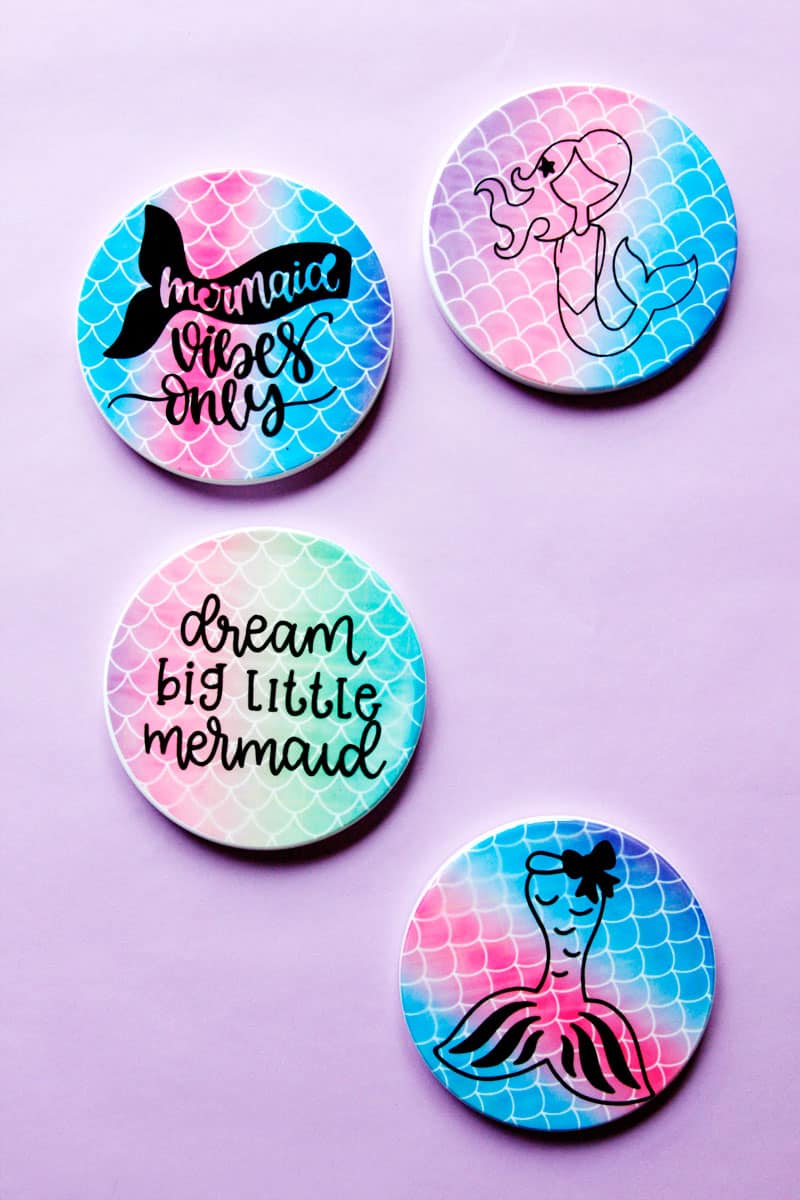
I also made coordinating coasters because every mermaid needs a coaster set! These will be super fun gifts, too! And this process was REALLY NEAT, scroll to the bottom to see the tutorial! They are legit.
Materials FOR MERMAID ONESIE-
–Cricut Maker
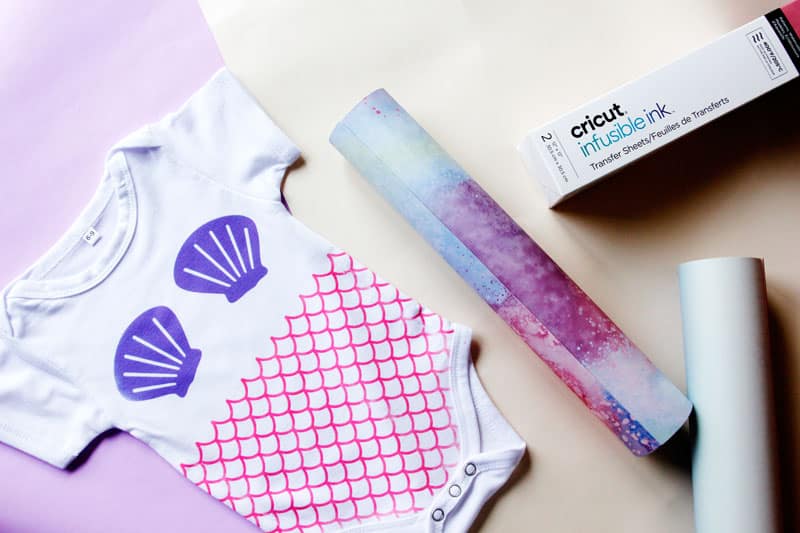
–Cricut Infusible Ink Transfer Sheets – I used the Pink from the Watercolor Splash set and plain Purple
–Cricut Easy Press 2* – the 6″ by 7″ is a great size for onesies
–Cricut Easy Press Mat
–Cricut Baby Bodysuit Blanks – These are specially made to take the infusible ink
–Cardstock
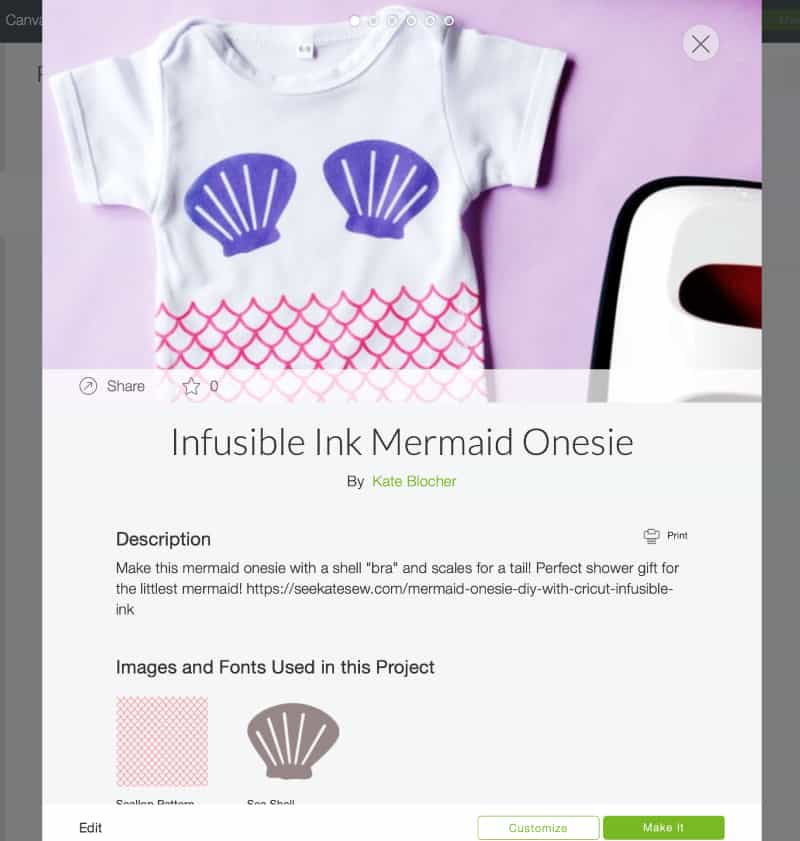
–Mermaid Onesie Project in Design Space
How to use infusible ink –
- Place face-up on mat
- Instructions are very similar to iron-on vinyl (cutting & weeding is the same)
- Cut out with Mirror-Image ON
- Use with EasyPress 2 – Heat Activated at 400 degrees
- Use with Cricut Blanks
- Color is more vibrant after application!
Instructions FOR DIY MERMAID ONESIE –
Pull up the project in Design Space. Hit the green MAKE IT button, unless you want to resize anything, then hit “Customize.” I sized the shells for a size 6-9 M onesie.
You’ll see two mats. Cut both out with the colors you decide on!
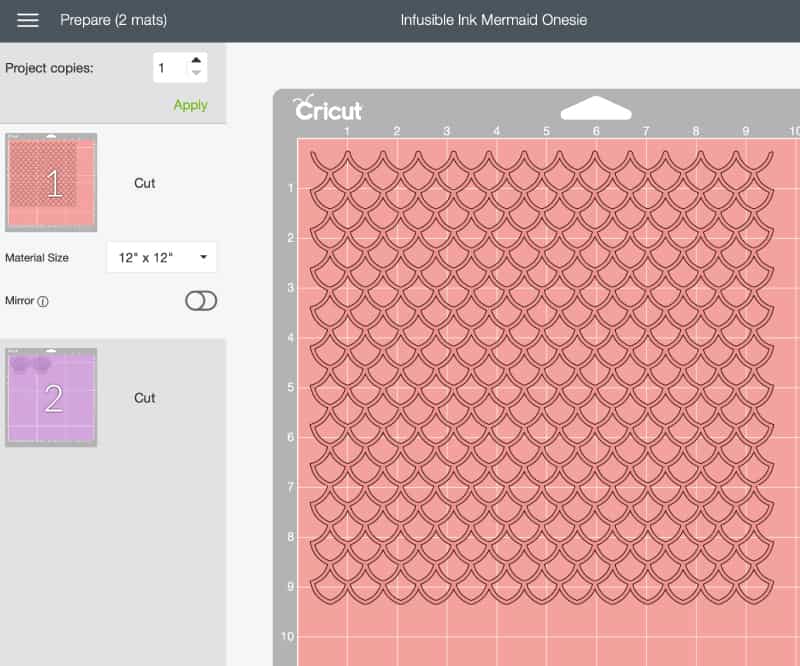
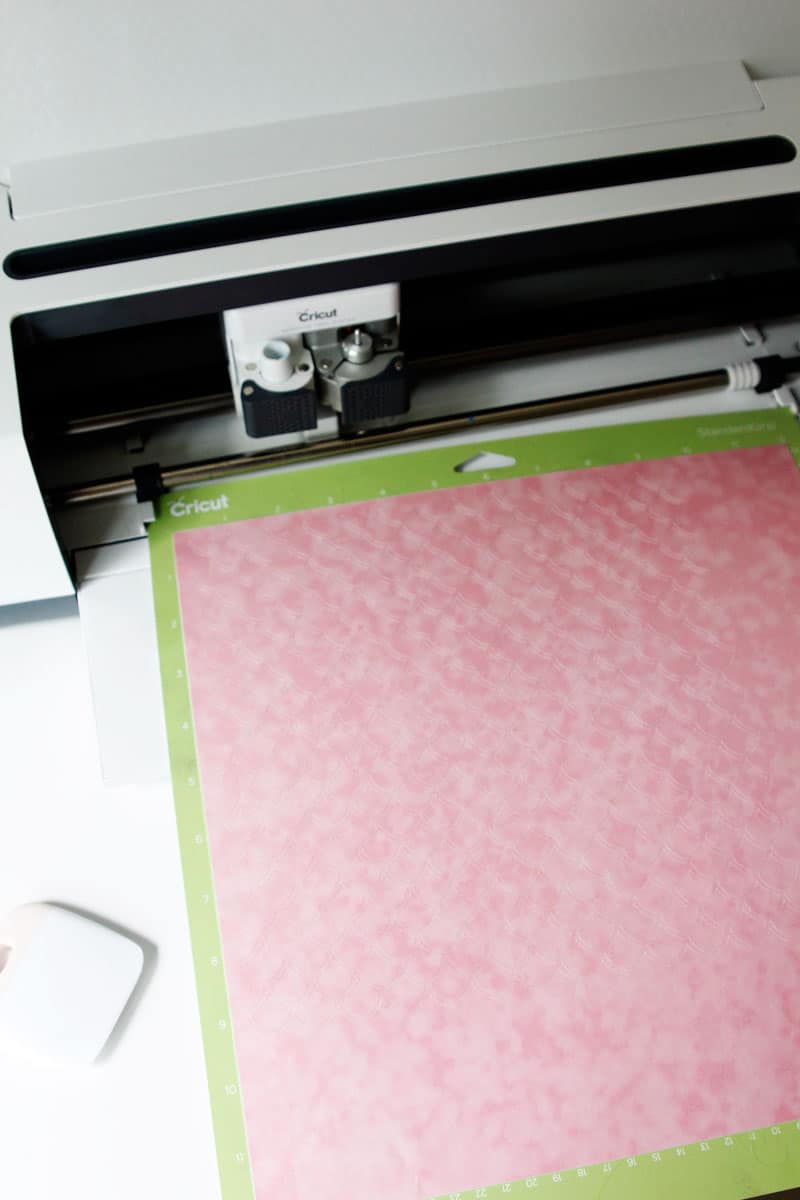
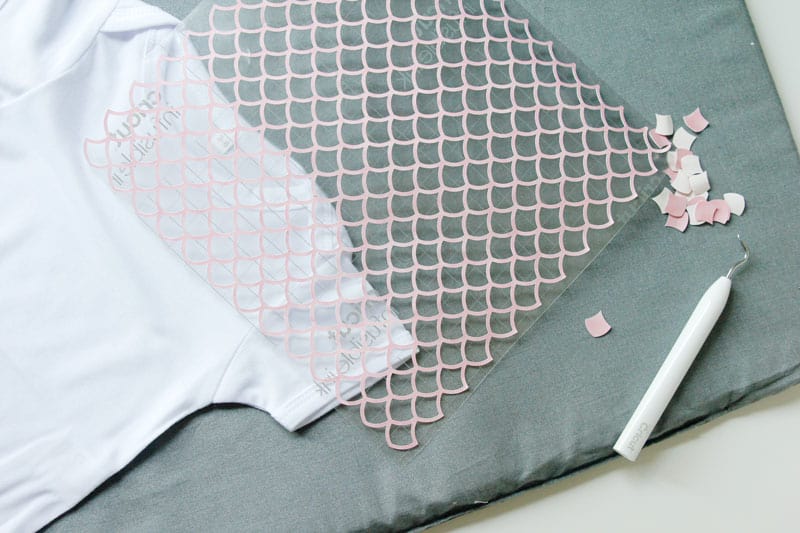
The Infusible Ink transfer sheet goes on the StandardGrip Mat face up.
Weed the design how you would with an iron-on or vinyl design. The ink is on paper so it comes off easily.
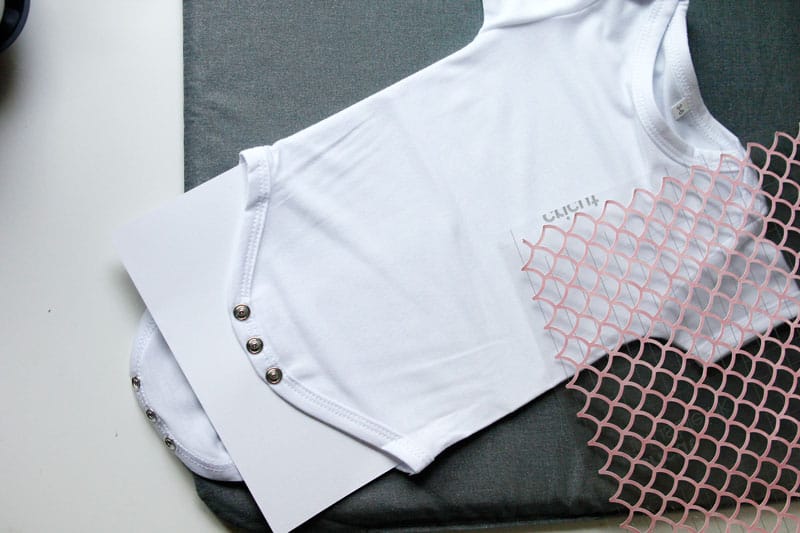
Put a piece of cardstock inside the onesie so you don’t get any bleeding.
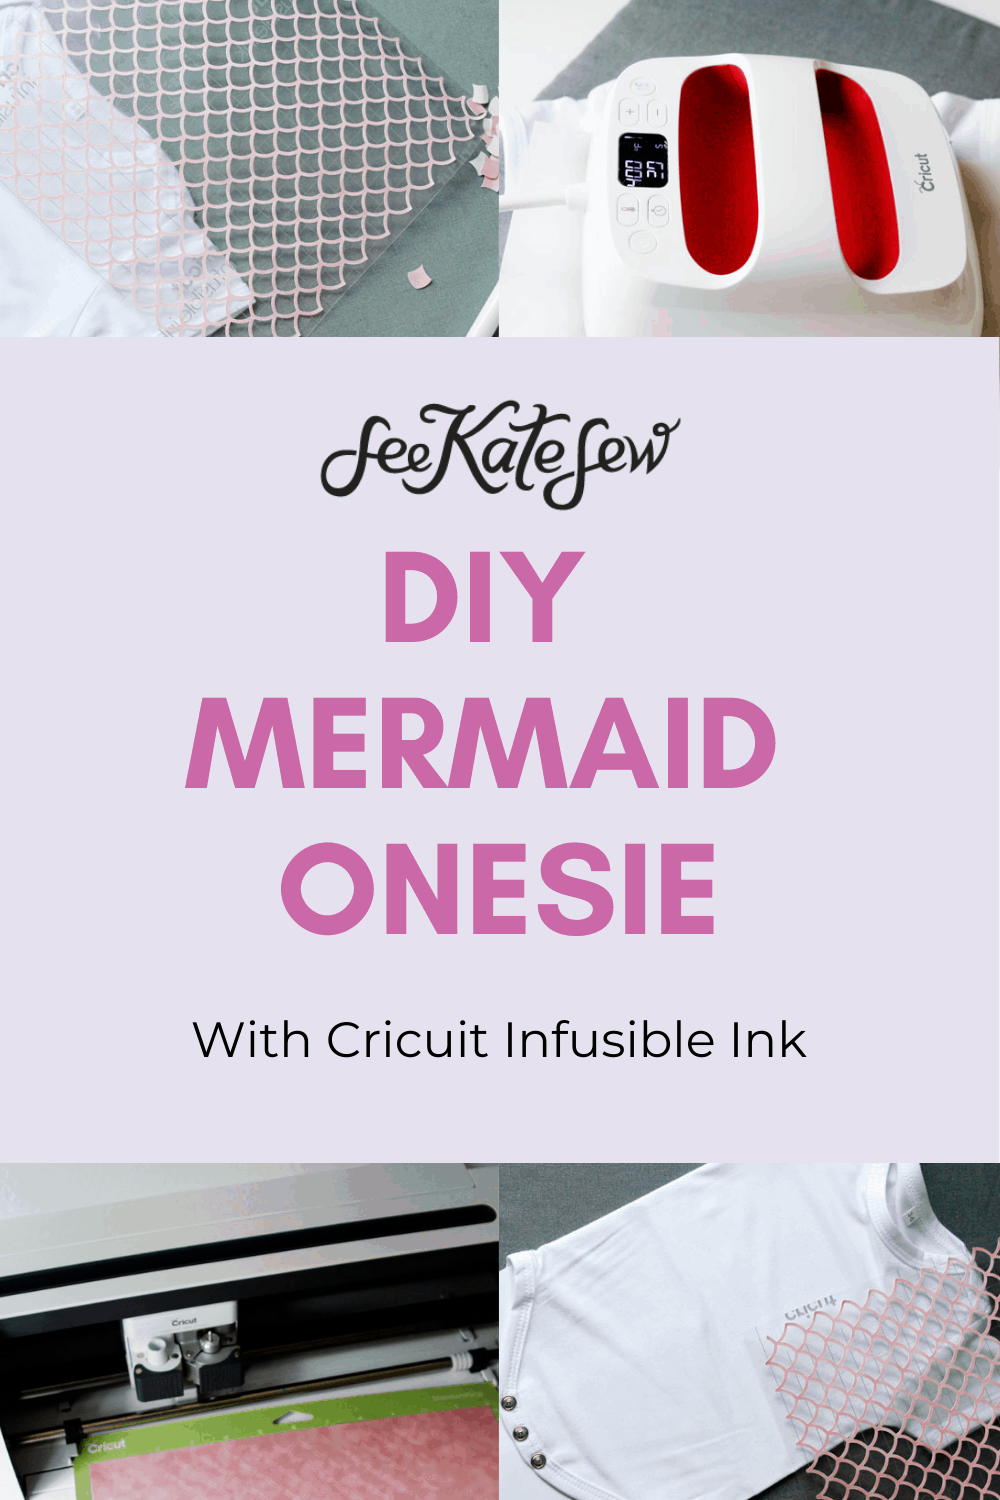
Measure about 1 3/4″ from the armpit and place your scales along the ruler. This will help you get a straight placement.
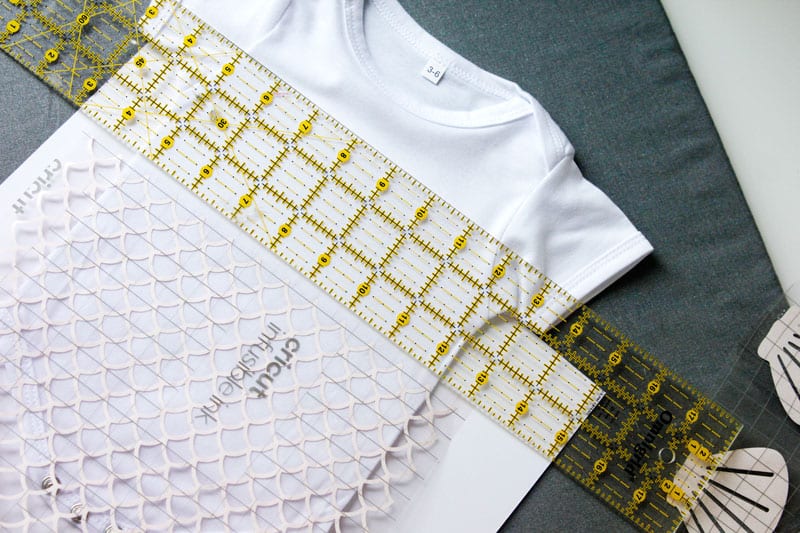
Then put the shell bra at the top. You can either leave them together, or cut them apart and angle them a little, which is what I eventually did.

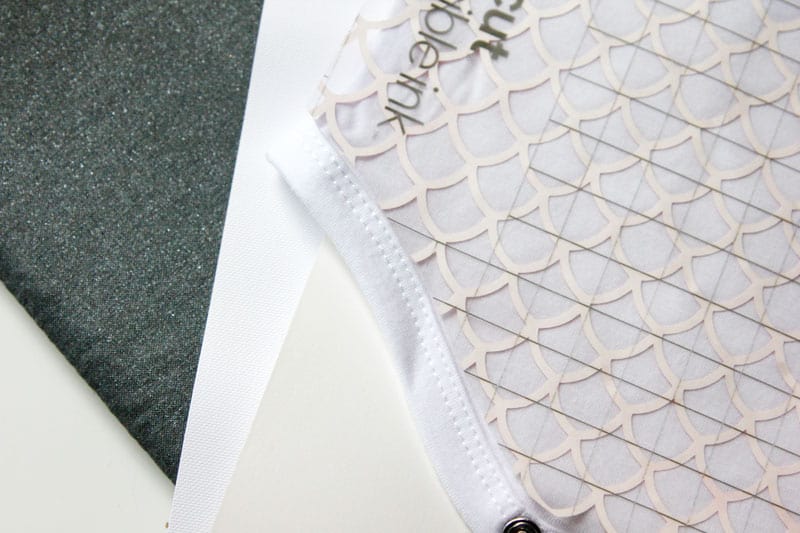
Trim the scales down at the sides but let them hang off just a bit. Then trim around the binding at the bottom of the onesie.
Cover the onesie and designs with butcher paper (which comes inside the Infusible Ink package) and heat it up. You will need the Easy Press 2 set to 400 degrees F for 40 seconds. Apply light pressure and make sure not to move the Easy Press 2 while you are heating.
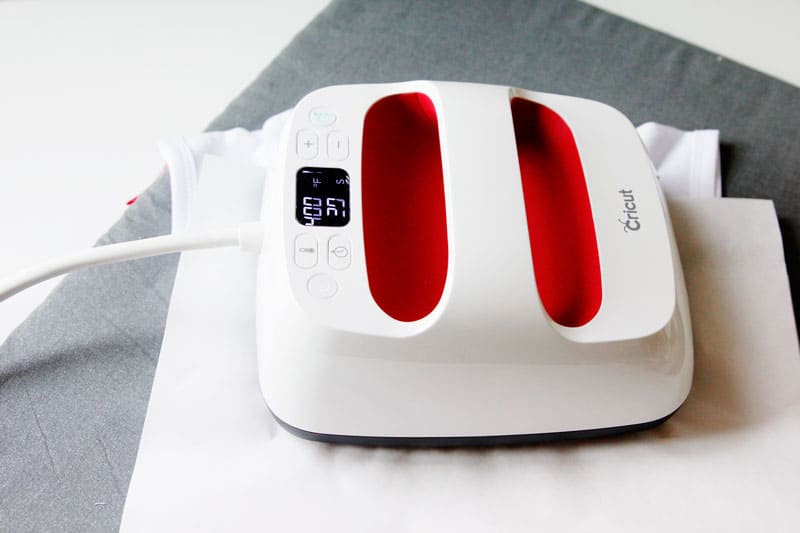
For this onesie project, make sure you heat the onesie evenly, paying attention to seams and binding that may cause uneven heat. Peel off all the transfer paper and look how cool!
![]()
COASTER Materials//
–Cricut Maker
–Cricut Infusible Ink Transfer Sheets – This Mermaid Rainbow Patterns pack is perfect for this project!
–Cricut Easy Press 2
–Cricut Easy Press Mat
–Cricut Coaster Blanks
–Coaster Project in Design Space
Instructions//
To make the coasters, repeat the same process for cutting the ink!
Pull up the project in Design Space. I spaced them out and attached each design to the mat, but if you want to save Infusible Ink you can unattach them so they waste less space.
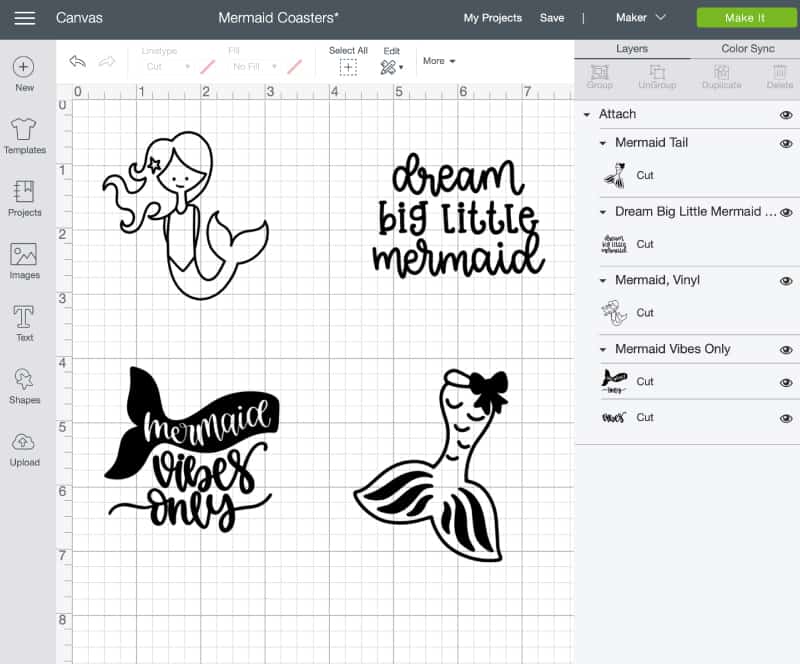
Hit the green Make It button and then click Mirror ON, so the little button turns green.
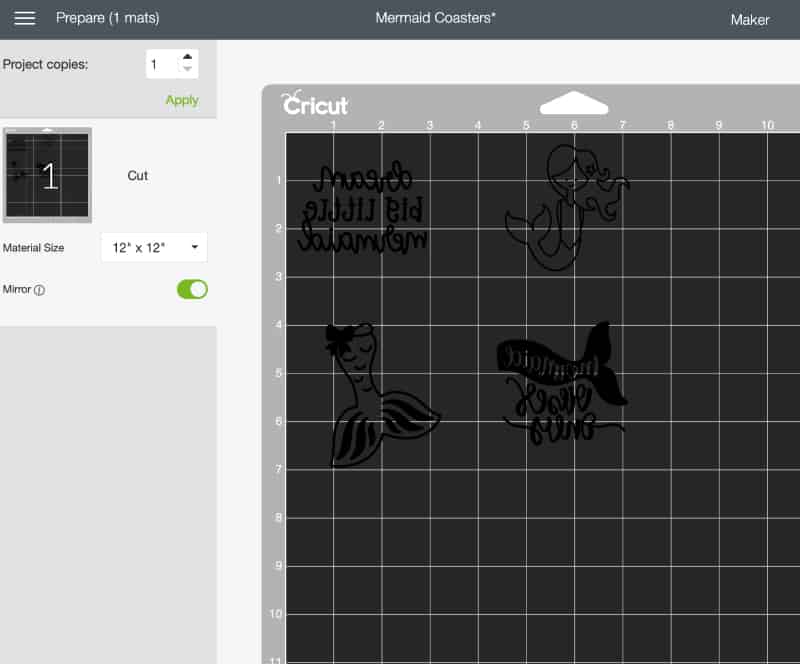
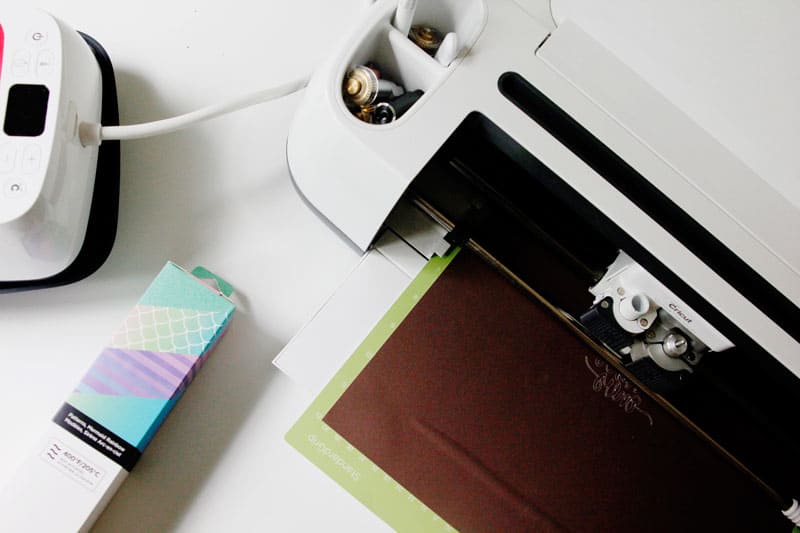
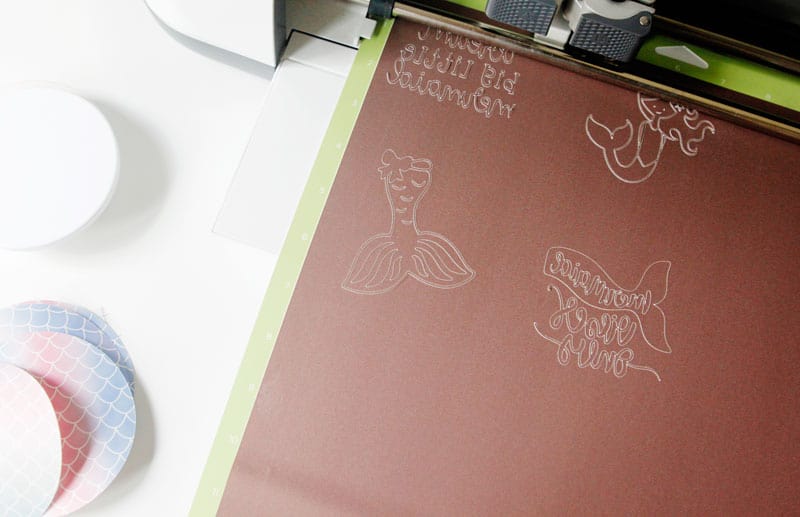
Put your Infusible Ink Transfer Sheet Face-up on a StandardGrip Machine Mat. Cut the designs with black and cut the circles with mermaid scales!
Use the fine point blade (the basic one!) to cut it out.
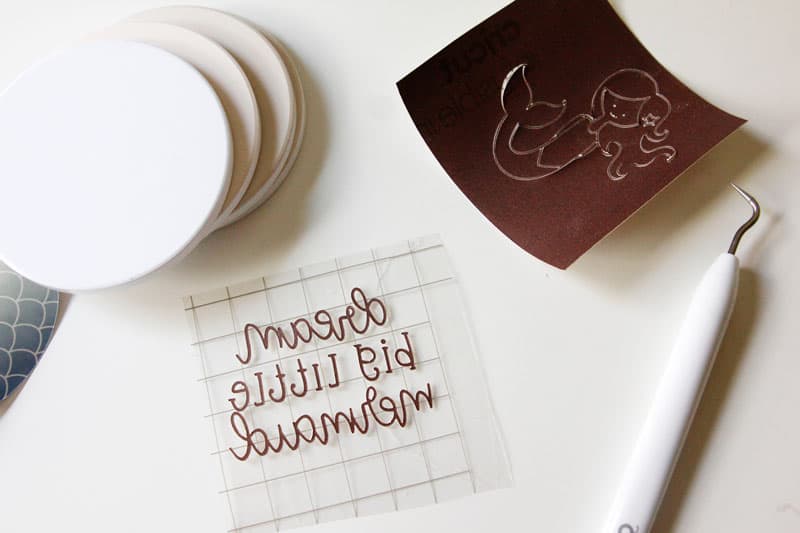
Weed like you would with vinyl. The face on the mermaid sketch was too little for this project, but I used it without the face and I still love it!
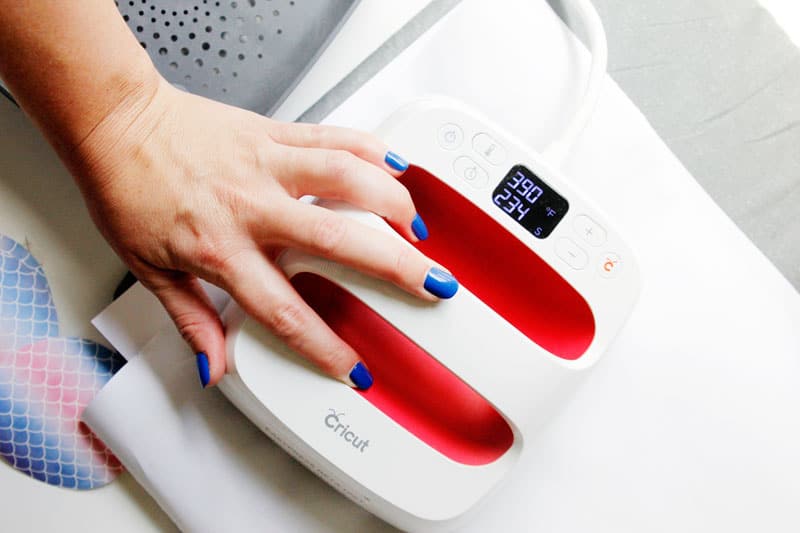
Set up your EasyPress 2 and EasyPress Mat. Set the EasyPress 2 to 400 degrees F and 240 seconds. While the EasyPress 2 is heating up, get your set-up ready. The coaster technique is very different than working with fabric, but the result is awesome!
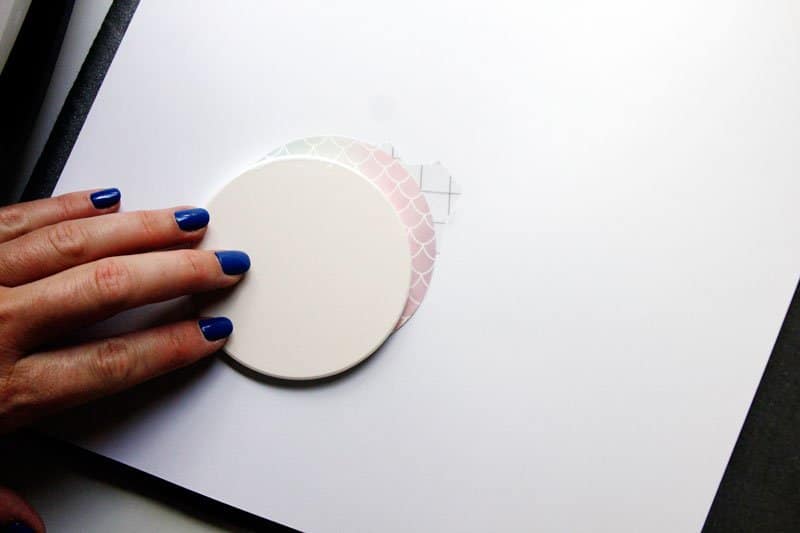
To properly infuse this ink, you’ll need a few things you don’t usually use with your Cricut – butcher paper (comes in the infusible ink package) and card stock. Put a piece of card stock on your EasyPress Mat. This will protect the mat from taking any excess ink. Next, lay the infusible ink face up and then the shiny side of your coaster face down on top of that. Line them up and cover it with a layer of butcher paper.
The butcher paper is one-time use so there are a few in each package of infusible ink. Heat at 400* for 240 seconds (that’s 4 minutes!).
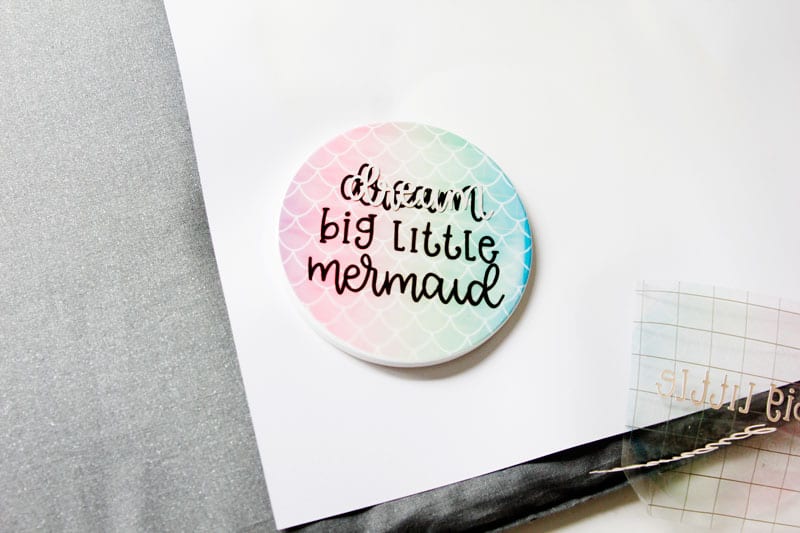
After the 4 minutes is up, pull everything off the coaster. The coaster will be HOT HOT HOT, so let it cool before you touch it. To layer another design on top, repeat the process with new butcher paper.
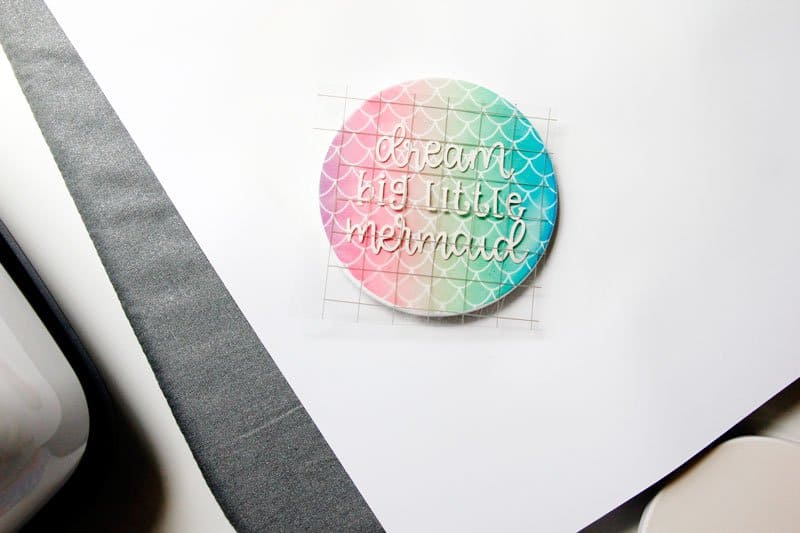
When the coaster is cool, pull the paper off! So pretty!
Find Infusible Ink at InfusibleInk.com!


Can I use this method with a Cricut Explore Air 2?