This post is sponsored by Cricut.
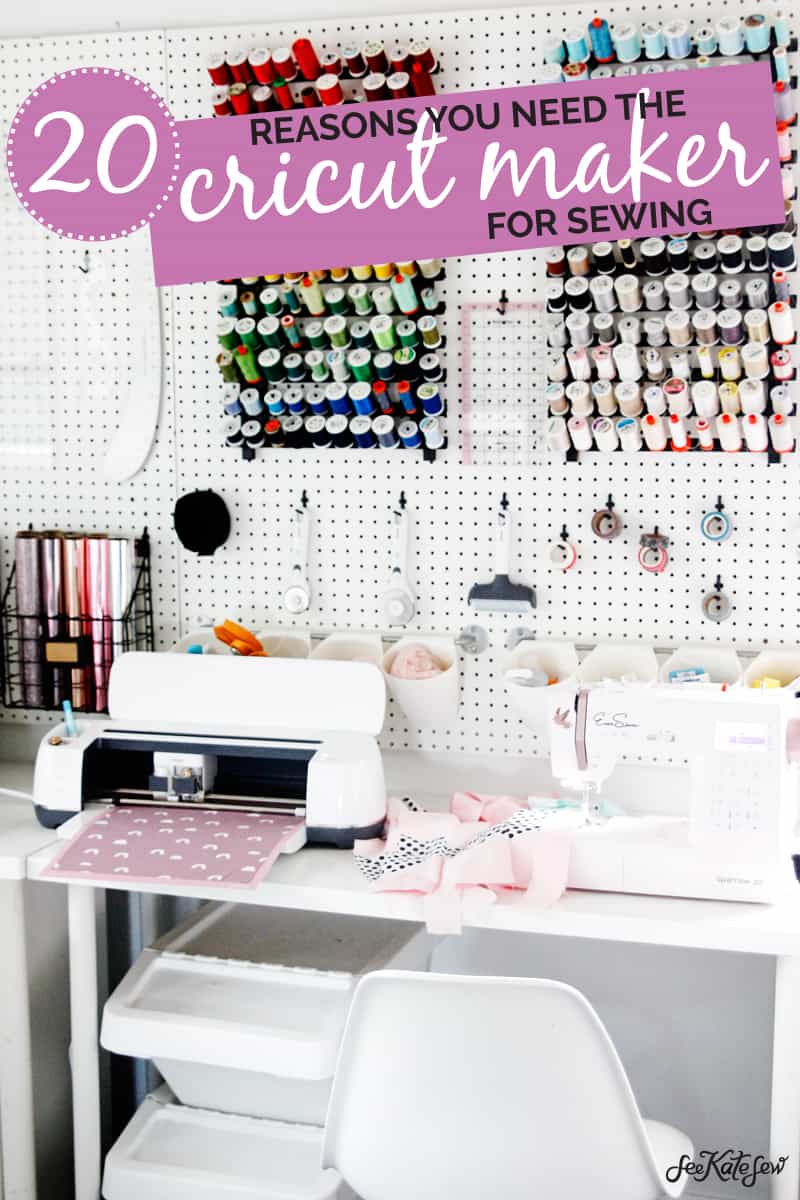
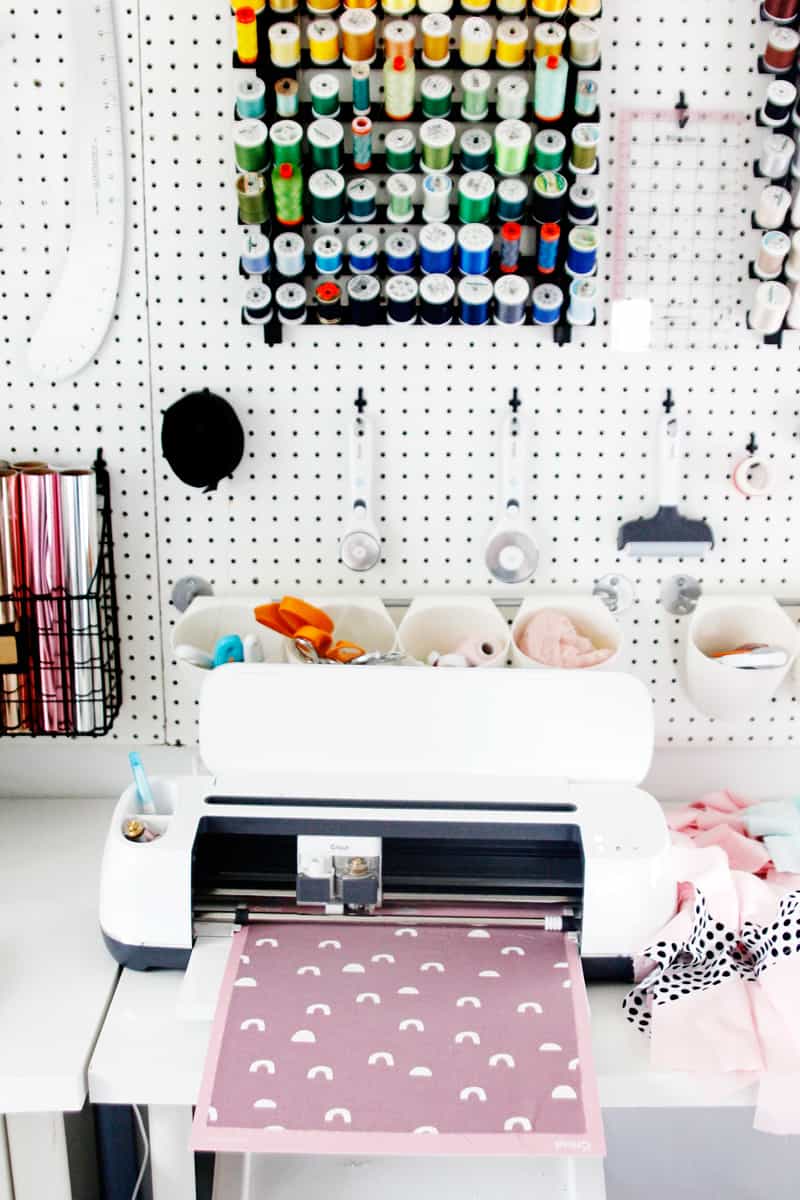
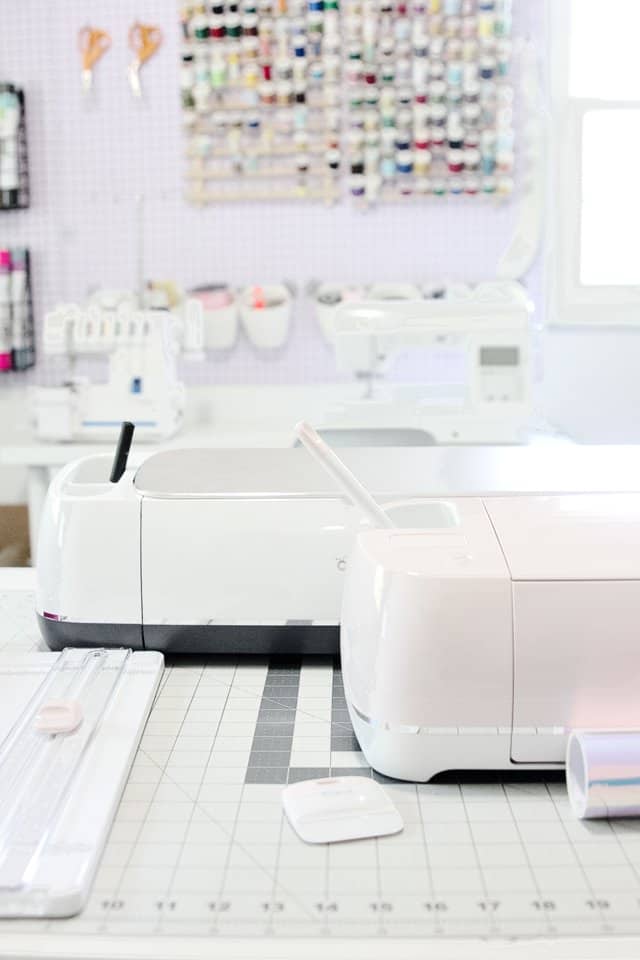
Over the last year and a little bit, the Cricut Maker has become an essential part of my sewing and creating process. It has added so much value to my sewing room set up and so much possibility to my sewing projects! Besides actually CUTTING FABRIC, I also use the Maker for so many other things in different parts of my sewing processes. Cricut machines have always had fun potential in the crafting world, but the Cricut Maker has really been the groundbreaking machine that pulls the sewists in, too! I’m fully convinced that every sewing machine needs a Cricut Maker right next to it!
So here are 20 reasons you need the Cricut Maker for your sewing!
- Cut Fabric!
- Cut thicker, non woven materials
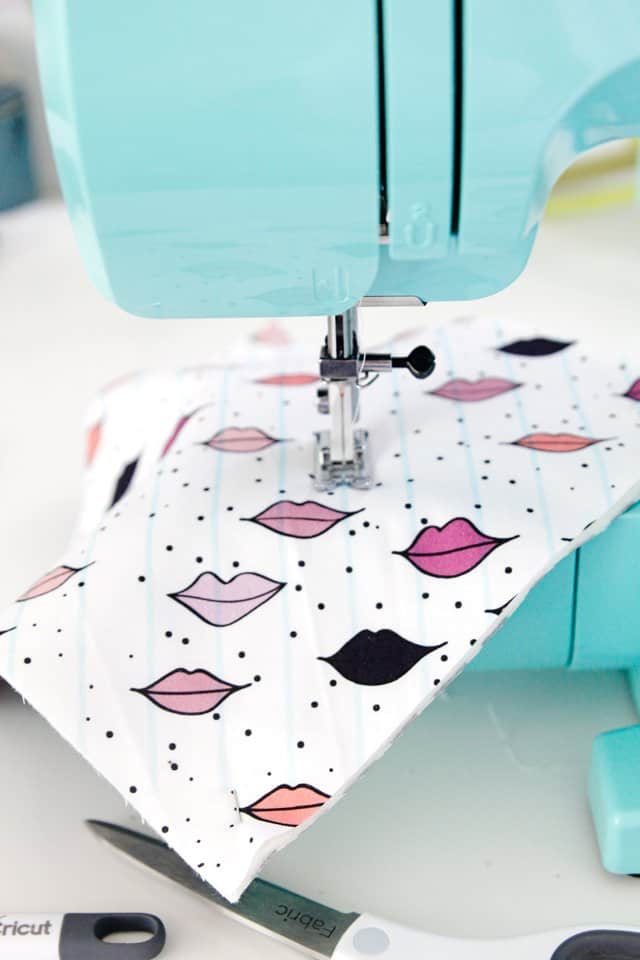
- Mark Topstitching lines
- Customize fabric with iron-on
- Create fabric stencils for painted fabric
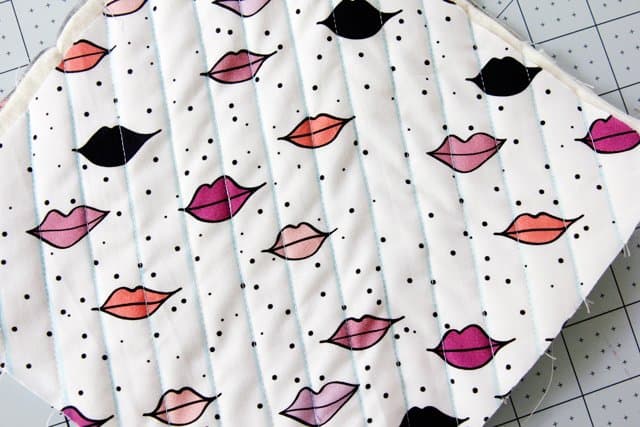
- Get started quilting
- Cut Thick templates
- Make sewing swag!
- Cut Applique shapes
- Add your logo to everything
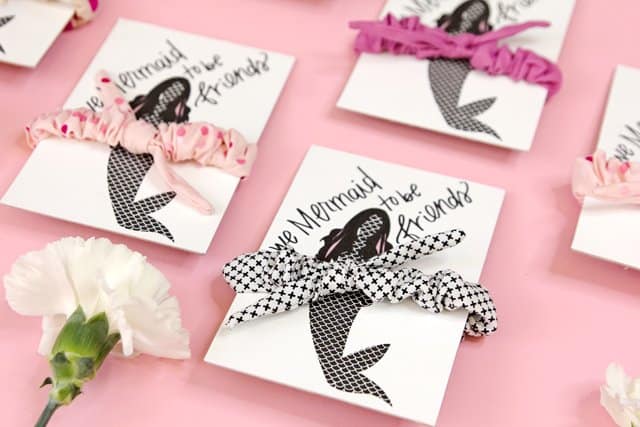
- Personalize handmade items
- Draw embroidery patterns
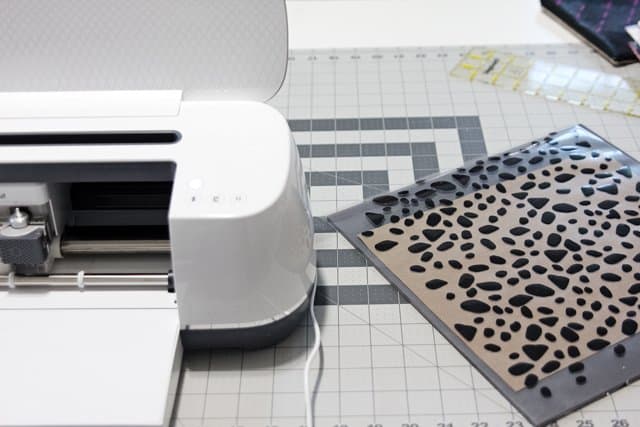
- Create “laser-cut” fabric
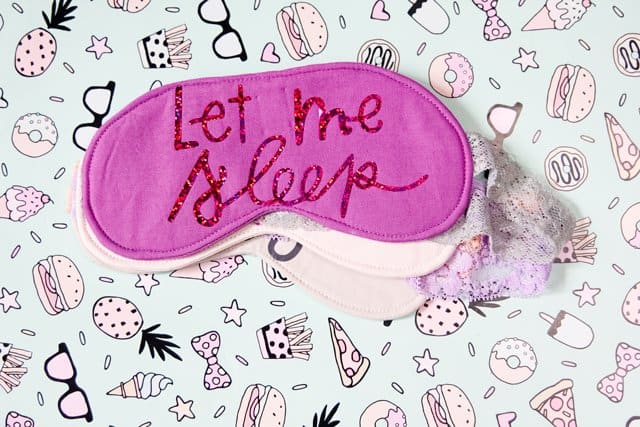
- Create custom sewing labels
- Create size labels
- Cut quilt blocks
- Draw seam alowances
- Draw pattern markings
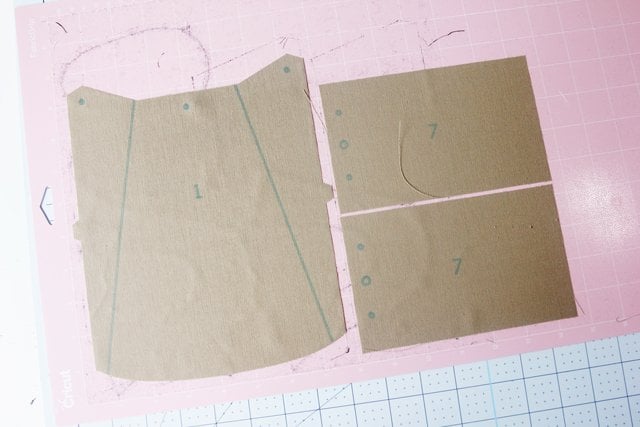
- Cut pattern markings
- Cut entire simplicity patterns
1. Cut FABRIC
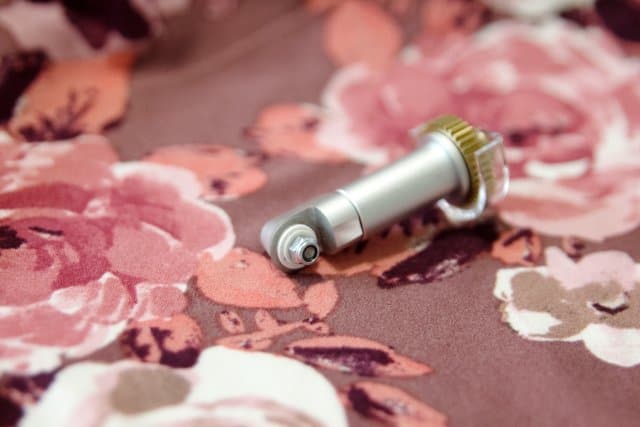
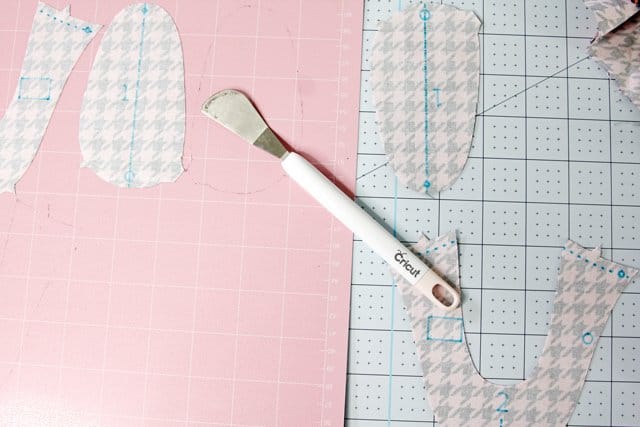
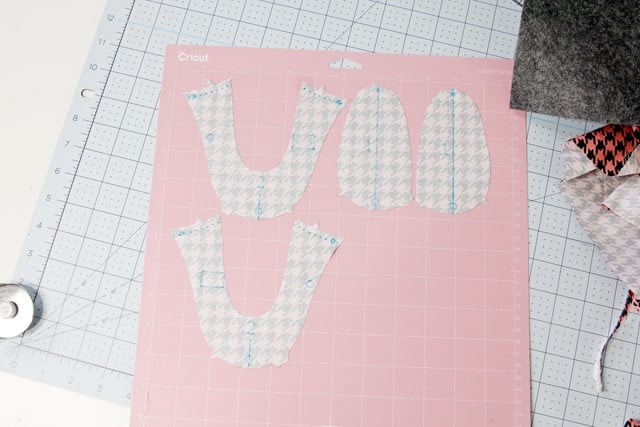
The crowning achievement of the Cricut Maker (in my opinion!) is the ability to cut fabric! It cuts fabric without a backing and cuts hundreds of types of fabrics. How?! The Cricut Maker has a ROTARY BLADE!
You can probably imagine how awesome a machine directed rotary blade can be! This little thing is amazingly precise. It can rotate, go back and forth, pickup and pivot all thanks to the Adaptive Tool System. It can cut a perfect circle, or a perfect square! It’s so fun to watch it do the dirty work for you and is also much safer than a traditional rotary cutter!
Older Cricut machines can cut fabric BUT it has to be backed with a backing material, which limits the projects you can do with the fabric. The new Fabric Grip mats combined with the Rotary cutter and stability of the Maker eliminate the need for a backing. So the fabric you put into the machine can be used for any sewing project! You can cut knit fabrics as well as wovens. The FabricGrip mats will hold the fabric until it is cut, then you peel it off with your hands!
2. Cut thicker nonwoven materials!
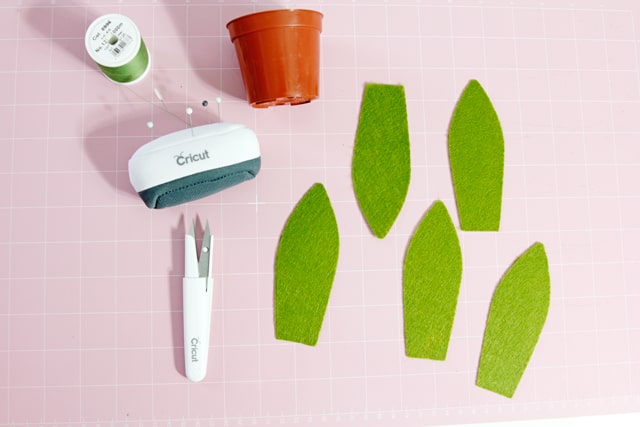
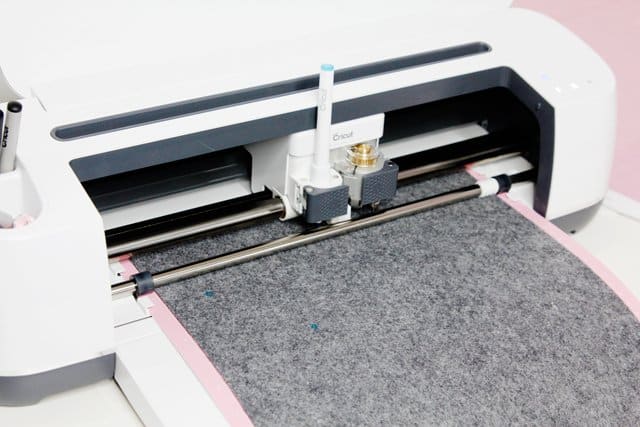
Aside from cutting basic woven and knit fabrics, the Maker is heavy duty enough to handle nonwovens such as leather, pleather, foam, felt and similar materials! You can even cut batting! The rotary blade is included in the Maker box and will cut the lighter of these materials, like the felt and foam. There are 2 other blades that can tackle the other materials – the Deep Point Blade and the Knife blade. Both are sold separately and have their own housing.
There is truly so much potential! The Maker has been tested on hundreds of materials!
3. Mark TOPstitching lines
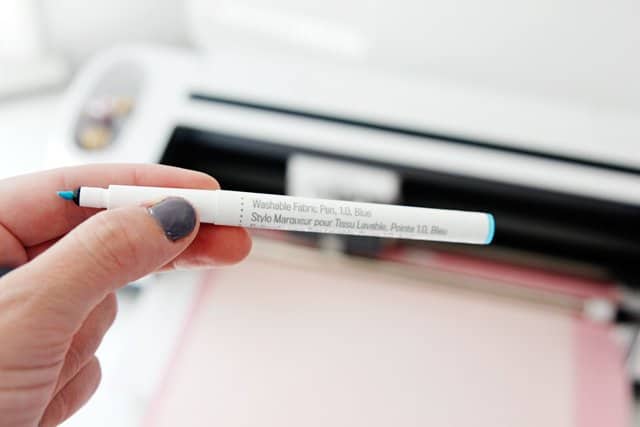
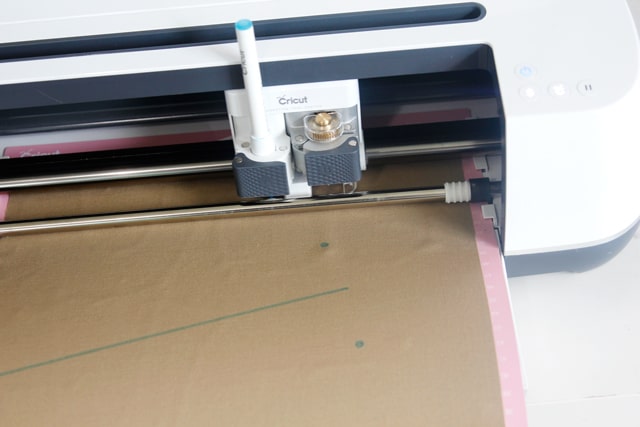
I never knew how much I would love to have topstitching lines marked for me! It is significantly easier to end up with a straight stitch if you can just trace the marked line! The Cricut Maker has a slot for pens on the left of the blade and different types of pens can be used to write on your surface. You can use Design Space to create drawn paper products with black or colored pens, or put the Washable Fabric Pen in the machine and draw on fabric! The lines you create with the washable pen will disappear when washing. Depending on what you are making you can place the fabric in the machine face-down so the writing goes on the back of the fabric. I’ve used this trick on lots of different types of fabric and it makes things so much easier!
4. Customize fabric before sewing it with iron-on vinyl
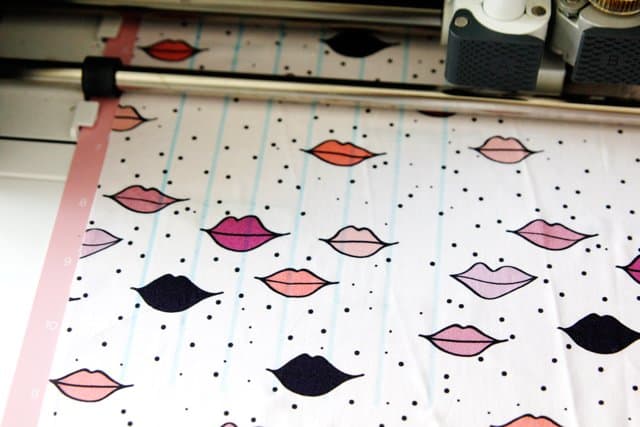
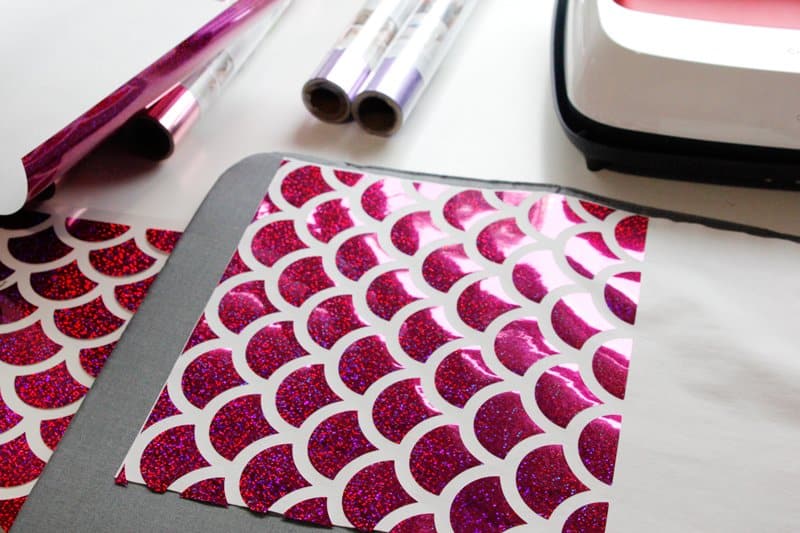
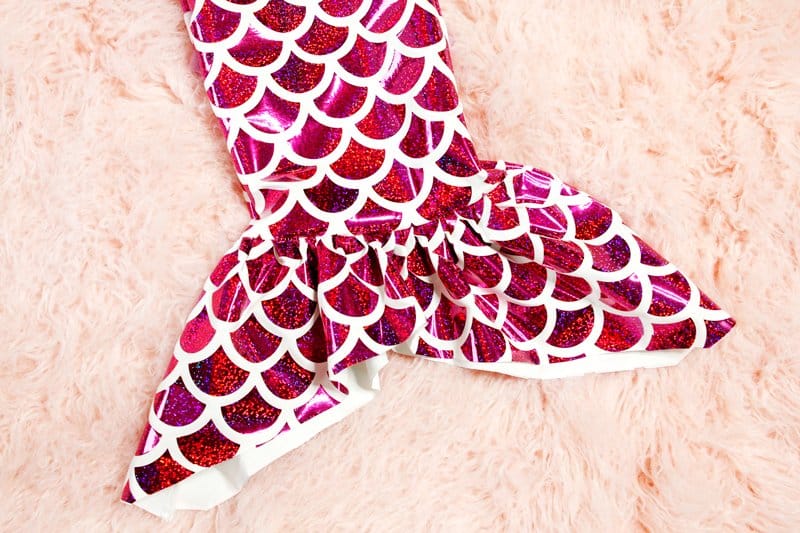
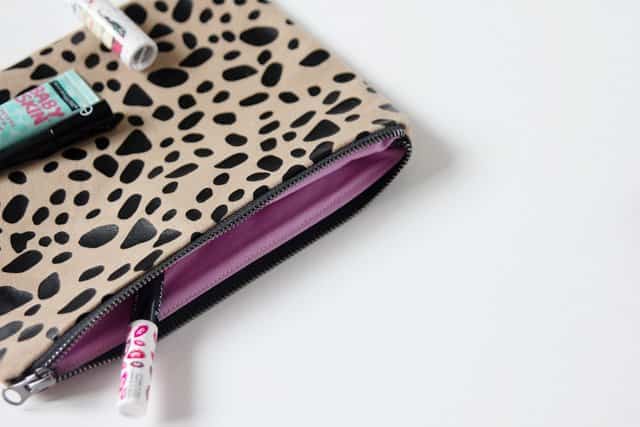
Sometimes the fabric store doesn’t have the exact fabric you need. But with the Maker you can give it the exact look you want! Add rose gold stripes to velvet, make a dimensional mermaid fabric or add animal spots to anything! Iron-on vinyl is so fun and you will be addicted to adding it to your sewing projects before you know it!
5. Create custom fabric stencils to create custom FABRIC
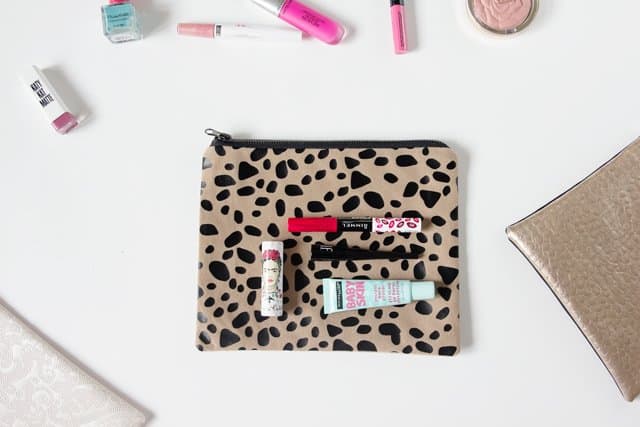
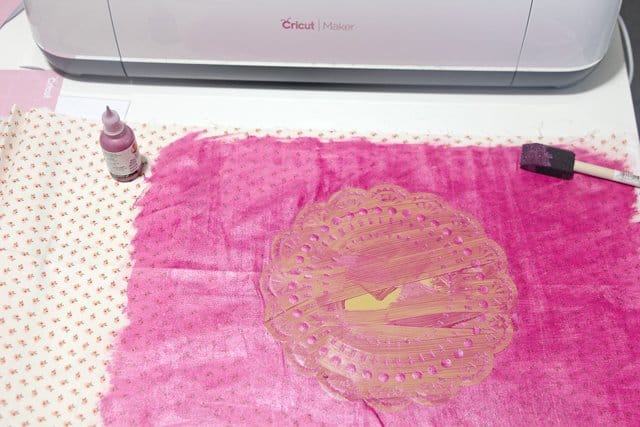
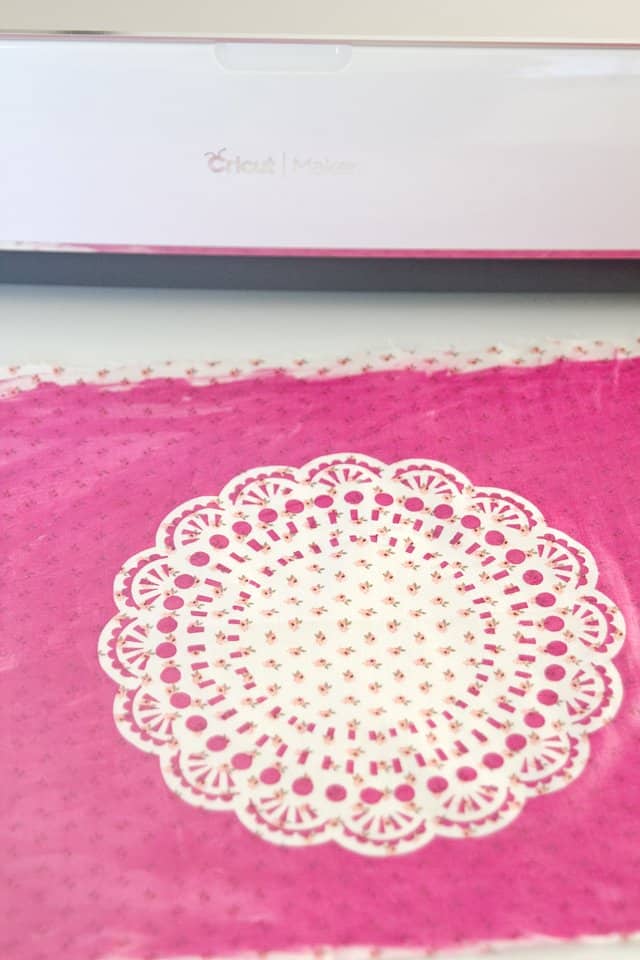
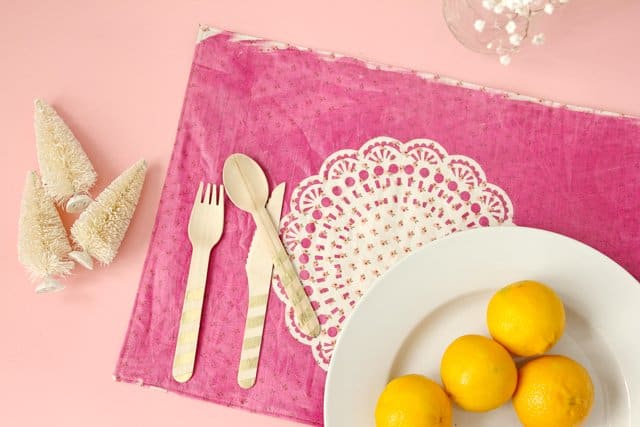
Whip out the vinyl rolls for this project! While most people use vinyl to decorate things like wood or walls, you can also use it to make stencils for fabric paint! Cut out any shape you want and use it as a stencil on fabric. Regular vinyl adheres to fabric really well, so paint won’t leak through as you work. I used this doily to create a negative painted fabric and then used that to create a placemat! You get a little bit of the original fabric peeking through and then pink paint everywhere else!
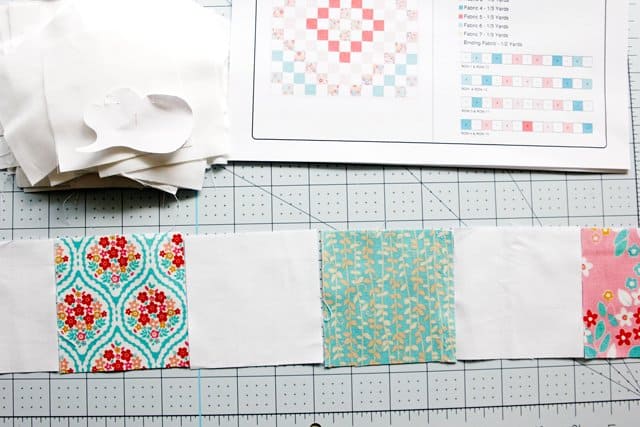
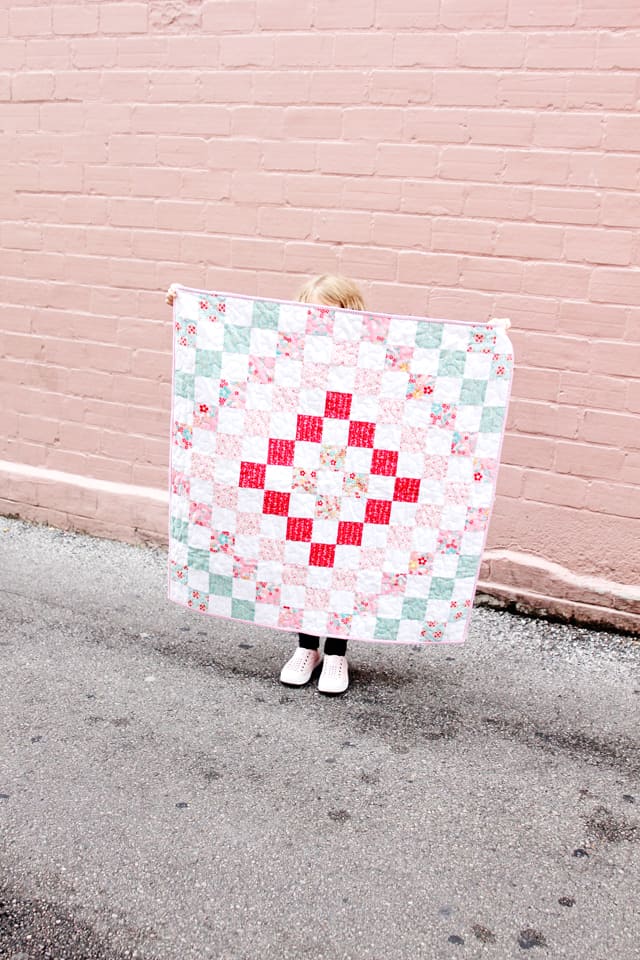
6. GET STARTED QUILTING
Cricut quilt kits are SO FUN and a perfect way to get your feet wet quilting or to rejuvenate your creativity after a break. Snag a quilt kit in the Cricut store, pick a pattern and then create a quilt from start to finish with Cricut and the Maker holding your hand! It’s so easy, fun and will help you through any nerves or hangups you have about quilting! You can read all about the process of picking and sewing a quilt kit in my 3-part series.
- Part 1 – Picking a quilt and prep
- Part 2 – Cutting Fabric out with the Maker
- Part 3 – Sewing + Finished baby quilt
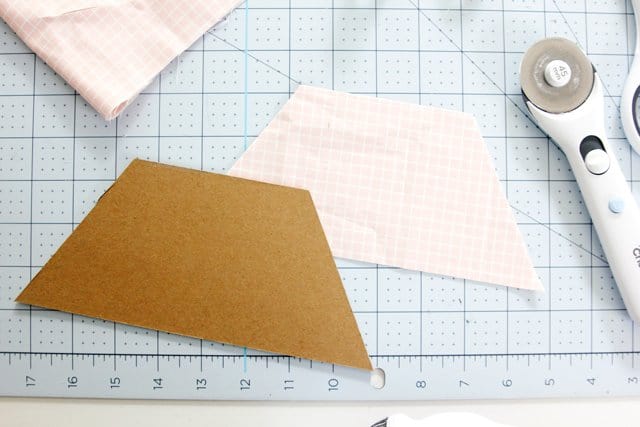
7. Make Templates
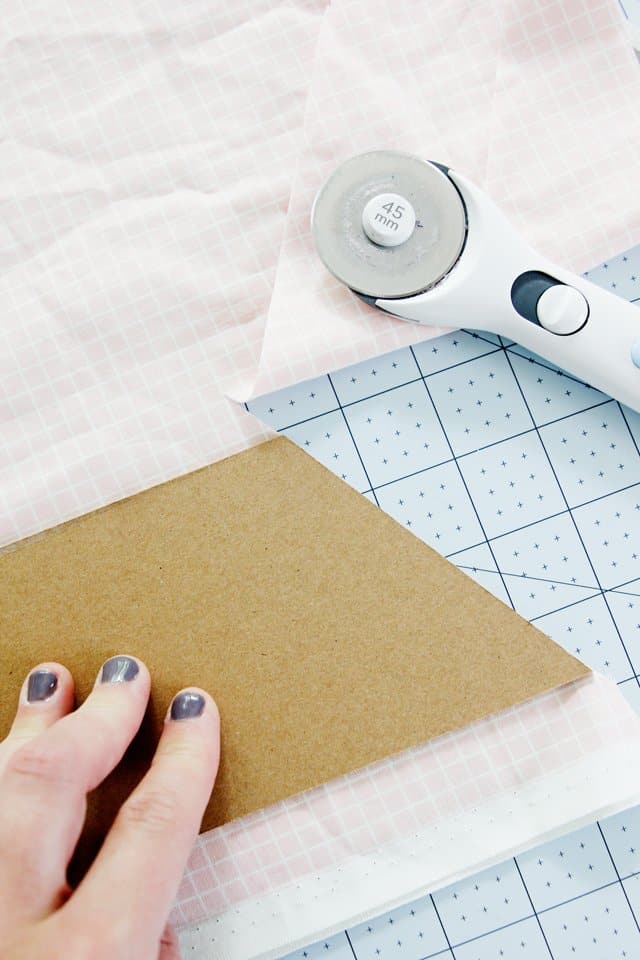
Make templates! You can make templates for quilting and other sewing projects using card stock or even thicker materials like chipboard(shown below) or even balsa wood! Design Space even has a ton of preloaded quilting shapes – hexagons, rhombuses, squares, rectangles, triangles and more – so you can create your own “rulers” for quilting! You’ll have your own library of templates available at any time!
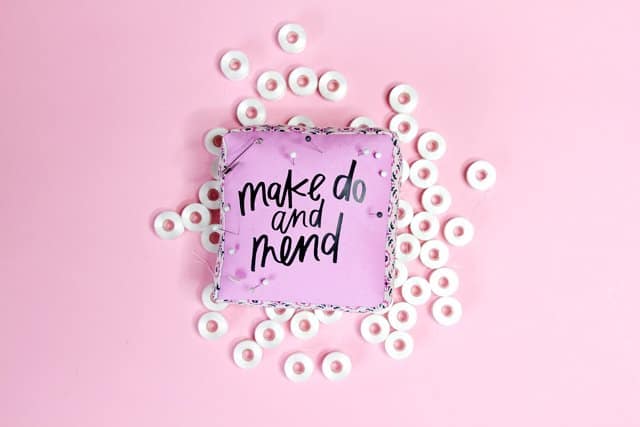
8. Make sewing themed tees + other items!
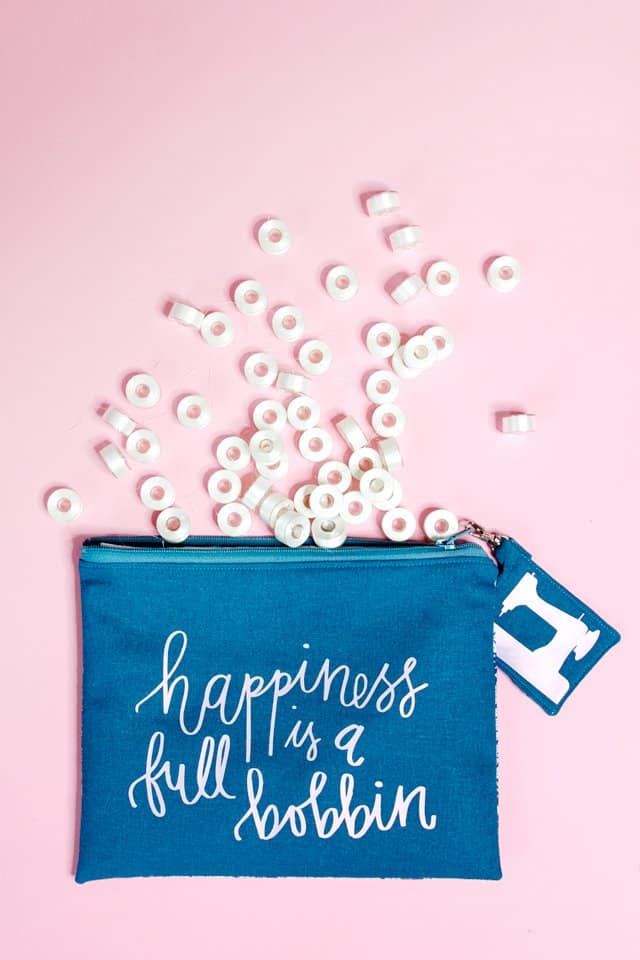
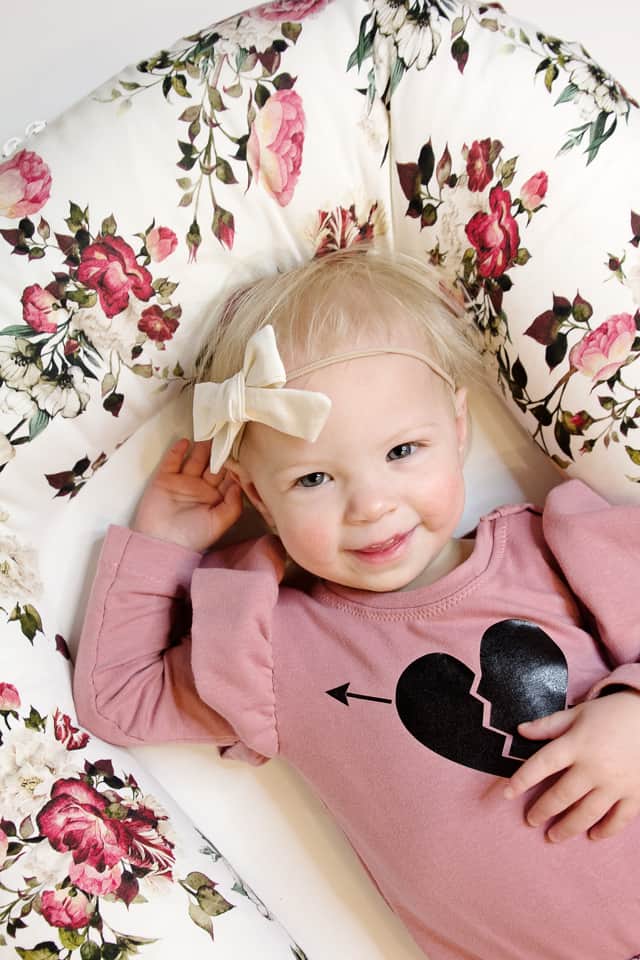
It’s totally fun to start from scratch and make your own fabric or add iron-on to fabric pieces before sewing it up. But a quick project is sometimes just what the doctor ordered! You can use the Maker to cut out sewing themed tees and other items with iron-on vinyl and adhere it tees and totes and more!
- Sewers Gonna Sew SVG
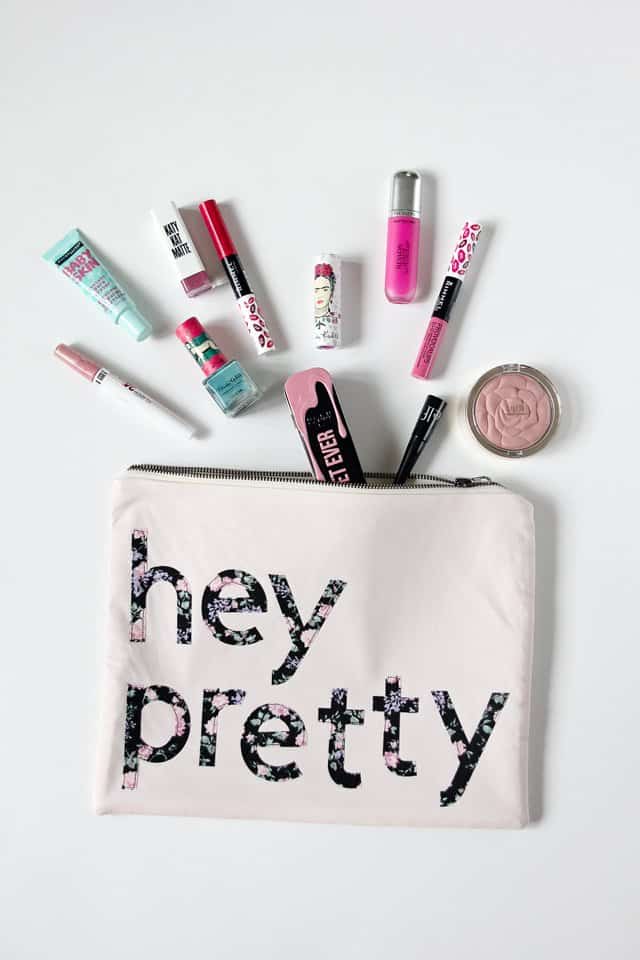
- Sewing Themed Zipper Pouches Project
- Make do and Mend Pincushion Tutorial
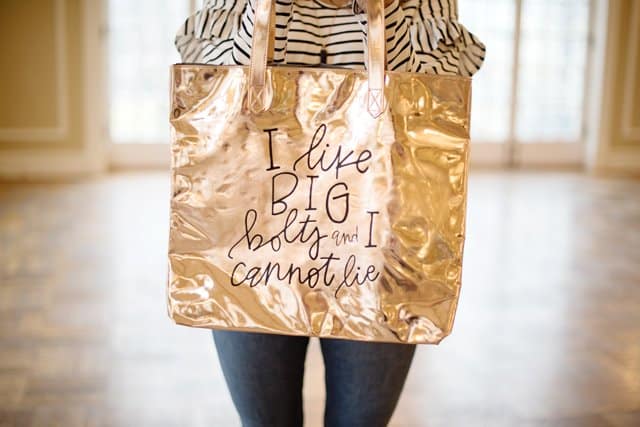
- I like big bolts and I cannot lie tote
9. Cut applique shapes
Perfect applique shapes are simple to make with the Maker! I used to cut this type of thing by hand and now that seems just crazy! To create appliqués for sewing on projects, I back my fabric with Heat N Bond and peel off the paper backing. Then put it through the Maker with the Heat N Bond face up and peel off my perfect letters! I feel like the Maker is worth it just for this! Such a time saver!
10. Add your logo to everything!
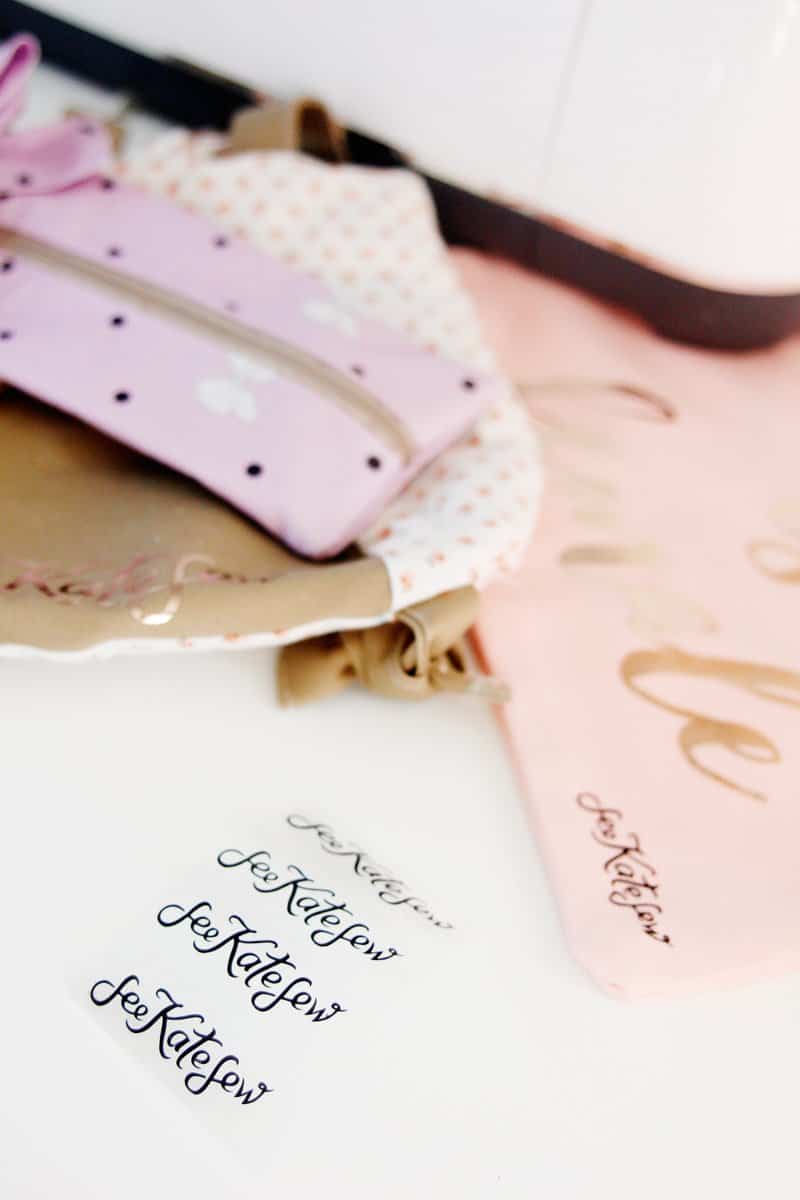
Make your logo and stamp it on everything you make! It’s just more fun that way! This is a perfect way to brand your handmade goods to sell or to give as gifts! Everyone will remember who made that gorgeous quilt with your name on it! Upload your logo to Cricut Design space and cut it out with iron-on vinyl. You can make hundreds on one sheet of vinyl so it’s very cost effective, too!
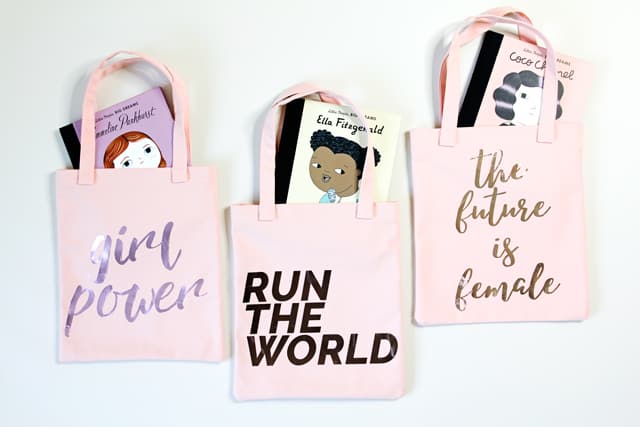
11. Personalize handmade items WITH IRON-ON
Sew a tote or a tee and then slap some iron-on on it to make it truly unique! Iron-on is so fast to cut and fuse! I recommend the EasyPress 2 to go with the Maker if you plan on using iron-on a lot! You can choose from over 50,000+ images on Design Space, or create your own designs with shapes and text!
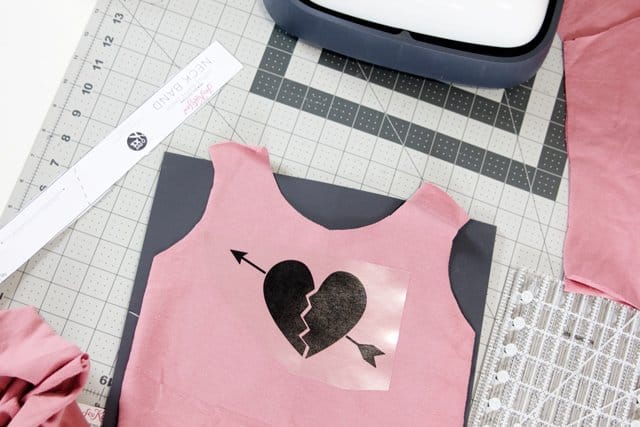
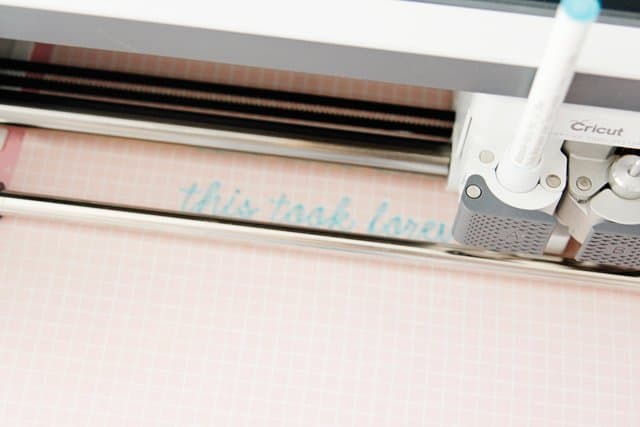
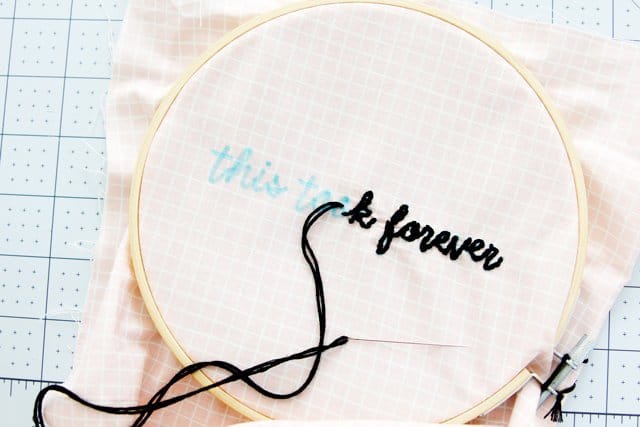
12. Draw EMBROIDERY DESIGNS
Use the Washable Fabric Pen to draw embroidery patterns right on your fabric! You can skip other more complicated ways of transferring a design to fabric and get right to the fun part – embroidering! Add embroidery to any sewing project with this cool method!
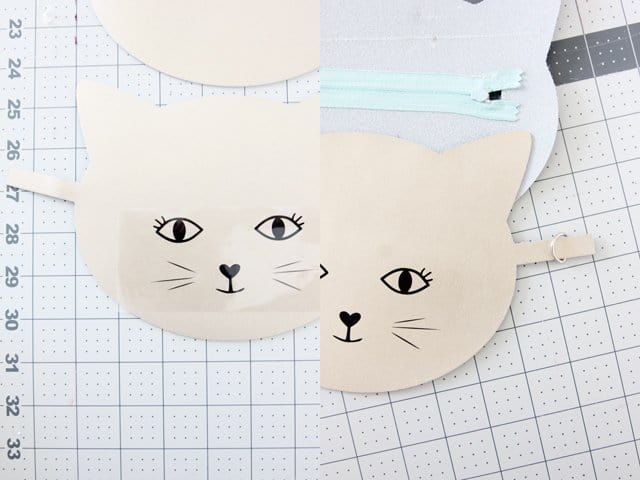
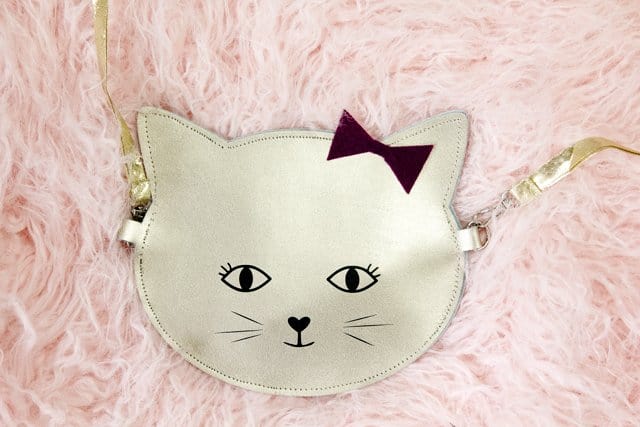
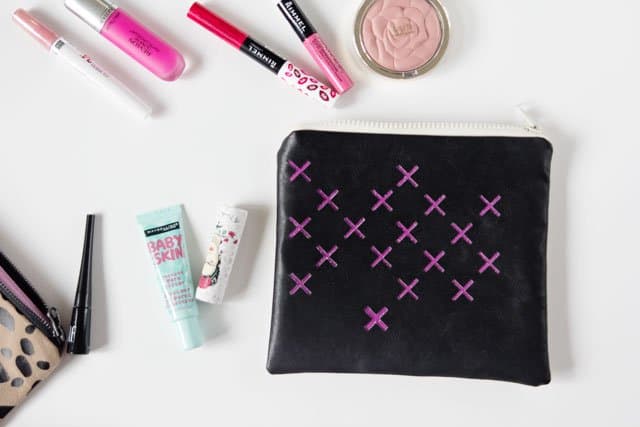
13. Create cut-out designs
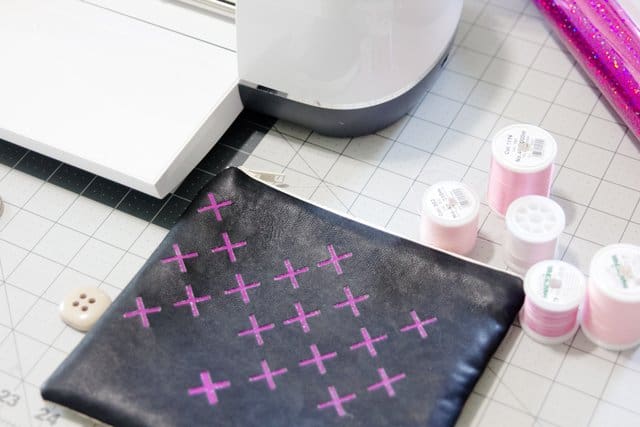
When I learned that the Maker could cut leather, this was the first project I thought of. I used the Maker to cut out a design from pleather, creating a laser-cut fabric look! Then I put fabric behind it to give it a pop of color! There are so many things you can do with this – it would be fun to do letters to spell out a name or phrase, cut out a silhouette or face, and so much more!
14. Create custom sewing labels
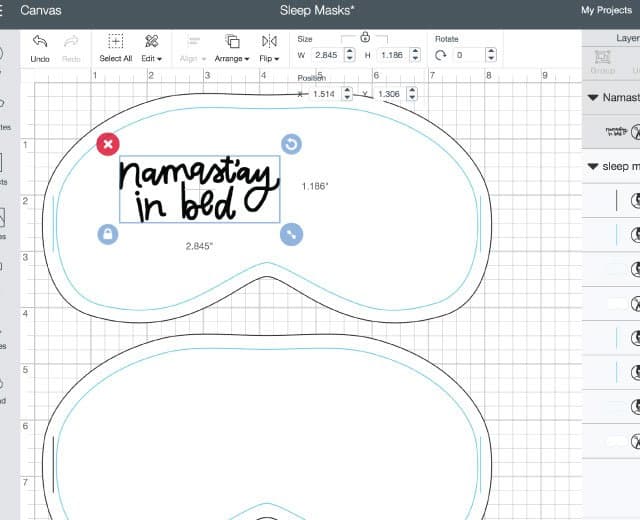
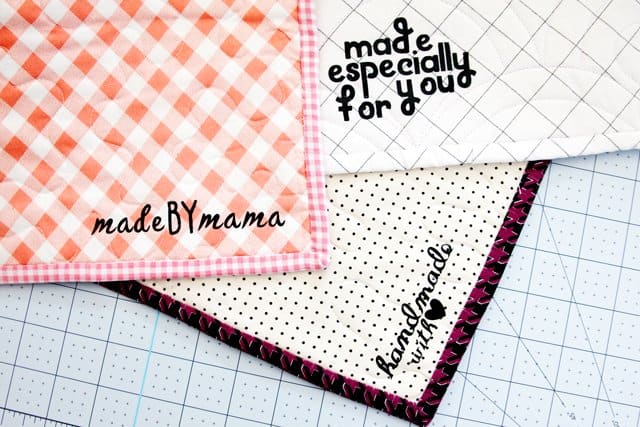
Add a little love to any project with custom sewing labels with iron-on vinyl! Simply use the text too in Cricut Design space and spell out a little message!
15. Create size labels
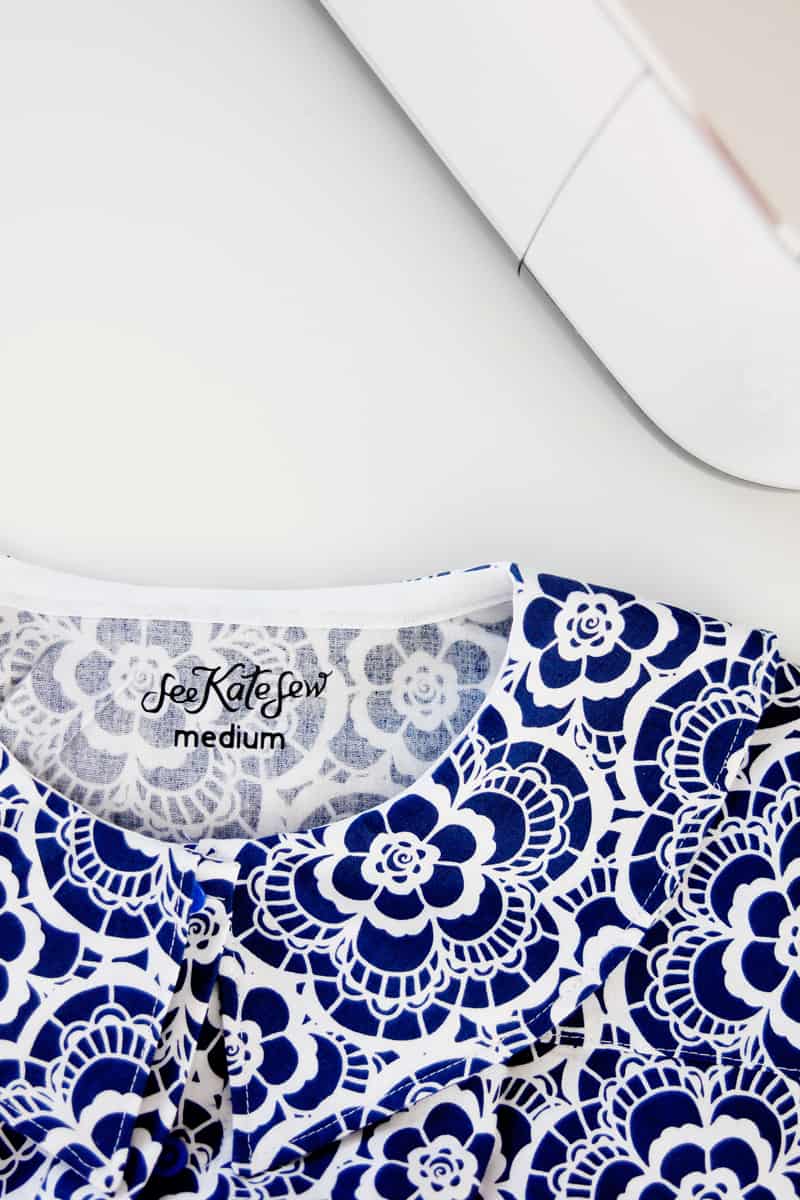
The only bad thing about handmade clothing is not having a label at the back to show that it’s the back! And also not having the size printed on there. It’s not really a big deal until you try to stash it in a storage container by size, or gift it to someone who will fit into it. So, these little labels fix those two problems! You can iron these directly to the item of clothing you are making, so it’s super easy!
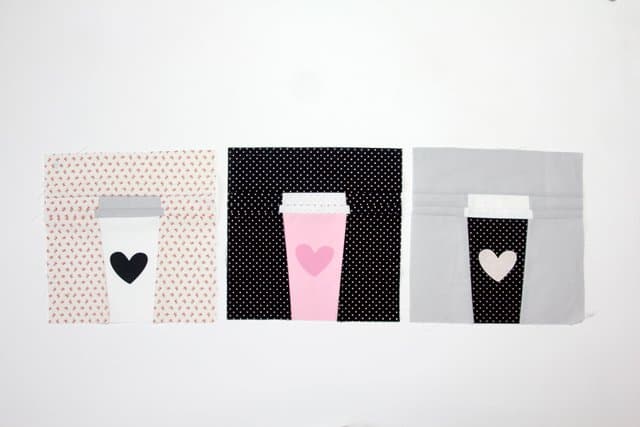
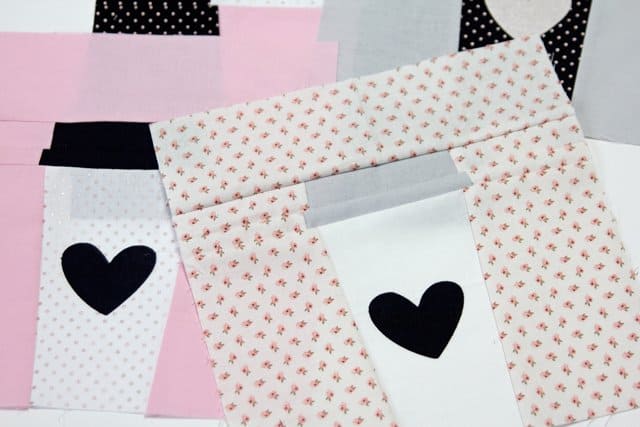
16. Cut quilt blocks
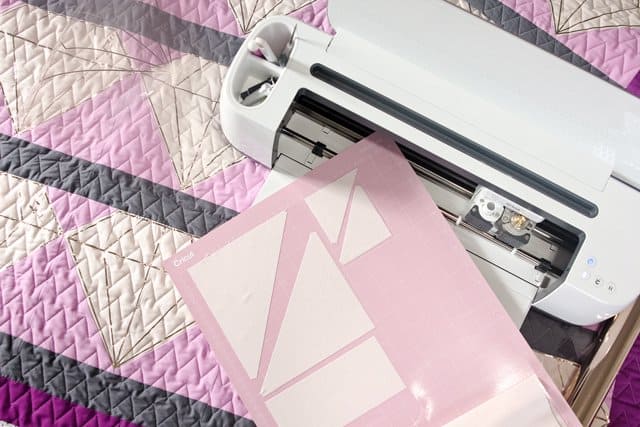
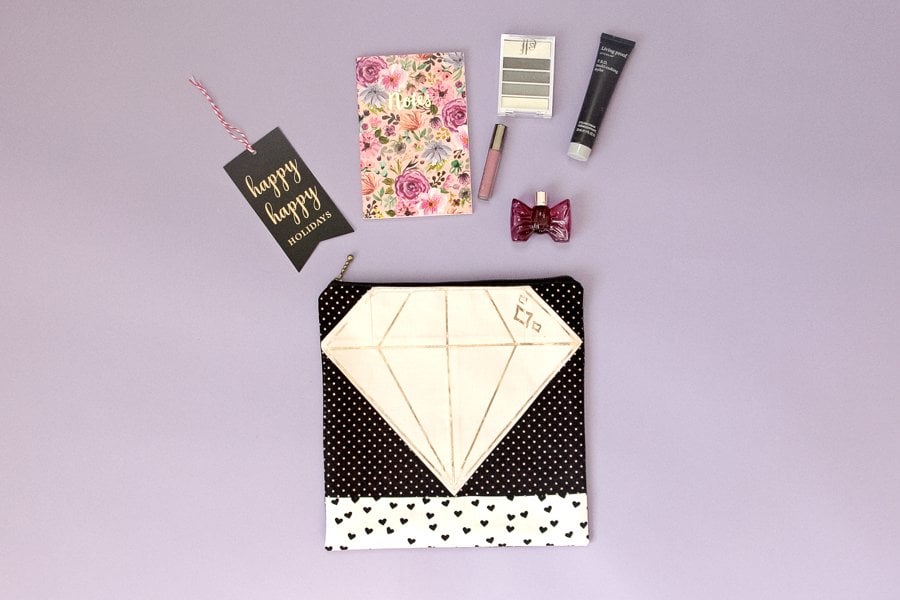
I’ve said this before but the Cricut Maker made me into a quilter. I never really was a true quilter before that because the thought of cutting all that fabric out was a stumbling block for me! But as soon as my Maker came, I delved into quilting, starting with the You’re a Gem quilt block. It’s so fun to be able to cut non-traditional quilting pieces out with the Maker and opens up so many new design possibilities for quilting! I love cutting quilt blocks with the Maker, the software organizes the pieces by color and optimizes the use of fabric on the mat. And while it cuts, I start sewing!
17. Draw Seam Allowances
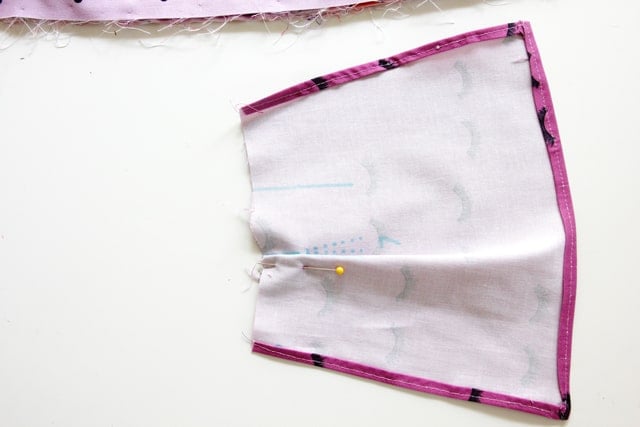
Whip out that Washable Fabric Pen again and draw seam allowances on your fabric. This will help you get perfectly straight seam lines and make sure that your pattern pieces fit together perfectly!
18. Draw pattern markings
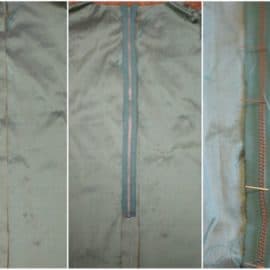
Pattern markings are such a drag to mark yourself. I’m guilty of just skipping it altogether which makes for messier sewing. Going back to pattern pieces to find the markings over and over is definitely not the best way to sew a pattern! You can turn any line into a writing line, telling the Maker to write with a pen instead of cut.
Insert the Washable Fabric Pen and it will mark things like pleats, seam allowances, buttonhole placement, and points to help you line up pattern pieces. Getting a polished final product is so much easier with drawn pattern markings!
19. Cut Notches and other pattern marks
Along with drawing pattern markings, the Maker will also cut Pattern Markings on the fabric, things like notches and triangles to help you line up the pattern pieces! This is another step I used to skip when sewing with patterns. It’s just a tiny little step but with the Maker doing it for you, it’s not even a thought but makes a huge difference!
20. Cut entire patterns from Simplicity
Cricut partnered with Simplicity to load hundreds of patterns to Design Space! There are apparel items, bags, pouches, toys, home decor items and more to choose from! These patterns totally eliminate the need for paper patterns, everything sends straight to the machine and cuts out in fabric! It’s an amazing time-saver and so much fun!
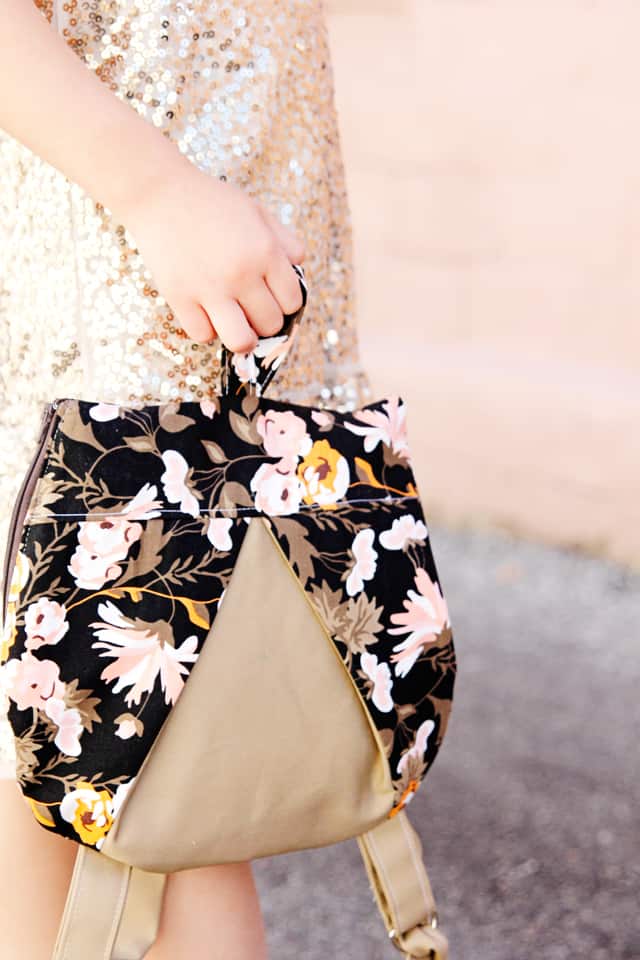
Hopefully I’ve shown you how the Cricut Maker and my sewing machine are BFFs! I use them both on the daily (and the EasyPress, too, can’t forget about that!).
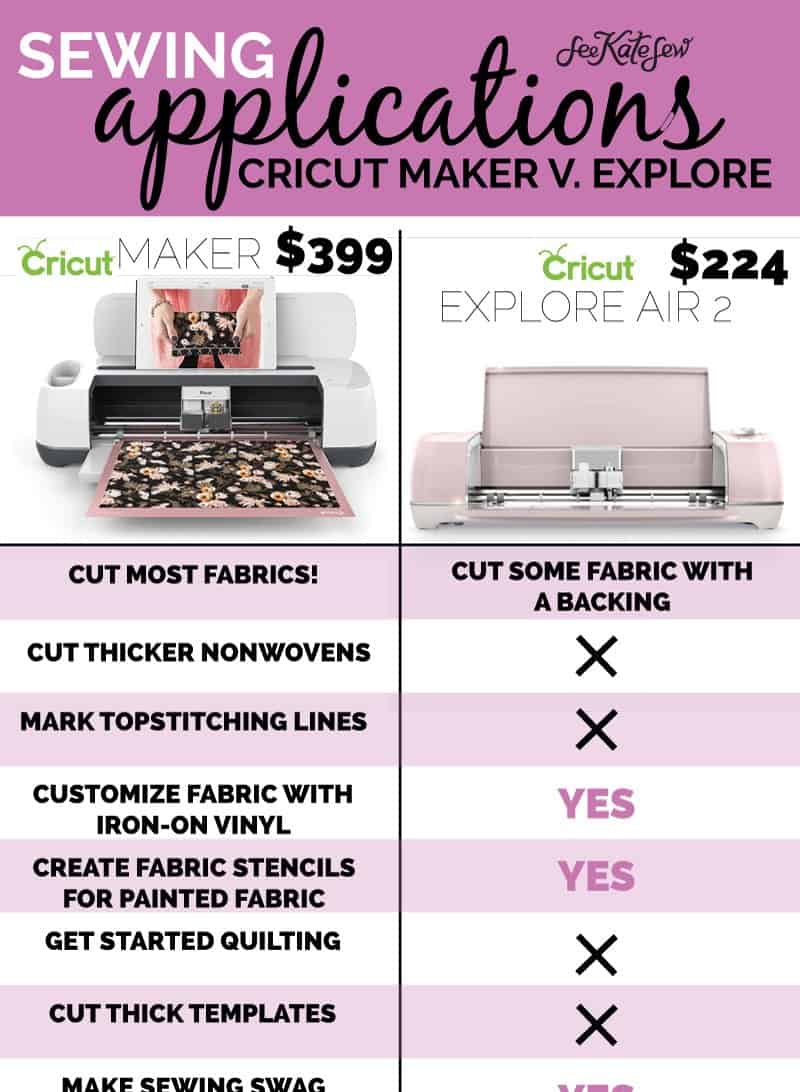
But what about the Cricut Explore Air 2? It’s also a great machine, just a step-down from the Maker, and can also be valuable for seamstresses! The price point on the Explore Air 2 is lower, so it can be a great machine if you’re wanting to start with some of these projects but aren’t ready to commit to the Maker.
Here’s a quick overview of the Maker’s sewing capabilities and which applications the Explore Air 2 can do! 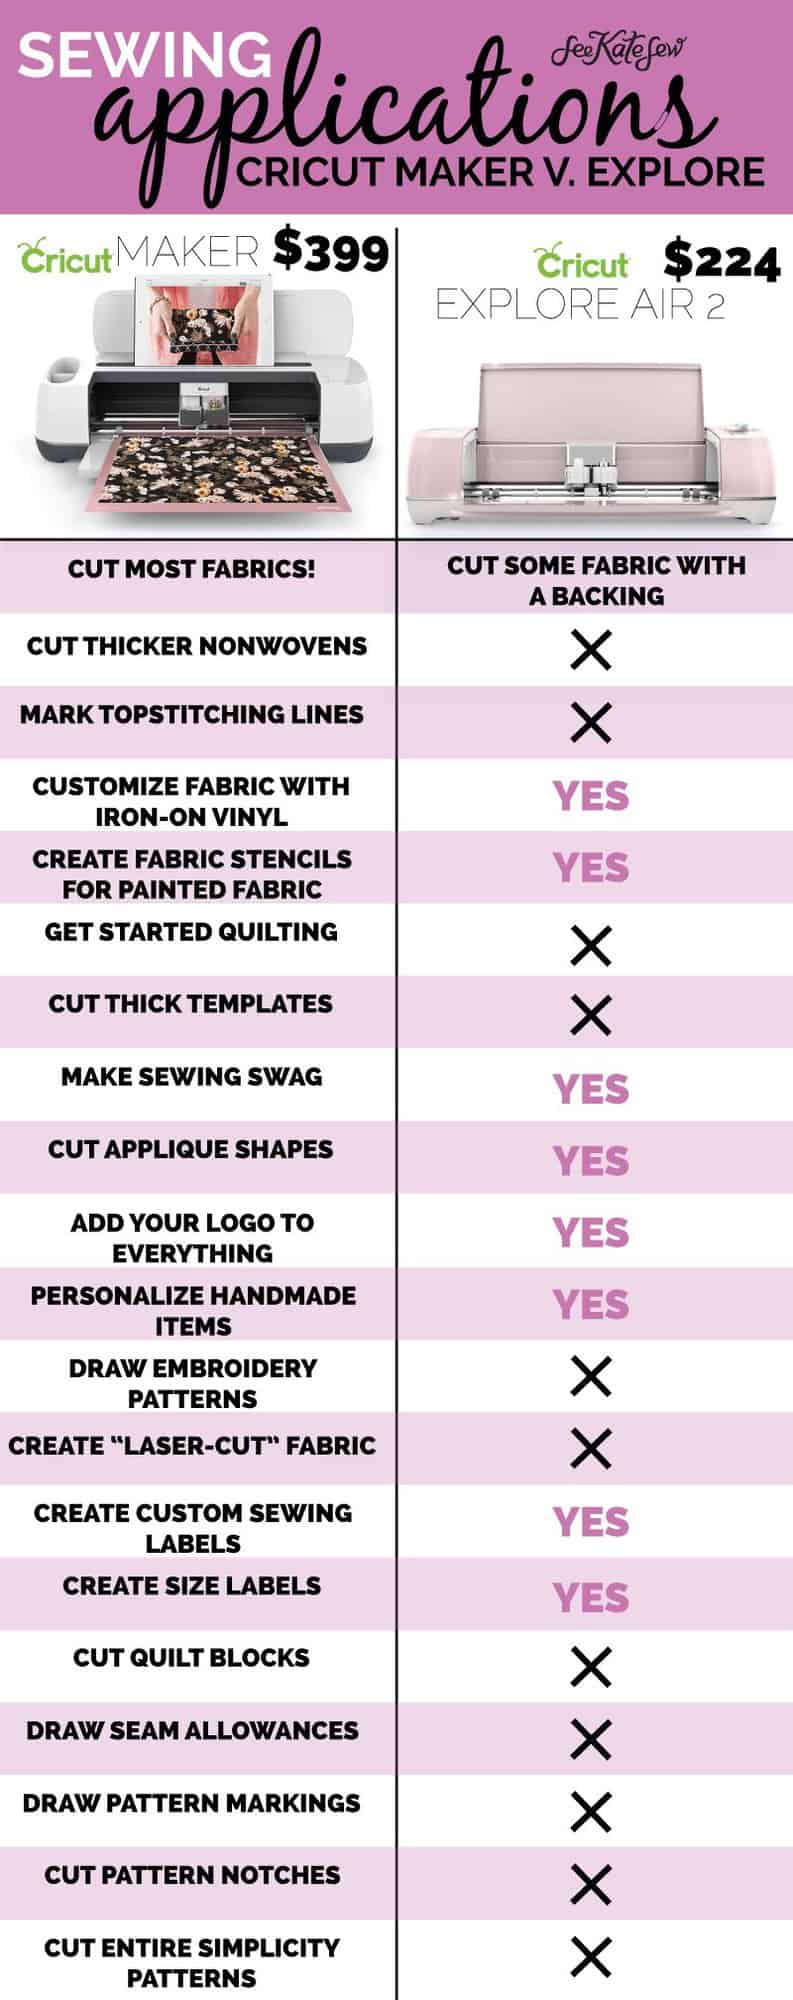
This is a sponsored conversation written by me on behalf of Cricut. The opinions and text are all mine.




Thank you so much Kate! Your post came at the perfect time – I considered getting a cutter 2 days ago but didn’t know which to go with (there were so many machines available). Thank you, I will definitely be purchasing this using your link!
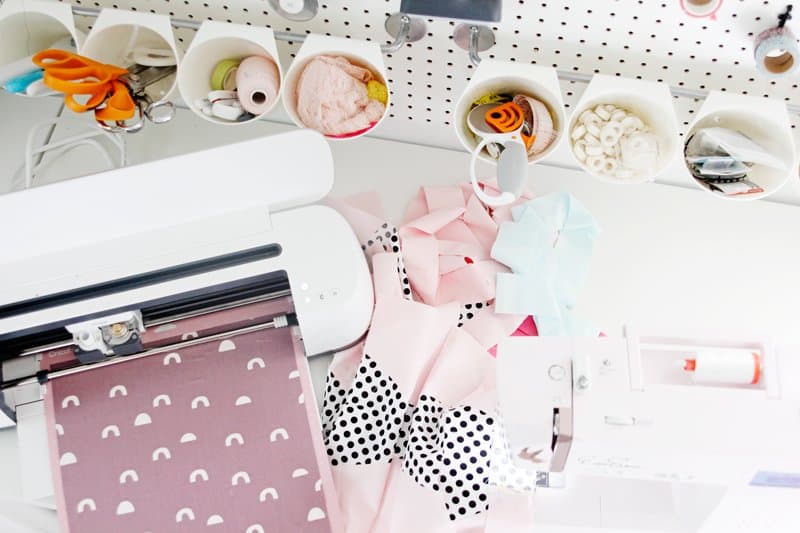
Where did you get the rods and buckets that are on your board? I love them!
Perfect. was also about to buy a cutter and this is just the most comprehensive guide i came across.