• Skip to main content
  • Skip to primary sidebar
  • Skip to footer
  • Blog
  • About
  • Contact
  • FAQ
  • Sponsor

see kate sew

sewing, crafts, tutorials, DIY

  • Patterns
    • Free Patterns
    • Pattern of the Month
  • Tutorials
    • Accessories
    • Bags and Pouches
    • Clothing
    • Costumes
    • Crafts
    • Cricut Projects
    • Holiday
    • Household
    • Kids
    • Maternity
    • Quilting
  • Topics
    • Baby
    • Boy
    • Christmas
    • dog
    • Dolls
    • Easter
    • Girl
    • Halloween
    • Lookbook
    • Party
    • pet
    • Printables
    • Training
    • women
  • No Sew
  • Sewing 101
  • Sew4Good
  • Pet
  • Sewing Room
    • DreamBox
  • Reviews
Home
  • Patterns
    • Free Patterns
    • Pattern of the Month
  • Tutorials
    • Accessories
    • Bags and Pouches
    • Clothing
    • Costumes
    • Crafts
    • Cricut Projects
    • Holiday
    • Household
    • Kids
    • Maternity
    • Quilting
  • Topics
    • Baby
    • Boy
    • Christmas
    • dog
    • Dolls
    • Easter
    • Girl
    • Halloween
    • Lookbook
    • Party
    • pet
    • Printables
    • Training
    • women
  • No Sew
  • Sewing 101
  • Sew4Good
  • Pet
  • Sewing Room
    • DreamBox
  • Reviews

03.05

the "color pop" seam technique

Welcome to See Kate Sew! If you’re new here, sign up for my email newsletter for access to free patterns, tutorials and all the latest sewing news! Tour my sewing room HERE!

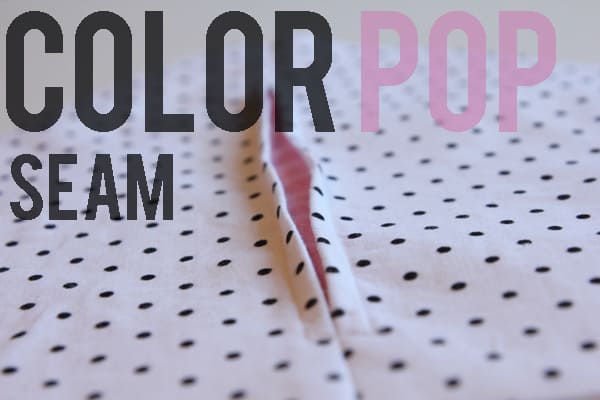
I couldn’t for the life of me remember what this technique is called, so I made up a new name for it: The color pop seam. Catchy, eh? 
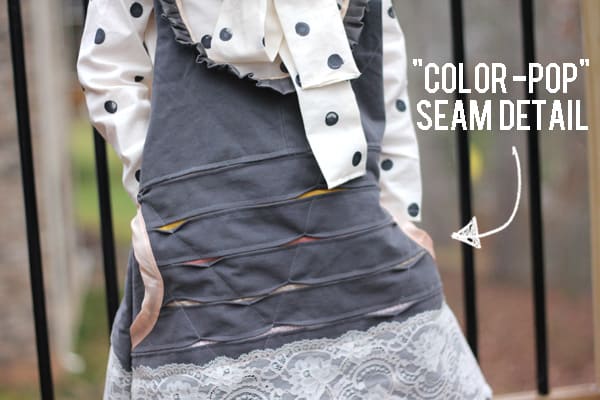
Anyways, it’s so cool, right! Like a tiny color explosion right in the middle of your jumper. The fun thing is you can put these seams ANYWHERE! All you have to do is make a new seam in your pattern piece and pop in some color. 

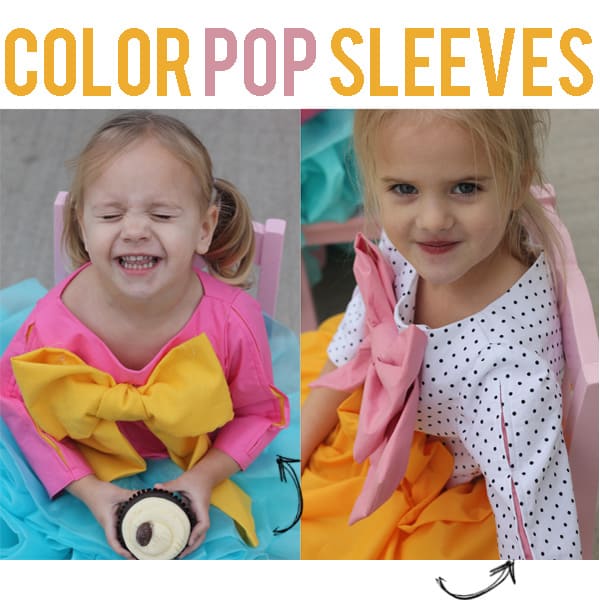
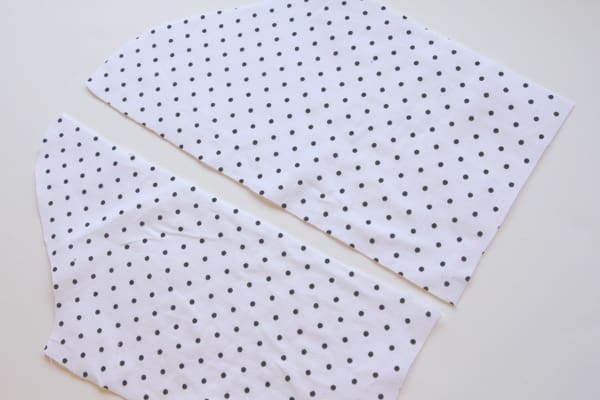
I’ll show you how to do this. I’m using a sleeve pattern for my example. But like you can see, these can go wherever there is a seam, and you can add a seam anywhere there is fabric! 
This technique adds a pop of color to an existing seam. You can do it on any seam, or make a brand new seam for decoration.  I shared this tutorial on Friday for adding a new seam. Click below to go check it out and then come back and color pop it!

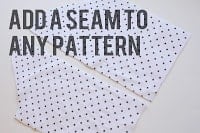
To continue on and add a pop of color, cut out your pattern pieces.
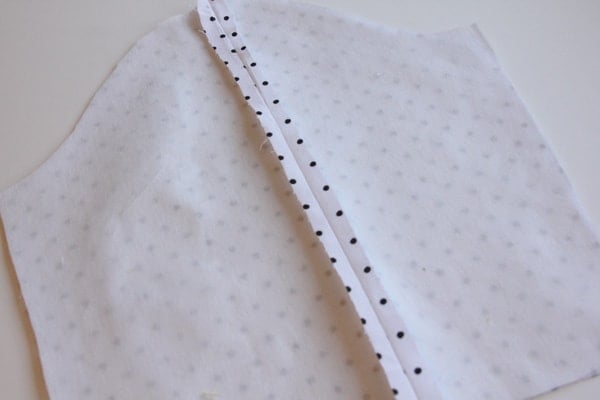
Baste the seam together and press it open.
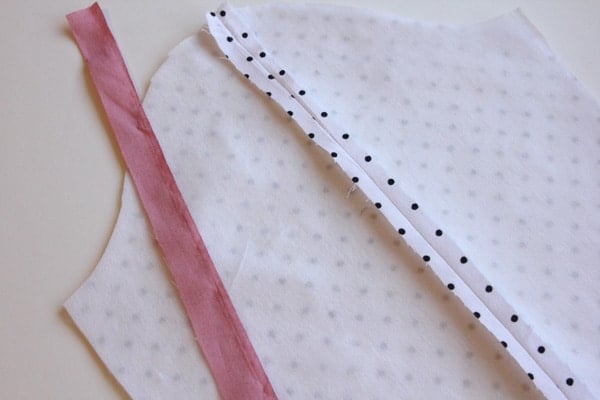
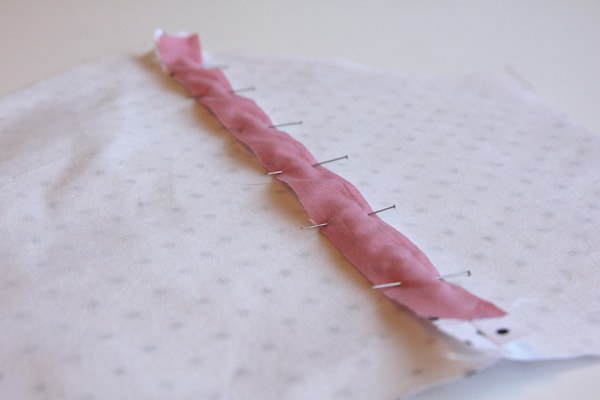
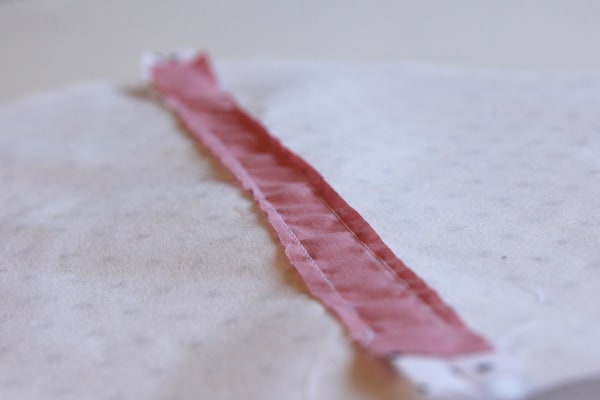
For the color pop, you need a strip of fabric about 1″ by the length you want your color pop part of the seam.
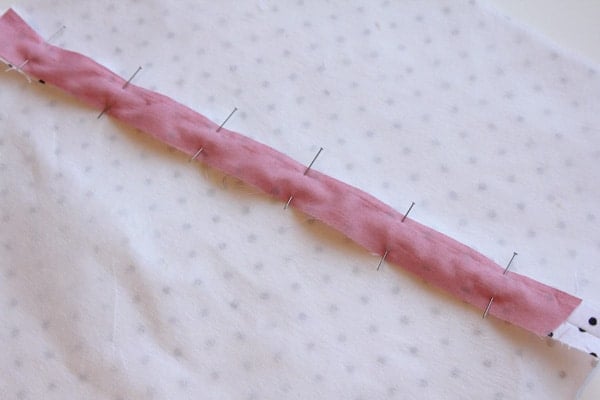
Pin it right on top of your pressed seam allowance.
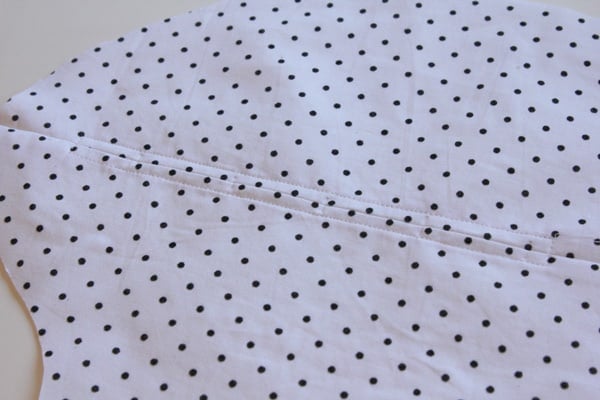
Topstitch at 1/4″, turning at each end of the color pop detail.
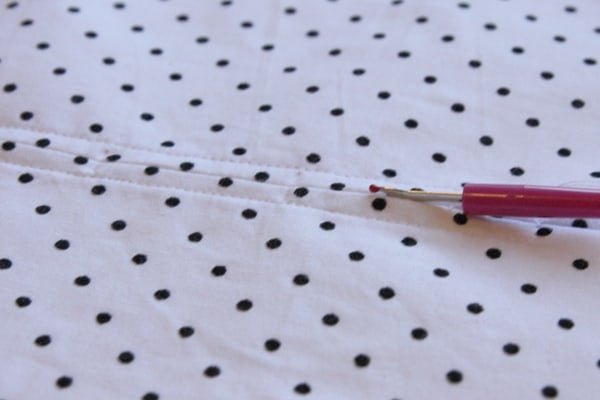
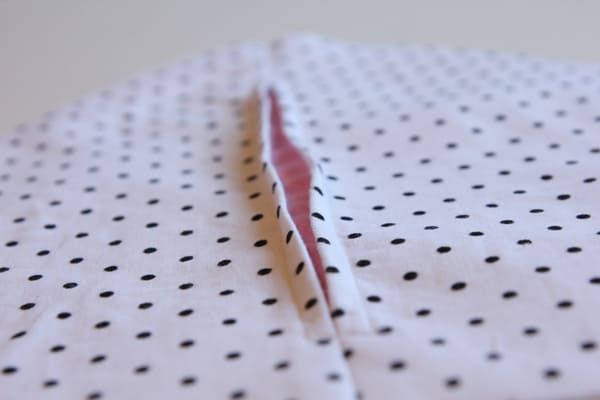
Seam rip the seam open. 
Color popped! 
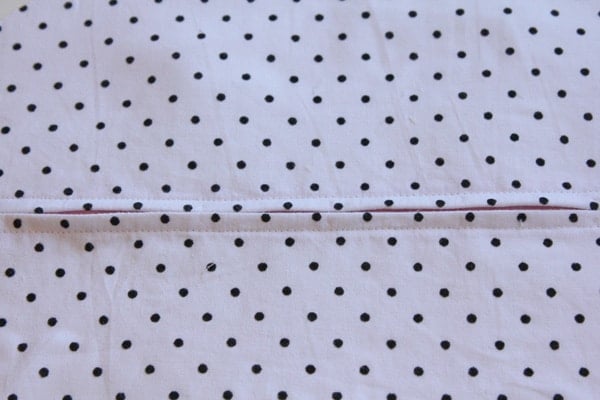
You’ll have to clean up all the little threads, but your seam is done!
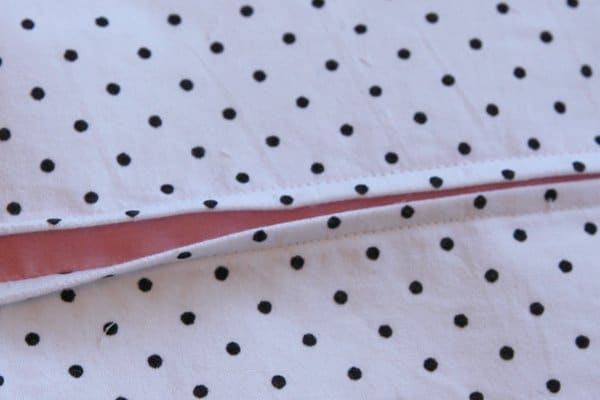
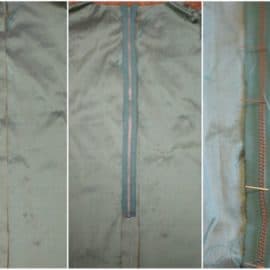
The back of the seam will look like this:

Sweet! The possibilities with this technique are endless! You can put them in side seams, front seams, back seams or new seams! 


Hope you enjoyed this technique!


11 Comments | Sewing 101

Exclusive Free PatternRuffled Apron

Sign up for my email newsletter and receive my ruffled apron pattern totally FREE!

We take your privacy seriously. See our privacy policy here. Unsubscribe at any time.

You may also like these posts...

sewing 101: handmade piping with the welting footdon’t be scared. [zippers part 1]how to print pdf patternsPenelope Peplum Sew-a-long Day 2: Printing PDF Patternssleeves: quick n’ dirty vs. "the right way"

Reader Interactions

11 Comments

  1. Sierra

    03/05 at 2:06 PM

    Hey, way cool! TFS! This seems so simple that maybe even I could attempt it! :)

  2. Sarah G

    03/05 at 2:41 PM

    Just like putting a zipper in – only easier! I’m going to try this on a pair of pants for my son – it might be a neat “racer stripe” down the sides of the legs. Thanks for sharing!

  3. Rhiannon

    03/05 at 2:56 PM

    Love this idea! Am thinking it would look really cute on a little clutch too. And what a great, easy to follow tutorial! Thanks.

  4. GerryART

    03/05 at 3:07 PM

    Quilters use a very similar technique for the chenille effect.
    Very effective ! ! ! !
    hugs
    Gerry

  5. Delia

    03/05 at 5:54 PM

    What a cool technique Kate. You are so creative.

  6. Este

    03/05 at 9:04 PM

    Love it!

  7. Kat @ sewchibi.blogspot.com

    03/06 at 1:37 AM

    Enlightenment! I will definitely be trying this!!!

  8. Backwoods Cottage Pam

    03/06 at 2:57 AM

    It is called an inverted pleat, but I think I like your name better. I used this technique many times on the bodices of my daughters little dresses. I would even do it to the material before cutting out the pattern pieces, sometimes it was easier. It can really dress up even the most basic of fabrics and patterns.

  9. susana

    03/06 at 3:53 AM

    Soy una seguidora silenciosa y guarde la foto de ese vestido para pensar como lograrlo? Gracias ,todo lo que pensé fue infinitamente mas complejo.Si hay alguna chica que haga edredones merodeando por ahí … su técnica es un tesoro .

  10. The Chapstick Wrangler

    04/01 at 6:00 AM

    So simple, how neat! Thanks for sharing!

    The Chapstick Wrangler

    http://www.chapstickwrangler.blogspot.com

  11. savanah v

    04/19 at 12:23 PM

    soooo,if we did a bigger seam allowance on the 1st part,could we use a wider color strip and make a really big pop?

Primary Sidebar

  • Facebook
  • Twitter
  • Instagram
  • Pinterest
  • Email

Exclusive Free PatternRuffled Apron

Sign up for my email newsletter and receive my ruffled apron pattern totally FREE!

We take your privacy seriously. See our privacy policy here. You can unsubscribe at any time.

Don’t miss these popular posts!

easy baby dress pattern for the summertime

easy baby dress pattern for the summertime

modern ombre + b/w triangle quilt tutorial + pattern

modern ombre + b/w triangle quilt tutorial + pattern

Fabric

Quilted Cosmetic Case Kiss Me KateKiss Me, Kate FabricOne Hour Granny Square Quilt Tutorial | See Kate SewModern Granny Square Quilt Whole Cloth

Pattern Hacks

Easy Baby Summer Dressthe EMMA pattern | See Kate SewThe EMMA Dress

Footer

Hello friends!

My name is Kate, a twenty something fashion lover and mother of two. When I’m not chasing kids you can find me at my sewing table or daydreaming up new designs. You can read more about me here. Thank you for visiting!

8a918f8da8e0e69102dc0f33a718de85a99c31a57283e0e3e2

FOLLOW ME HERE

  • Facebook
  • Twitter
  • Instagram
  • Pinterest
  • Email
  • Blog
  • About
  • Contact
  • FAQ
  • Sponsor

Copyright © 2025 See Kate Sew  •  All Rights Reserved  •  Privacy Policy  •  Site Design by Emily White Designs