• Skip to main content
  • Skip to primary sidebar
  • Skip to footer
  • Blog
  • About
  • Contact
  • FAQ
  • Sponsor

see kate sew

sewing, crafts, tutorials, DIY

  • Patterns
    • Free Patterns
    • Pattern of the Month
  • Tutorials
    • Accessories
    • Bags and Pouches
    • Clothing
    • Costumes
    • Crafts
    • Cricut Projects
    • Holiday
    • Household
    • Kids
    • Maternity
    • Quilting
  • Topics
    • Baby
    • Boy
    • Christmas
    • dog
    • Dolls
    • Easter
    • Girl
    • Halloween
    • Lookbook
    • Party
    • pet
    • Printables
    • Training
    • women
  • No Sew
  • Sewing 101
  • Sew4Good
  • Pet
  • Sewing Room
    • DreamBox
  • Reviews
Home
  • Patterns
    • Free Patterns
    • Pattern of the Month
  • Tutorials
    • Accessories
    • Bags and Pouches
    • Clothing
    • Costumes
    • Crafts
    • Cricut Projects
    • Holiday
    • Household
    • Kids
    • Maternity
    • Quilting
  • Topics
    • Baby
    • Boy
    • Christmas
    • dog
    • Dolls
    • Easter
    • Girl
    • Halloween
    • Lookbook
    • Party
    • pet
    • Printables
    • Training
    • women
  • No Sew
  • Sewing 101
  • Sew4Good
  • Pet
  • Sewing Room
    • DreamBox
  • Reviews

06.02

sleeves: quick n’ dirty vs. "the right way"

Welcome to See Kate Sew! If you’re new here, sign up for my email newsletter for access to free patterns, tutorials and all the latest sewing news! Tour my sewing room HERE!

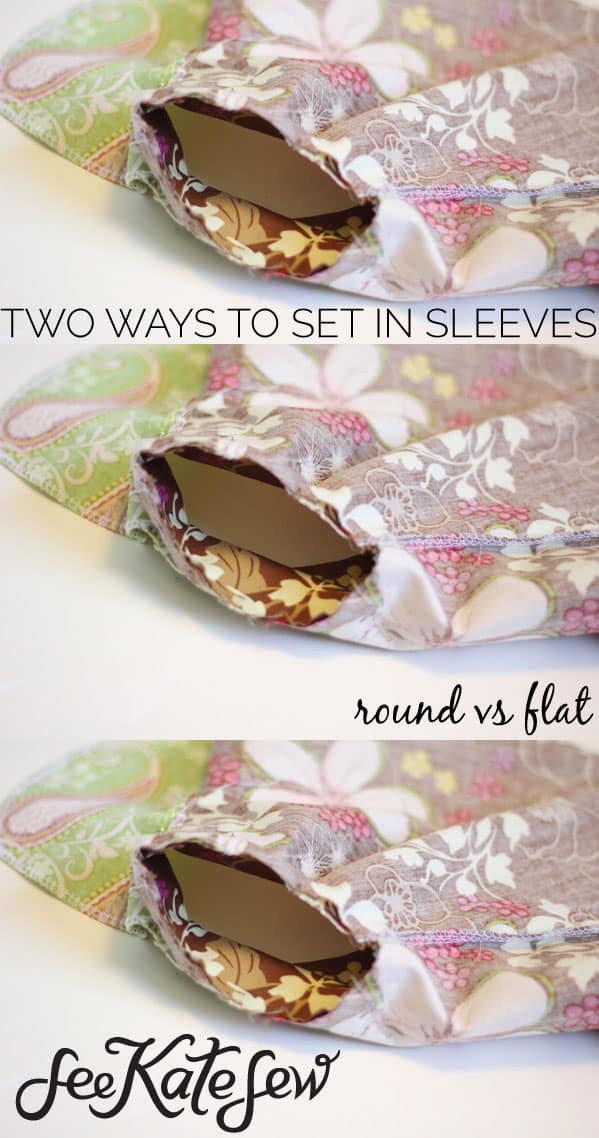
set-in sleeves: flat vs. round
There are two ways to set in sleeves, one is easier than the other. I thought I’d show you both for today’s sewing 101 lesson.

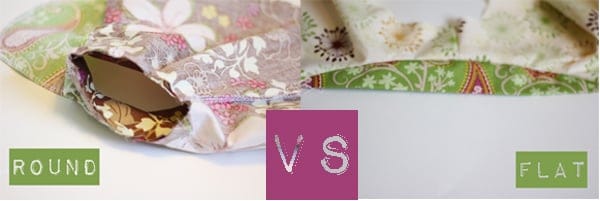
“the right way”: in the round

Setting sleeves in in the round, is harder for me than sewing them in flat. I always end up with little pleats that have to go and take out later. It is also hard to get your sleeve to match your sleeve hole because fabric stretches when you pull it!

I’m calling this “the right way” because it will give your clothing higher quality. A sleeve sewn in the round wears better than one sewn in flat.

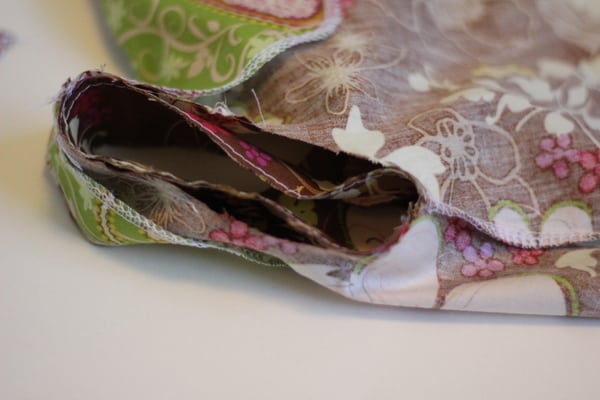
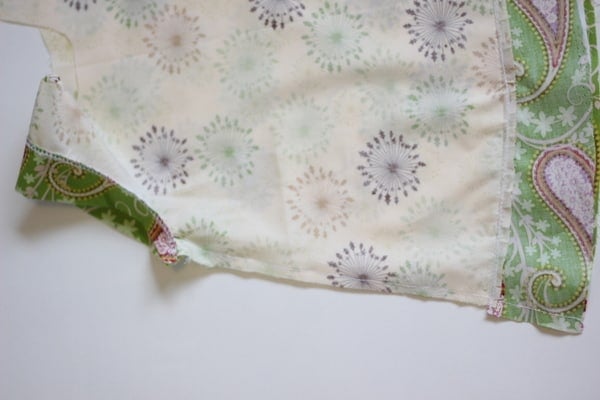
How to: To sew a sleeve in in the round, sew up your garments side seams and shoulder seams. Sew up your sleeves side seam. The sleeves can be the last thing you do on your piece.

Ease stitching alert! By ease stitching your sleeve and stay-stitching your sleeve opening you will prevent both from stretching all over the place, which often causes them to not fit correctly and you may end up with little pleats. Ease stitching uses the widest stitch length on your machine (like basting). Stay stitching is just a normal stitch. You only need to do these between the notches on your sleeve and opening.

Sew up your sleeves and finish the seams.

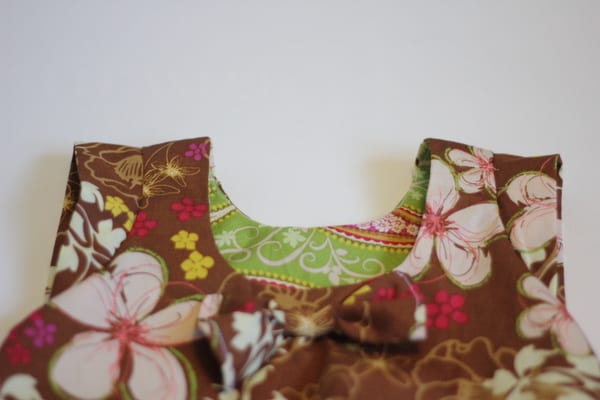
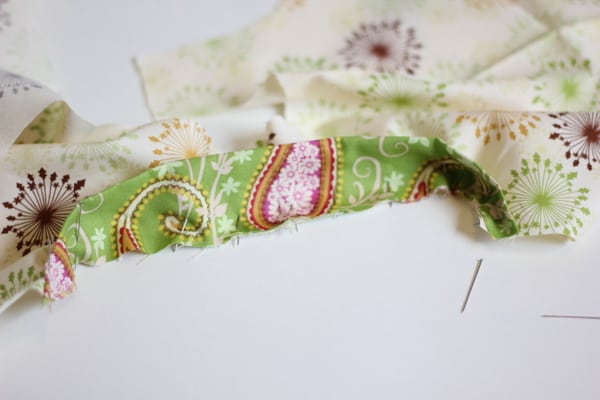
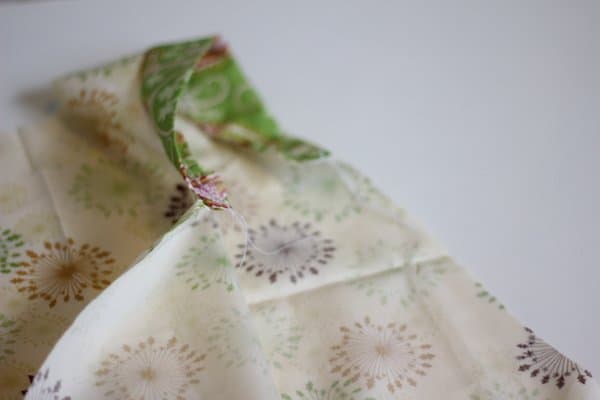
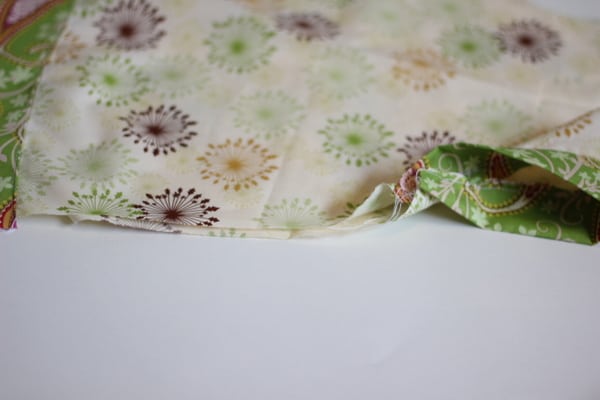
Turn your garment inside out, but leave your sleeve right side out. Stick it in the sleeve hole and pin in all around.

If you need to, pull your ease stitching a little to adjust the fit of the sleeve into the sleeve opening.

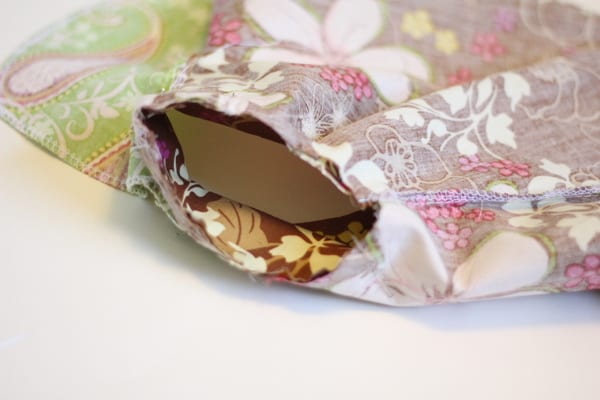
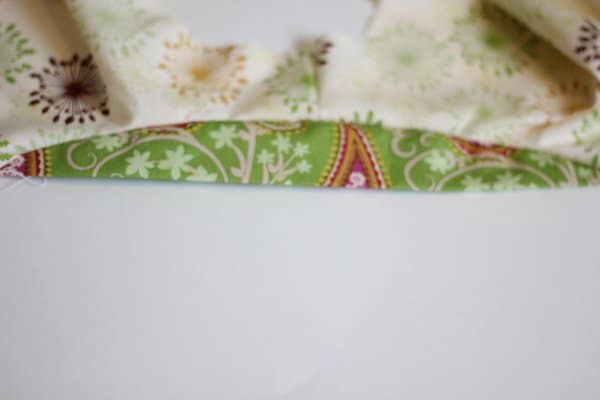
Then sew it up! That’s it, really! But you should go and check out your sleeve, make sure it’s smooth without tucks or pleats. The press it. Finish your seam however you want. It sounds simple but I’ve pulled out hair over sleeves before. Ease and stay stitching take more time but are totally worth it!

………..

quick n’ dirty: flat

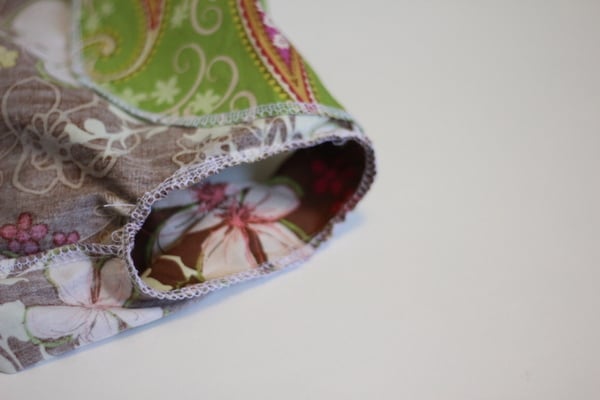
This method is pretty quick compared to sewing in the round. You don’t have to ease stitch, although you can. I always get fast and nice results from sewing sleeves in flat.

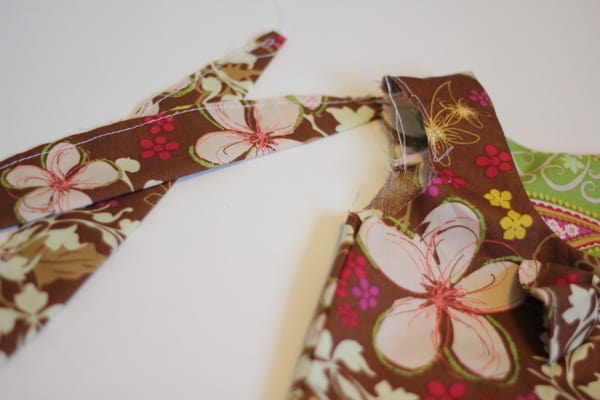
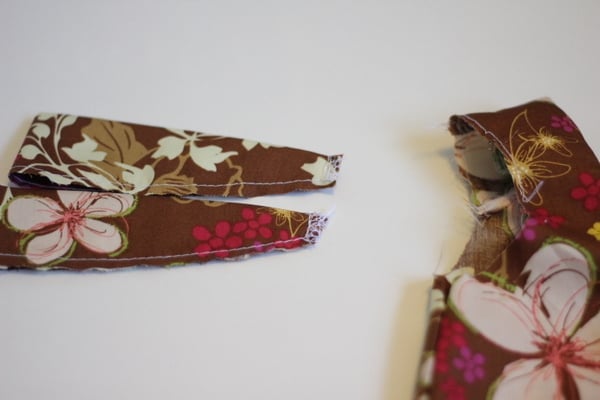
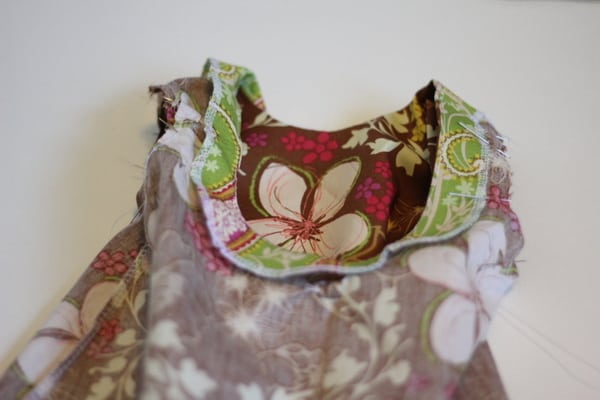
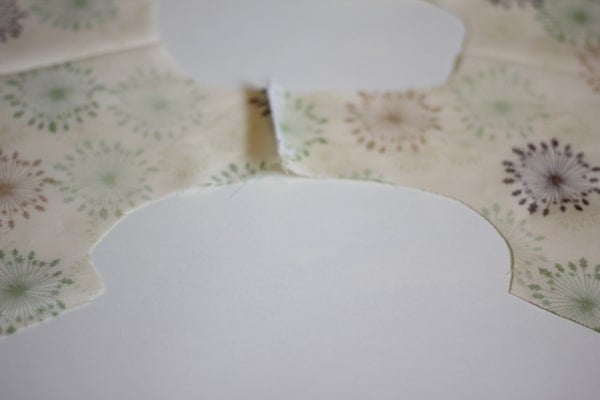
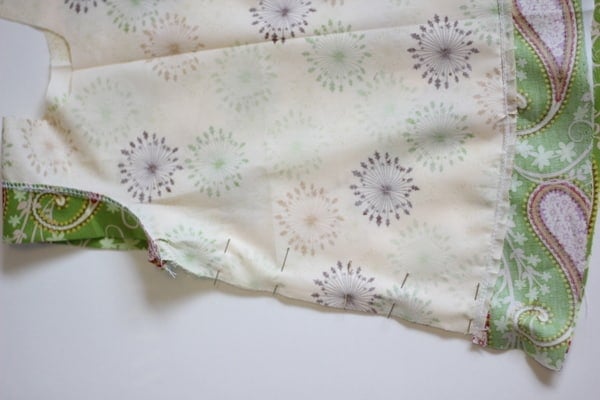
How to: Sew your shoulder seams together, but leave your side seams open.

Then pin your sleeve in, without sewing it together yet.
Sew your sleeve into the opening. You see why it is called the flat method? No round seams that cause trouble!
It will look like this:
Then pin up your side. The dress should be inside out.
Sew it up, pivoting where your sleeve starts. You’ll just do one long flat stitch from the bottom to the end of the sleeve. Then finish your seam. Easy!
So, if you want to save yourself some stress, setting your sleeve in flat is a super easy way to make everything fit. Working with tubes on a sewing machine often causes those little hiccups and pleats that we don’t want, so working flat eliminates a lot of those problems. When all is said and done, they look exactly the same.

When you need it, this lesson will be on the sewing 101 page along with more tips.

So how do you typically sew sleeves in??

Two Ways to Set in Sleeves | See Kate Sew

12 Comments | Sewing 101

Exclusive Free PatternRuffled Apron

Sign up for my email newsletter and receive my ruffled apron pattern totally FREE!

We take your privacy seriously. See our privacy policy here. Unsubscribe at any time.

You may also like these posts...

Cricut Sewing – 20 Reasons you need the Cricut Maker! + Cricut Maker vs. Explore Air 2sewing 101: alternate fabric sourcesSEWING 101: HOW TO TRANSFER PATTERN MARKINGS WITH THREADsewing 101: marking fabric with thread25 Must-Have Sewing Books | sewing tips and tricks | learning to sewing | sewing tips for beginners | sewing books || See Kate Sew #sewingtips #beginnersewist #learningtosew25 must-have sewing books

Reader Interactions

12 Comments

  1. Lynne

    06/02 at 1:32 PM

    Thanks for the visuals. I will have to try the flat method next time. It seems like it would be less frustrating!

  2. PinkGranny

    06/02 at 2:31 PM

    I prefer sewing sleeves flat too. It takes a lot of pain out of setting in the sleeves and I believe makes the garment more professional looking.

    I like your tutorial. I think it is encouraging for the new sewer who may avoid projects with sleeves.

    • Anonymous

      07/09 at 12:47 AM

      You said it! I have always done a terrible job on sleeves, and I’ve been afraid to try adding sleeves to my garments because it’s the only thing I just can’t figure out. Now I’m feeling pretty bold!

  3. aweekfromthursday

    06/02 at 2:54 PM

    oh my gosh, that flat stitching method is so brilliant! why have i never done that before? Thanks for sharing.
    -heidi
    http://www.aweekfromthursday.wordpress.com

  4. angelina_lover

    06/02 at 2:58 PM

    Flat sewer here :blush: I can sew them in the round but it really is a pita ;-)

  5. Rebecca

    06/02 at 2:58 PM

    Thanks for the great how to! I haven’t ventured into sleeves yet but will refer to this when I do. :)

  6. Alicia

    06/02 at 5:53 PM

    Do you have a pattern for those cute dresses? I would love one. If you don’t have a tutorial, would you be willing to put one in your etsy shop? I would totally be interested!

    aliciarowberry{at}gmail{dot}com

  7. the little wife

    06/02 at 7:14 PM

    I always try and sew my sleeves flat. Why take the fun out of sewing? :)

  8. missbmckay

    06/02 at 8:22 PM

    Thanks for this. I didn’t finish the sleeves on my daughters pillow case dress. One wash and they were awful. I’ll redo them with your advice. Bless You!

  9. plain old smith

    09/28 at 9:45 AM

    why have i been doing it the ‘right’ way all these years??? That’s awesome and totally makes sense! Thankyou thankyou thankyou!!!!!

  10. Missy

    11/29 at 2:35 PM

    What is ease stitching?

  11. Natasha Rodricks-Naidu

    04/24 at 2:06 AM

    You are awesome. What a fabulous post.

Primary Sidebar

  • Facebook
  • Twitter
  • Instagram
  • Pinterest
  • Email

Exclusive Free PatternRuffled Apron

Sign up for my email newsletter and receive my ruffled apron pattern totally FREE!

We take your privacy seriously. See our privacy policy here. You can unsubscribe at any time.

Don’t miss these popular posts!

easy baby dress pattern for the summertime

easy baby dress pattern for the summertime

modern ombre + b/w triangle quilt tutorial + pattern

modern ombre + b/w triangle quilt tutorial + pattern

Fabric

Quilted Cosmetic Case Kiss Me KateKiss Me, Kate FabricOne Hour Granny Square Quilt Tutorial | See Kate SewModern Granny Square Quilt Whole Cloth

Pattern Hacks

Easy Baby Summer Dressthe EMMA pattern | See Kate SewThe EMMA Dress

Footer

Hello friends!

My name is Kate, a twenty something fashion lover and mother of two. When I’m not chasing kids you can find me at my sewing table or daydreaming up new designs. You can read more about me here. Thank you for visiting!

8a918f8da8e0e69102dc0f33a718de85a99c31a57283e0e3e2

FOLLOW ME HERE

  • Facebook
  • Twitter
  • Instagram
  • Pinterest
  • Email
  • Blog
  • About
  • Contact
  • FAQ
  • Sponsor

Copyright © 2023 See Kate Sew  •  All Rights Reserved  •  Privacy Policy  •  Site Design by Emily White Designs